Adventures In A Good Night’s Sleep
As an Amazon associate, I may earn a small commission if you navigate to Amazon from my site and buy something. This will not result in an extra cost to you.
For many years, I worked swing shifts or night shifts. This of course necessitated sleeping during the day. Which contains light. Daylight, I believe it’s called. Quite a number of studies have been performed, showing that sleeping with even a little bit of light in the room adversely affects quality of sleep, with a host of associated potential adverse affects on health. Here’s a short study summary, if you’re interested.
Since I’ve needed to sleep in the light for quite a lot of my life, some remedy had to be undertaken to dark the room. There is always the option of blackout window treatments, but they are expensive and need to be custom-fitted to a window. Unless of course, one wanted to take the hillbilly approach and simply cover bedroom windows with aluminum foil. Keeps out aliens, too.
I decided on a different approach: sleeping masks that cover the eyes and block out the light. I have a really nice Manta eye mask, which does block out absolutely every flicker of light. But I found that I can only use that when I’m dozing in my recliner. In bed, they are too uncomfortable. So I’ve used flatter sleep masks for sleeping in bed.
One can buy such masks, certainly. They aren’t expensive. But if one wanted to sew a sleep mask, they are quite easy to make, using whatever pretty fabric you have lying about in the fabric stash. Rather than draw a mask pattern myself, I opted to use the free pattern available from Tilly and the Buttons, which is also the site where I got my pattern for the Skye Sundress.
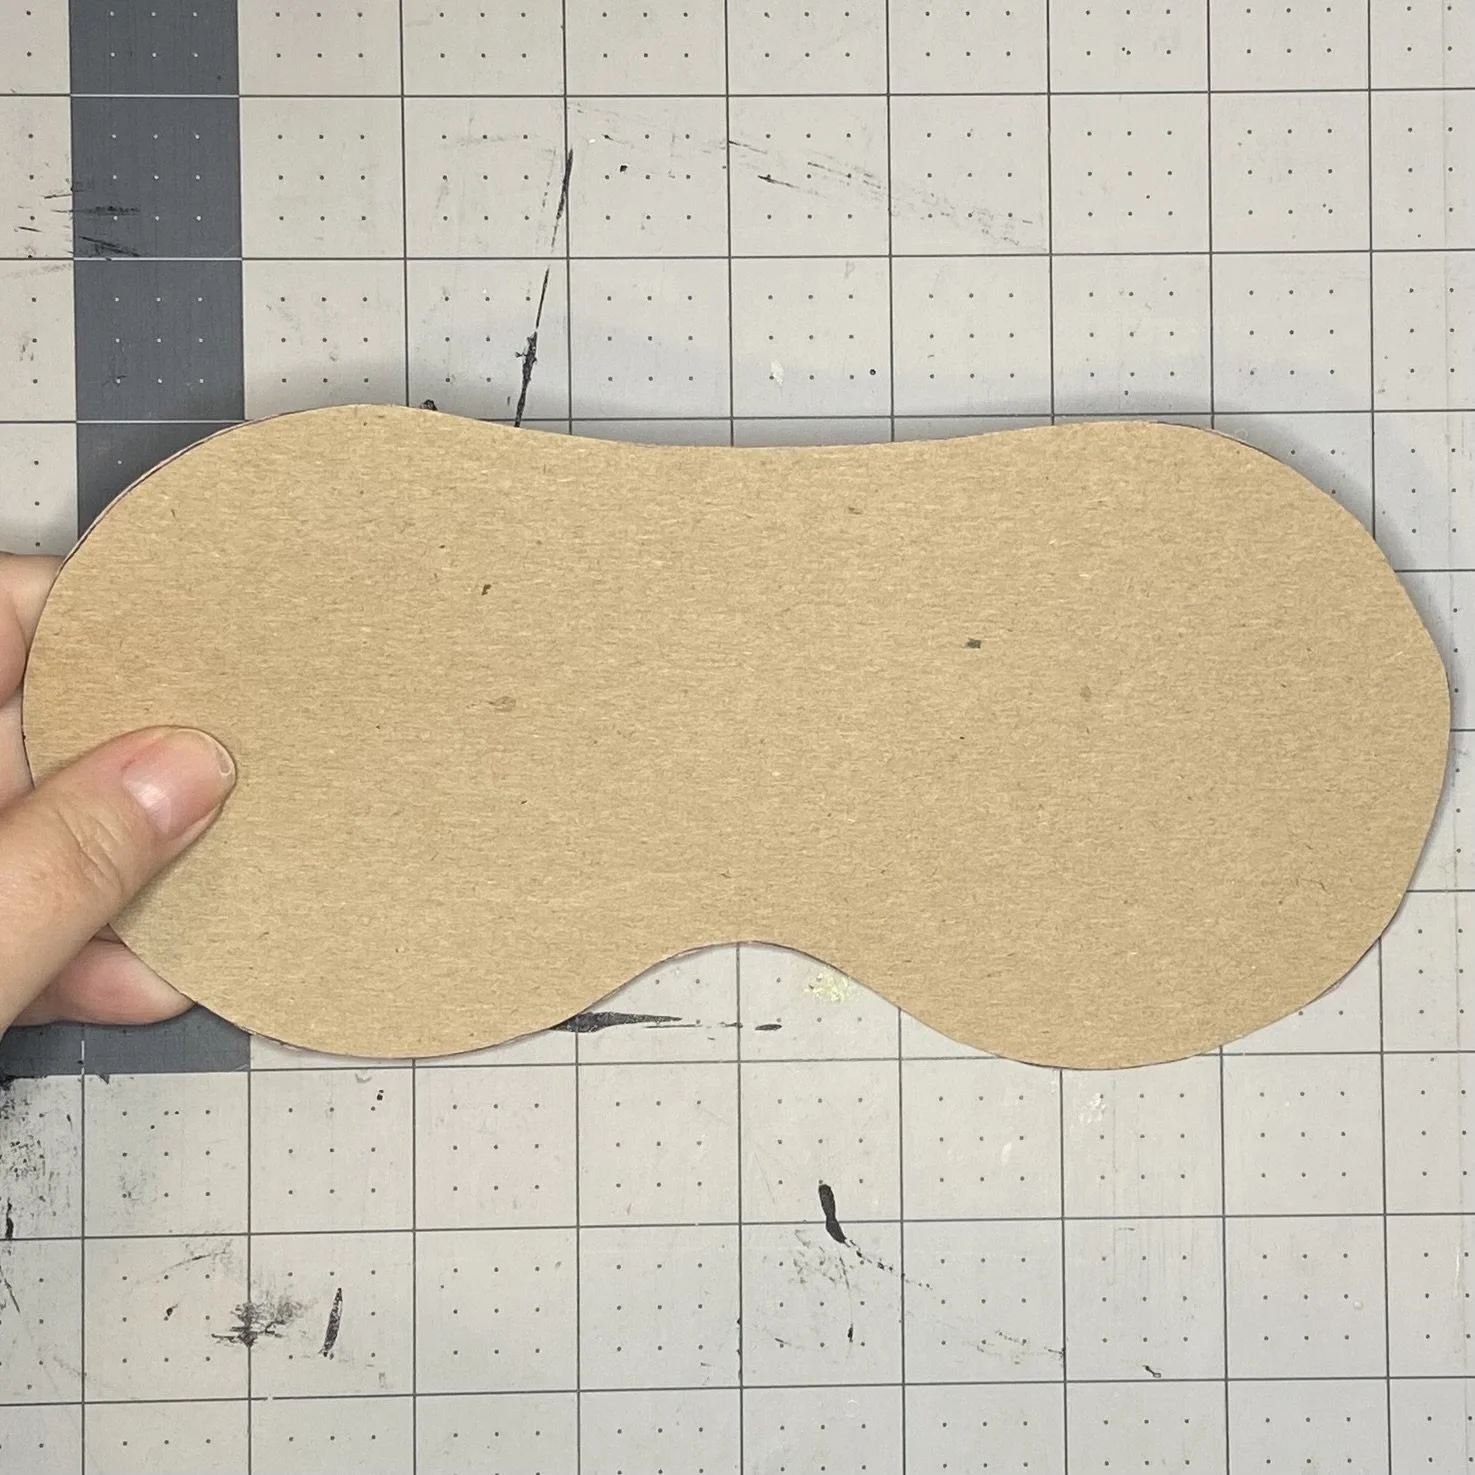
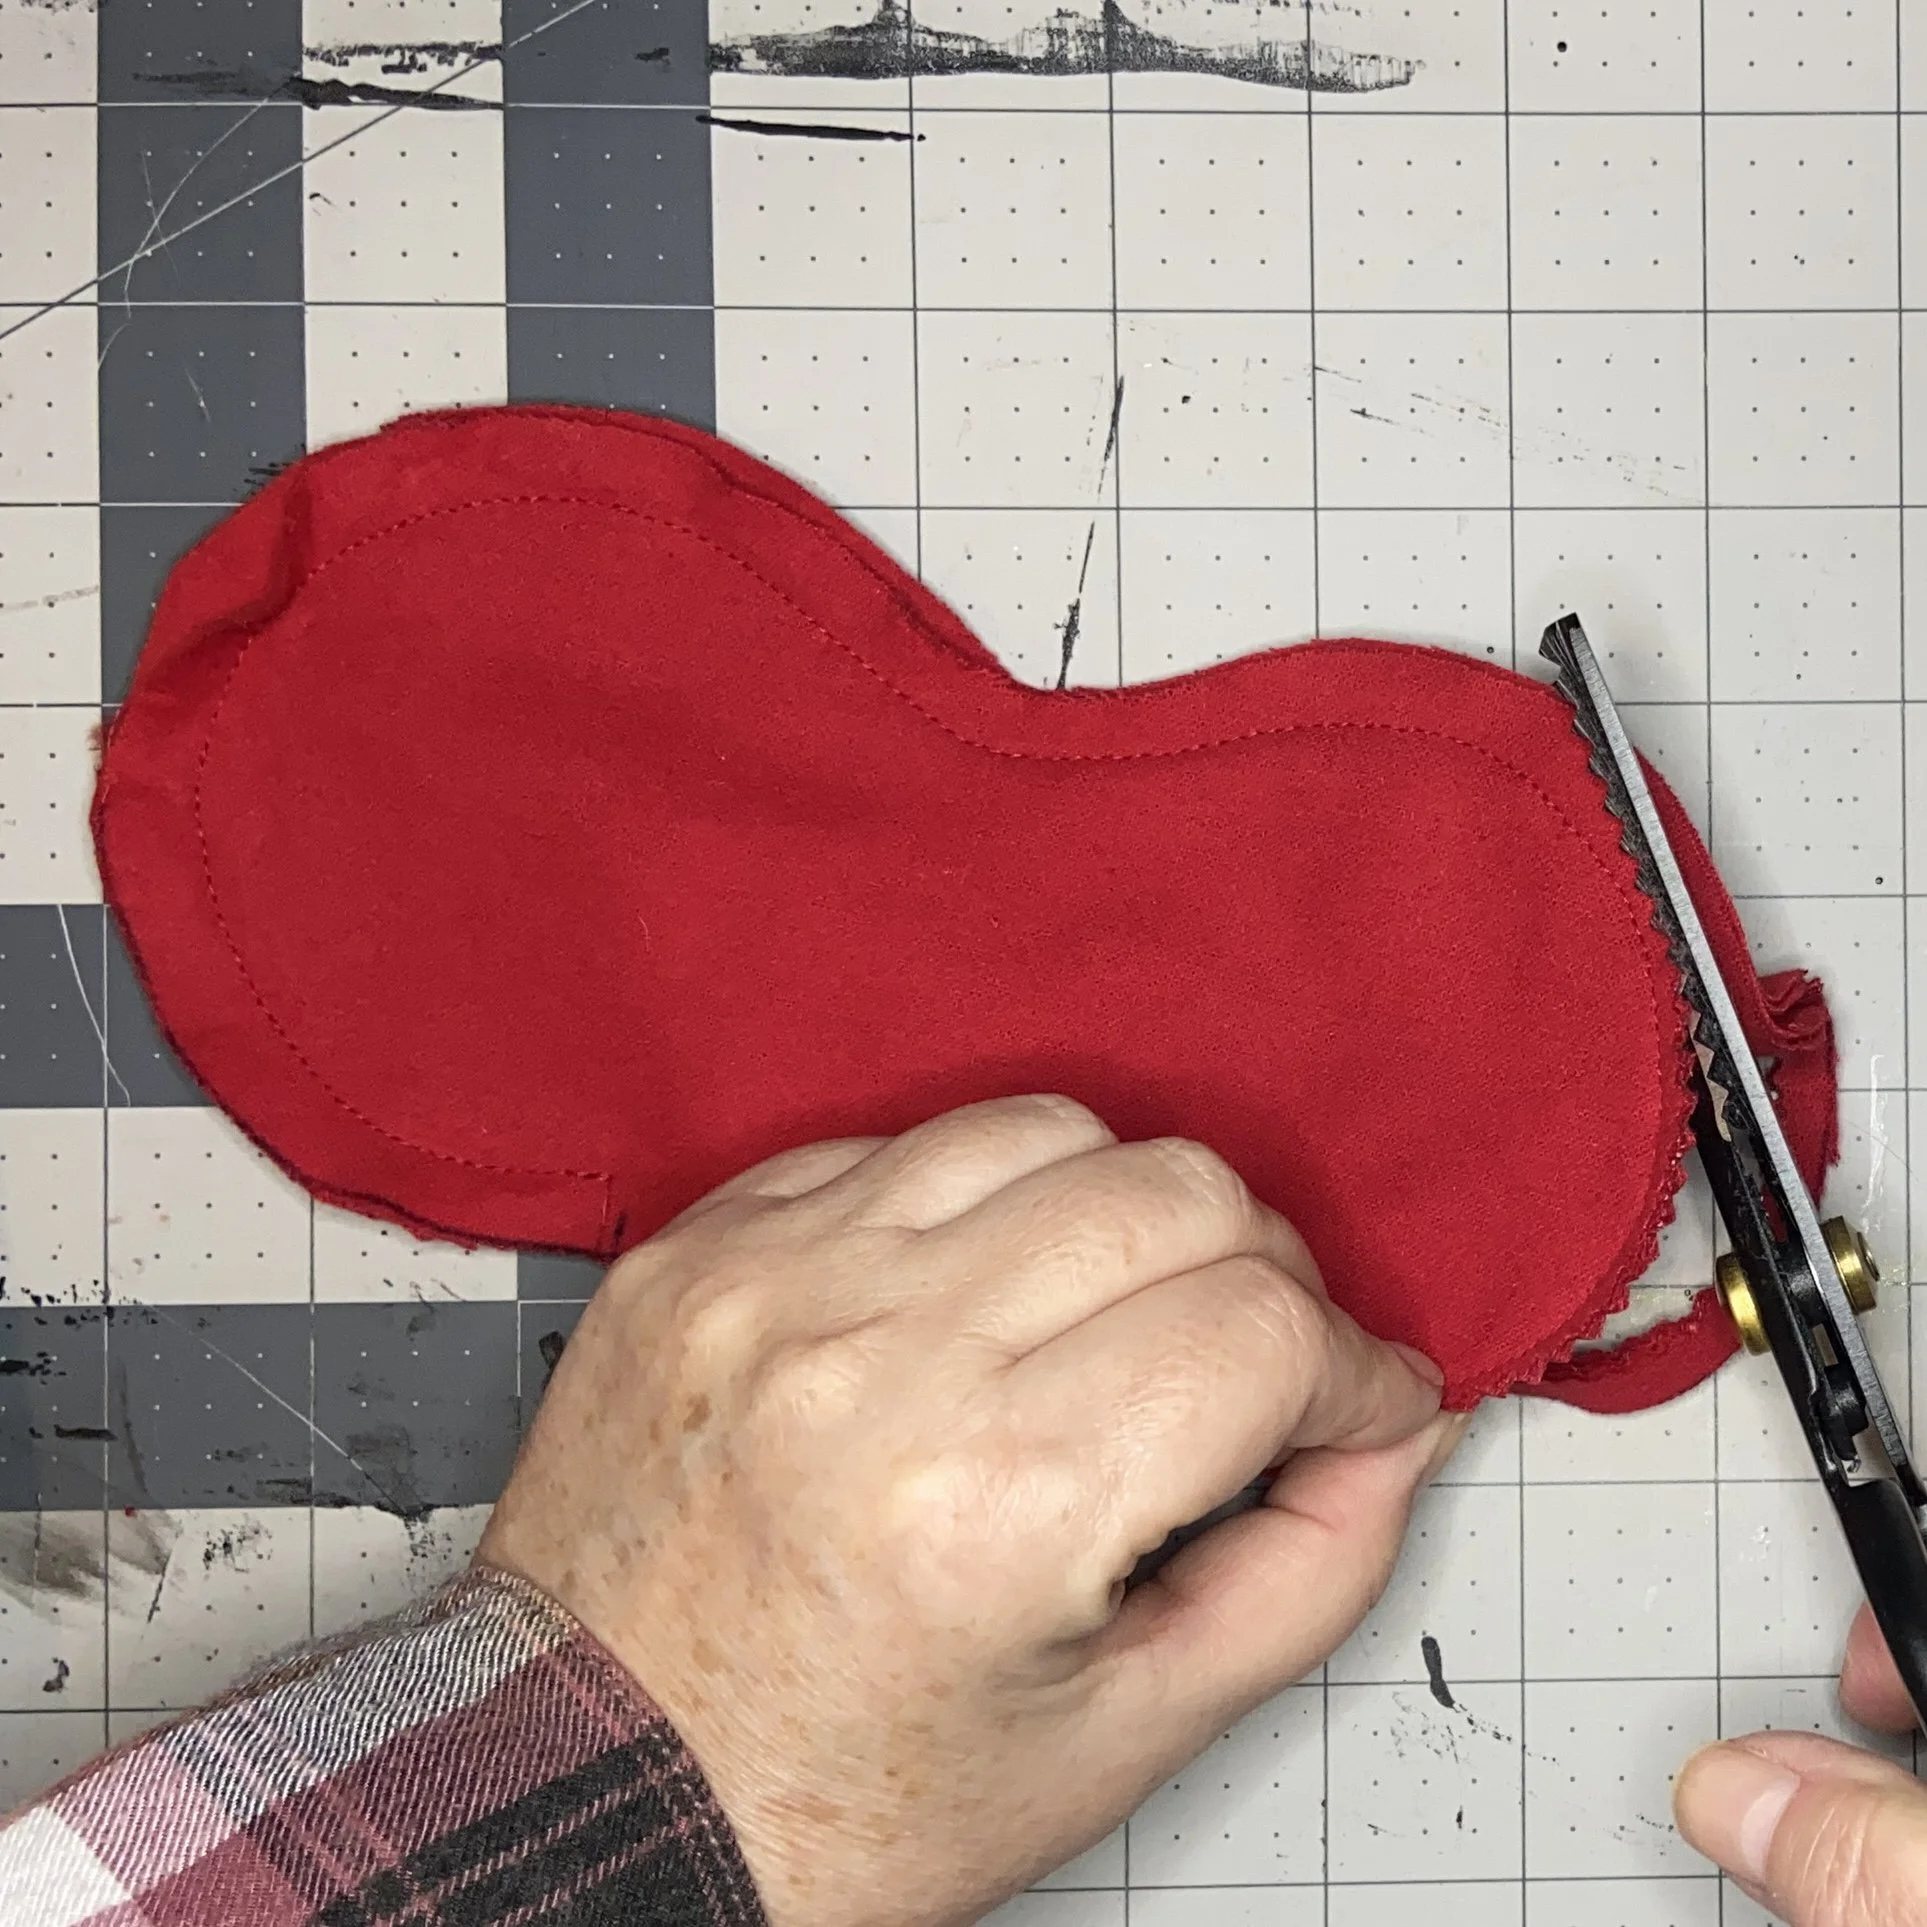
I opted to use only the pattern (and not the instructions), which I traced onto a piece of thin chipboard to make it easier to use multiple times. My first attempt was for a very quick and easy construction. I cut four layers of red flannel that I had in the stash, and two lengths of 1/4” red elastic that was left over from my mask-making adventures.
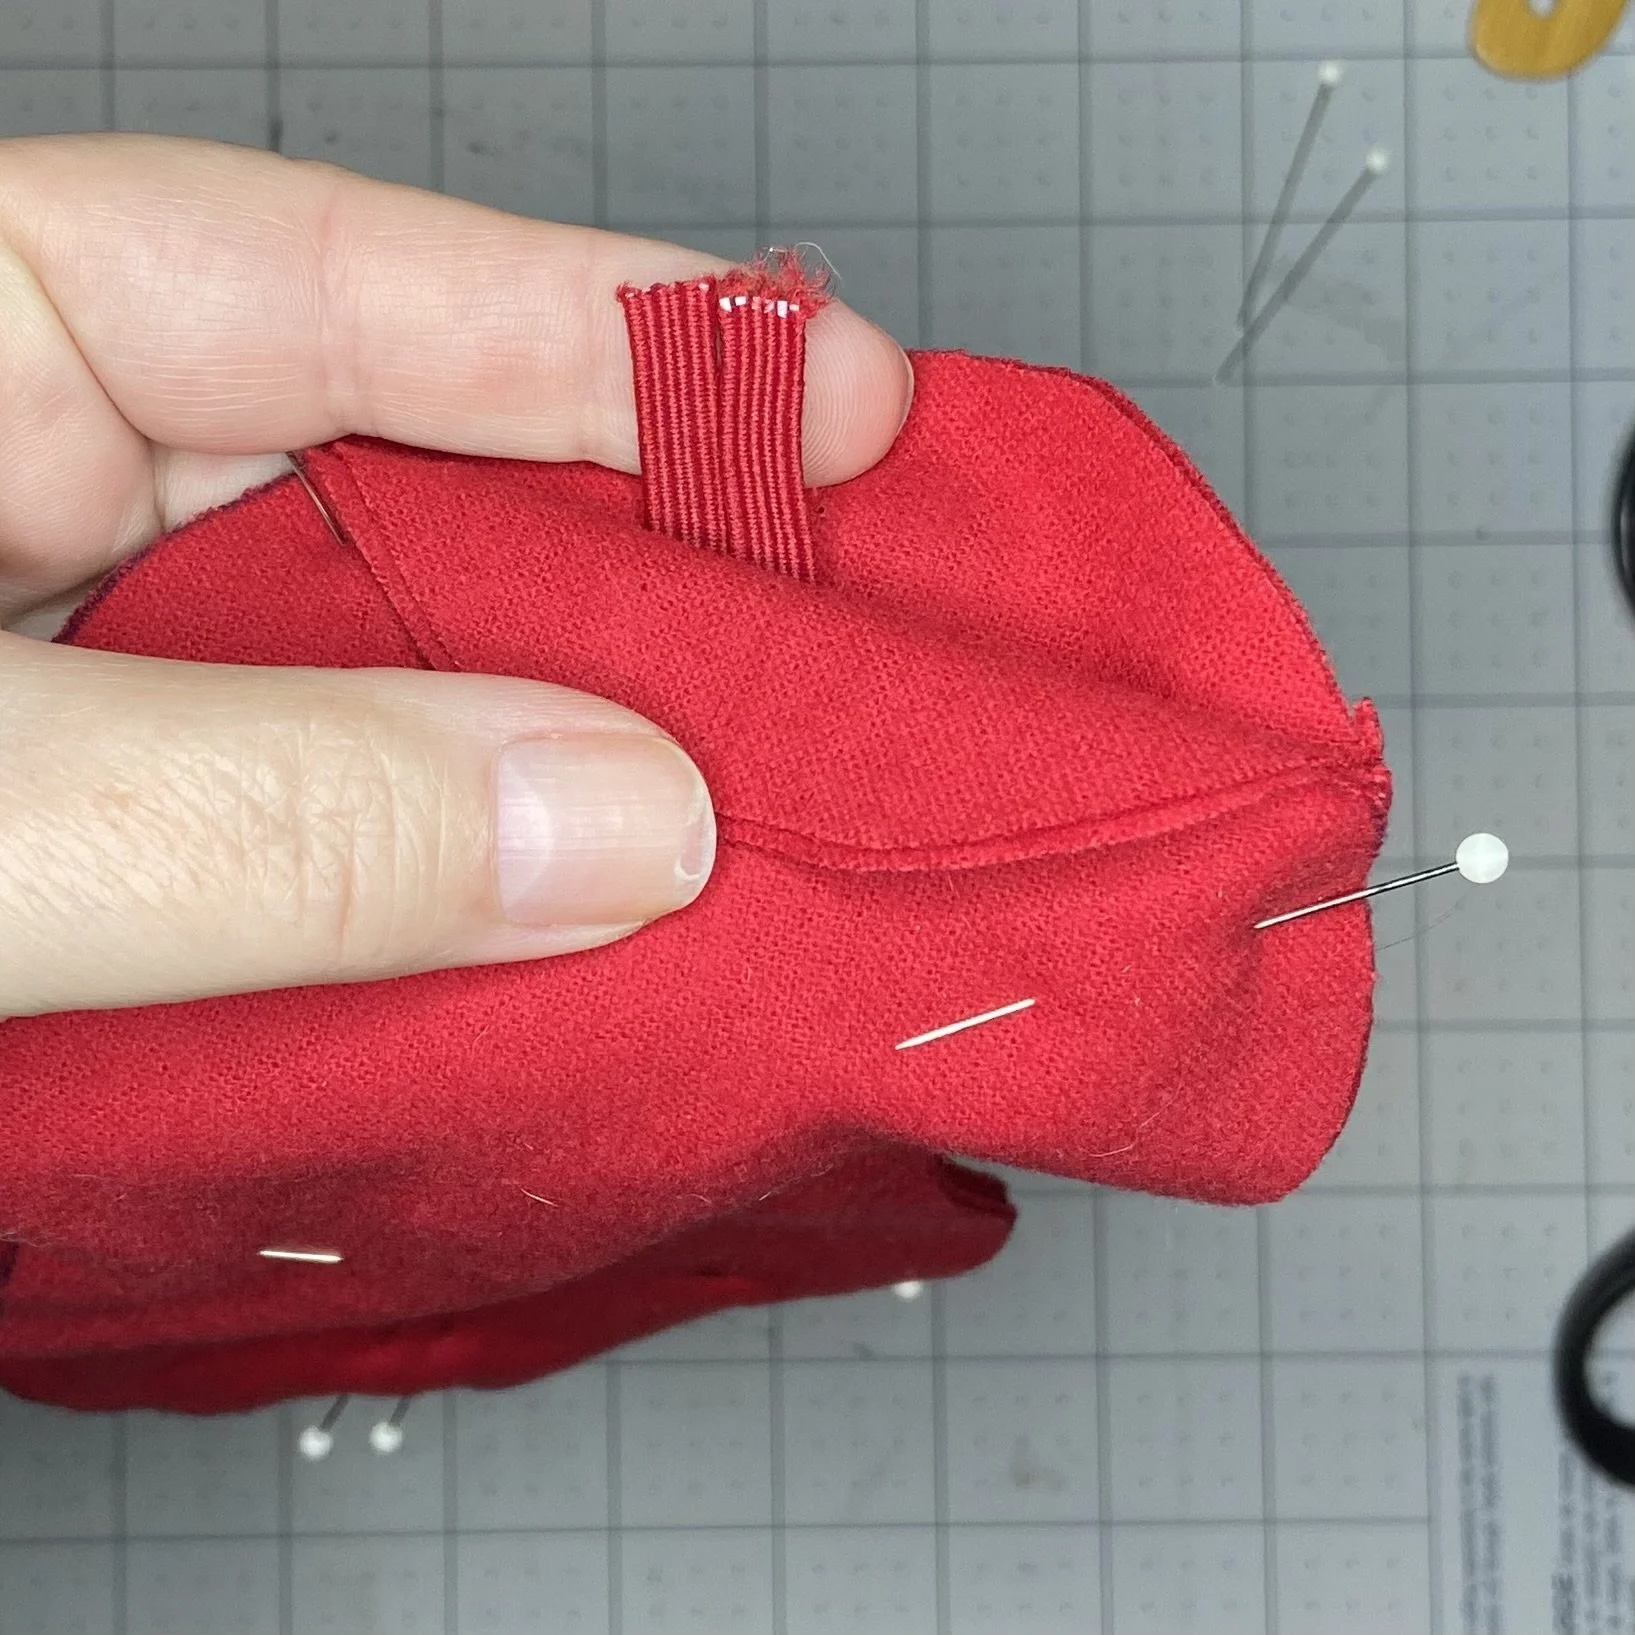
I tucked the two ends of elastic between the middle two layers of flannel on each end, and then sewed the layers together with a 1/4” seam, leaving a couple inches unsewn so that I could turn the mask right side out. I used my pinking shears to trim off the seam allowance close to the stitching, but did not trim the area where I’d left the opening.
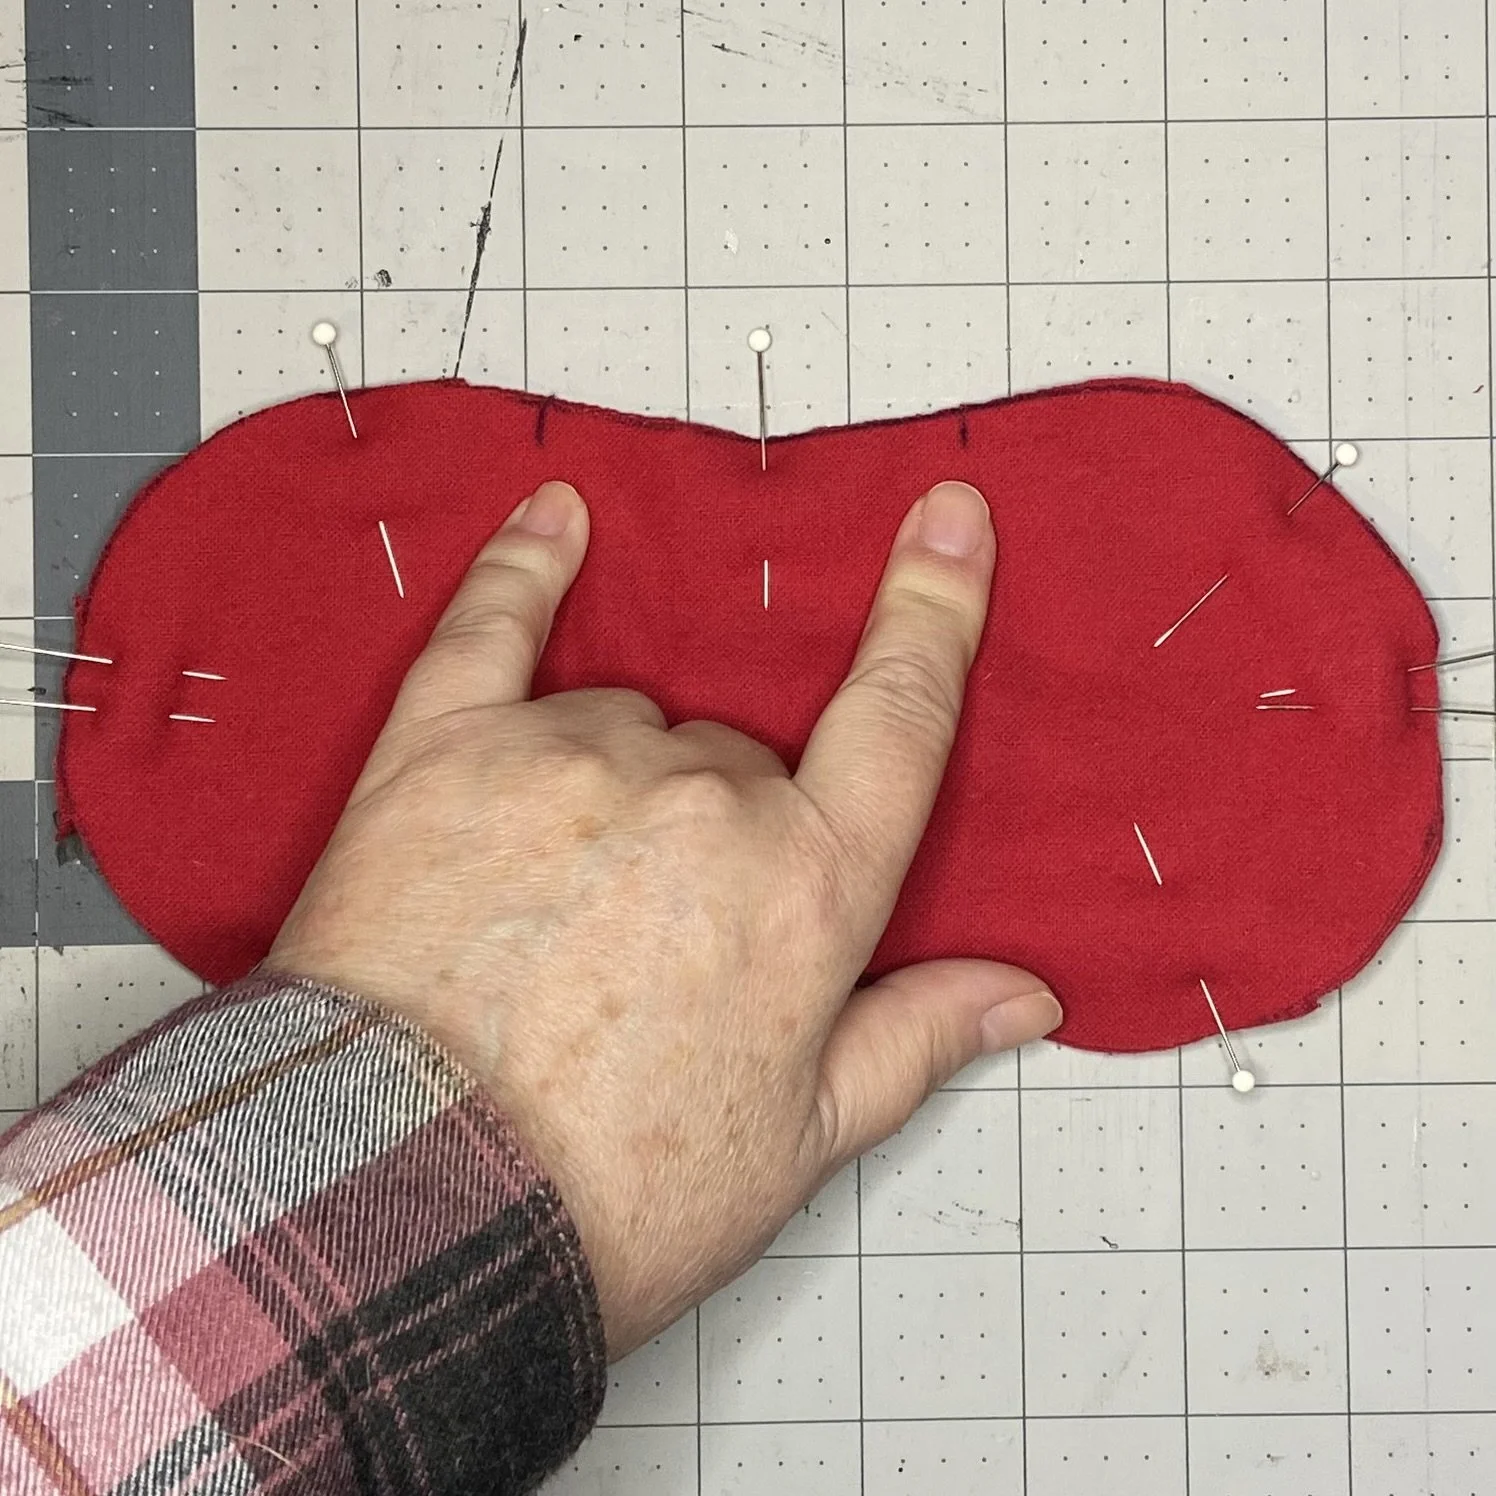
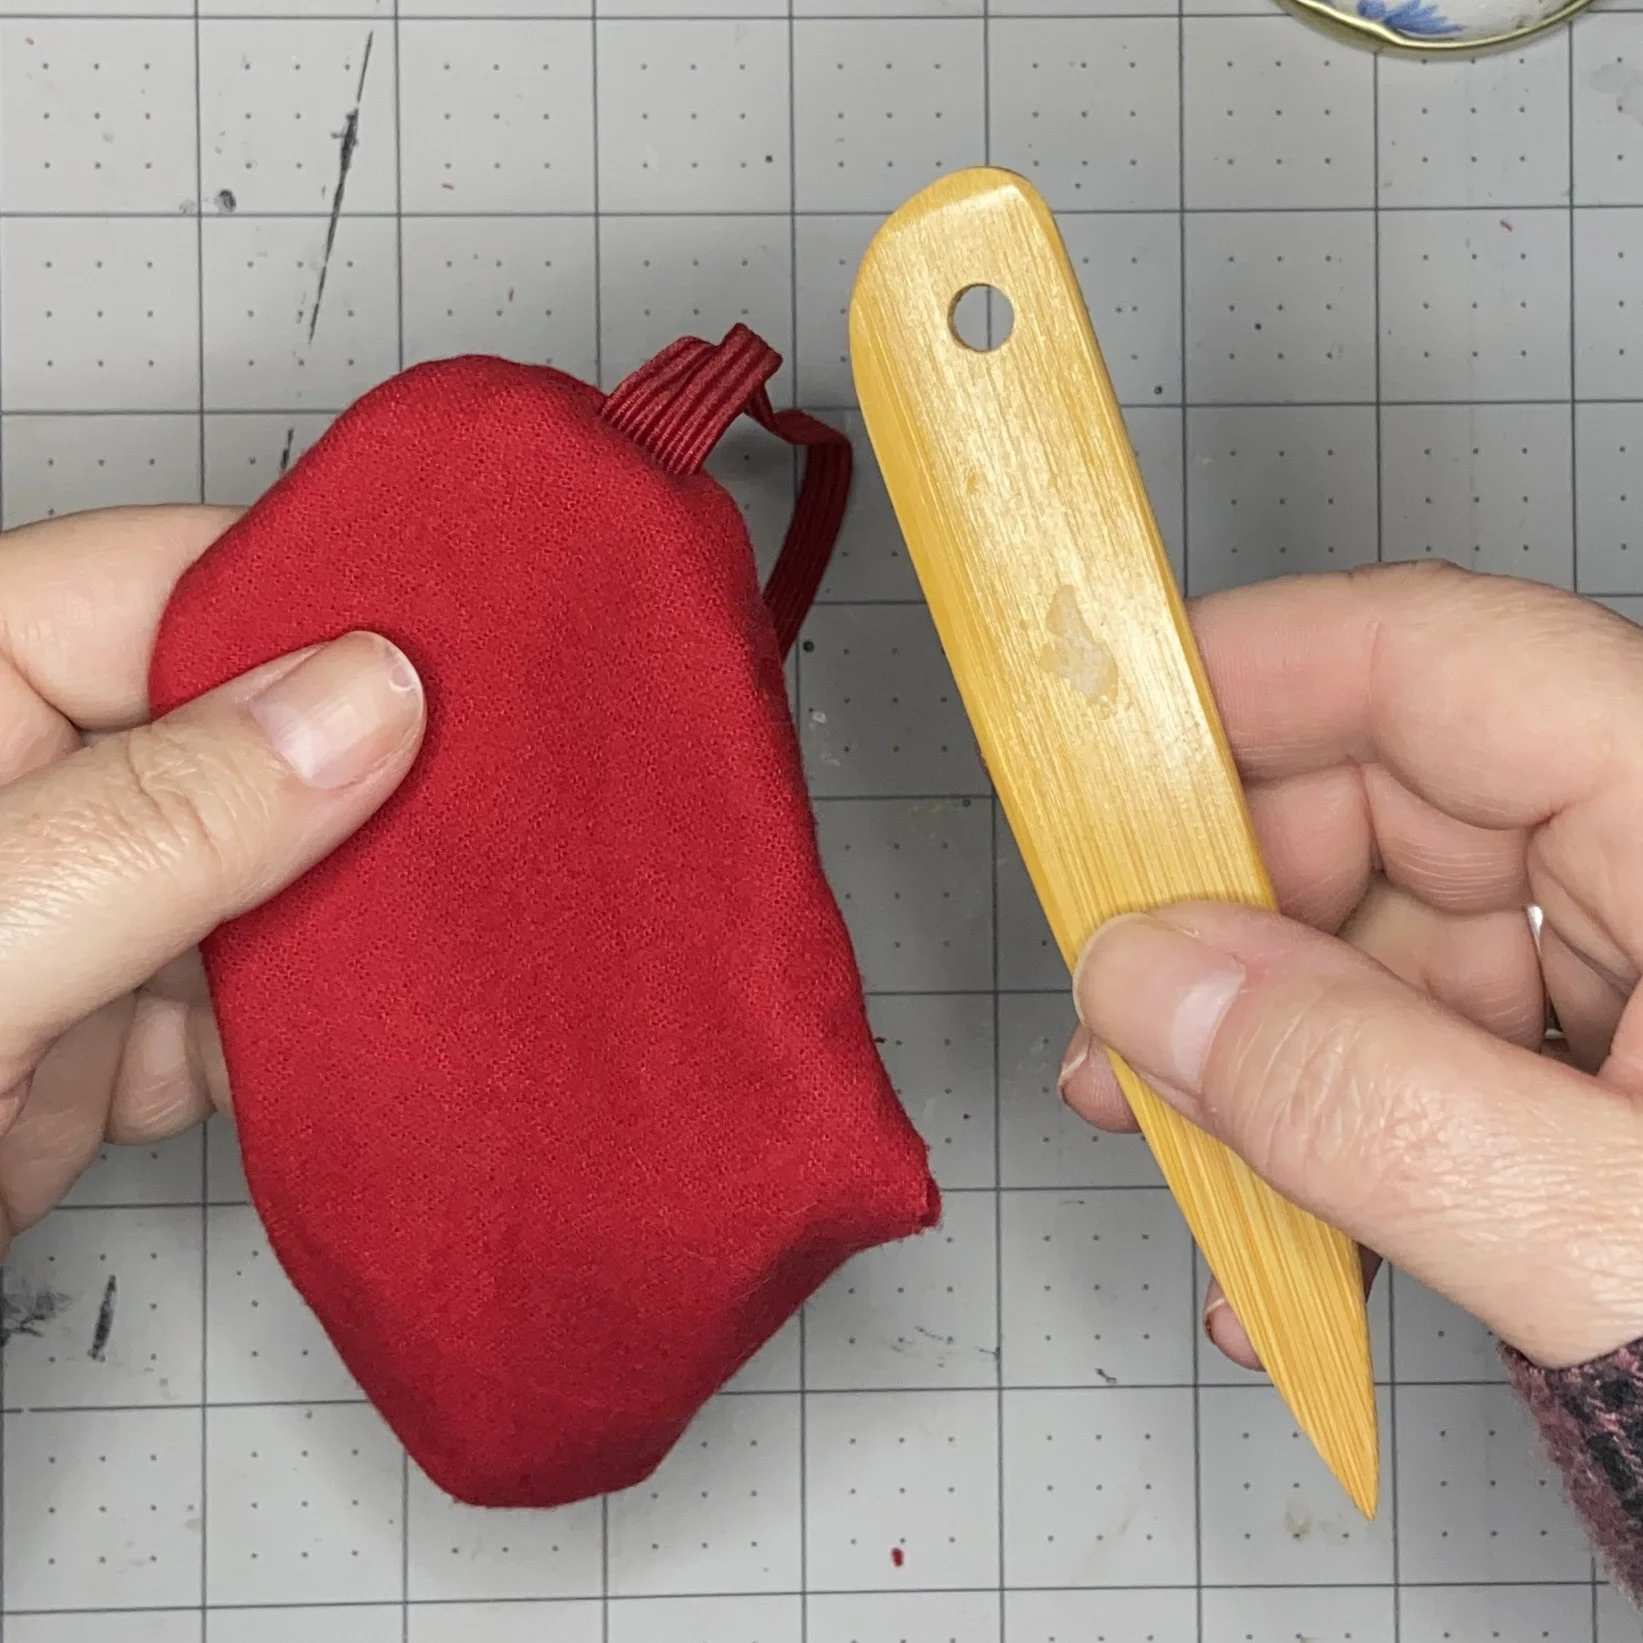
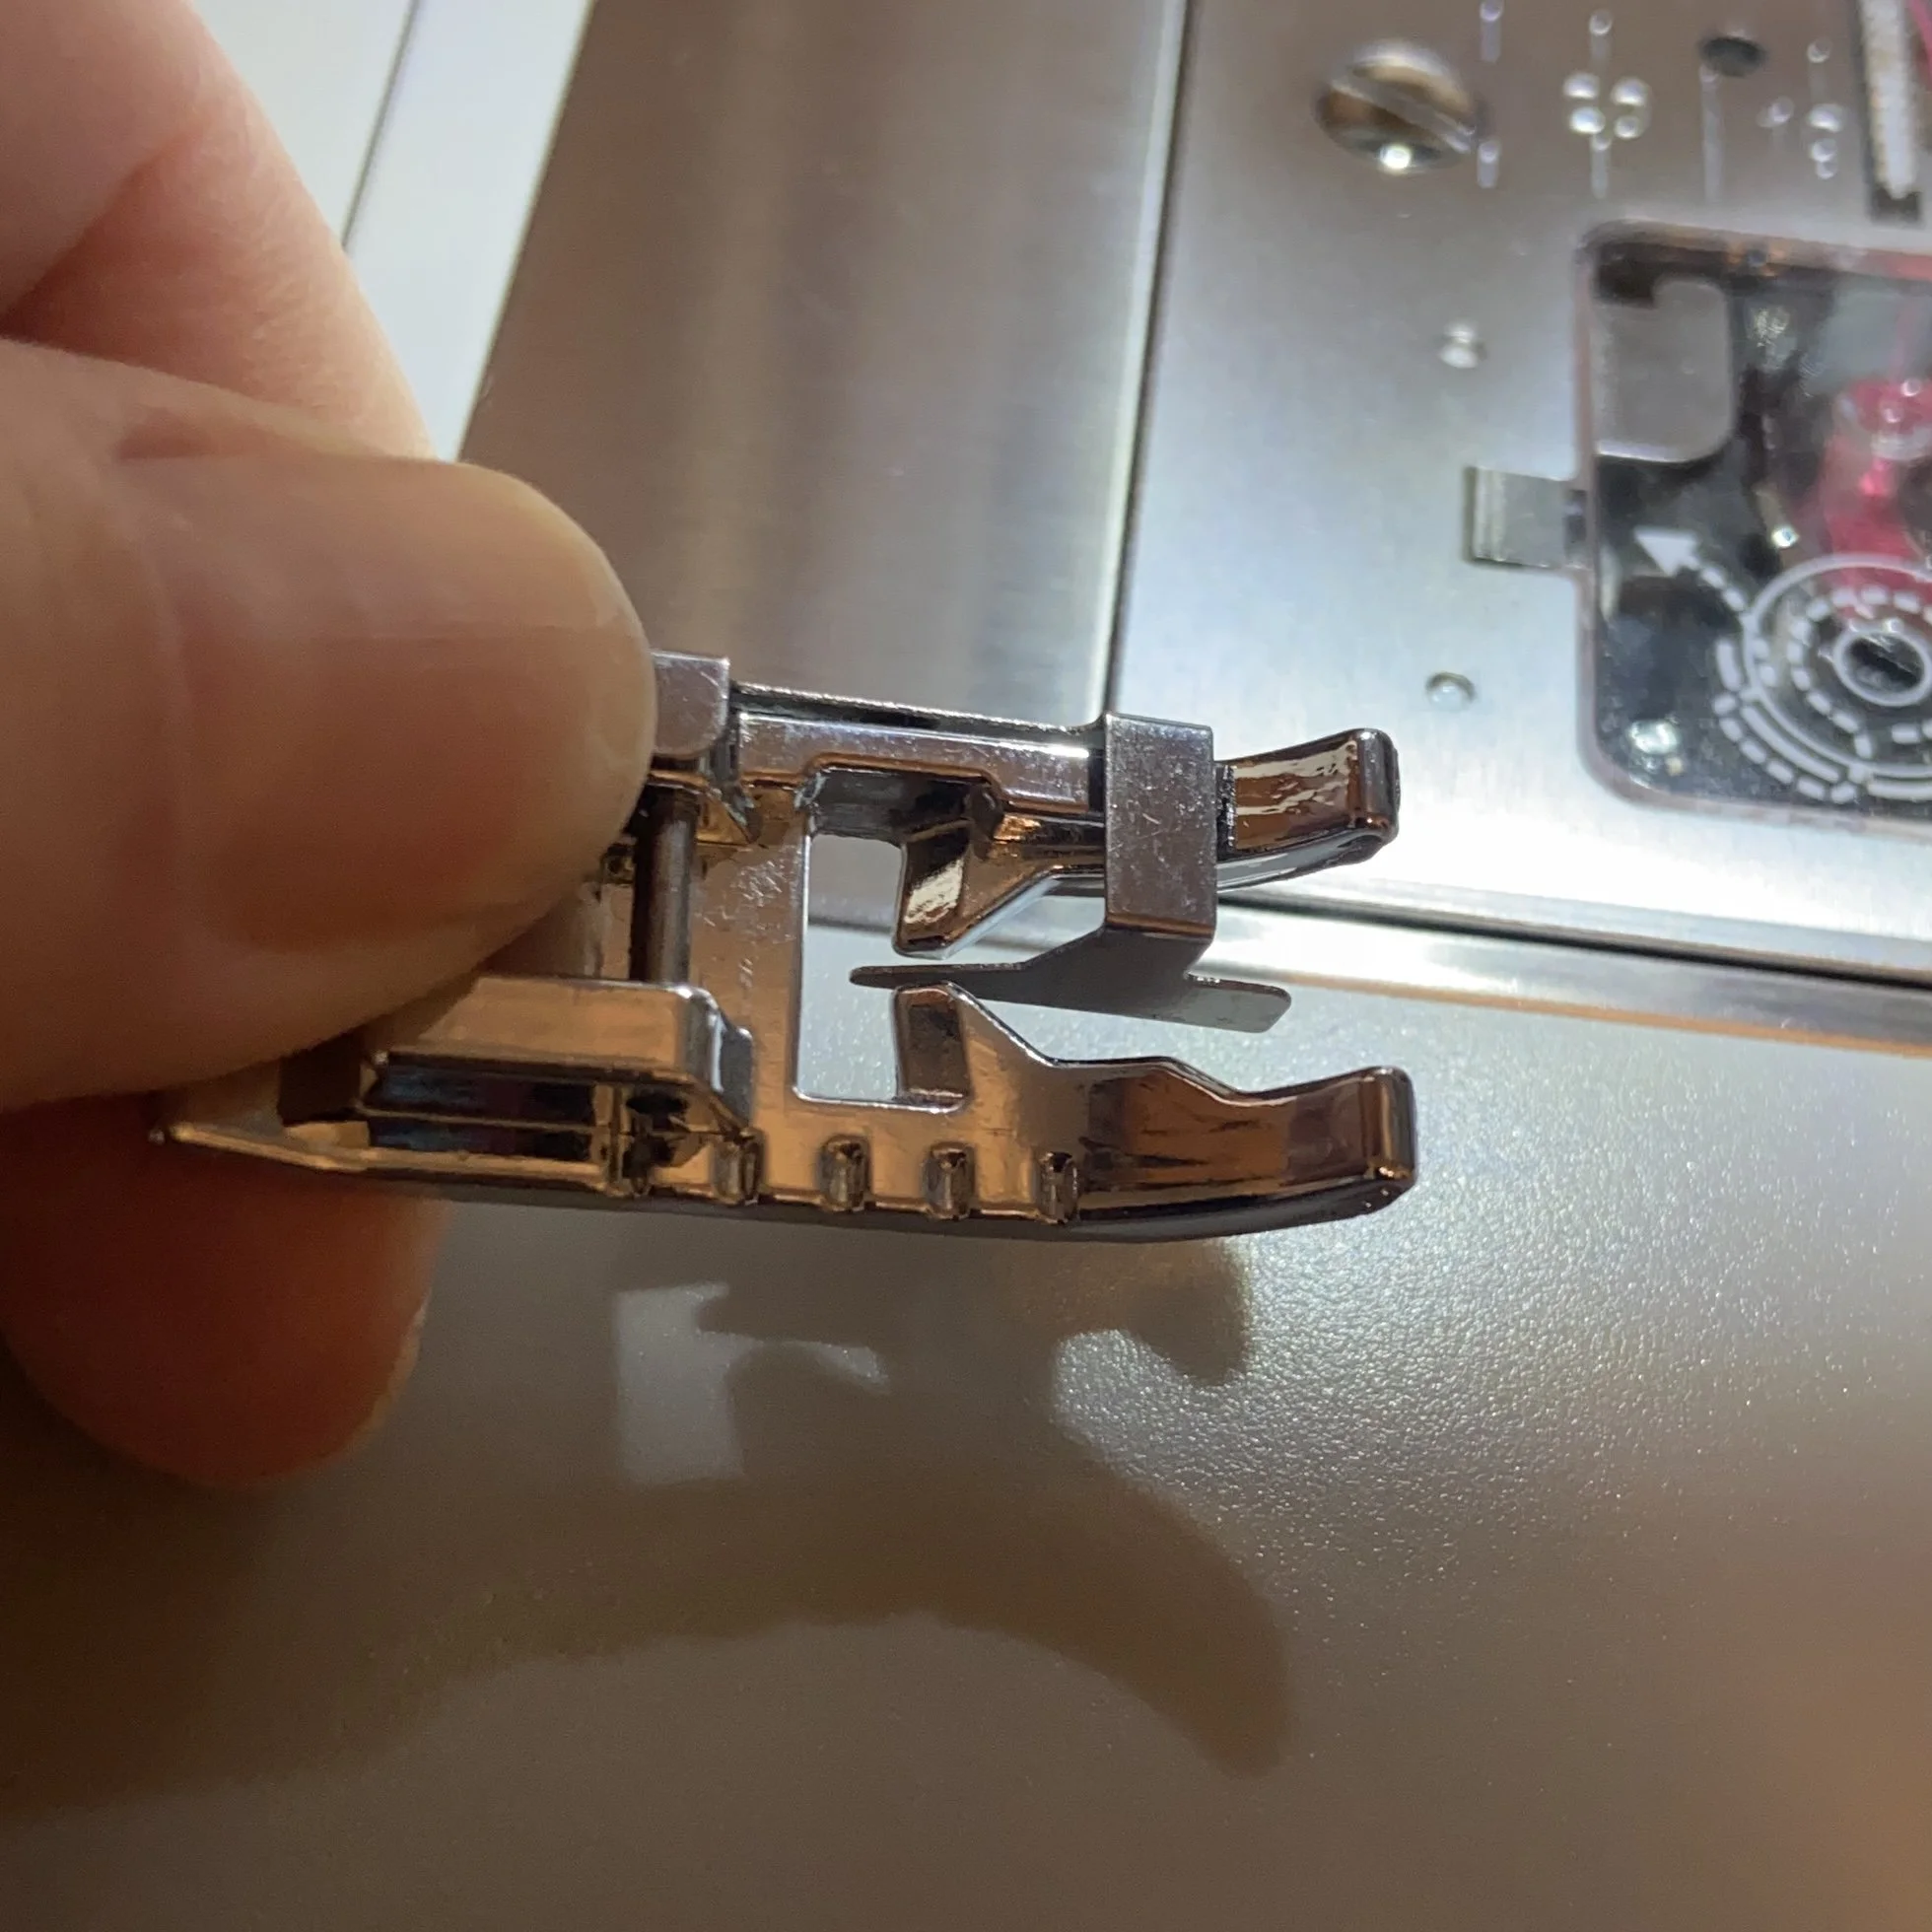
Then I turned the mask “right side” out (there’s really no wrong side to this flannel). and used my bamboo bone folder to push out the seams. Then I folded the opening edges to the inside, and pressed. Using my handy stitch-in-the-ditch presser foot, I top-stitched close to the edge, which both closed the opening, and reinforced the seam holding the elastic. Et voila! A quick and easy eye mask.

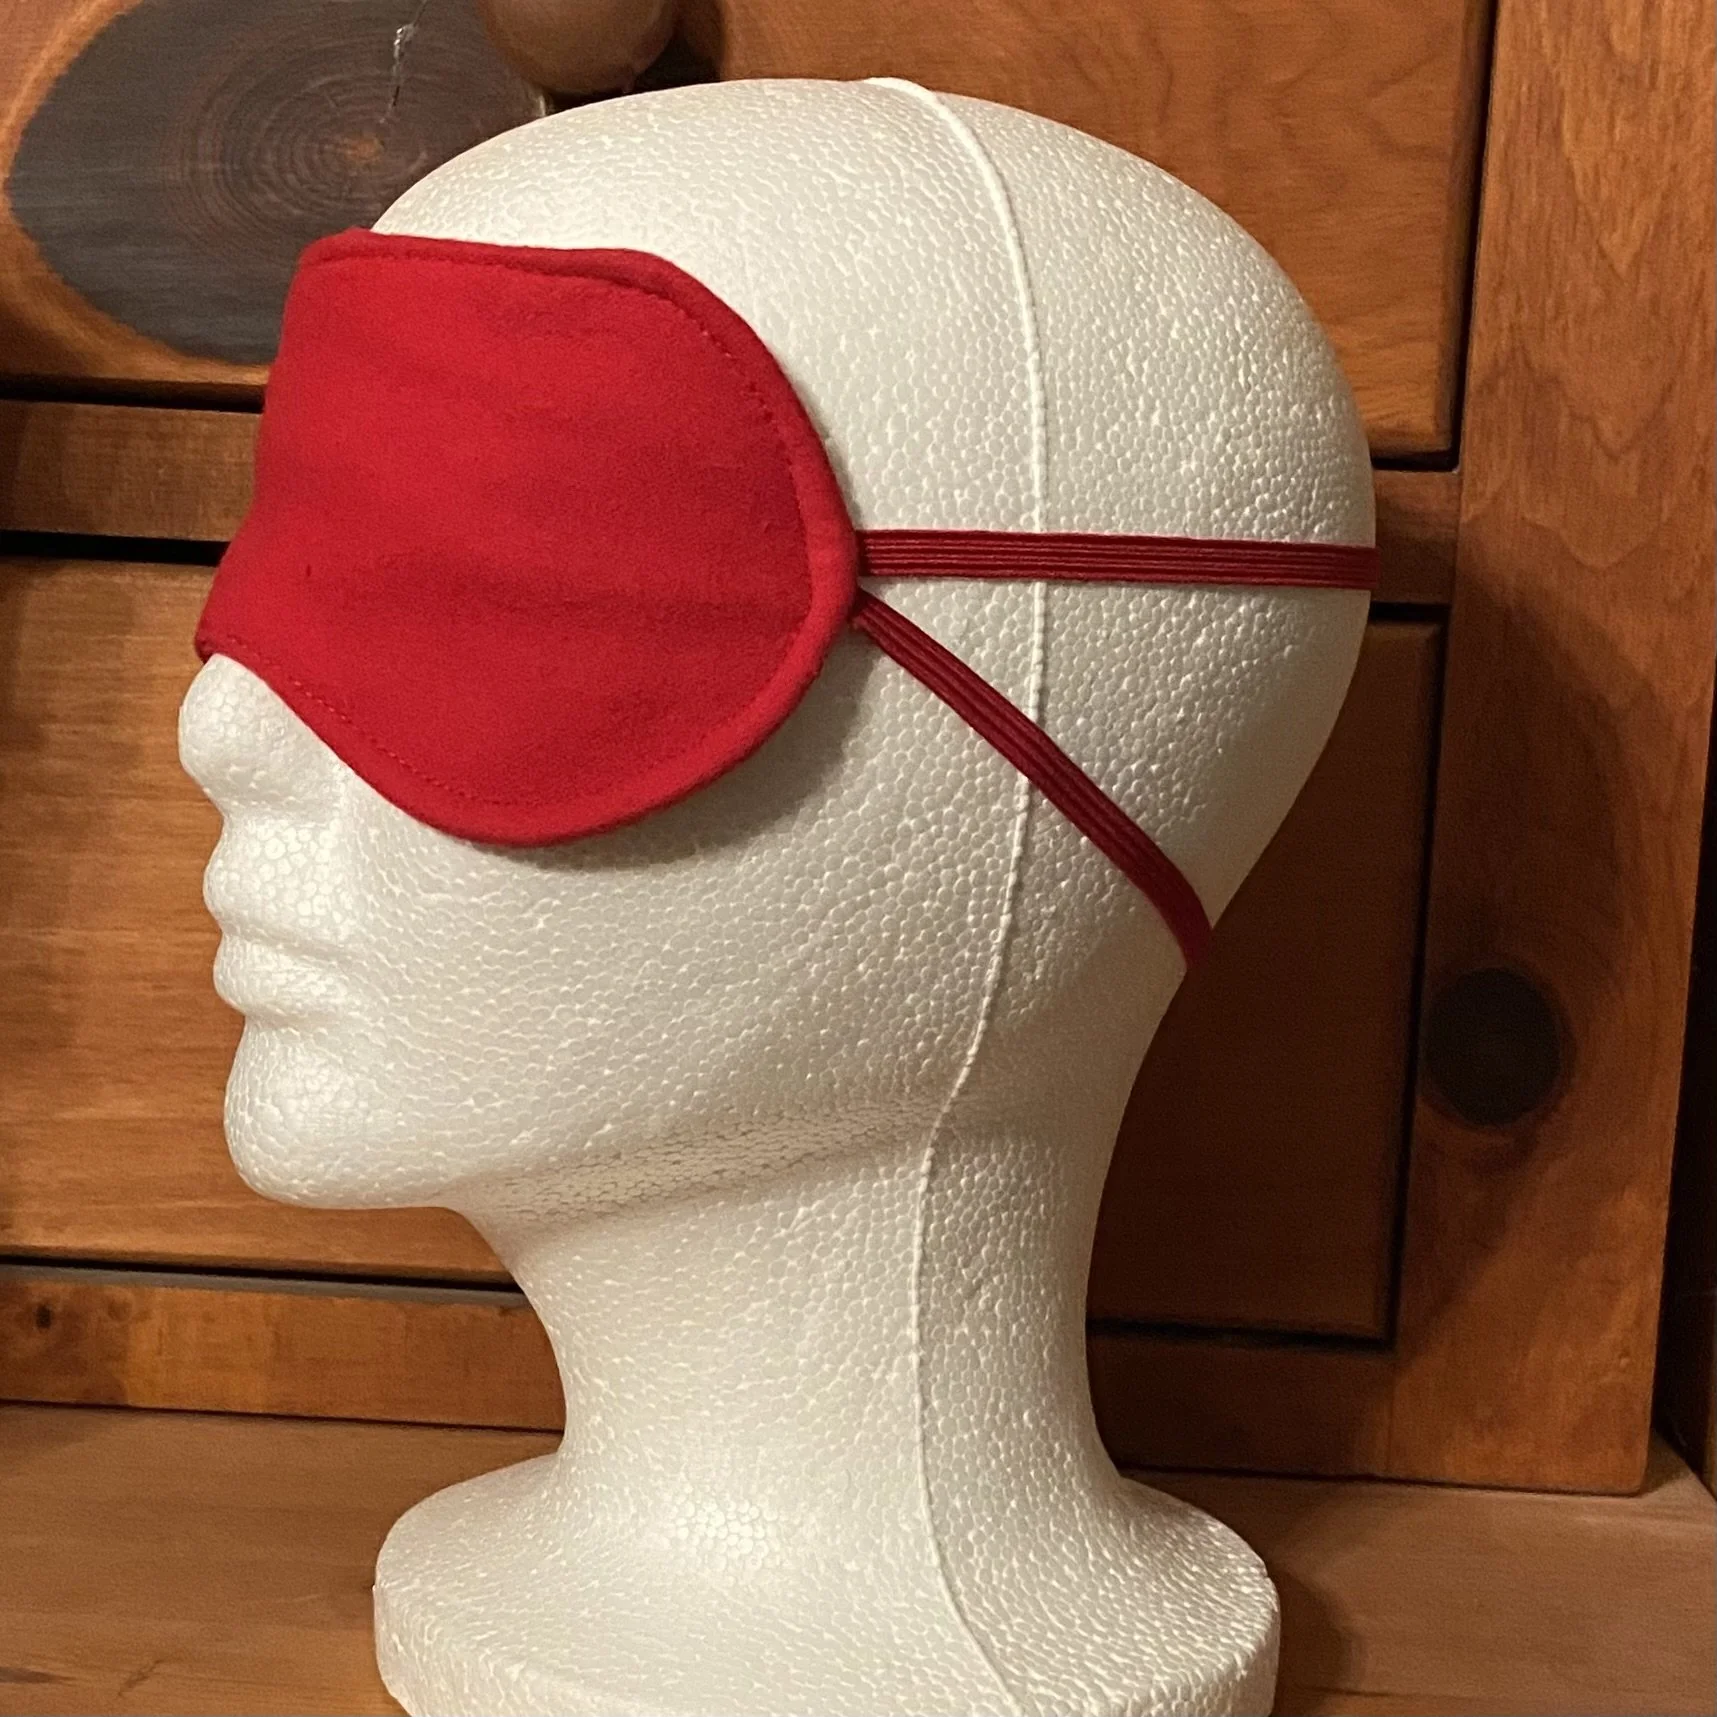
I have to say, I didn’t much like this mask. It did work but it didn’t fit well. The problem with elastic attached in this manner is that it’s not adjustable. So if you didn’t get the length right, it’s either too loose and slides right off, or it’s too tight and presses uncomfortably on your eyes. I decided on a different method.
I cut two pieces of quilting cotton in the mask shape, and two pieces of thin cotton batting in the mask shape. I also bias-cut (fabric cut at a 45° angle so that it is quite stretchy) about 24” of 1.25” wide fabric in the same cotton. Also needed were two piece of the same fabric cut 3”x3”, two pieces of the same fabric cut 3”x9”, some Velcro cut 4” long, and two 3” pieces of inch-wide elastic. I cut enough fabric for another mask for my mother, but she got a some pieced fabric left over from the Japanese-style apron I made for her, with the rest of the fabric being cut from a fat quarter. All in shades of yellow, her favorite color.
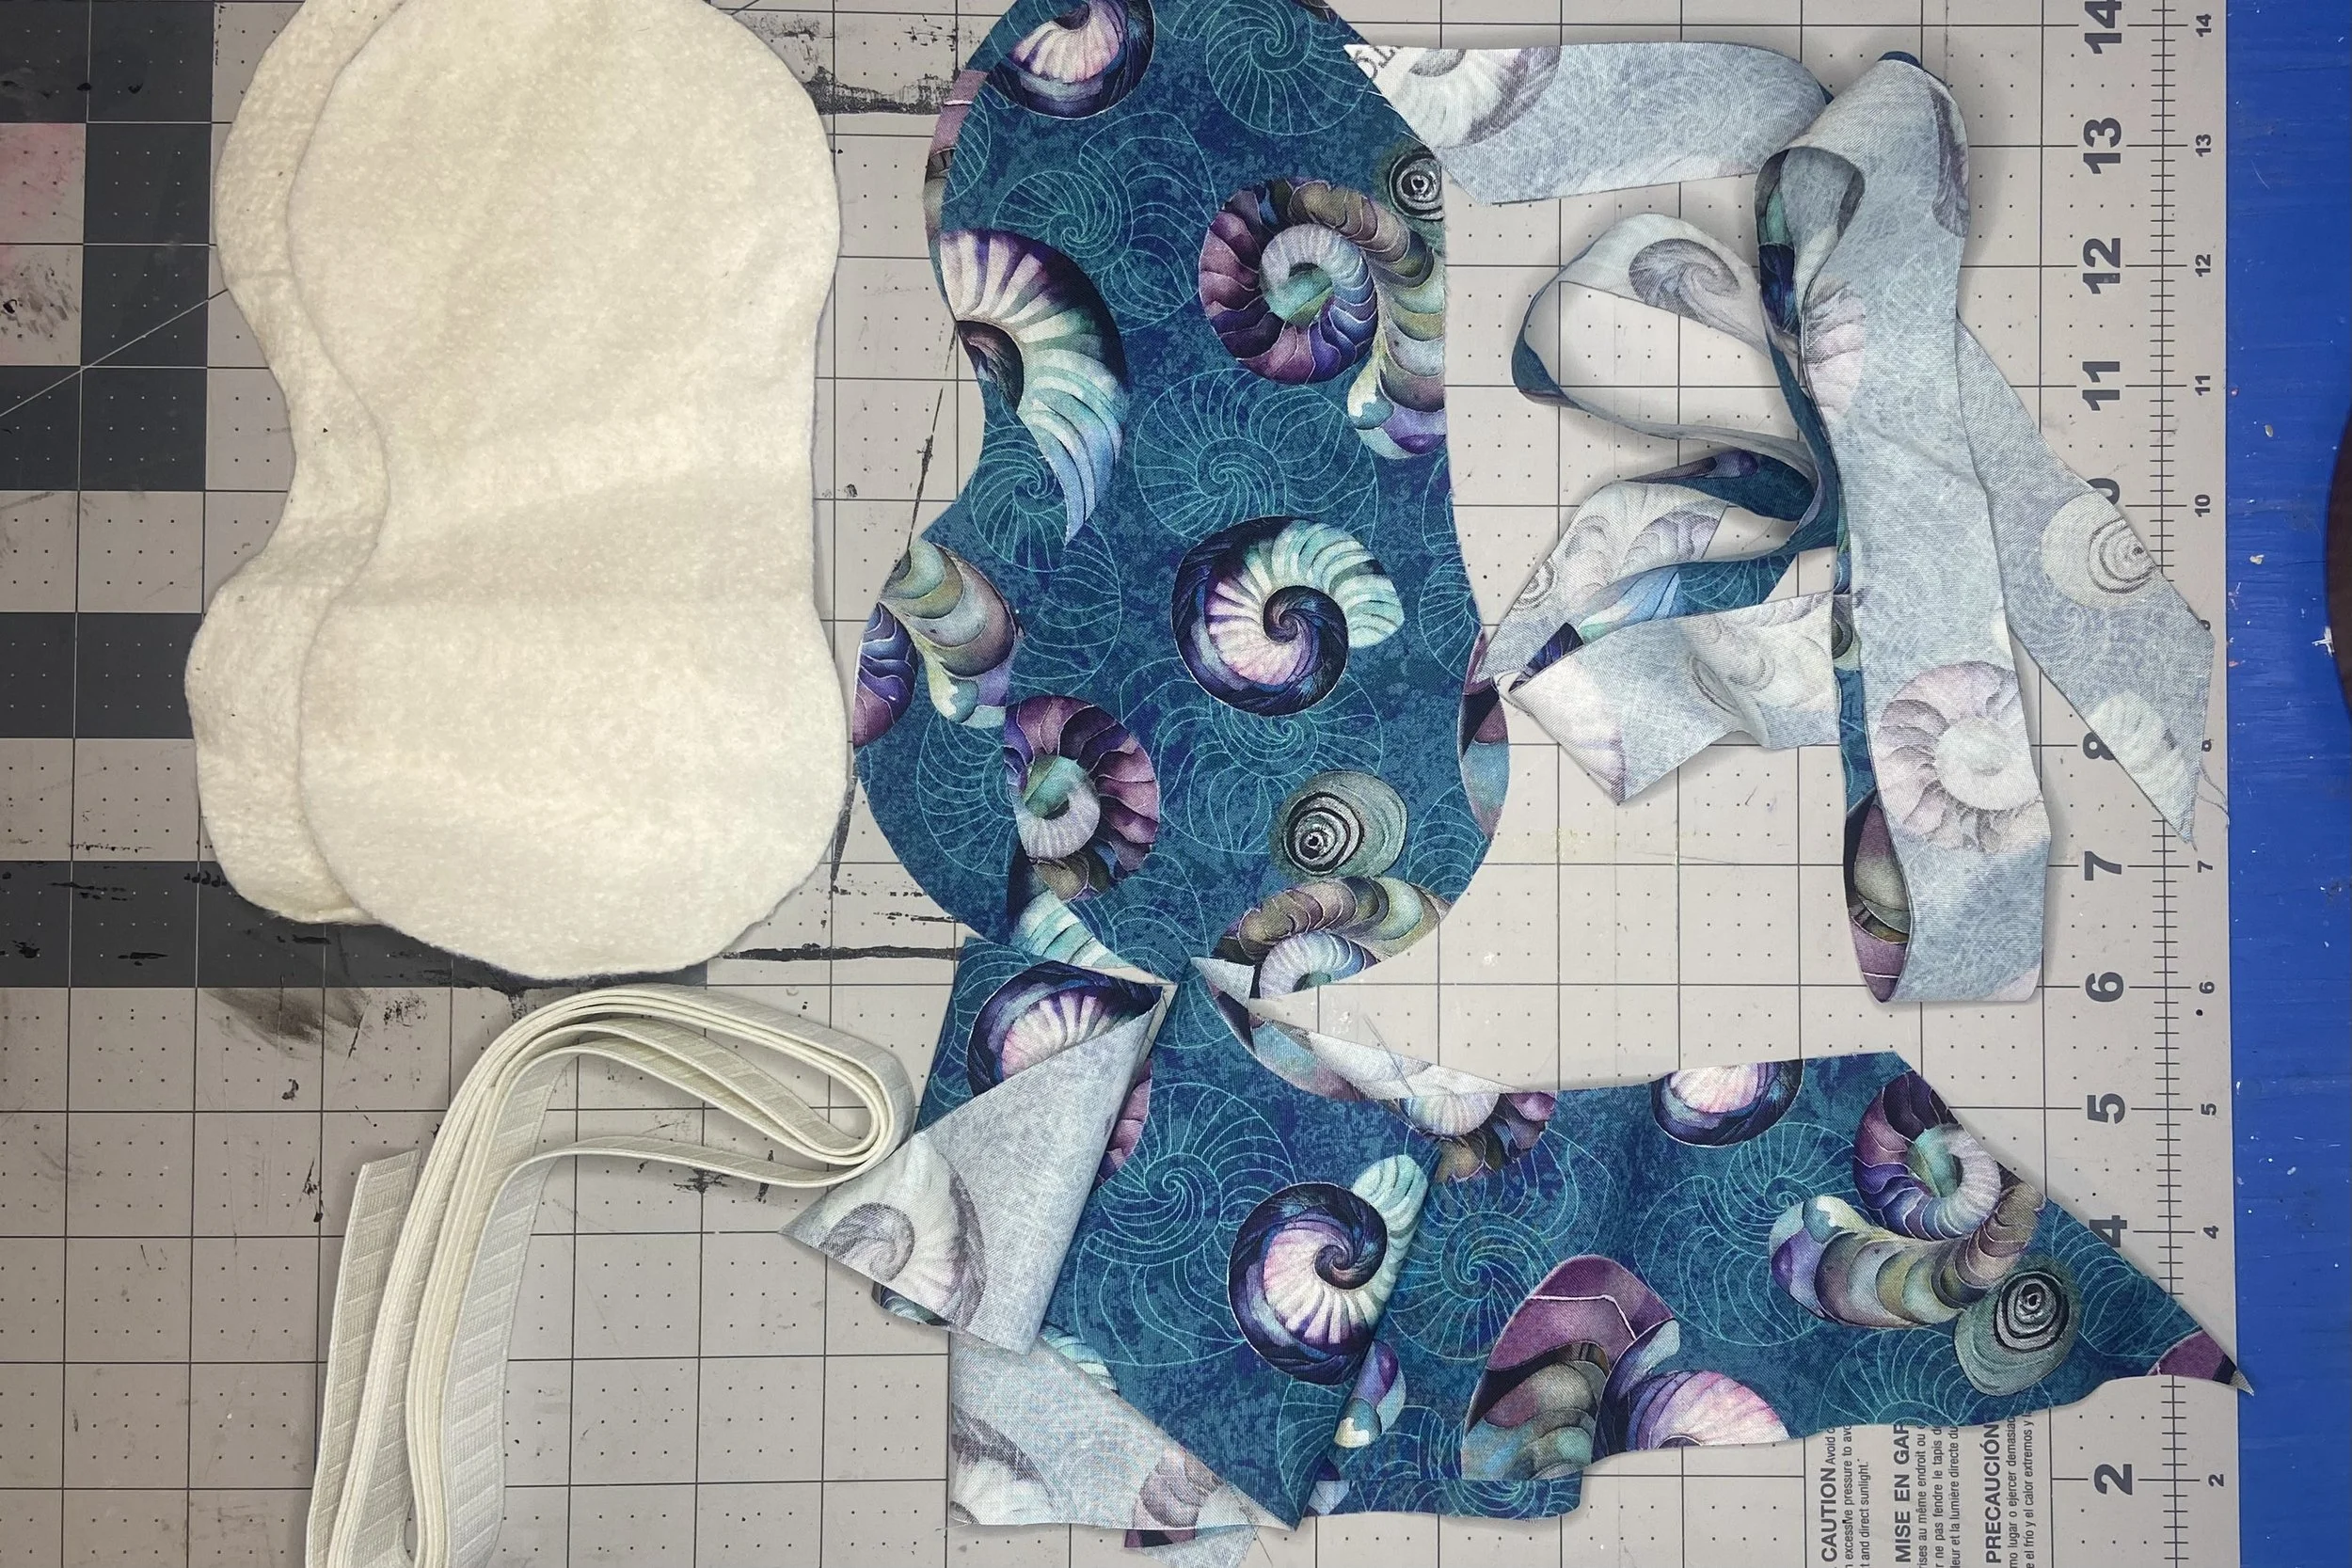
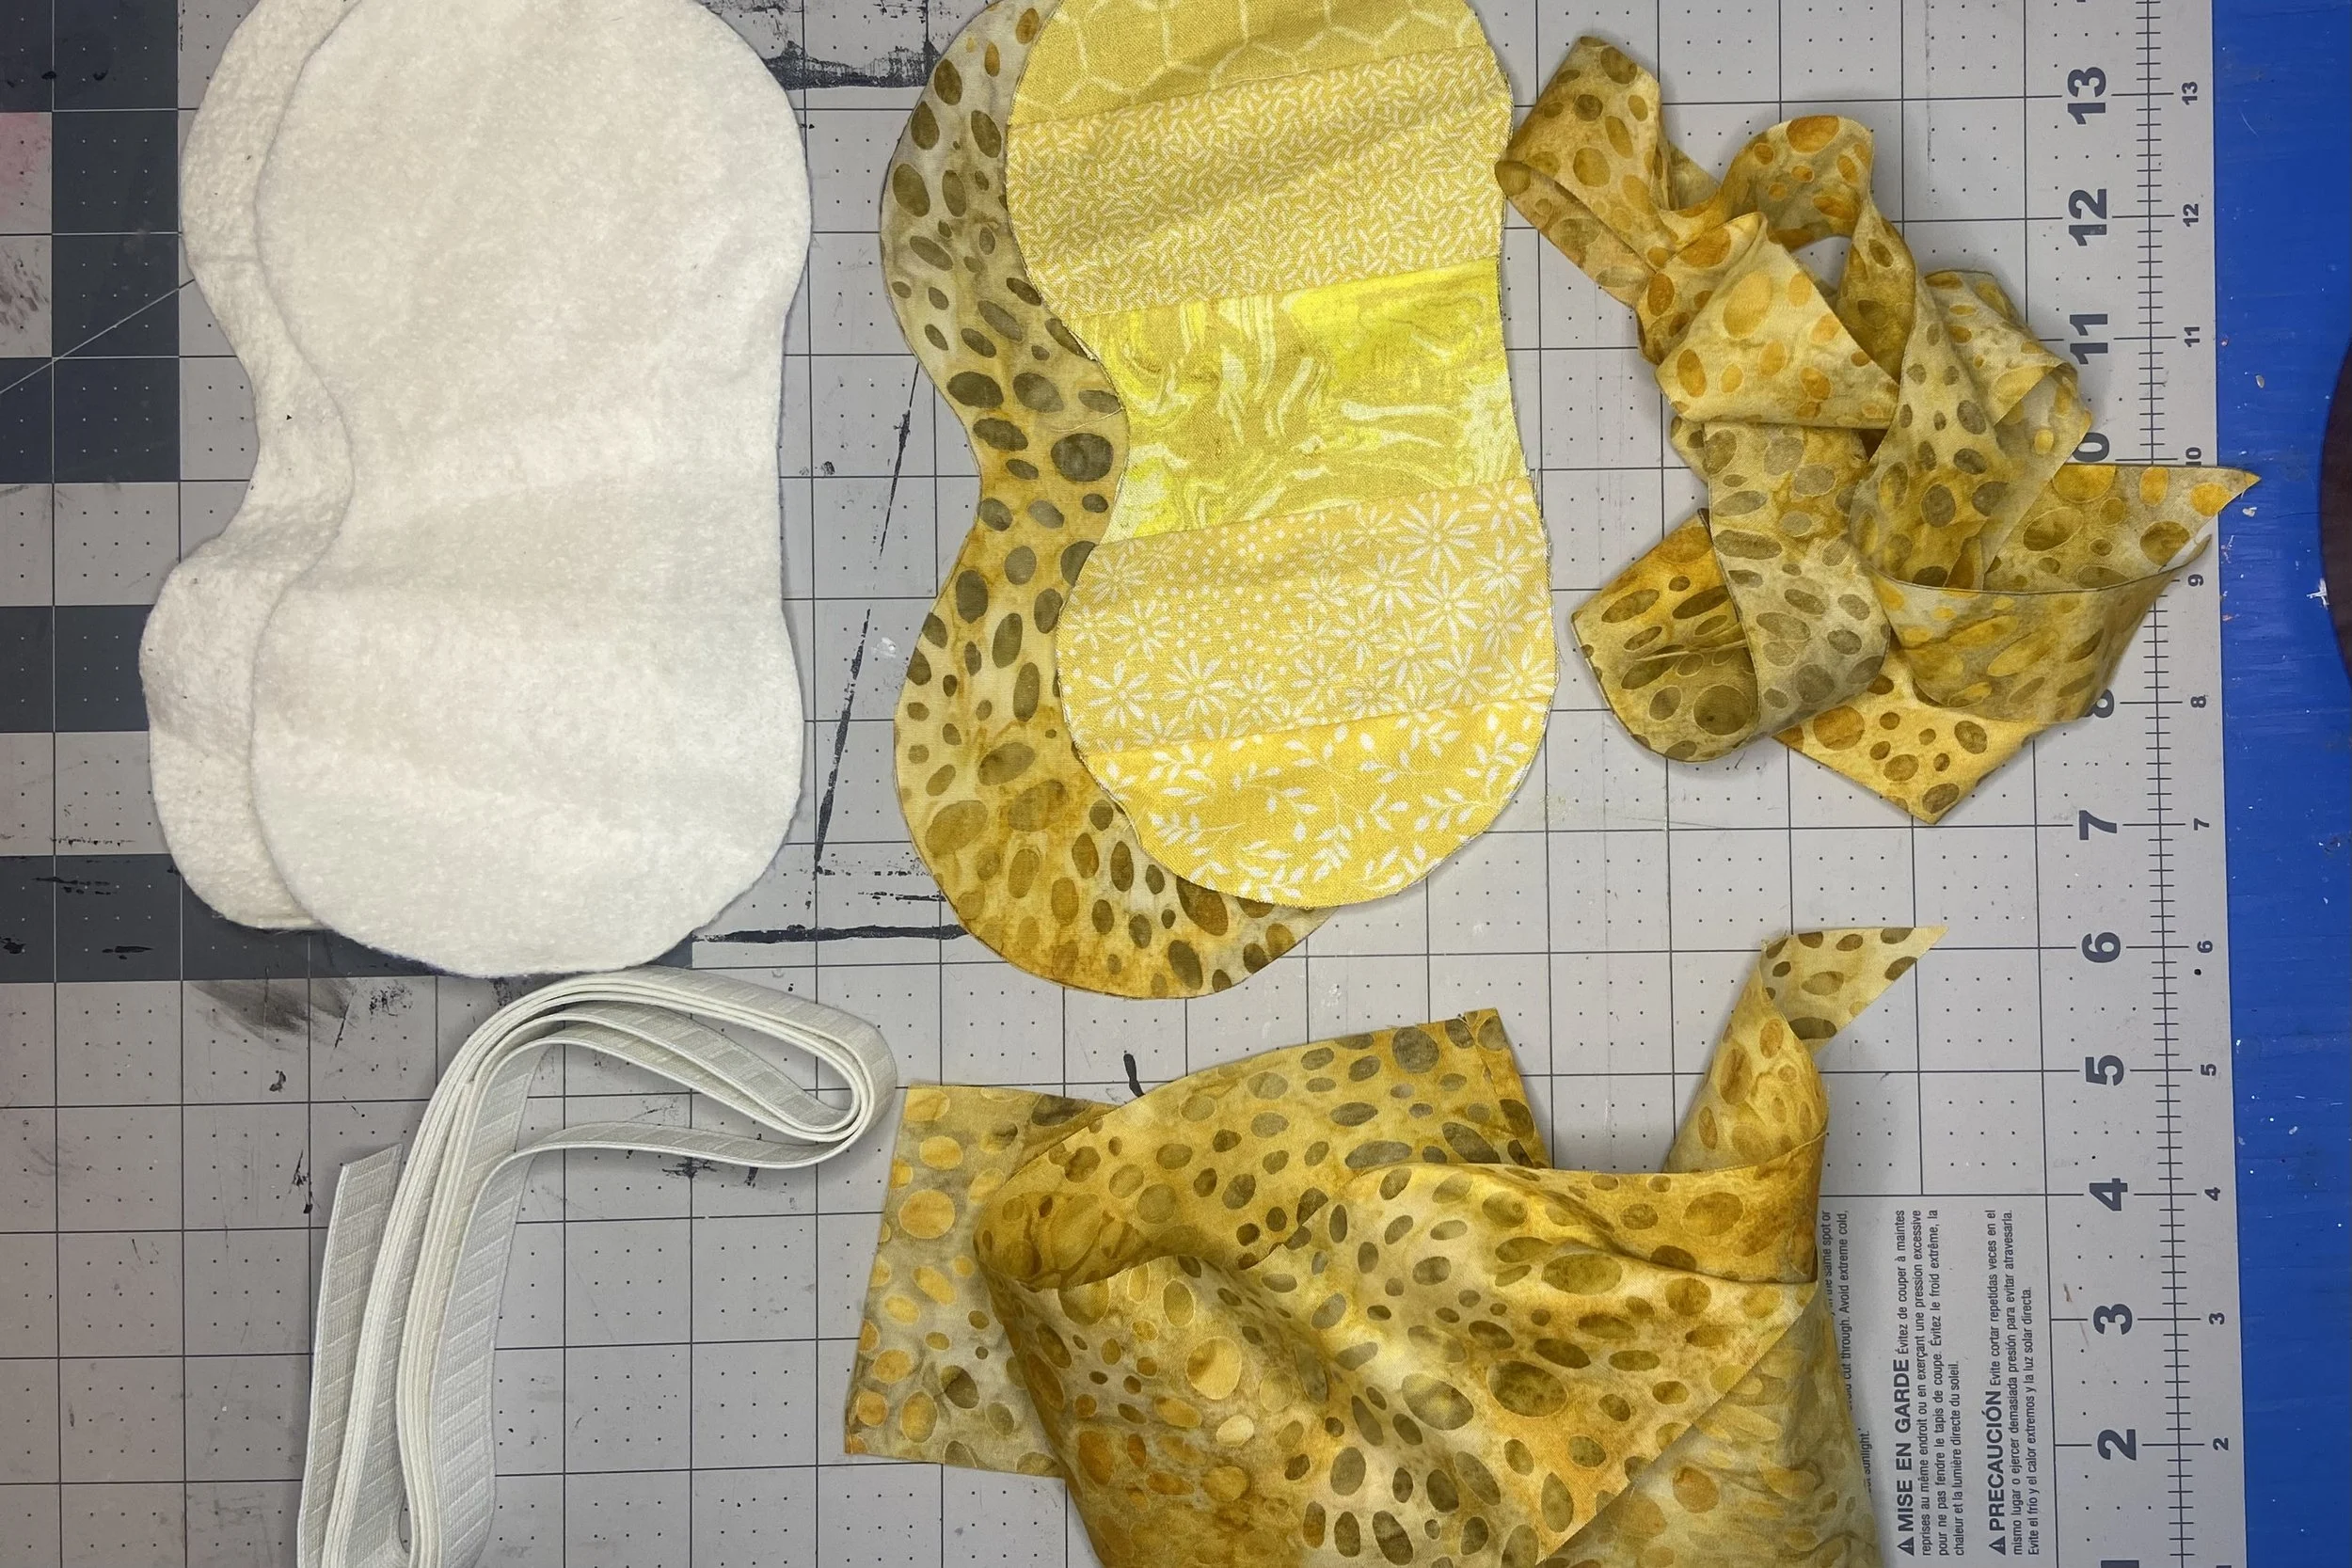
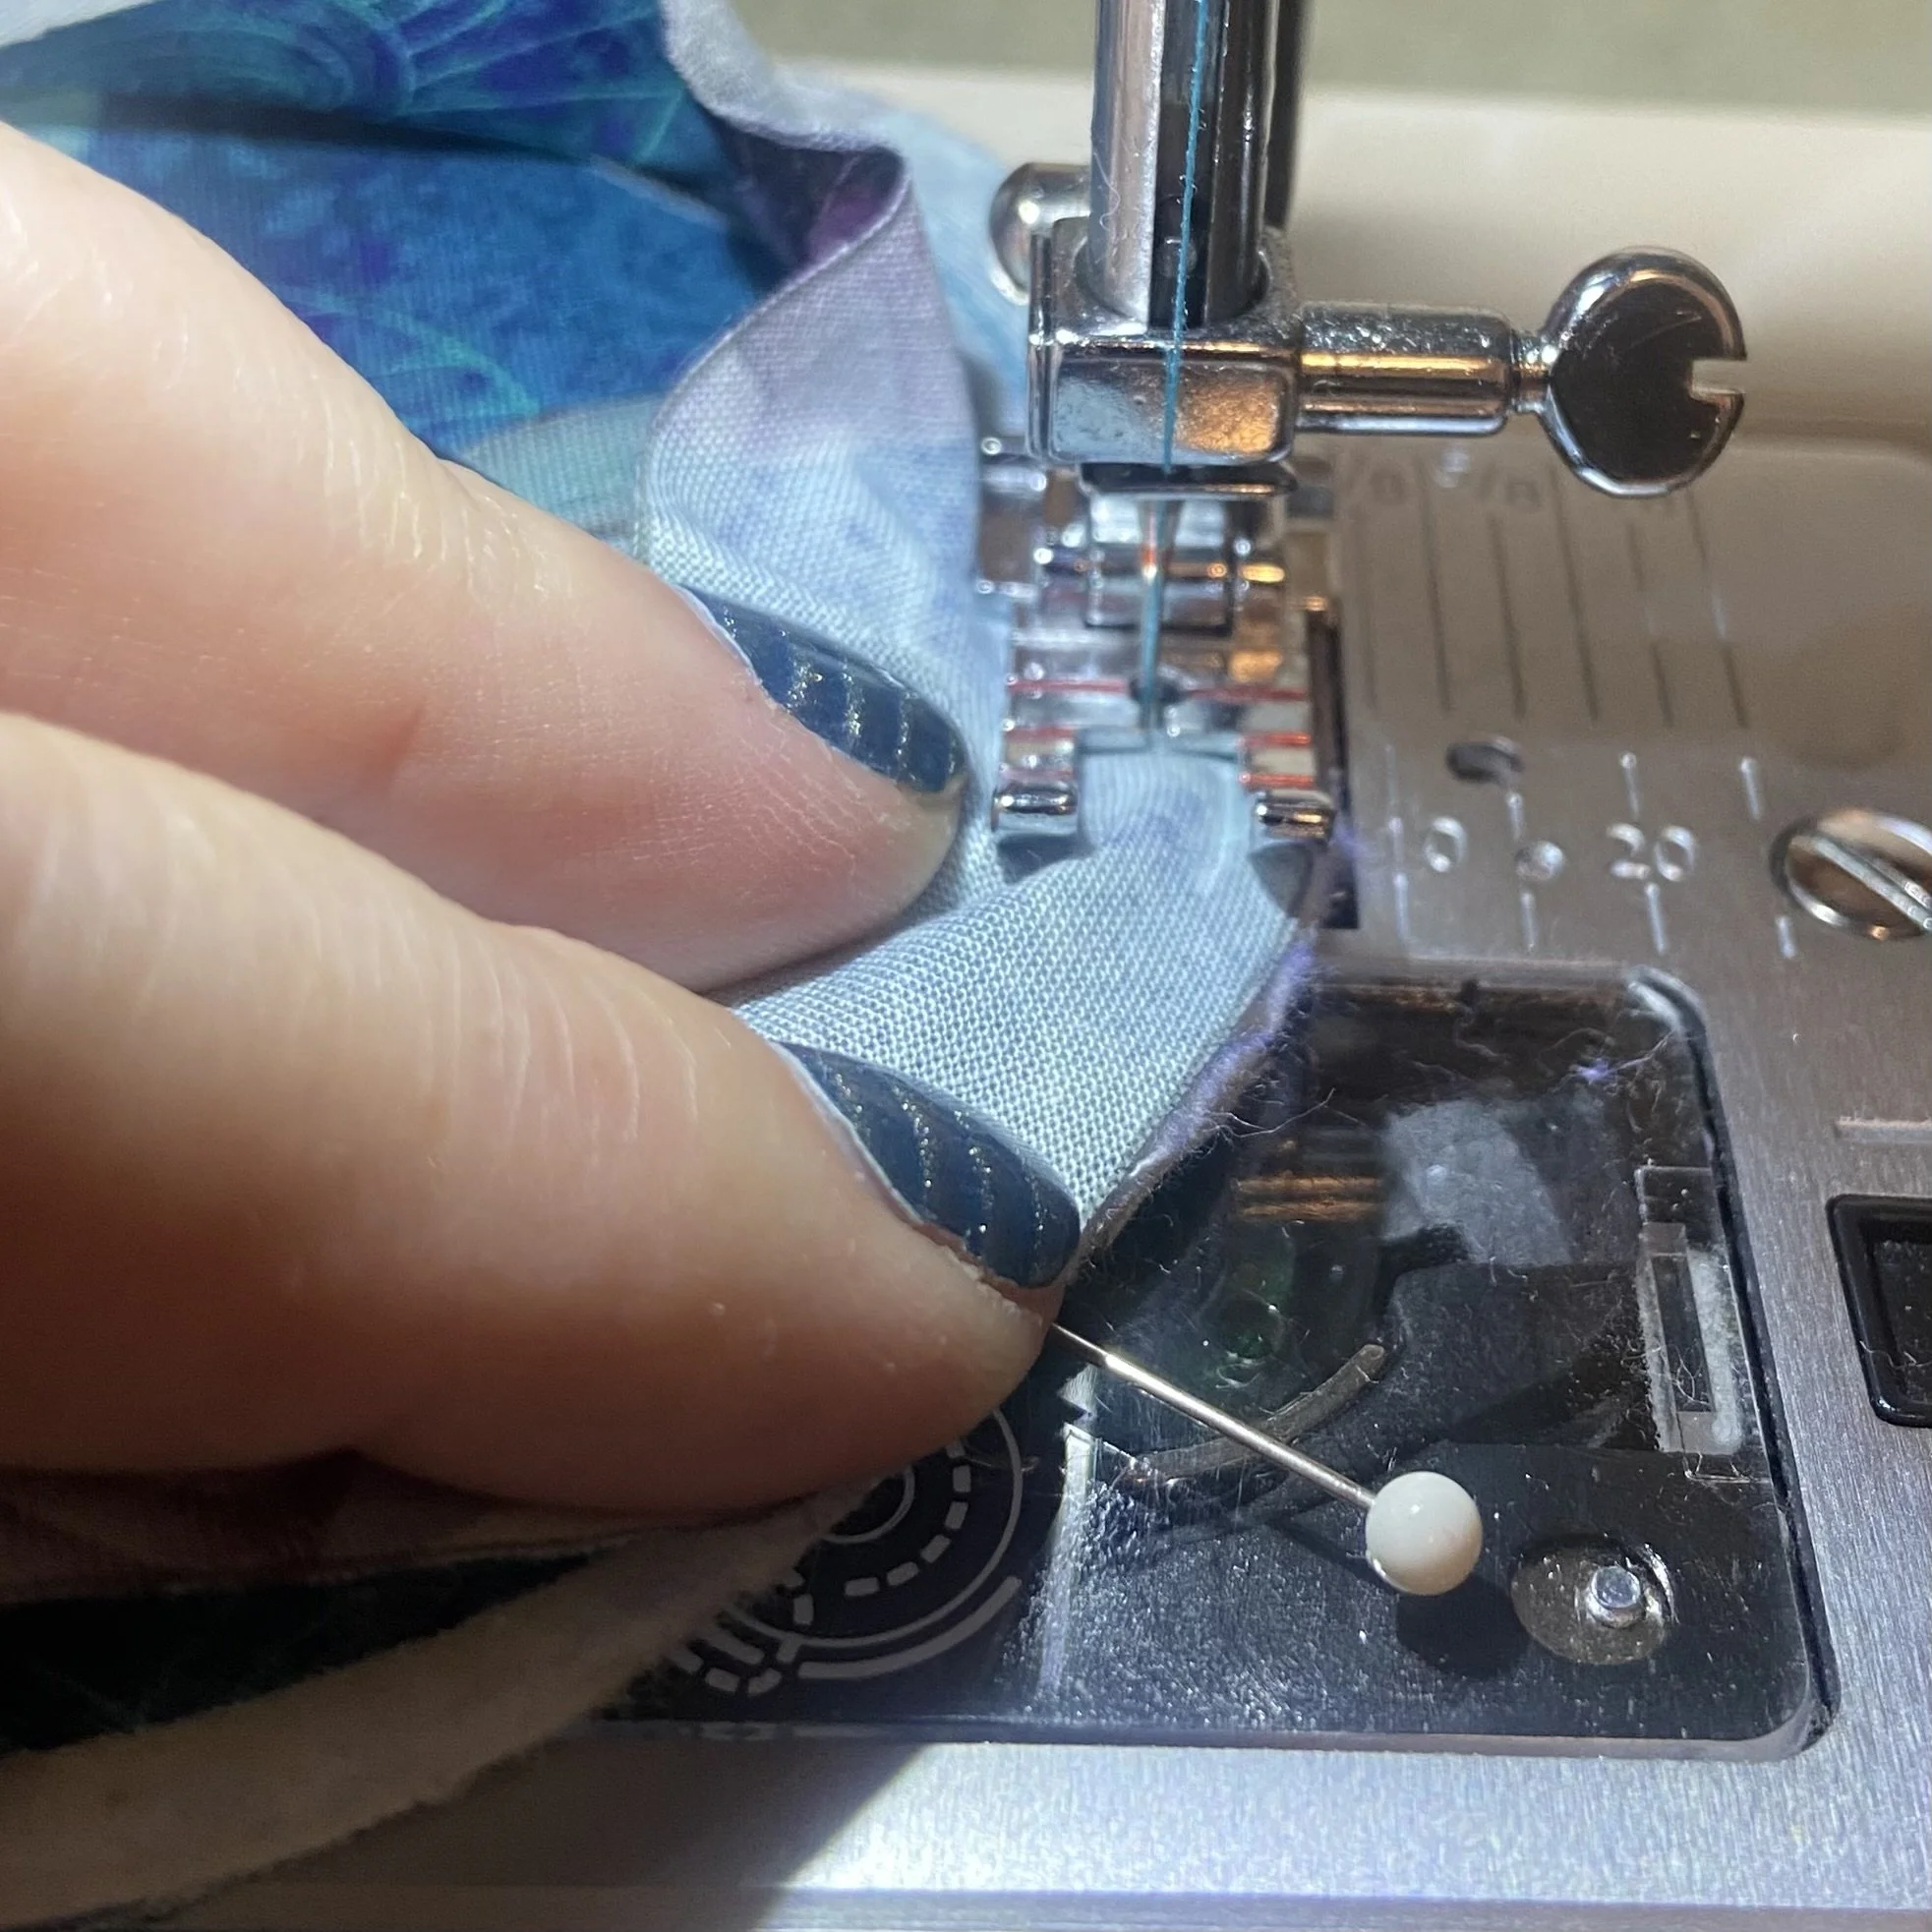
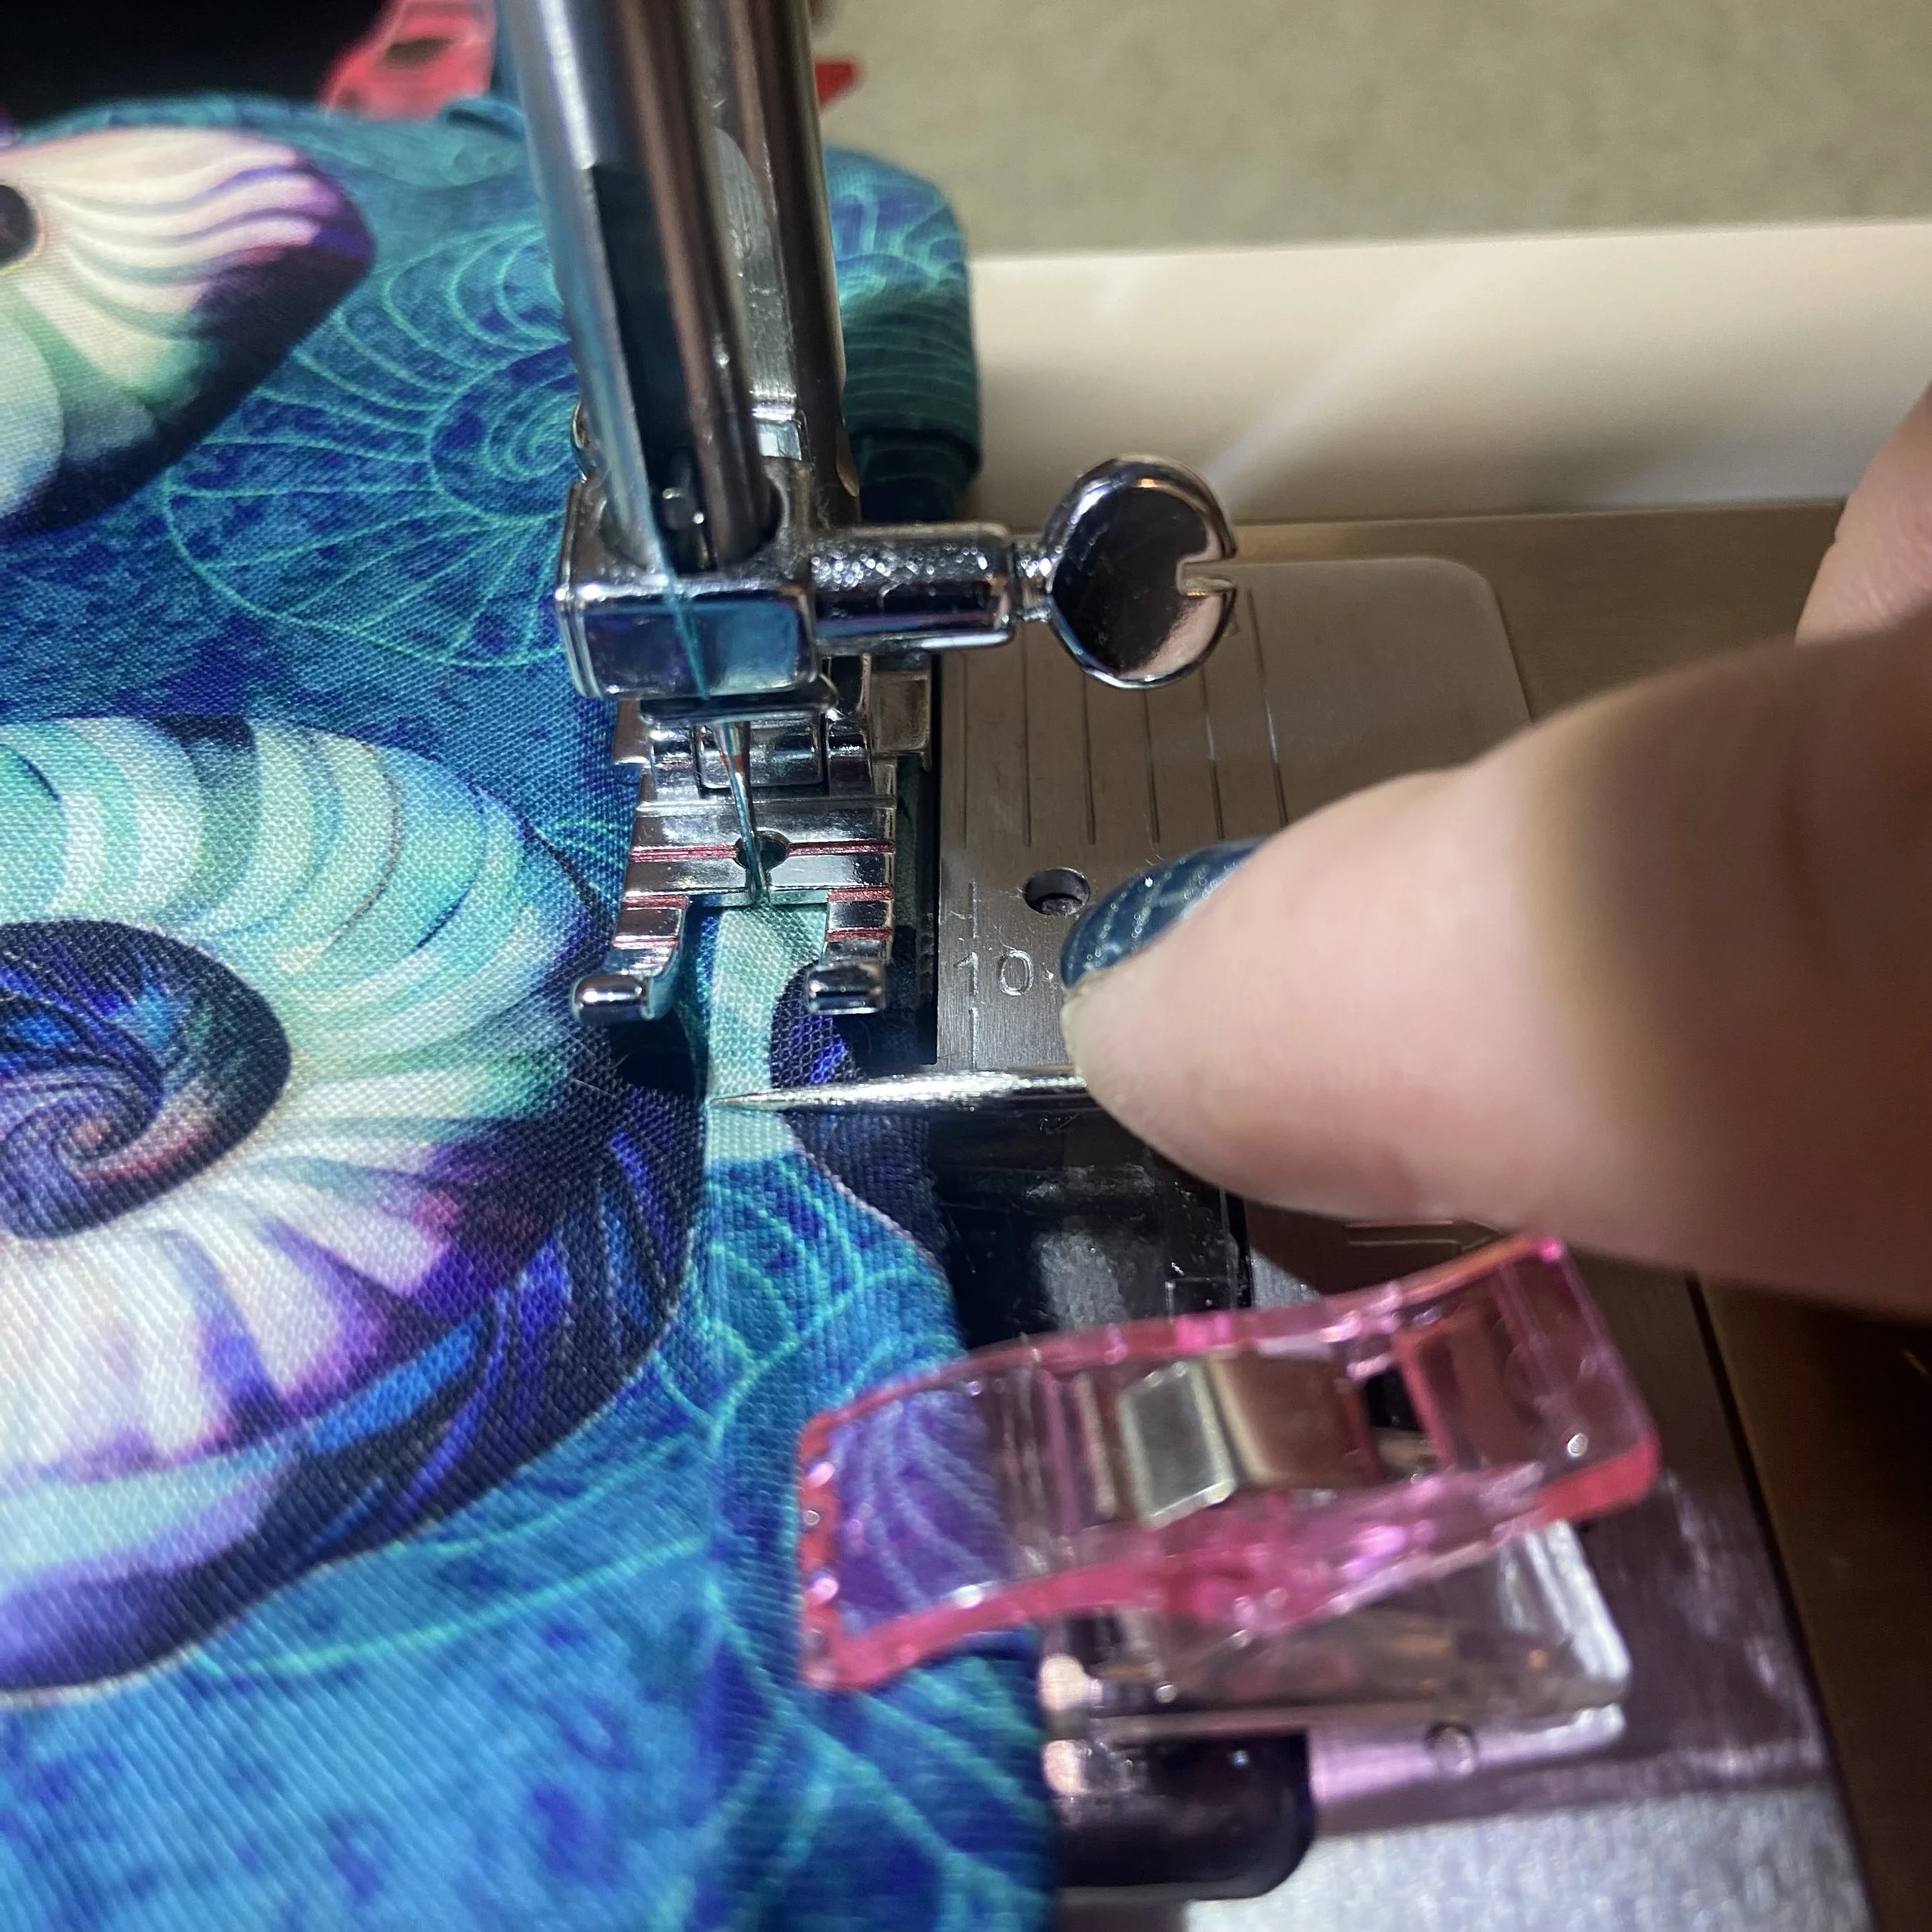
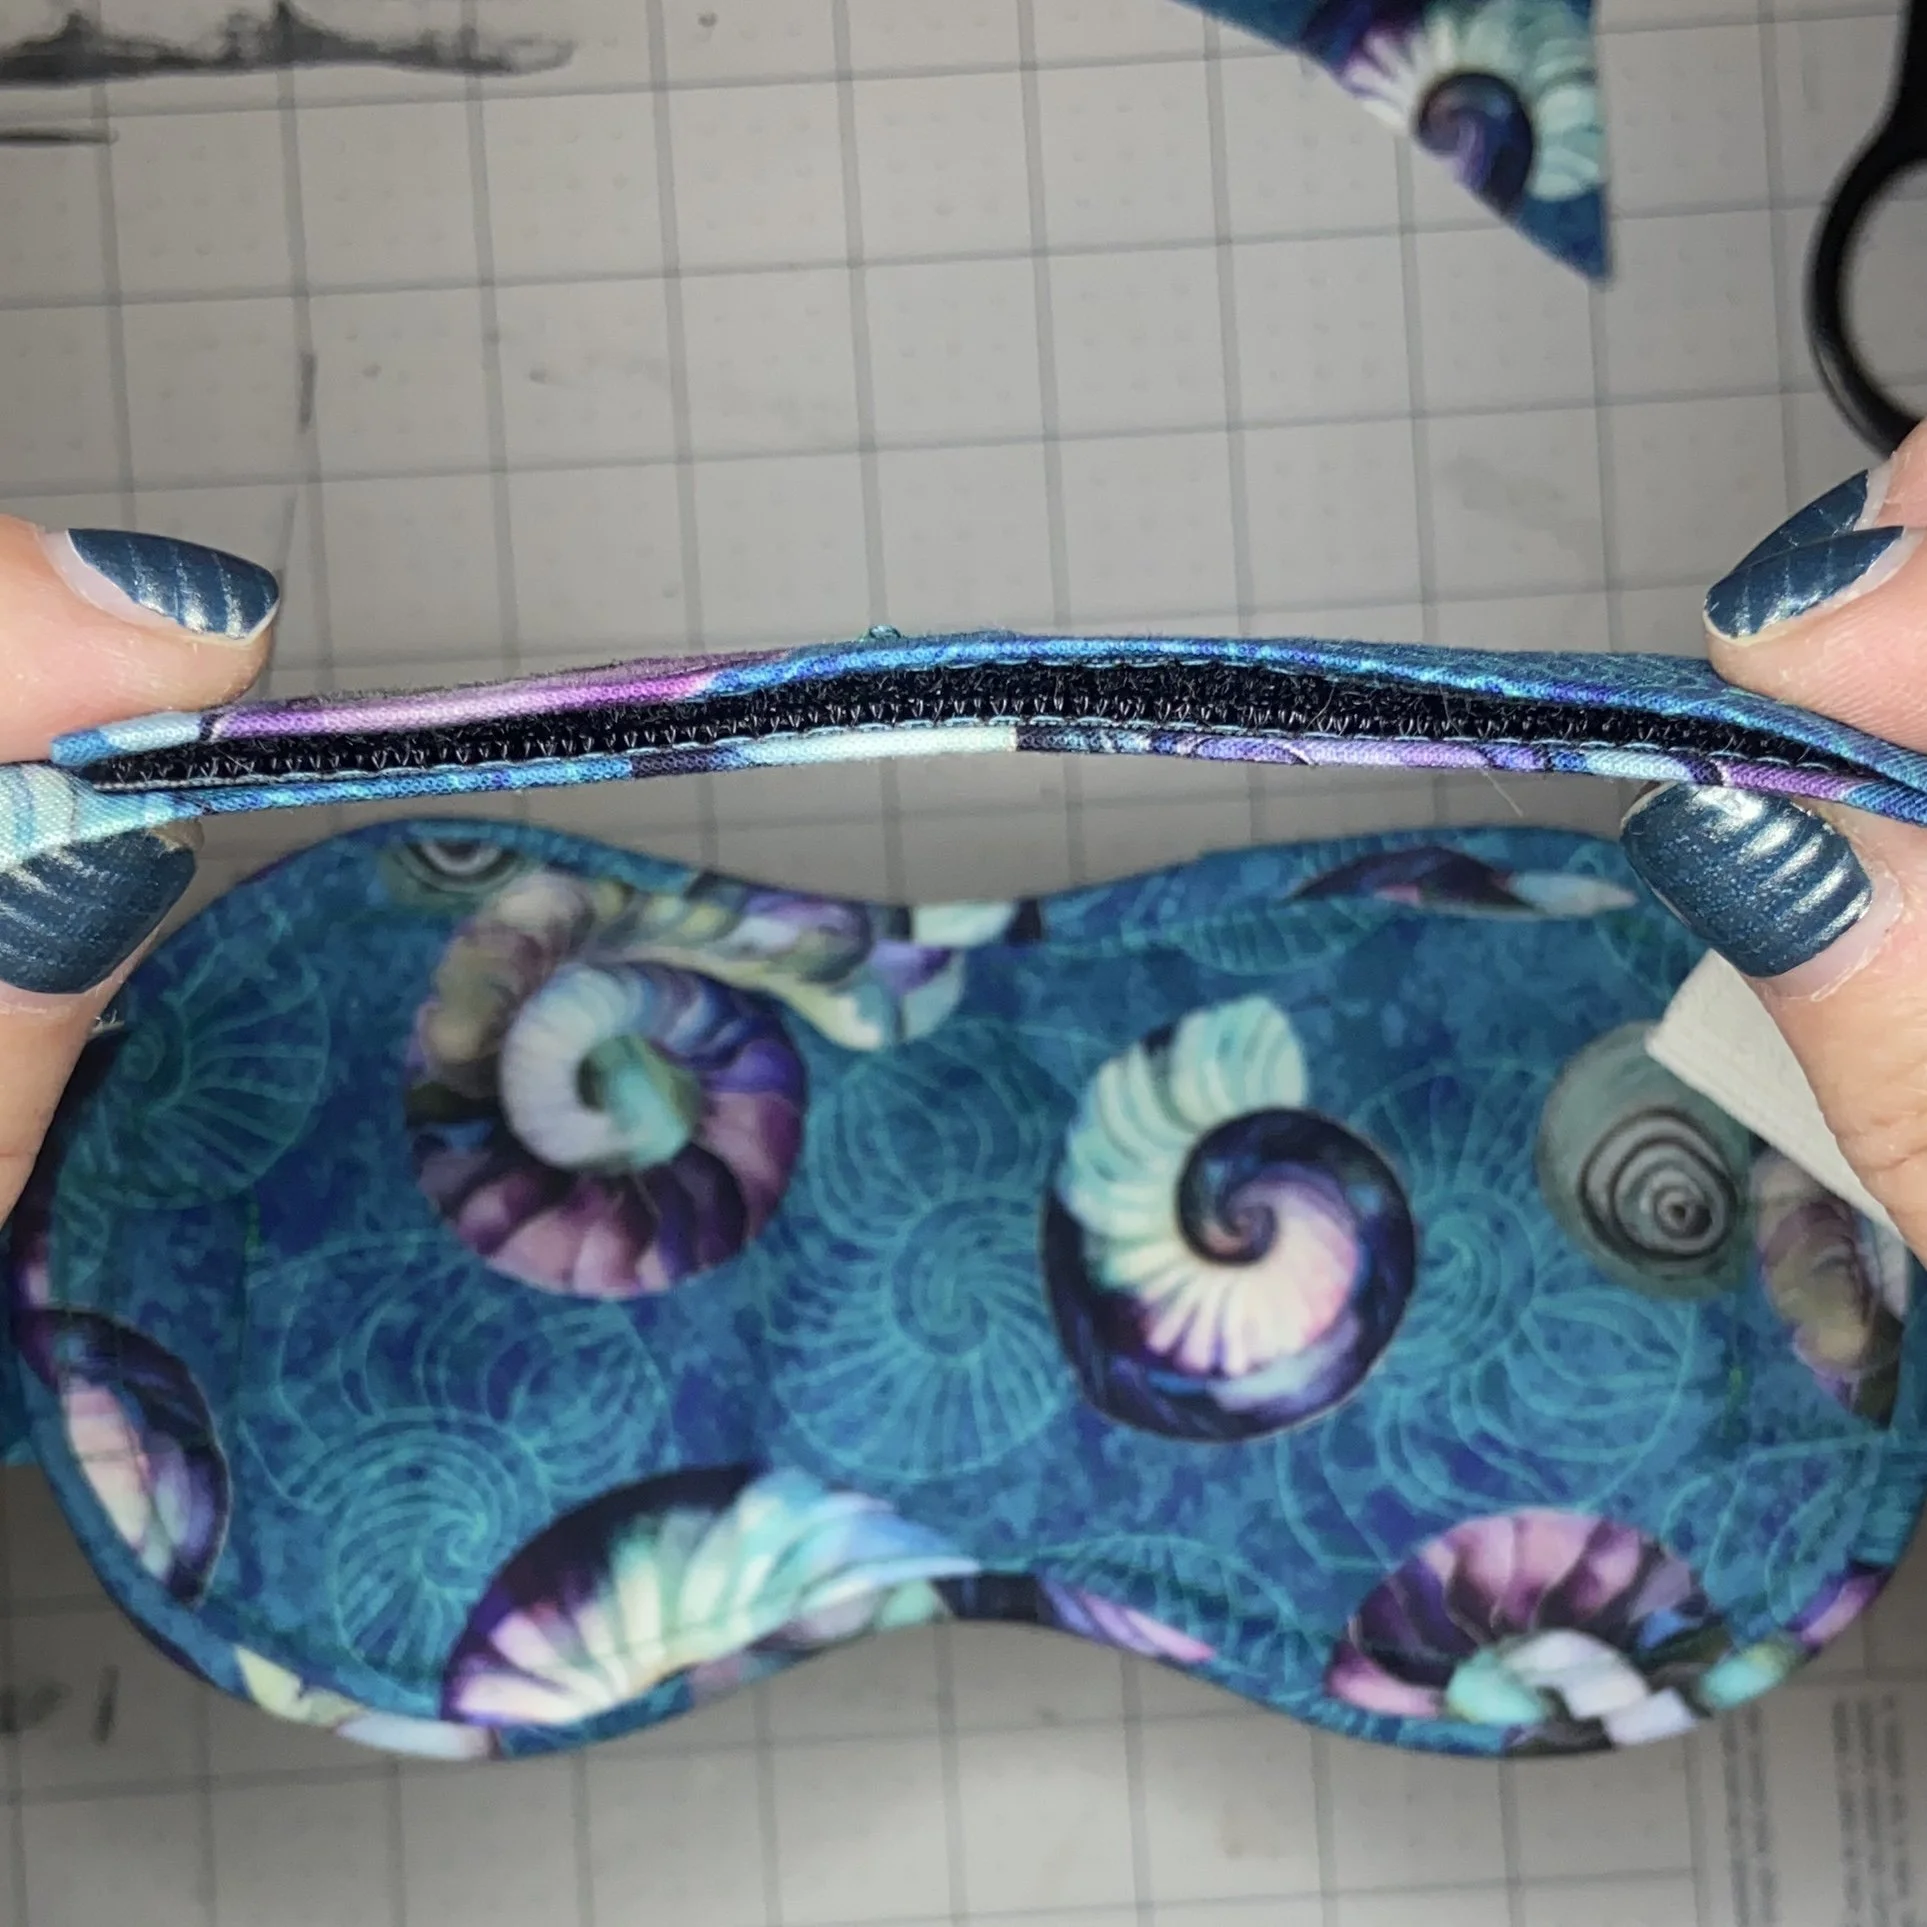
I layered together the batting between the pieces of fabric, with right sides facing out, and starting stitching them together with the bias fabric (wrong side up) along the edge. This was my first time doing proper bias binding on a sharply curving edge, so I didn’t think to start my folded-over bias starting point at the side, where it would be invisible under the straps. No, I started right at the top…nice and visible. I am proud of myself for remembering to stretch the bias fabric slightly as I attached it. My little sewing awl was quite helpful in holding everything in place as I worked my way around the outer perimeter of the mask. If one wanted to, one could quilt the two pieces of fabric together with the batting before attaching the bias fabric, but I didn’t bother with that. Quilting stiffens up the fabric a bit and I wanted my mask to be flexible and fluffy.
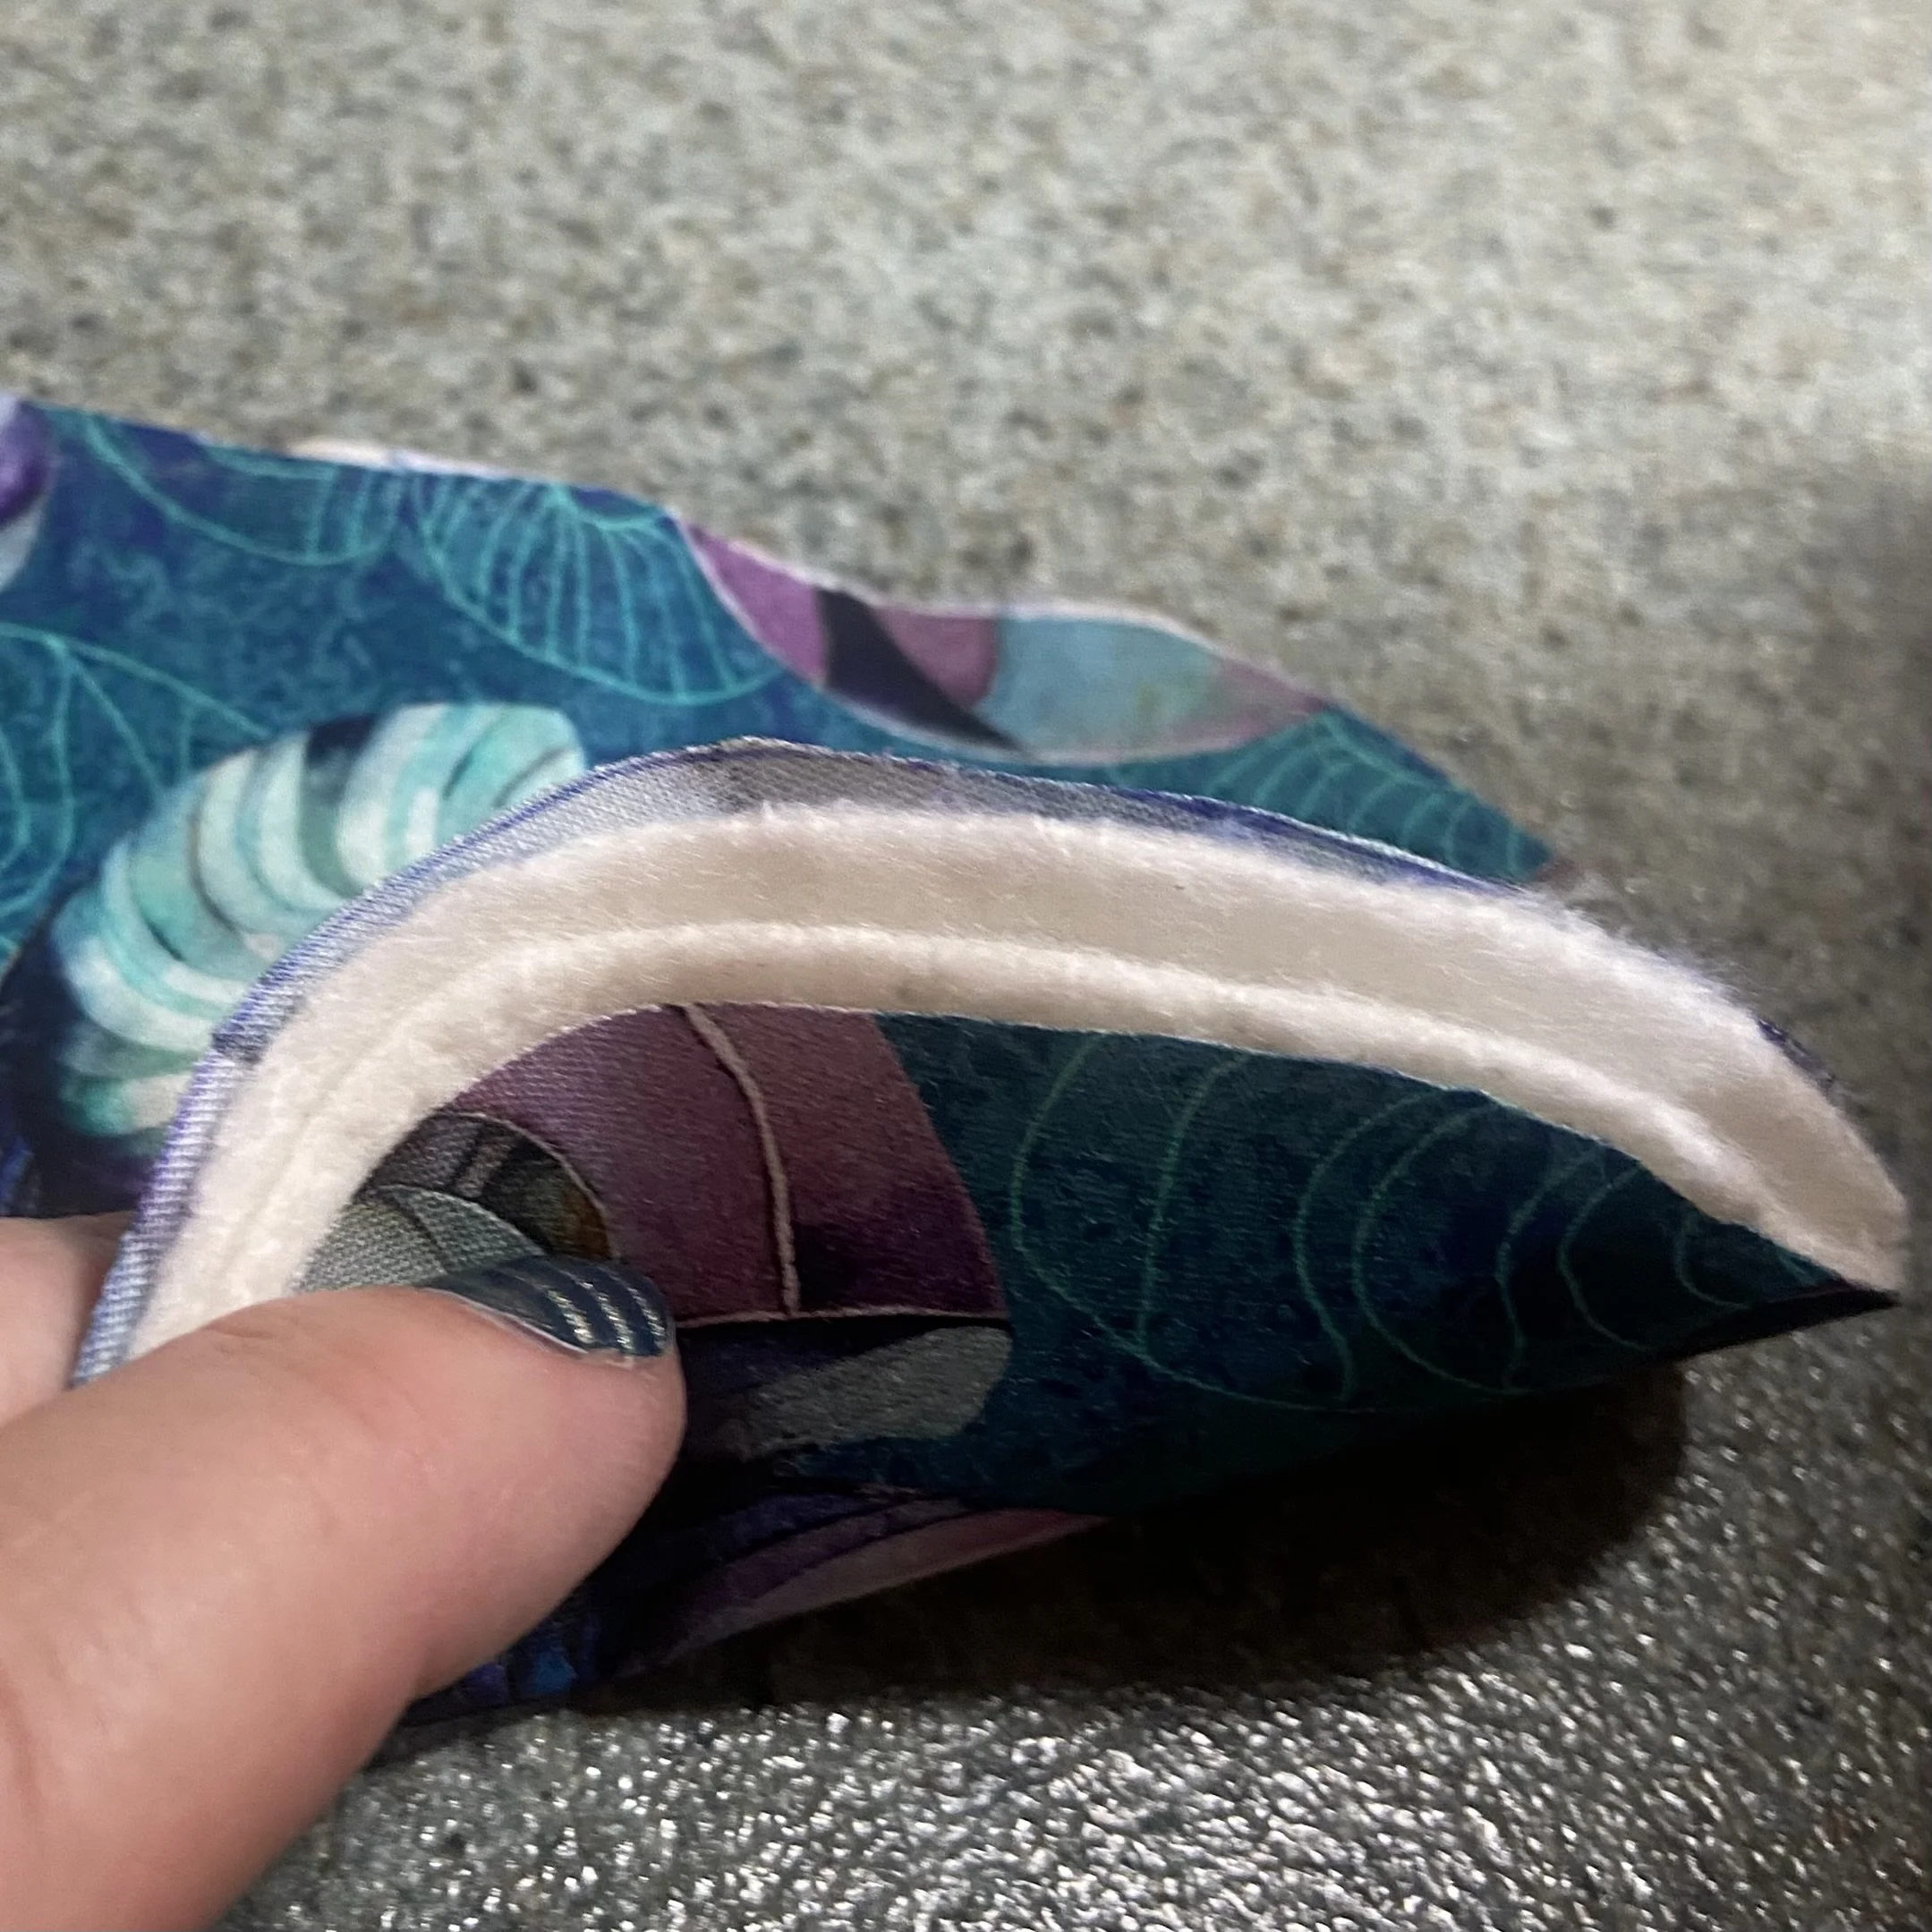
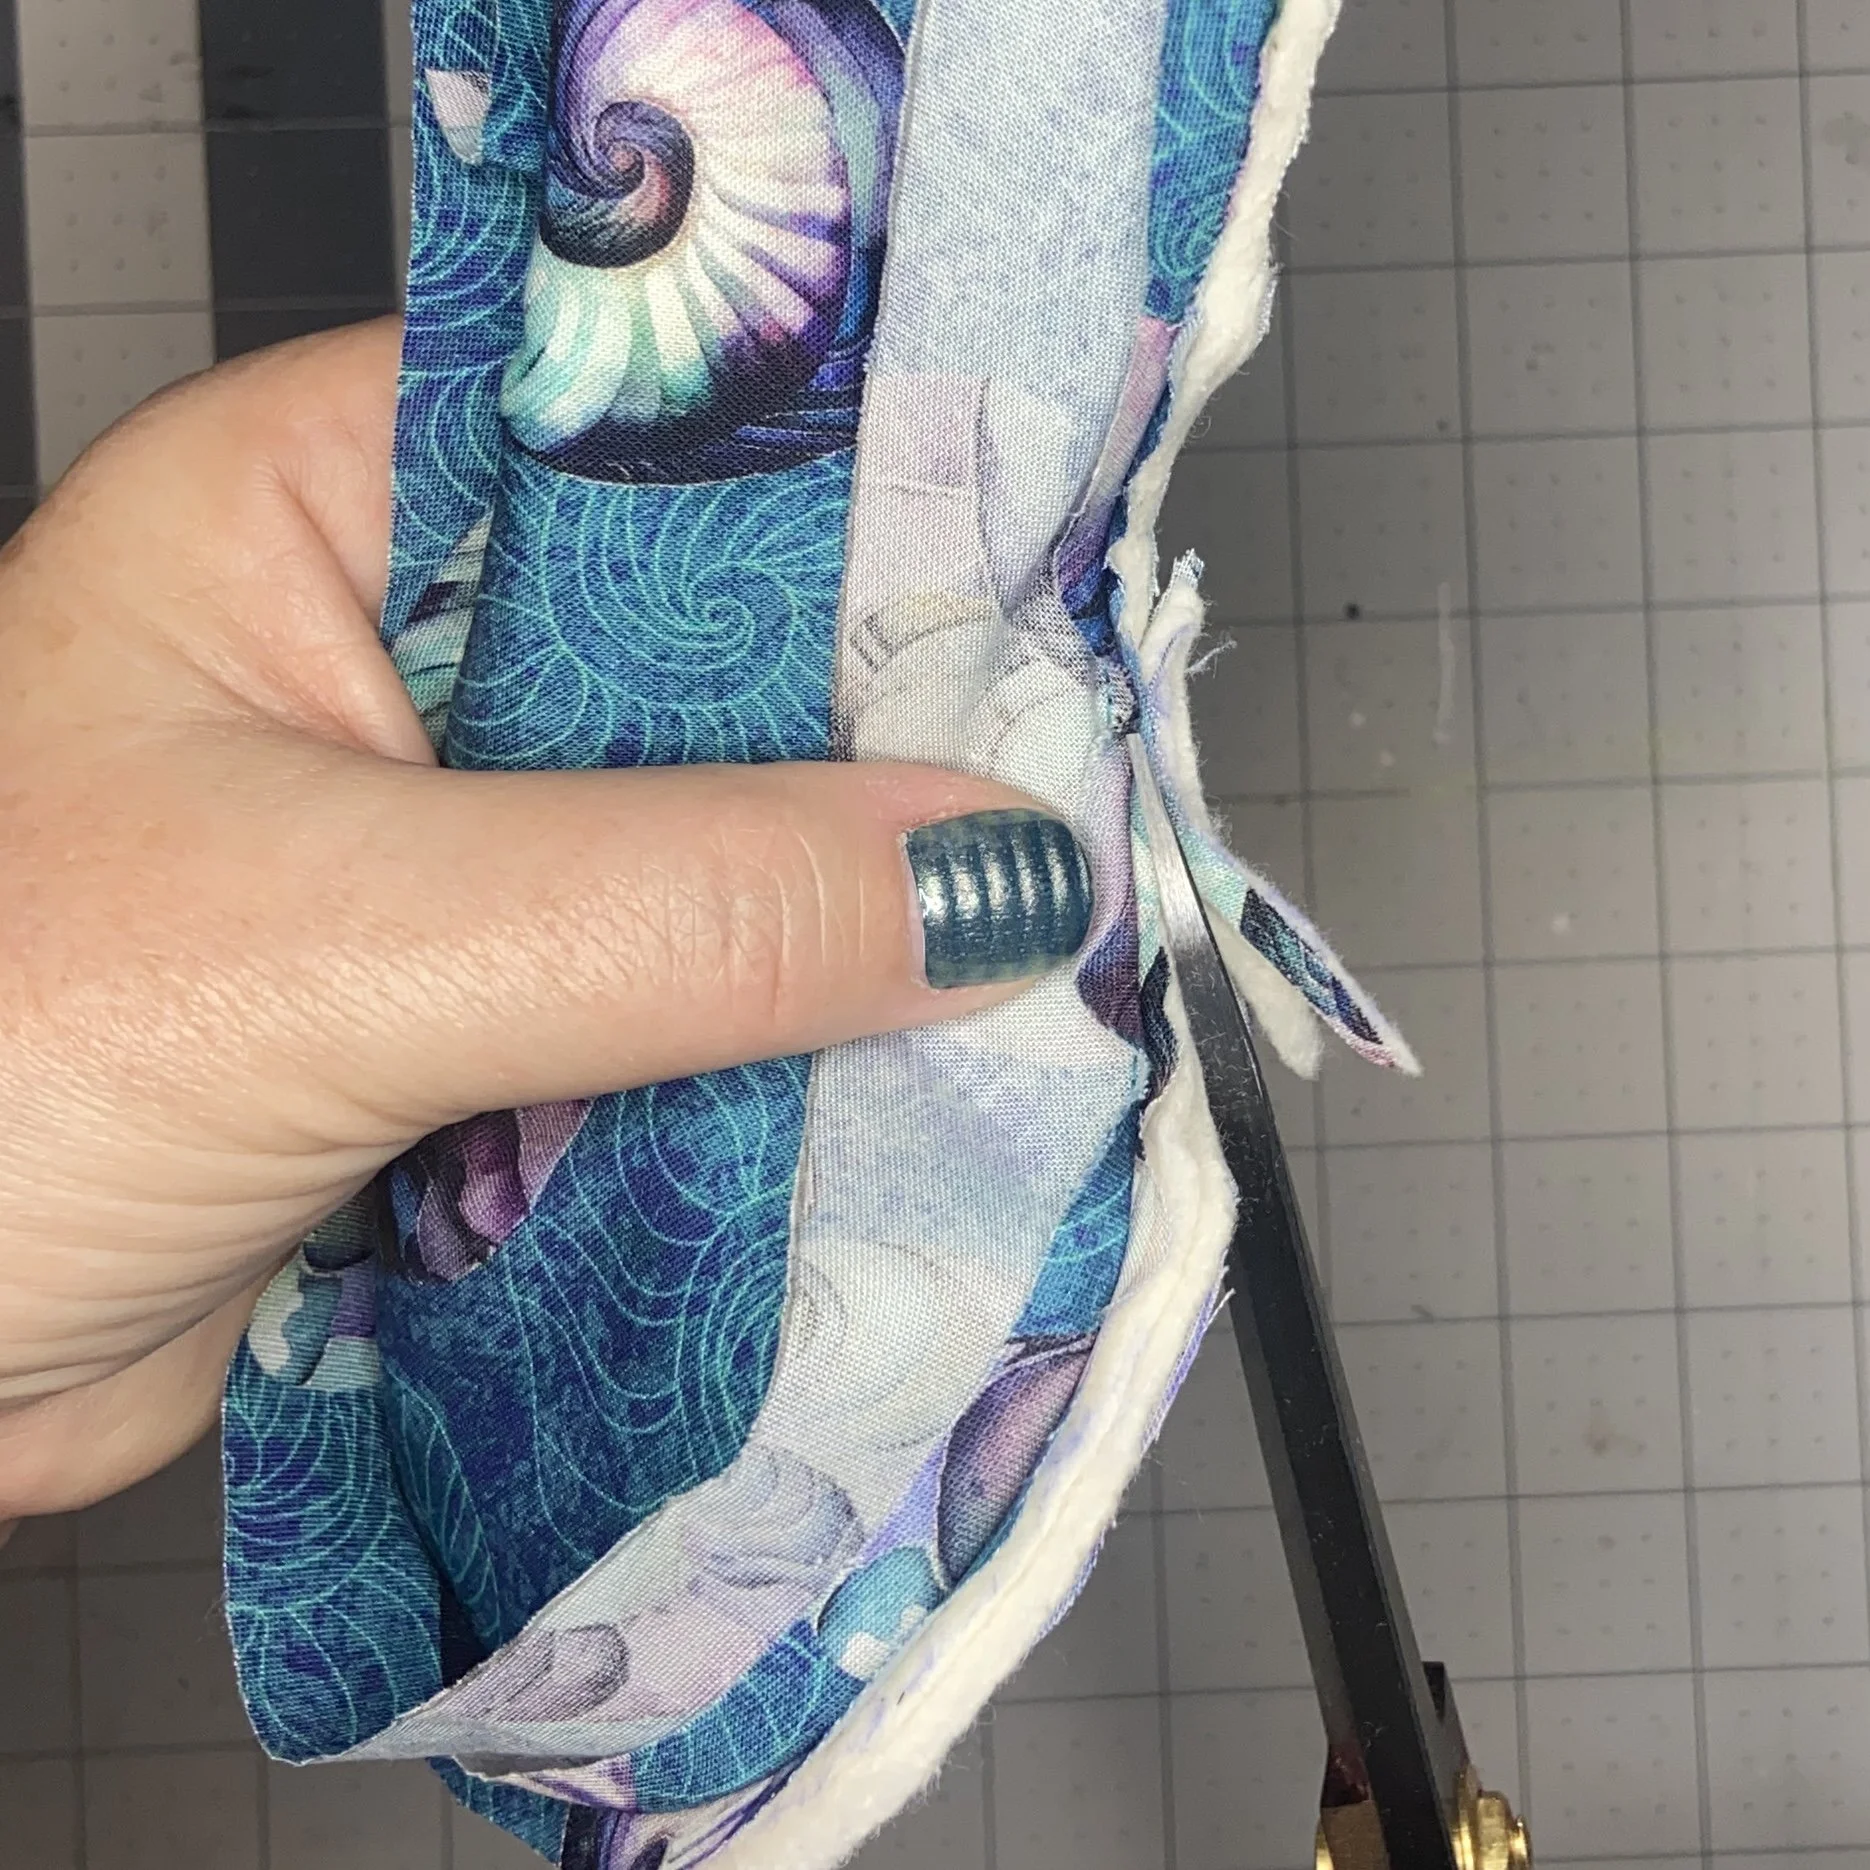
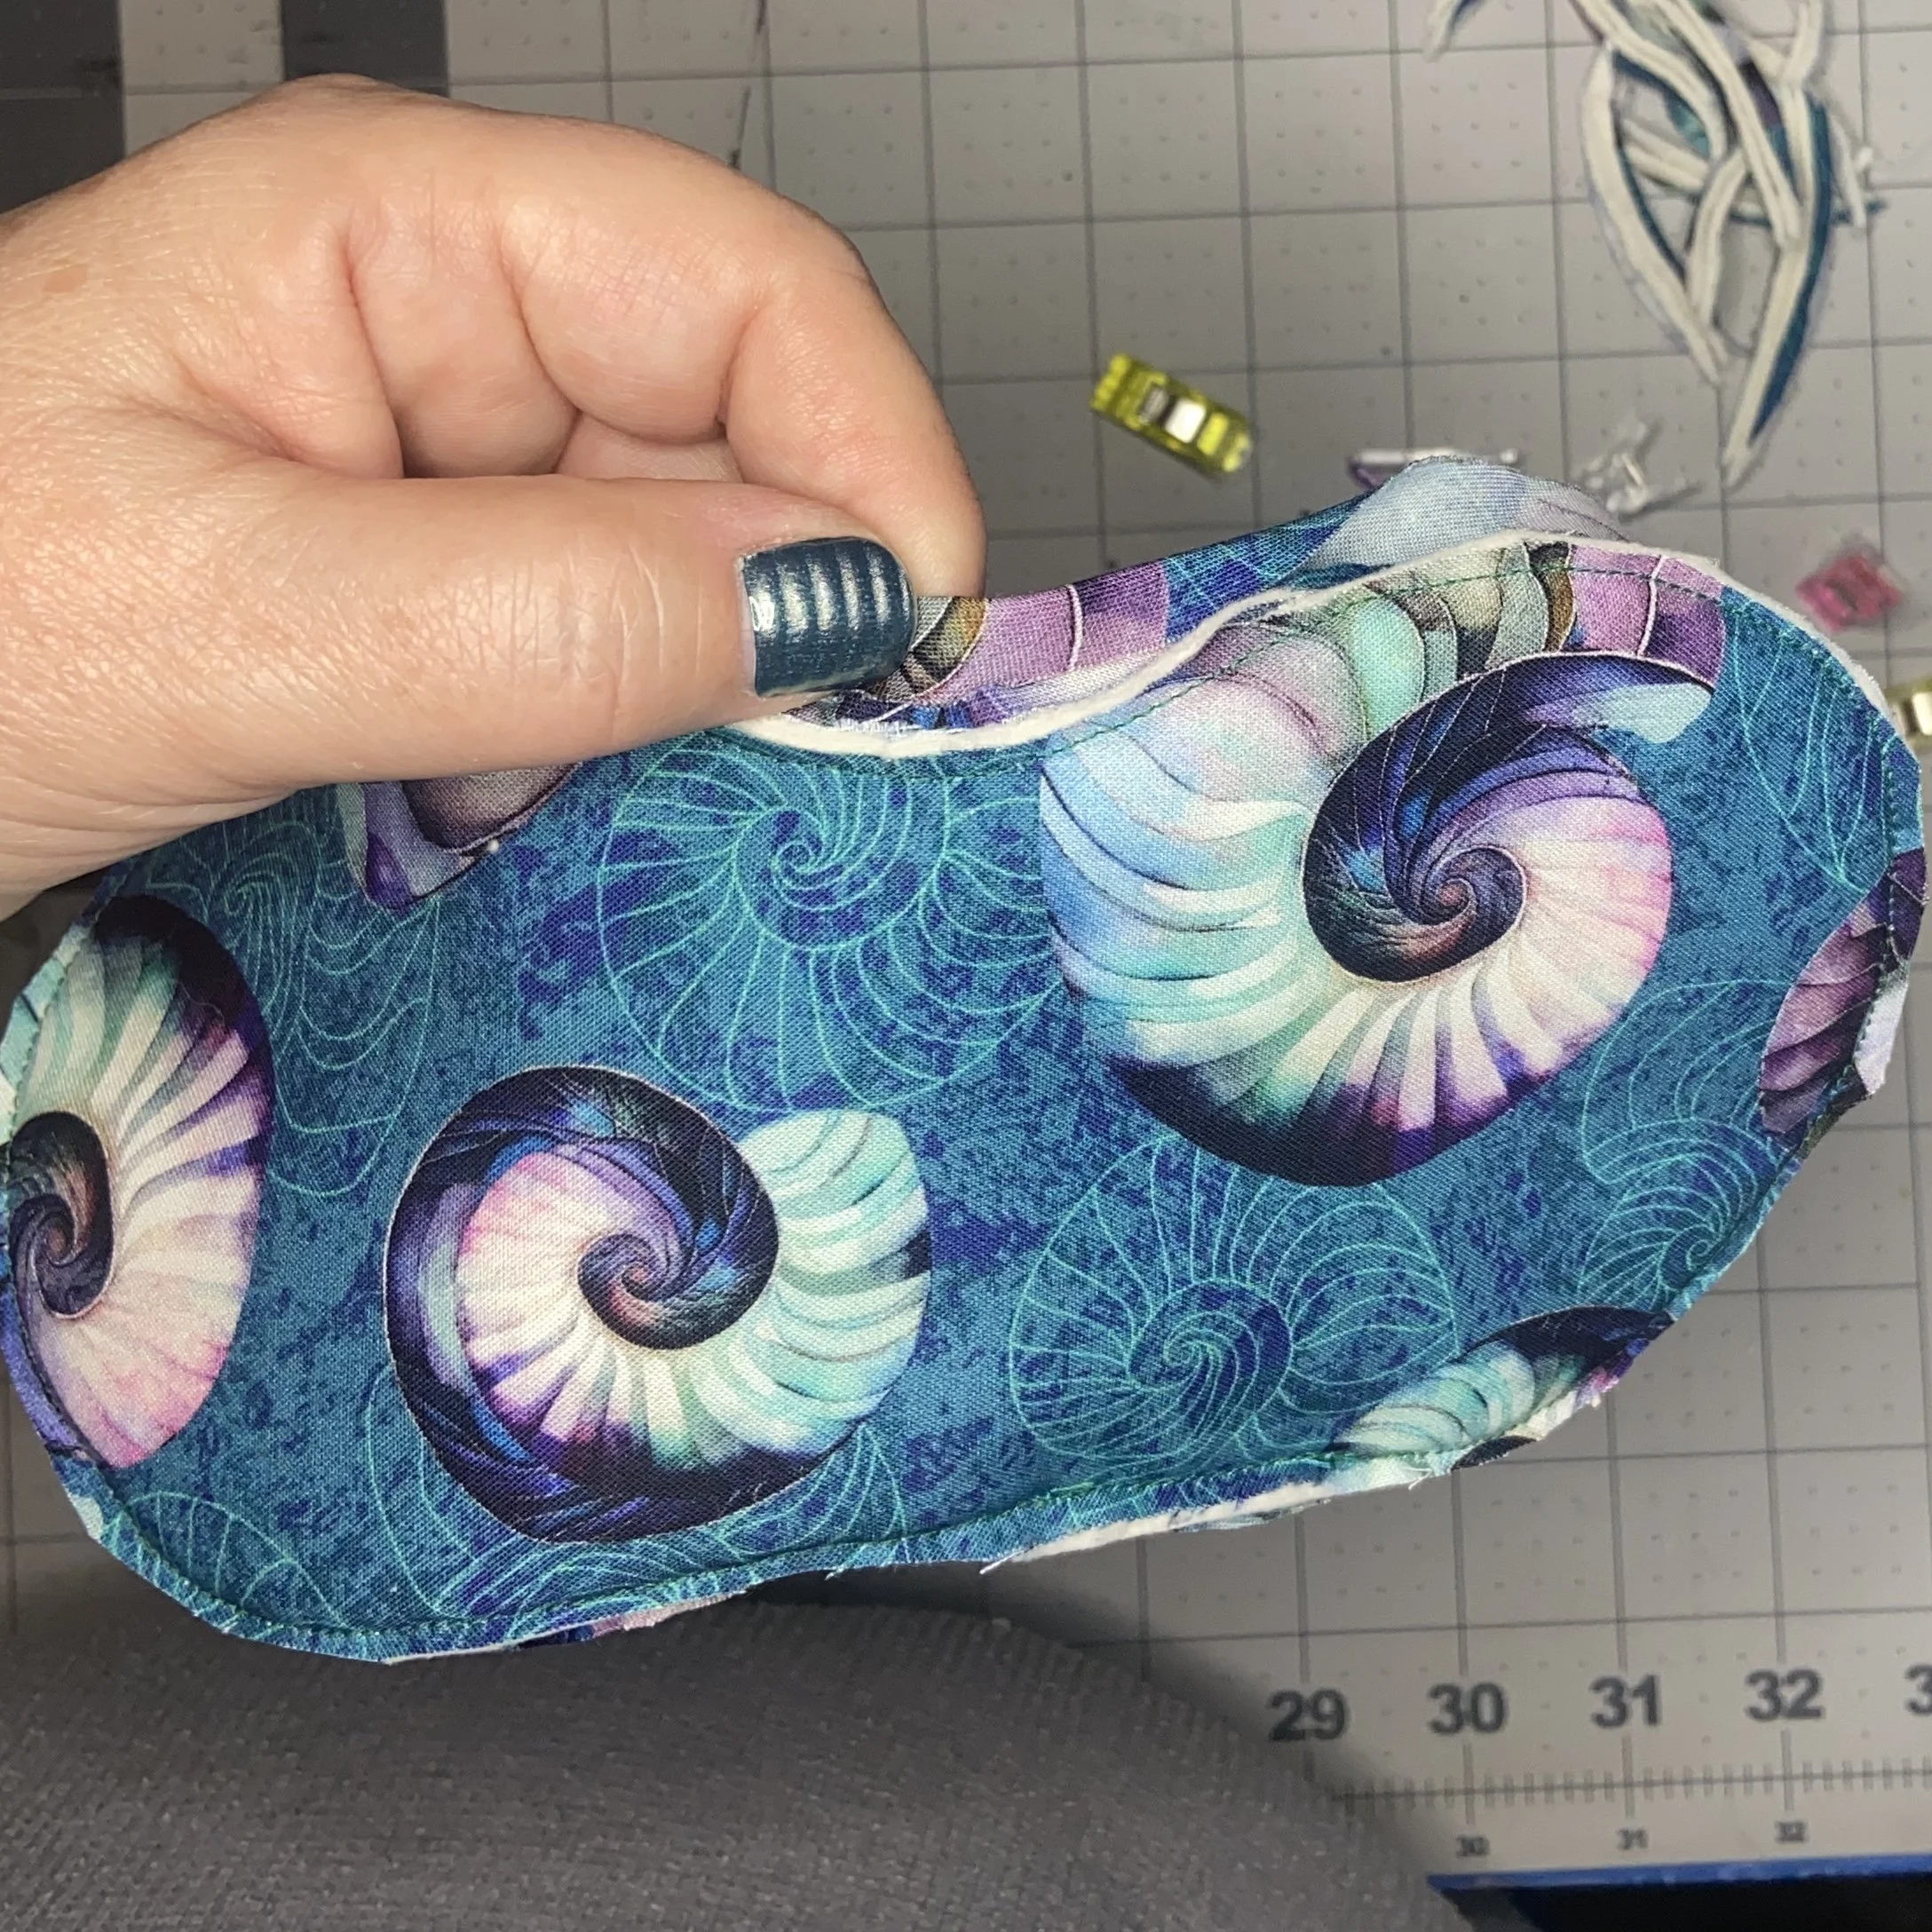
Once everything was stitched down, I used some very sharp little scissors to trim away as much of the seam allowance as I could, but left the bias tape seam allowance intact. Then, I folded the top (free edge) of the bias tape over until it met the seam allowance, then folded it over again until it rested on the mask, and clipped that in place. I sewed the folded bias tape as close to the fold edge as I could manage. It looks okay for a first attempt. I should mention that my first seam line (before the finishing folding and stitching) was worked on the wrong side of the mask…the side that would be against the skin during use. In the pictures I’ve shown, the fabric is all the same, so the “right side” was decided randomly. When I worked on the yellow mask, I had to take care to make that first seam on the back (the piece cut from the fat quarter).
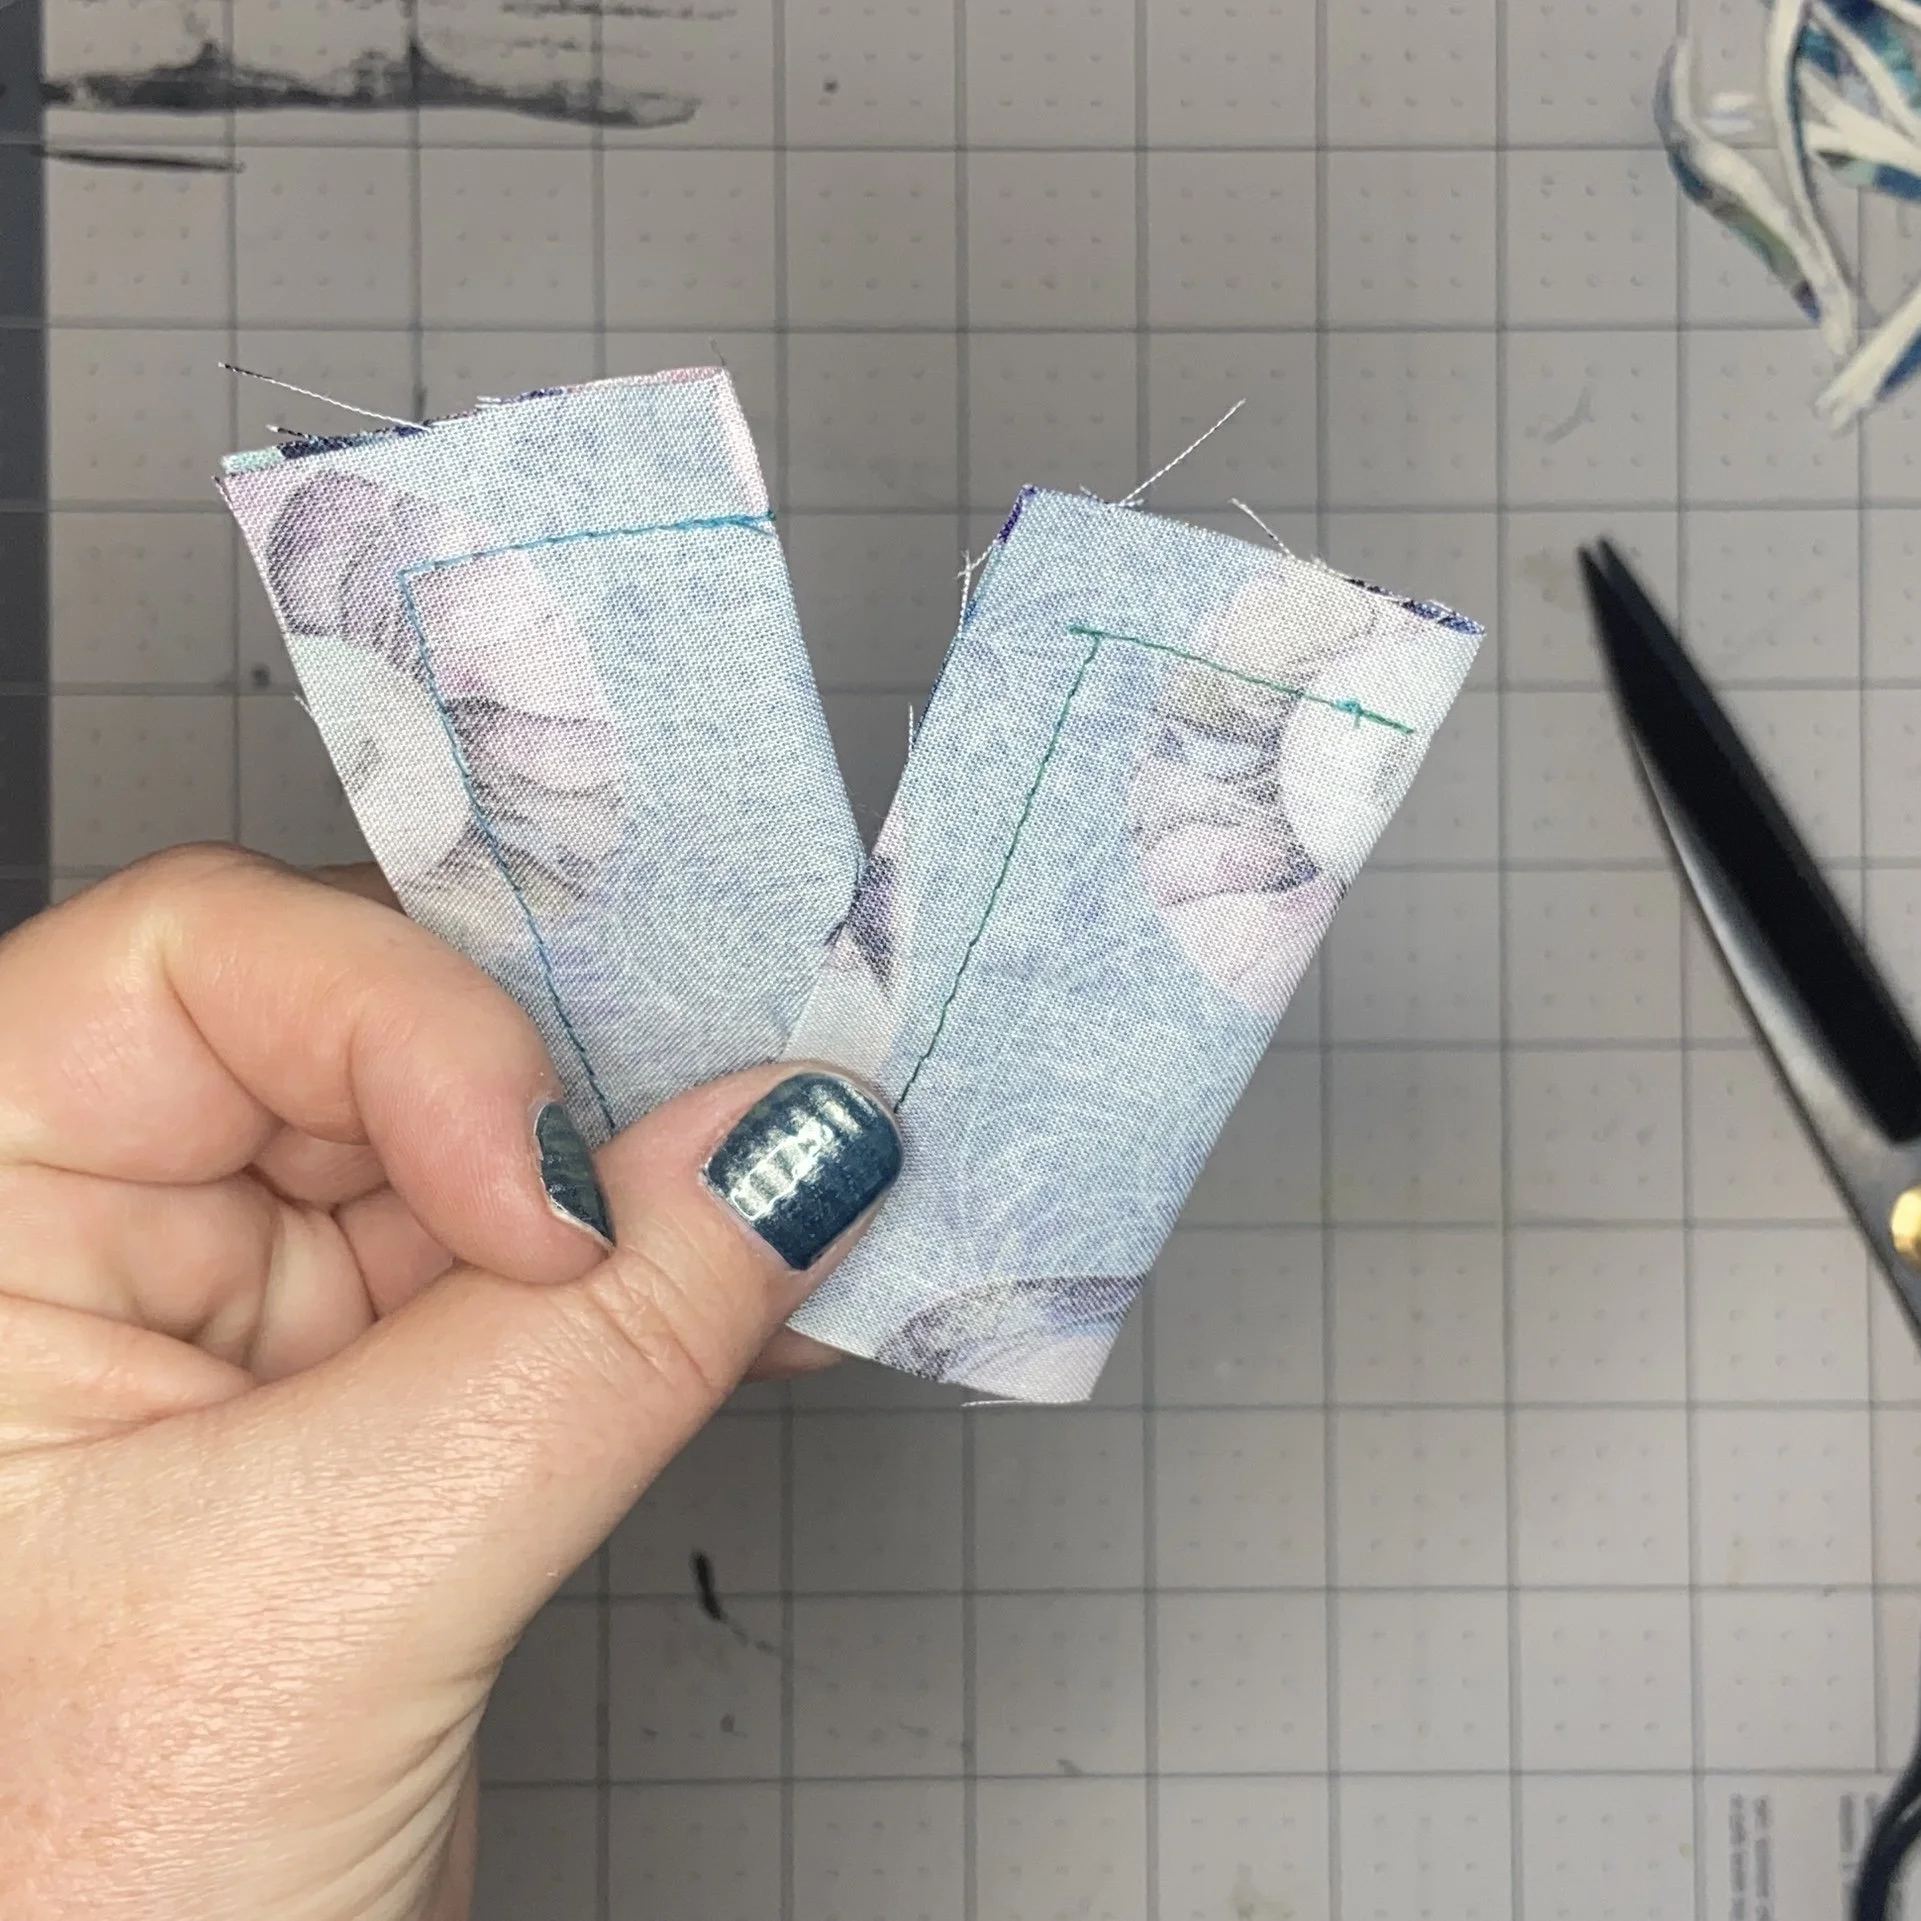
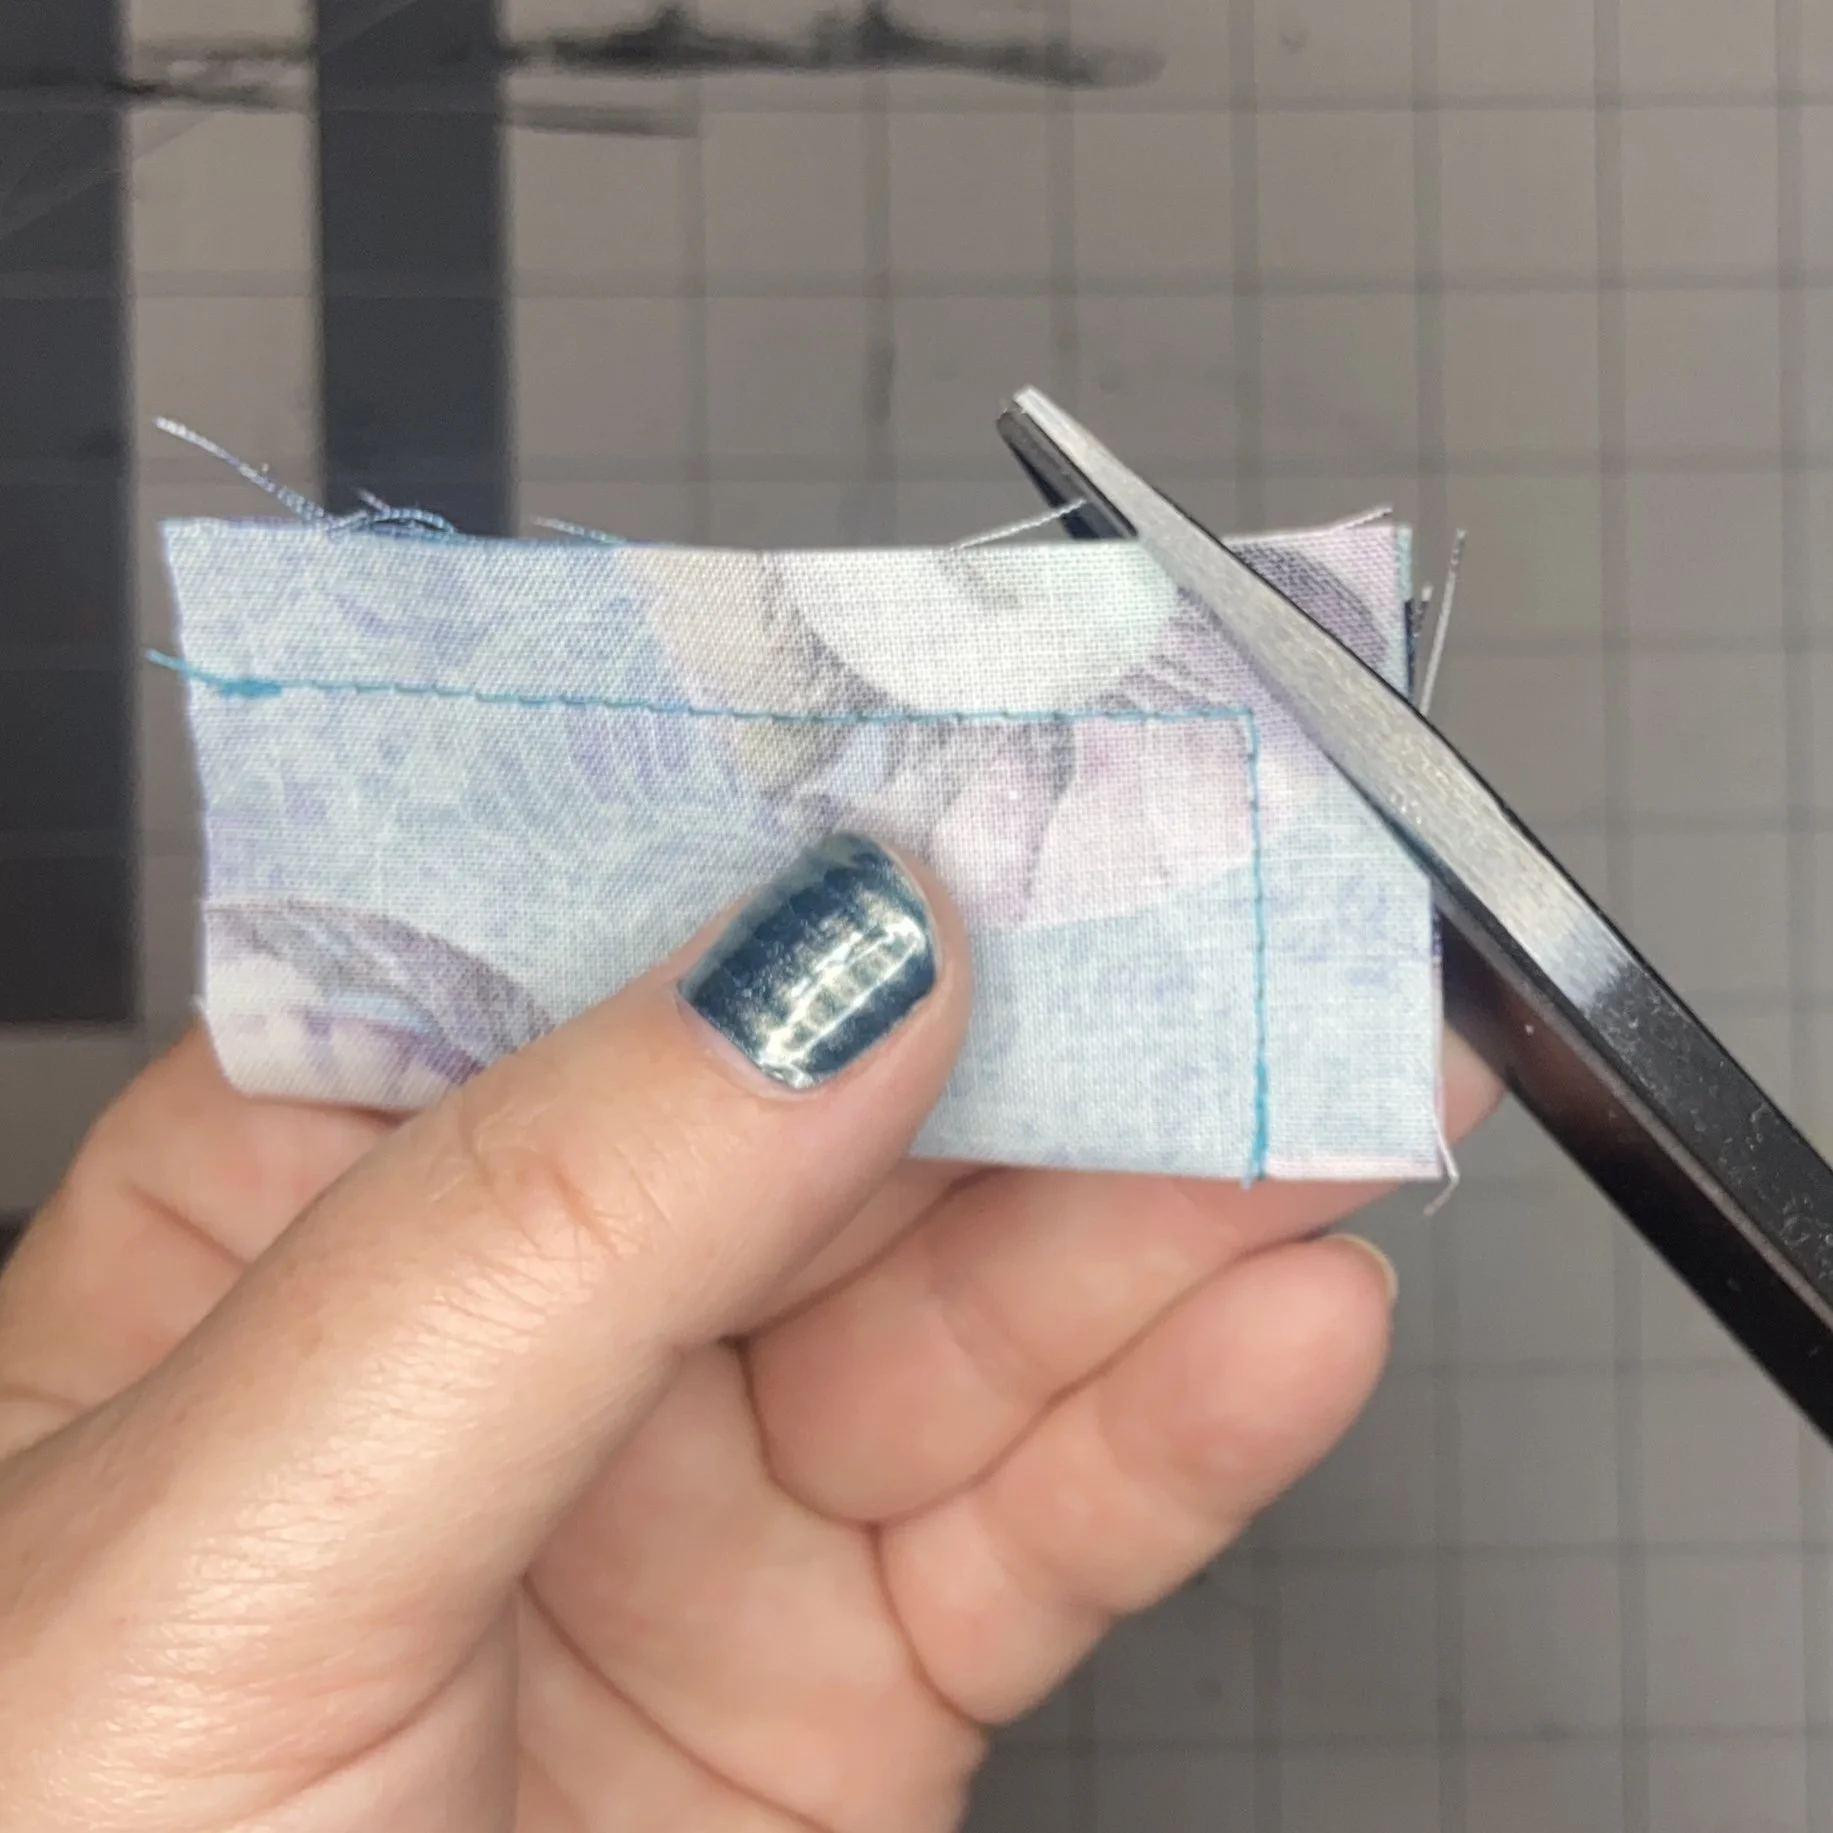
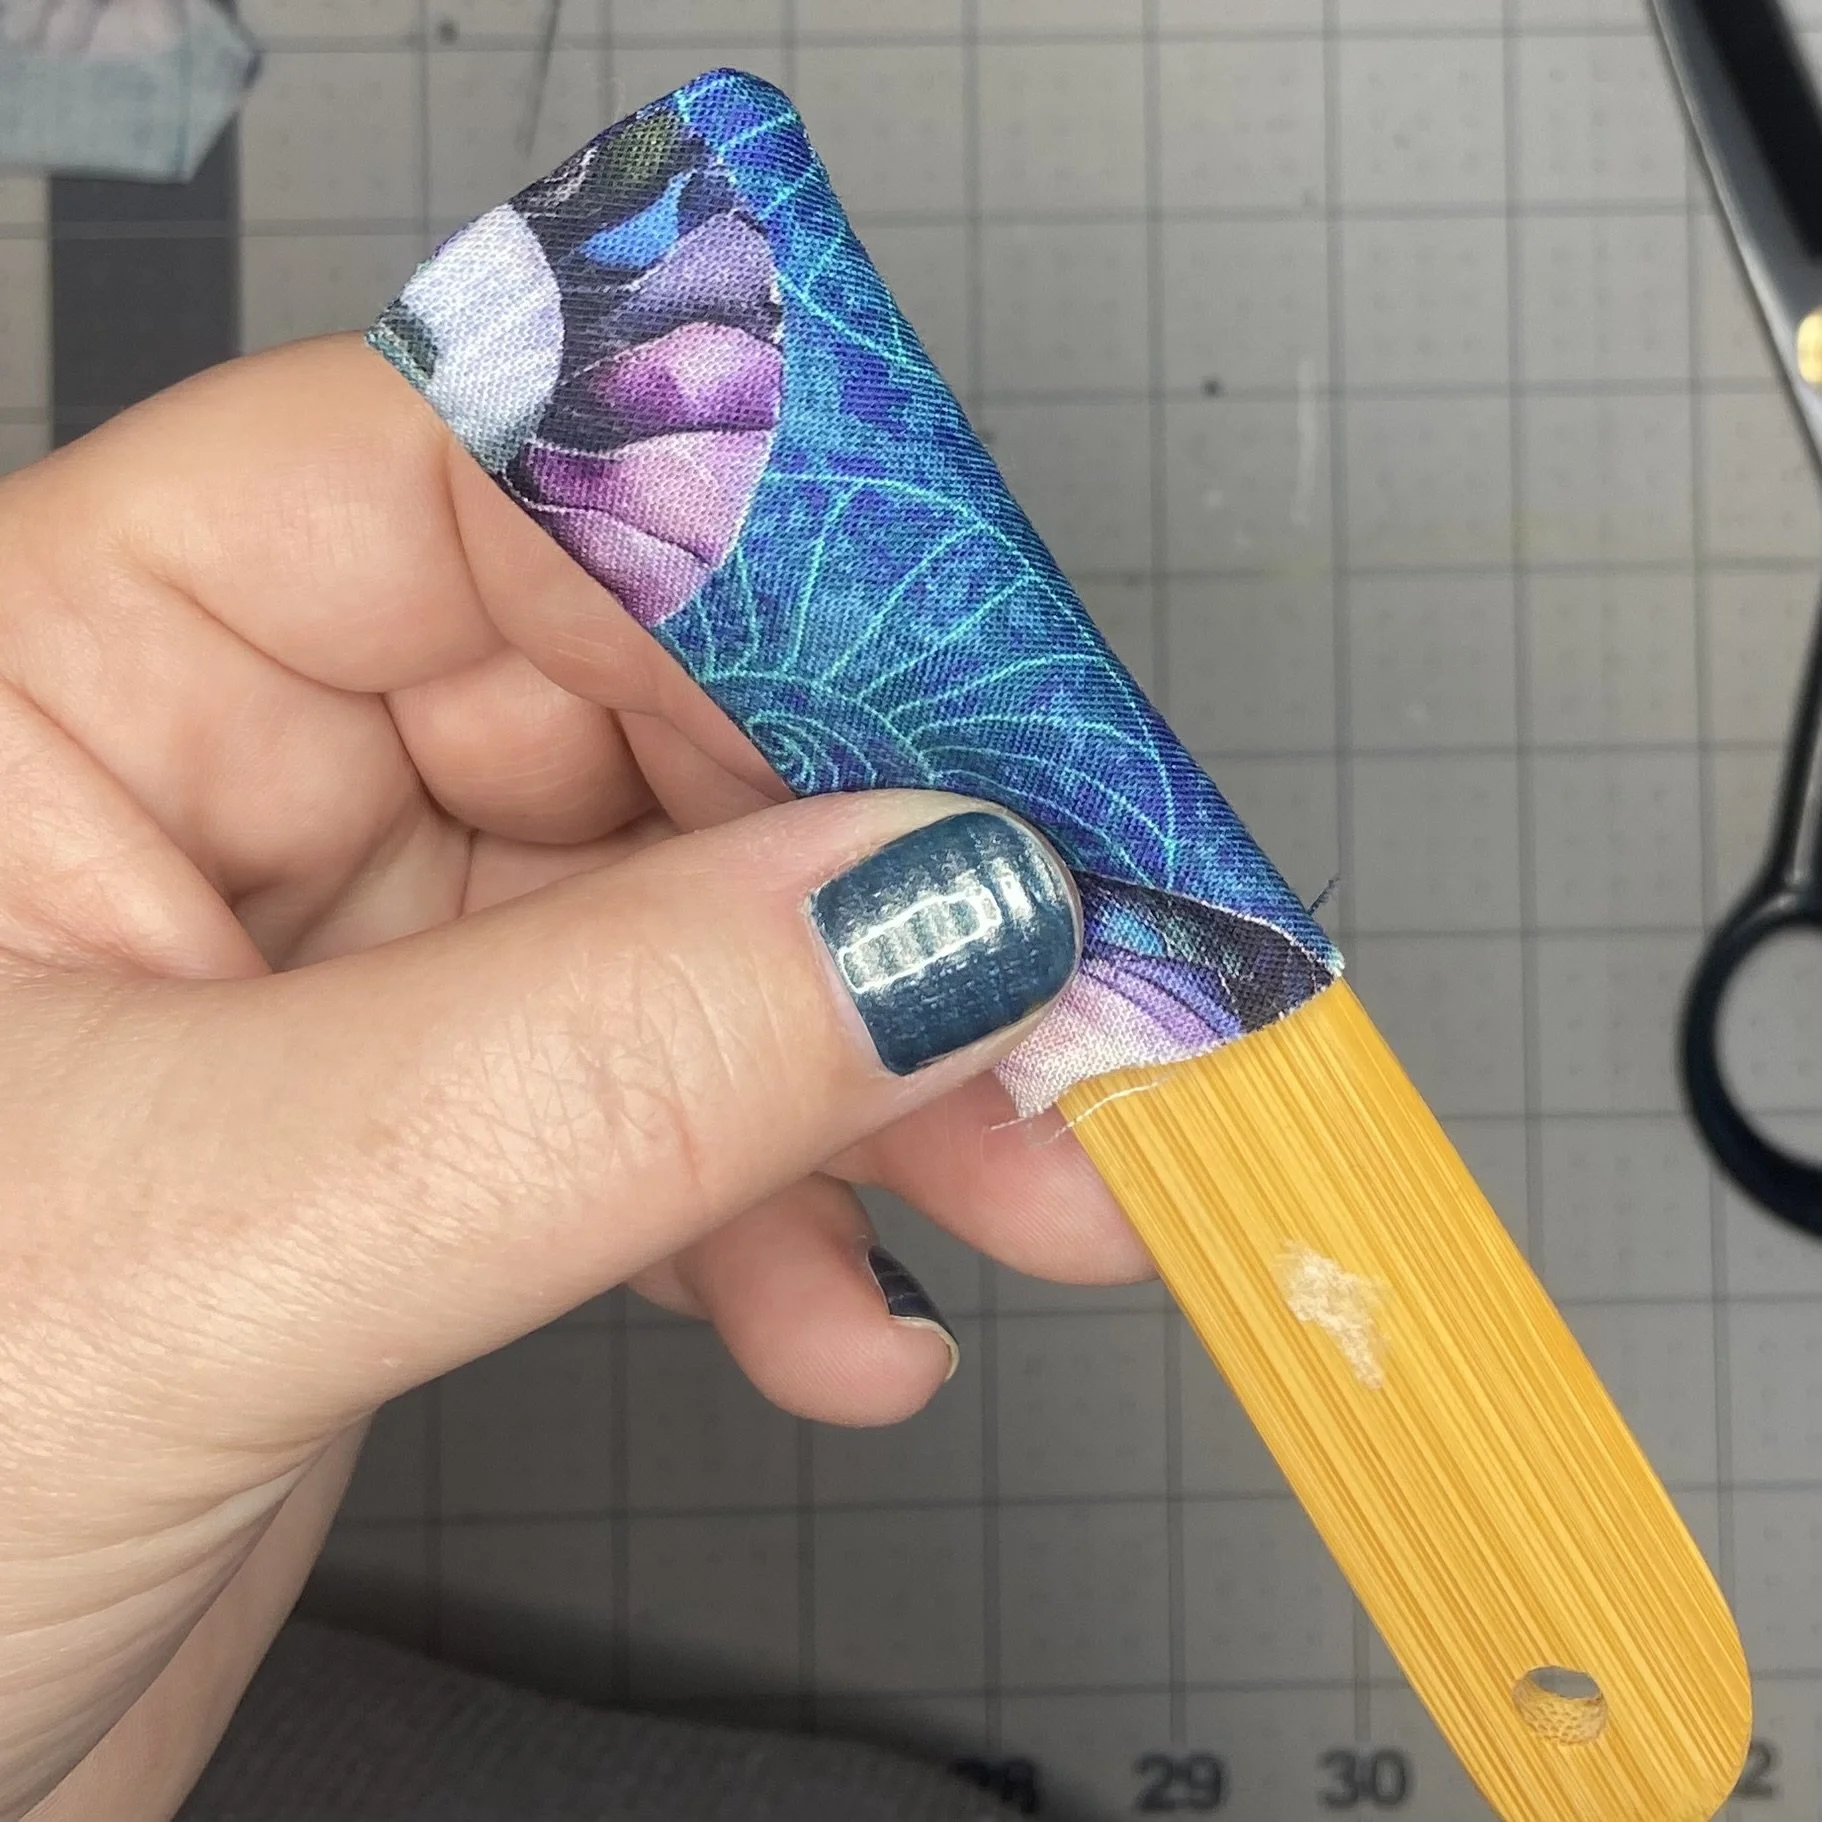
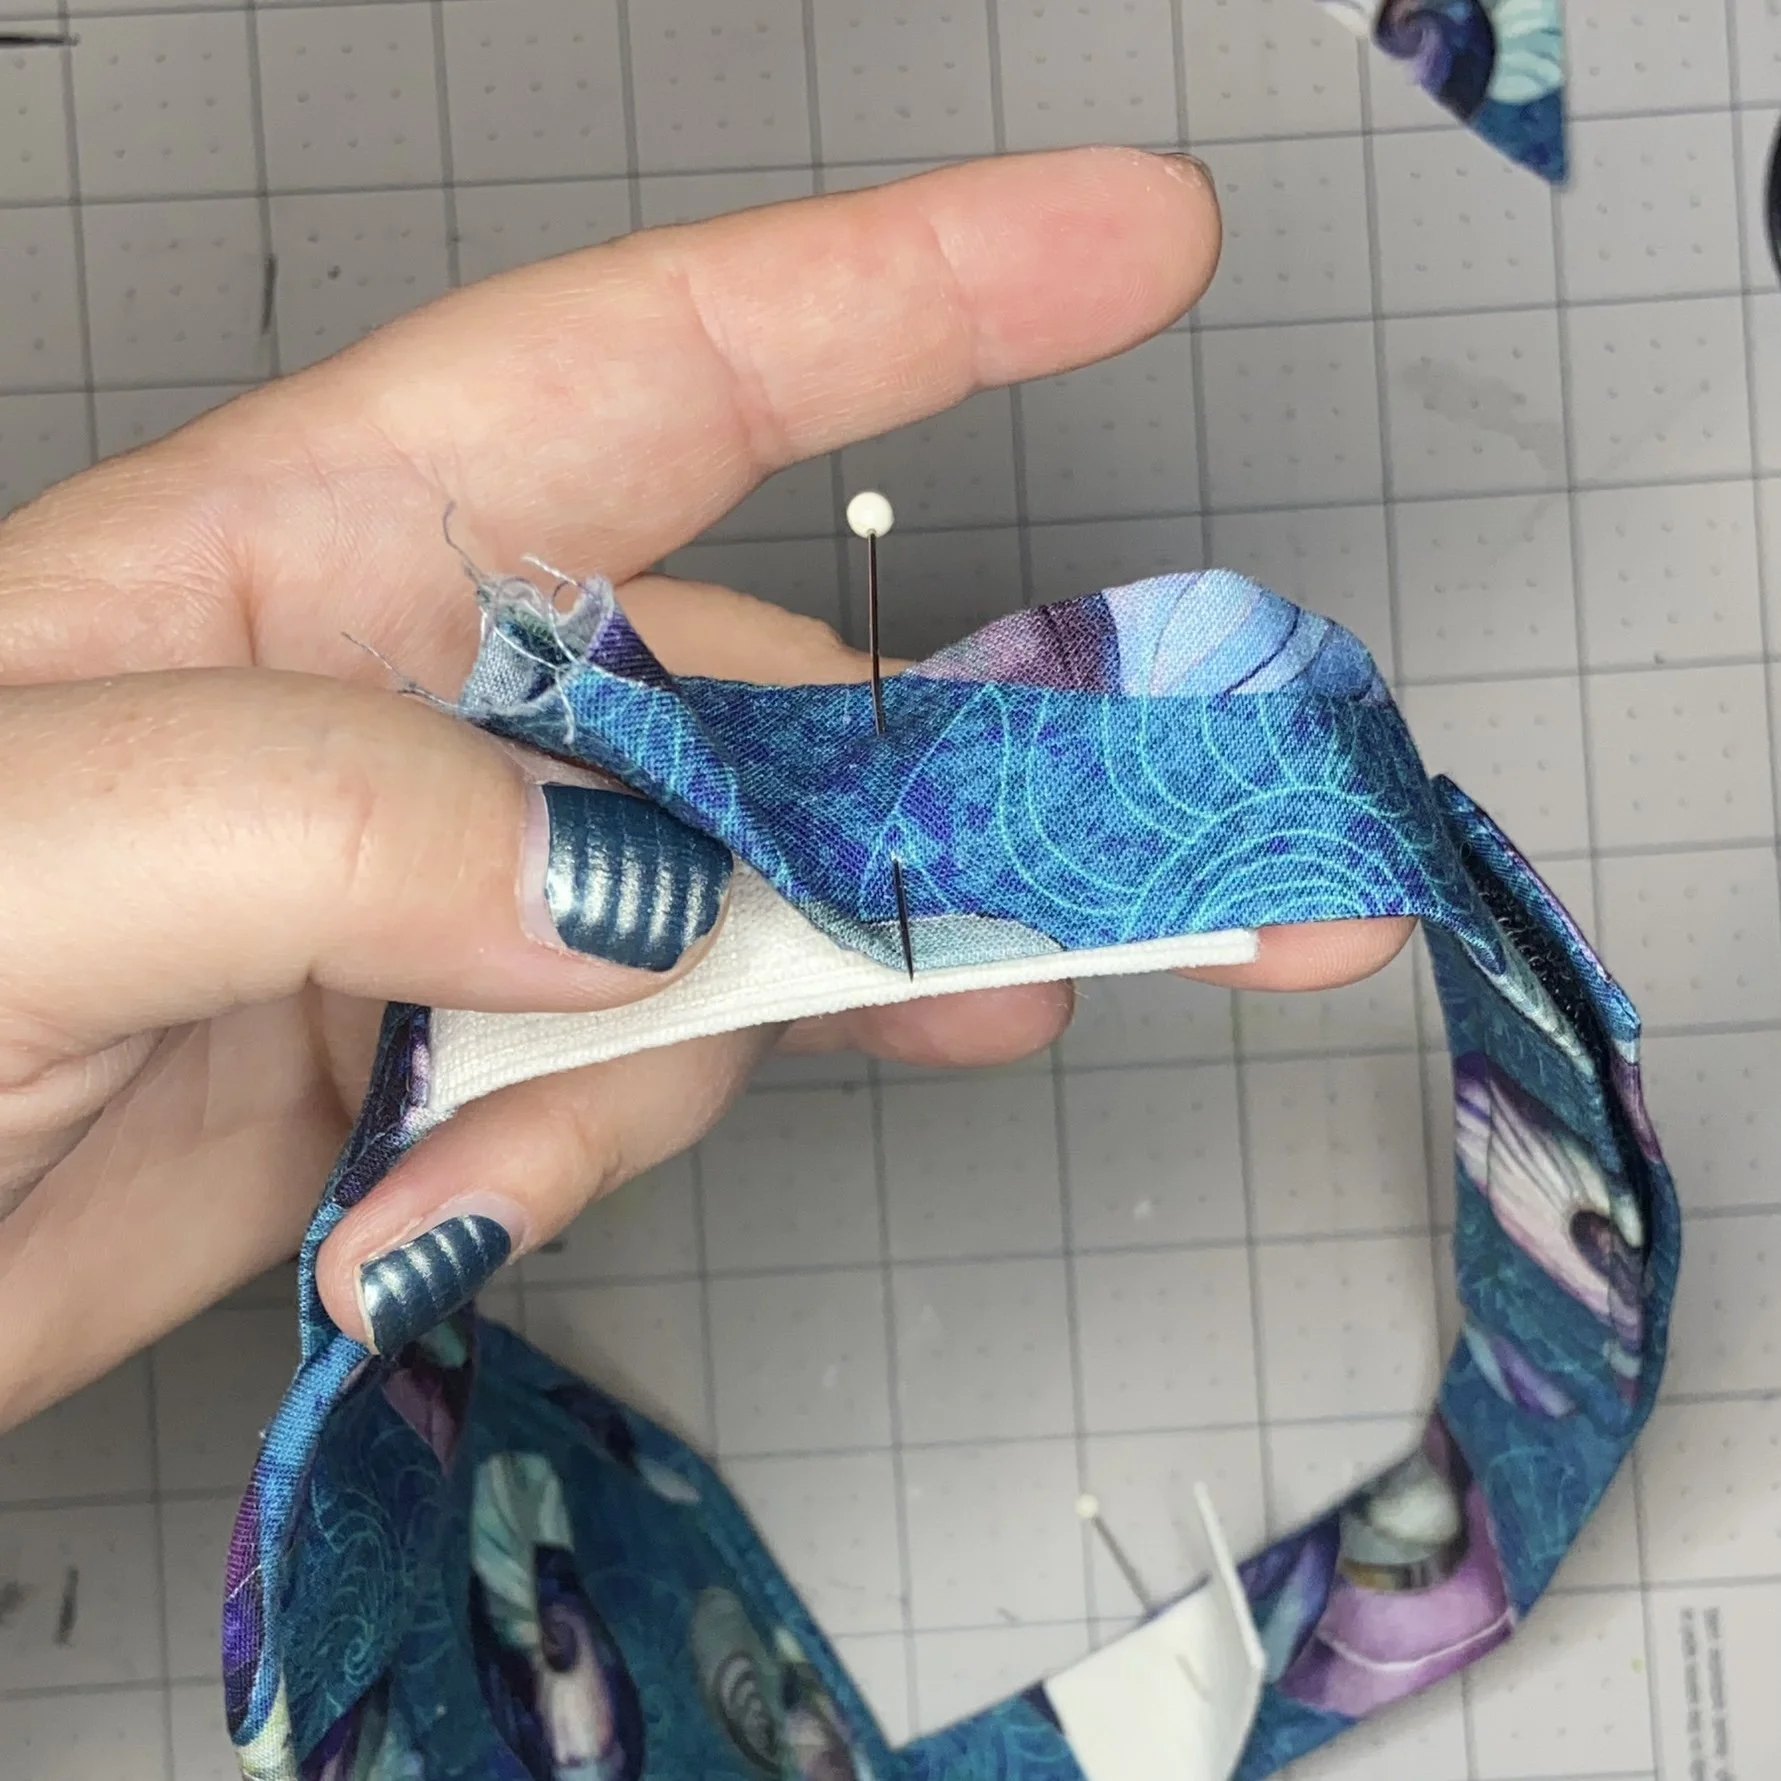
Next, I folded my 3” squares in half, right sides together, and used a 3/8” seam to stitch closed one end and the long open side. I did the same thing with my 3”x9” pieces. I trimmed the corners on the end I stitched closed, and then carefully turned all four pieces right side out, using my bone folder to poke out the corners. Then I pressed all four pieces. On the open ends of the smaller pieces, I turned the raw edges to the inside by 1/4” and pressed again. The larger pieces would need to be trimmed again, so I didn’t bother turning in the raw edges on those just yet.
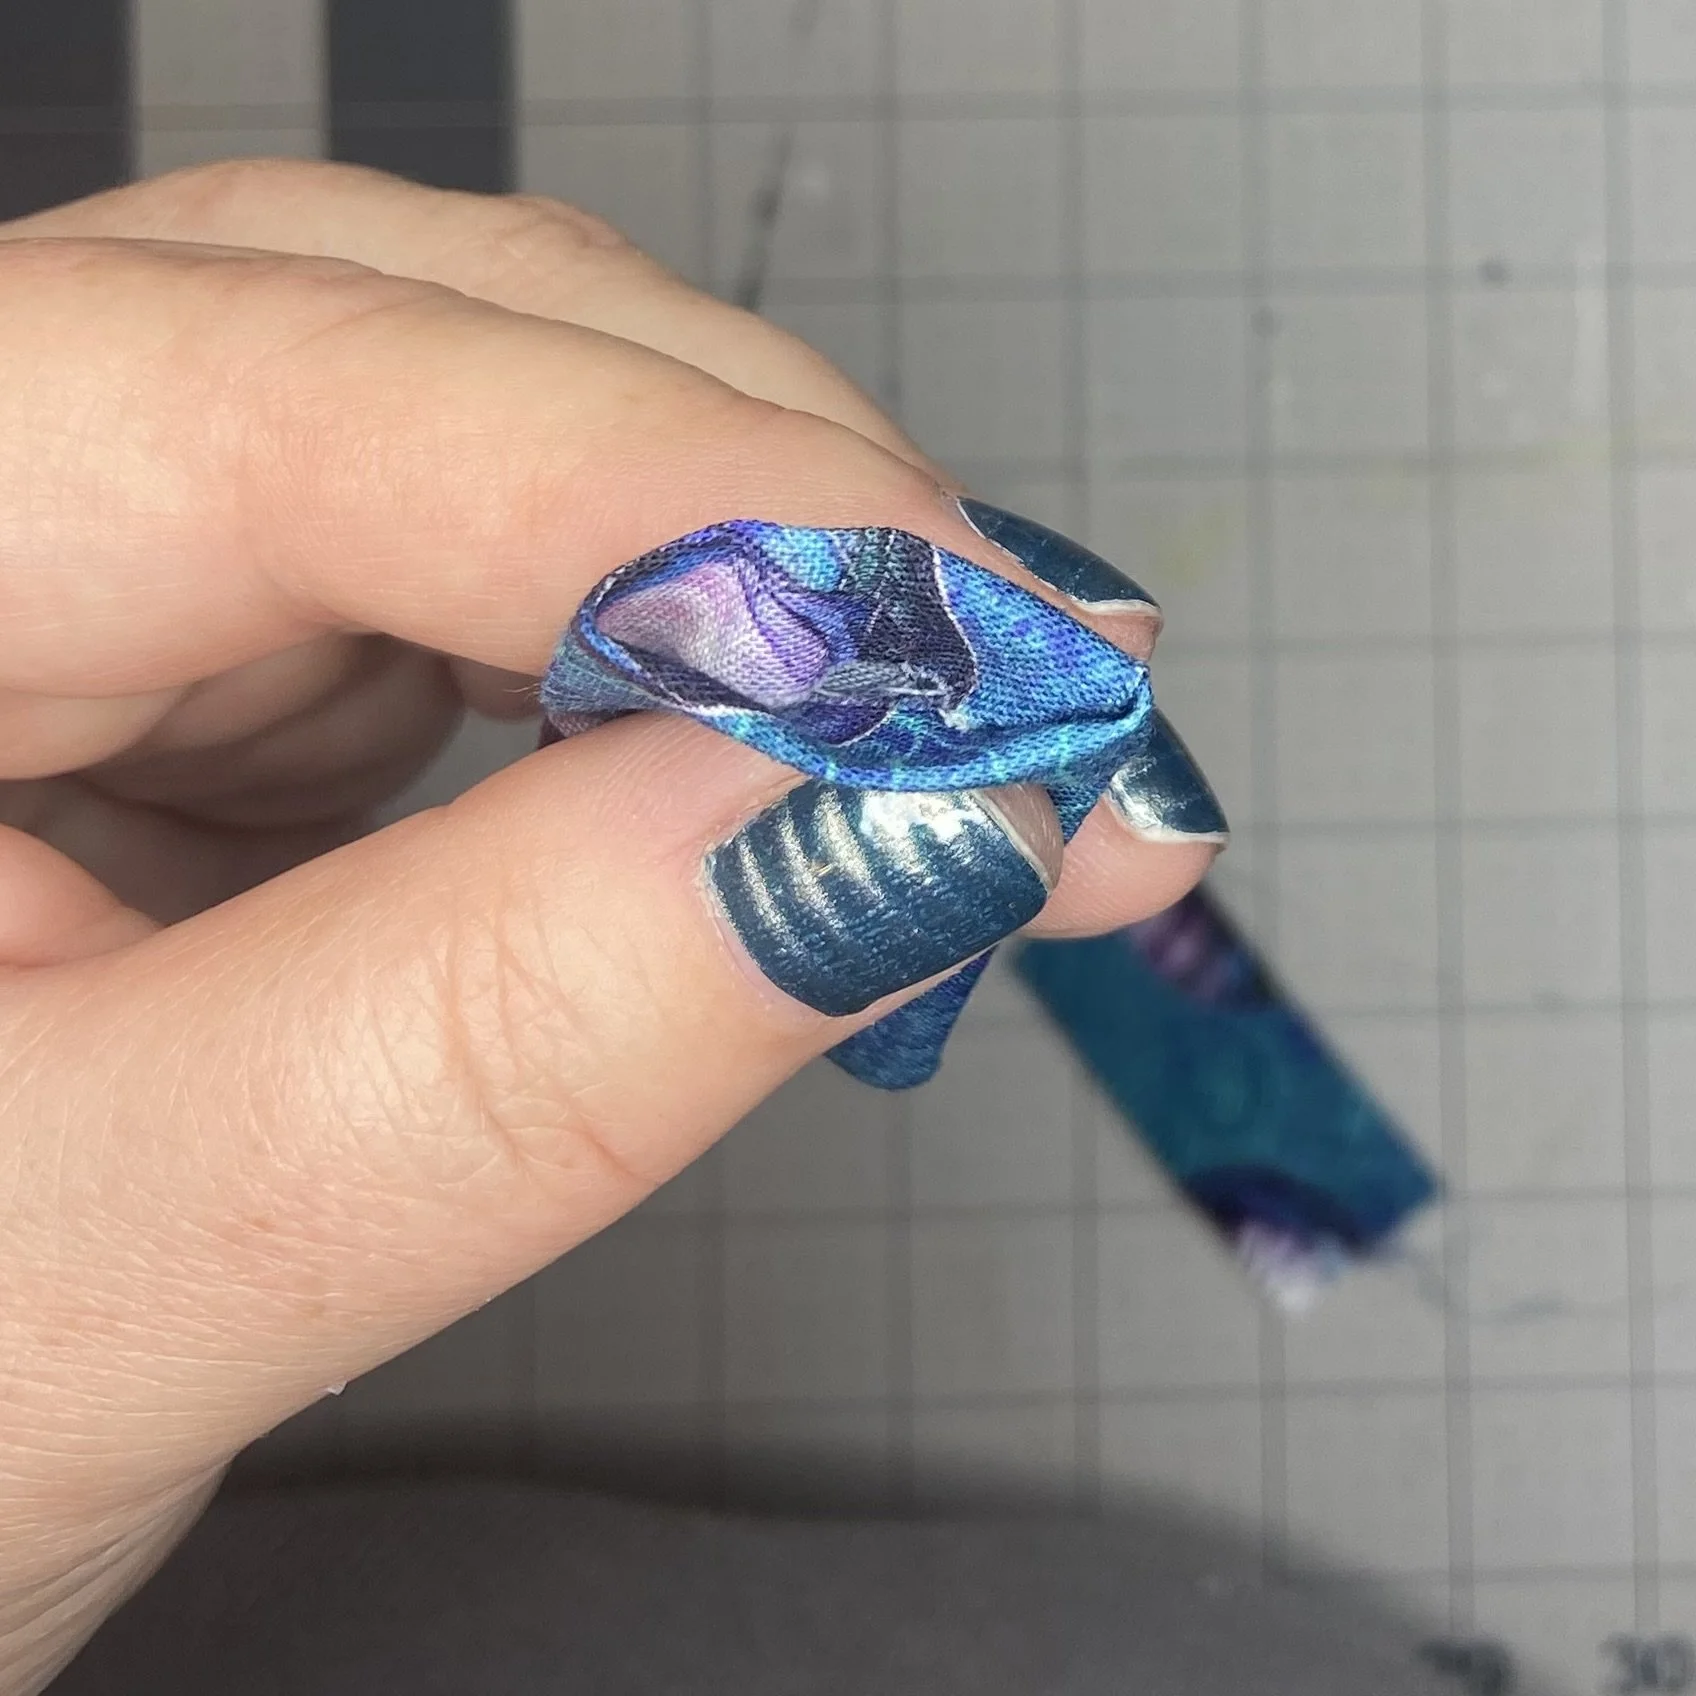
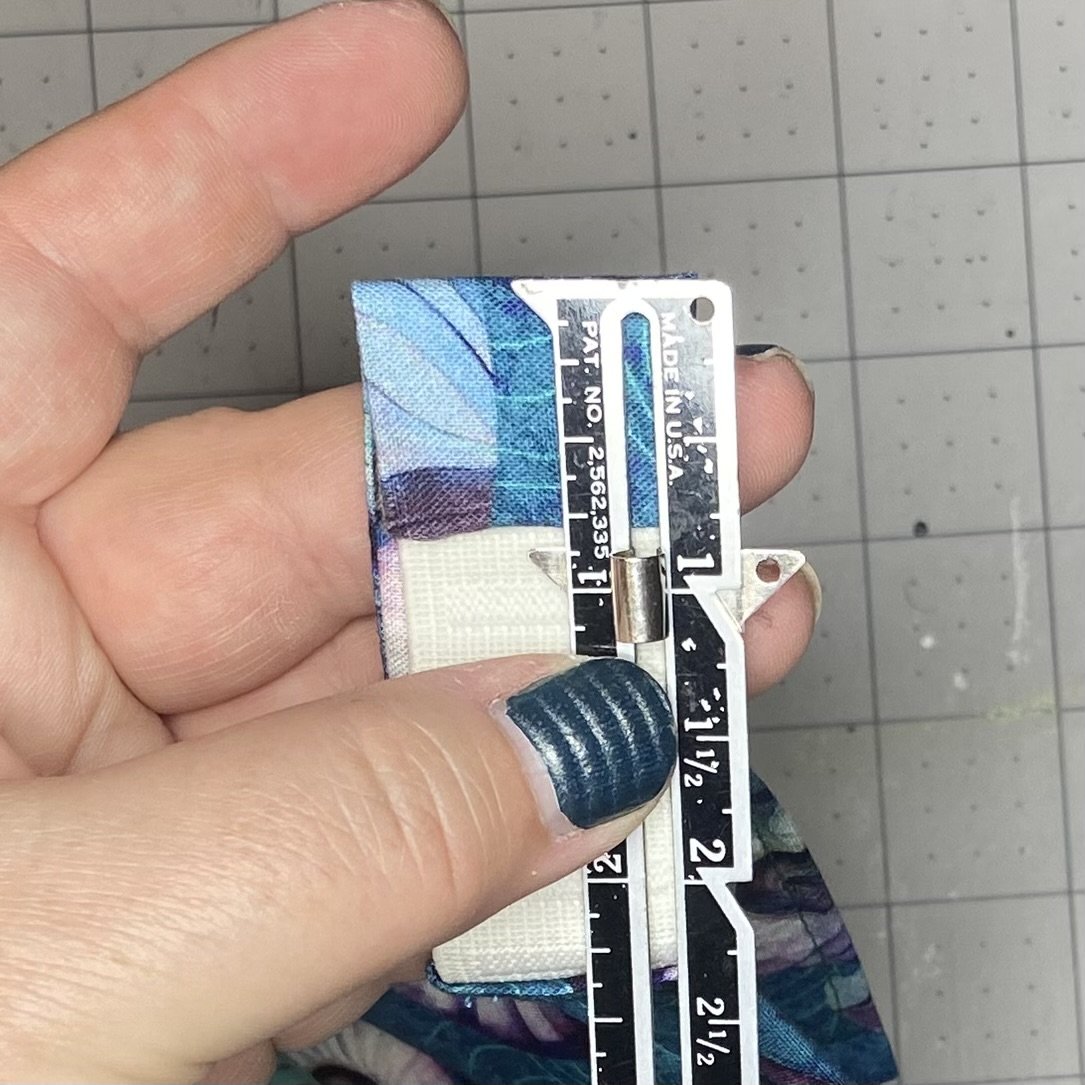
Now for the finicky part. I had to insert my elastic into that open end. It’s a tight fit (by design) so I had to be patient and go slowly. I did eventually figure out (on my second mask) that it’s easier to insert if you have a small tool to grip the edges of the fabric and work them down over the elastic. I used tweezers but needle-nose pliers or some other tool would work. I inserted the elastic until 3/4” was inside the fabric strap. The easiest way to measure is to fold the fabric back over the end of the elastic. Then it’s easy to see how much is inside.

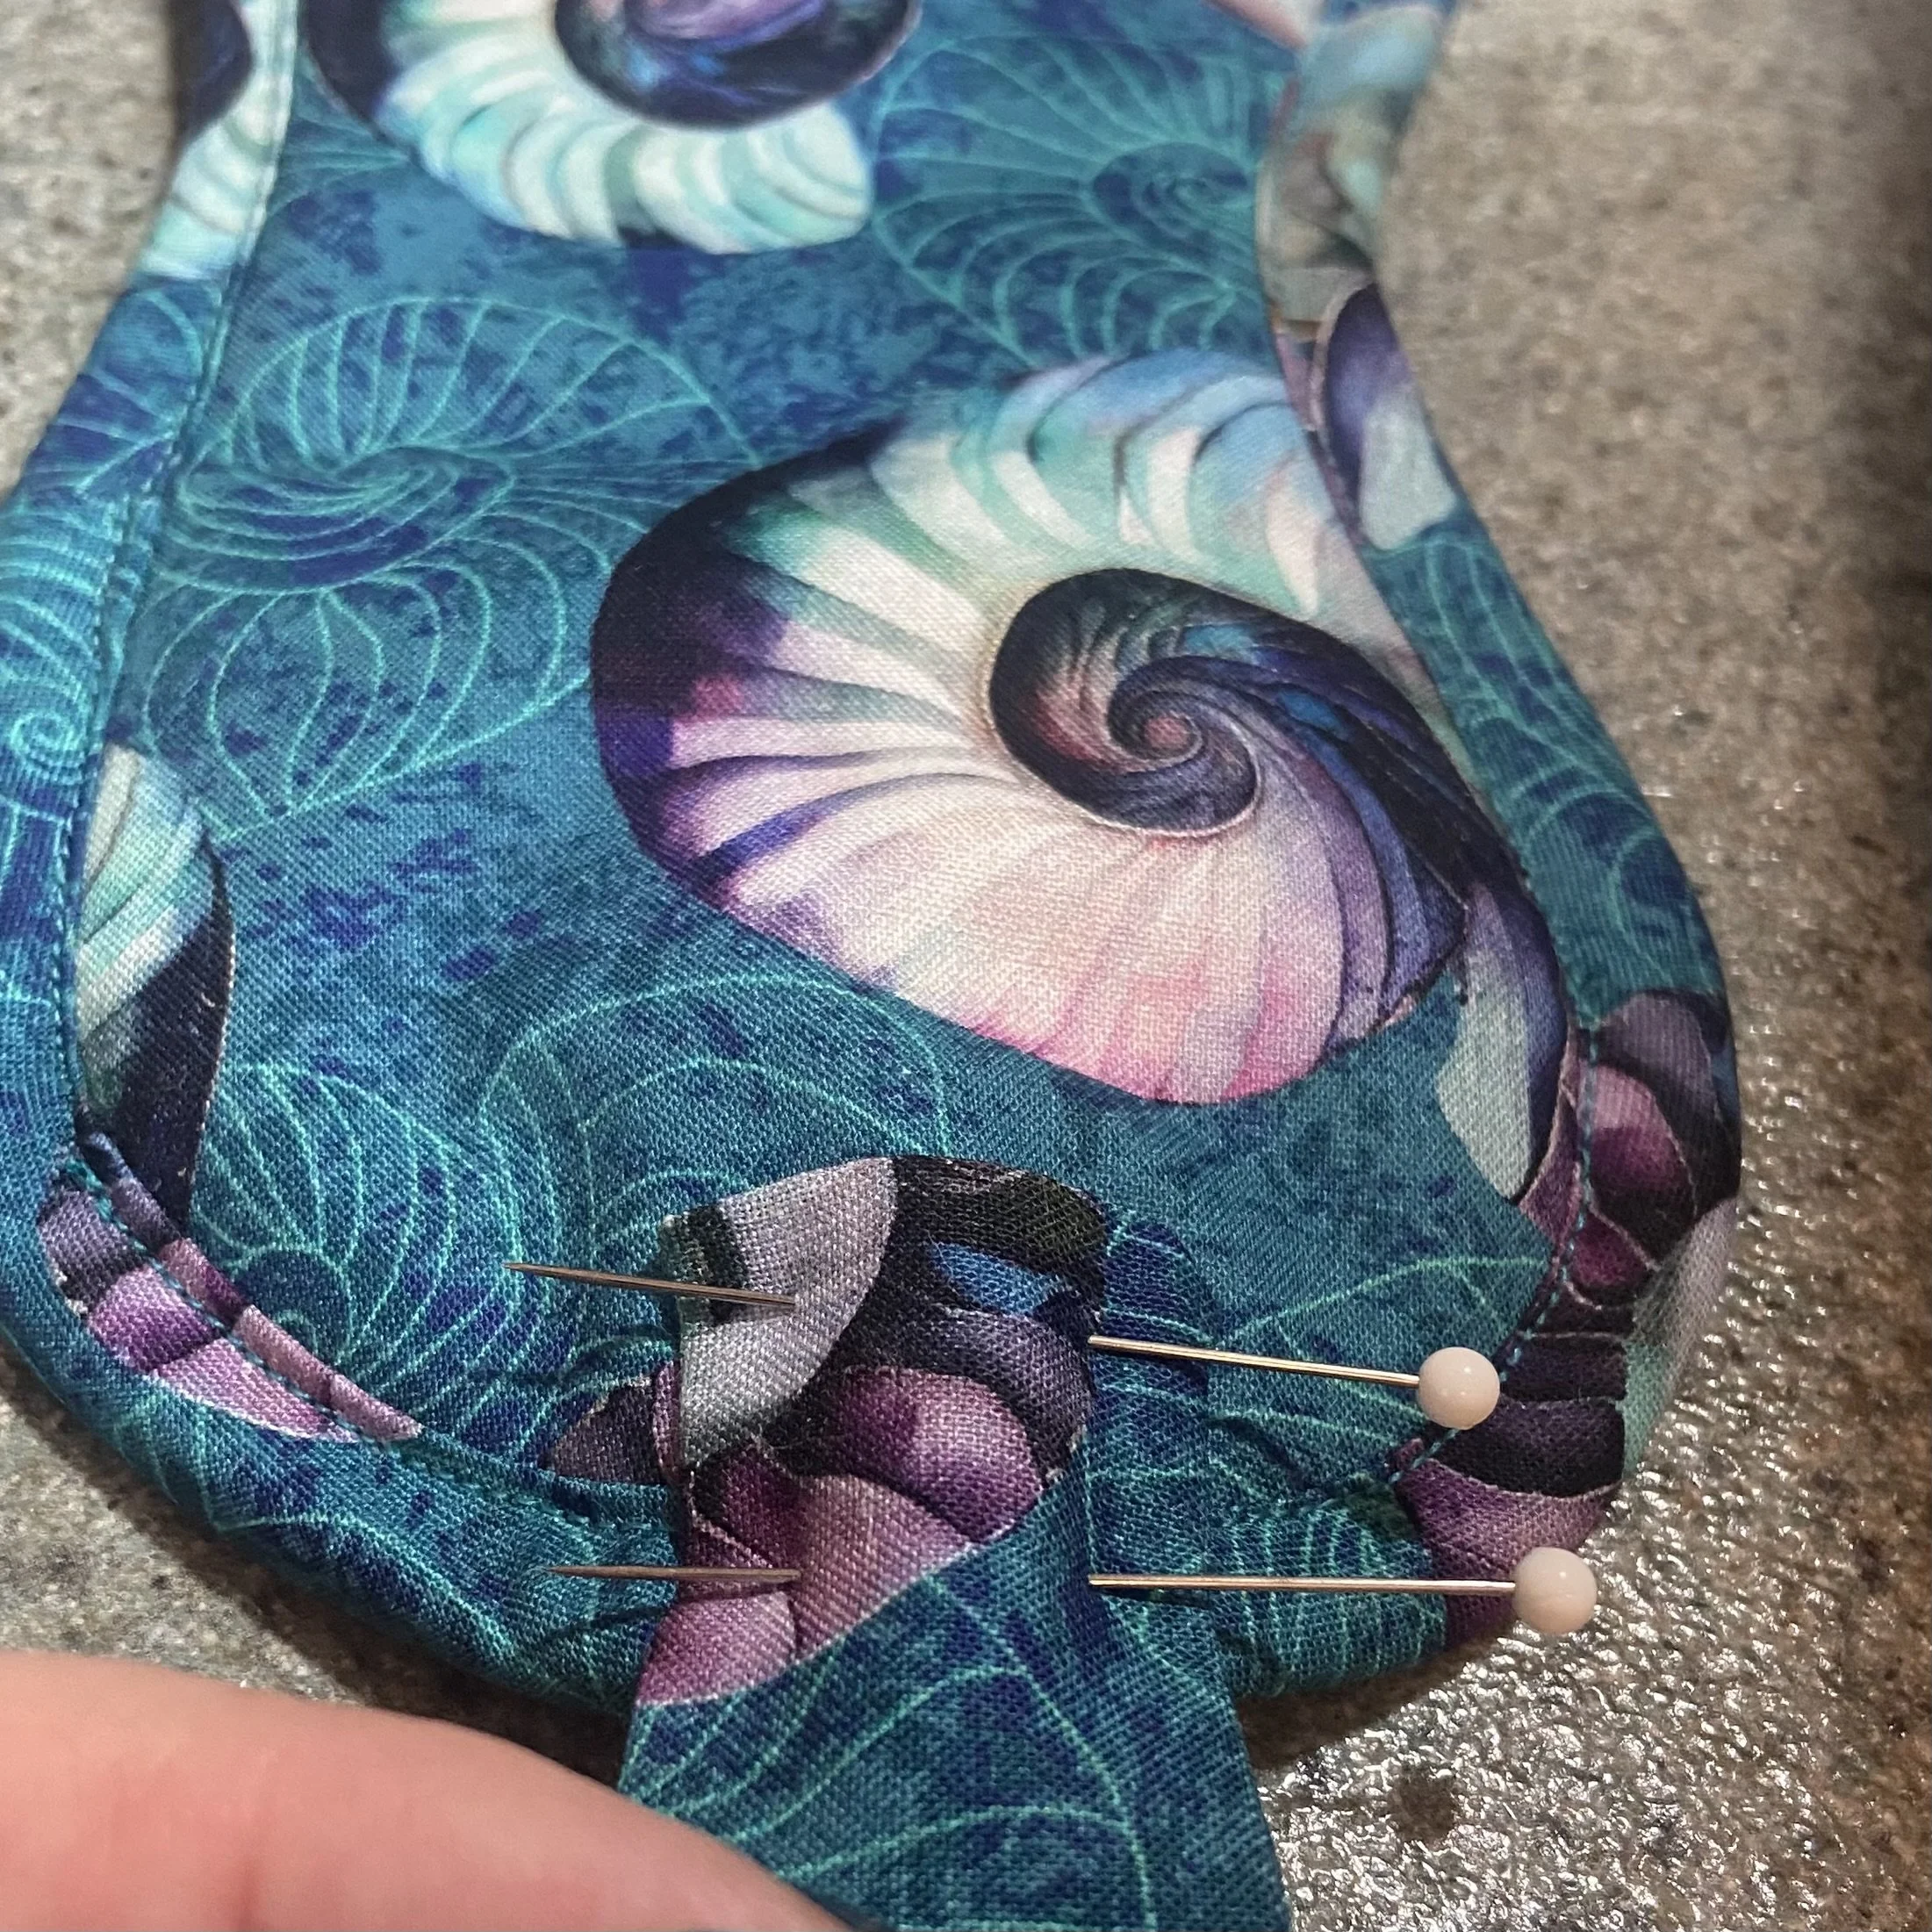
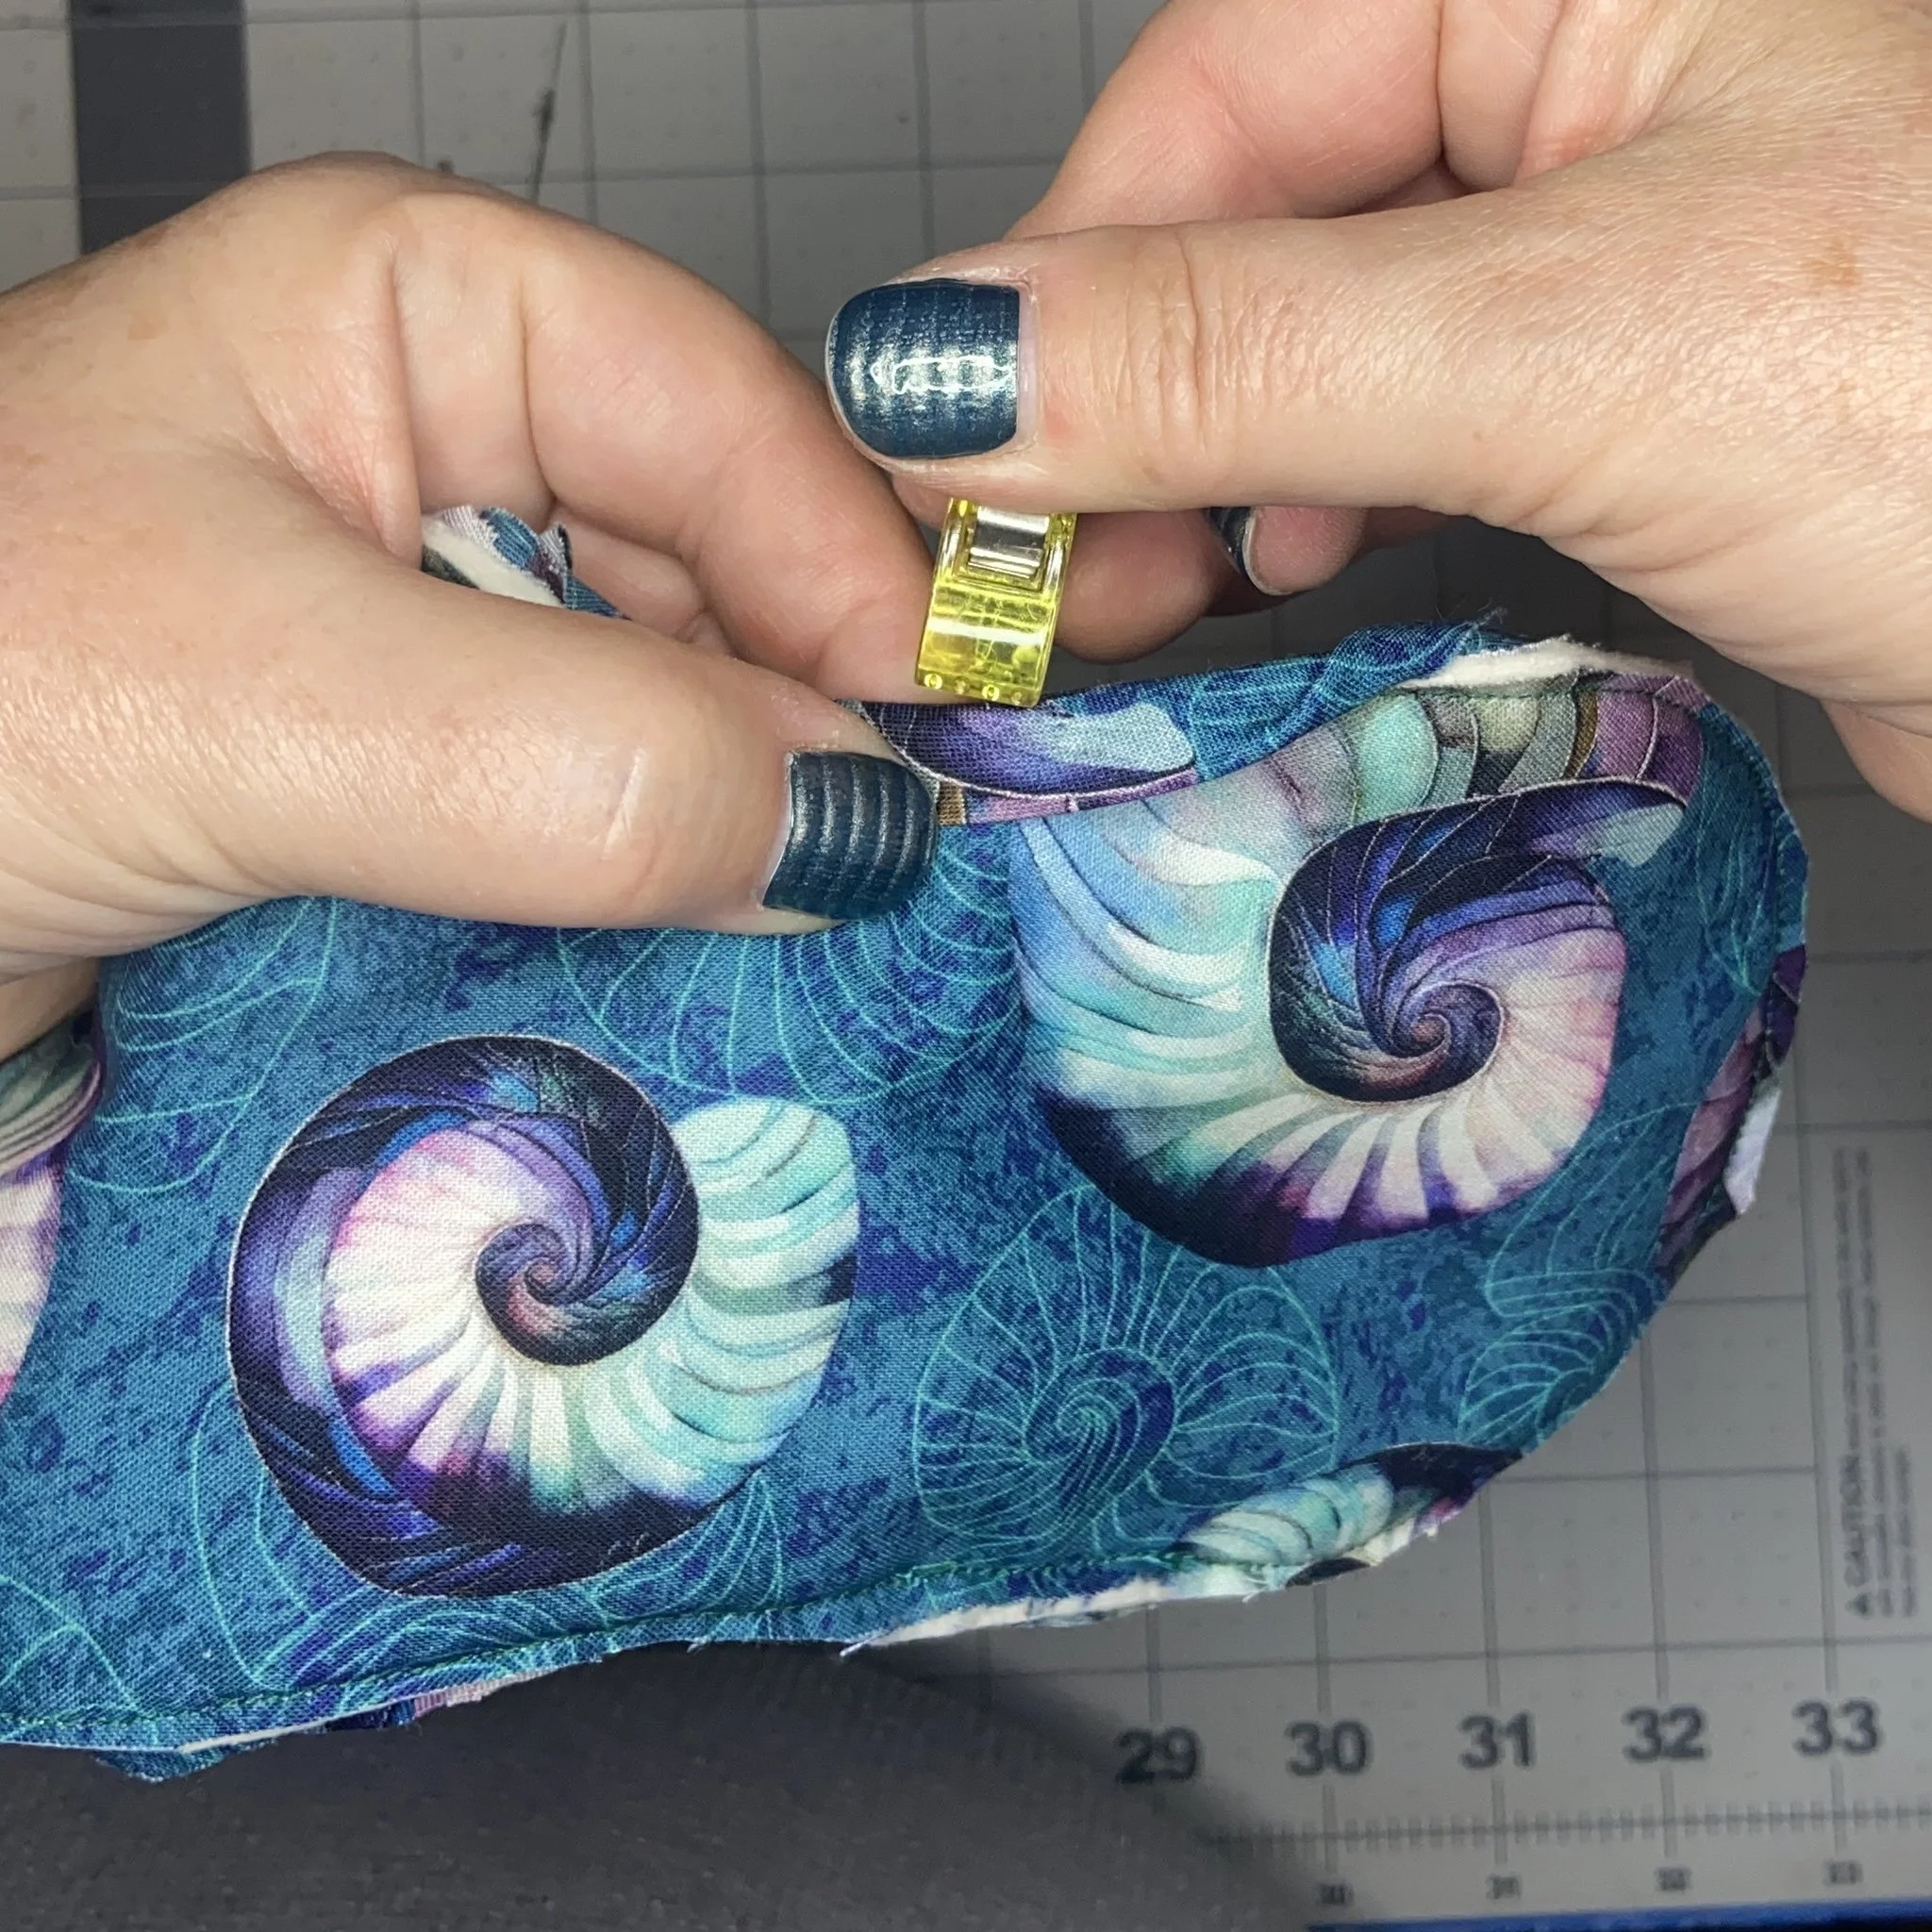
I stitched a square over the point where the elastic and fabric come together, then pinned the other end of the fabric strap to the side of the mask with about an inch of overlap. I attached the strap to the front of the mask (the part that is facing away from the skin), for comfort when wearing. I secured the strap to the mask with another square of stitching. I did this for both short straps, of course. What I didn’t manage to do was get enough pictures of this part of the process, so sorry about that. I’ll do better, Mom, I promise.
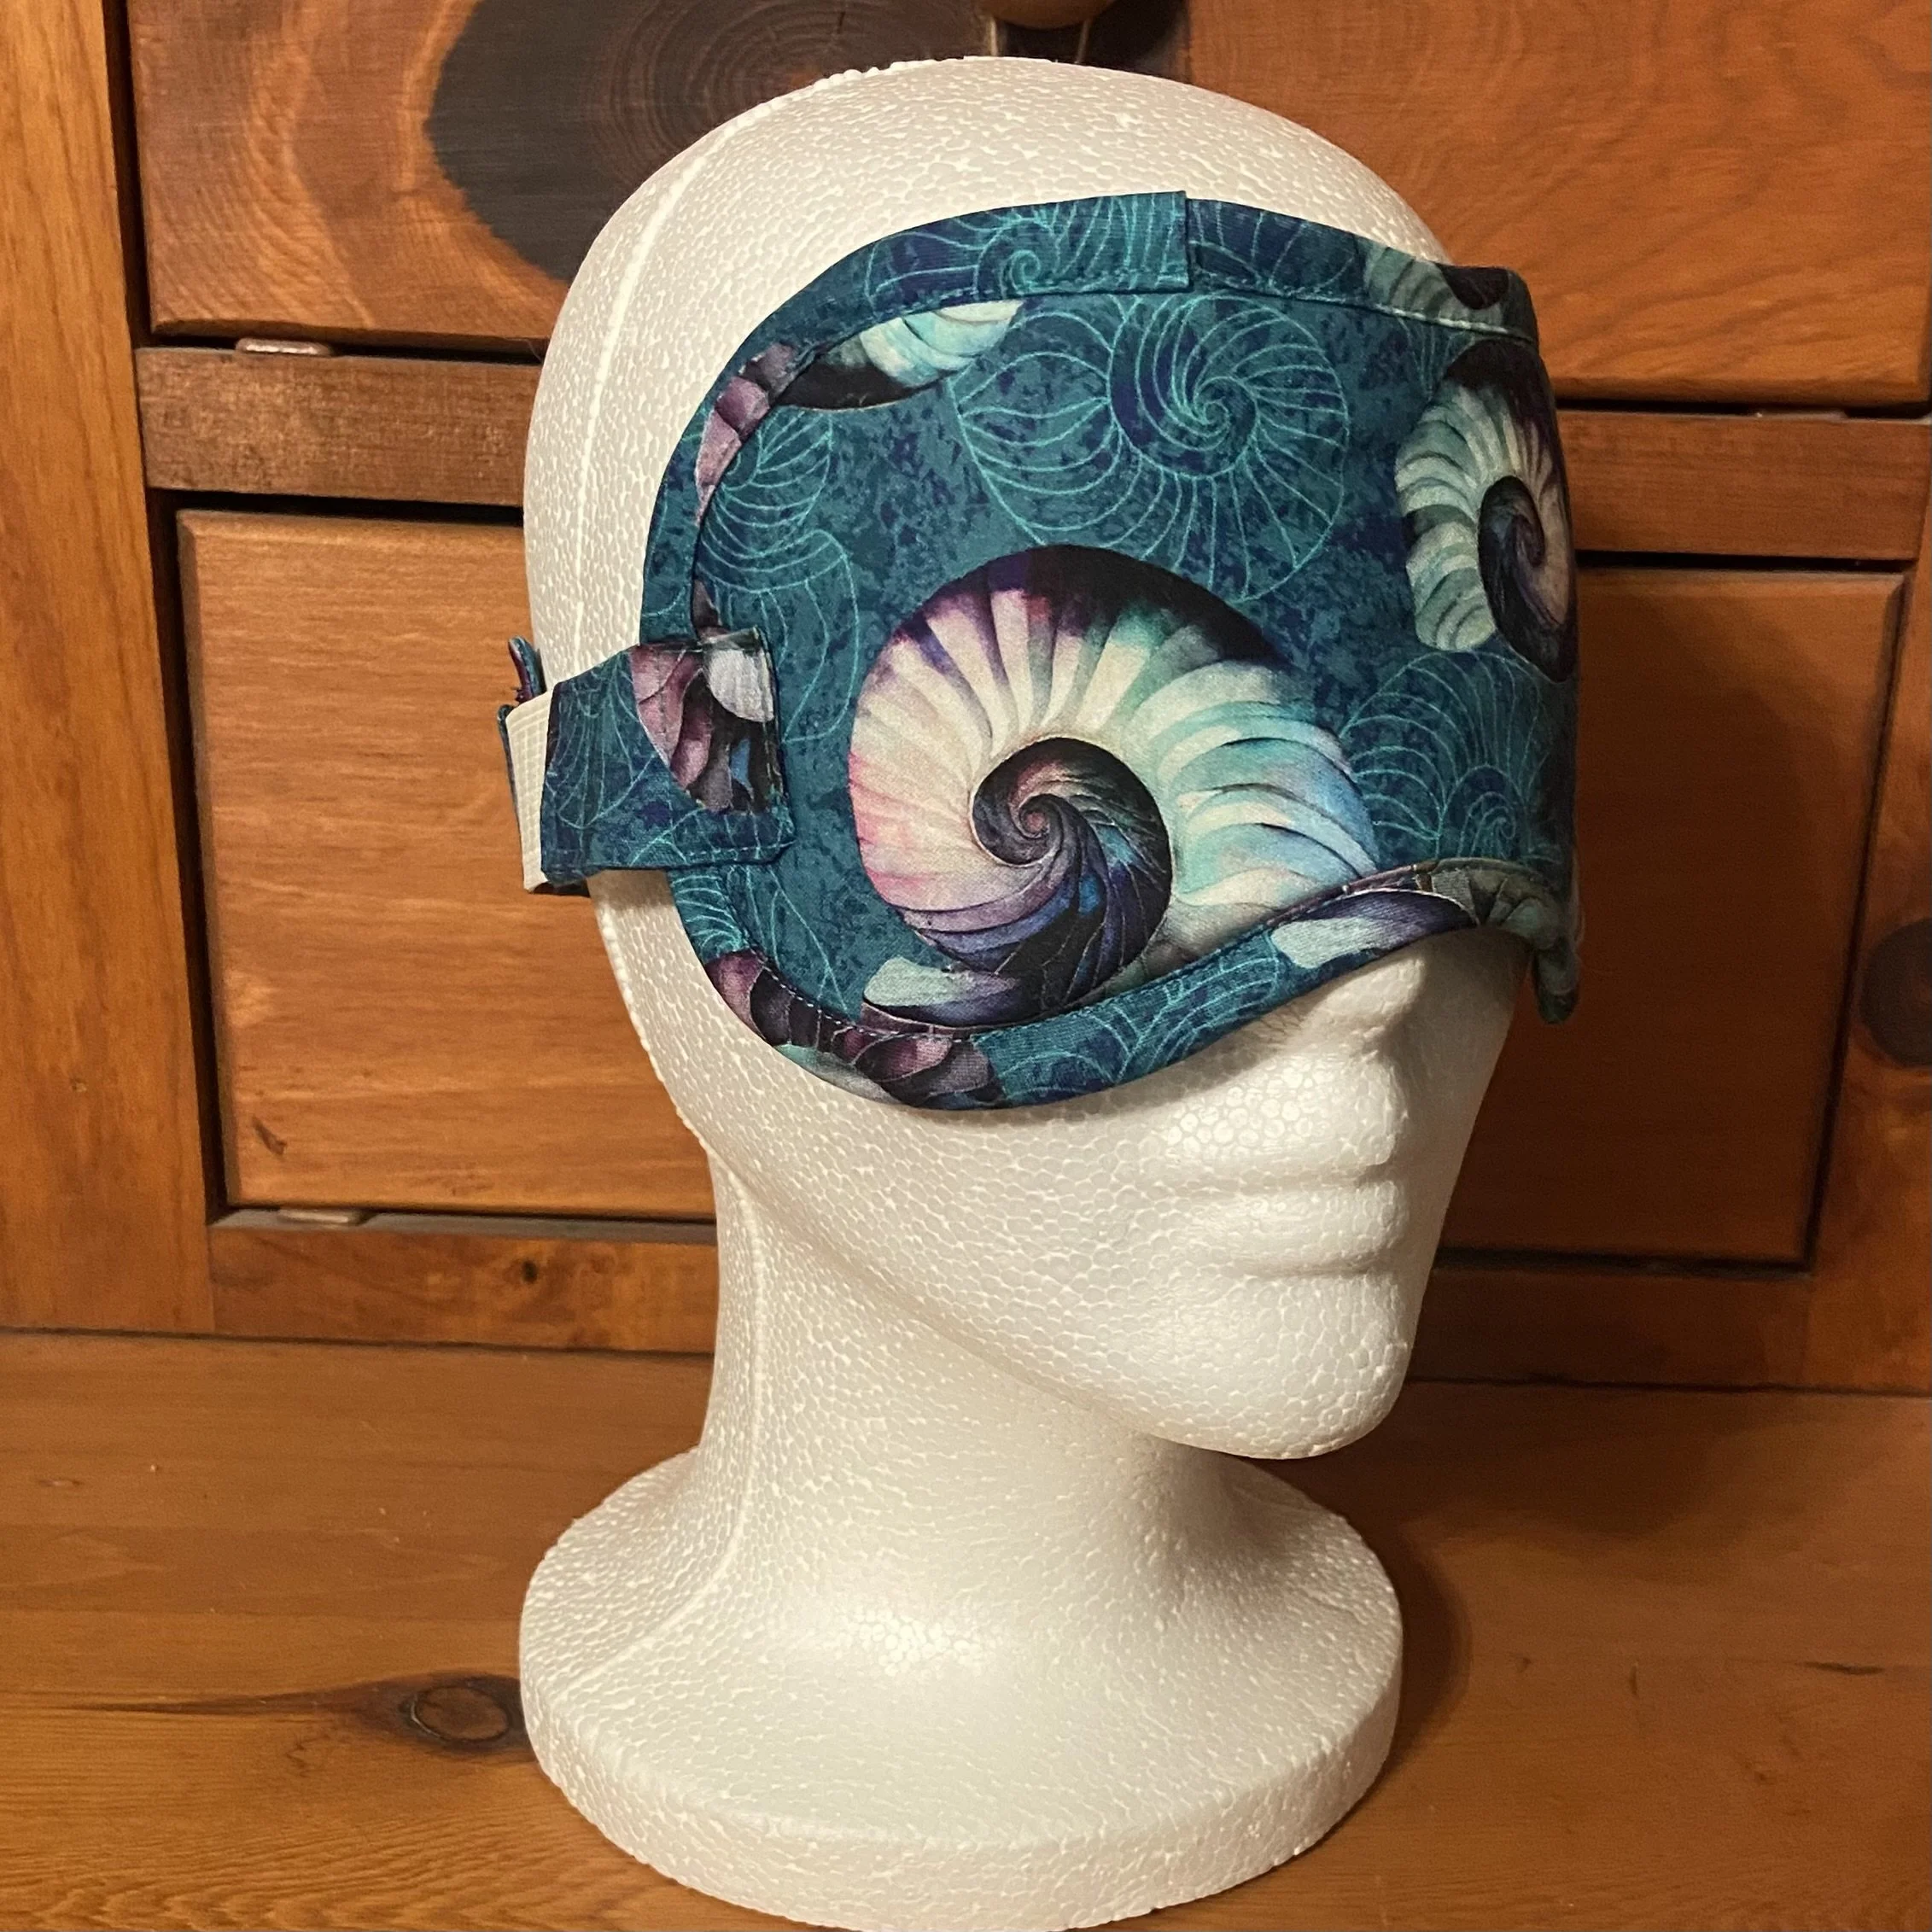
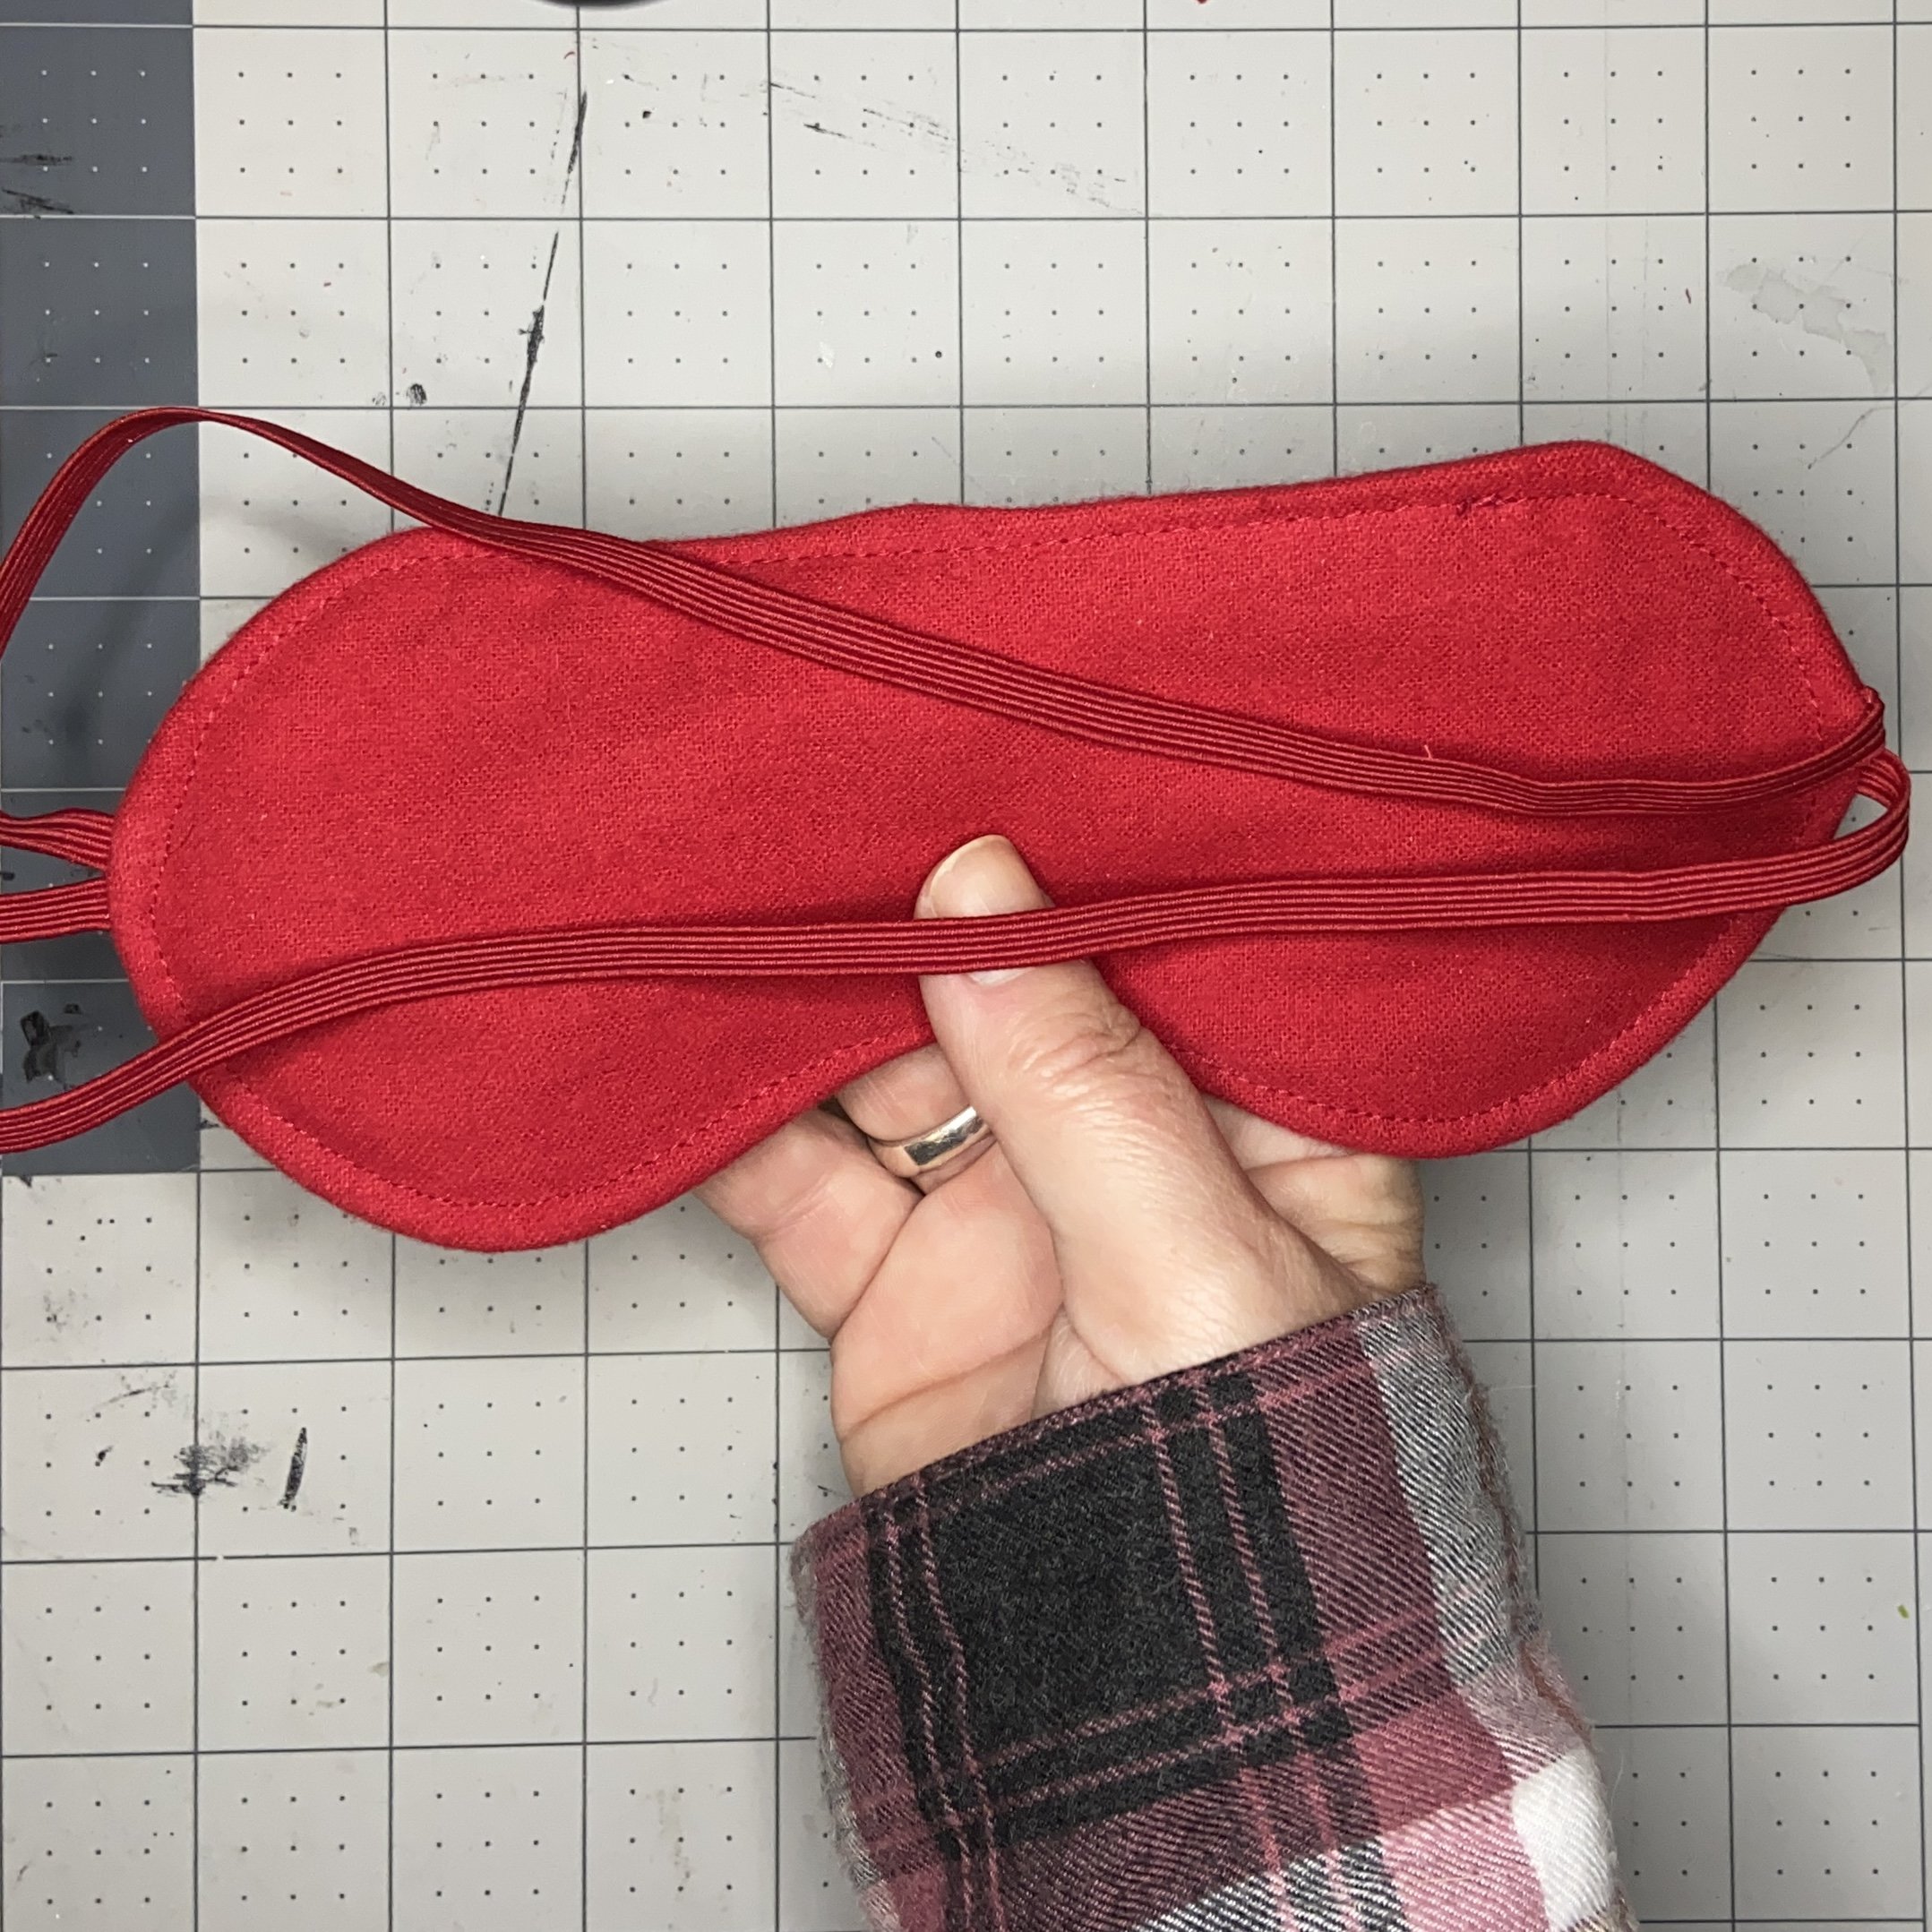
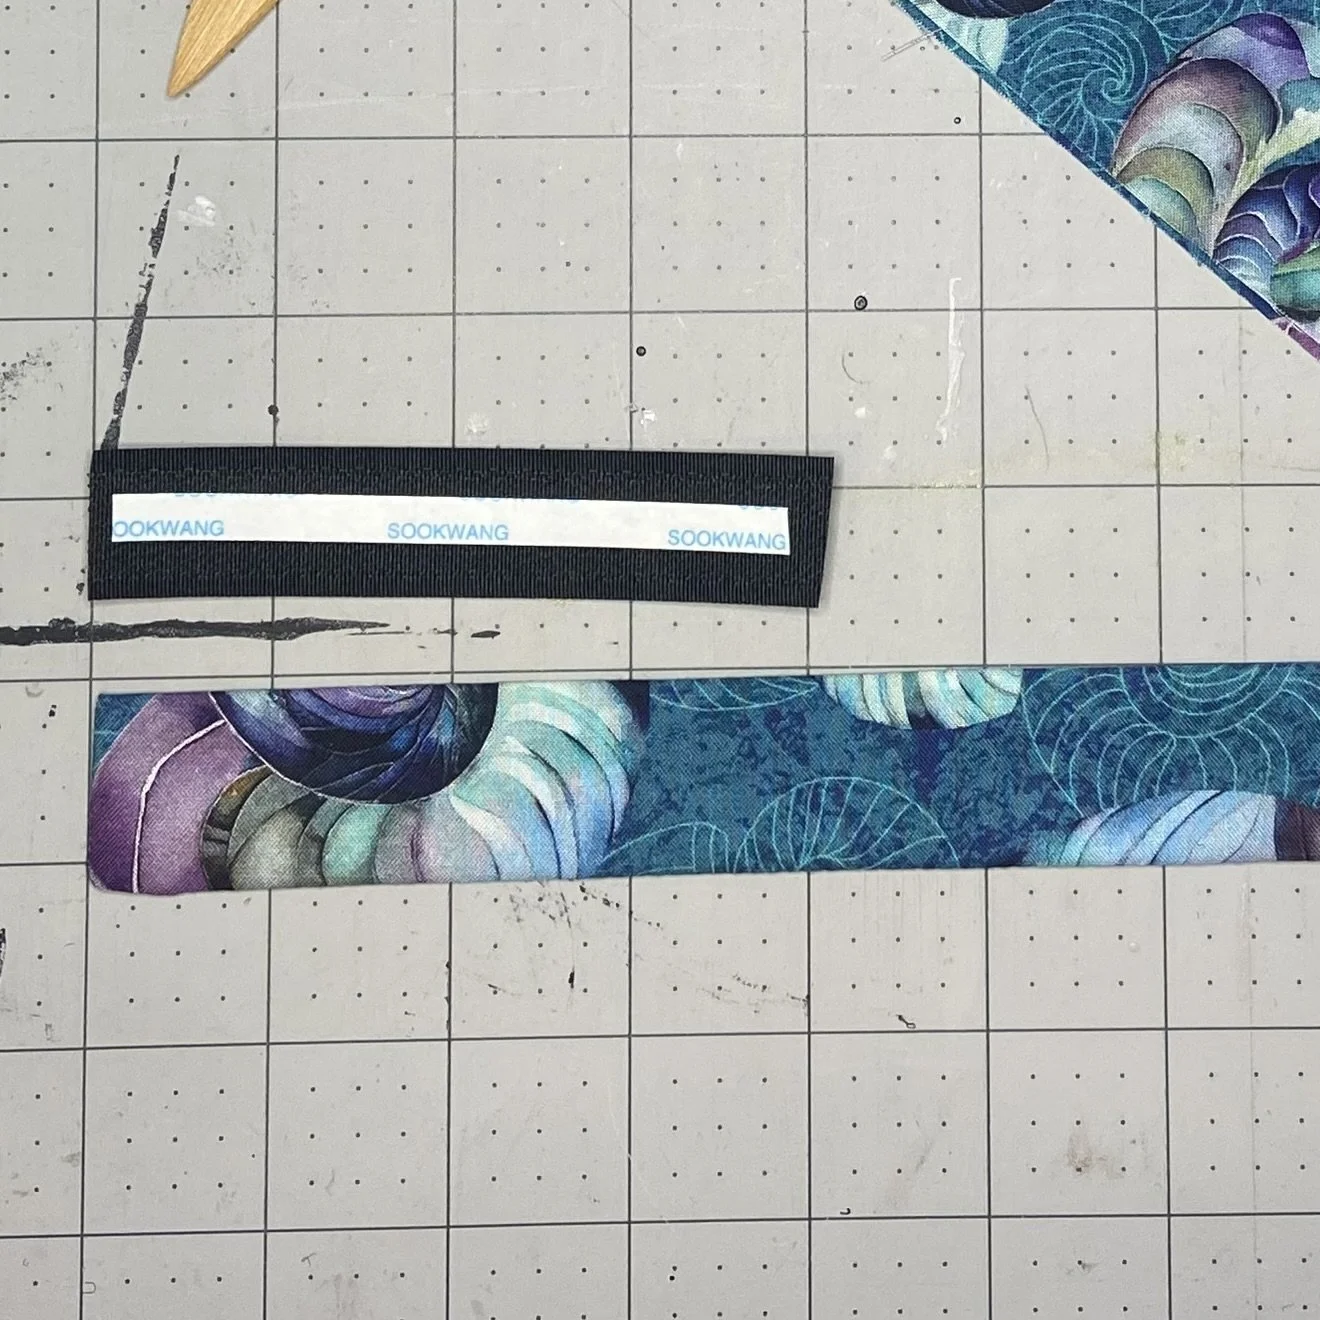
Next, I stitched my two pieces of Velcro onto the finished ends of the longer straps. The easy way to do this is to use a piece of 3/8” double sided tape to secure the Velcro to the fabric before stitching. This is much easier and more effective than trying to use pins or clips. Once the Velcro was stitched onto both pieces, I stuck the Velcro together so that the open ends of the straps were pointing away from each other, and the full length of the Velcro section was overlapped.
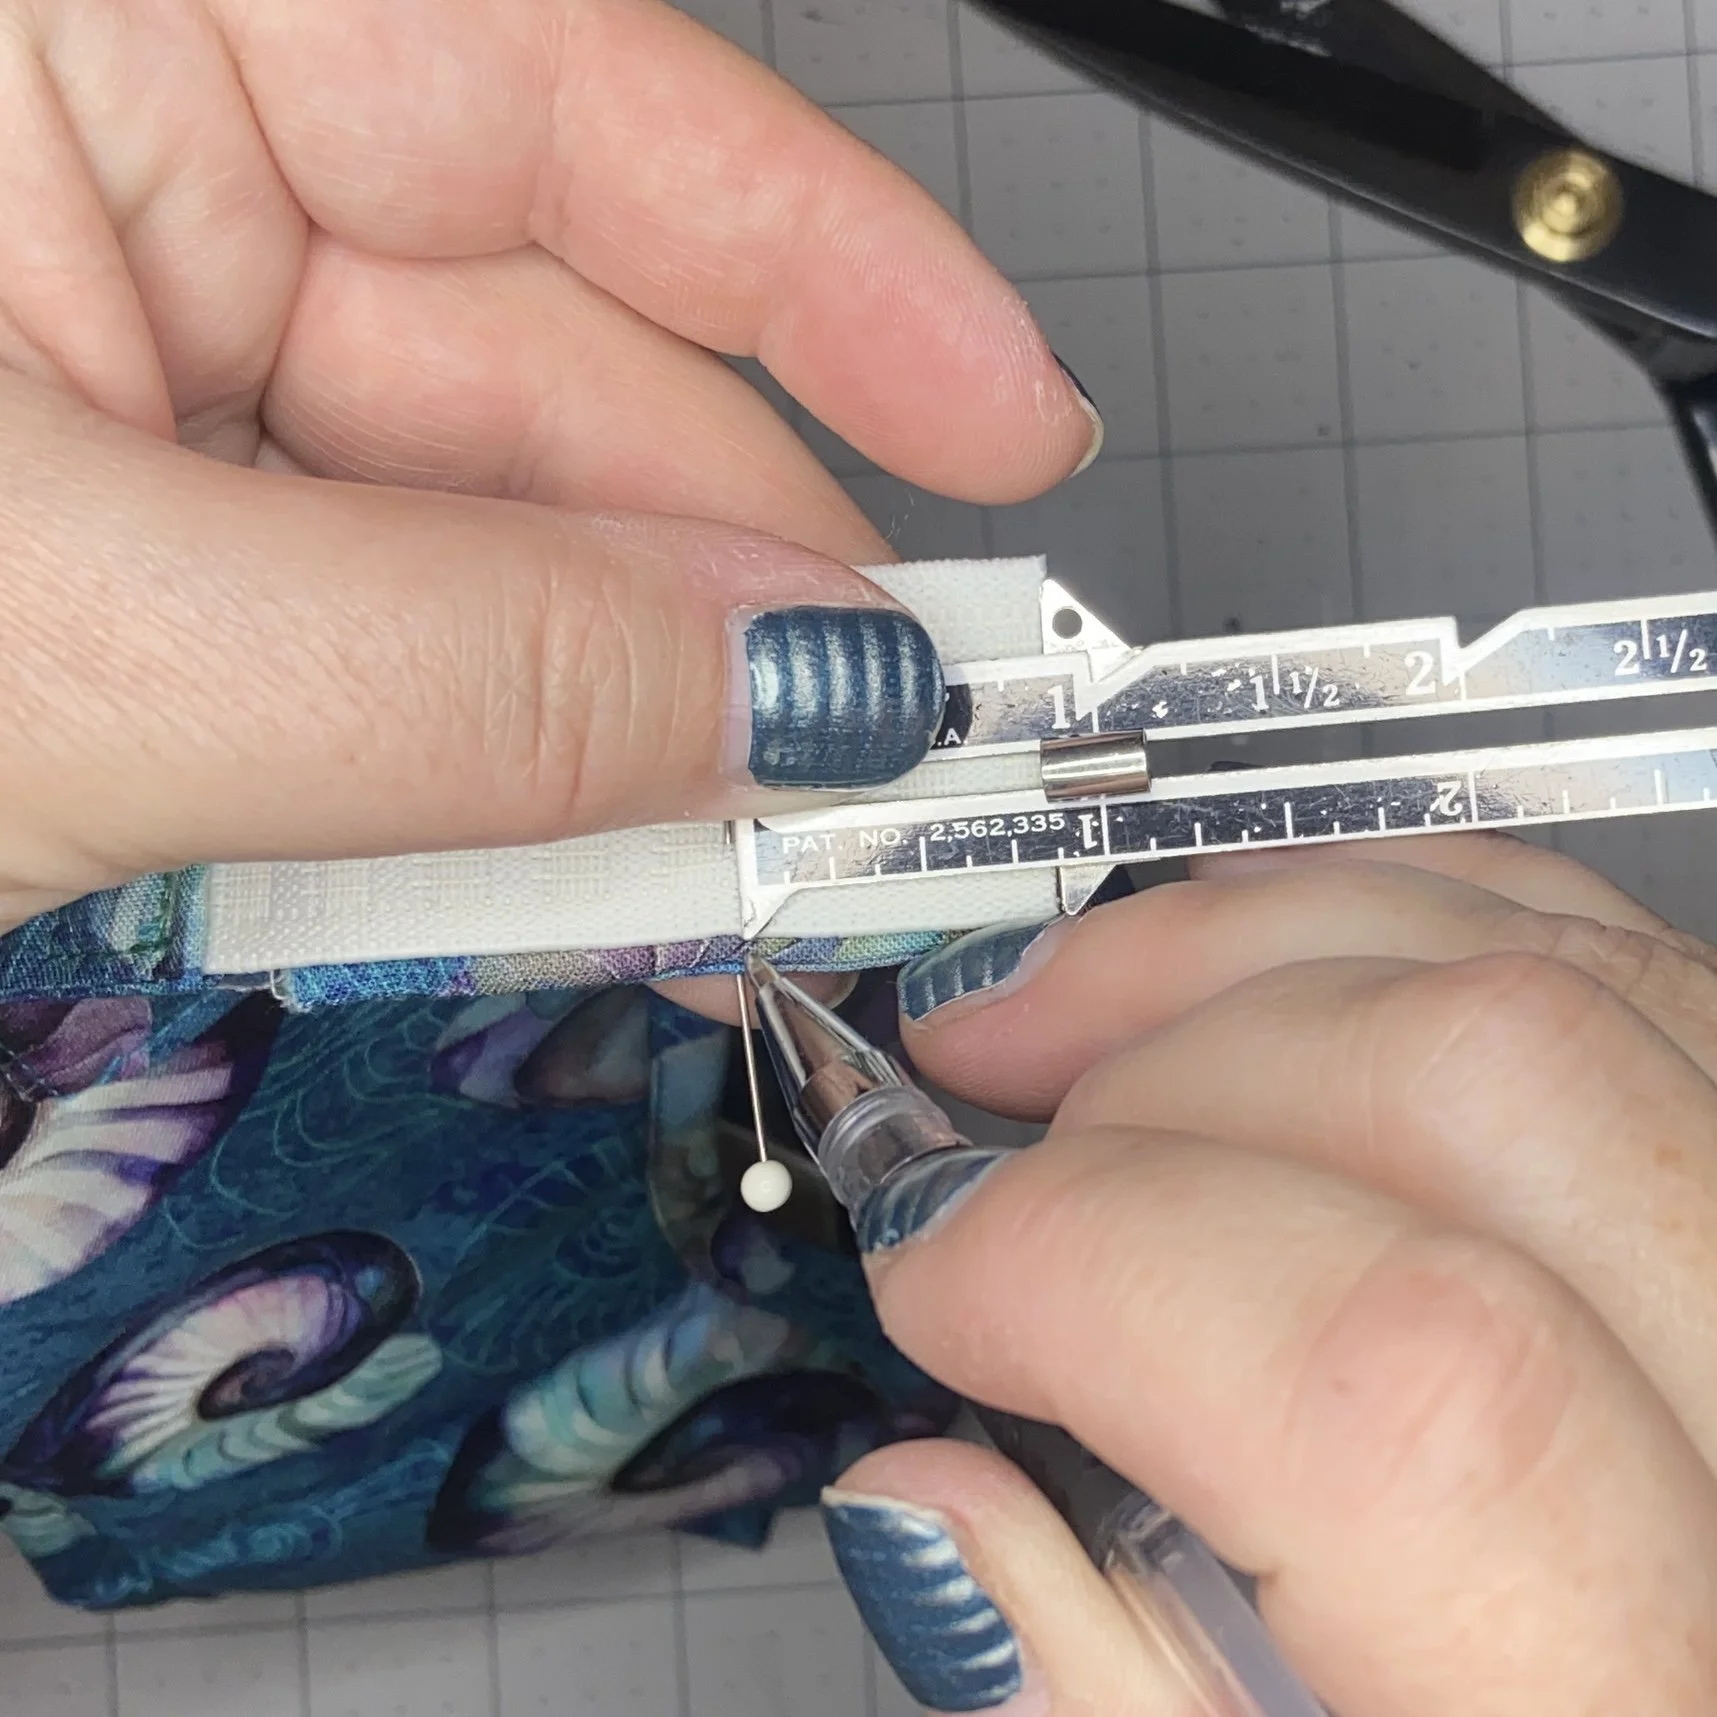
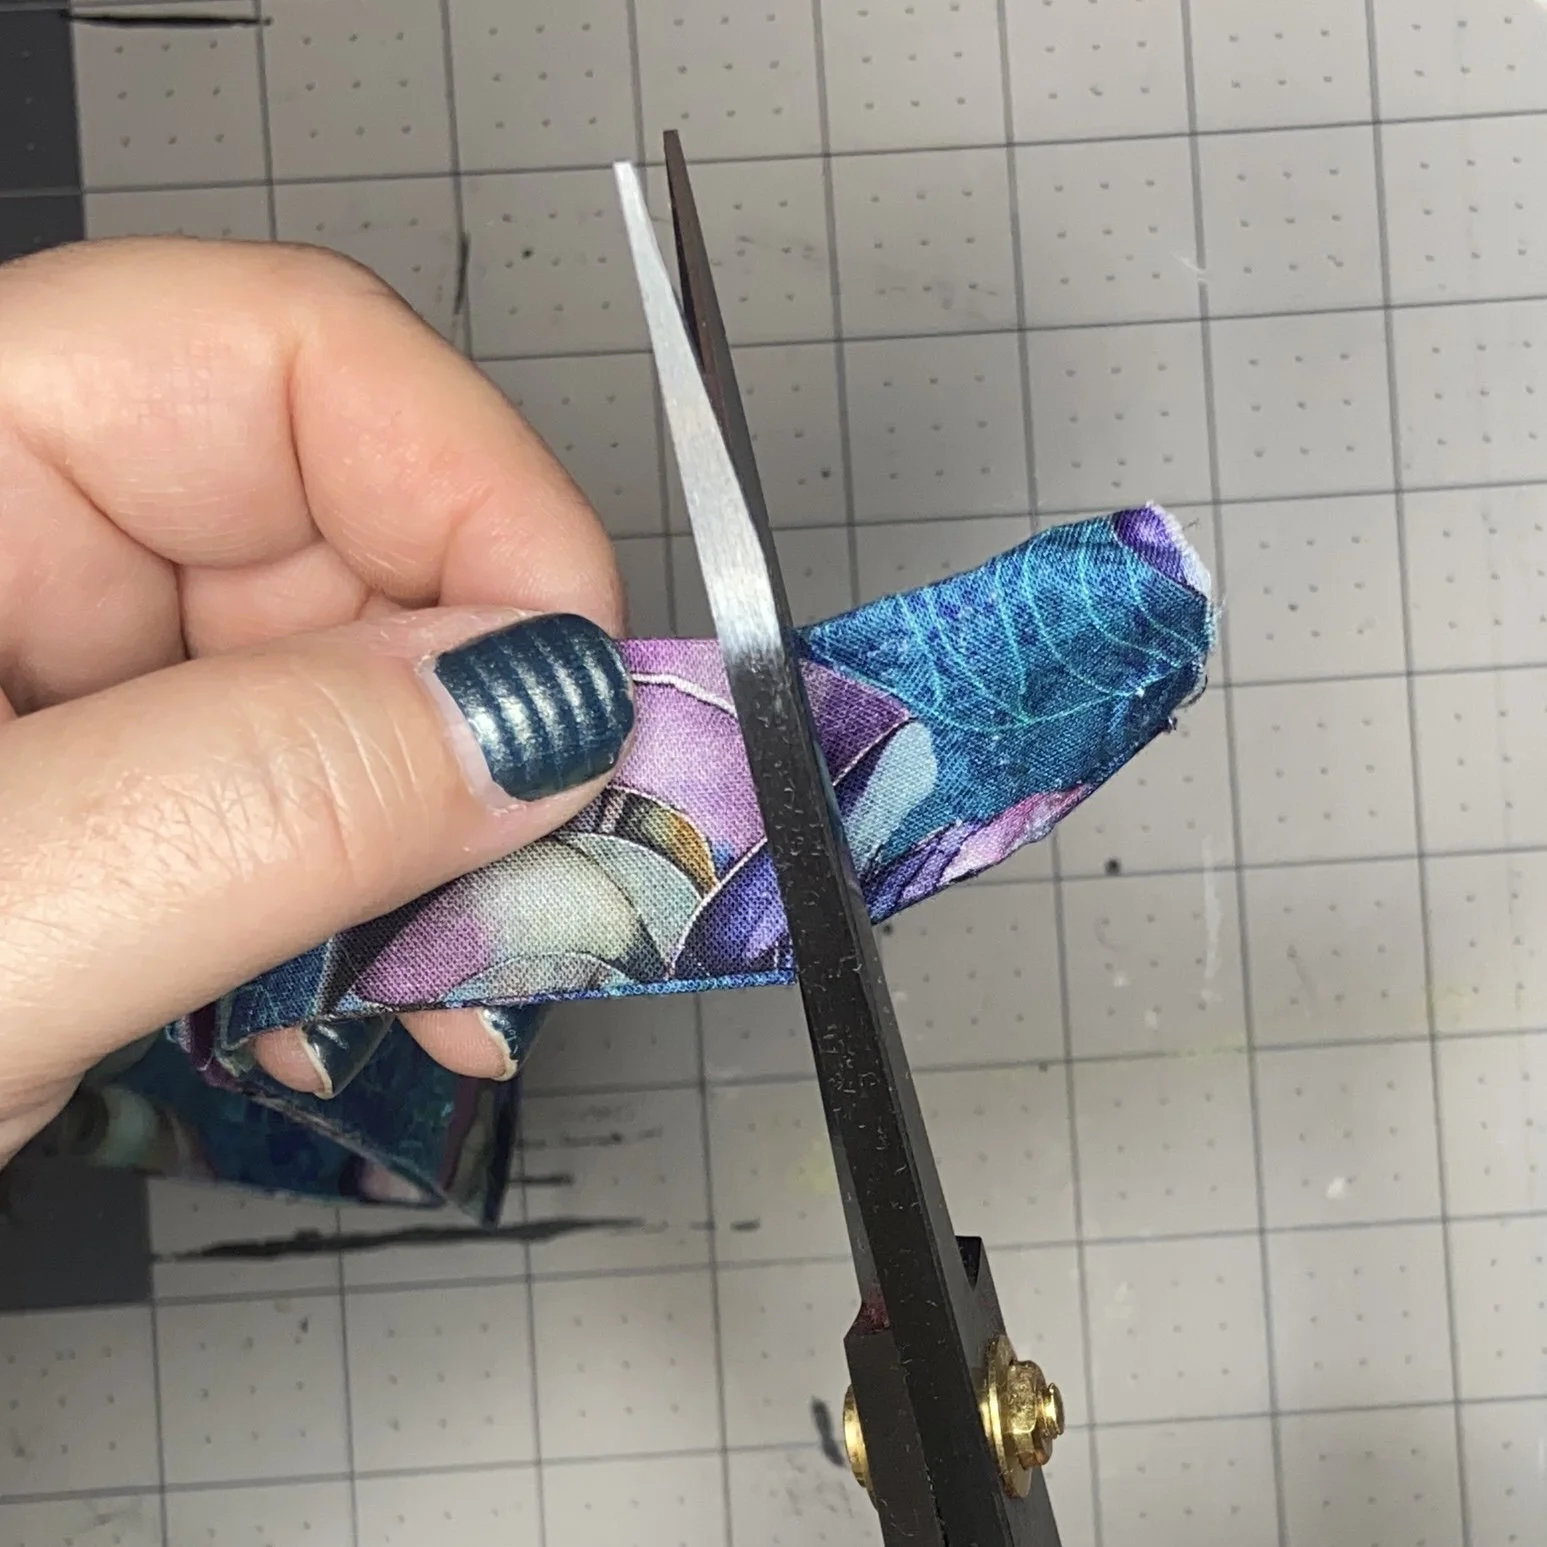
Next, I overlapped both of the open ends of the long straps with the elastic attached to the mask by about an inch and pinned in place. I tried on the mask and adjusted the placement of the long straps on the elastic as needed for a comfortable fit. I will say that I used pins for this, which snagged my hair and dug into my scalp and ears a couple times. A smarter person would have used safety pins for this task. Once a comfortable fit was accomplished, I marked the fabric straps at a point where they overlapped the elastic by one inch. Initially, I used one of my heat erasable markers for this, but it was easier to just use scissors to snip a small notch at the right point. If you do this, be careful not to cut your elastic! I unpinned the straps and trimmed both ends off at the place I’d marked with the notch.
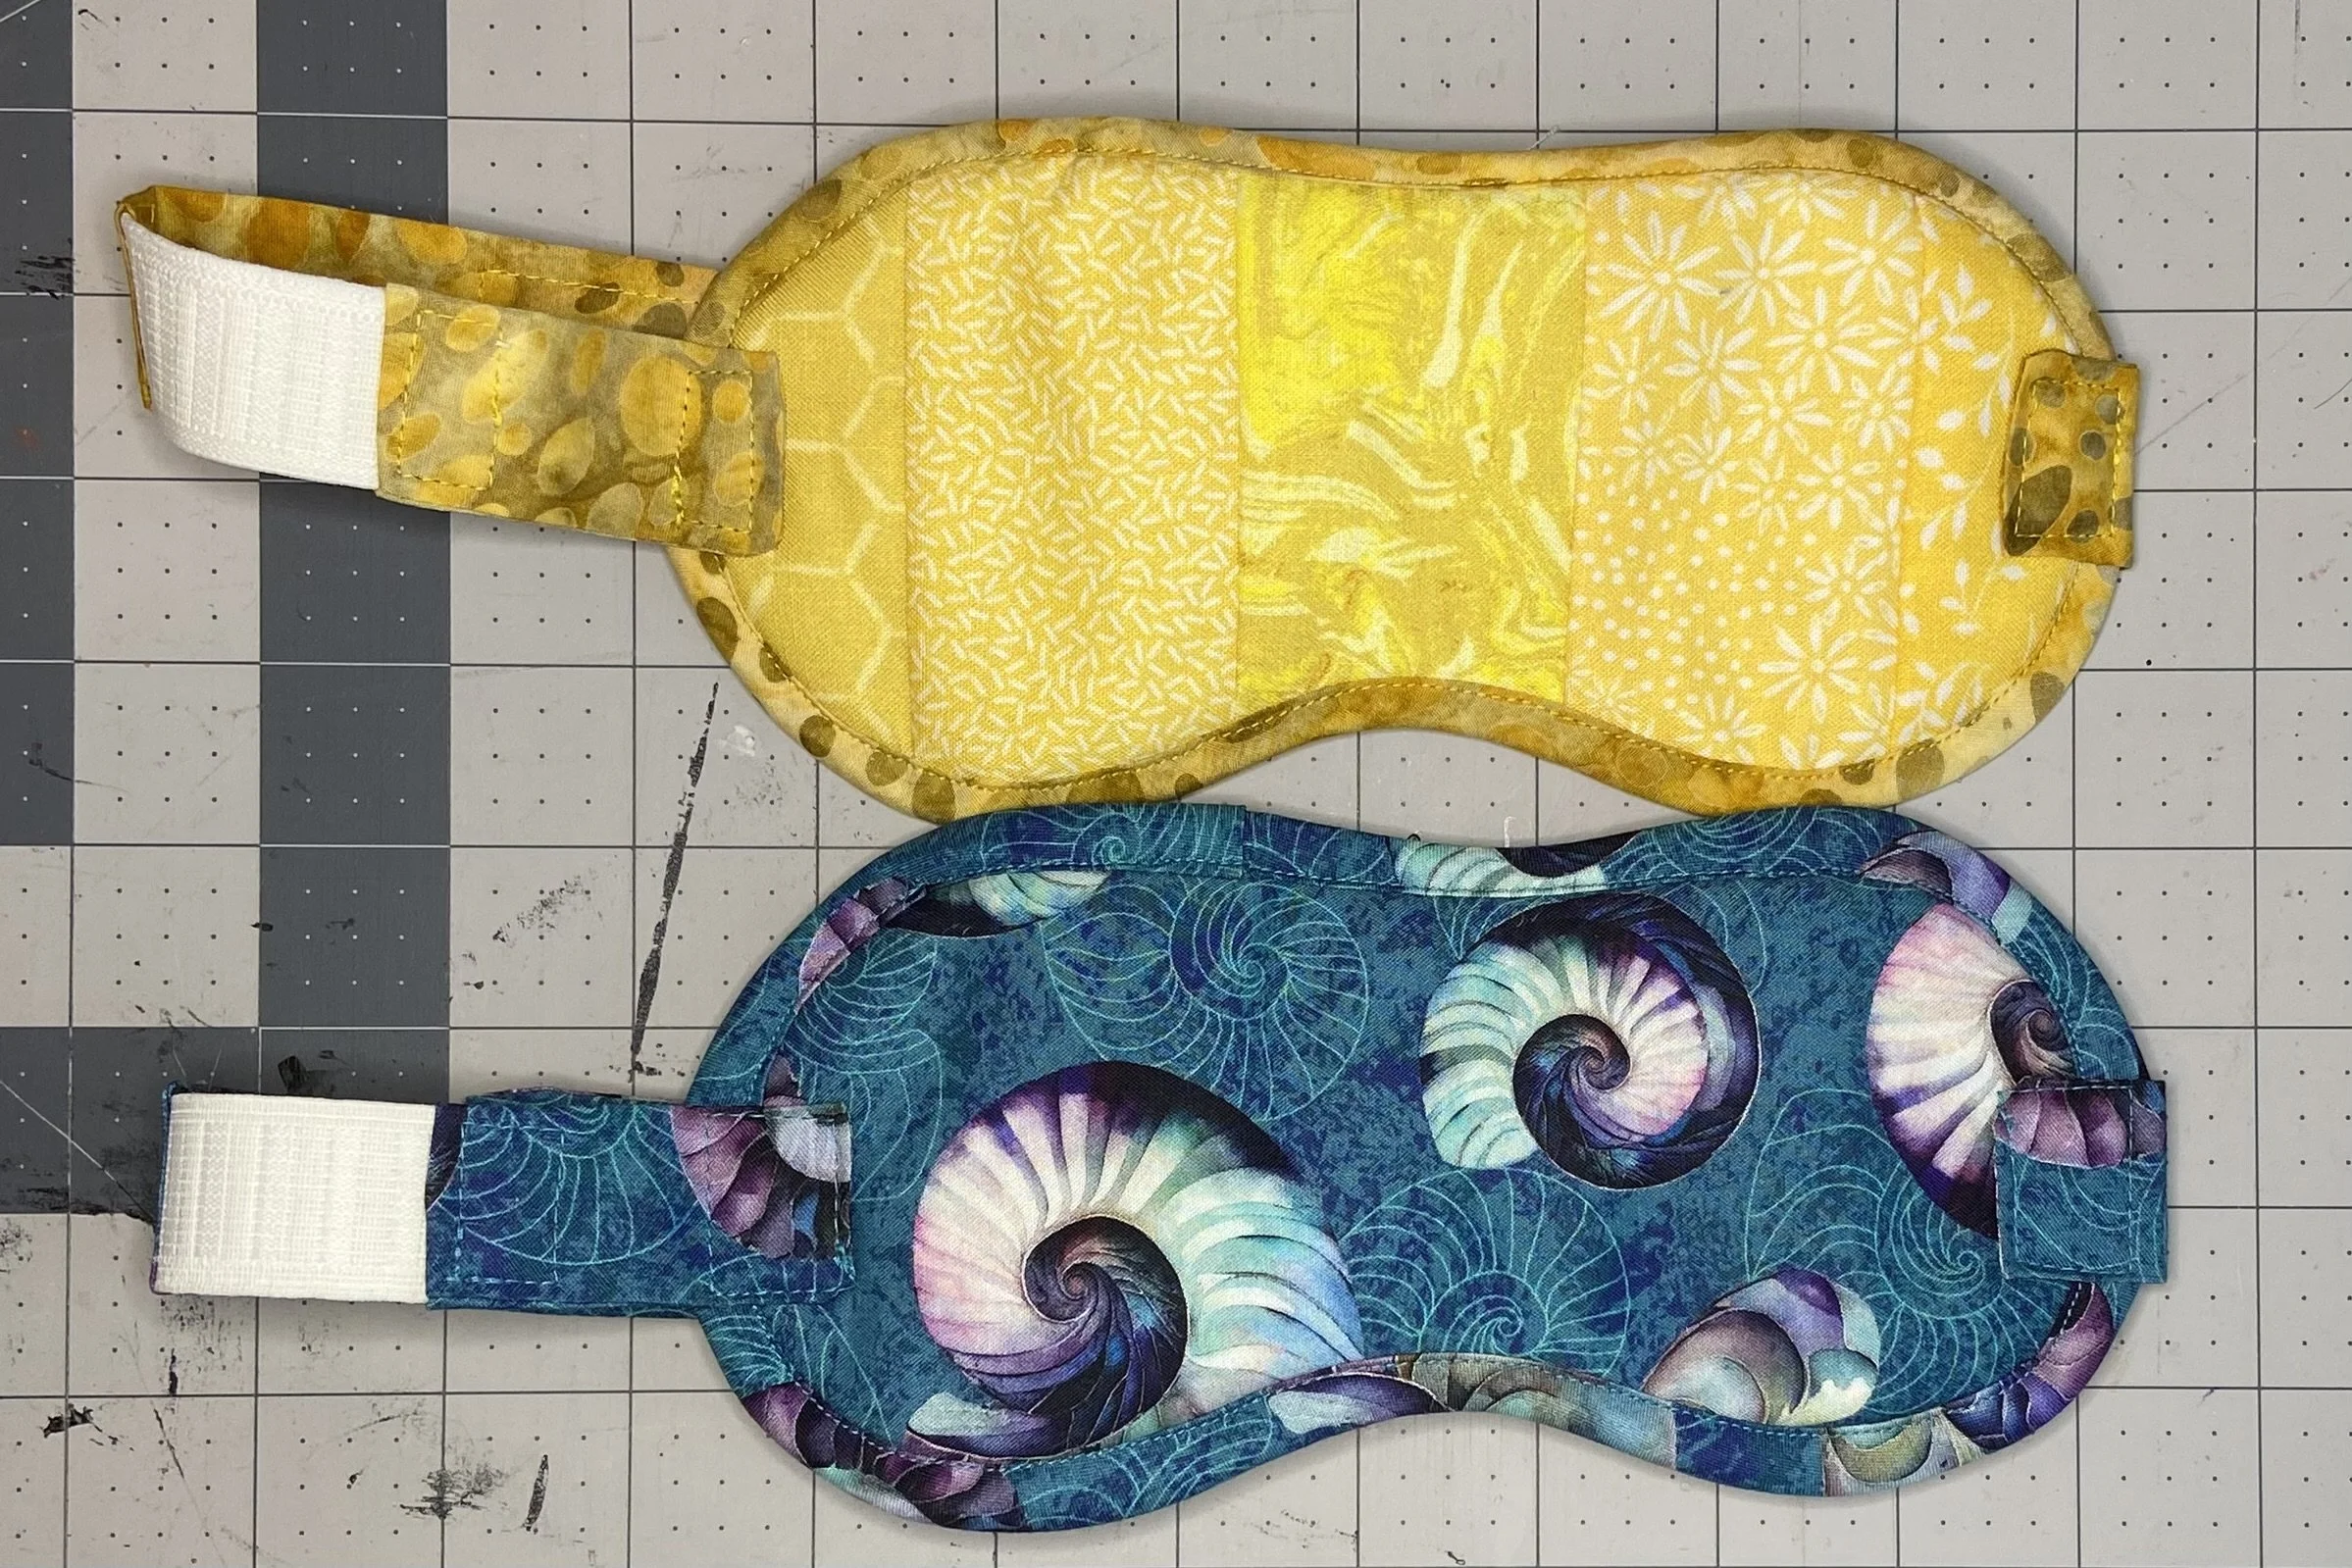
Once I had the right length, I turned in and pressed 1/4” of the open end, inserted the elastic 3/4” deep into the strap, and stitched the long strap and elastic together with a square. I did this for both straps, obviously. If you decide to unstick the Velcro and work with the straps individually for this part, be sure that your Velcro is properly oriented…one piece facing toward the head and one piece facing away. I confess, I stitched one strap on without checking this orientation and had to take it apart and reattach it. Et voila! A comfortable, pretty, adjustable sleeping mask.