Adventures In Cozy Winters
A number of years ago, I decided to knit a double-layer hat for a friend who was going on what I considered to be an ill-advised hike at altitude late in fall. The Pacific Crest Trail, to be specific. My friend encountered such heavy snow as to approach white-out conditions, and narrowly managed to avoid losing a few digits to frostbite. But the hat was a winner. It’s a double layer of stockinette stitch; not really double-knitting, as such, since the two layers are knit separately. But, like double-knitting, the end result is two layers of knitting.
The method is really quite simple: cast on with waste yarn, knit a stockinette cap to the desired dimensions, then pick up the stitches off the waste yarn, and knit another cap the other direction. Then pick out your waste yarn, push one end of the hat into the other, and you have a hat with two layers of knitting to keep you warm.
In practice, I recommend doing this with fingering weight yarn. Yes, dip into that sock yarn stash, grab two yarns that you really like (wool or some other kind of animal fiber is best, since we’re going for warmth), and some fine circular needles. You could absolutely do this sort of hat with heavier yarn, but the end result is an uncomfortably bulky hat.
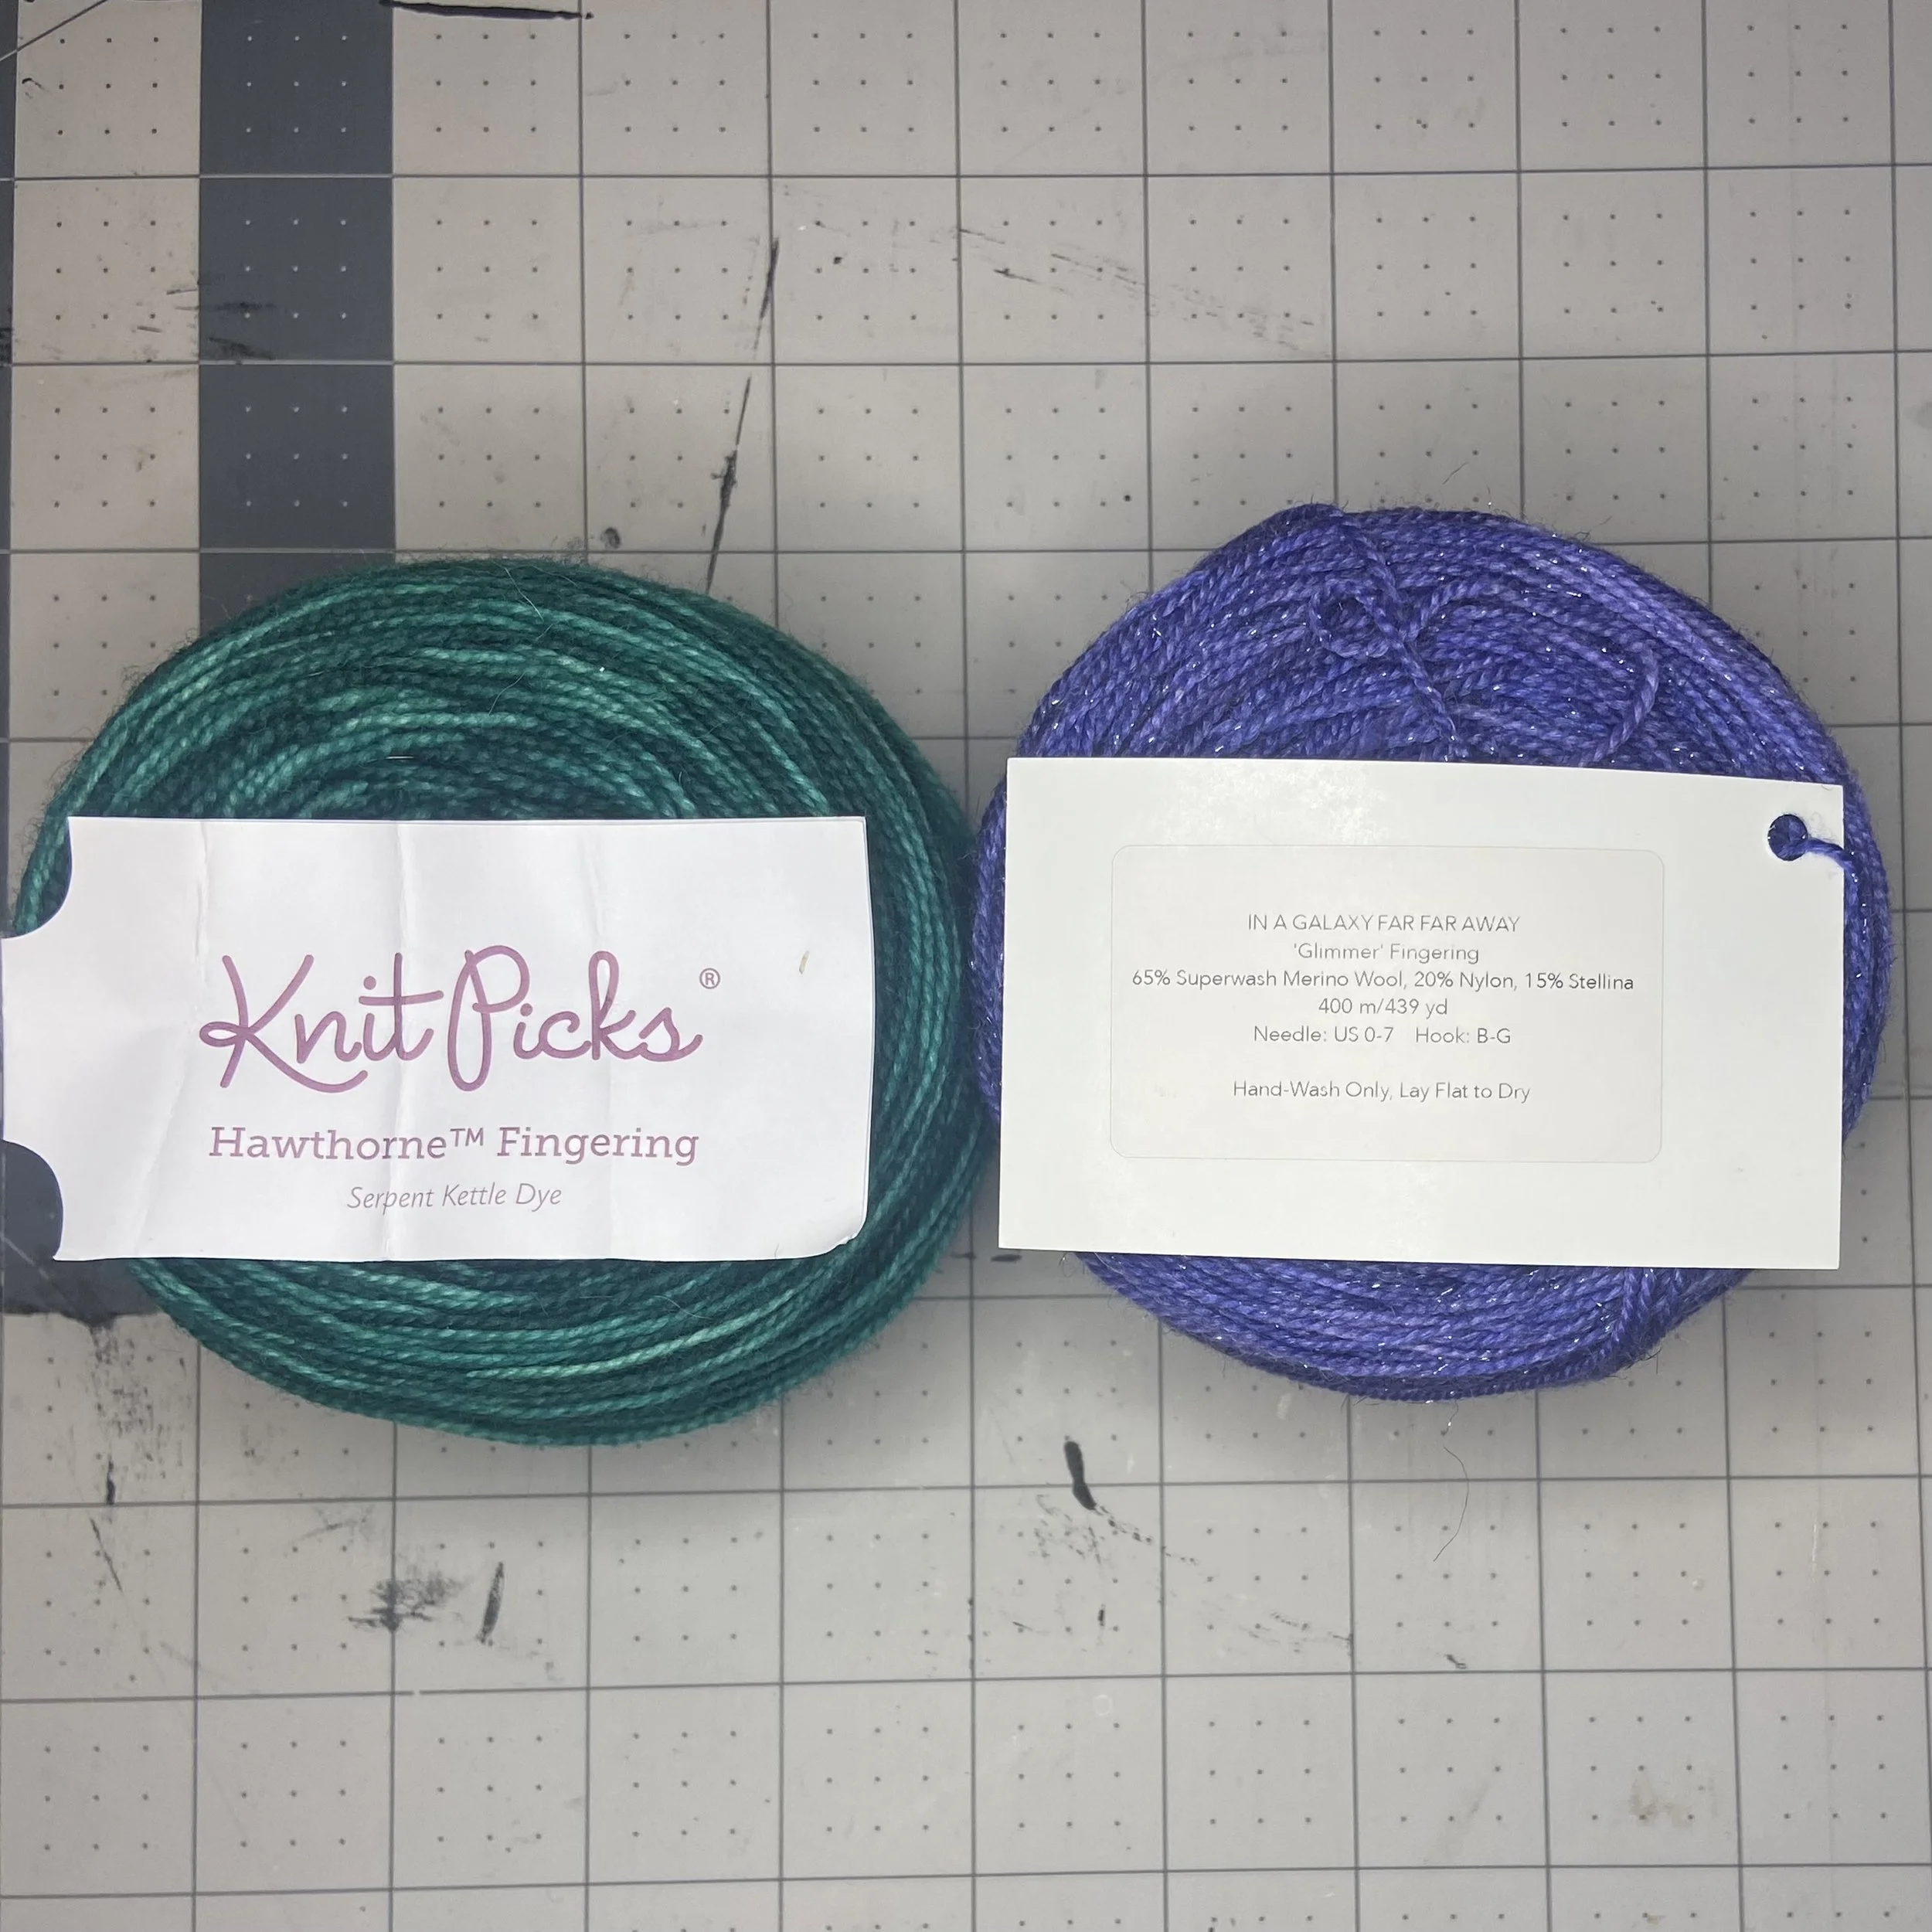
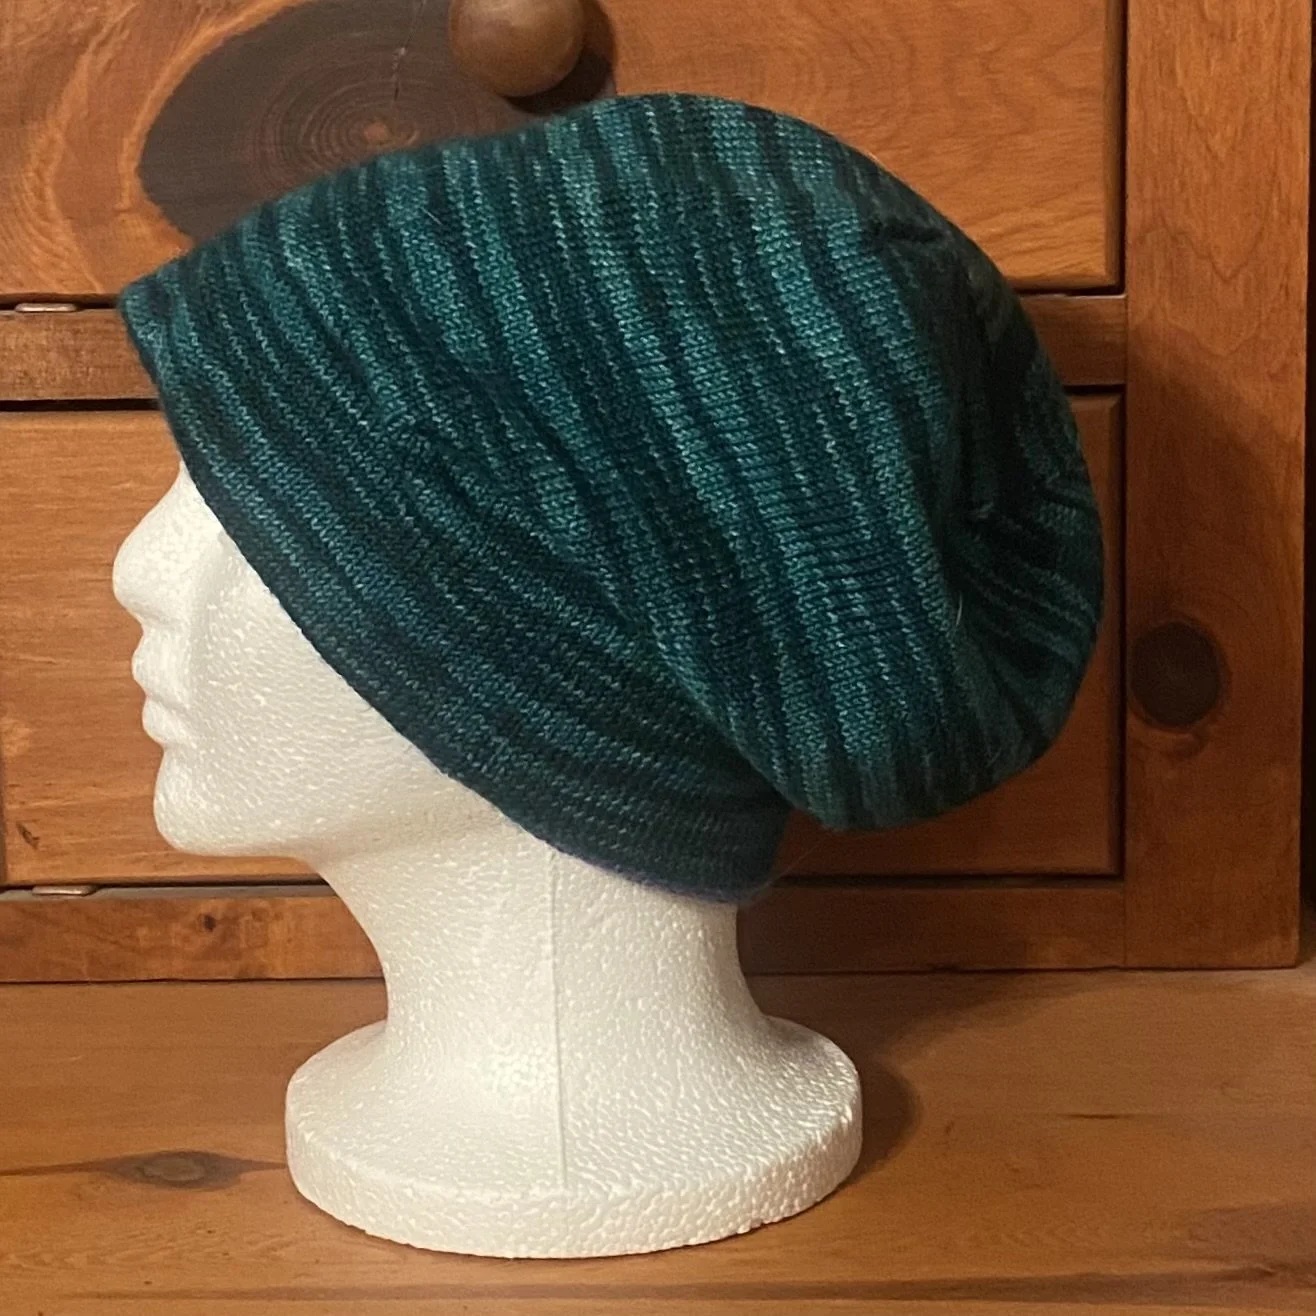
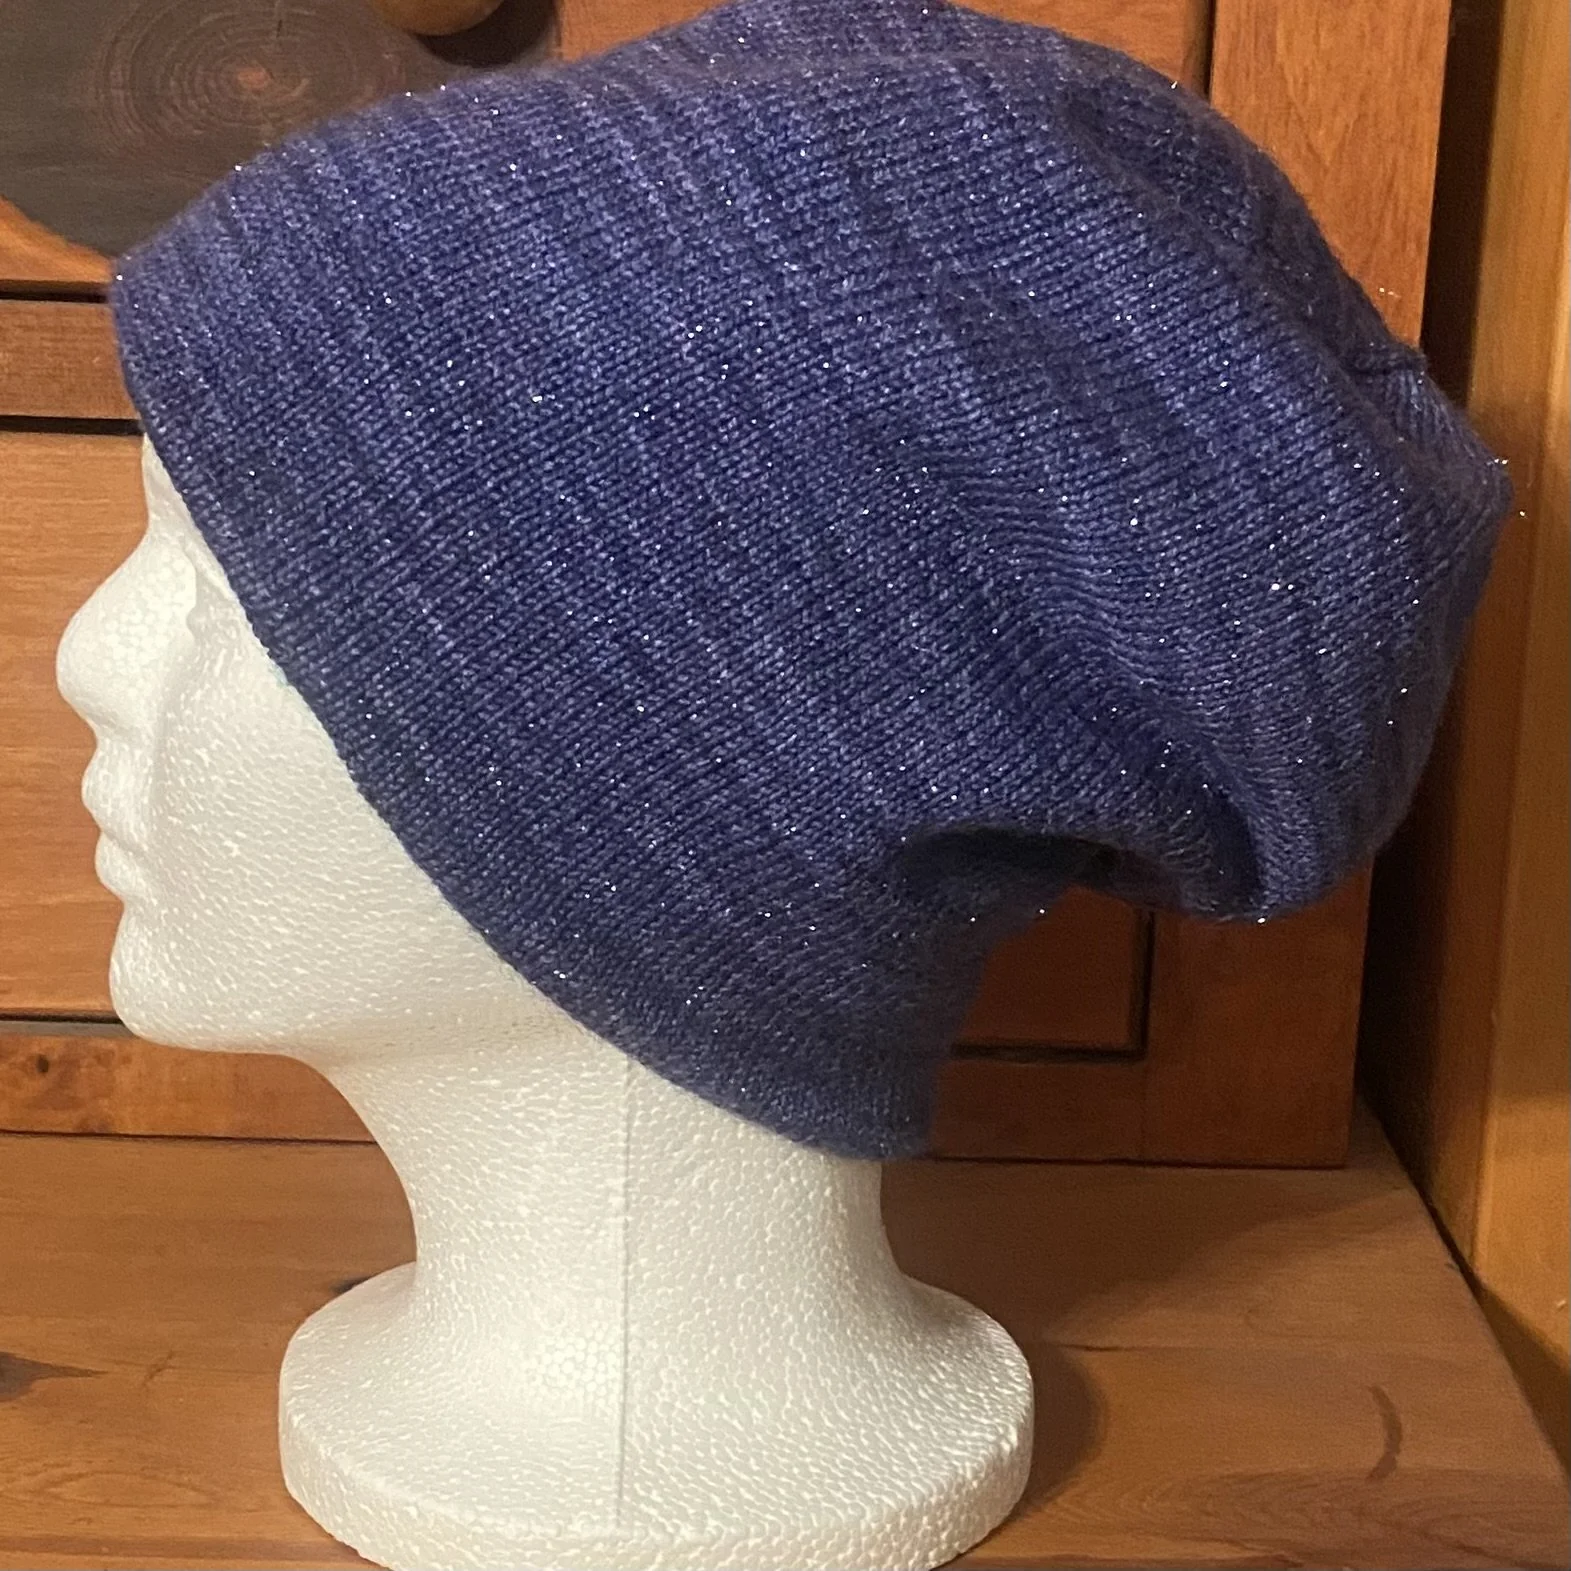
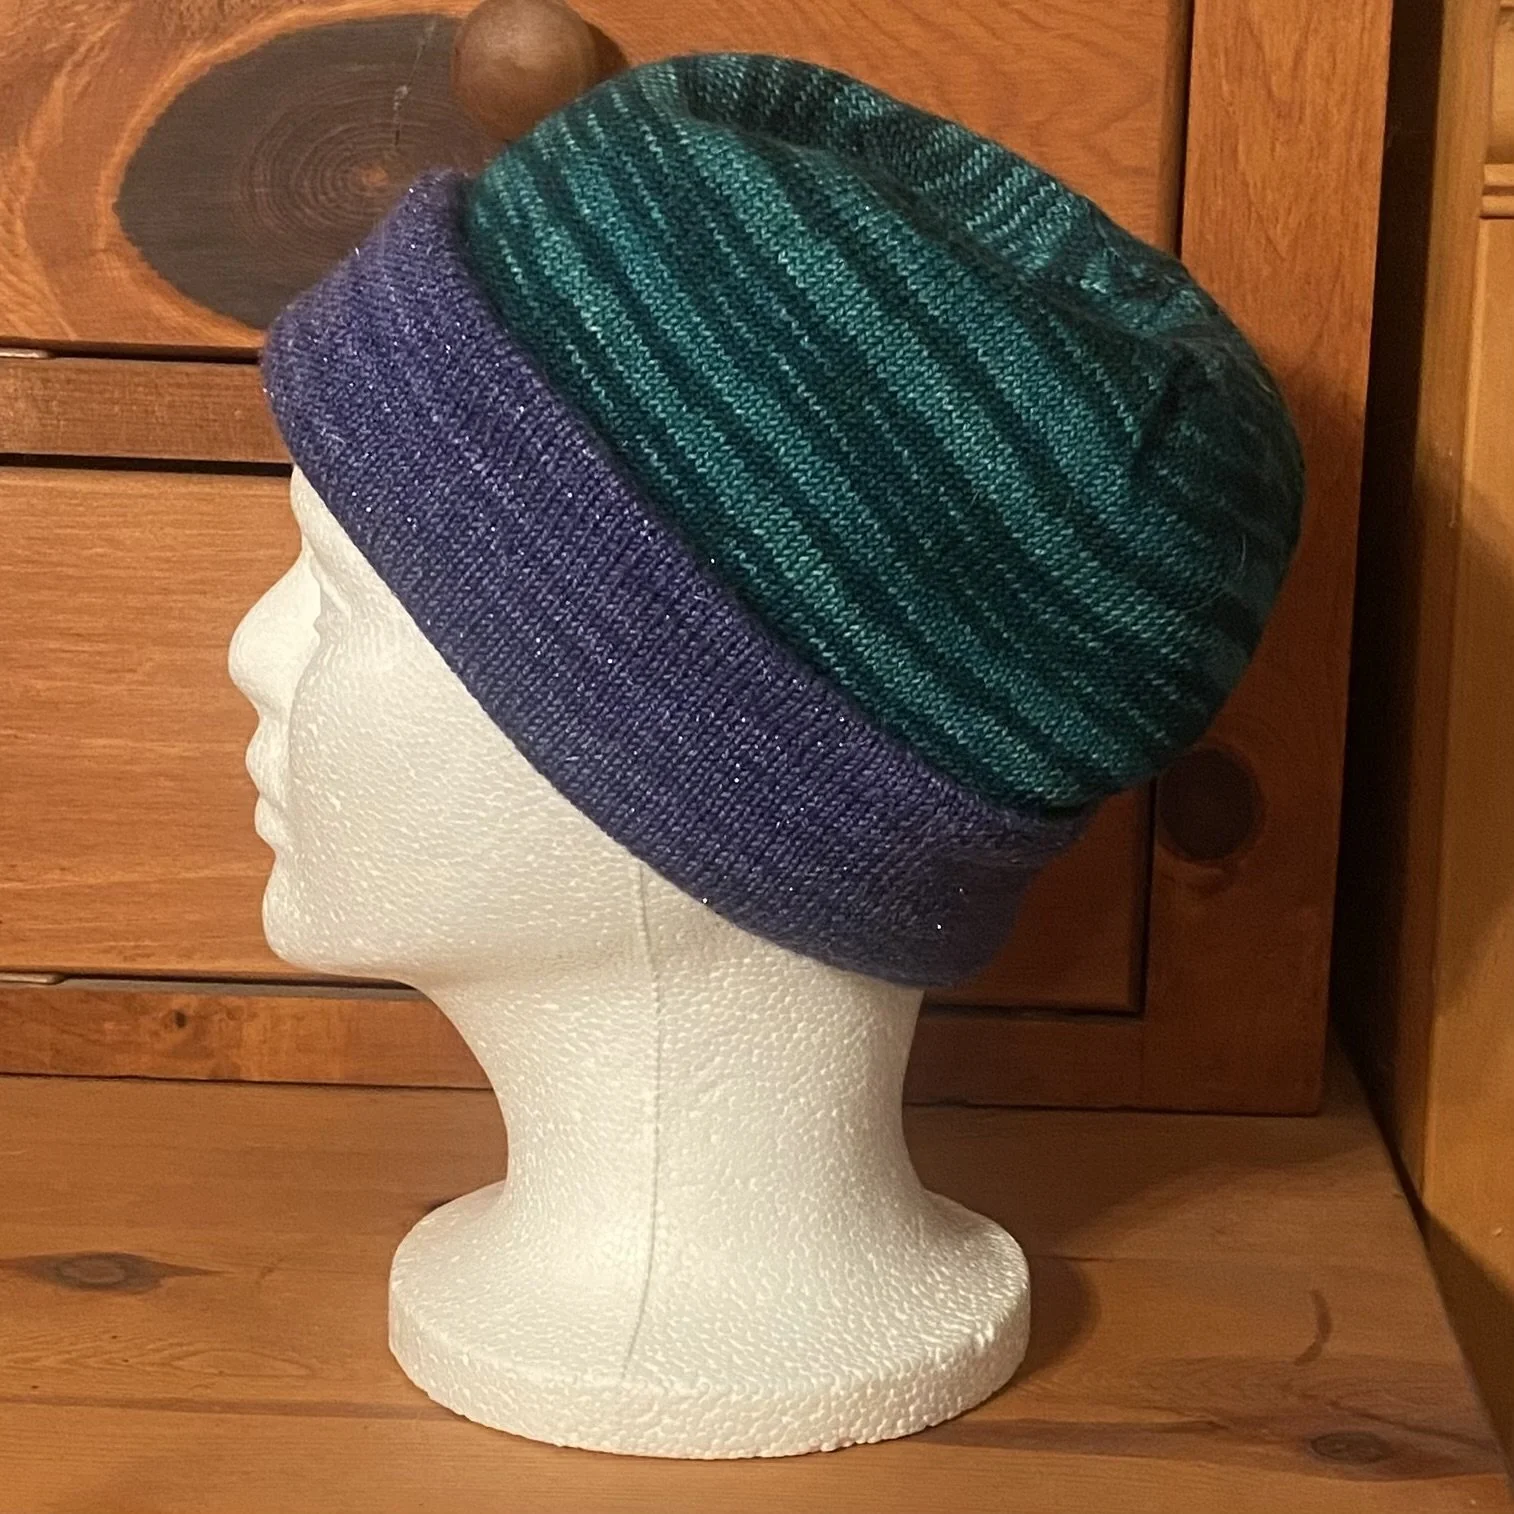
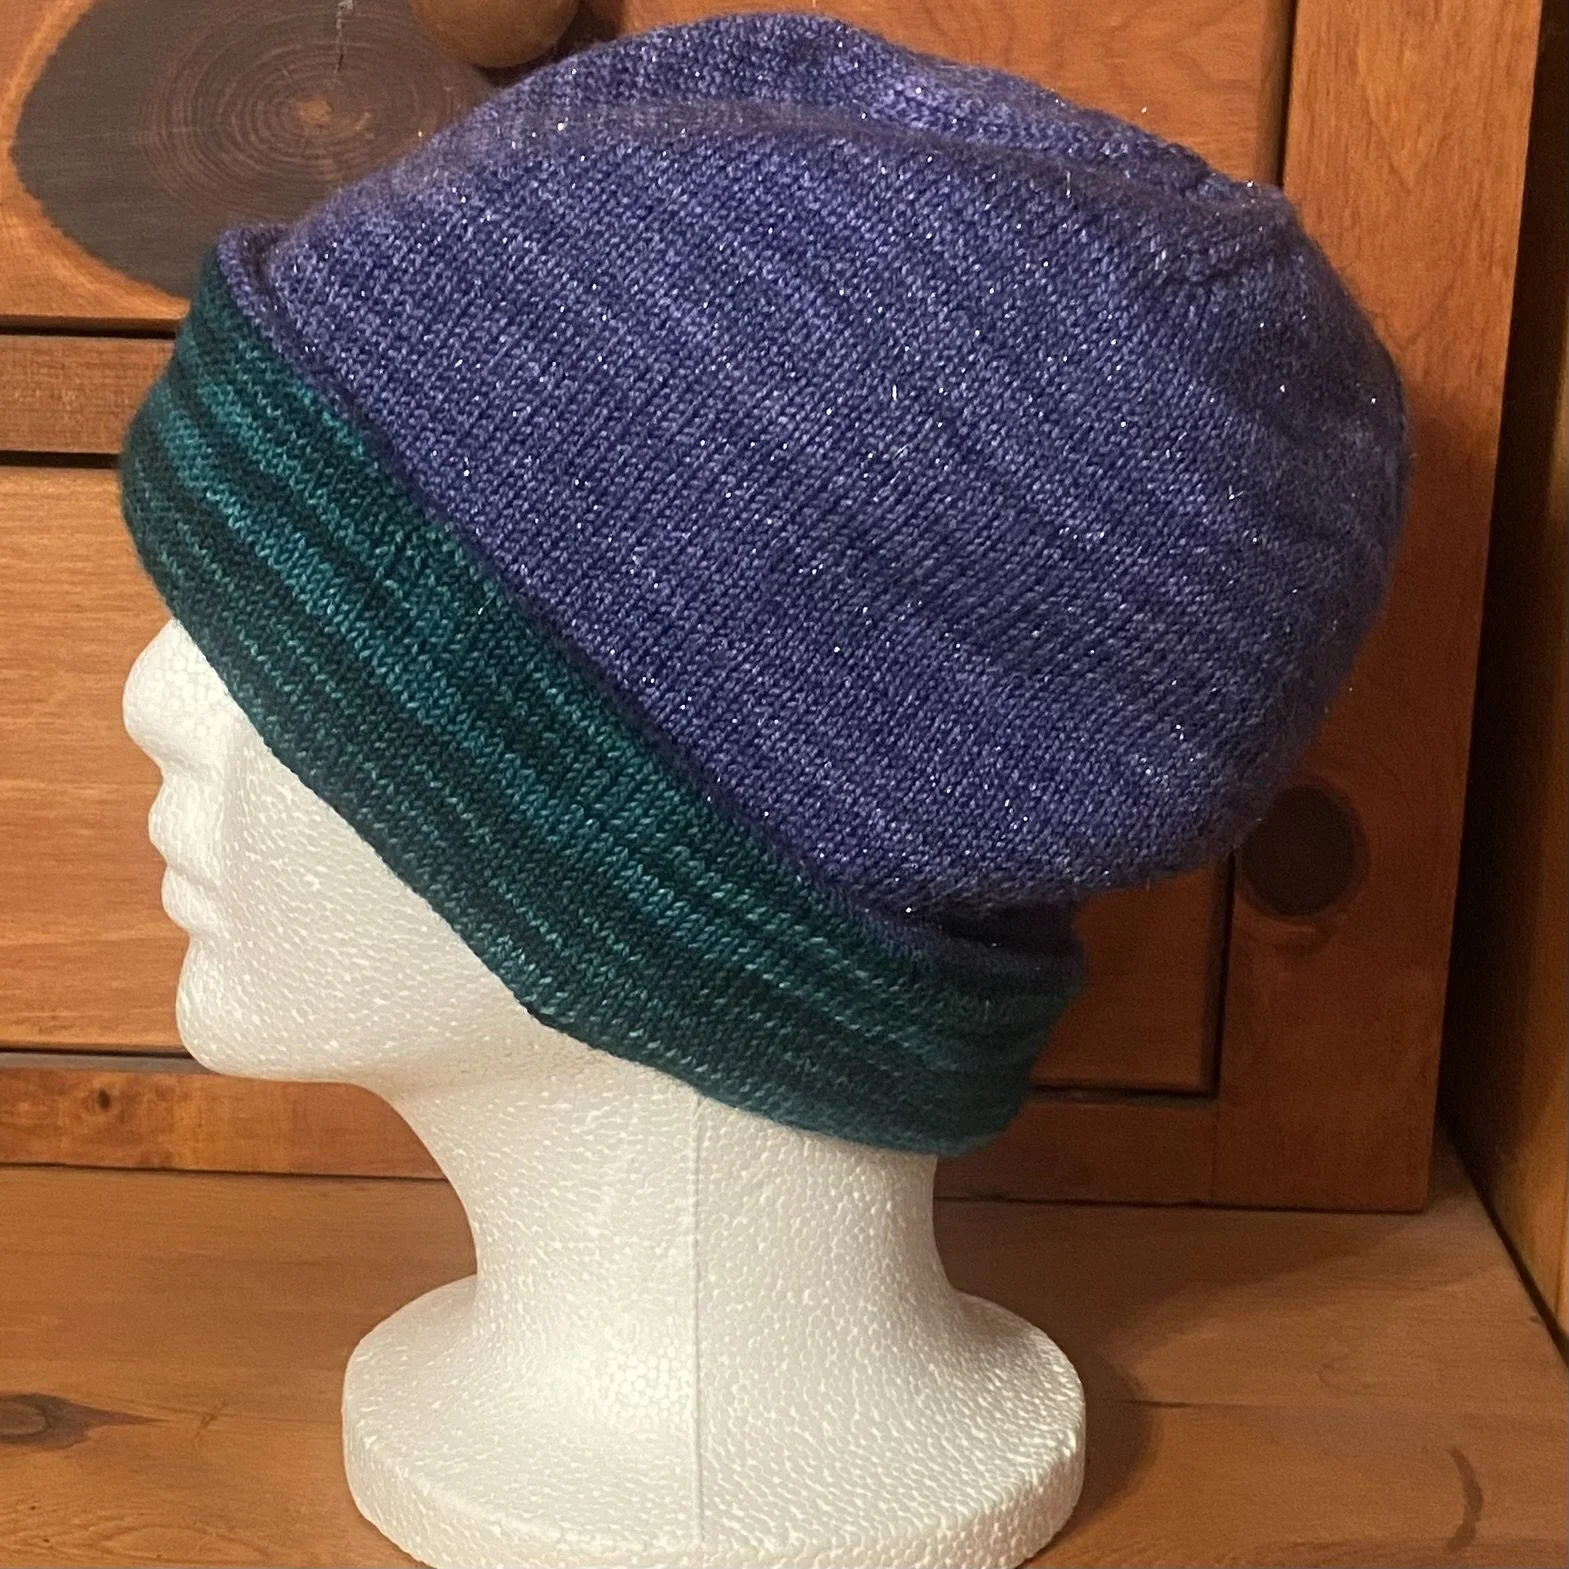
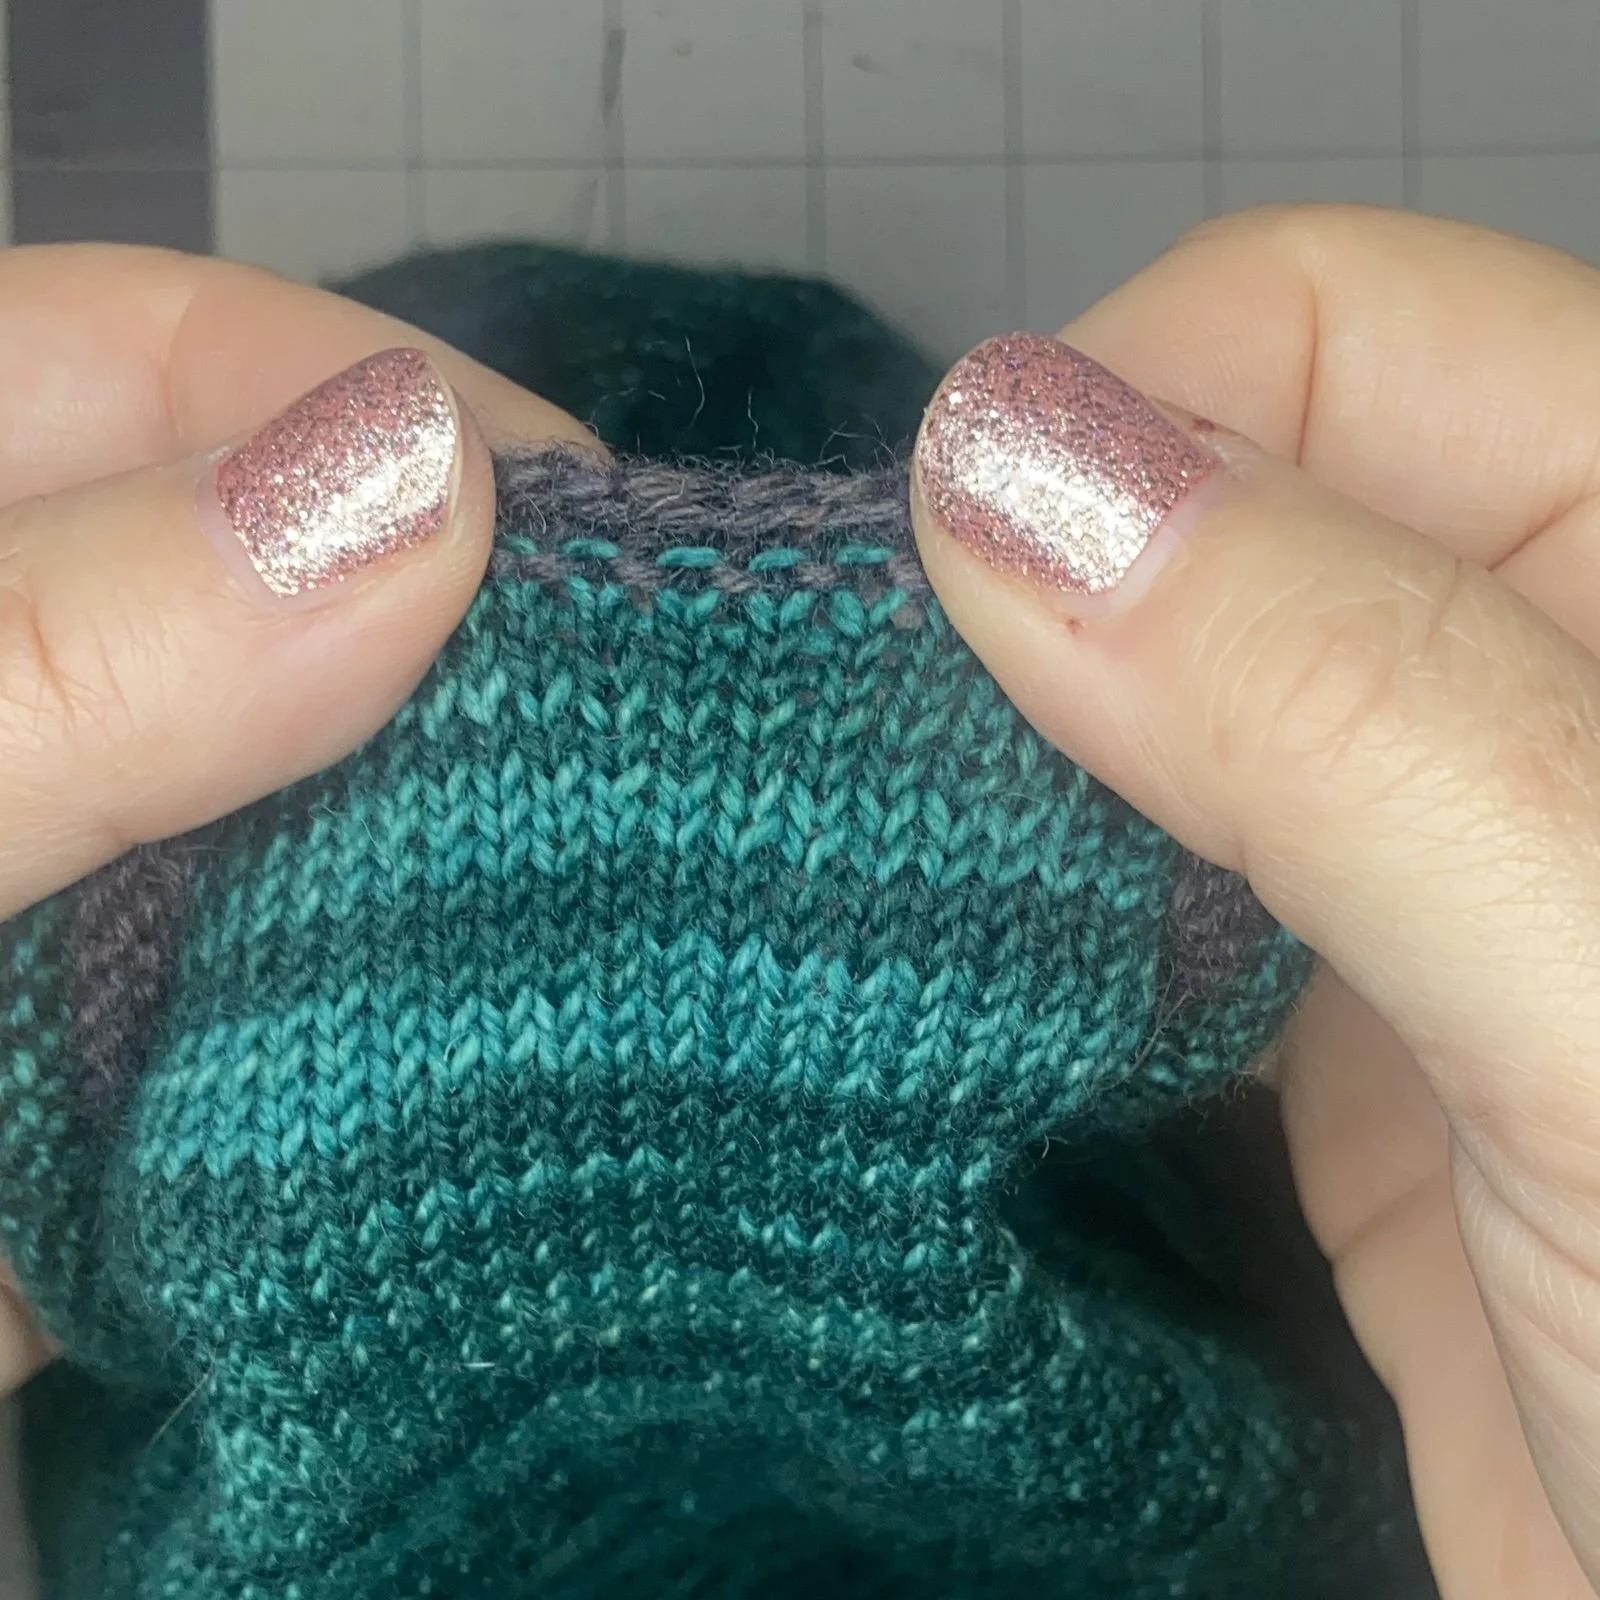
For the hat I knit for the blog, I used Hawthorne Kettle Dye yarn in Serpent (I love this colorway; I’ve actually done a number of different projects in Serpent) and some purple, slightly shimmery yarn from Expression Fiber Arts called In A Galaxy Far Far Away. Here is their website, although this particular yarn appears to be no longer available. And I used my usual 2.5mm circular knitting needles.
In order to know how many stitches to cast on, you’ll need to know two things: you’ll need to know your gauge, and you’ll need to know the size of the head you’re knitting for. Past experience has taught me that my gauge for fingering weight yarn on 2.5mm needles in circular stockinette is 7.25 stitches per inch. I promise you will not regret taking the time to knit a circular swatch. I knit with sock weight yarn and 2.5mm needles often enough that I have just memorized that gauge measurement. I also decided to knit a standard head size, which is roughly 22”.
And now, a little math. Don’t be scared…I promise it’s easy. Multiply your gauge by your head size, and that will give you your desired number of stitches to cast on. In my case, 7.25 x 22 =159.5. Now, the final piece of the puzzle…you need a stitch count divisible by 6, and if you don’t magically land on such a number, you will need to round up your stitch count. I rounded up to 162, and cast on those stitches in waste yarn.
It does not matter what cast-on you use, because the waste yarn will be going away, leaving you with an edge that is not cast on at all and is therefore beautifully stretchy. I like to use the long-tail cast-on, because that’s what I’m comfortable with, but you do you. Make very very sure that your stitches are not twisted, and join this cast-on row into a circle; place a stitch marker at the beginning/end of your round, and knit several rows of stockinette. Then join in the first of your hat yarns and knit round and round and round until the hat is long enough.
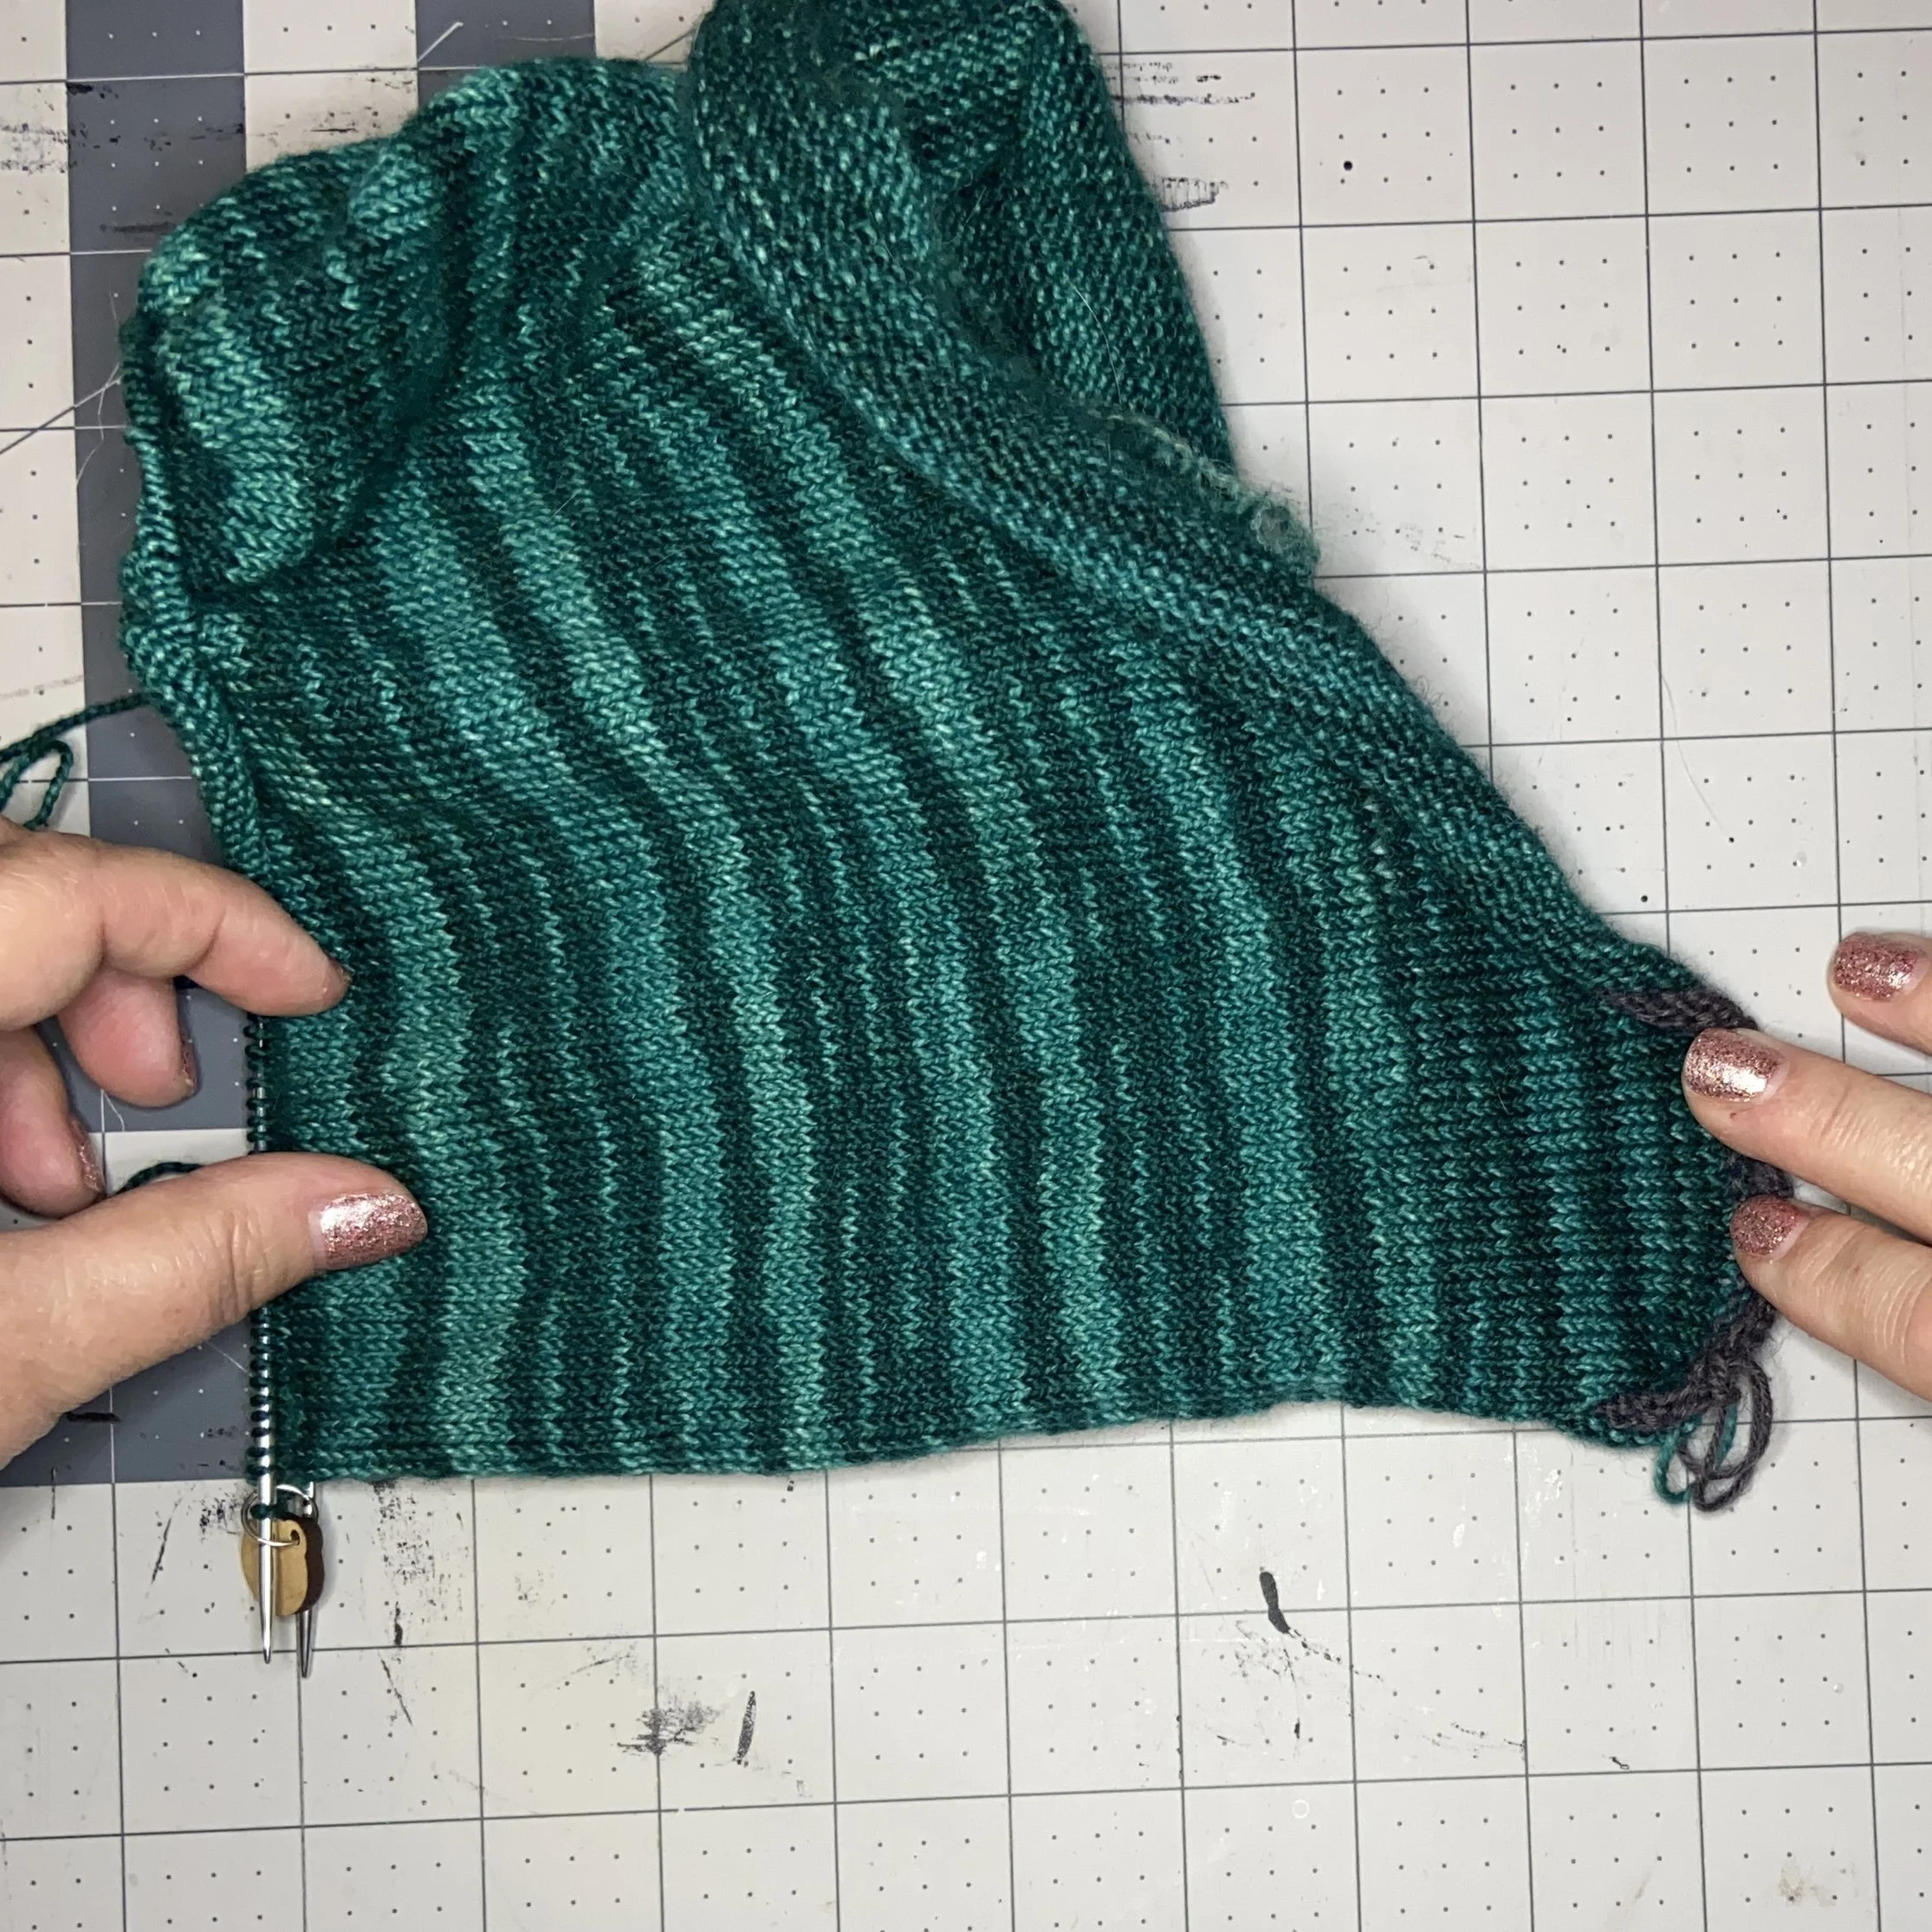
How long is long enough? Well, two things to take into account. First, when the hat stretches a little to go around your head (and stretches a little more to go around the second layer of hat), the length will decrease a bit. So make it a little longer than you think you want. Second, how long do you want it? Do you want it to look a bit like a slouchy beanie when worn straight? Do you want to have enough length to turn up the bottom into a four-layer brim over your ears? I wanted both of those options, so I knit my hat to 8.5” long before I got ready to close up the top.
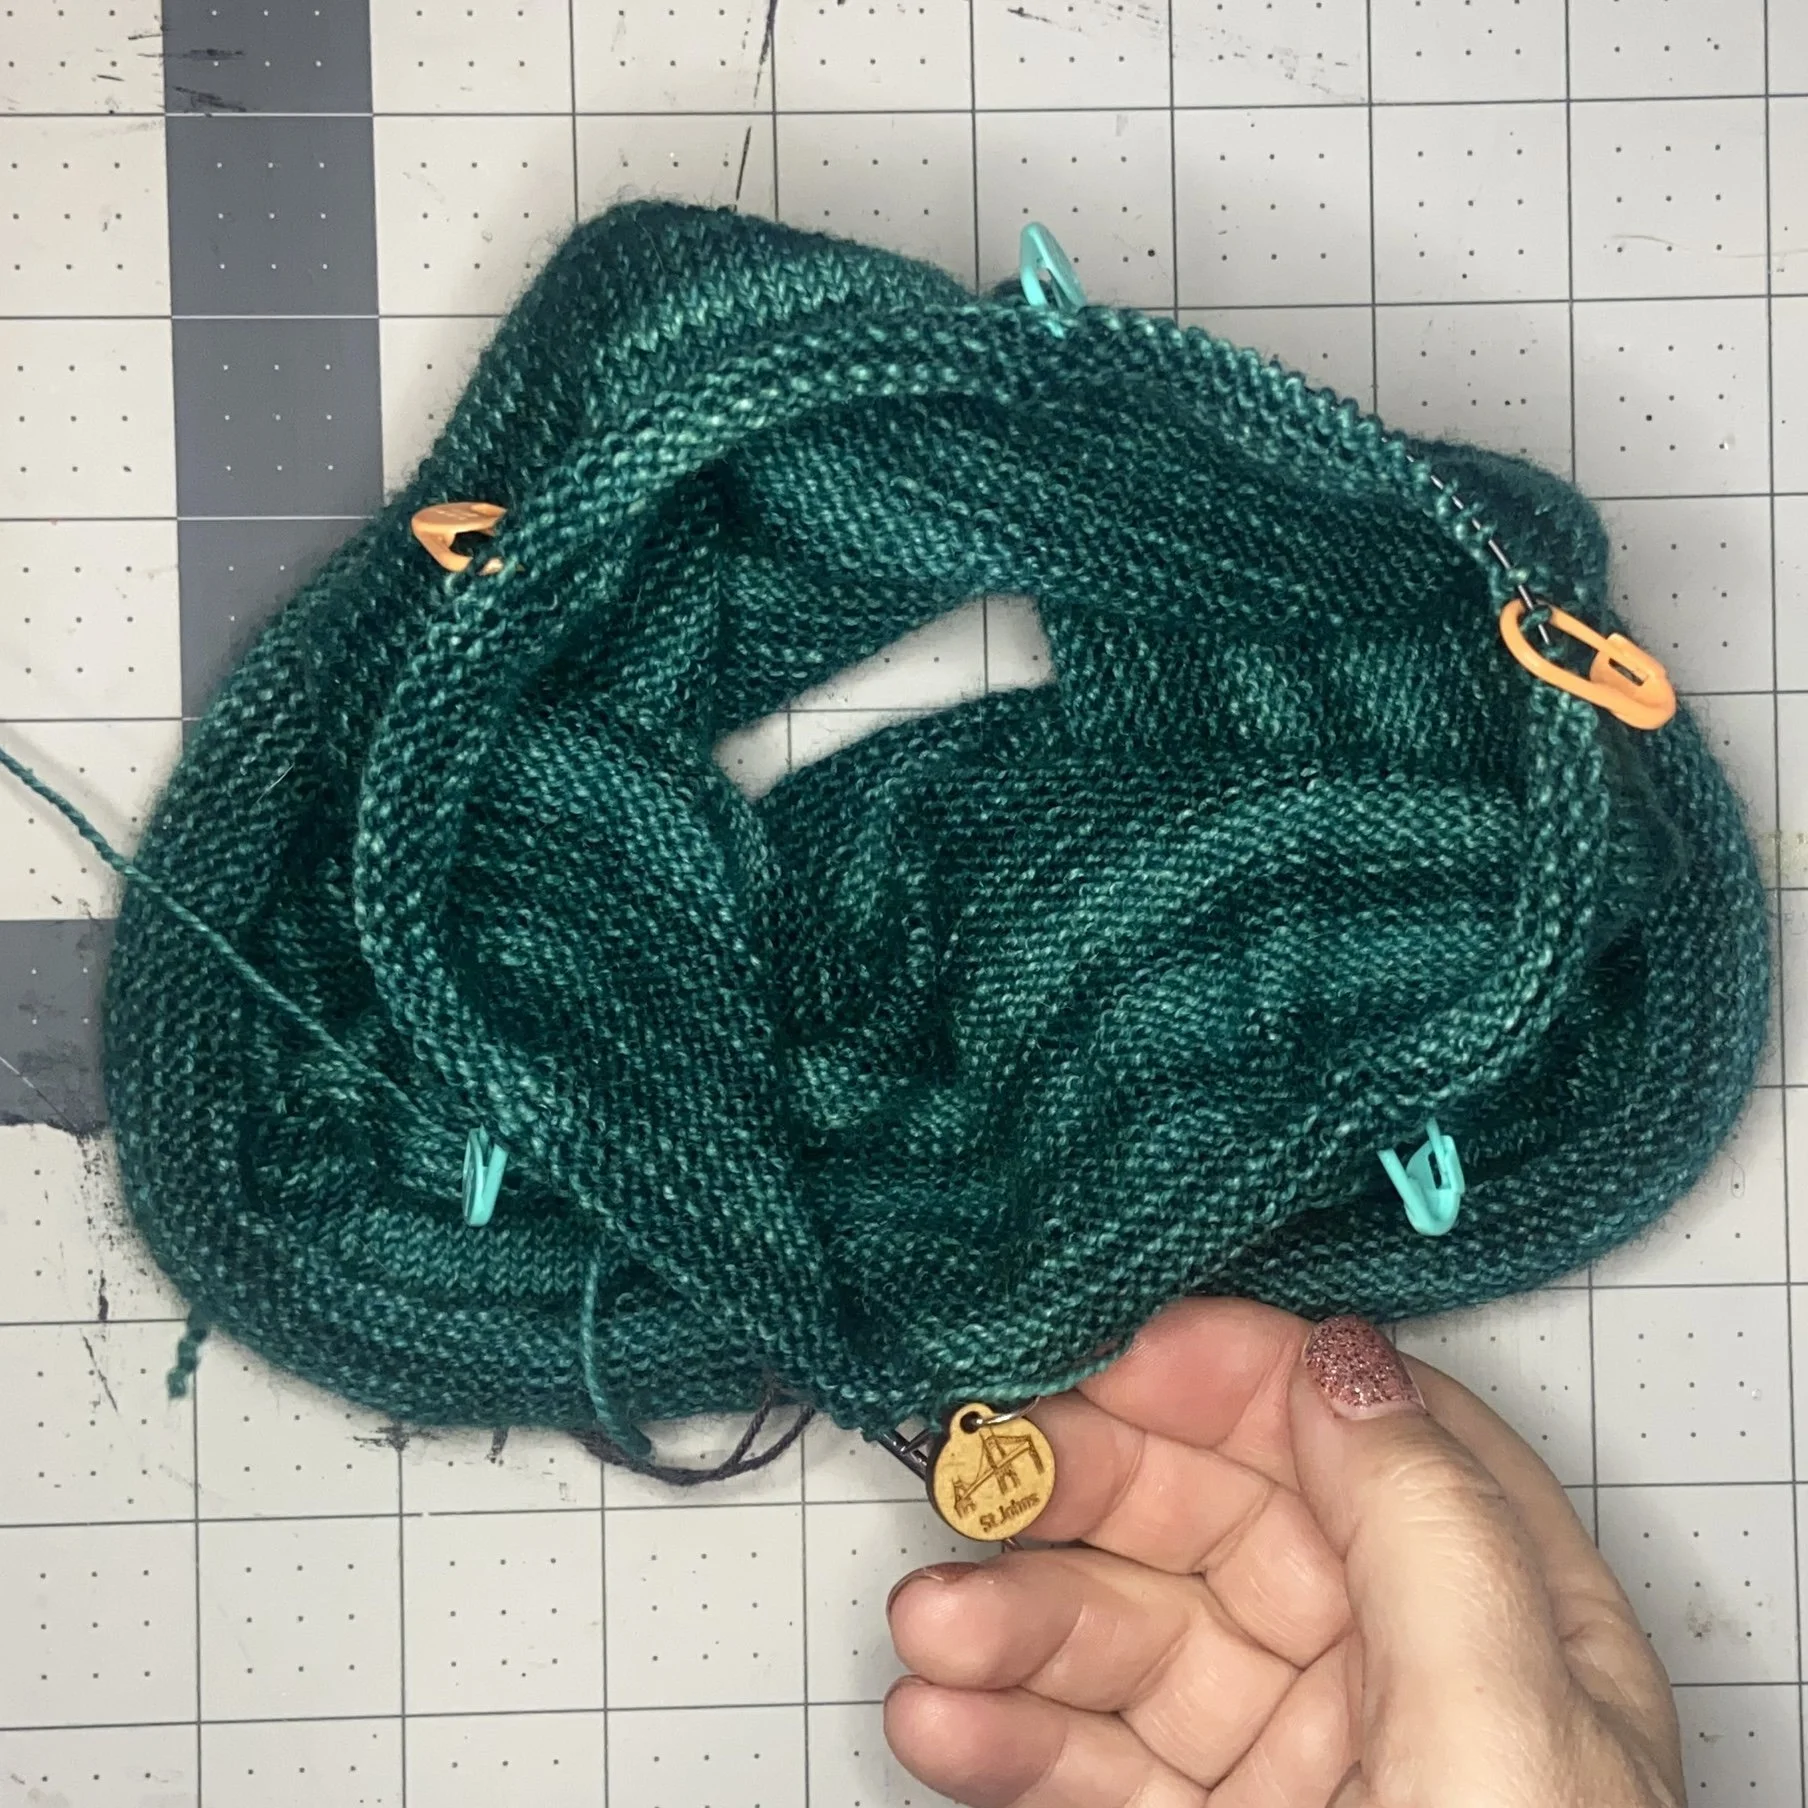
I opted for a very simple closure on the top…I was going for relatively flat, rather than a little pointy, so I decreased on every round. First, I divided my stitches into six equal sections, separating them with stitch markers. Don’t forget to use a different marker for the beginning of round or you’ll find yourself hopelessly confused in very short order.
Then continue in stockinette, but knit two stitches together every time you get to a marker. To be more specific, knit as usual to within two stitches of the marker, then knit those two stitches together, slip the marker, and continue around in this manner. Keep doing this until you’ve decreased enough stitches that you can no longer manage on the circular needle, then switch to three double-pointed needles.
At this juncture, you’ll need to do something a little different with your stitch markers. You’ll still keep the ones in the middle of each double-pointed needle, but the markers that were at the place where the needles end will go away. You will know you need to do a decrease at each stitch marker and at the end of each needle. Unfortunately, one of the stitch markers that will go away is your beginning of round marker. I recommend taking a removeable marker and sticking it into the ridge of decreases that marks the beginning/end of rounds. If all goes well, this won’t matter but if for some reason you need to tear back your knitting to a previous row, you will really be unhappy if you don’t know where the beginning of each row is.
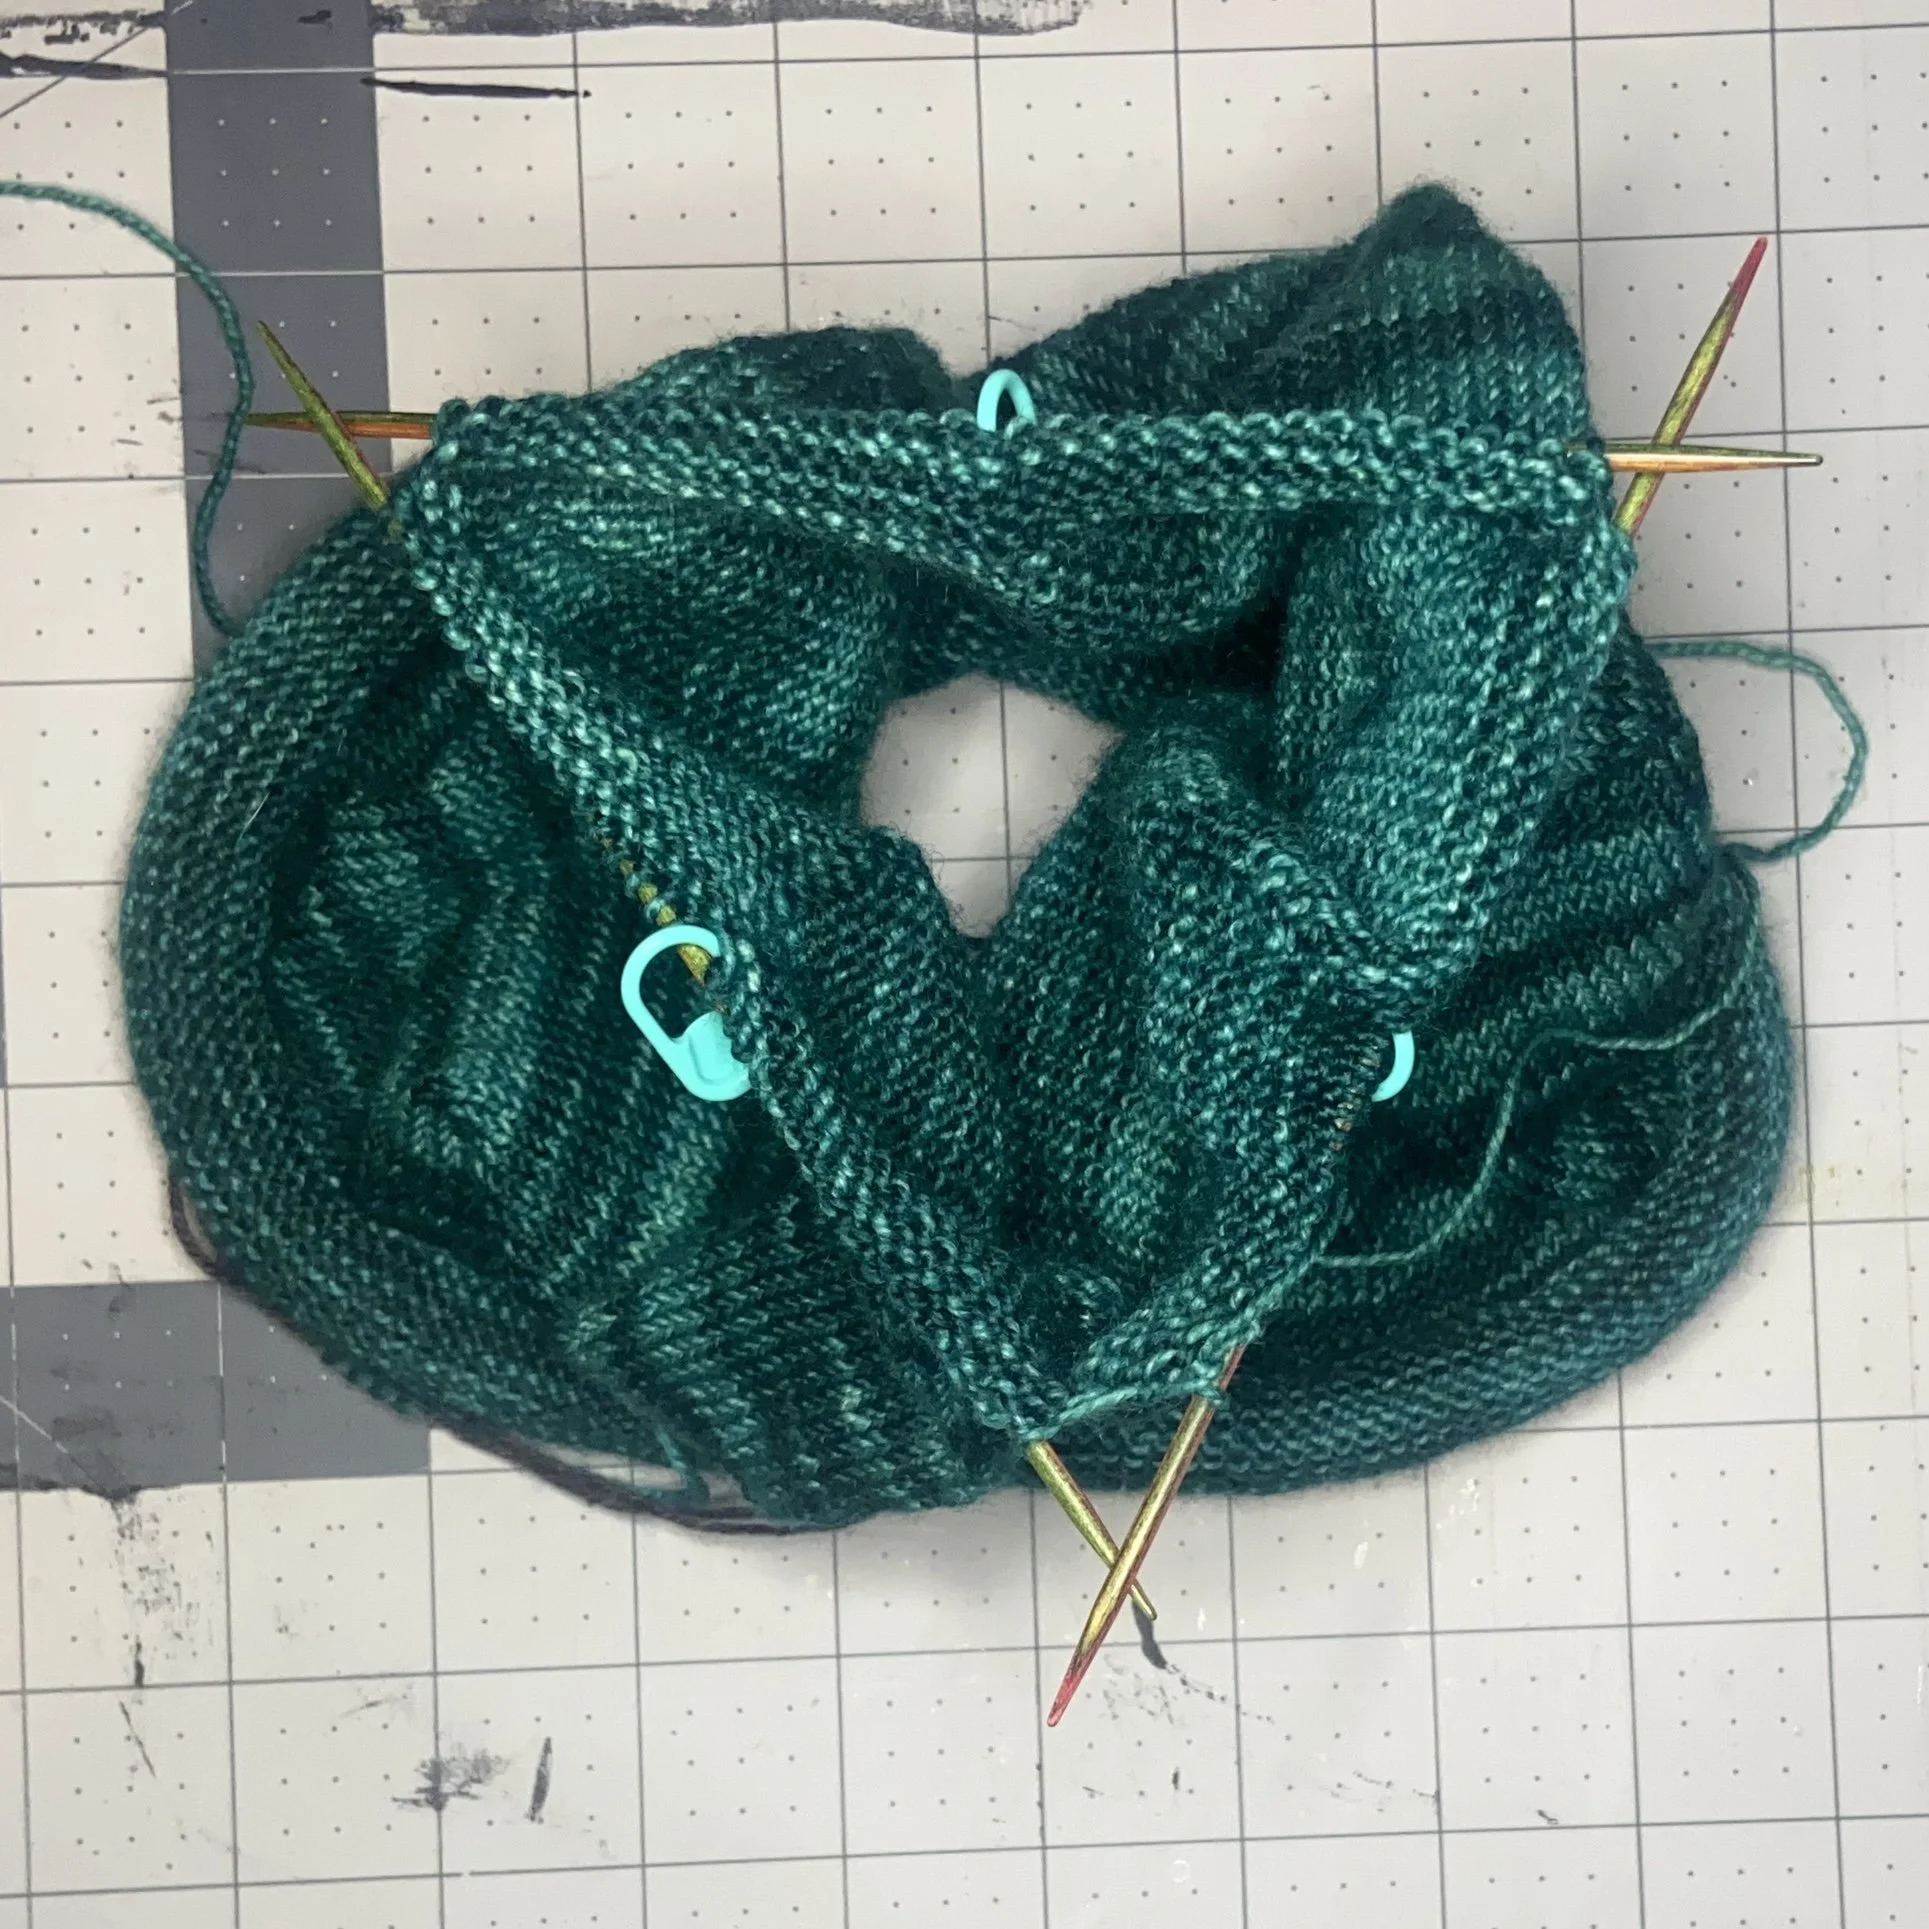

Continue decreasing around until you have only six stitches left, then cut your yarn, and use a blunt needle to thread the end through all six stitches. Draw it tight, and then make a couple knots on the inside of the hat, so that it never ever comes loose. And the first half of the hat is done!
Now you need to pick up stitches off your waste yarn. Using your circular needle, pick up the bottom of the stitches of the hat yarn (do not pick up waste yarn stitches!) one at a time until all the stitches are on there. Take the time to count your stitches! If you don’t have enough, take a careful look to see which one you missed; you can knit around to that point and then pick it up before knitting it, but you must pick up the right number of stitches.

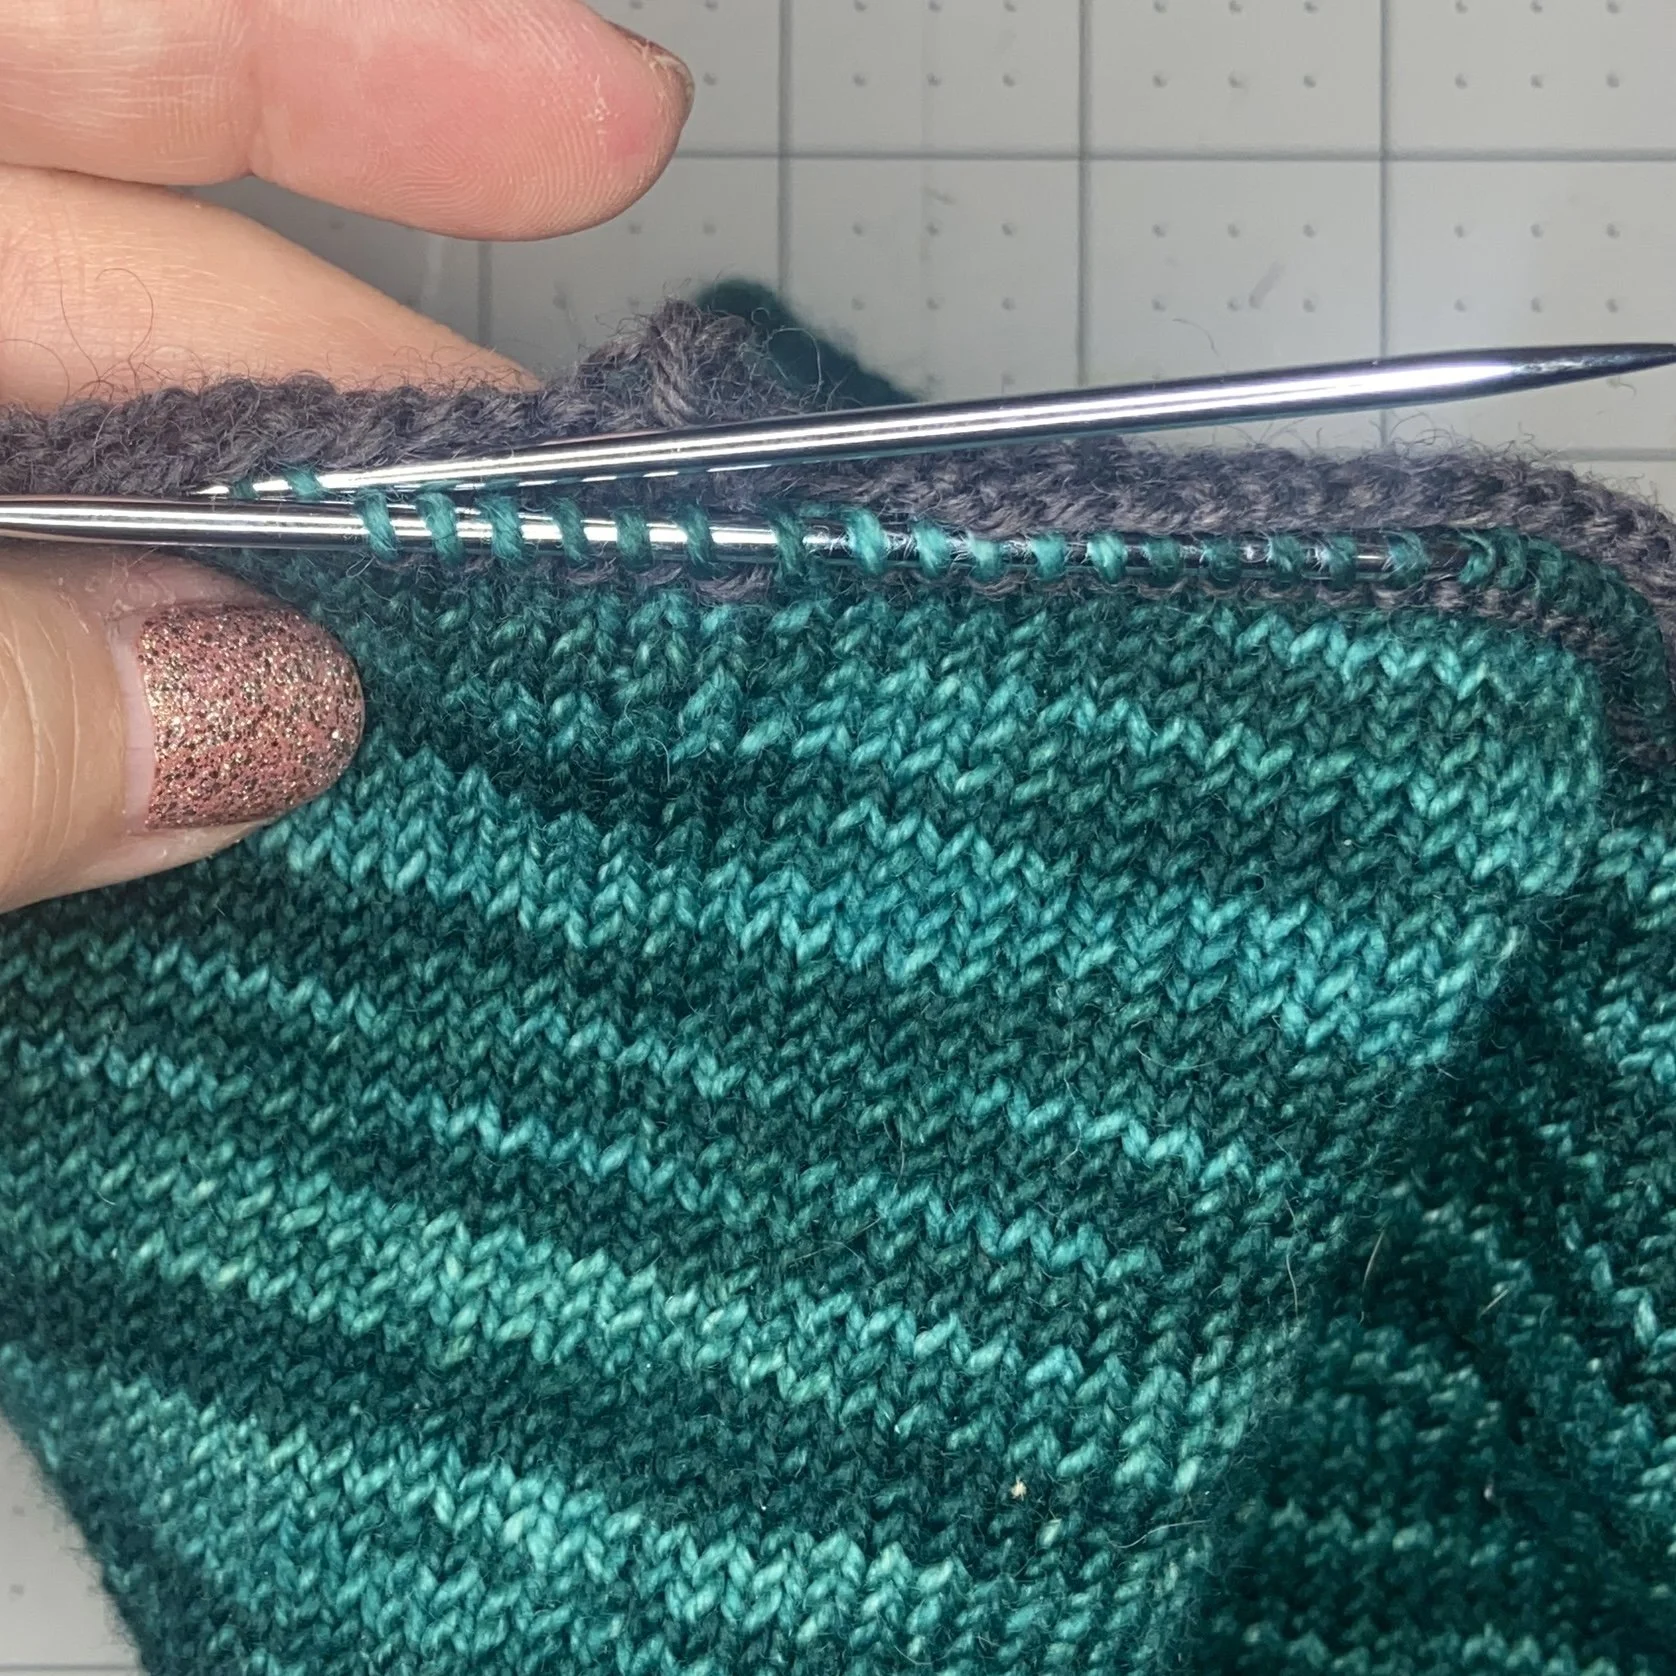
Place your beginning of round stitch marker as before, and knit a few rounds of stockinette before stopping to pick out the waste yarn. You can pick this out anytime before you start closing the top of the second half of the hat but I like to do it after a couple rounds. Use your blunt needle or a double-pointed needle to lift up a stitch of the waste yarn, and then carefully cut it. Then draw the waste yarn out one stitch at a time until it’s all gone, and continue knitting your hat.
Knit until the second half of your hat is as long as the first half, in my case 8.5”. I’d like to take a little side trip here to tell you that, yes, knitting many many (many!) rows of stockinette can be boring. But it can also be relaxing, as you don’t need to count stitches or rows, but can just go round and round while you watch a movie, or whatever. I discovered that I can in fact read a book (an e-book, since I don’t have the hands free to hold a real book) while knitting stockinette round and round. When my fingers feel the stitch marker coming up, I glance down at the knitting long enough to slip the marker, and keep going.
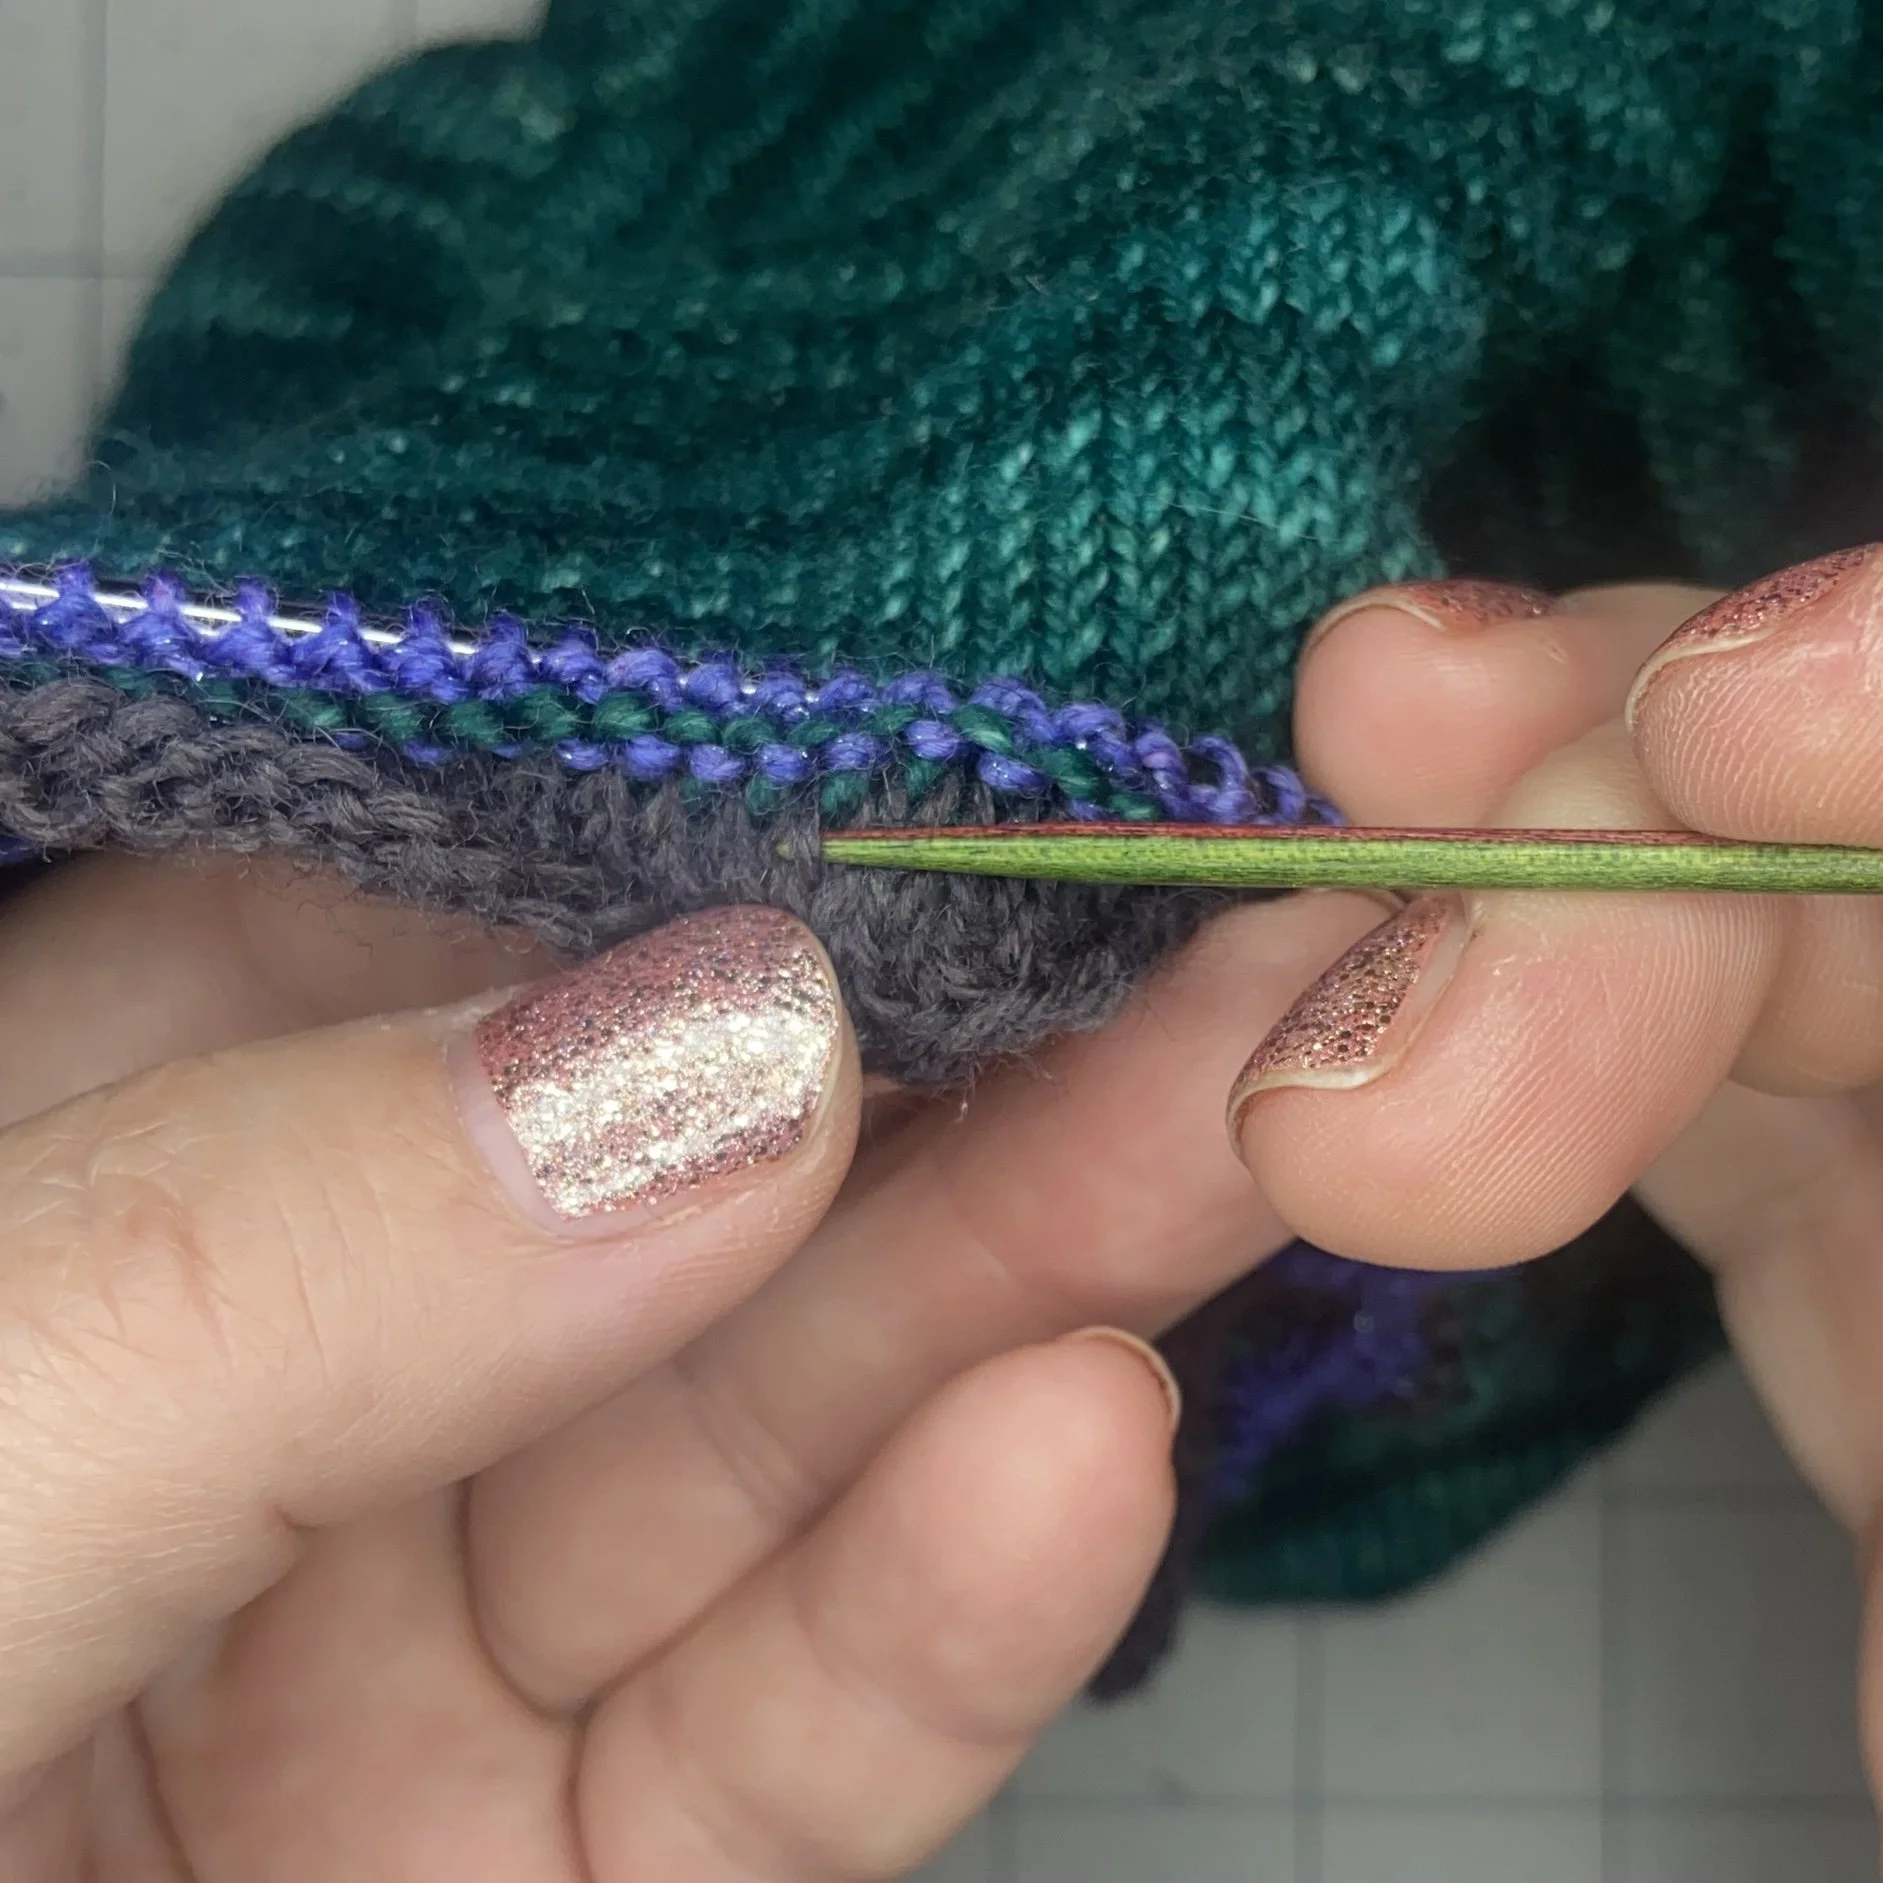
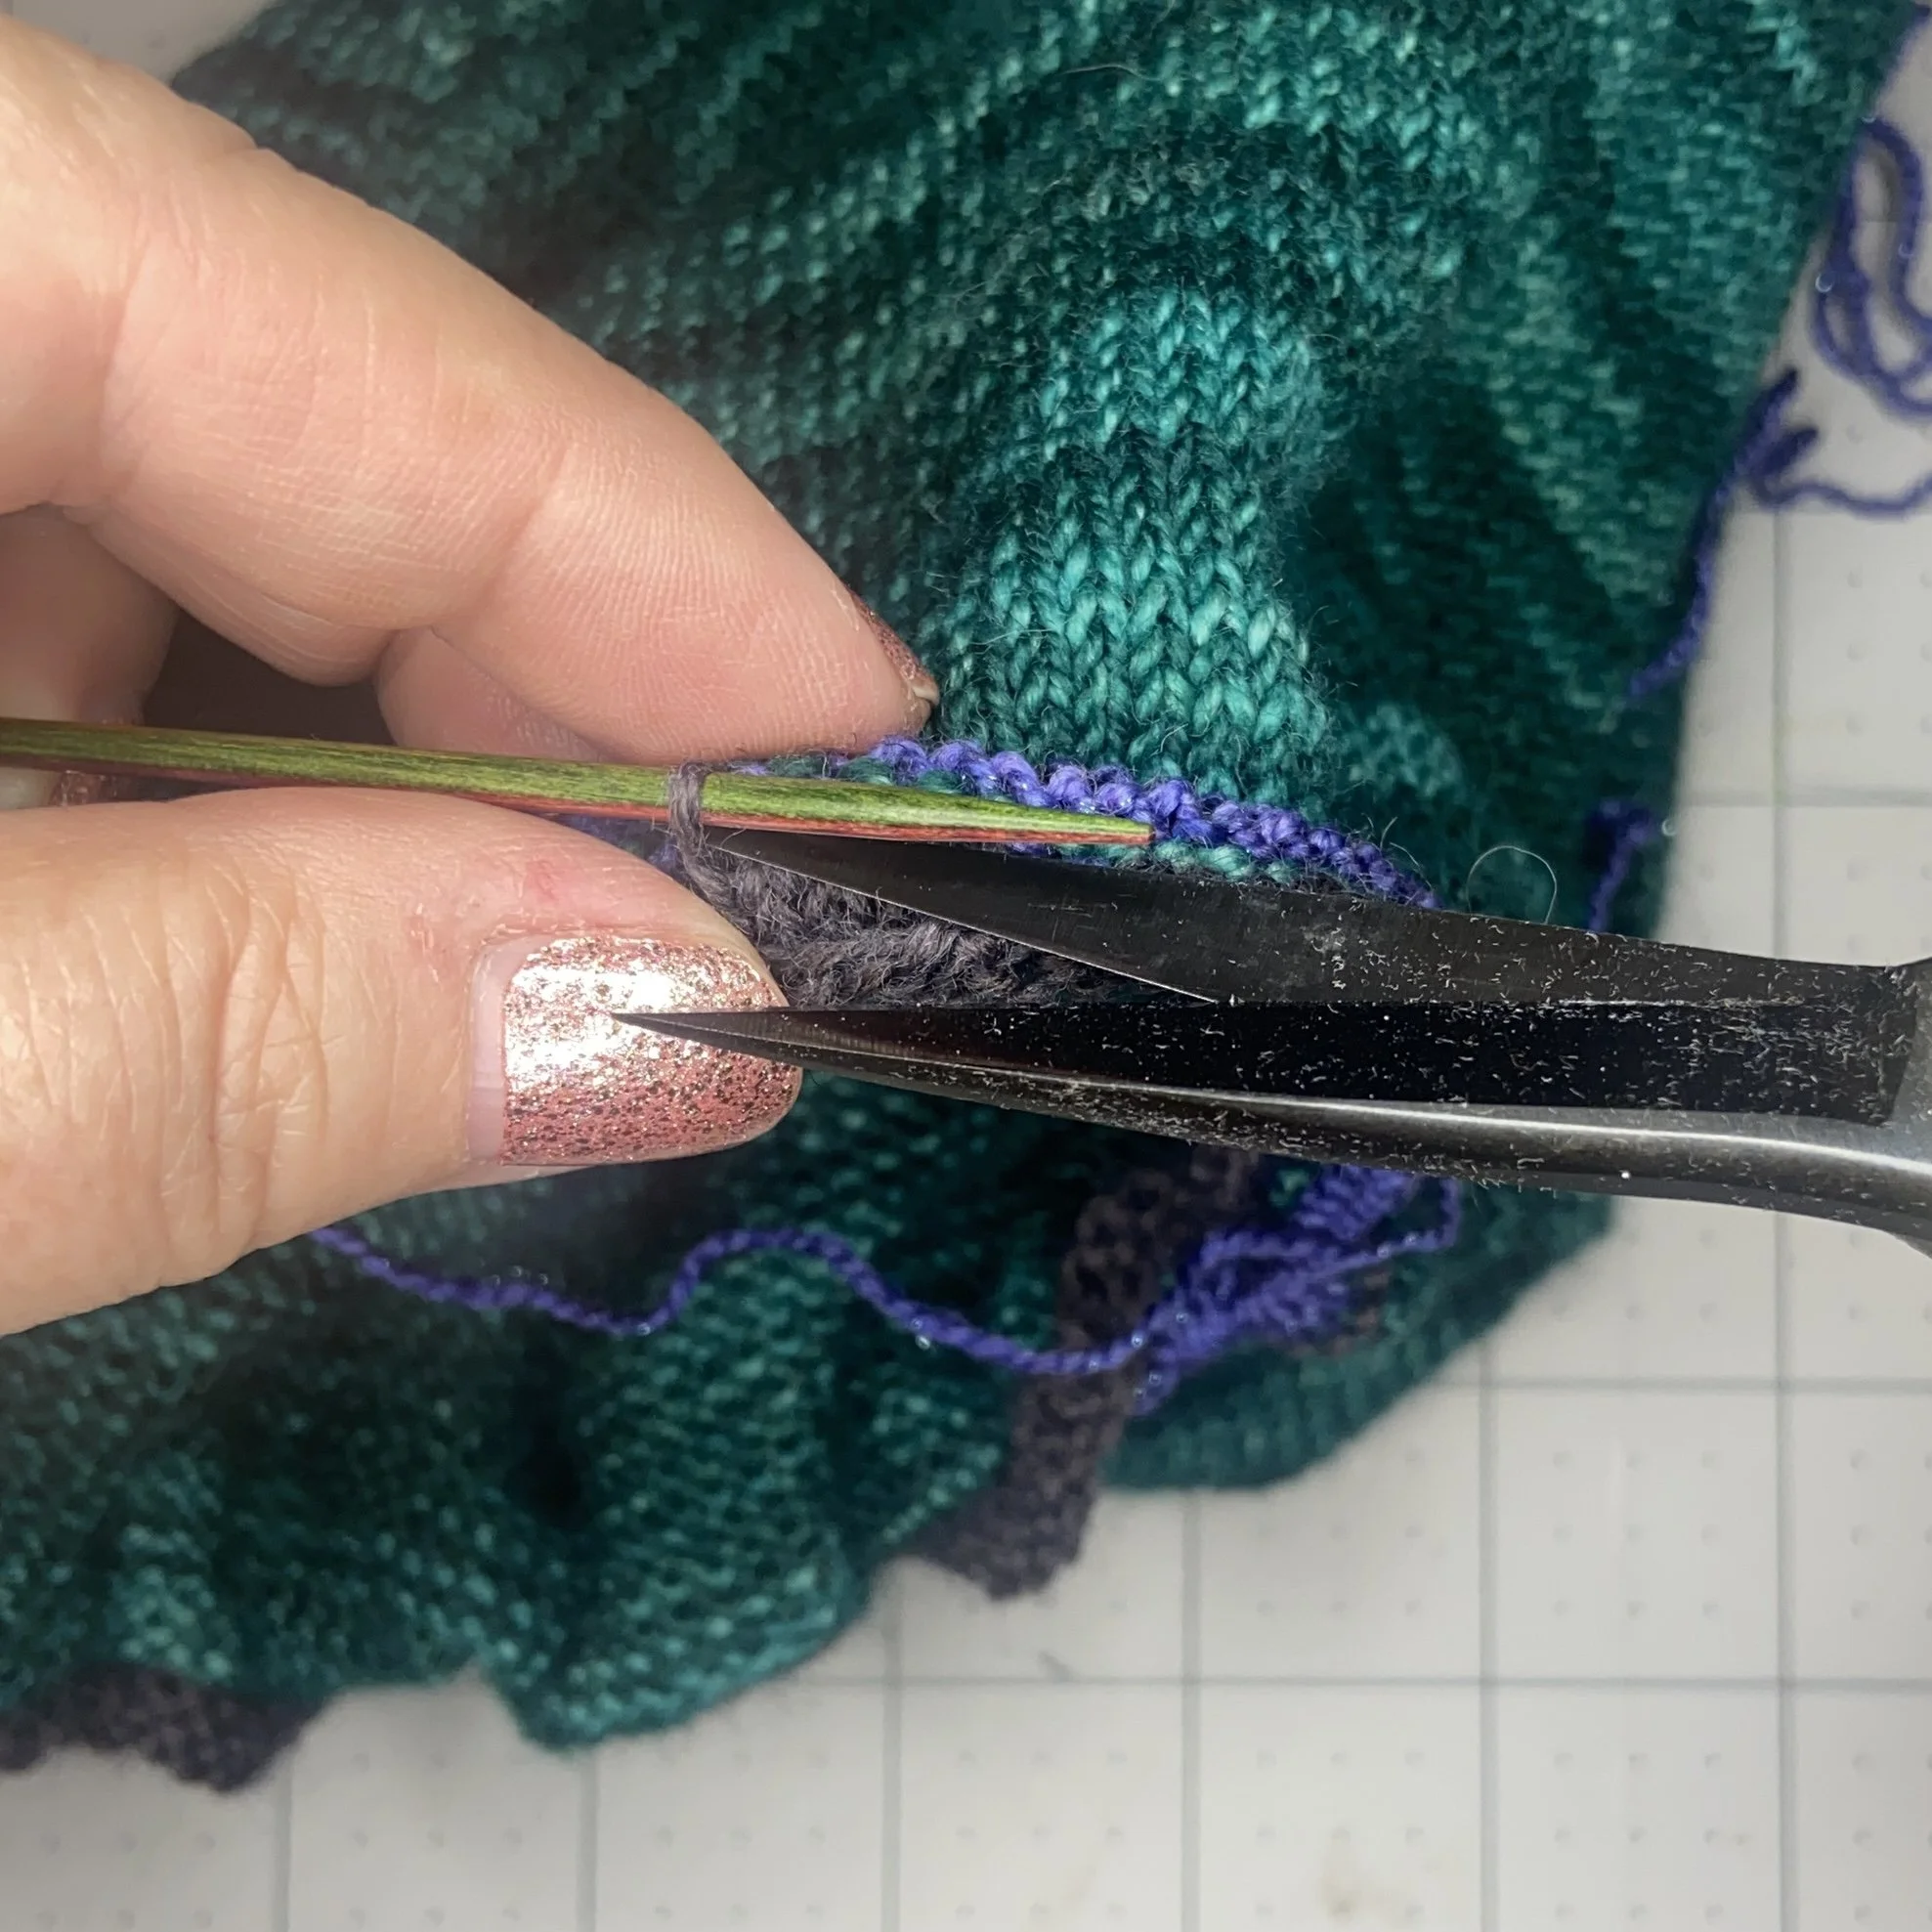
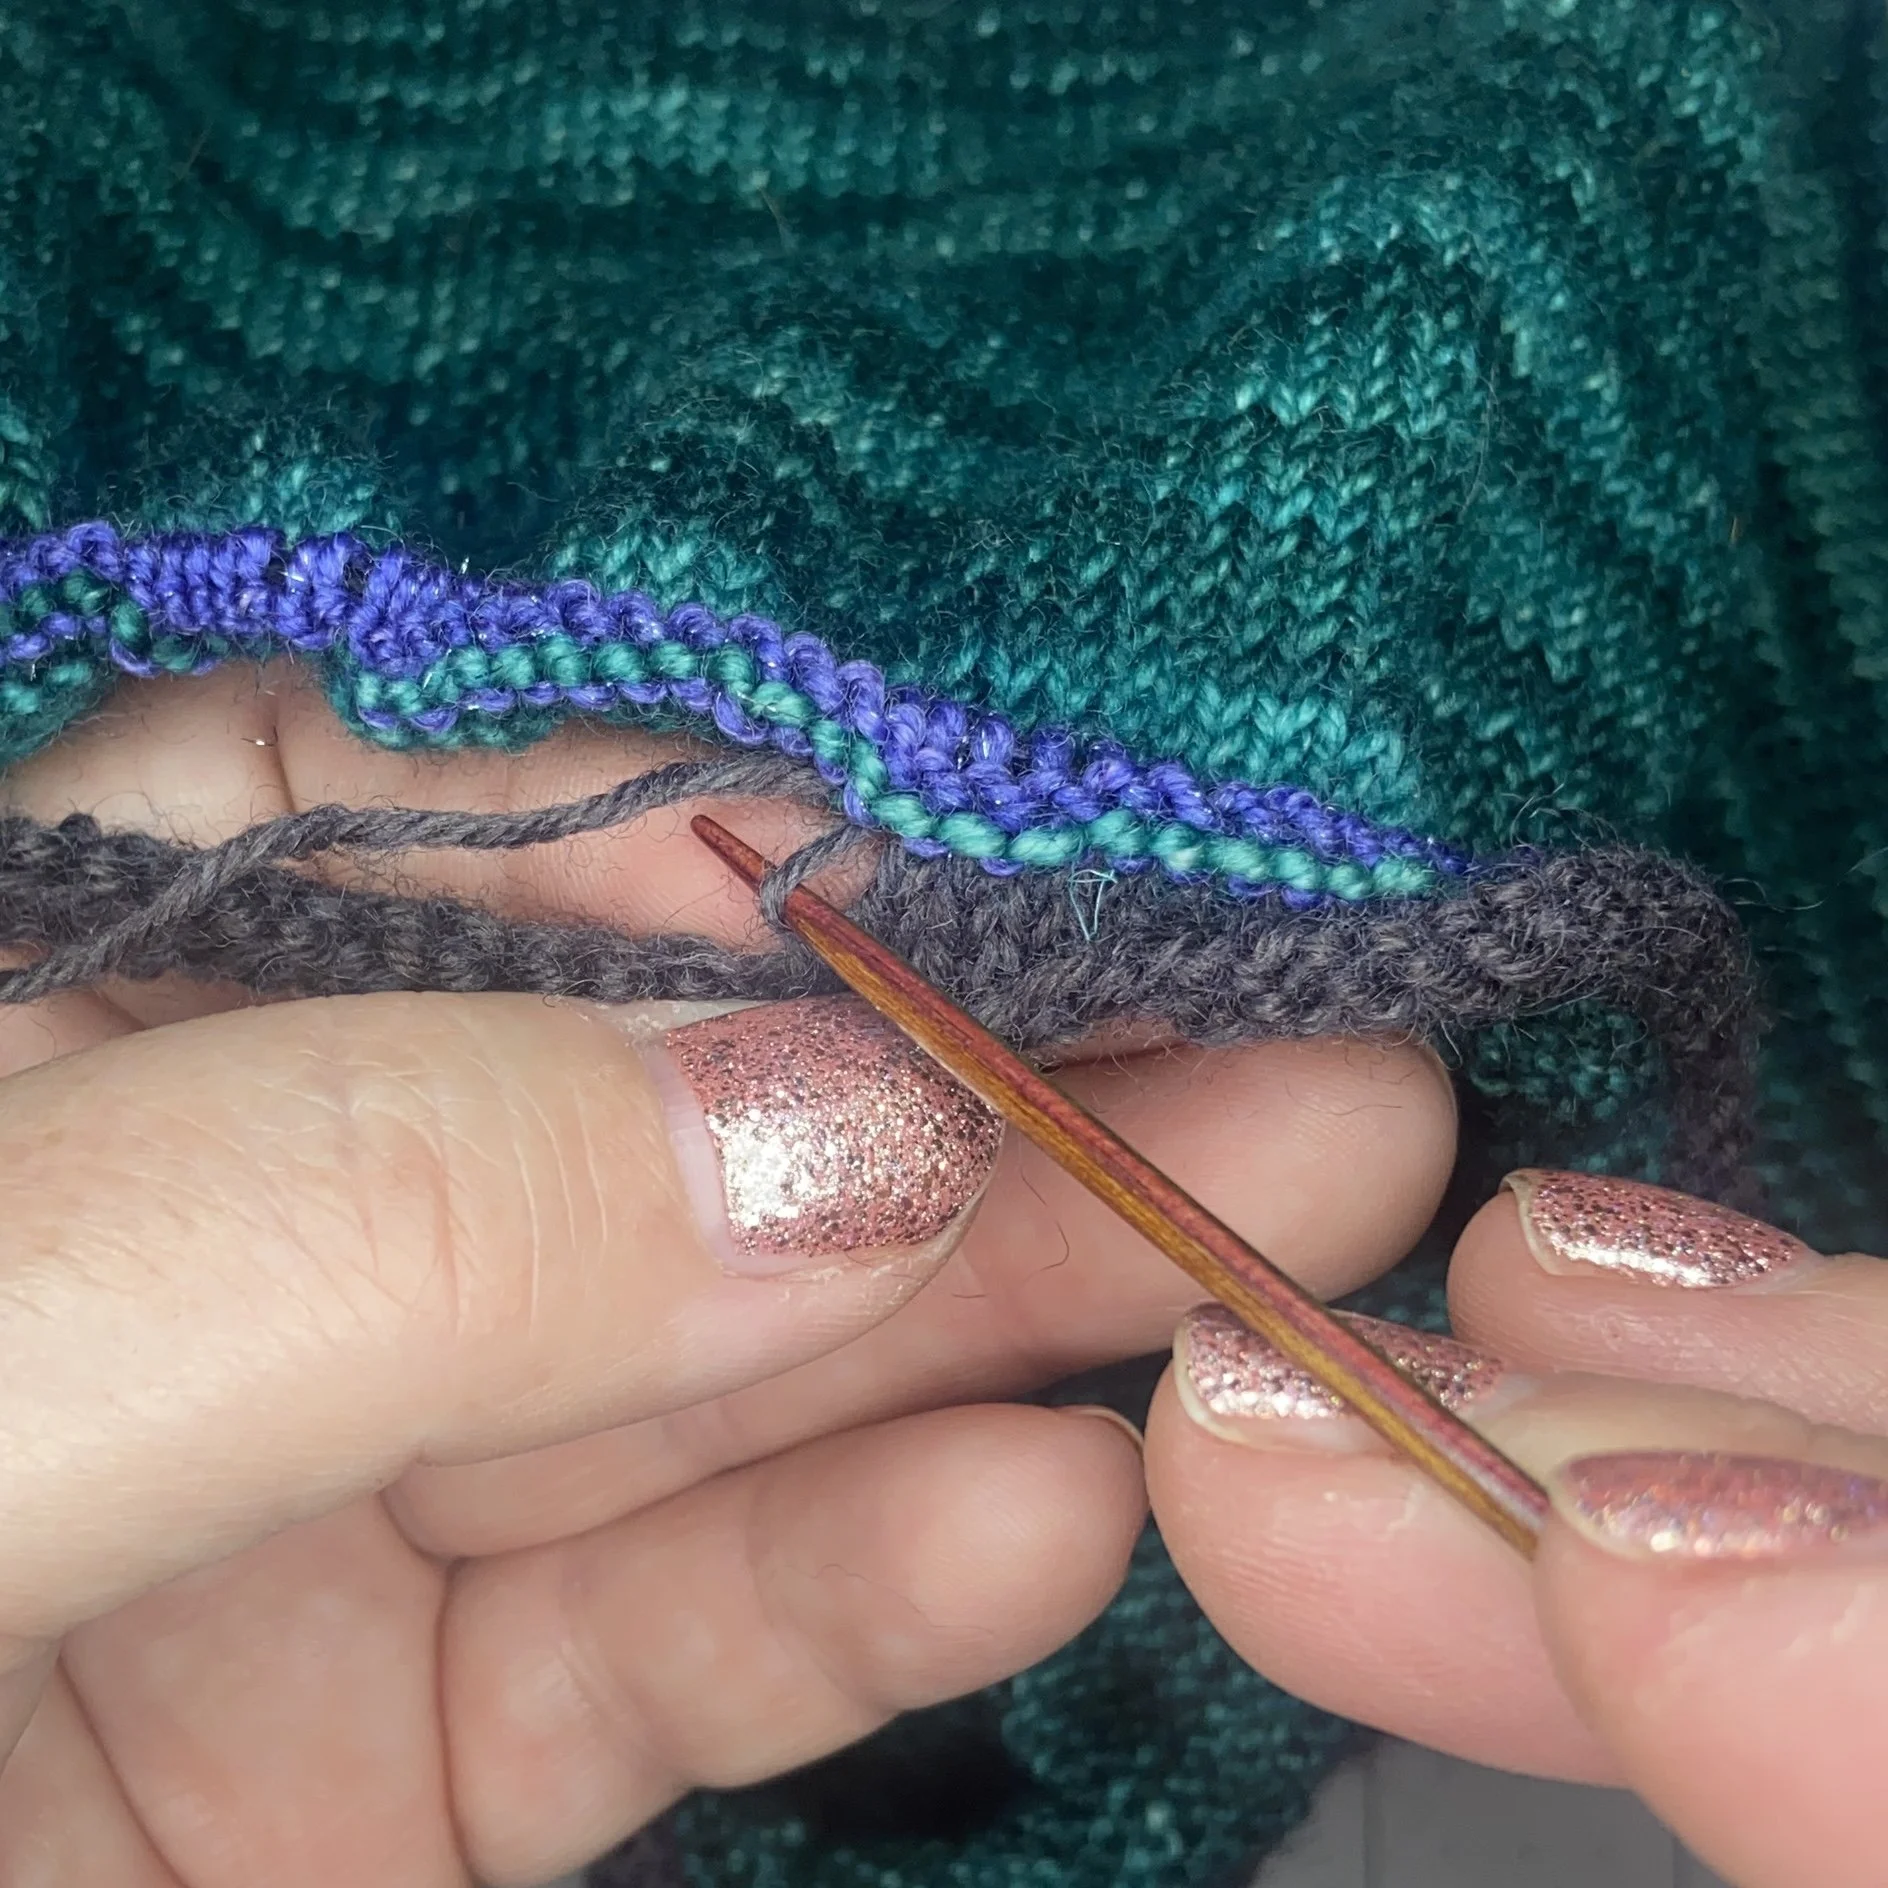
This is perhaps how I managed to knit my closed stitch marker into my stockinette fabric. Apparently, at some point, I knit through the closed ring, and then slipped it onto the right needle, and kept going. I didn’t notice the problem until a few rows later, when I was still slipping the marker, but it was also caught a couple rows below and starting to draw up the fabric. I should have taken a picture of what that looked like for posterity, and to show people when I started this story with “What kind of idiot…”
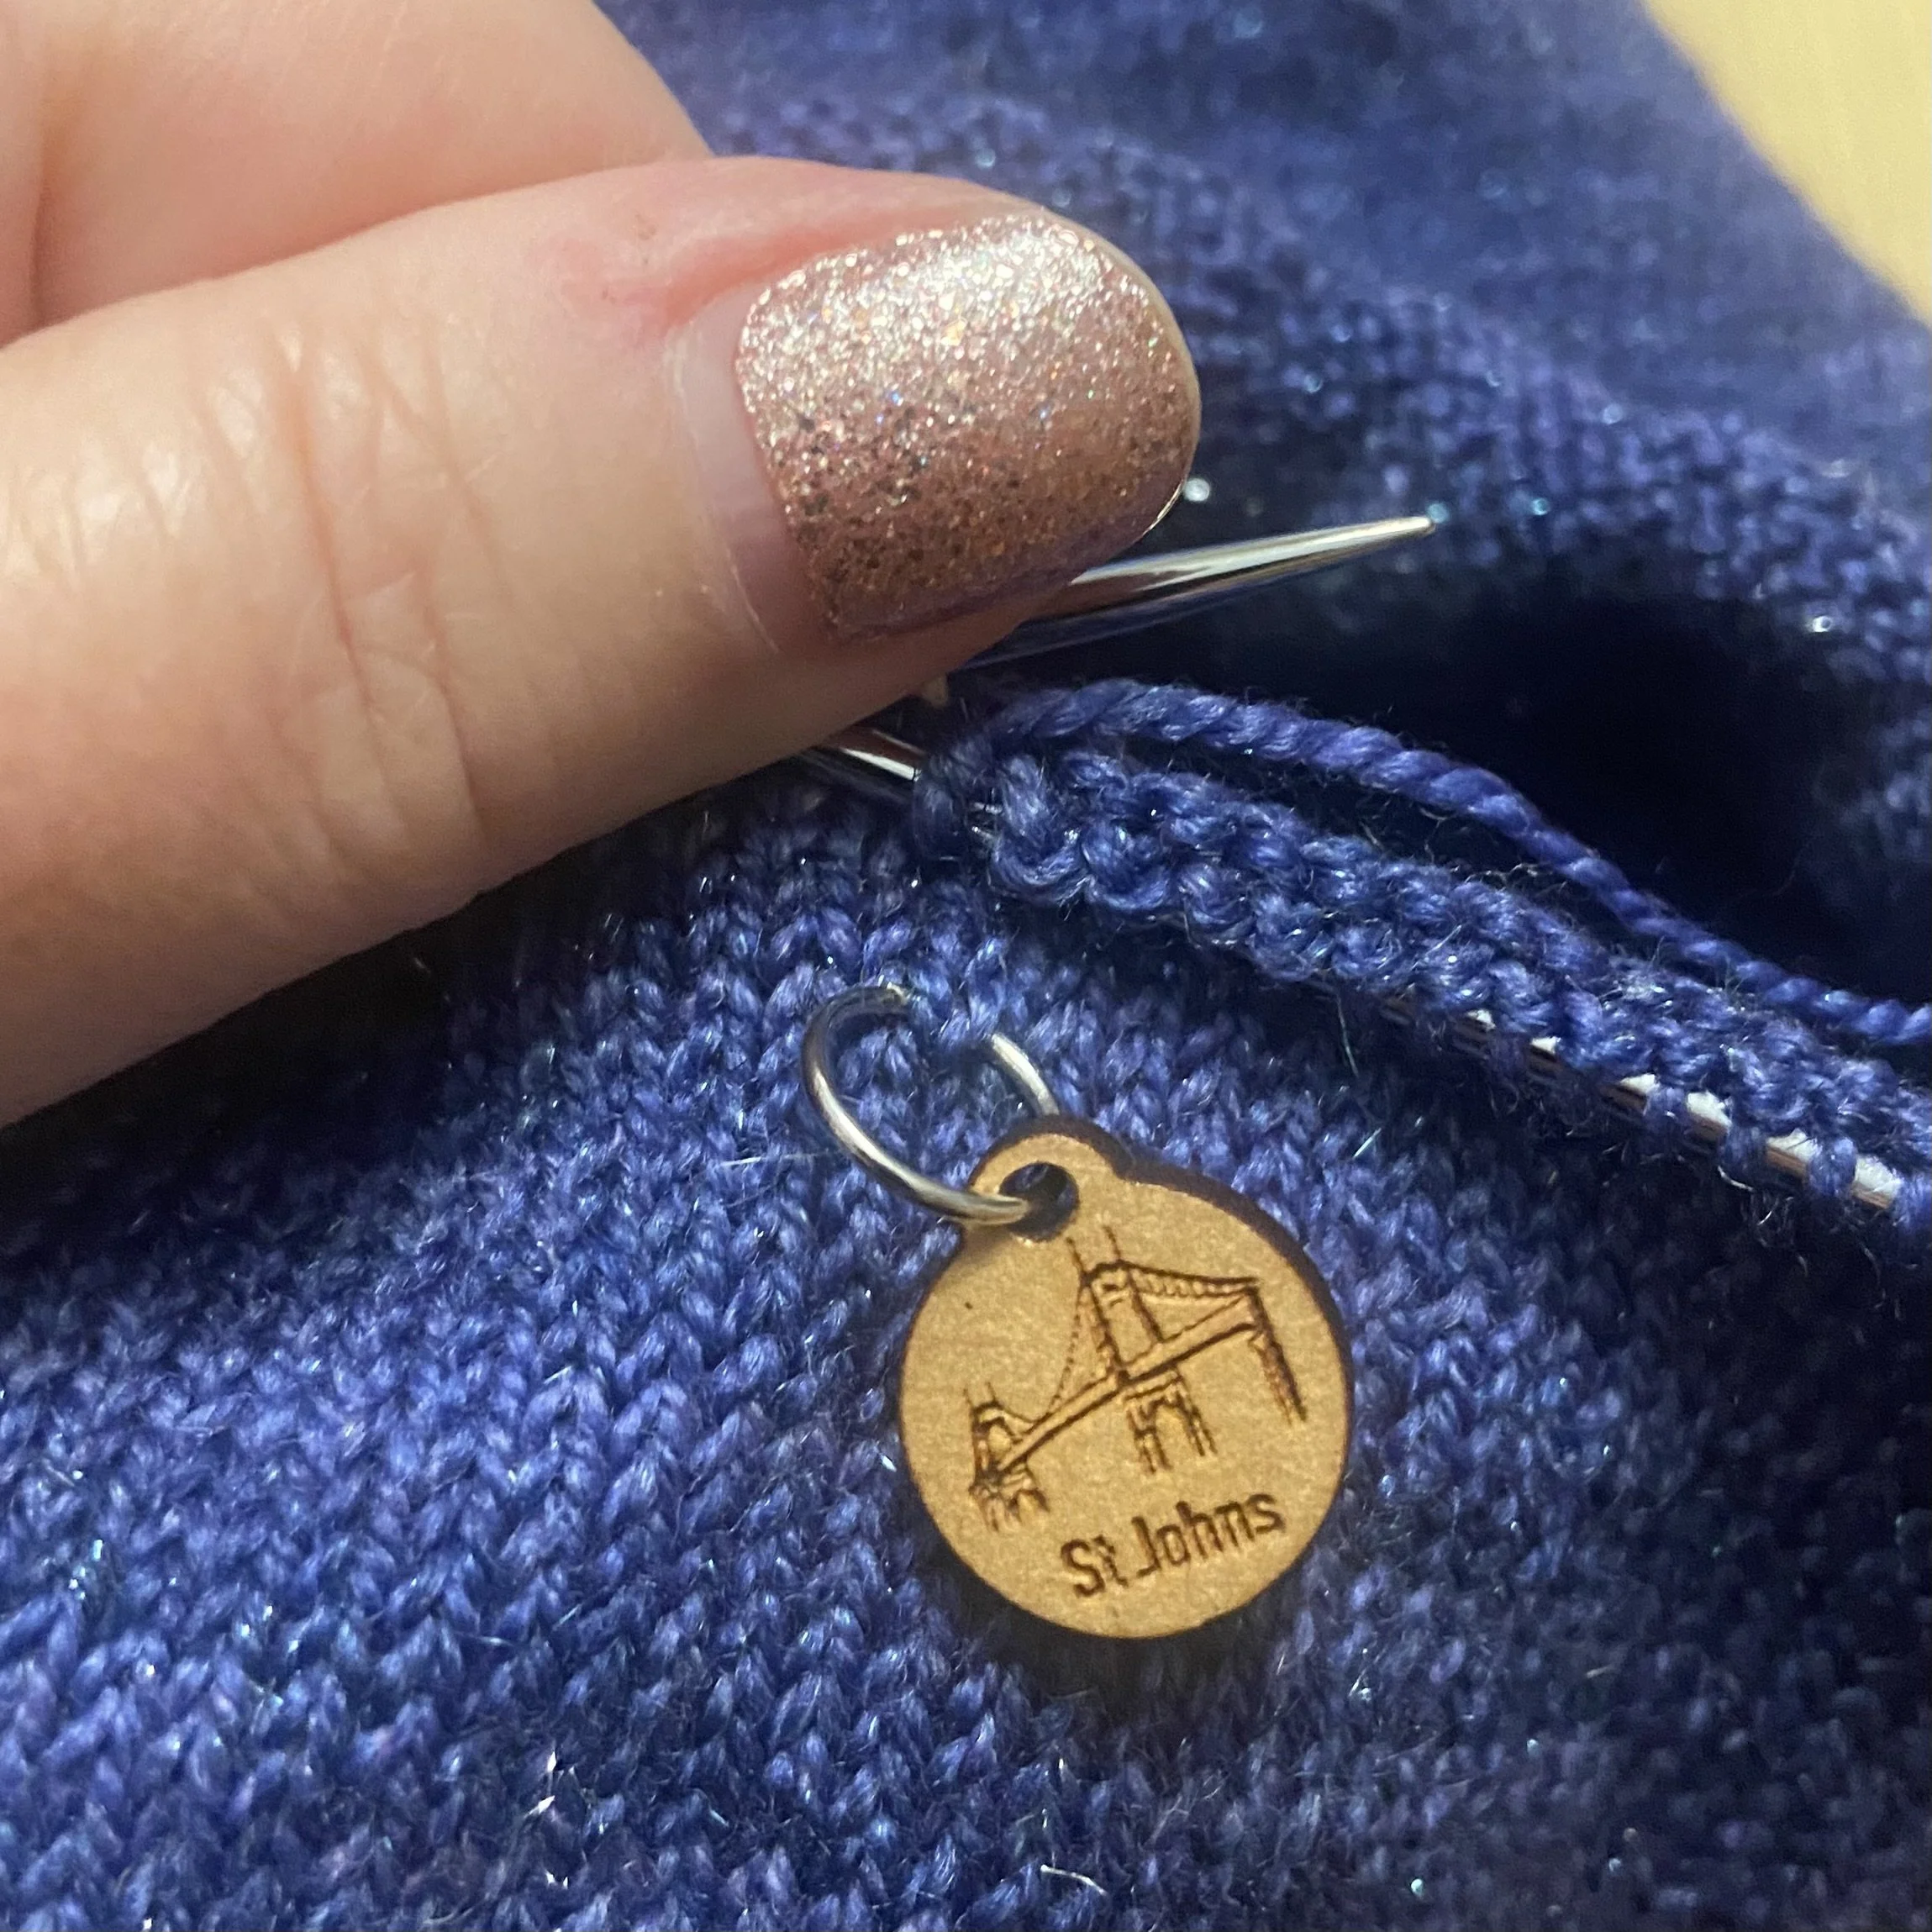
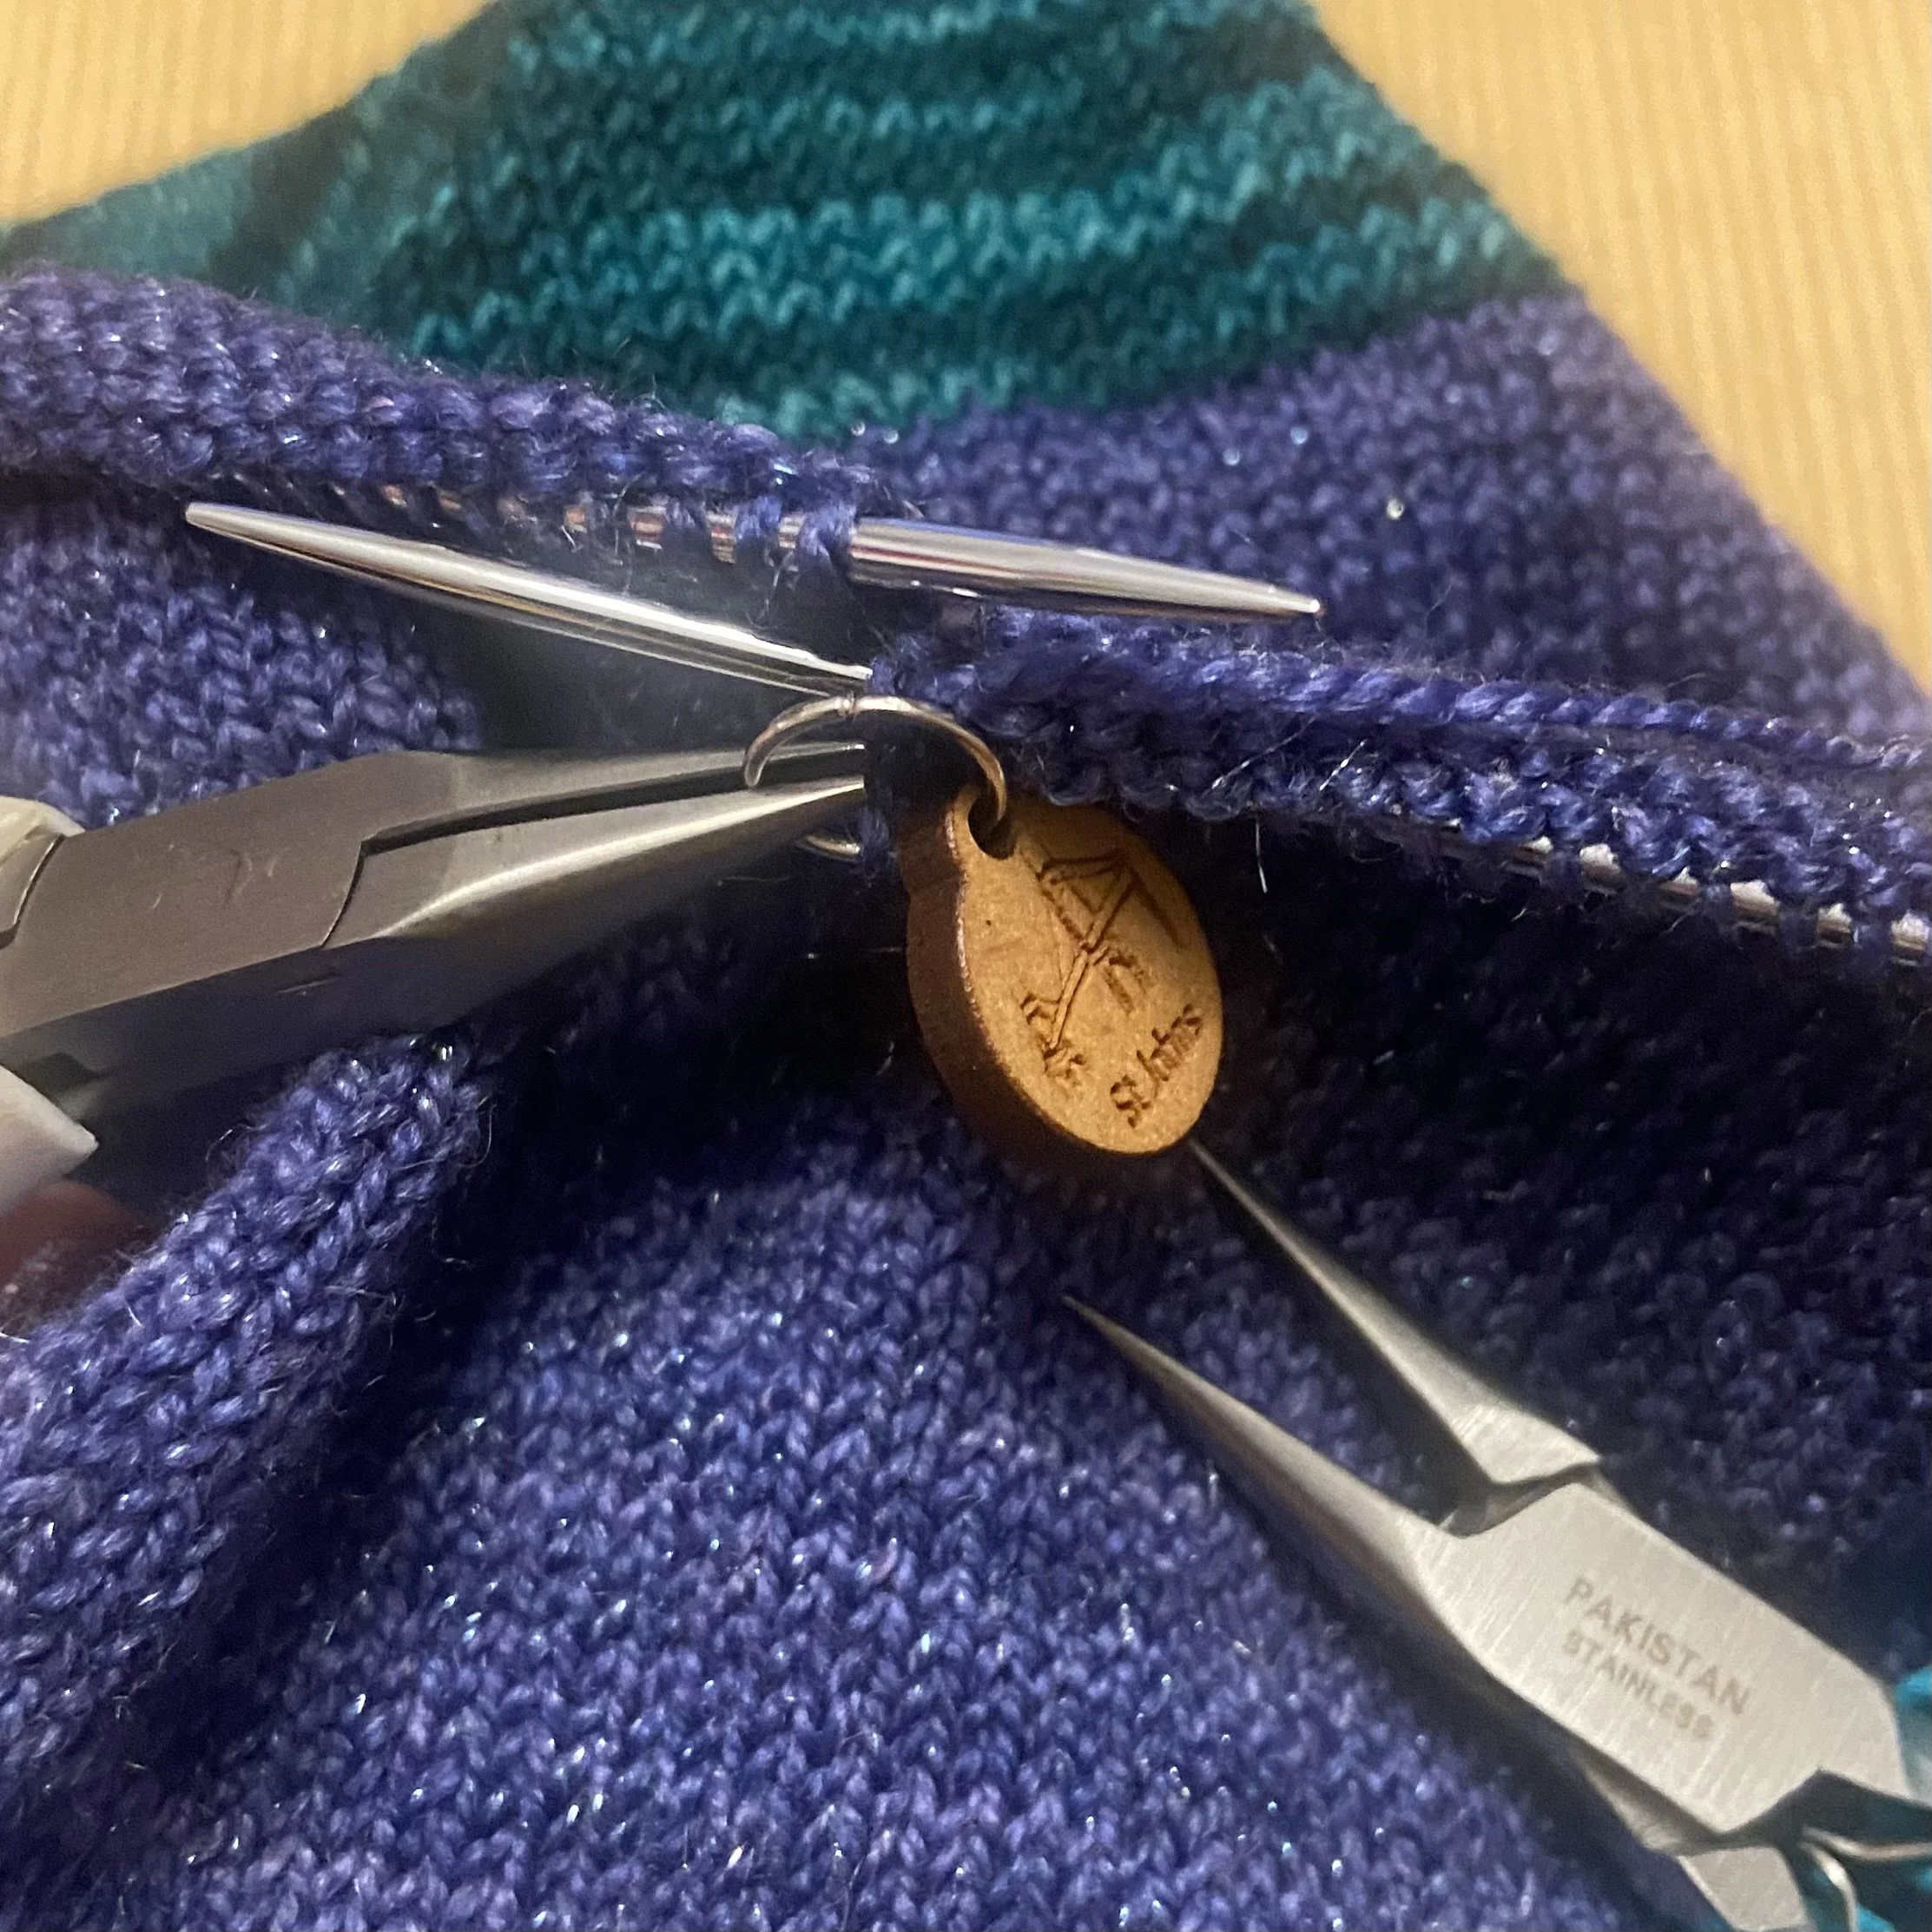
Alas, I didn’t take a picture of that, only of the marker hanging off the fabric. I had to go dig out my jump-ring pliers from my old pile of chain-mail jewelry equipment to open up the ring, remove it from the fabric, close it again, and put it back on its proper place on the knitting needles. Every time I think I’ve made every knitting mistake possible, I am reminded that I have once again underestimated my creativity in the fine art of screwing up. Ah well…no permanent harm done. Except maybe to my pride. I mean really, what kind of idiot…never mind.
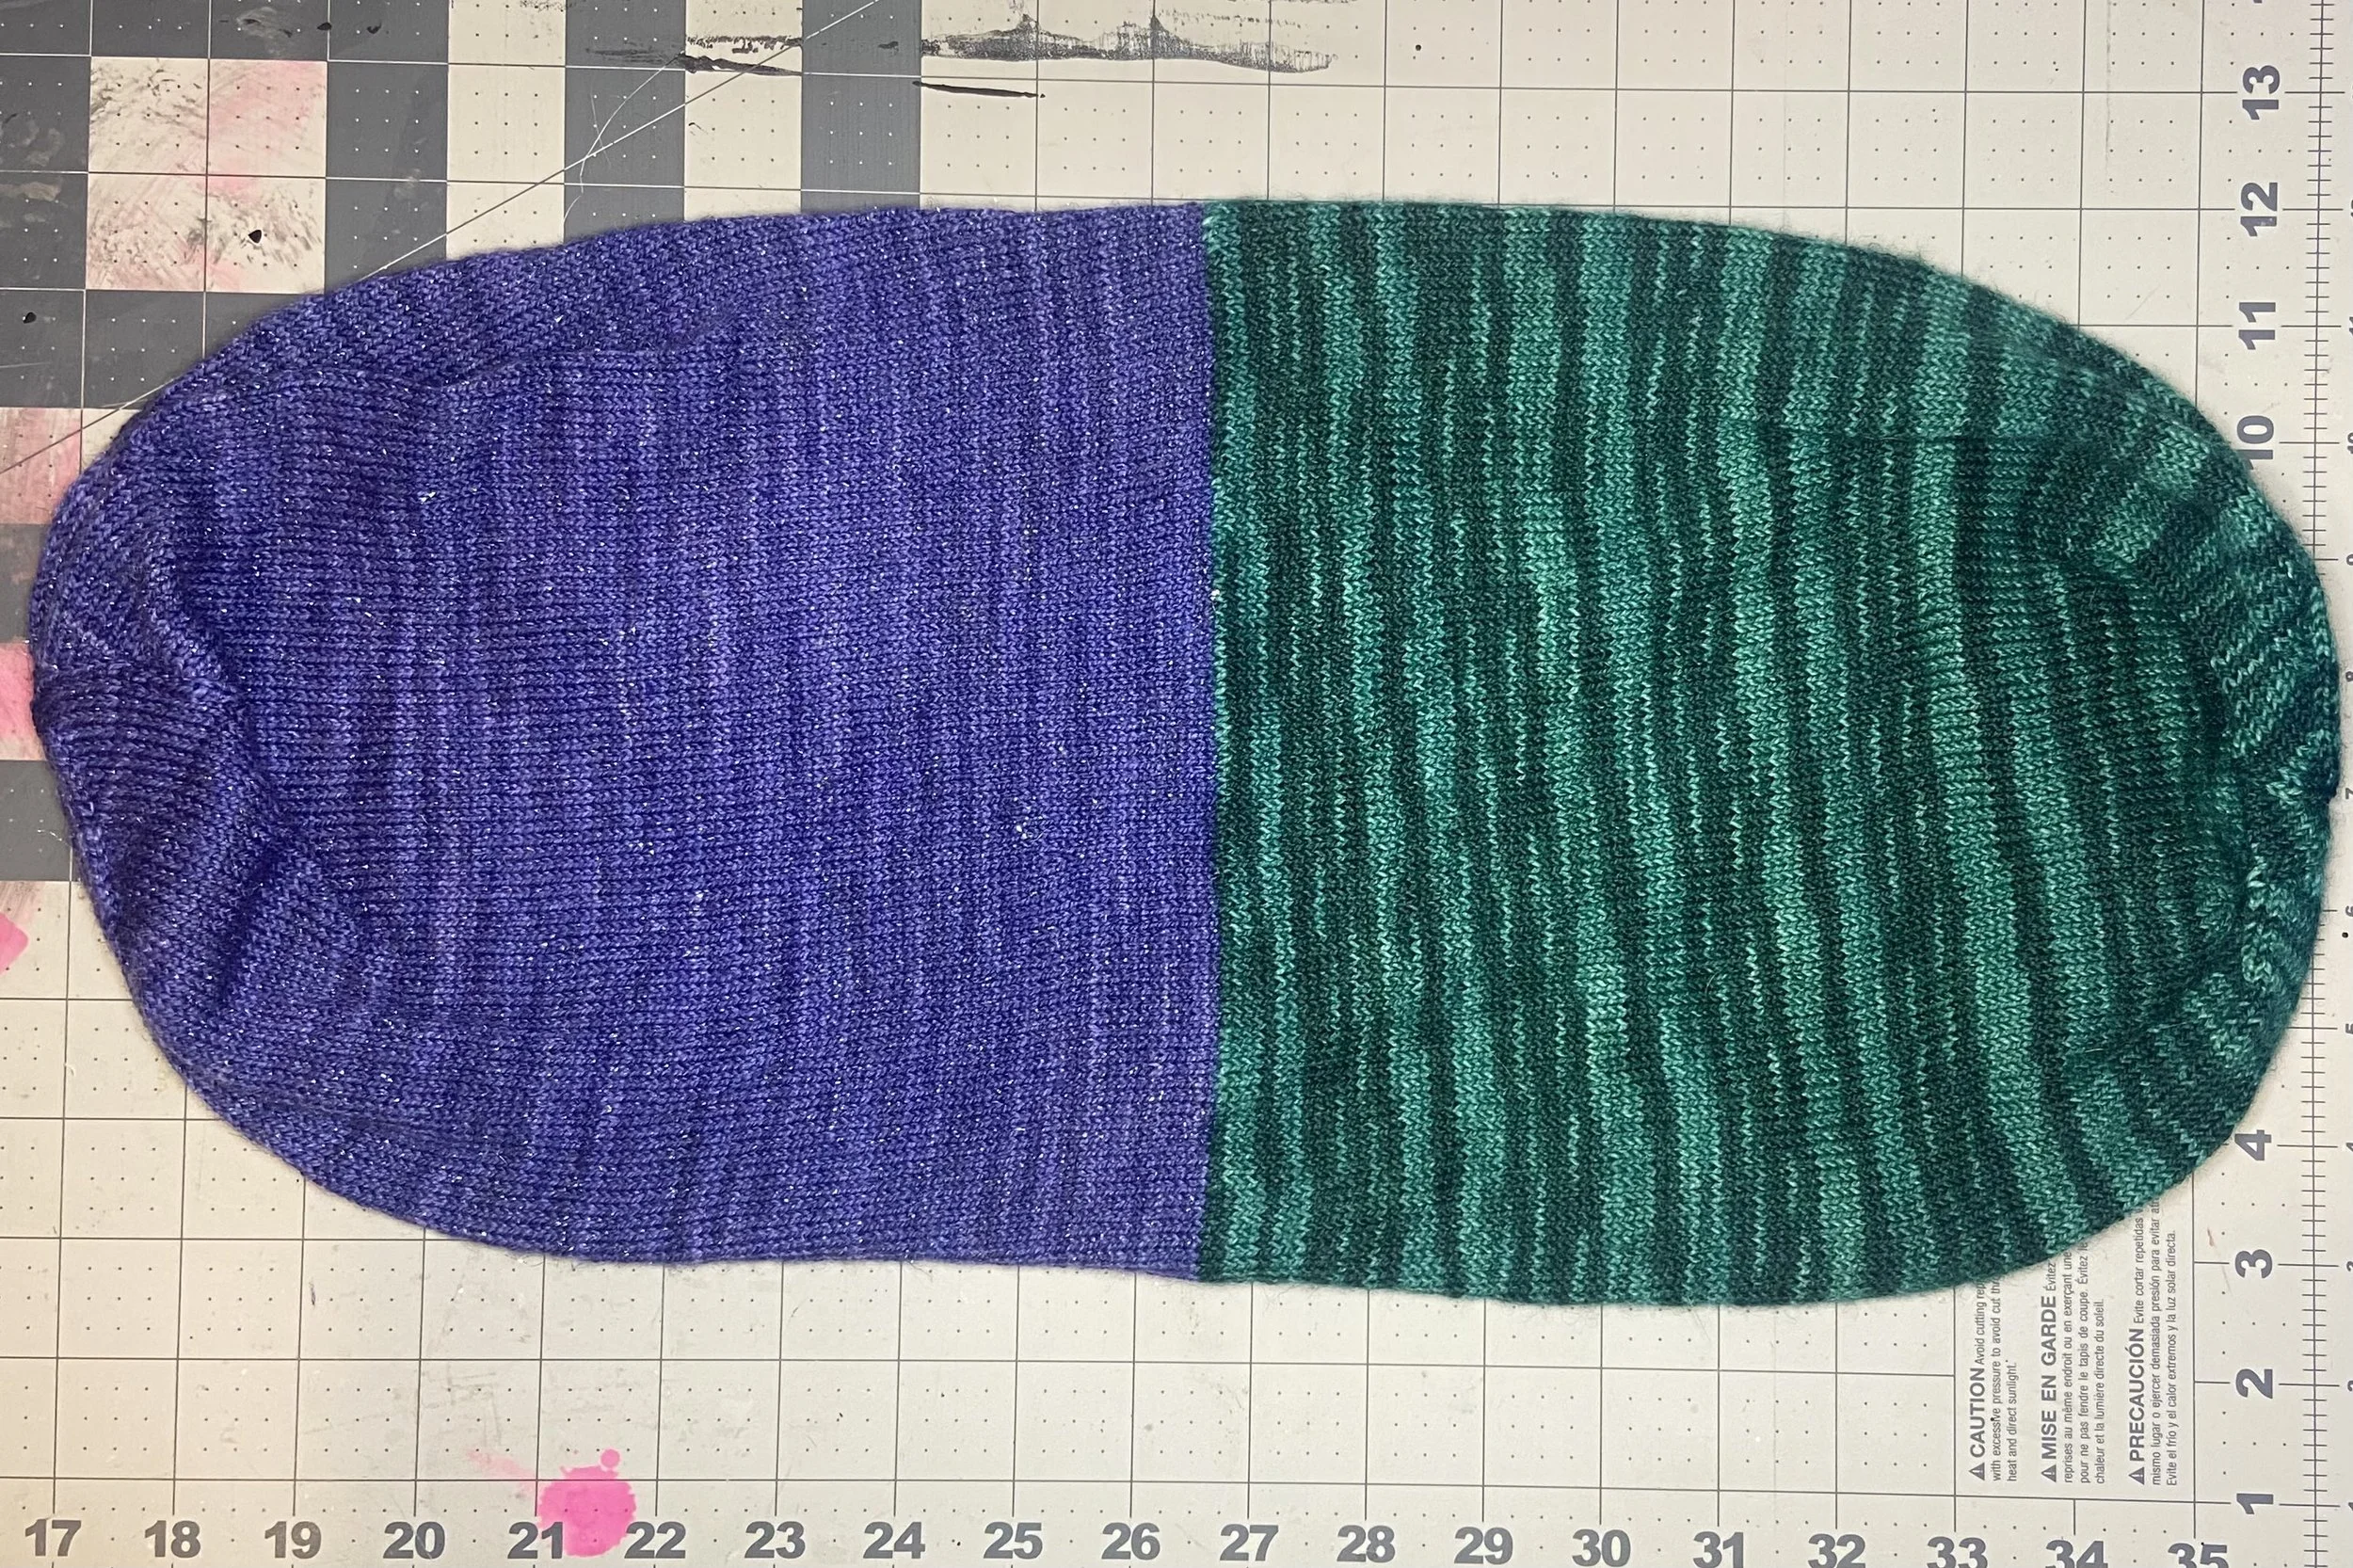
Once the second half of the hat was 8.5” long, I closed the top the same way as I did for the first half. And done! It does look very odd when laid out like this…
I washed the hat in tepid water and wool wash, then carefully tucked one half inside the other, stuck my styrofoam ball inside it, and let it air dry for a day.

After a day, I turned the inside to the outside, stuck the styrofoam ball back in, and let it finish drying. Et voila! A double thickness hat, which is nevertheless not bulky by virtue of the fact that it’s knit in relatively fine yarn. It can be worn with either color on the outside as a slouchy beanie, or with the bottom edge turned up to make a contrasting color brim which is four layers thick and will definitely keep your ears warm. I did plan to give this hat to someone as a gift, but I just can’t part with it. It’s mine, all mine!