As an Amazon associate, I may earn a small commission if you navigate to Amazon from my site and buy something. This will not result in an extra cost to you.
A couple weeks ago, I was looking at some of the light fixtures around my new house and I realized that I didn’t have spare bulbs for any of them. In fact, I didn’t even know what kind of bulbs they took. So I grabbed a light bulb out of each of the fixtures in question so that I could haul them all down to my local Home Depot and have an expert there get me acceptable replacement bulbs.
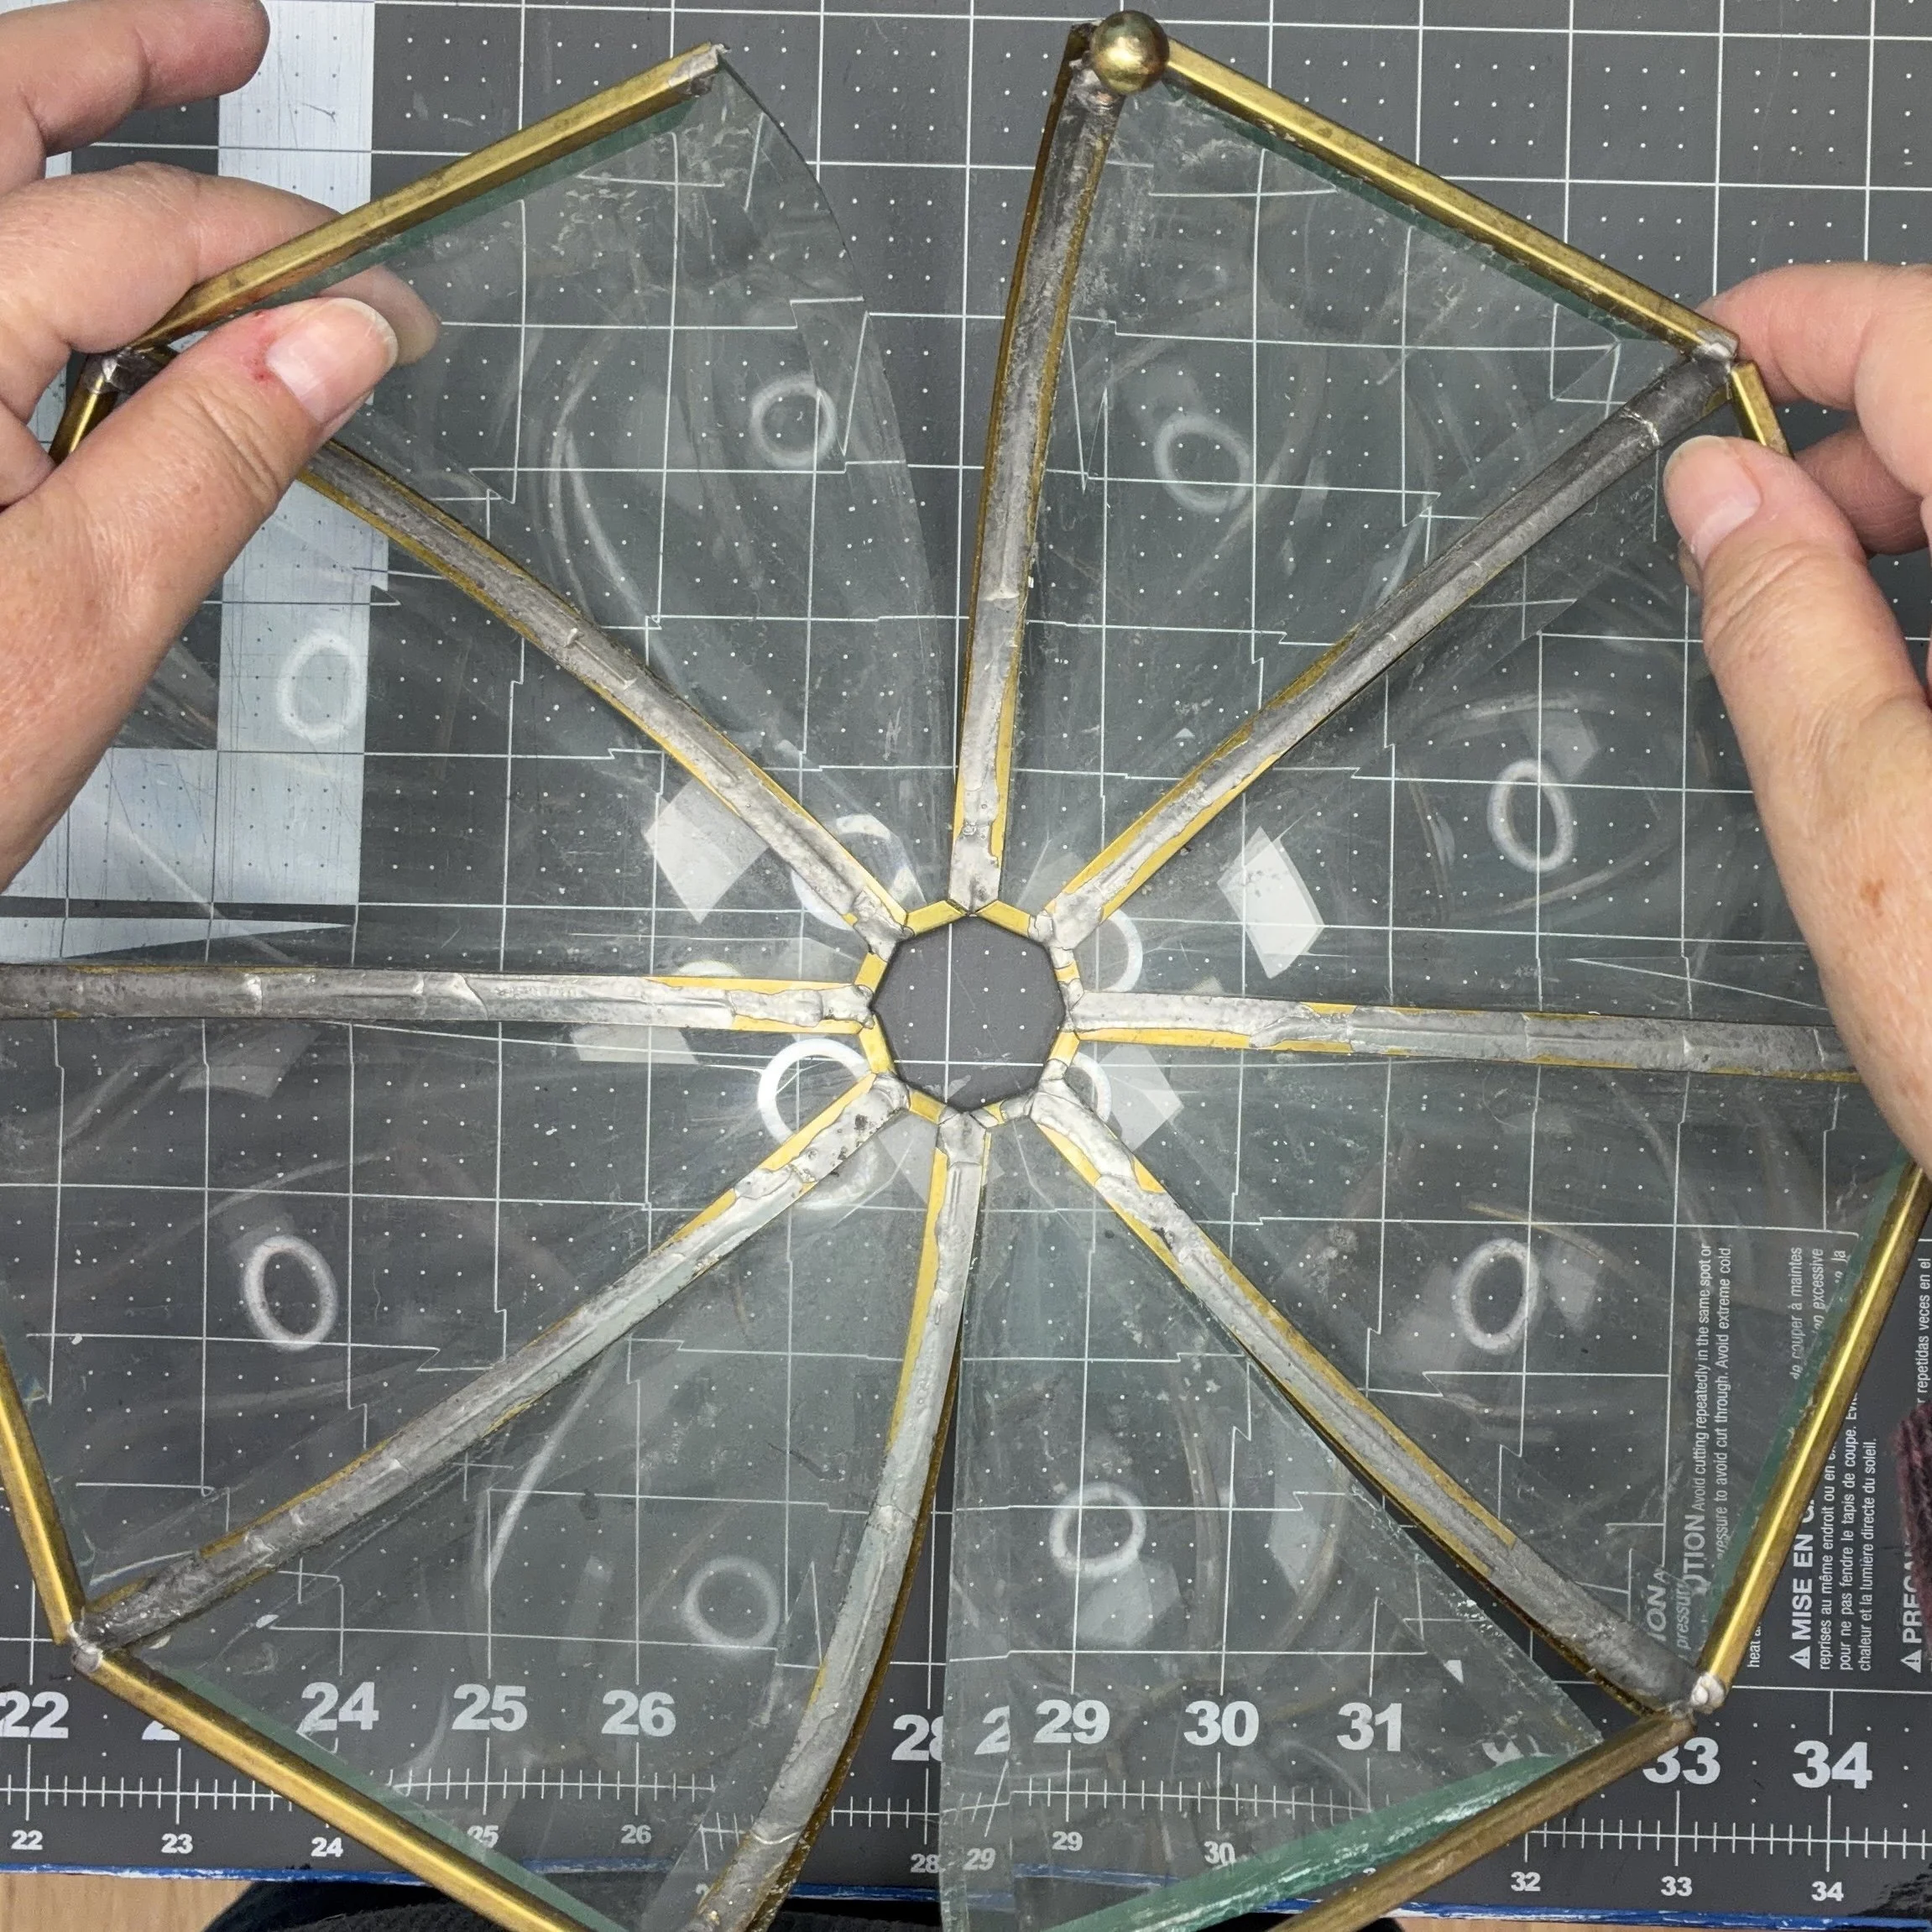
When I took the faceted glass cover off the light fixture in my entry hallway, the cover started coming apart in my hands. So I wrapped that in a kitchen towel and took it to Home Depot also, hoping that I’d find a replacement for that as well.
Alas, although the bulb situation was well covered, there were almost no replacement fixture covers and none that would fit my measurements. Okay, there was one but it was darn ugly. No thank you. I did buy an entire replacement fixture and hauled it home before considering that I might be able to glue my broken one back together.
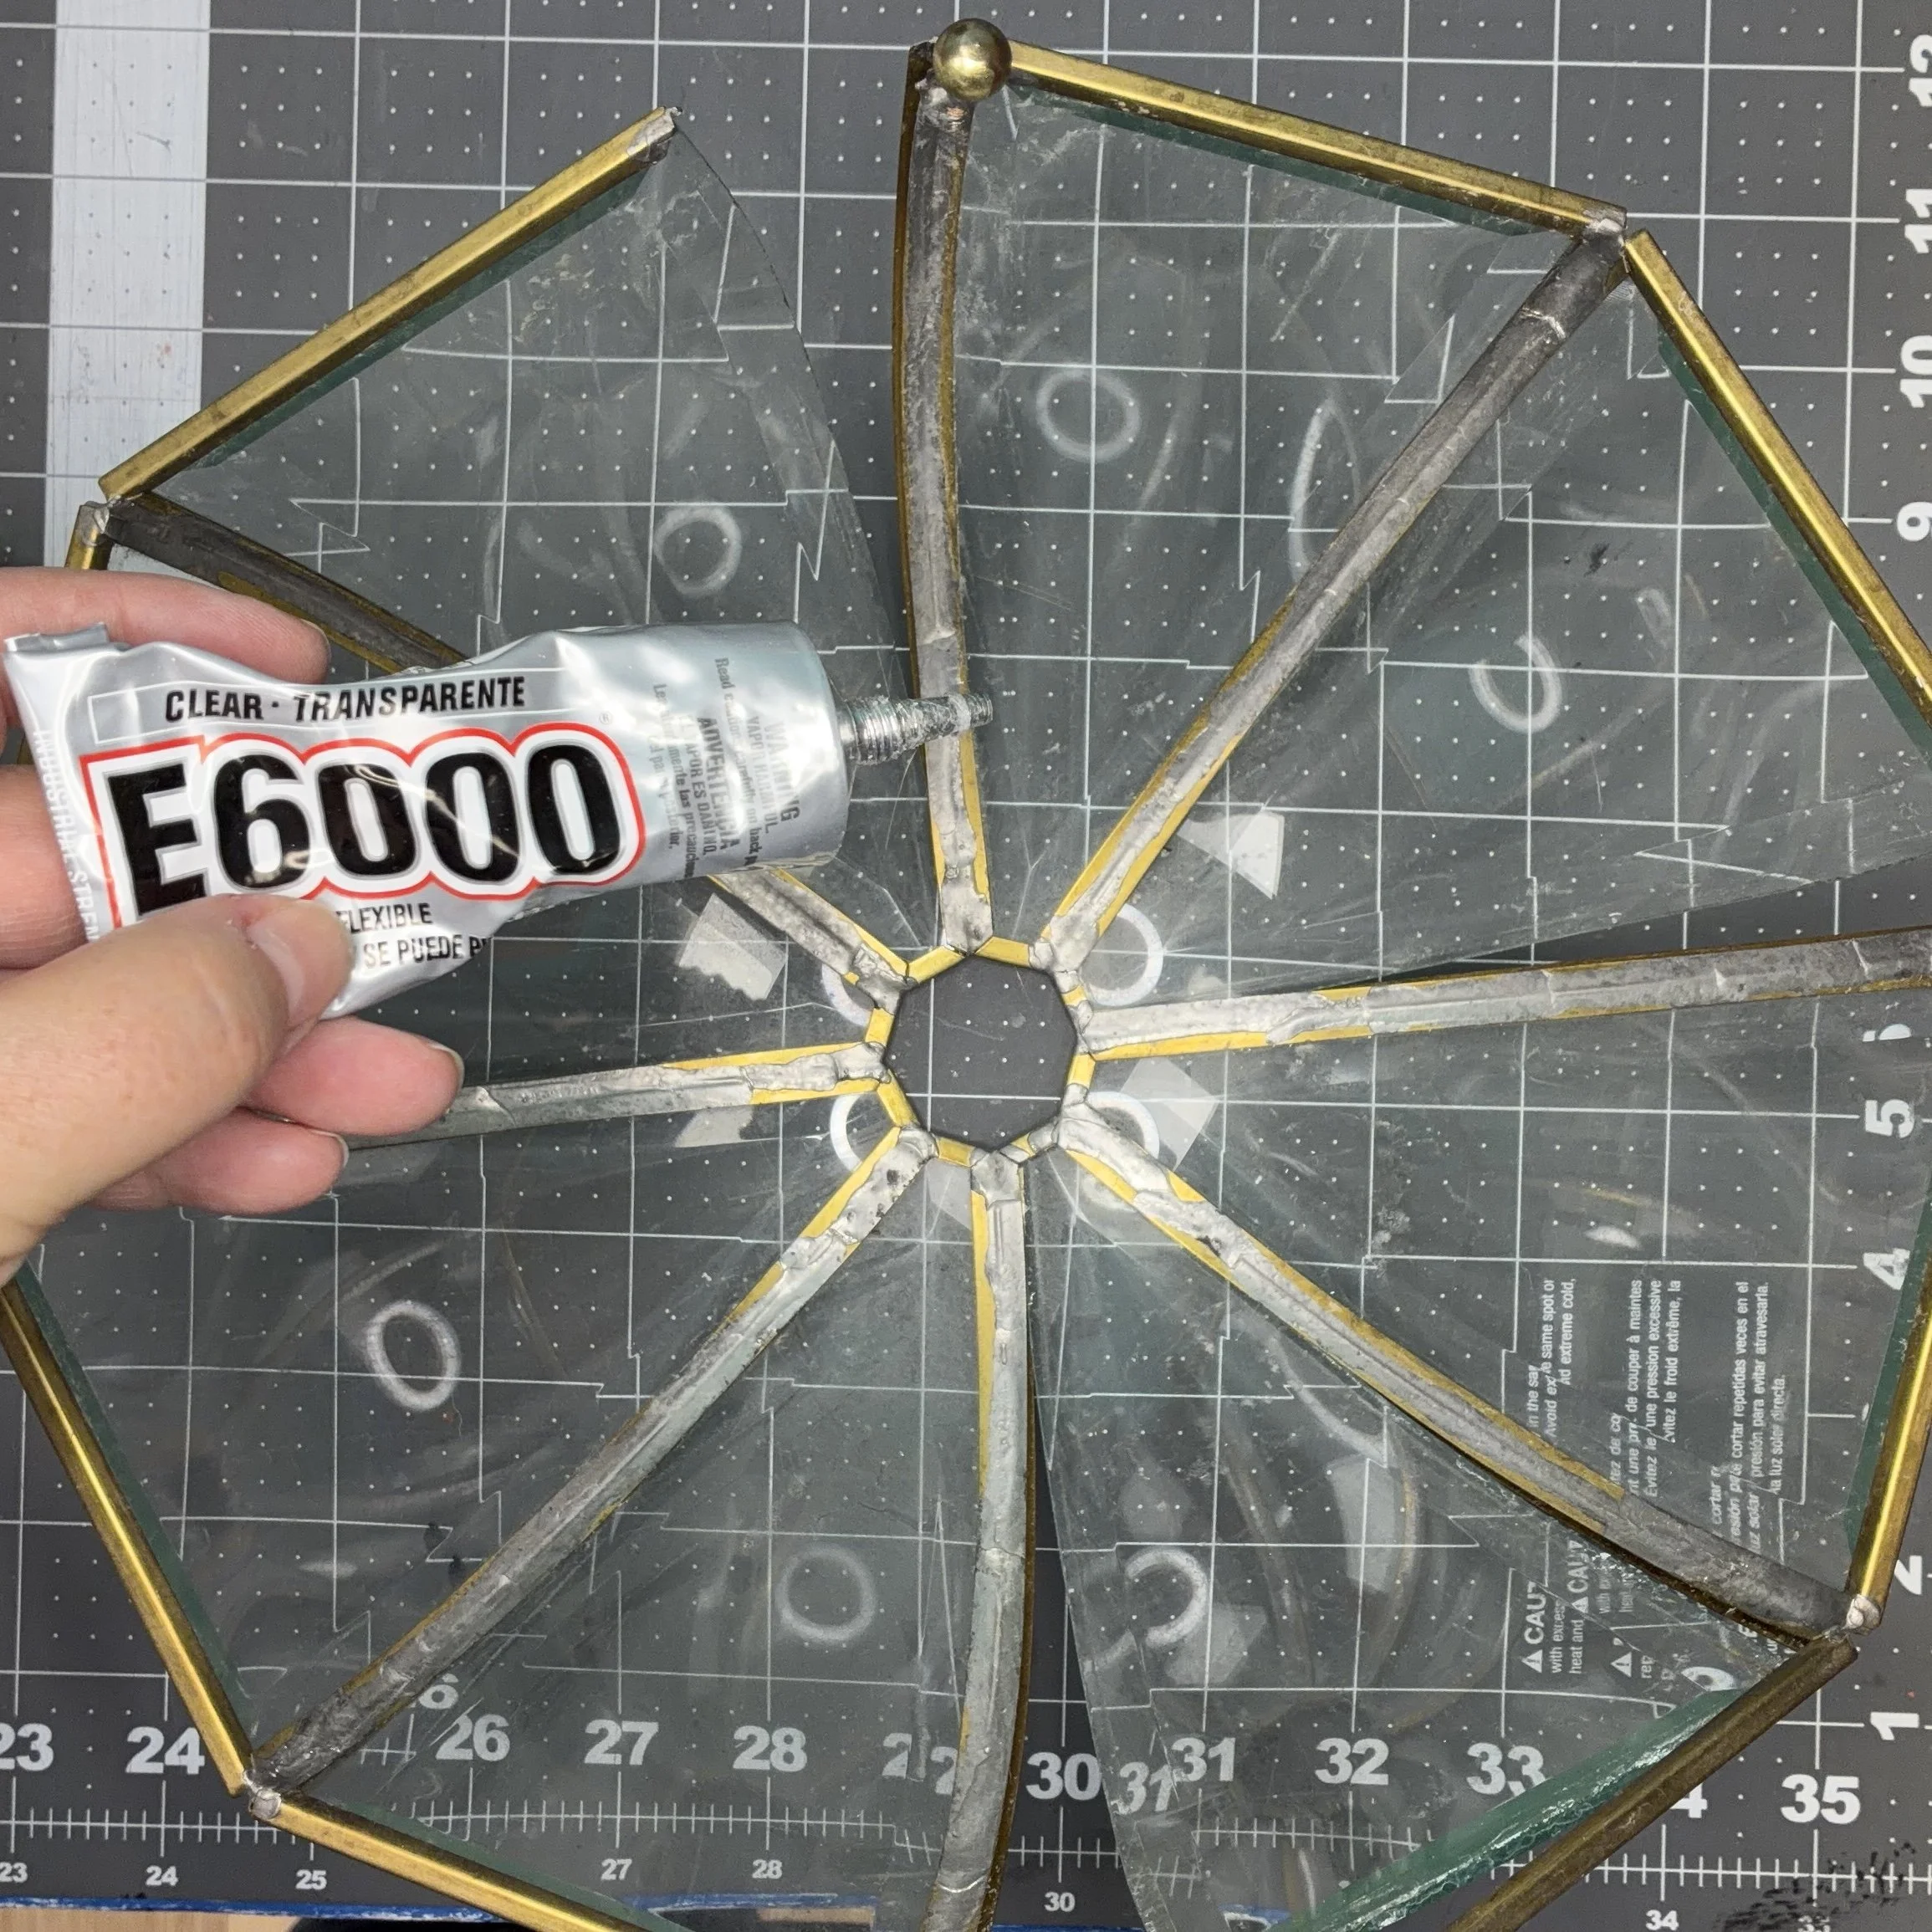
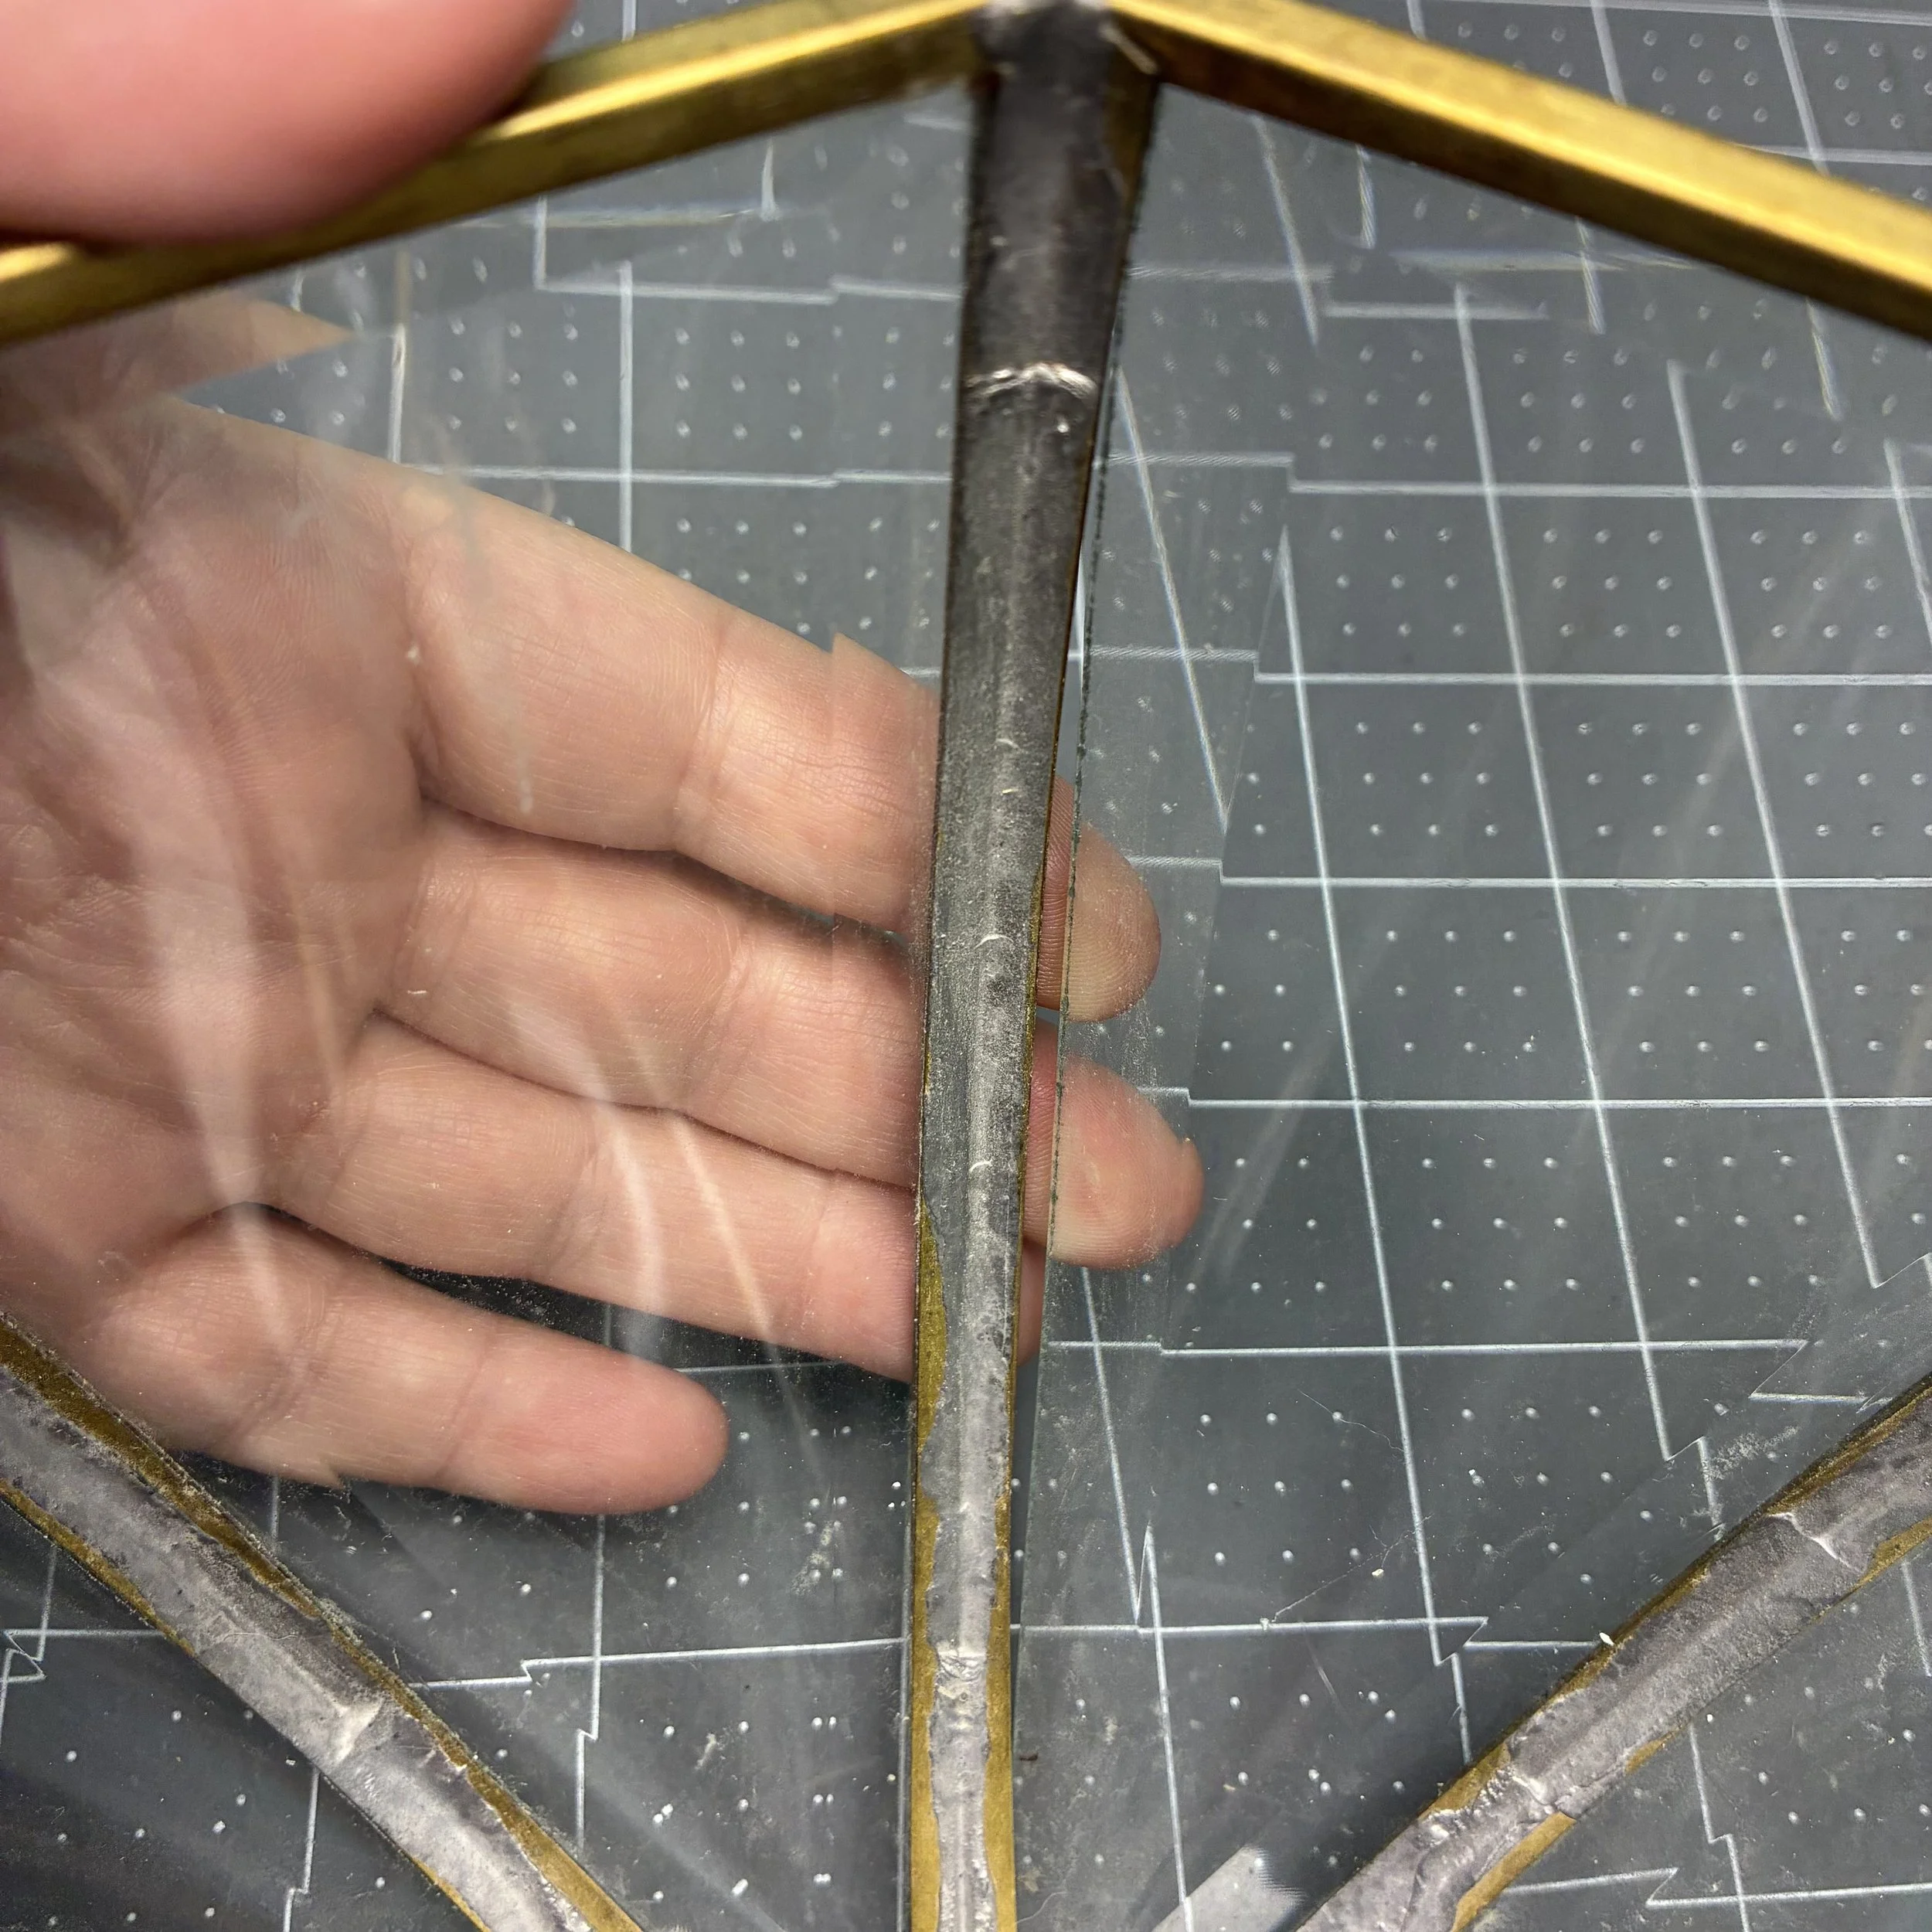
I used some E-6000 and got the cover to stay together, although when I was done, there was still a gap in one of the seams. I assume I didn’t align the various panels quite right, causing that gap, but everything seems secure now and I think it will hold together. If it turns out I’m wrong, the crash, the spray of broken glass, and the subsequent very bad language should be quite spectacular.
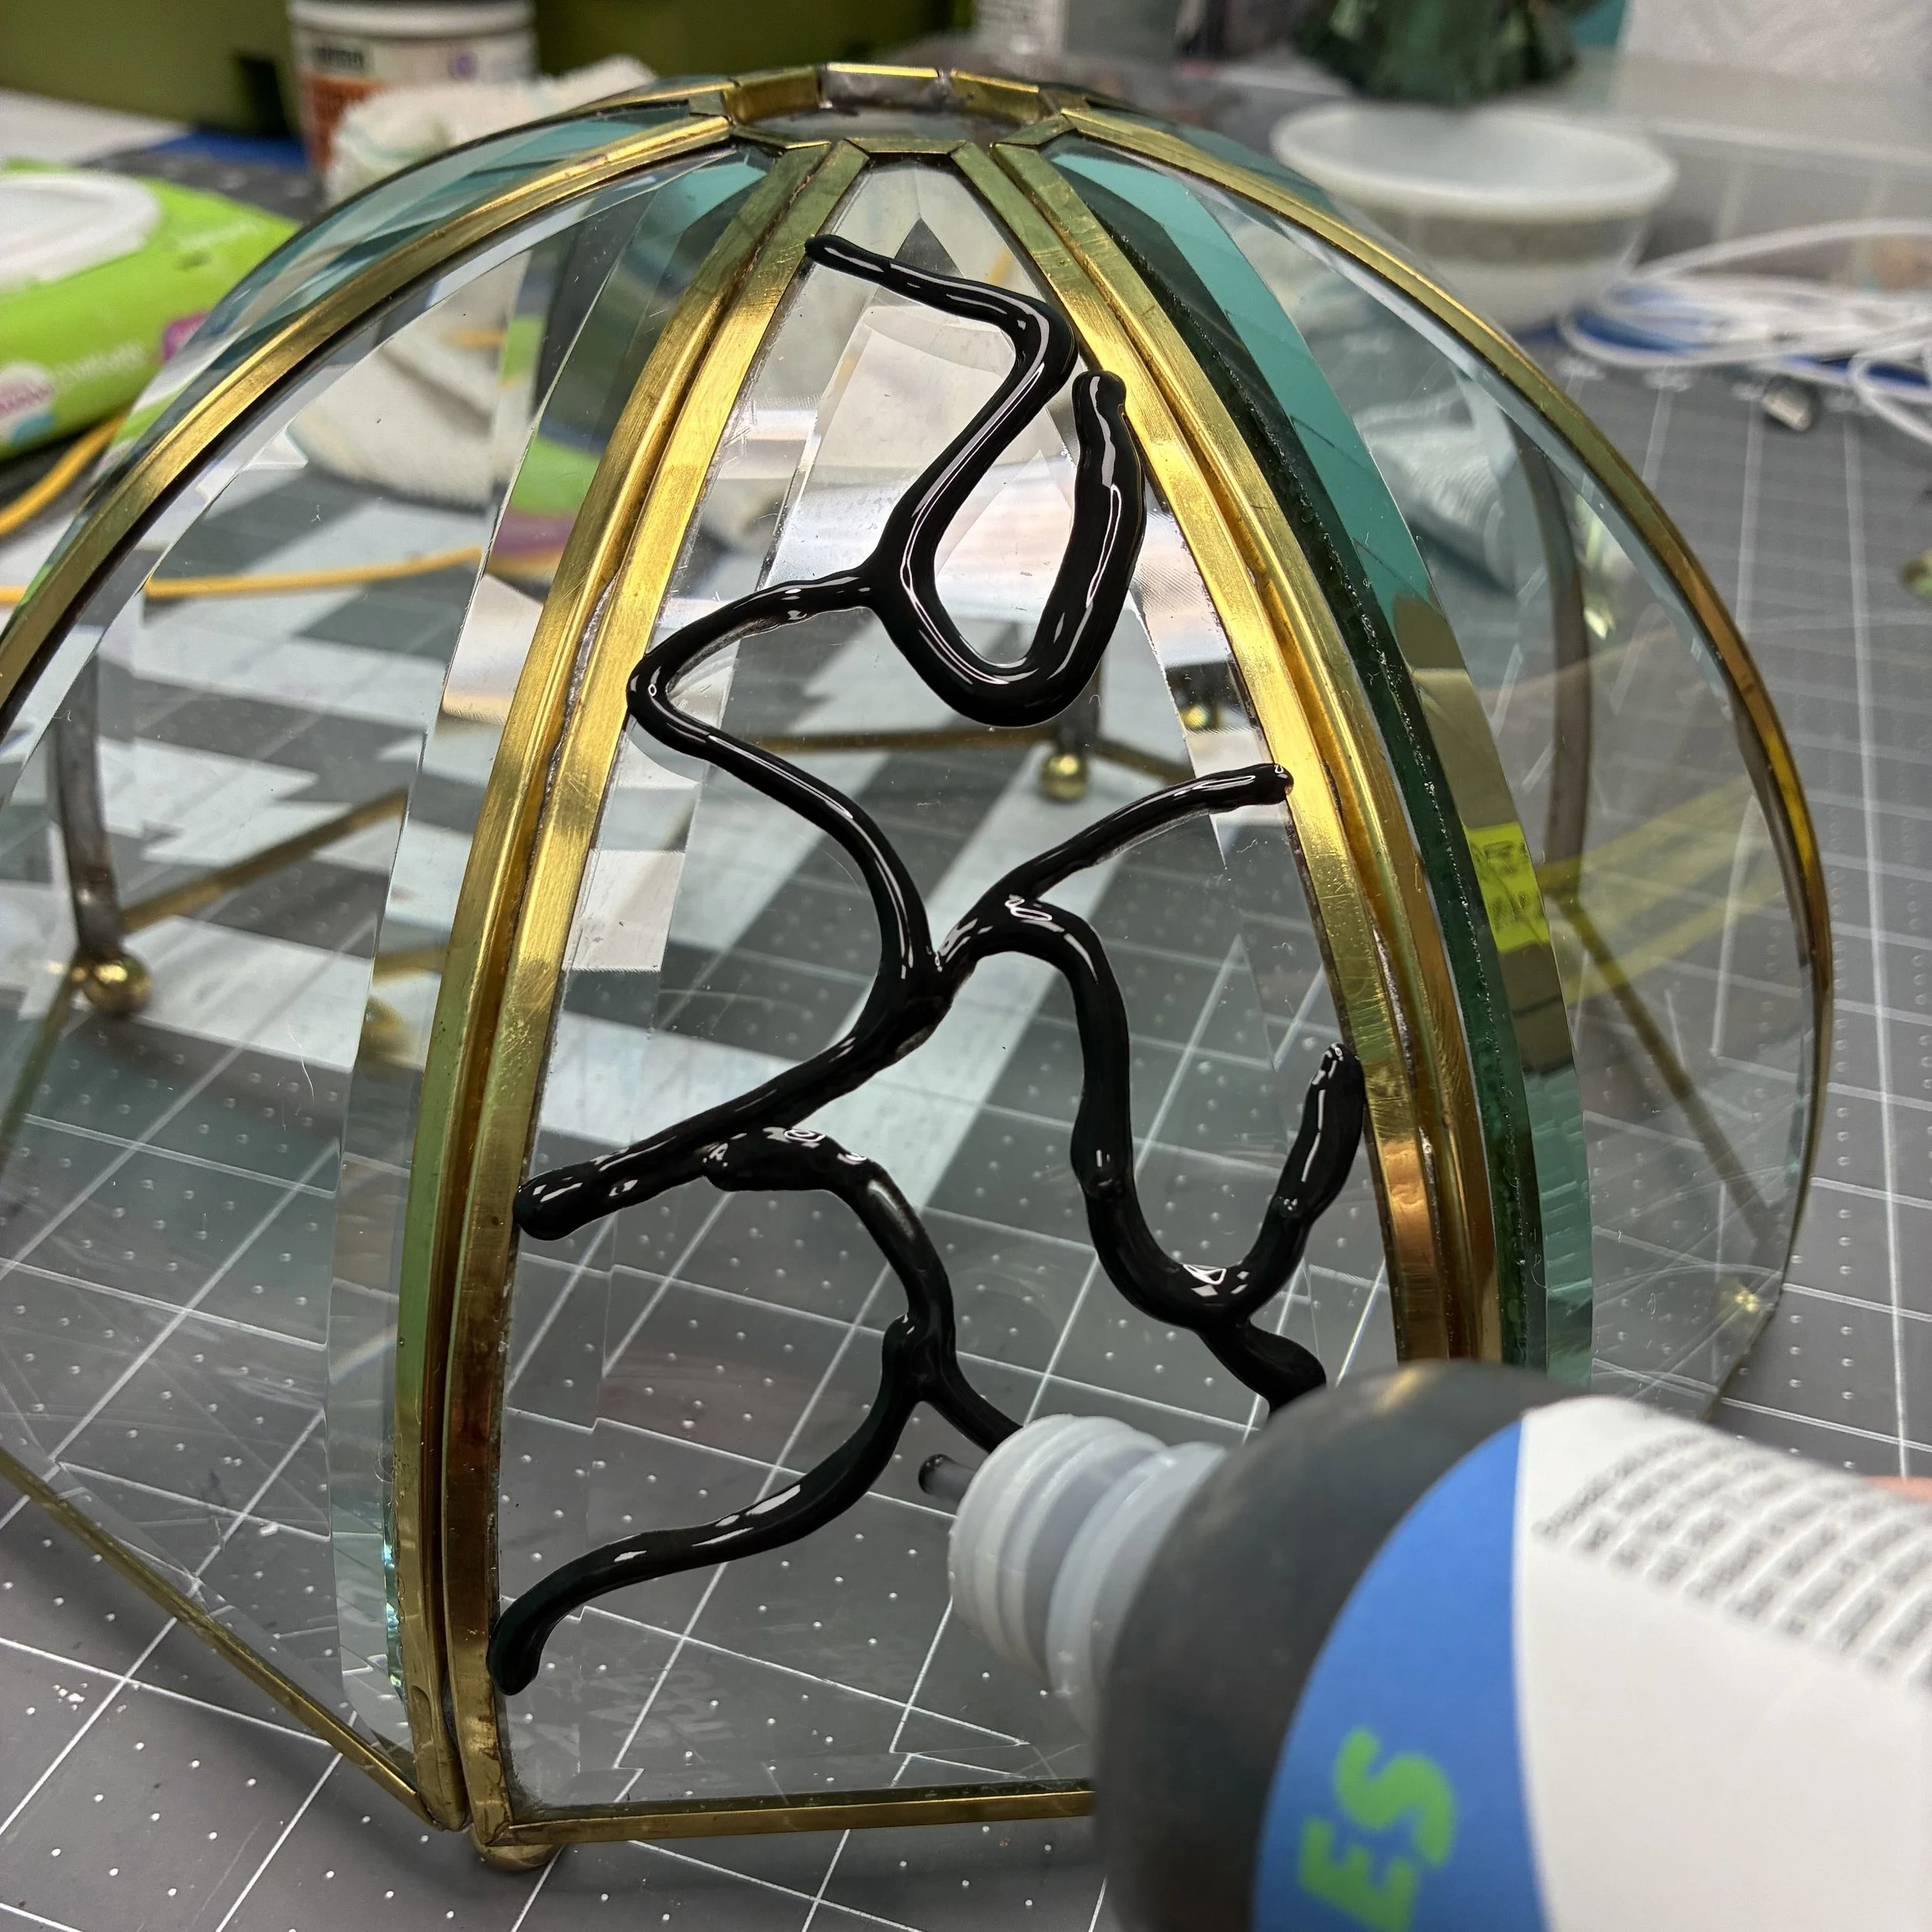
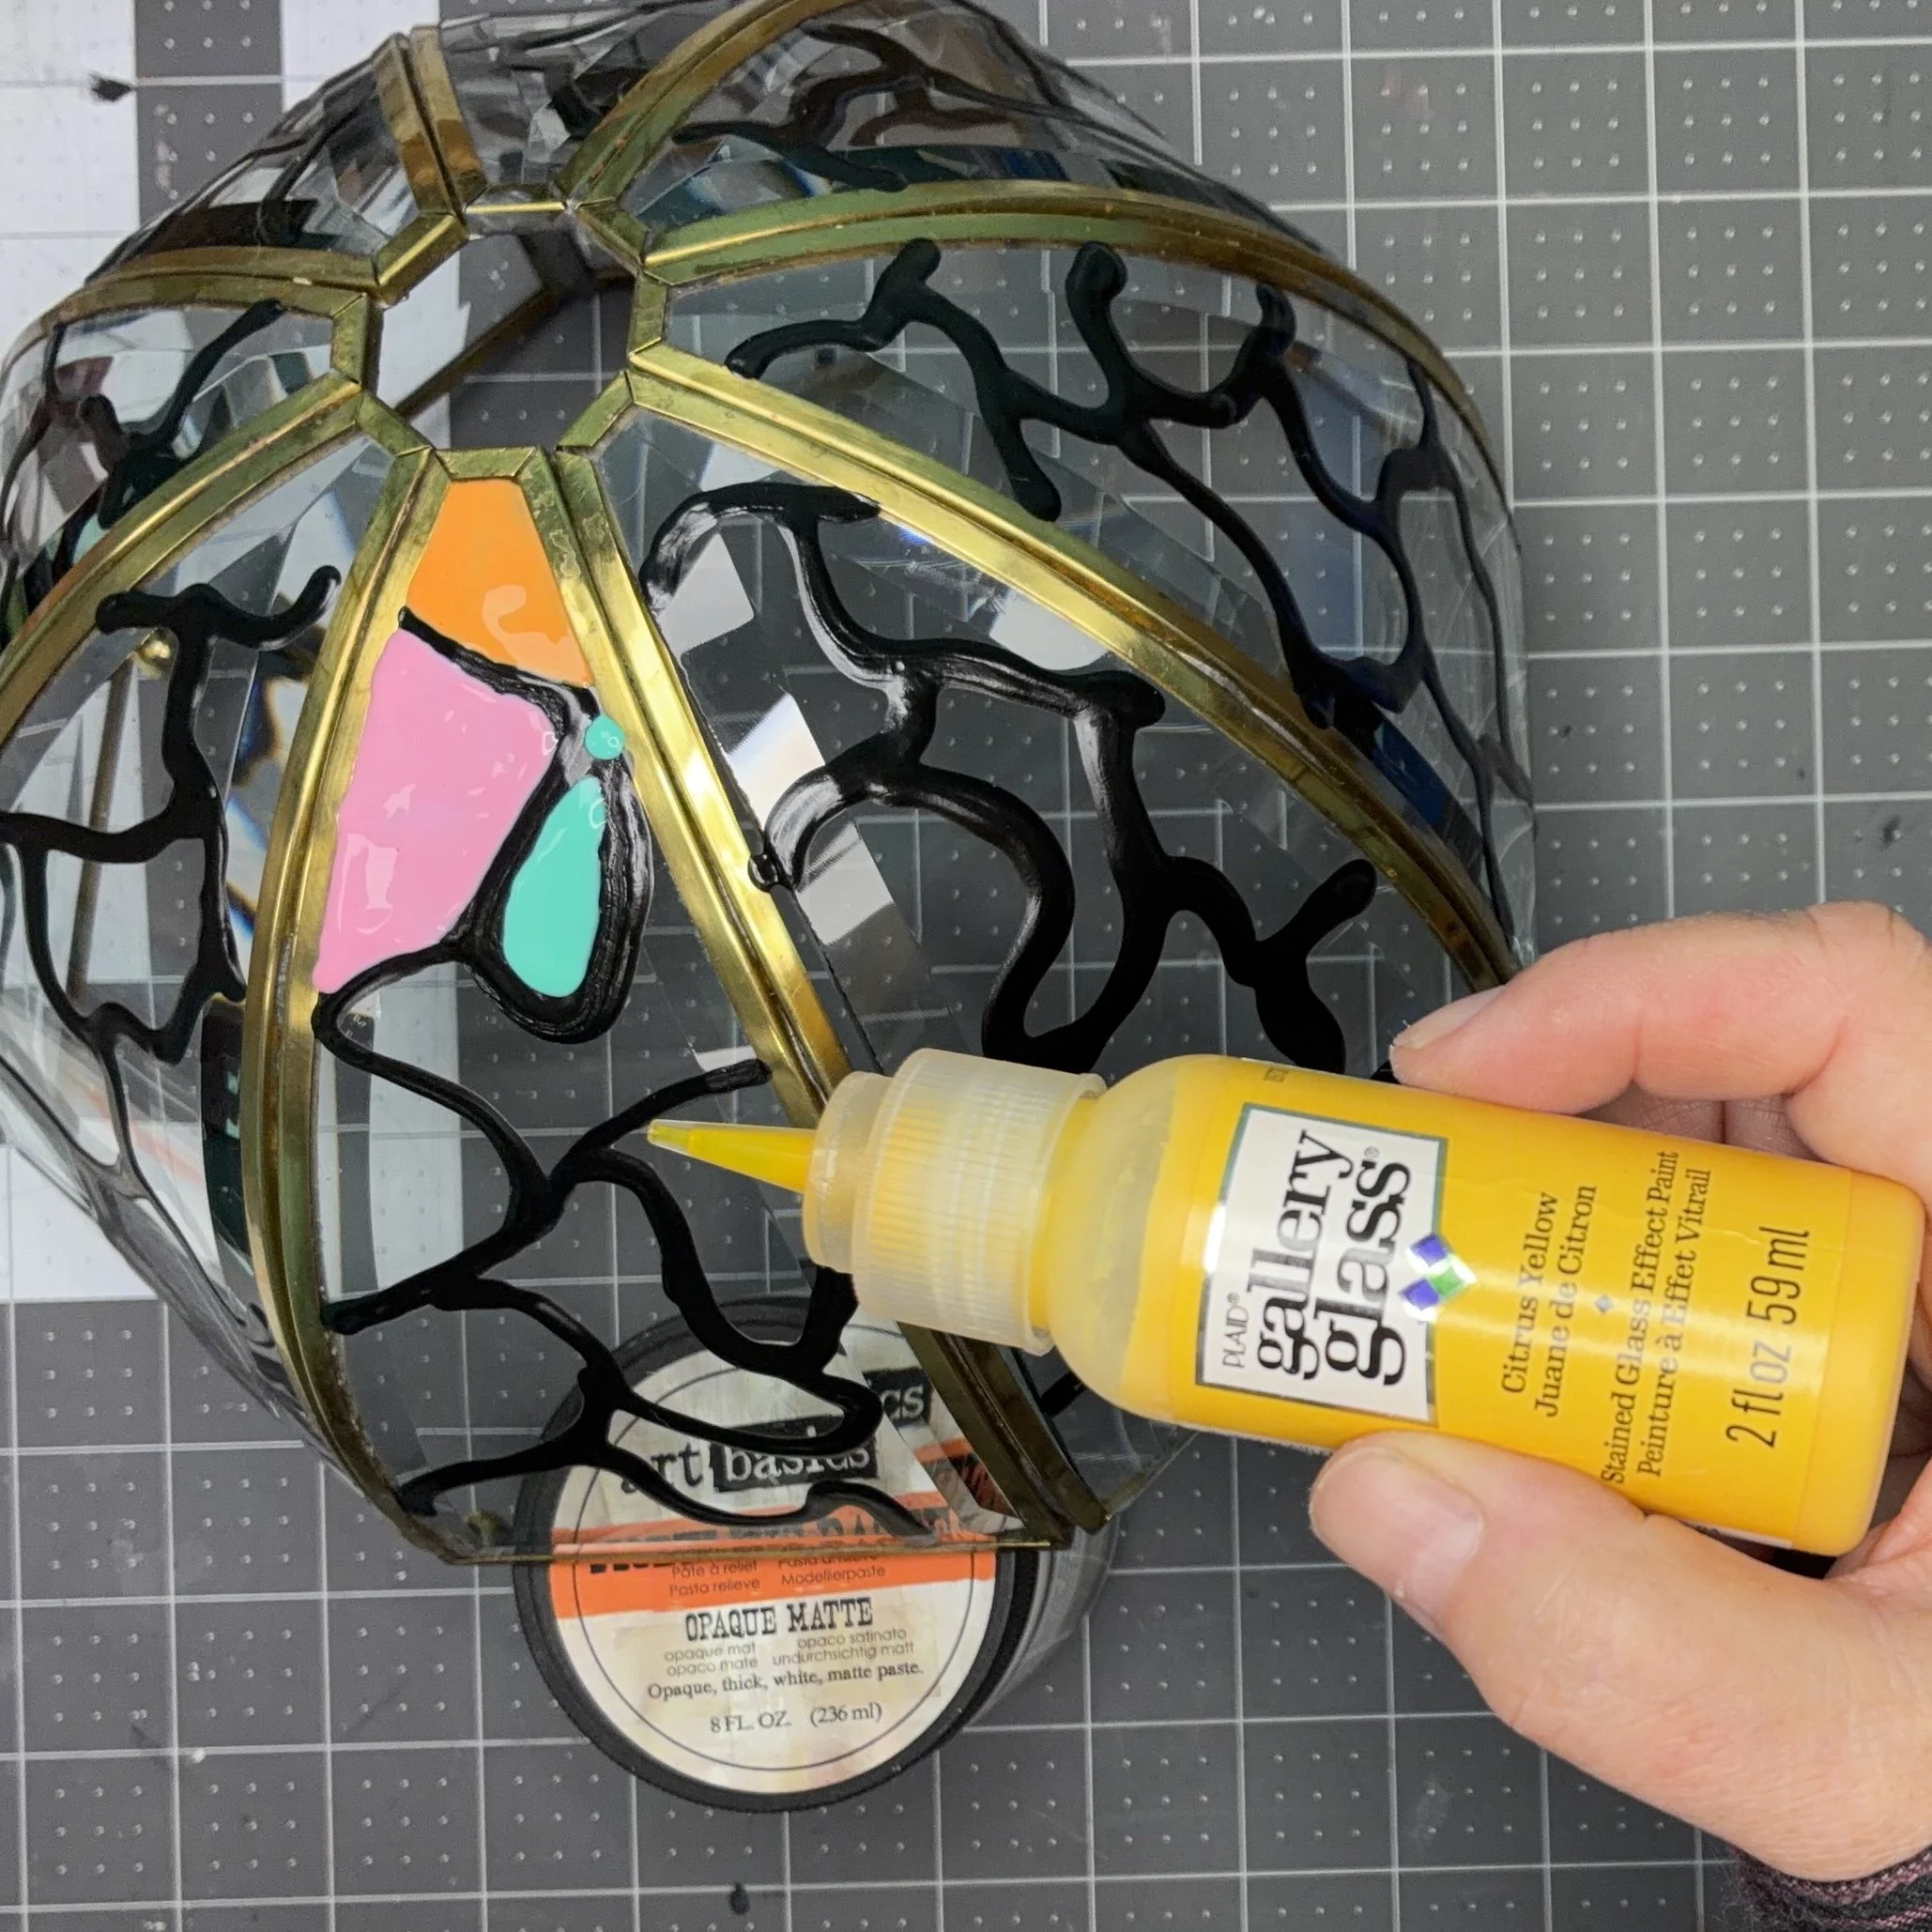
While I was at it, I figured I might as well try a little decoration as well. I applied what I’d learned from making a little tea light candle holder, and used my puffy black fabric paint to draw some “leading” on each of the eight panels. This paint is pretty thick but it will still run if you try to apply it to a vertical surface, so I propped the light cover up on one edge, and did only one panel at a time, letting the paint dry in between applications. This took several days.
Once the leading was dry, I started in with my Gallery Glass paint. Again, I had to apply the paint in sections, tilting the fixture cover as I worked so that the surface where I was putting the paint was more or less level. Then I’d have to wait several hours for it to dry enough that I could be sure it wouldn’t run. So this part also took several days.
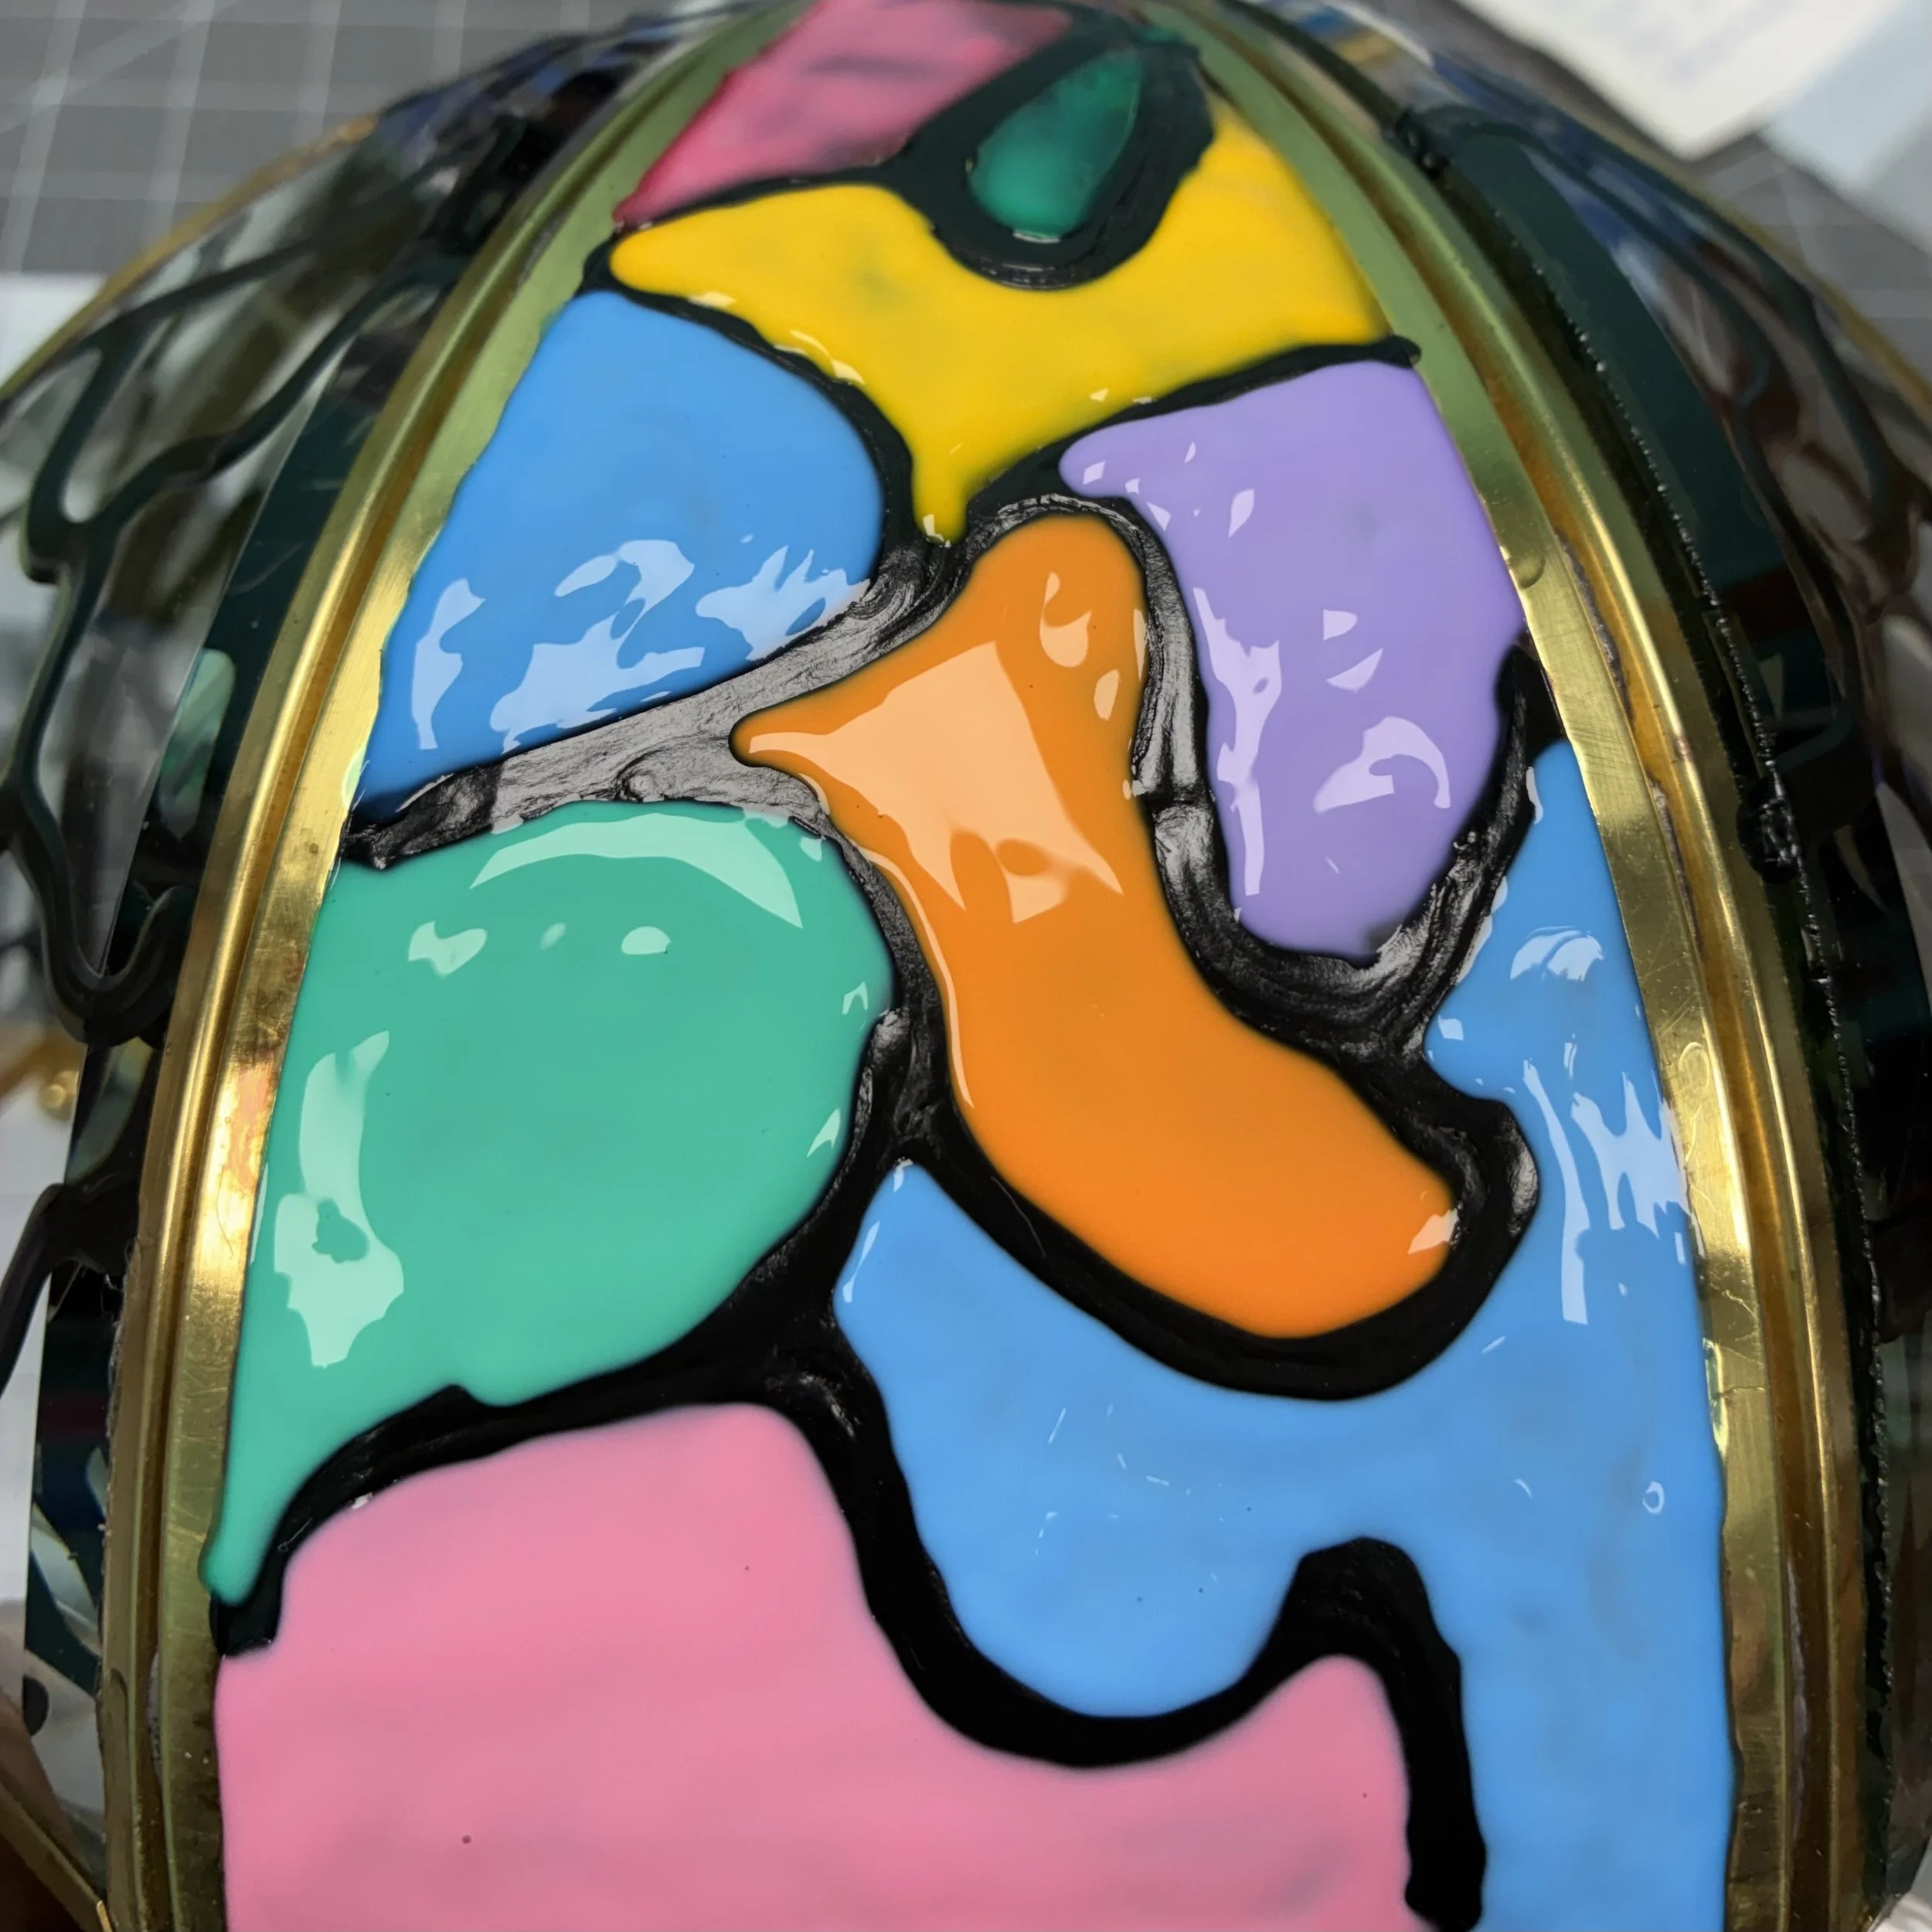
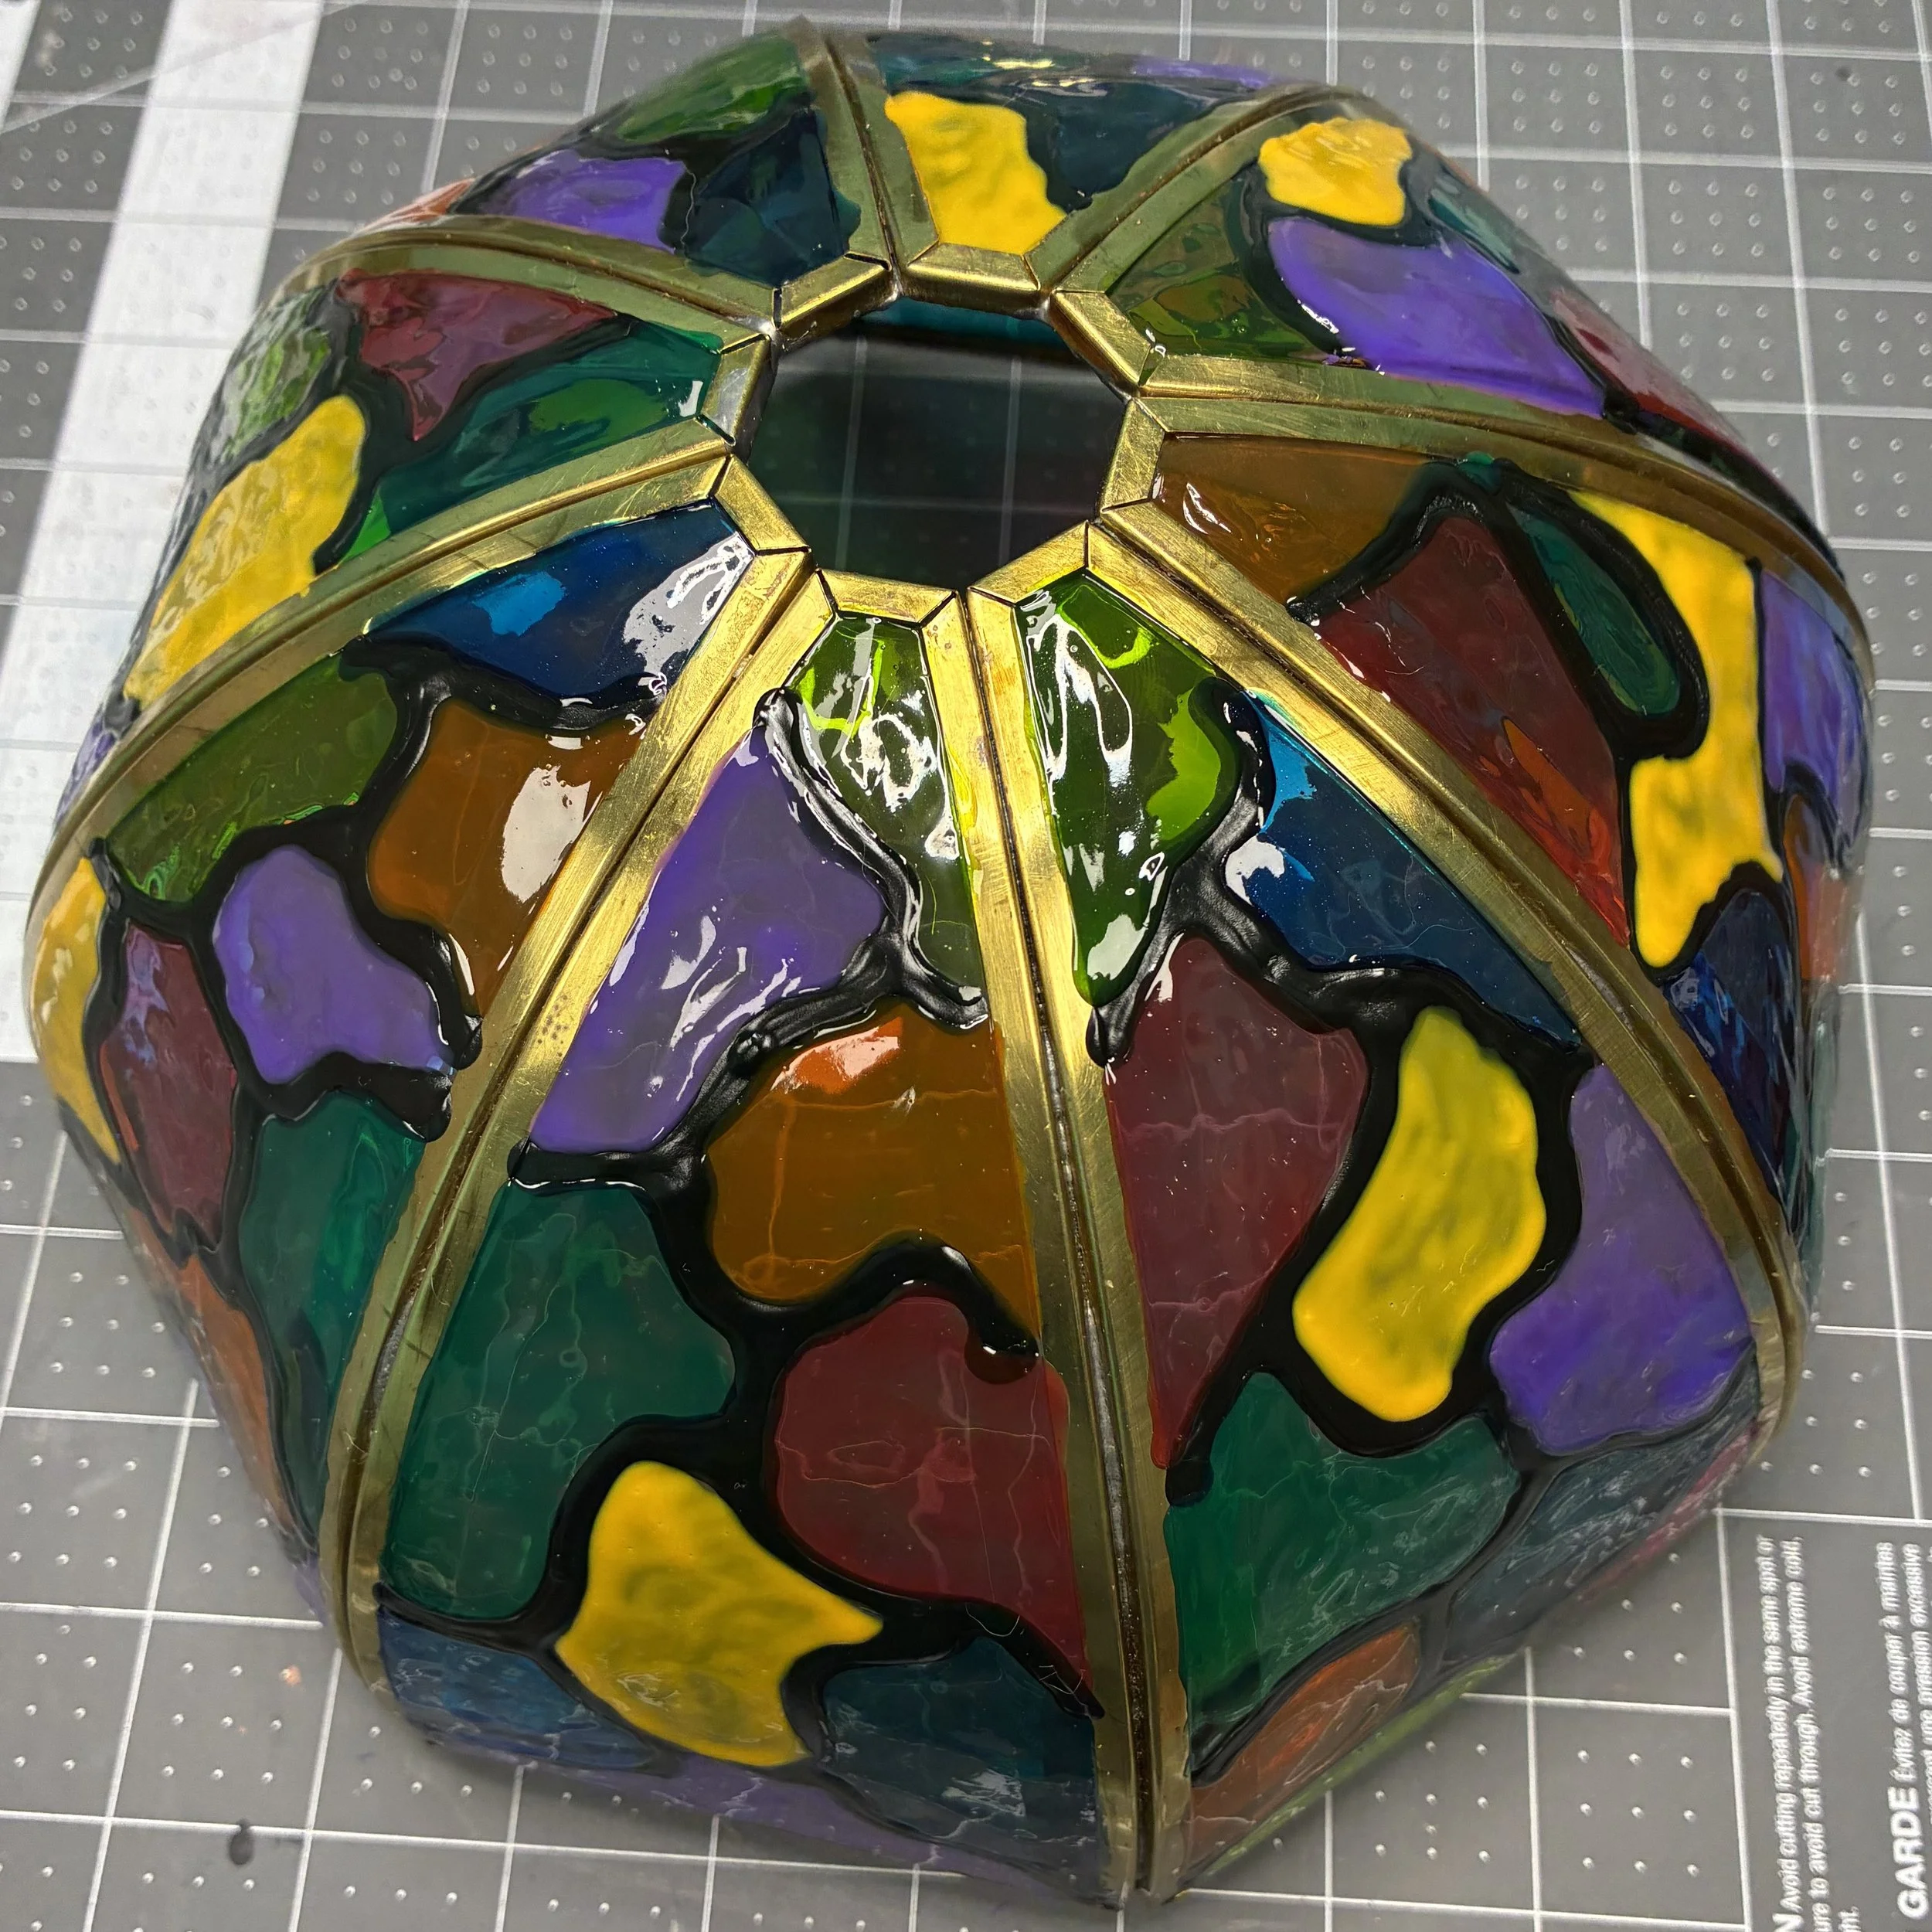
I had drawn the leading in sort of random shapes and filled in each with different colors of paint. It looked a little silly, I thought. But I had fun doing it. I installed it, and it held together (hooray for E-6000!) and then I waited for evening to come, so I could turn it on in the dark.
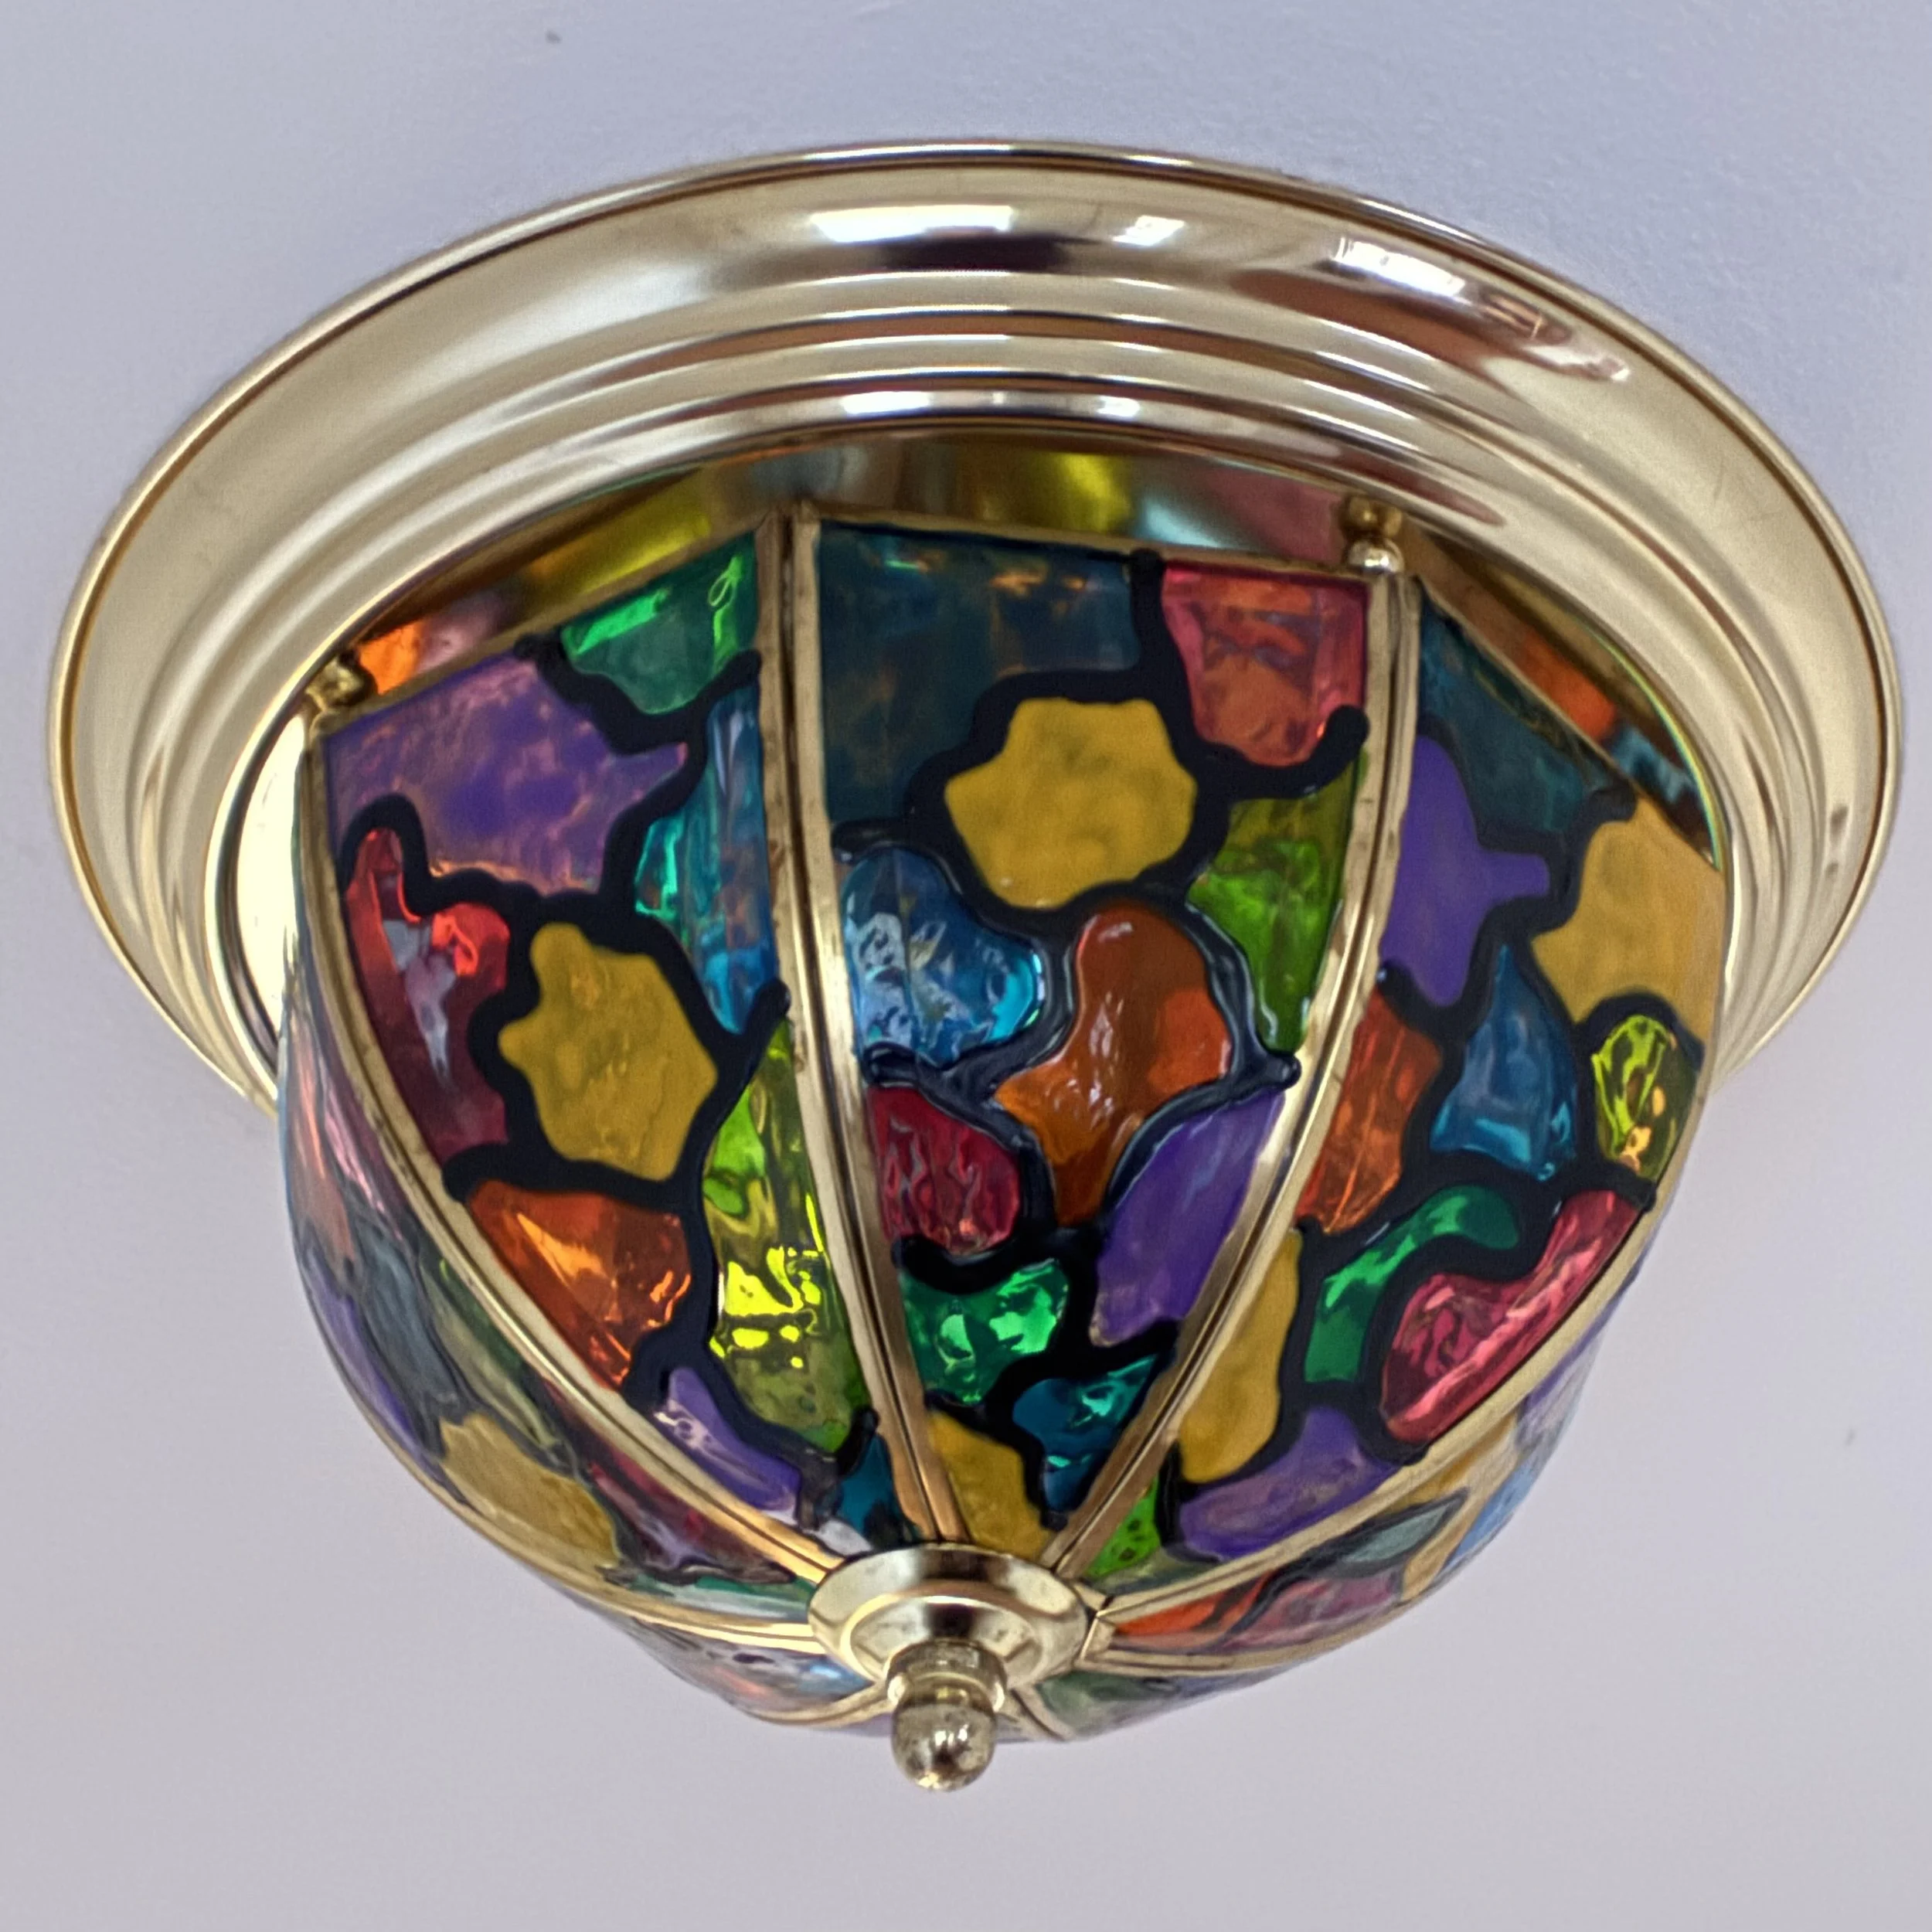
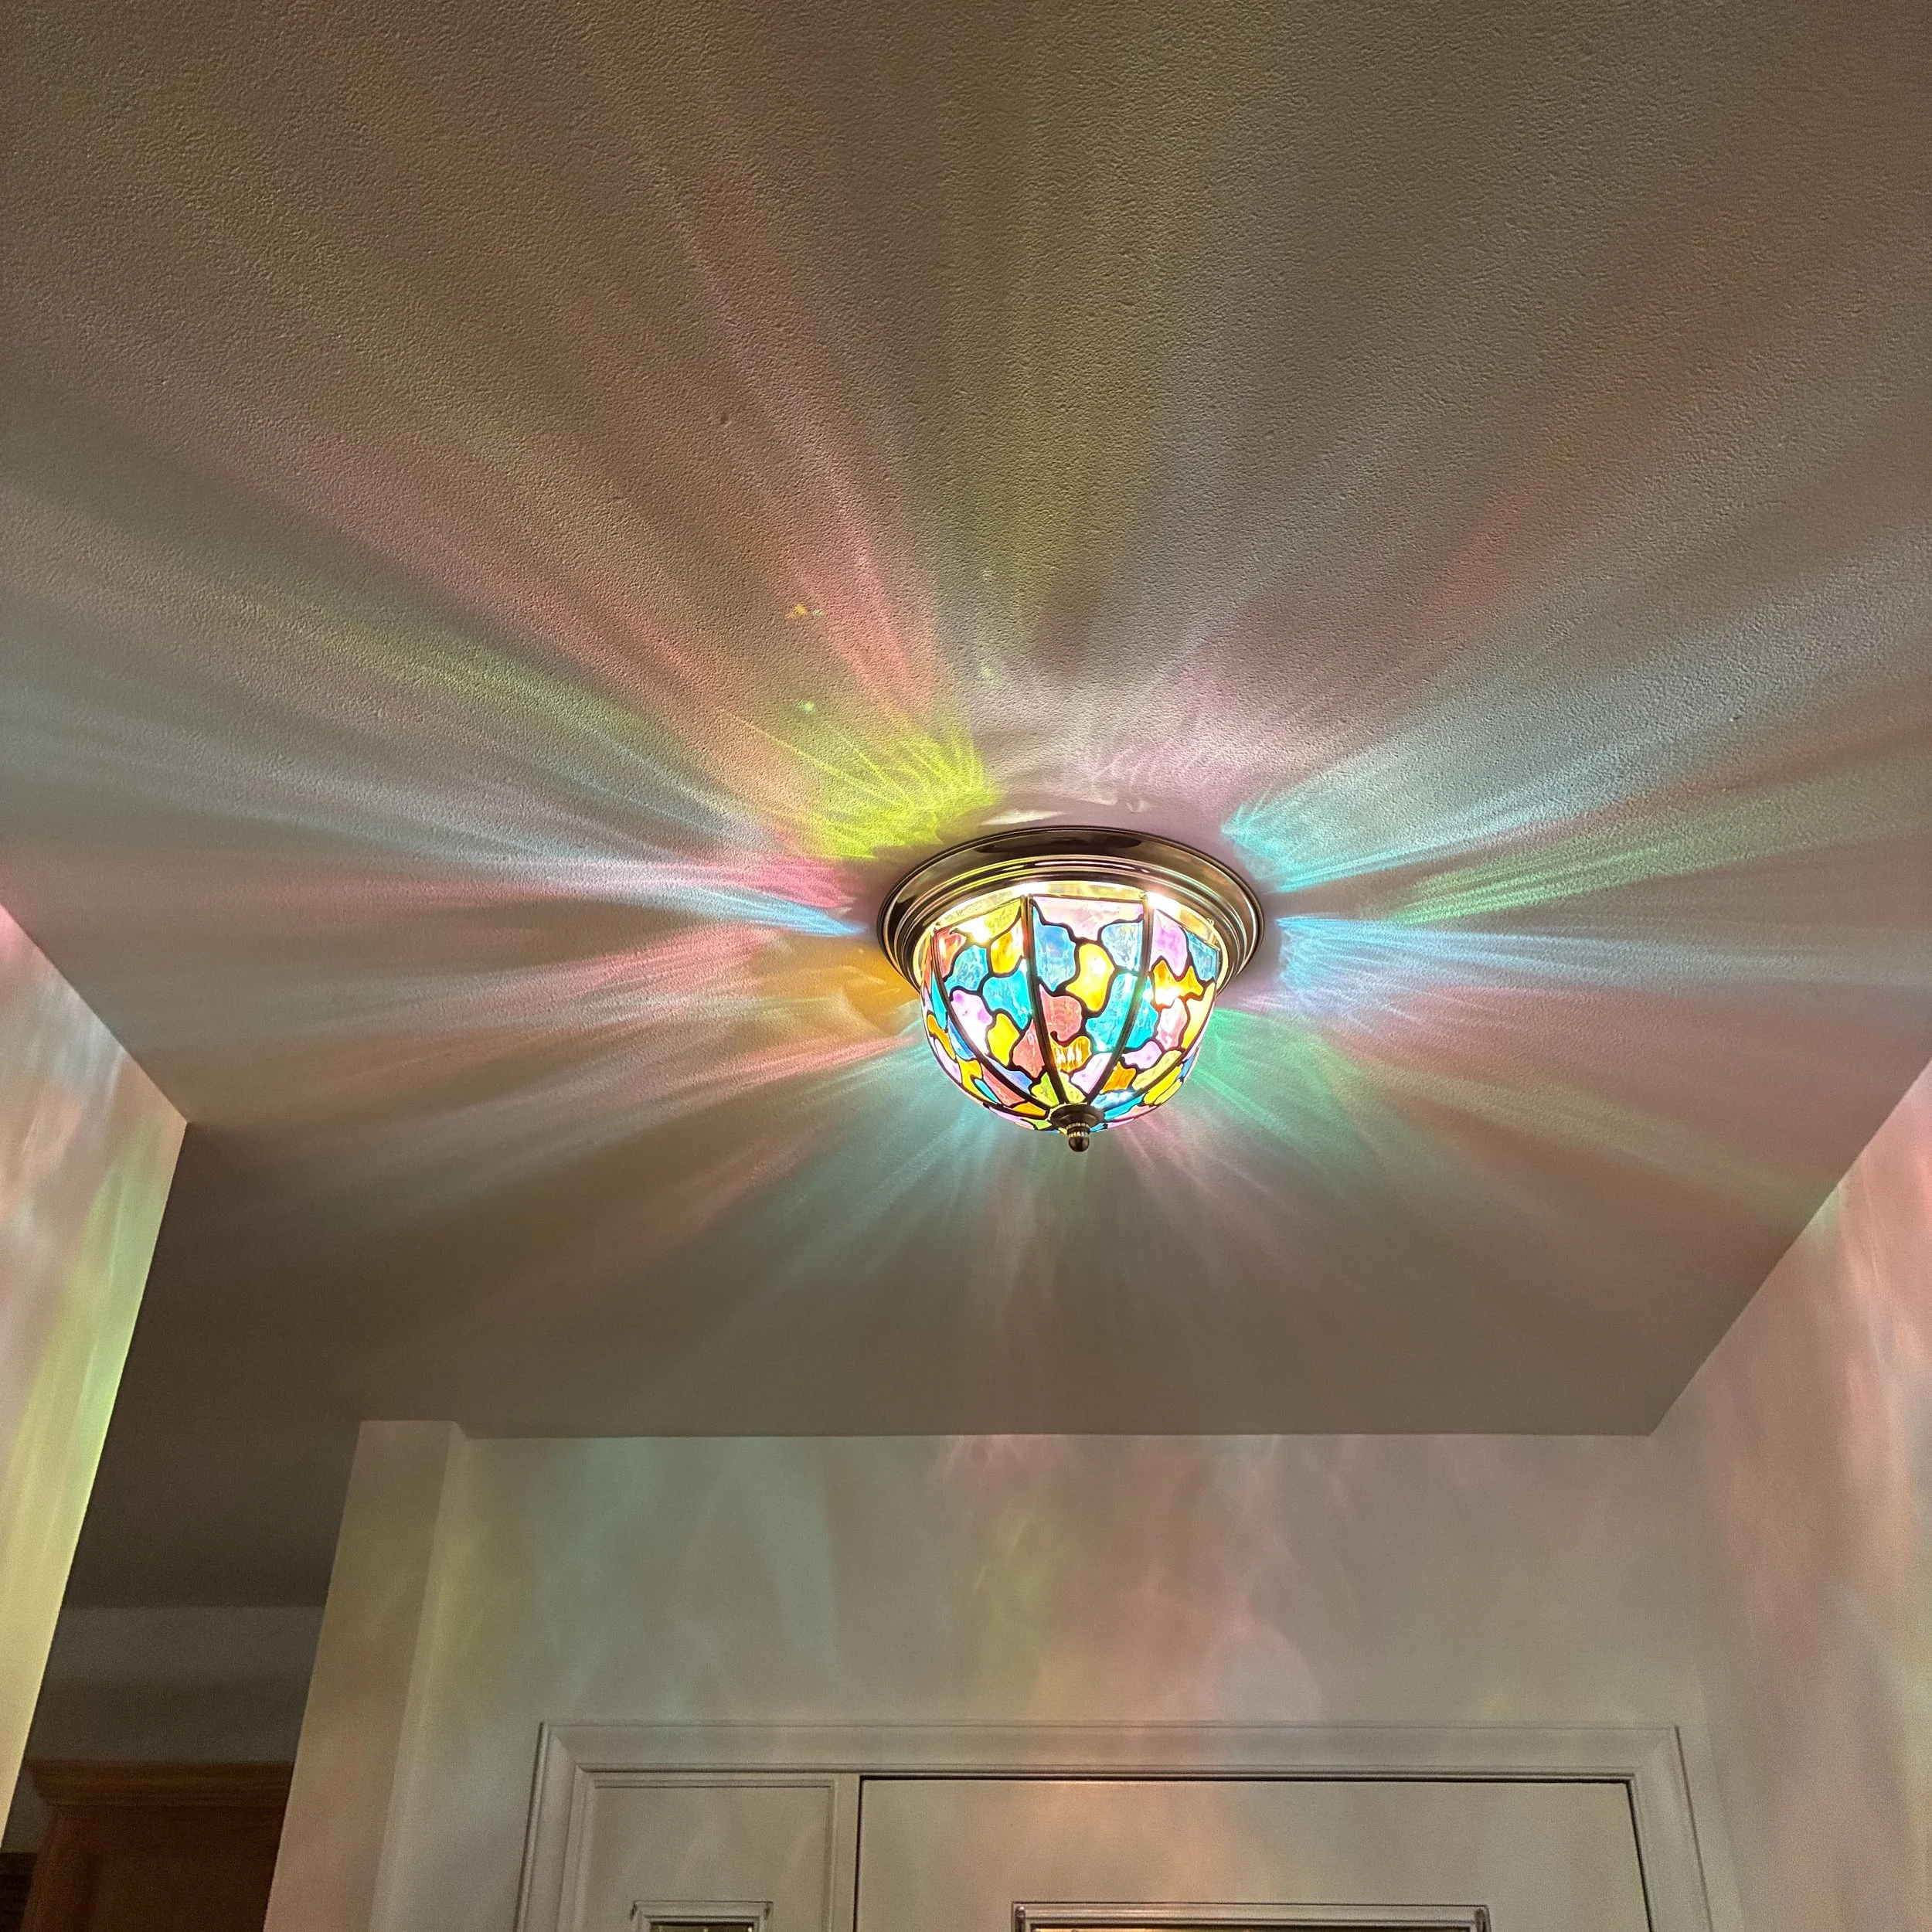
And wow. Wow! It just sprays gentle colors over the ceiling and walls. It’s so pretty! And it was so easy…
In my first project using Gallery Glass, I made a picture of a flower and hung it in a west-facing window. After about six months of constant sunlight, the reds and pinks had faded to a sort of dingy yellow and the whole thing didn’t look nearly as nice. I’m not worried about that in this light fixture, because the light won’t be on most of the time, and the paints won’t get any direct sunlight. And even if the pink fades, it will still show a pretty yellow when the light comes through it.
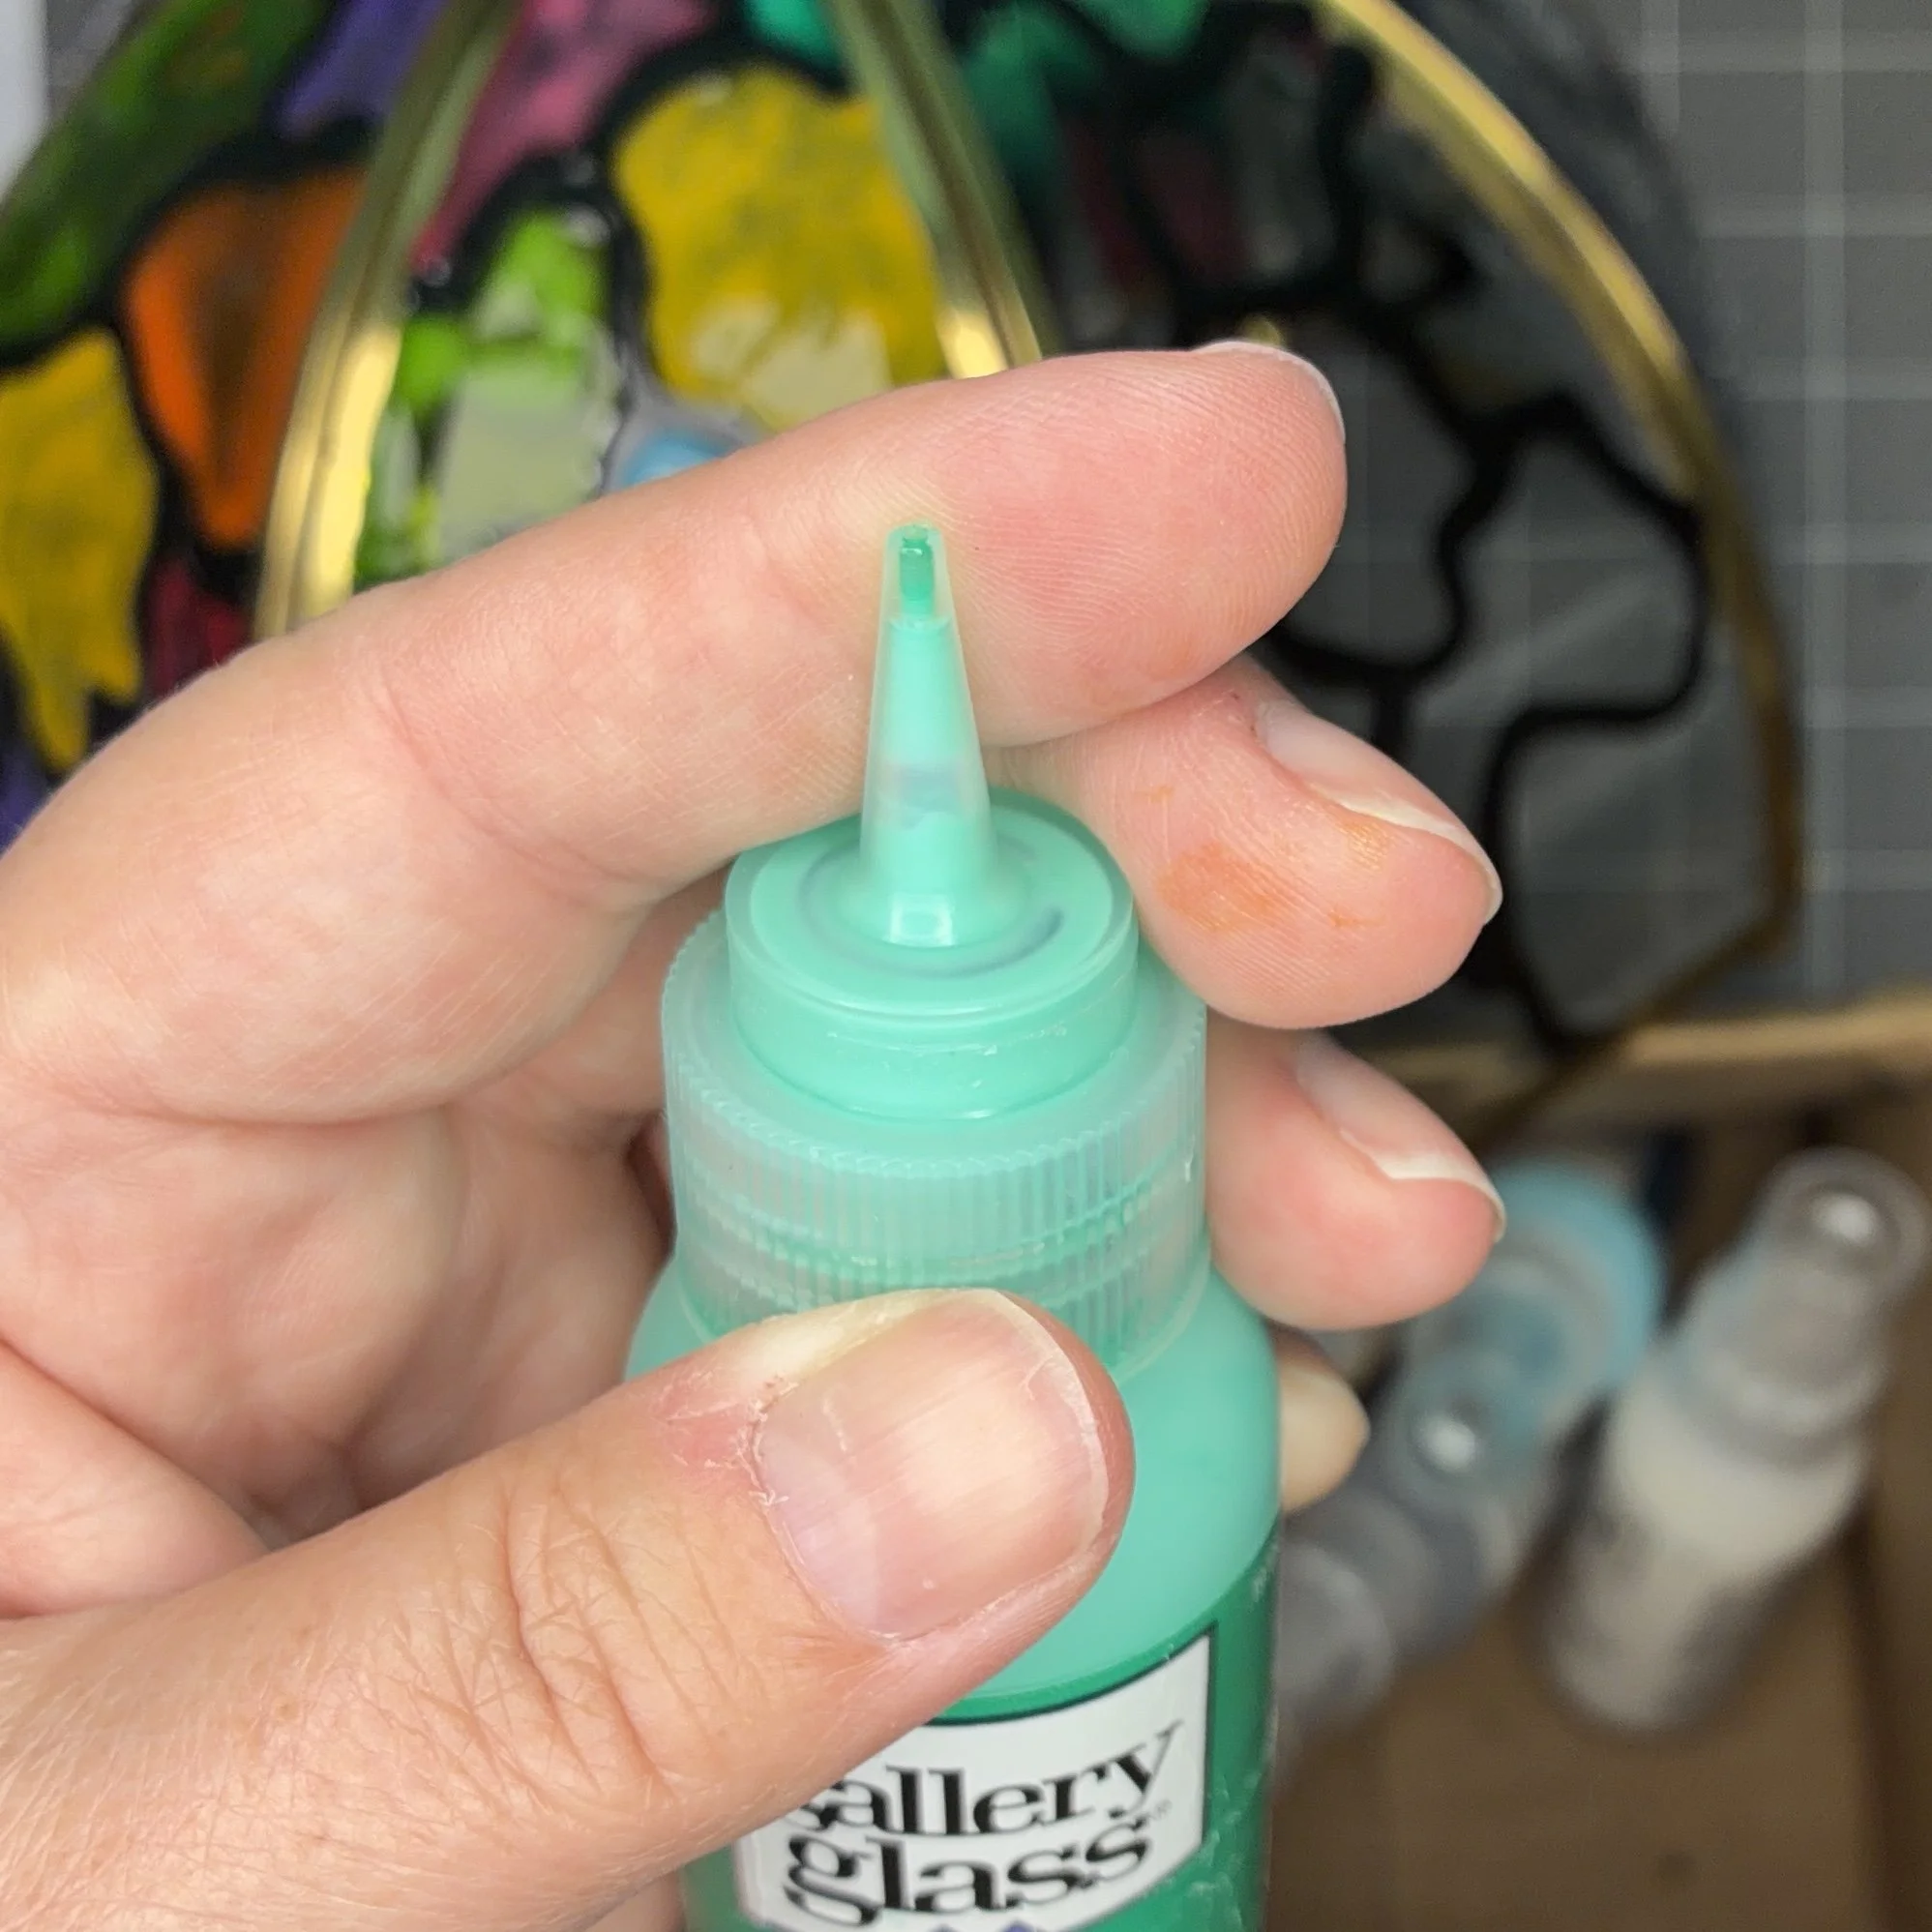
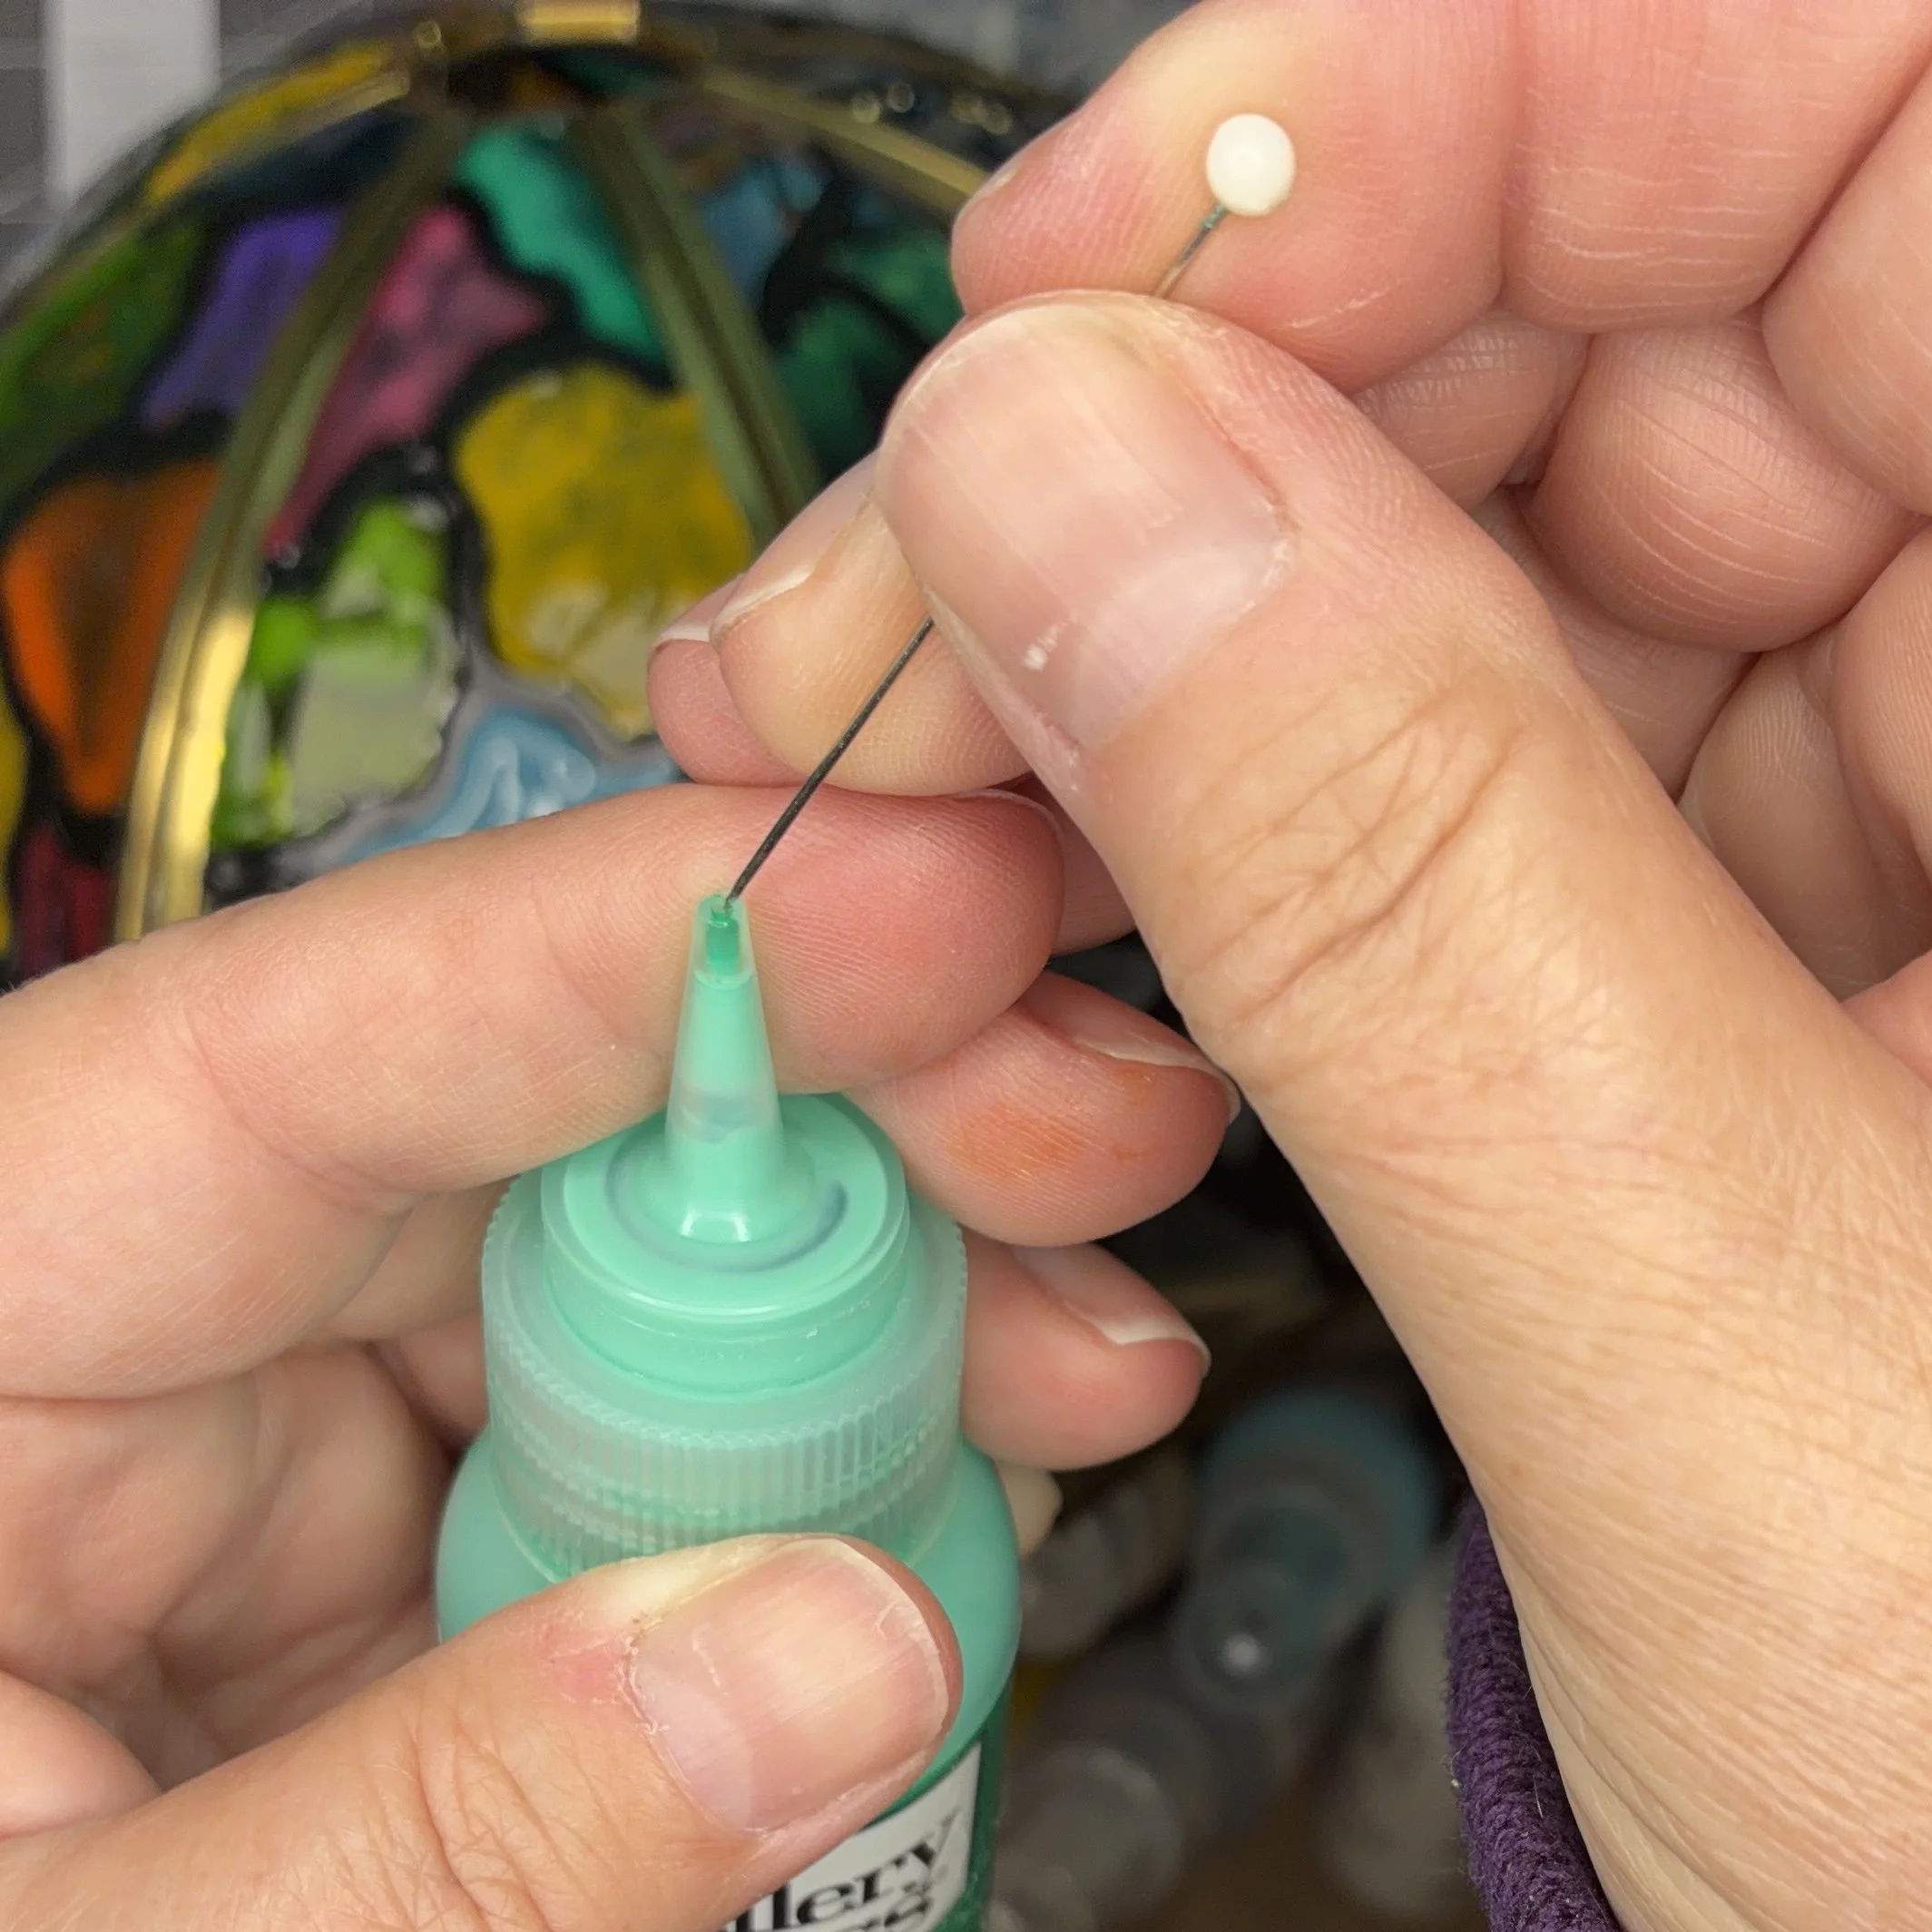
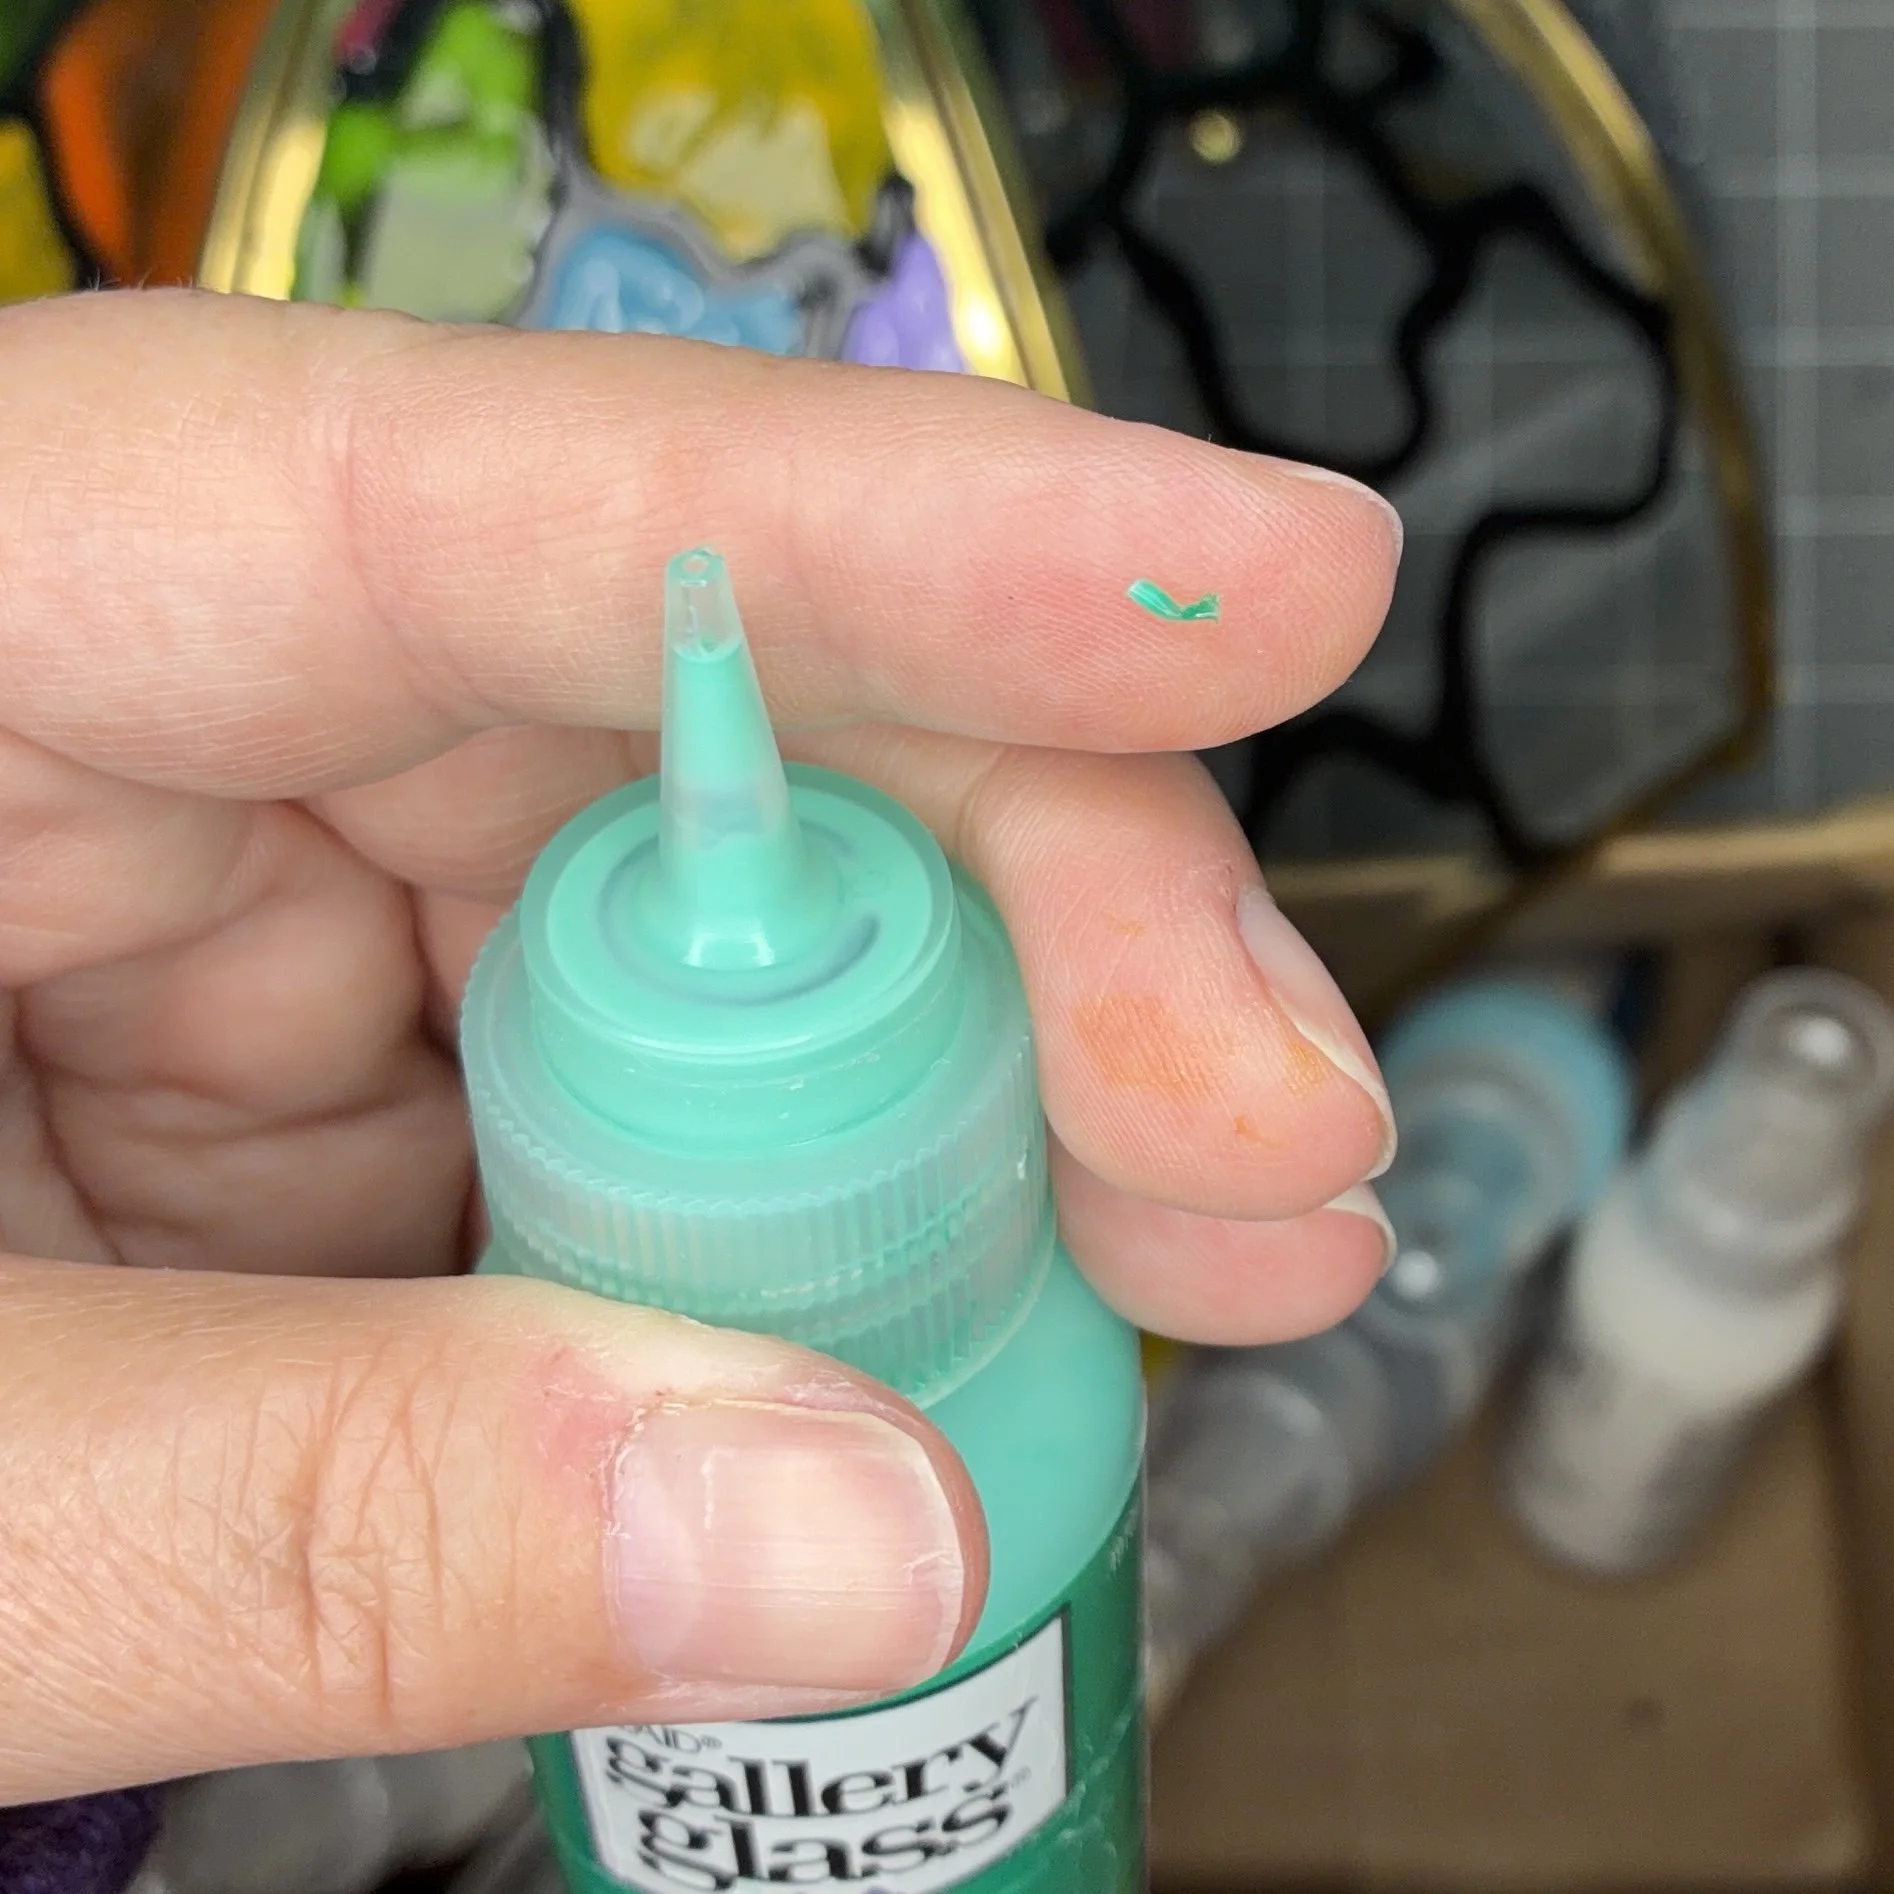
I’ve had my Gallery Glass paints for several years now, and they’ve held up well. The paint does like to dry in the tip of the applicator, but sticking a pin carefully in allowed me to haul out the little plug of dried paint and move on my with life.
I give this project 10 out of 10, would definitely recommend. It was fun and it looks absolutely beautiful in my entry way.