Adventures In Moderate Warmth
My poor father is quite bald. He has a little hair around the sides, rather like a monk’s tonsure, but on the top? Nothing but a few lonely spikes of hair. So his head gets cold year round. Outside, he favors baseball caps, but indoors, it’s all beanies all the time.
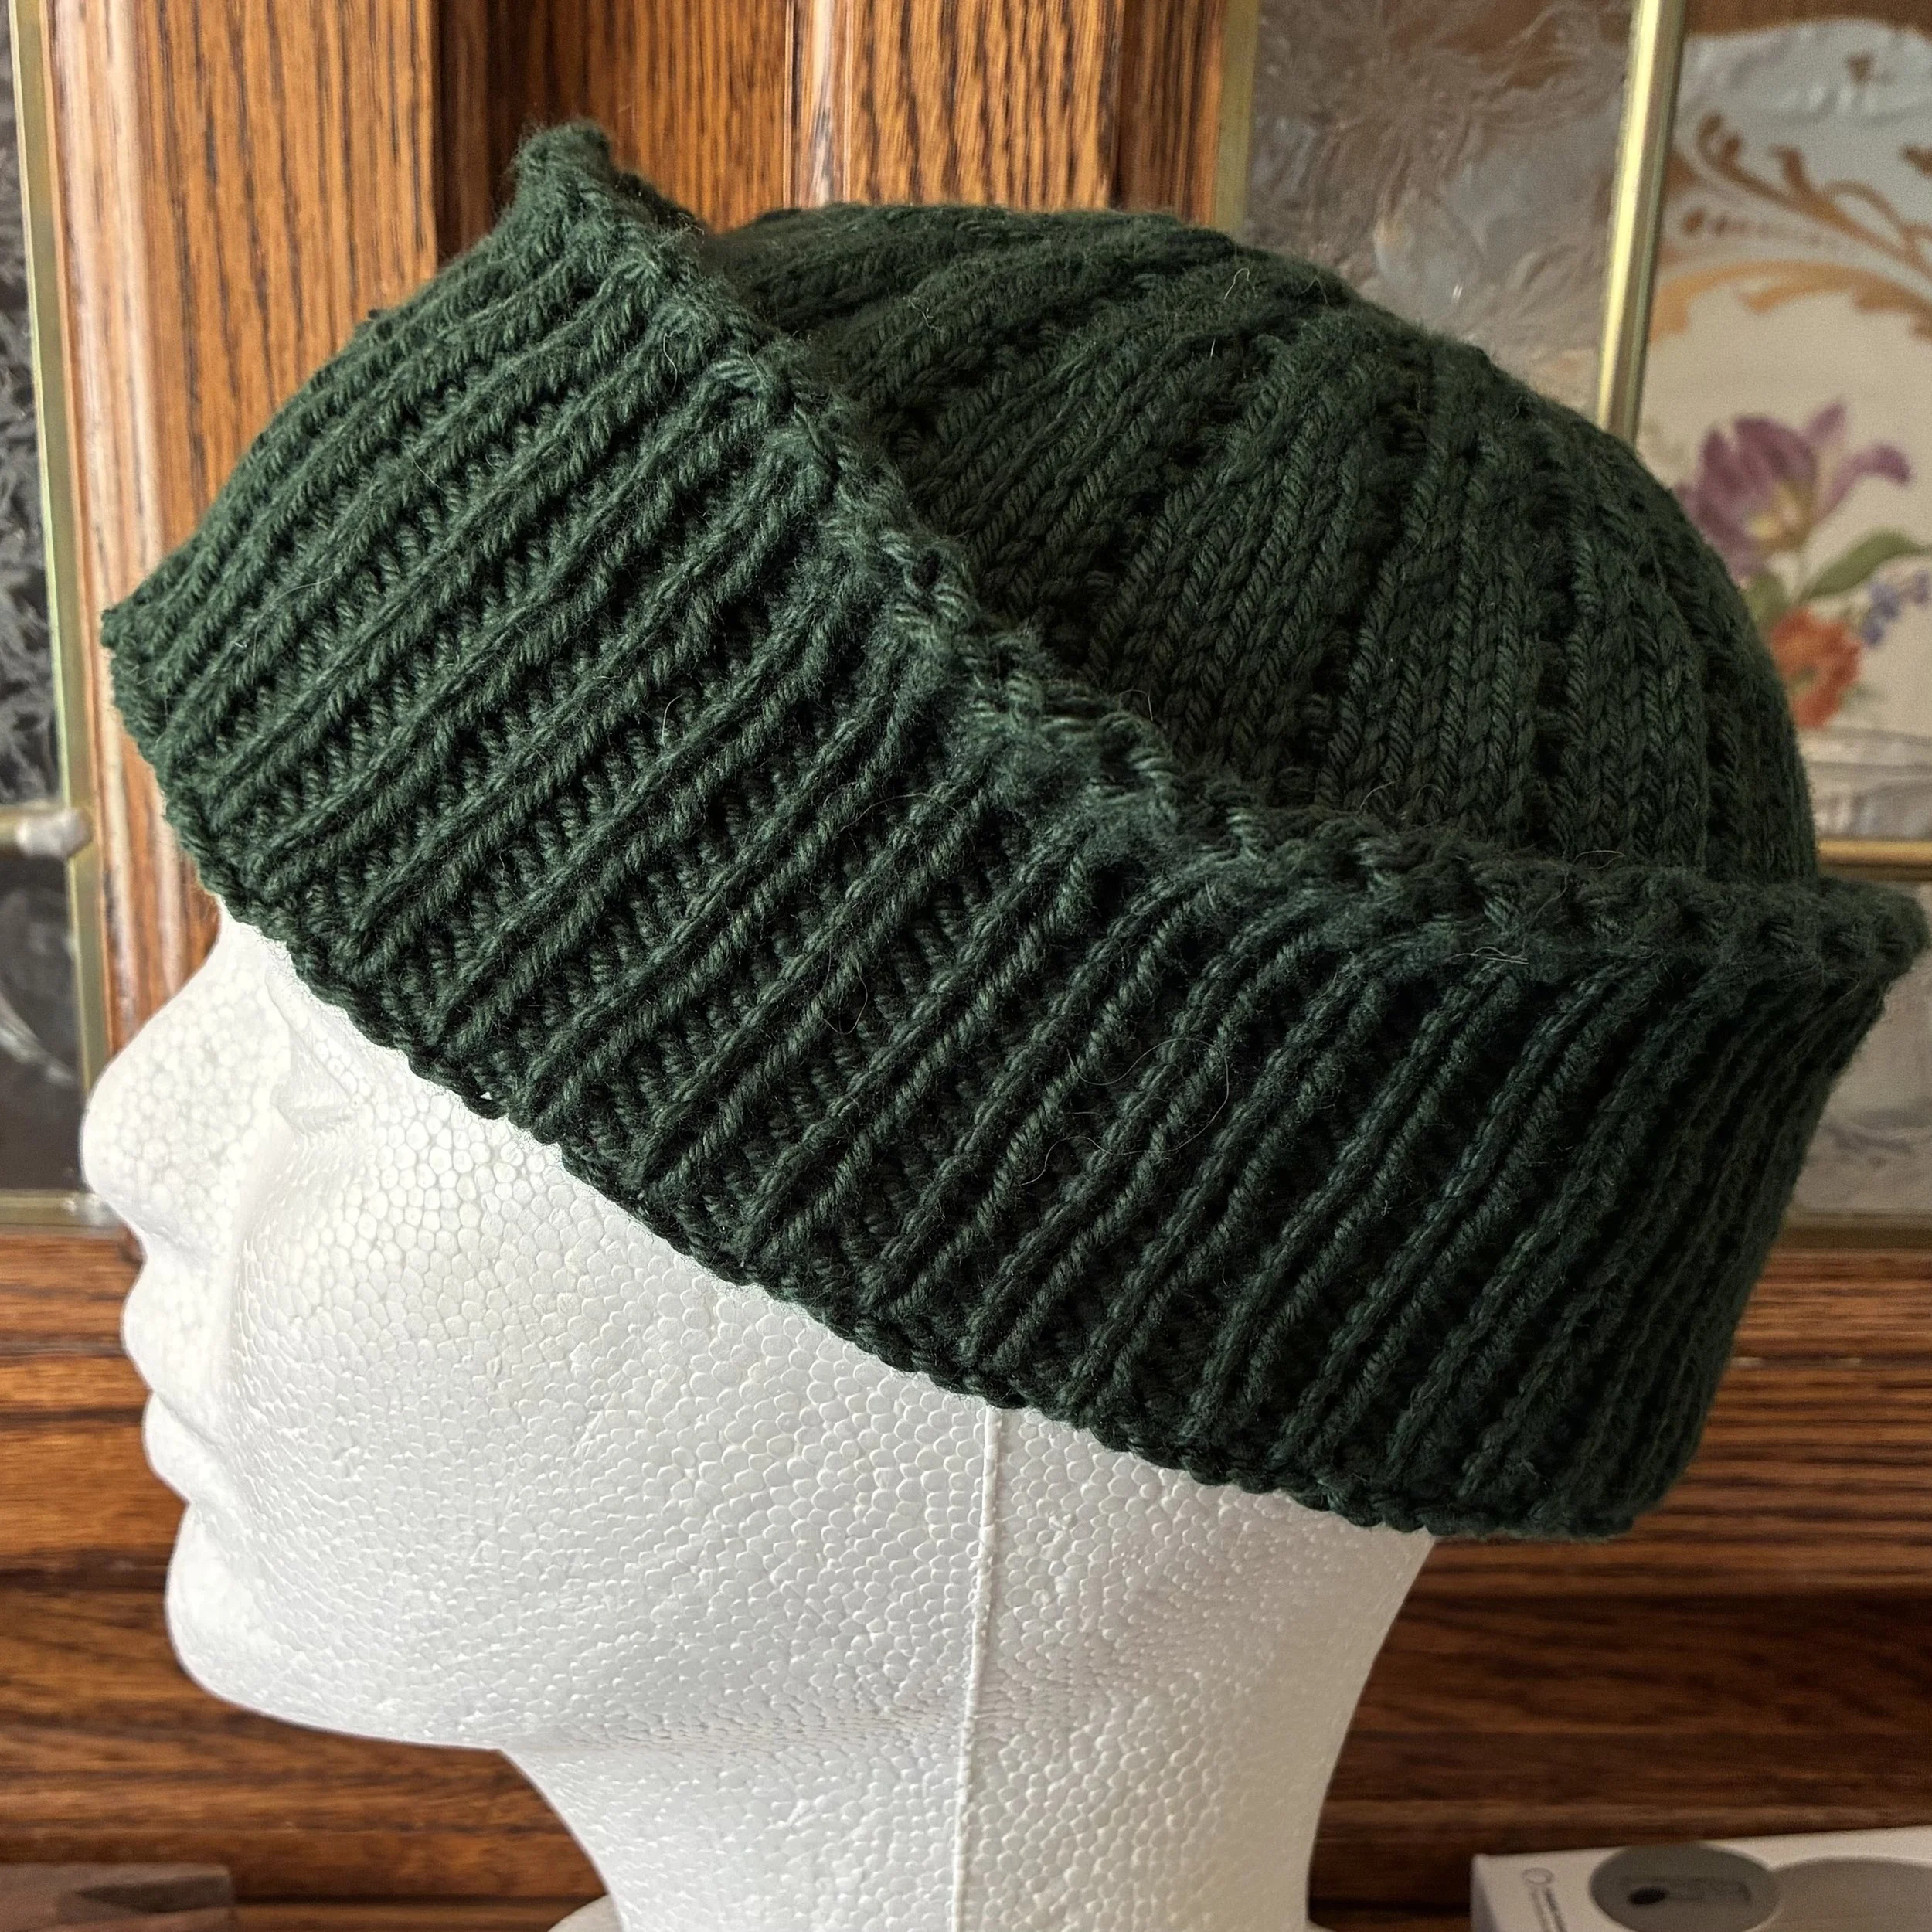
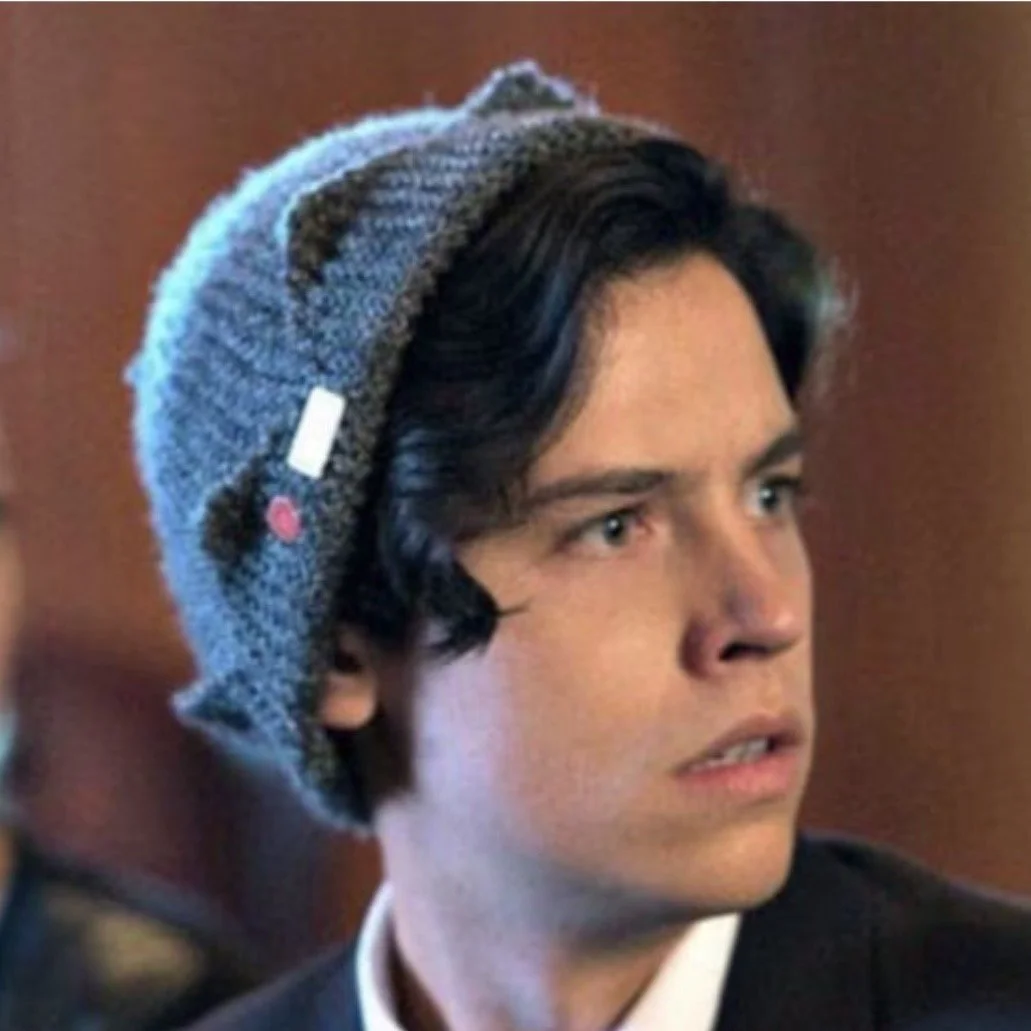
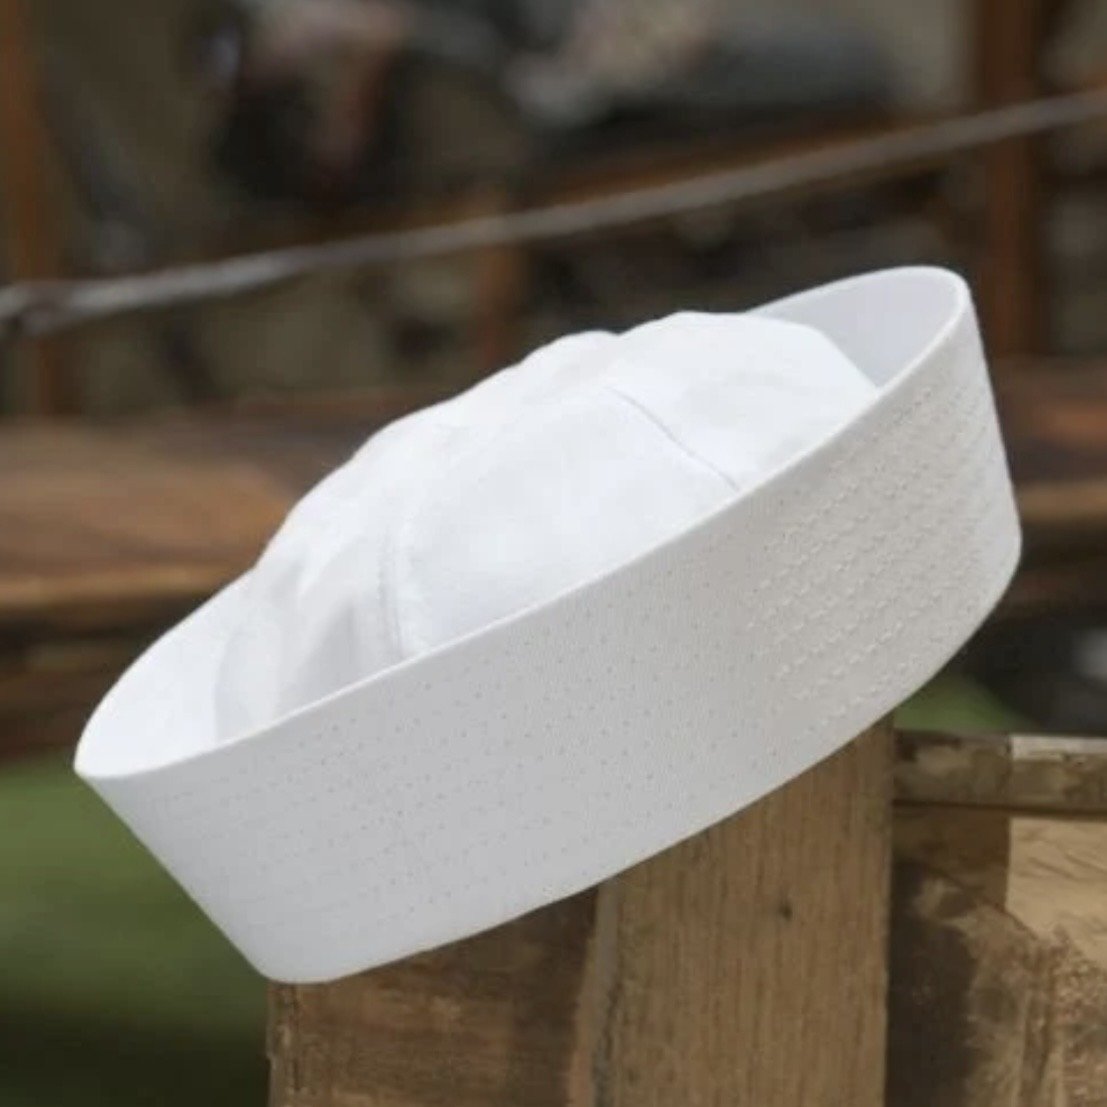
However, he’s quite particular. He wants his head warm…but not too warm. The many wool hats I’ve knit for him over the years have mostly languished in his closet, unworn. So about eleven years ago, I knit him a hat in Knit Pick’s cotton yarn Comfy. The pattern I chose was a free one off Ravelry entitled Bankhead. It’s extremely simple, very quick and easy to knit, and surprisingly attractive. And unisex. This is my father’s favorite hat. He’s almost always either wearing it or toting it around with him so that he can don it at a moment’s notice. He wears it in such a way that it looks rather like a knitted cross between a whoopee hat (á la Jughead from the Archie comics) and a sailor’s cap.
However, even cotton yarn starts to look a little ragged after more than a decade of almost continuous use and frequent washing (my mother washes it in the machine on a delicate cycle and then lays it flat to air dry), so I thought I’d make him another in the same yarn but a different color.
I picked Ivy, a deep, rich green. It took me five days to make, because I only worked on it when I felt like it. If I were to guess at the number of hours I put in, I’d say maybe ten. That’s really very quick for an attractive hat. Did I mention that the pattern is easy and free?
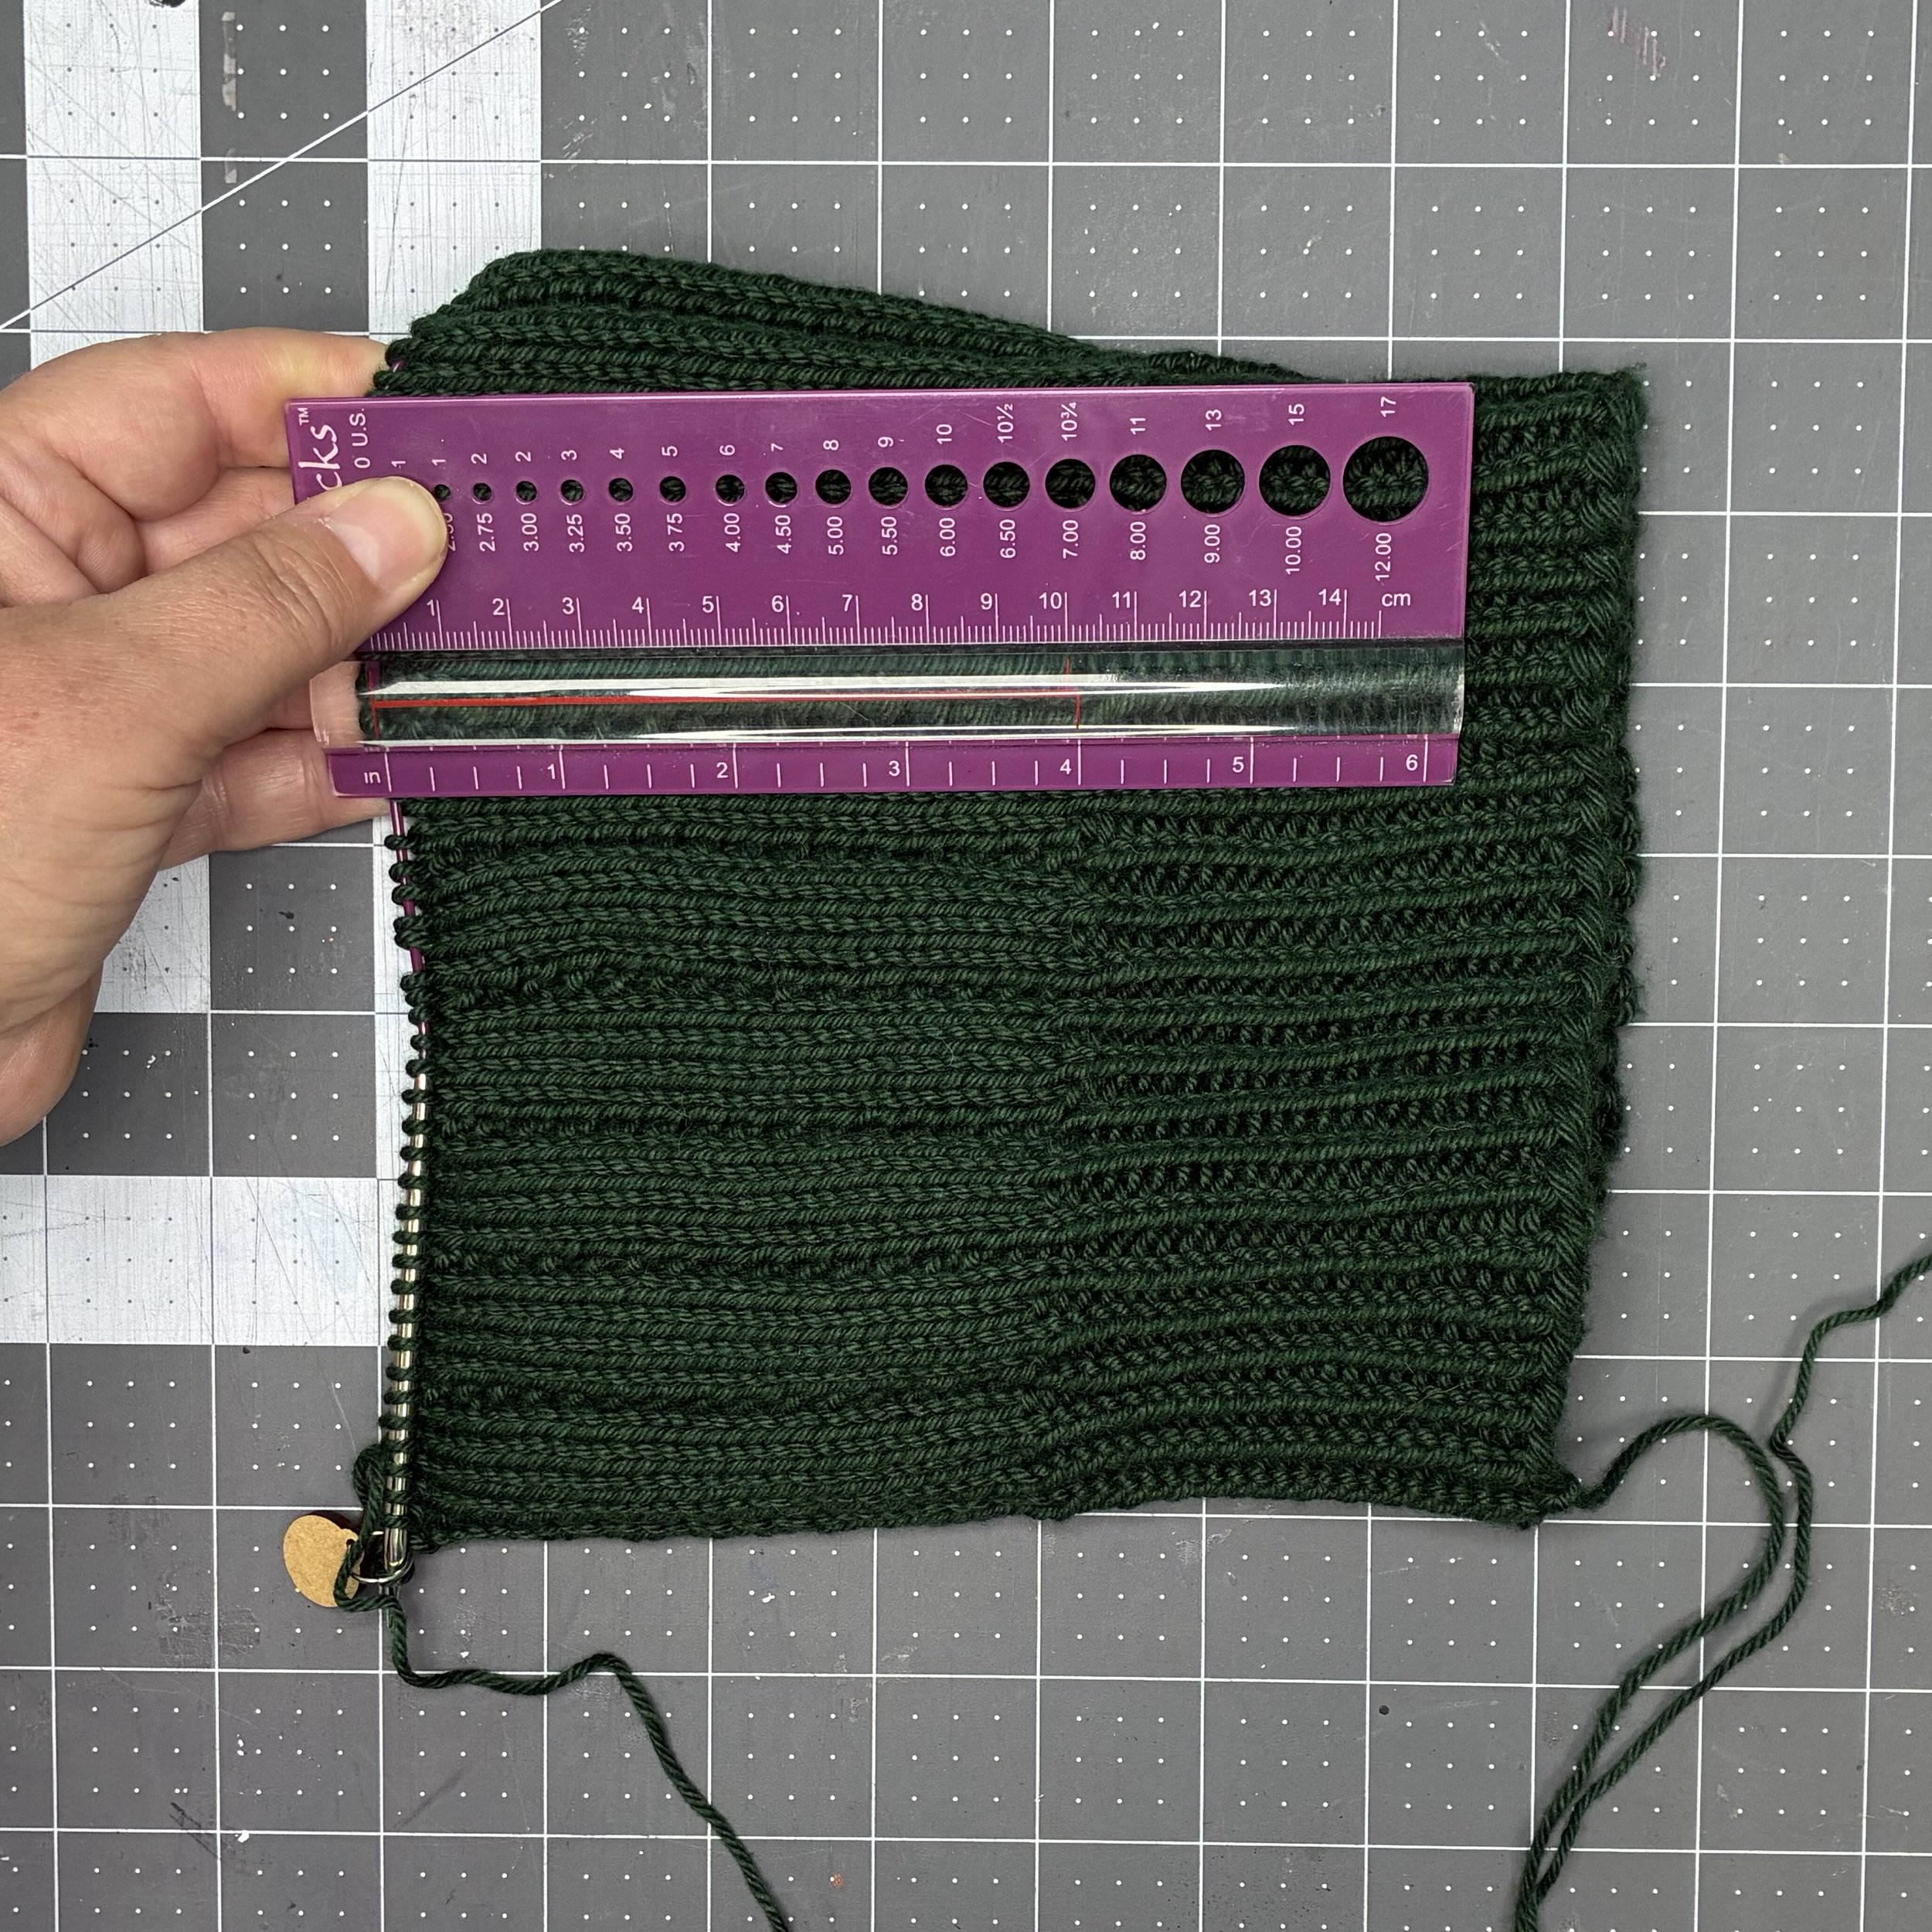
You can download it from Ravelry, or I can just tell you how it goes. Shall I tell you? I’ll tell you. First, cast on 100 stitches. The pattern calls for size seven needles, but reading my Ravelry notes told me that I’d made my first hat on size five needles. I split the difference and went with size six. After casting on and joining in the round, knit a twisted rib for three inches.
I really don’t enjoy knitting ribbing. All the constant switching back and forth between knit and purl is tedious, and somehow, in all the years I’ve been knitting, I’ve never learned to have an even tension in the switch, so that there’s always a slight gap between my knits and my purls. This is bad enough in 2x2 ribbing, but it’s super obvious in 1x1 ribbing. Except in a twisted rib. Doing the knit stitches through the back loop takes up just slightly more yarn, which eats up the yarn that usually lives in that gap, so it looks nicer than my usual attempts at ribbing.
After you hit three inches of twisted rib, start the main pattern for the body of the hat, which is a sort of broken rib, done in a two-row repeat. The first row is knit four, purl one. The second row is knit. And repeat until you’ve got another four inches in the body, giving you a total of seven inches from your cast on edge.
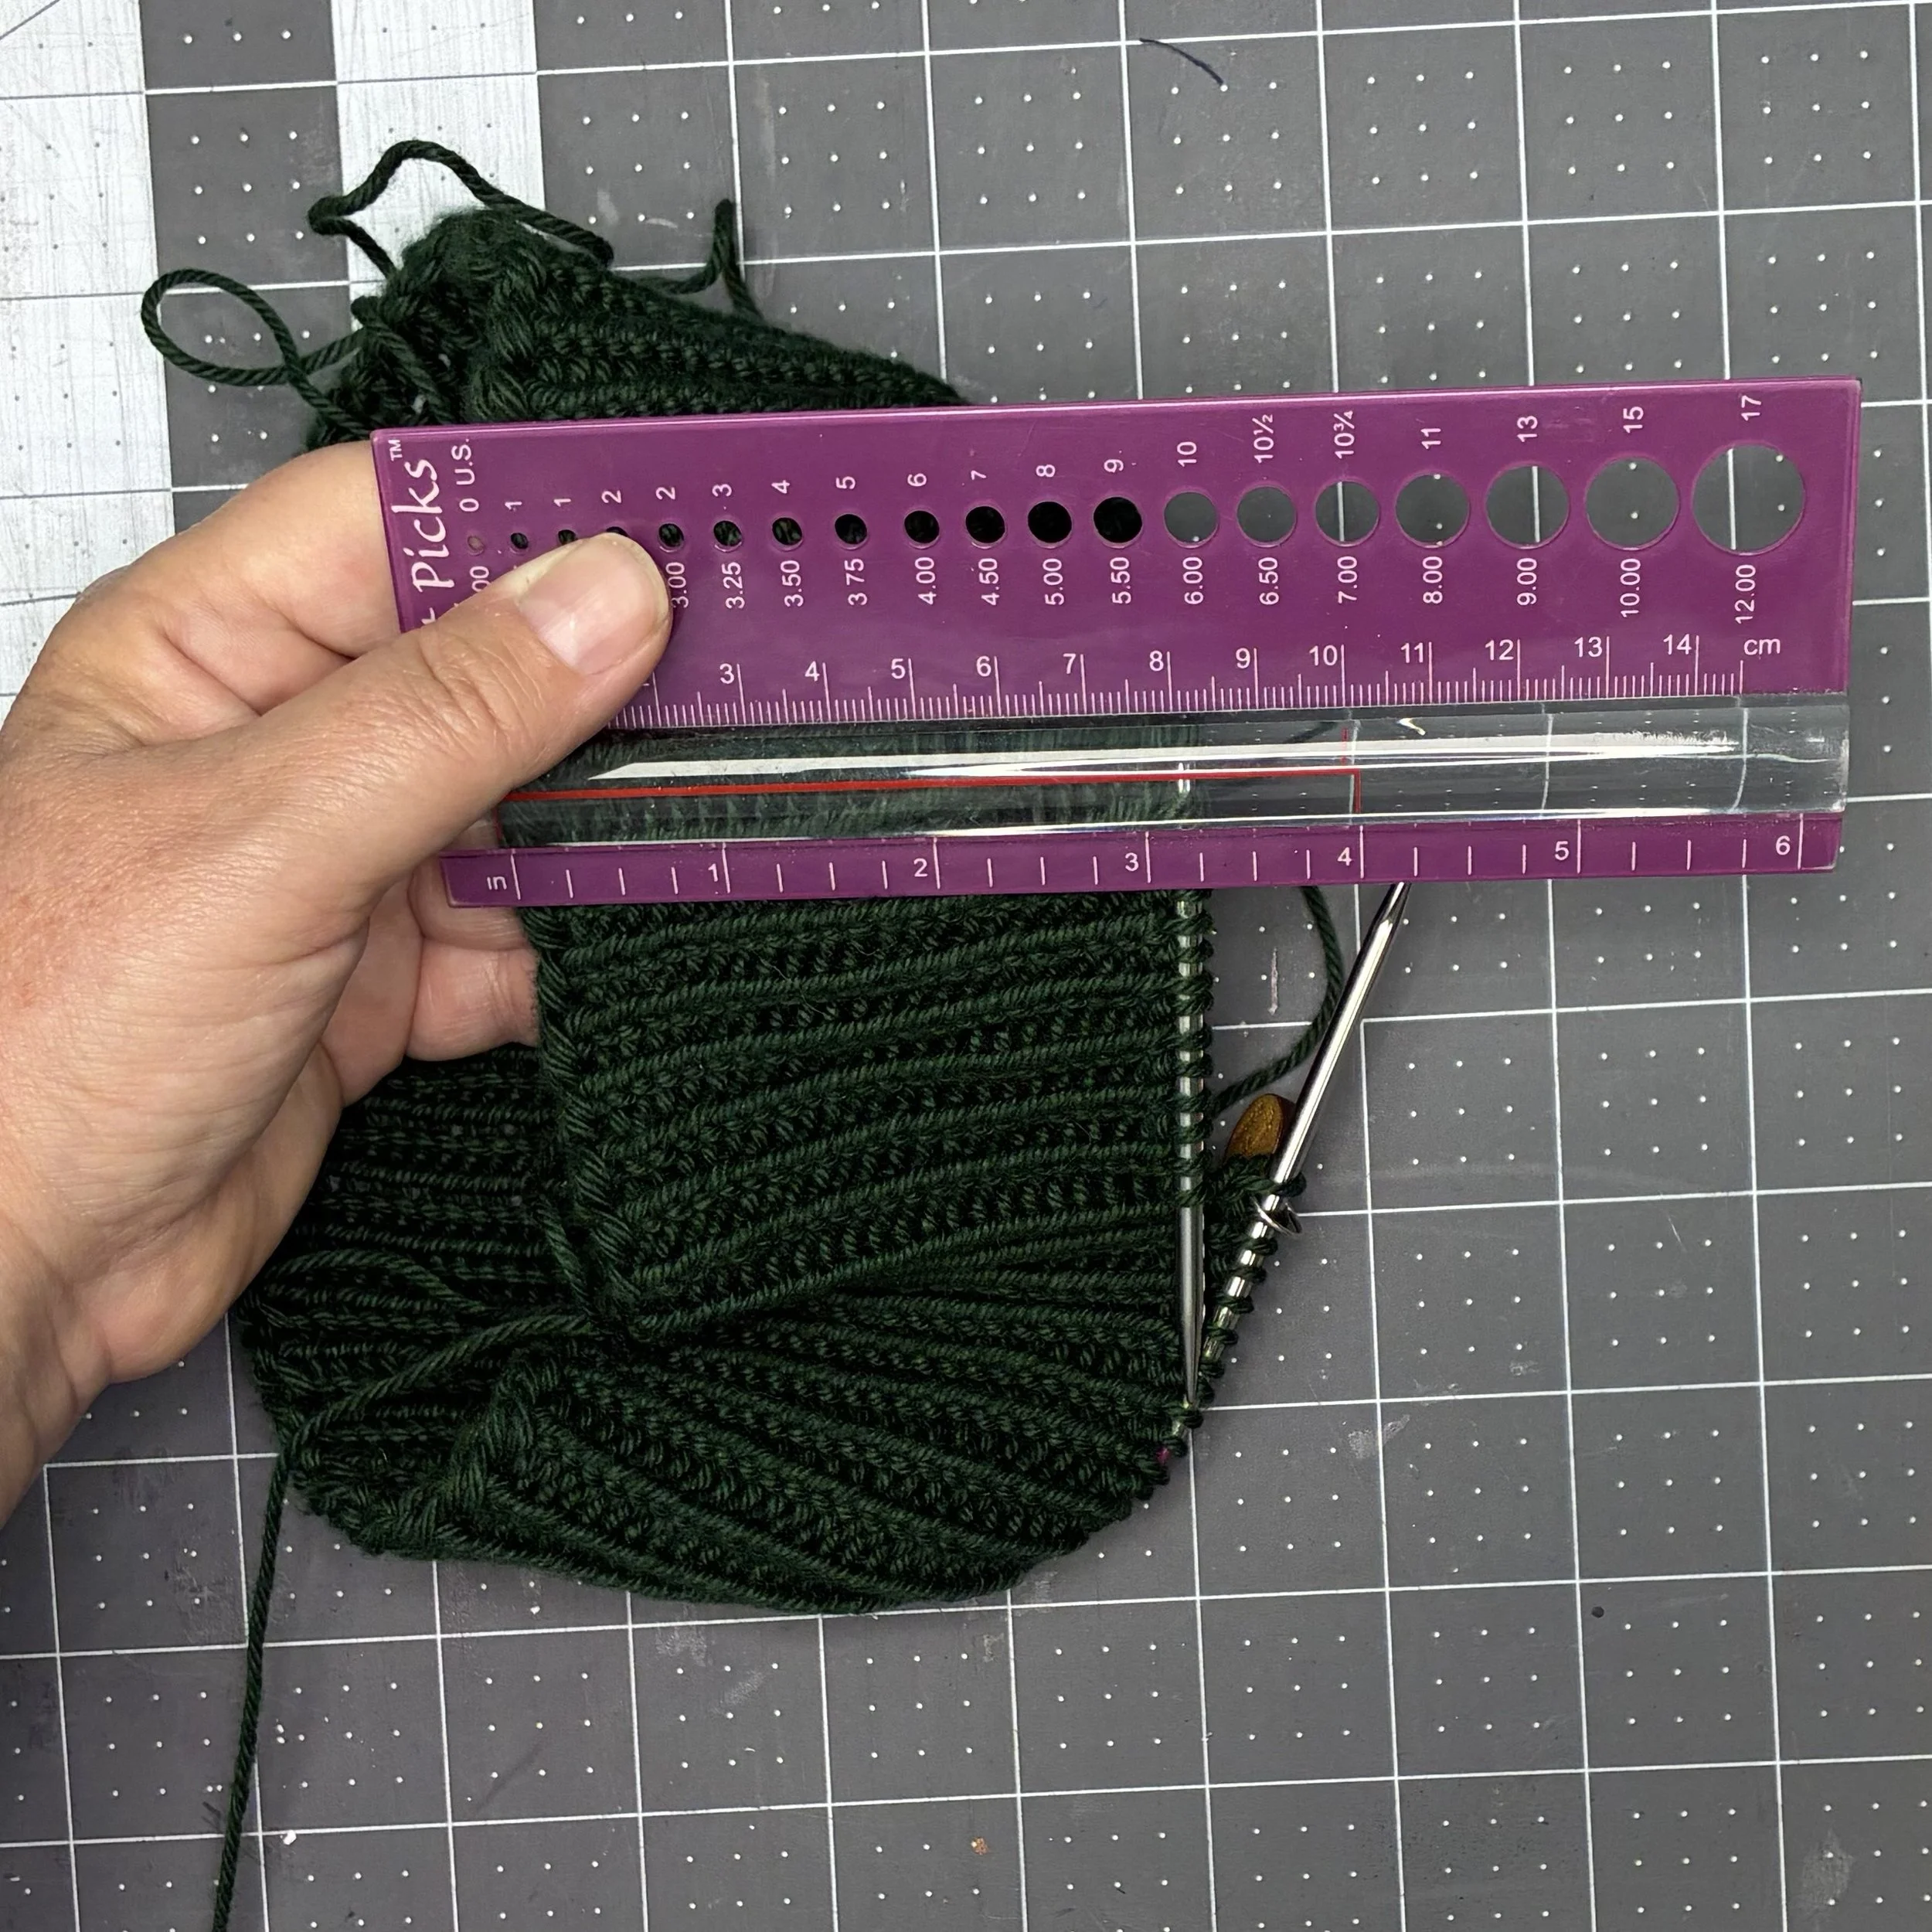
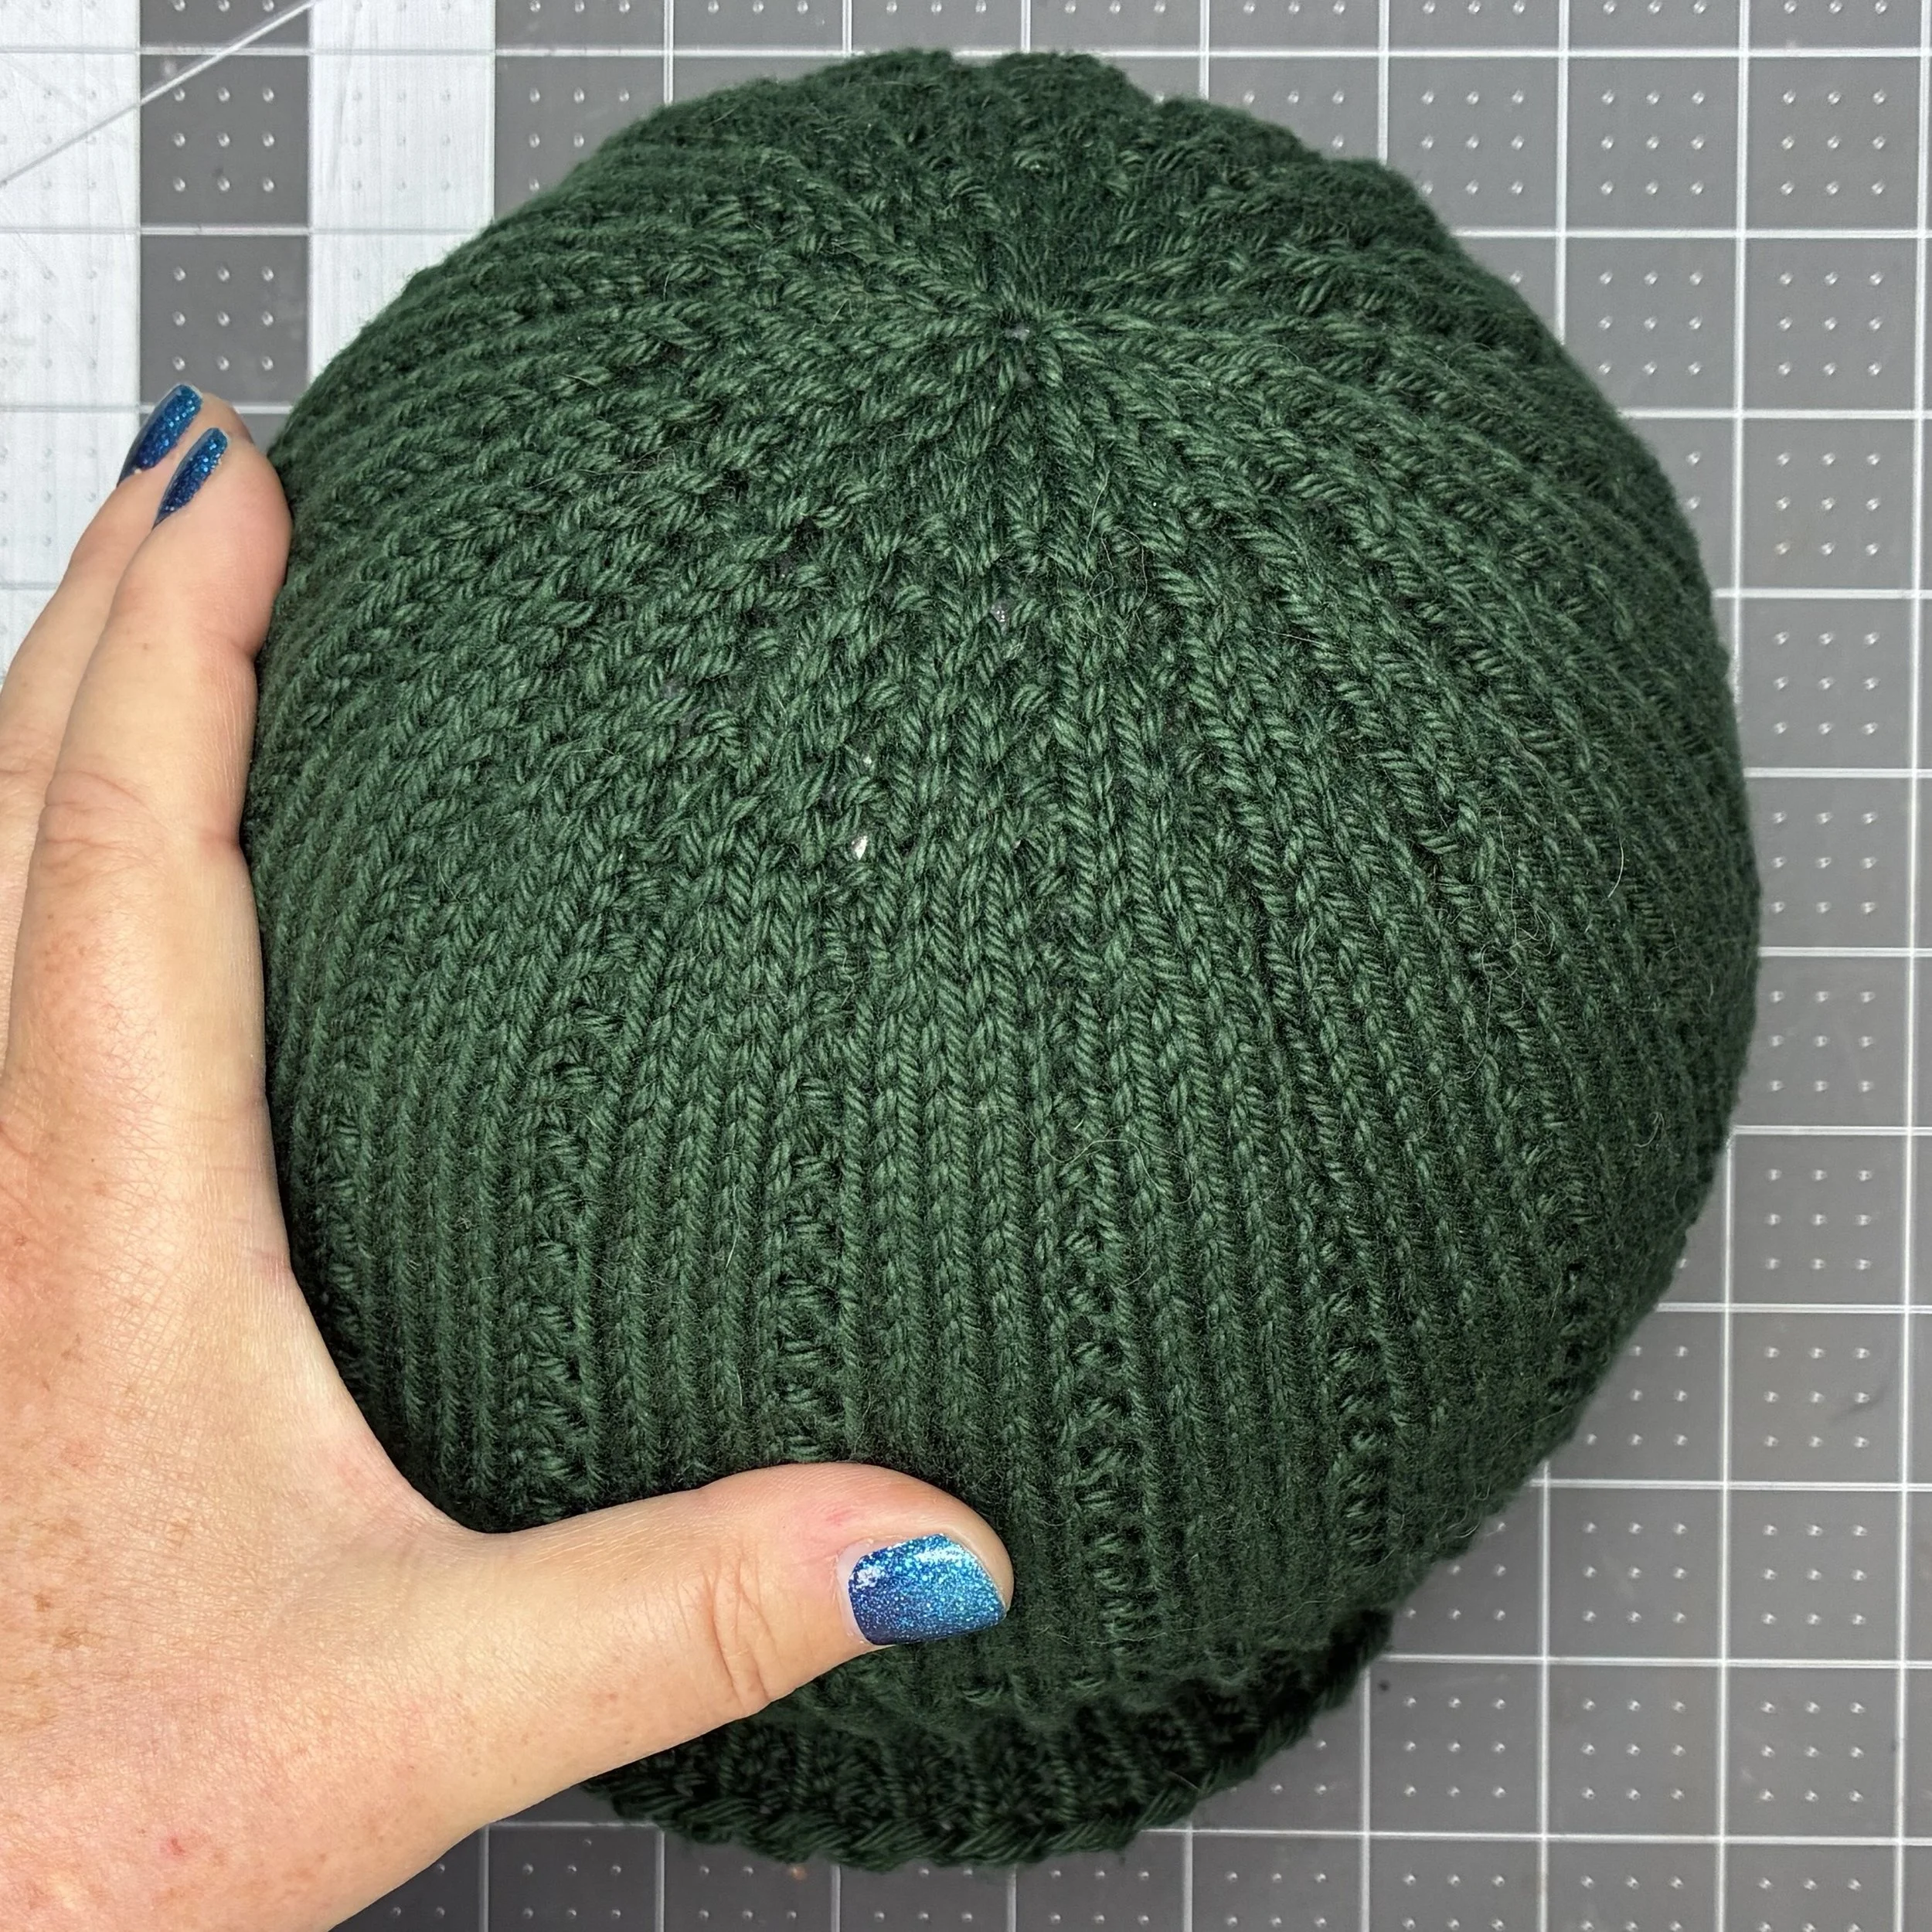
Closing up the top is the first place where you actually have to pay a little more attention to the pattern. It’s very logical and it’s not hard, but you do have to watch the instructions. The closing is simple but manages to stay in pattern right up until there aren’t enough stitches anymore, and then it’s just knitting. You can see in the pictures below the transition from the main body into the decreases for closing, and then the top view shows you that little circle of knit-only stitches.
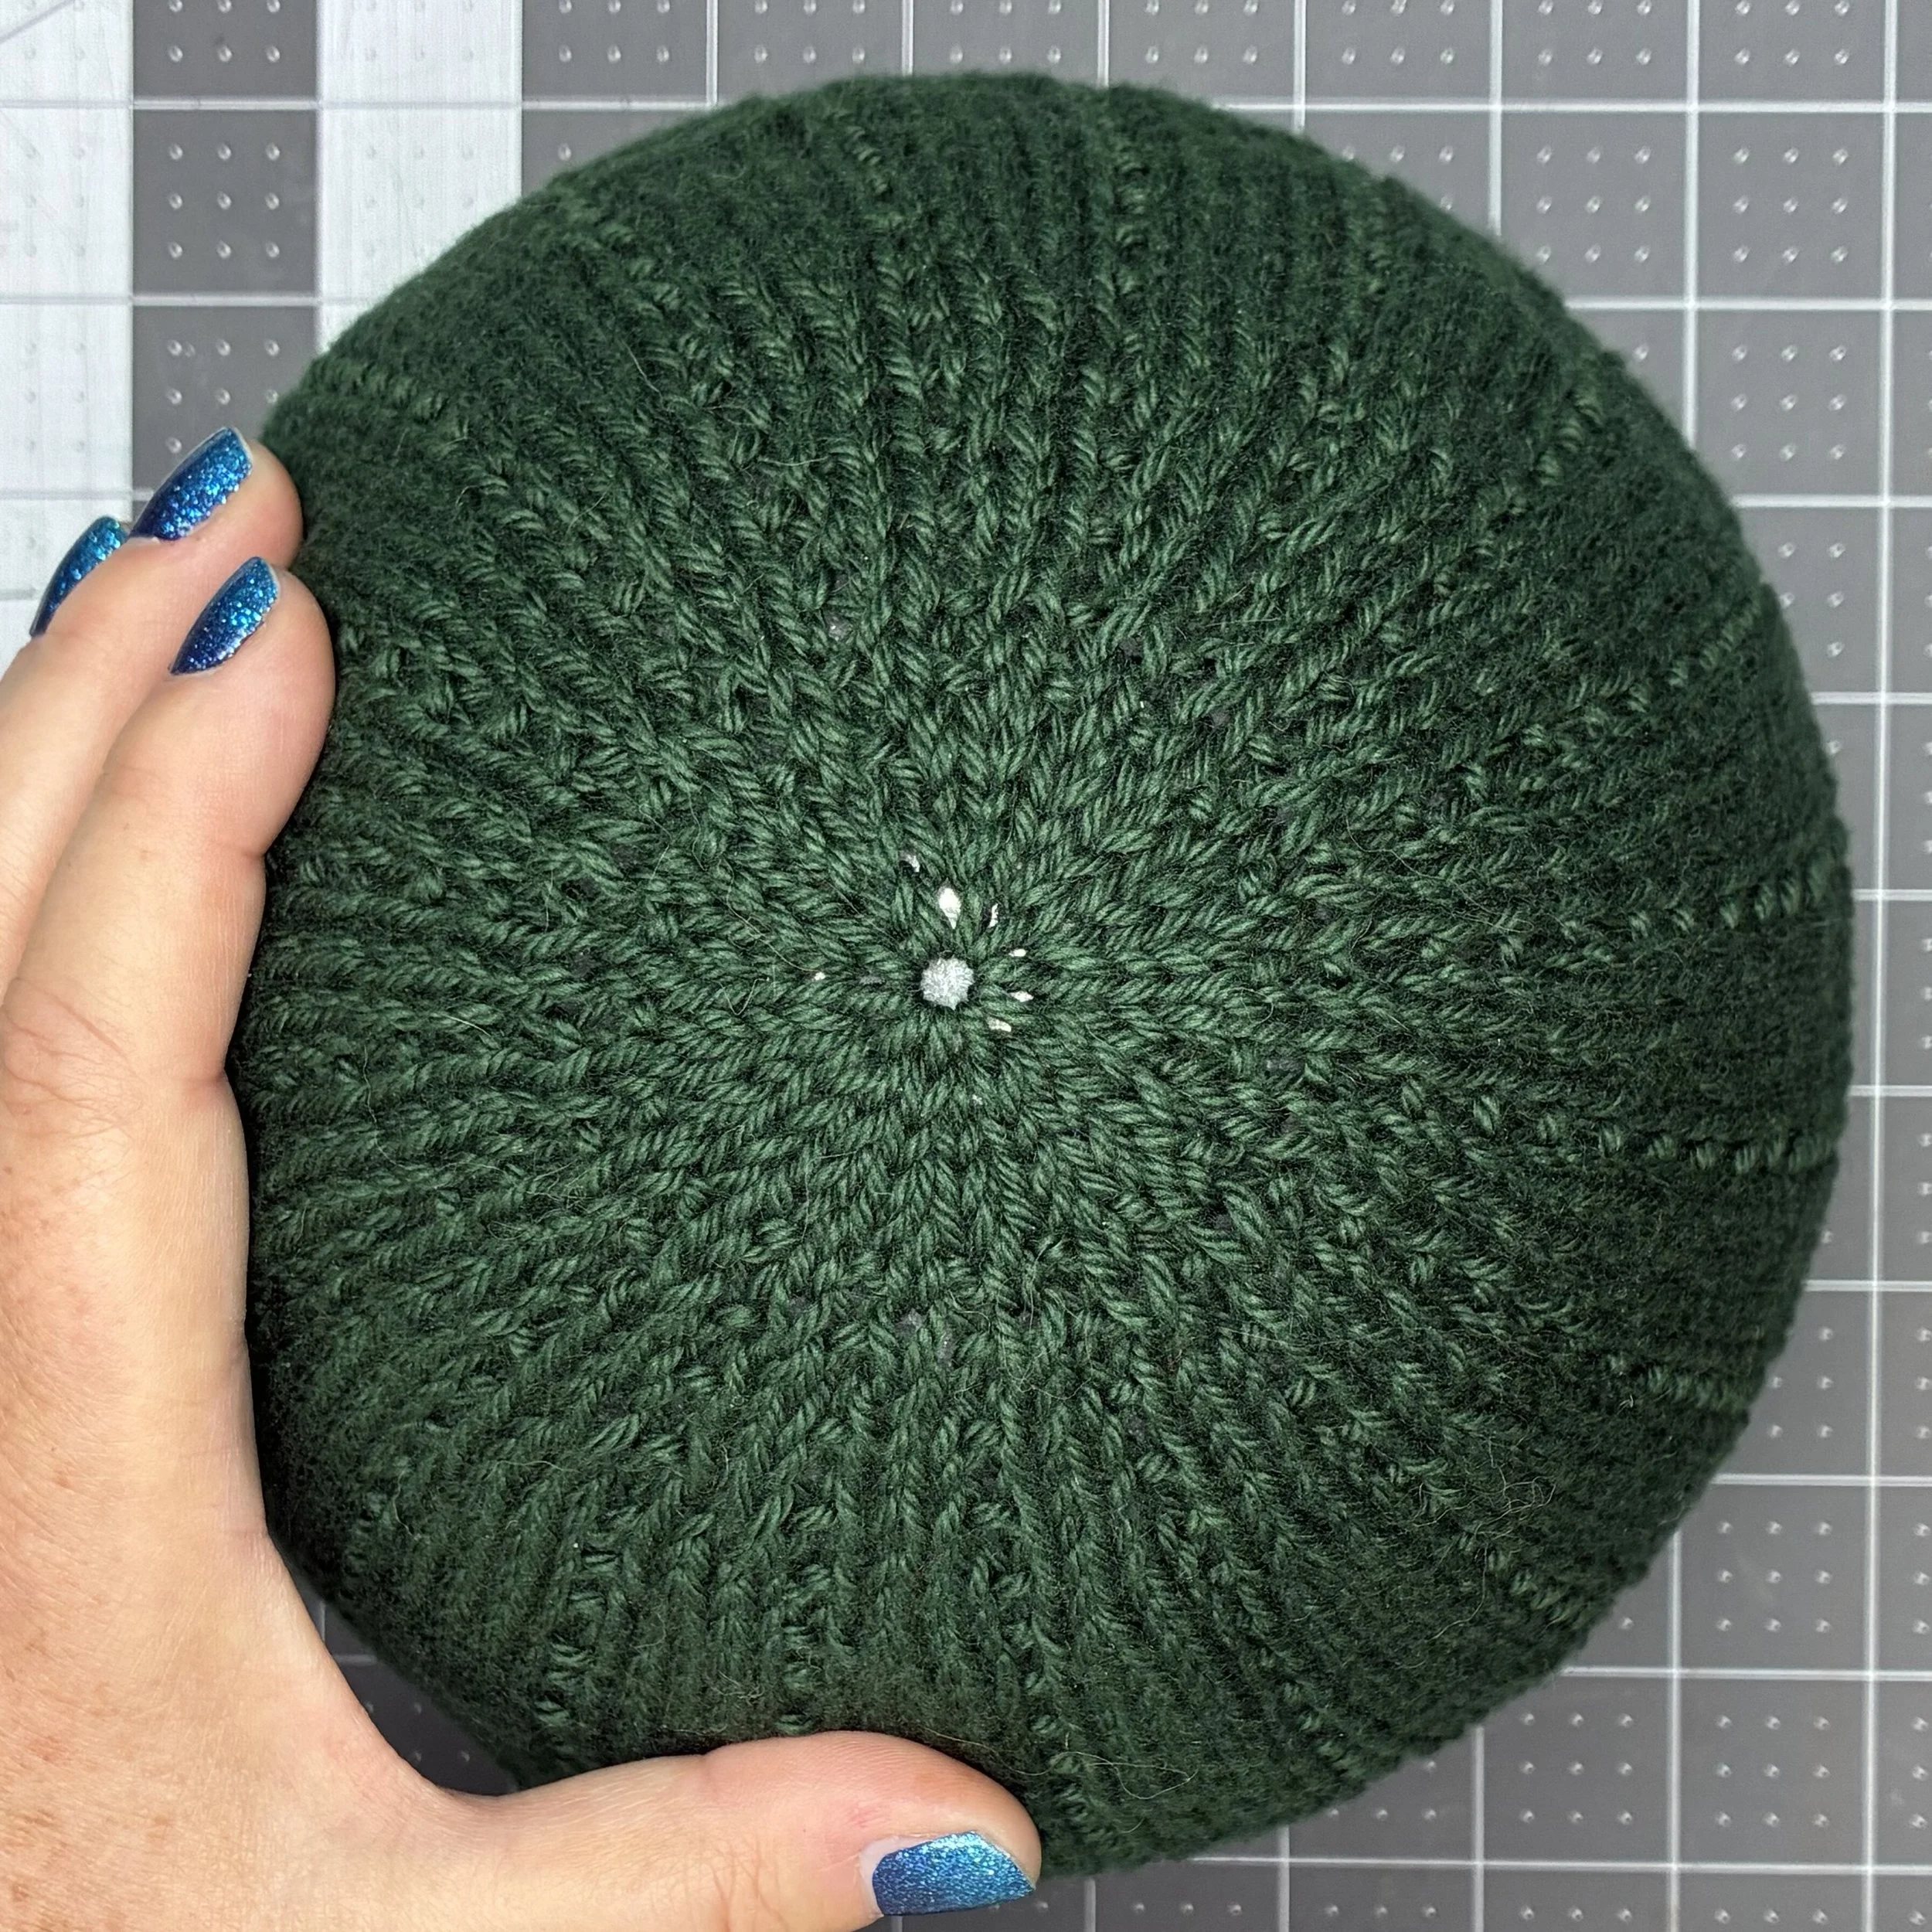
A quick wash and block on my seven-inch styrofoam ball and it was ready to wear. I had my father arrange it on the mannequin head for the final picture, since I was never going to get it exactly right. The man does like what he likes…and since he likes my hats, I’m good with it.