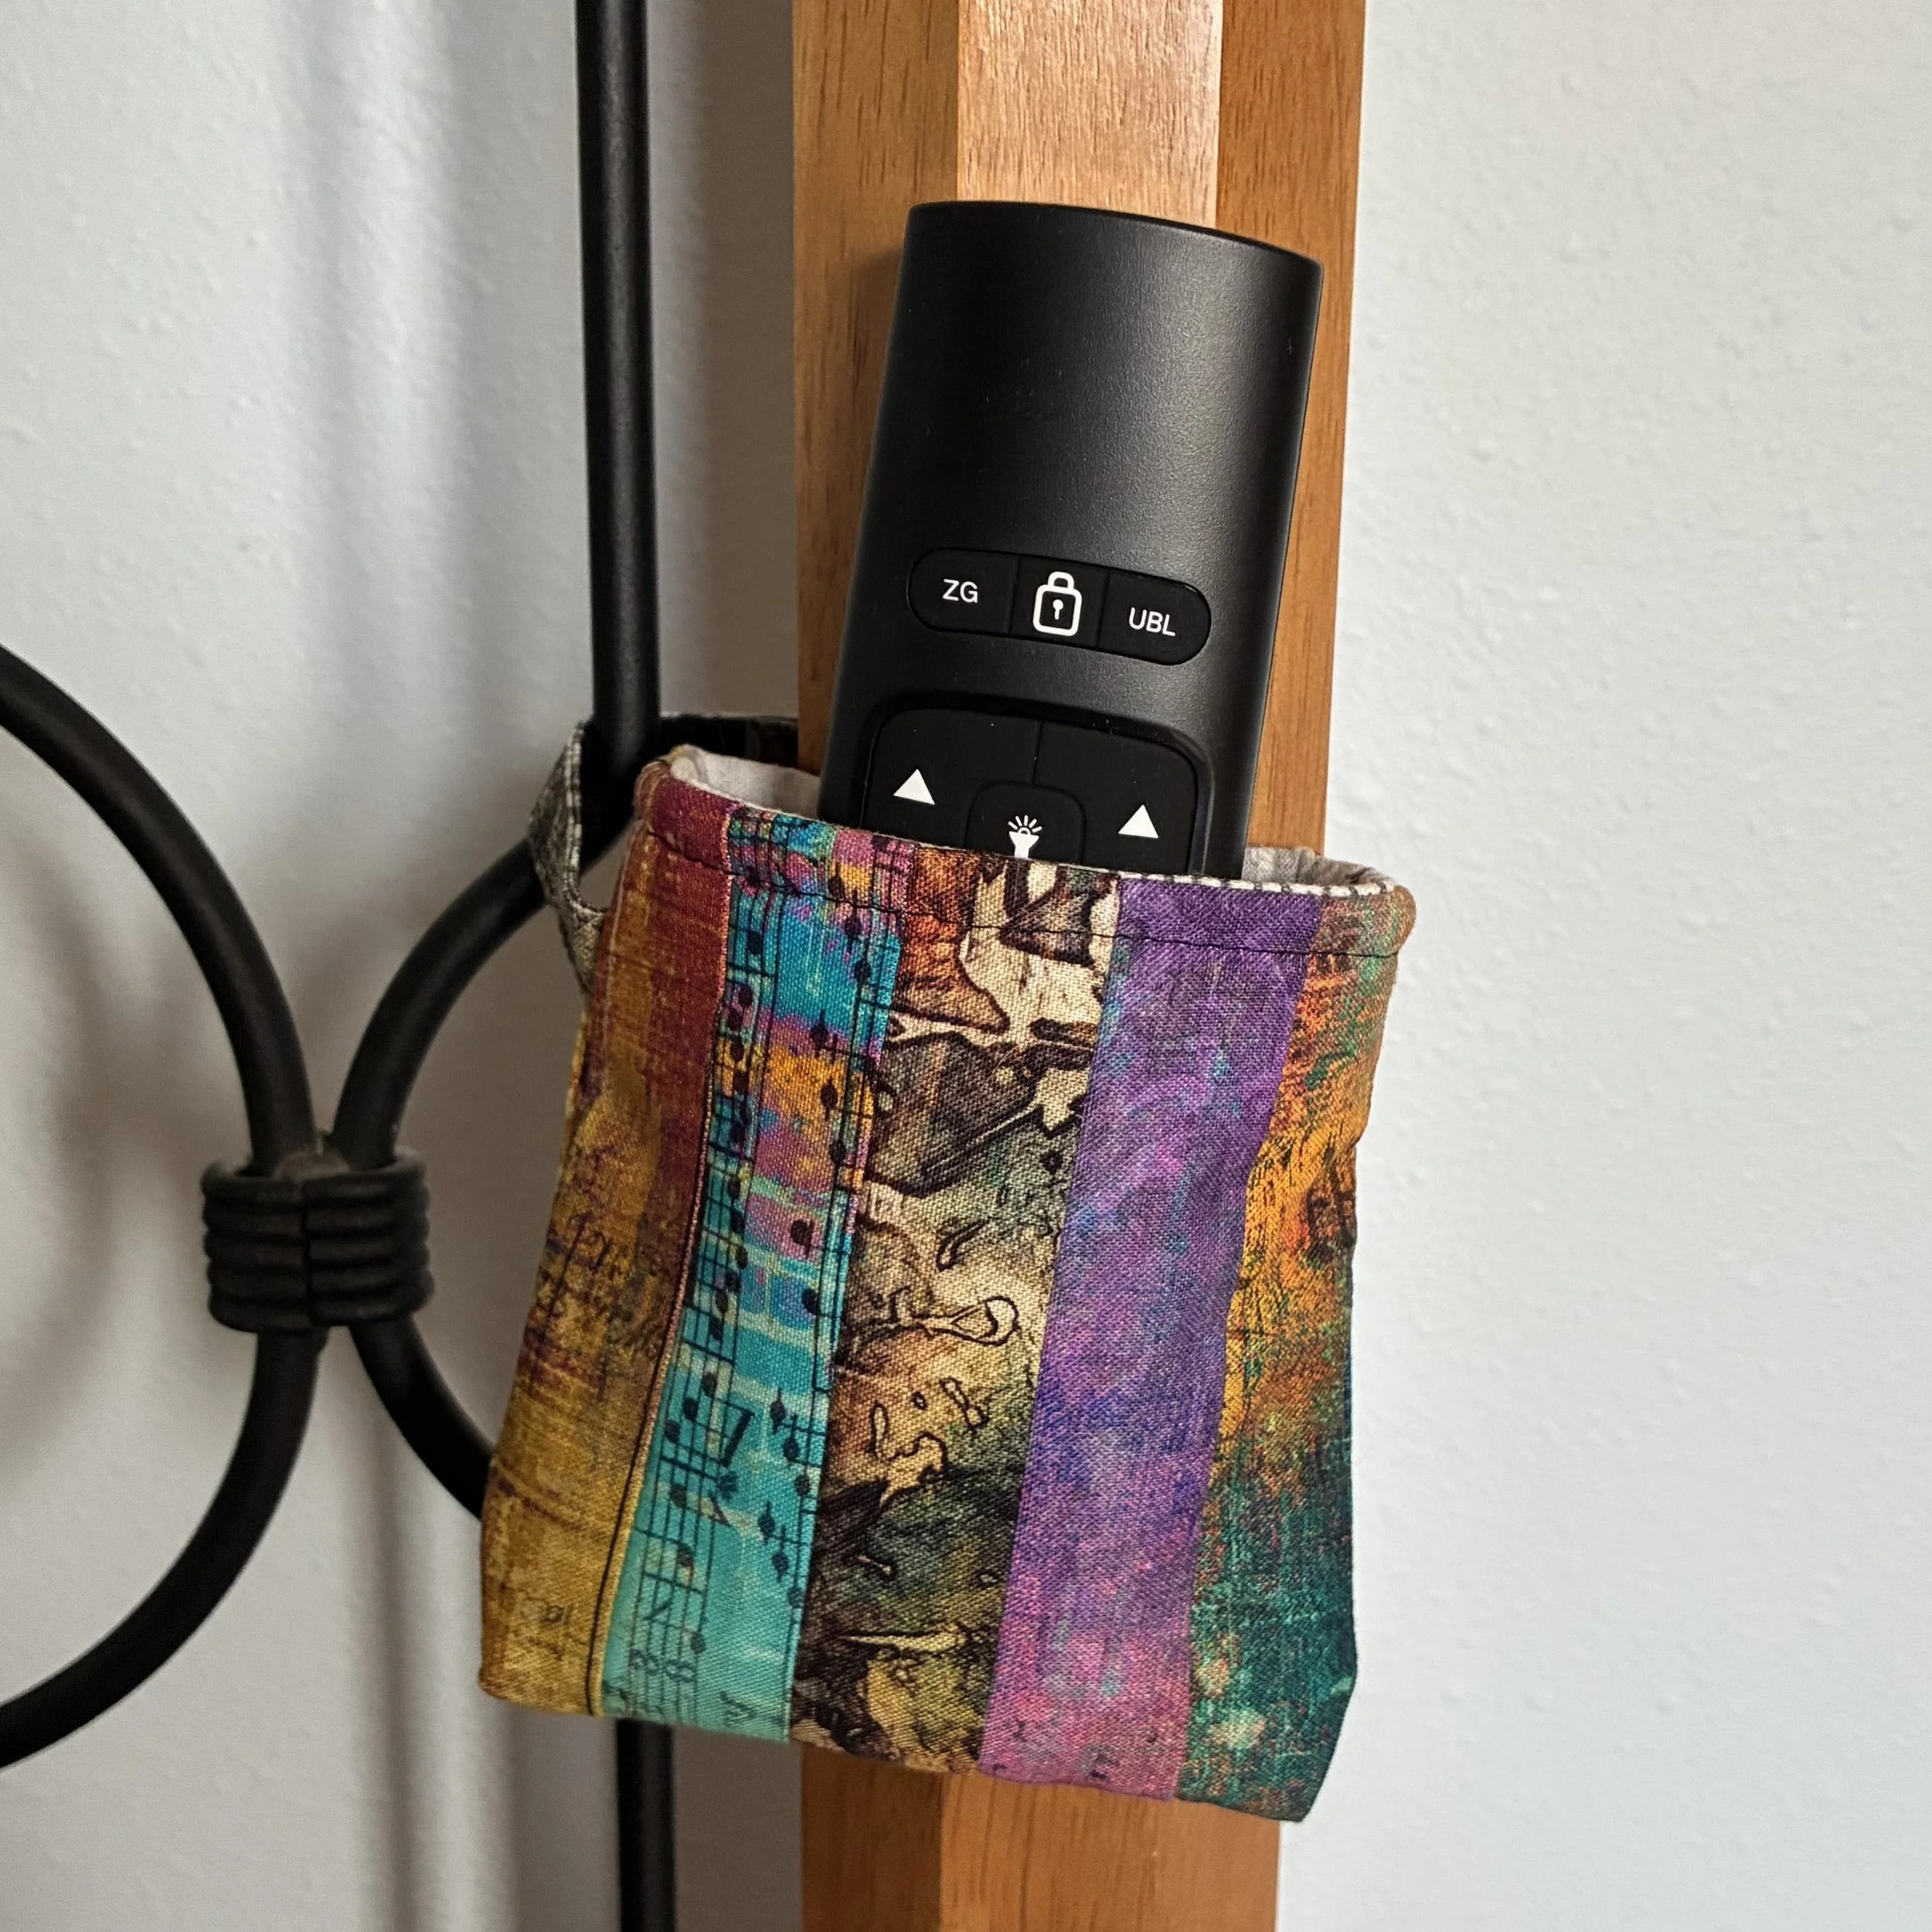
Adventures In Grungy Holsters
As an Amazon associate, I may earn a small commission if you navigate to Amazon from my site and buy something. This will not result in an extra cost to you.
I recently published a blog article singing the praises of my new adjustable platform for my sleep number bed. I have not changed my mind about it, but I was having a little issue. The remote control to adjust the bed works great, but where do I put it when I’m not actively using it? If I have it on my nightstand when I’m ready to raise the head of the bed, I can just reach over, pick it up, and use it. But once the head is inclined, I can no longer reach the nightstand without reaching perilously far out of bed. I haven’t yet fallen out of bed, but I was positive it was only a matter of time.
I needed a solution. I first tried to attach the remote to my bedpost by sticking velcro on both surfaces. That lasted about a day before the remote just fell off and the velcro came unstuck. I thought about it for a couple more days, and then decided that I needed a sort of “holster” for the remote that could attach to a bedpost or hang from my bed frame. I am still in the (tediously slow) process of unpacking after my recent move, and almost none of my fabric has been unpacked. Instead, it’s scattered throughout various boxes, mostly used as padding.
What I did have was some gray patterned fabric left over from curtains I made many years ago, and my box of relatively small fabric scraps that I mostly save for “crazy quilt” style projects, like the cover for Hester or my quilted coasters. When I dug through the scraps, I found some strips of fabric left over from a quilt top I’m still working on.
The fabric in question is from a Tim Holtz fabric collection that’s heavy on steampunk and grunge. It’s no longer being made and the Simon Says Stamp website is the only place I’ve found where it’s still available. I bought both the Abandoned fat quarter pack and the Abandoned 2 fat quarter pack for my quilt. I suppose this fabric isn’t to everyone’s taste (my mother would hate it) but I think it’s absolutely gorgeous. I resolved to make my little holster out of this fabric quilted in narrow strips onto some thin cotton batting I had also managed to unearth out of a box.
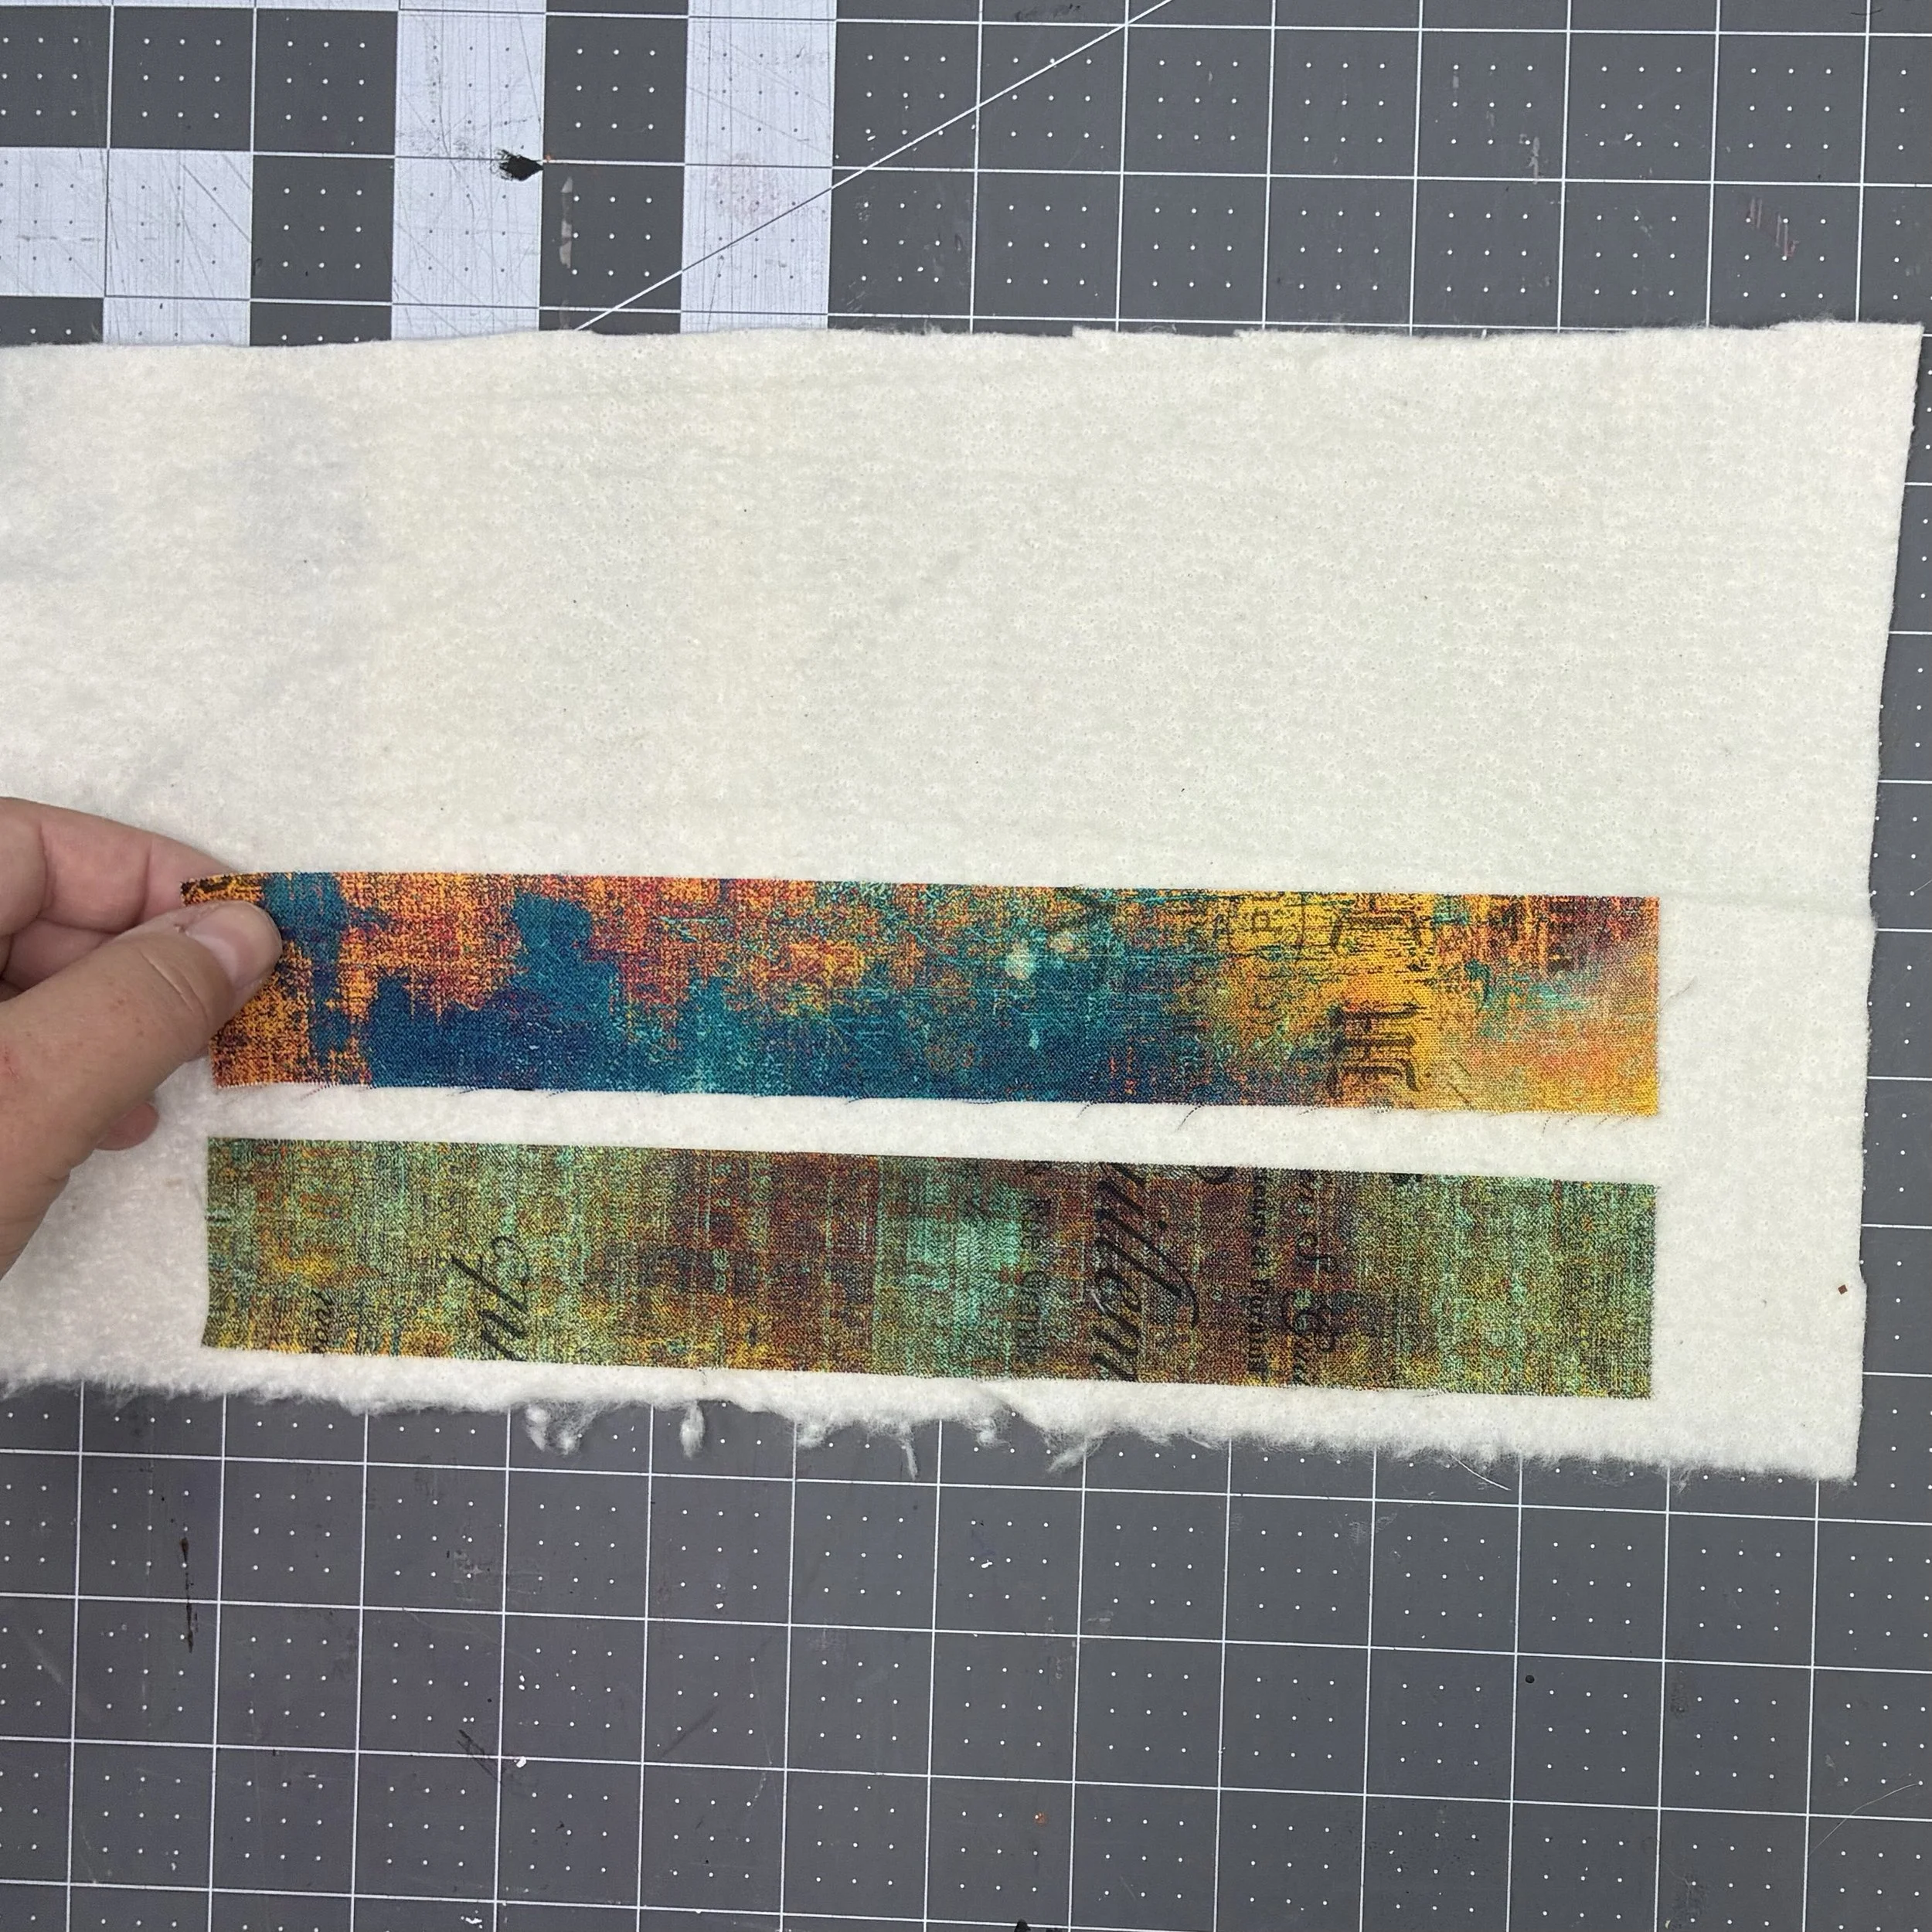
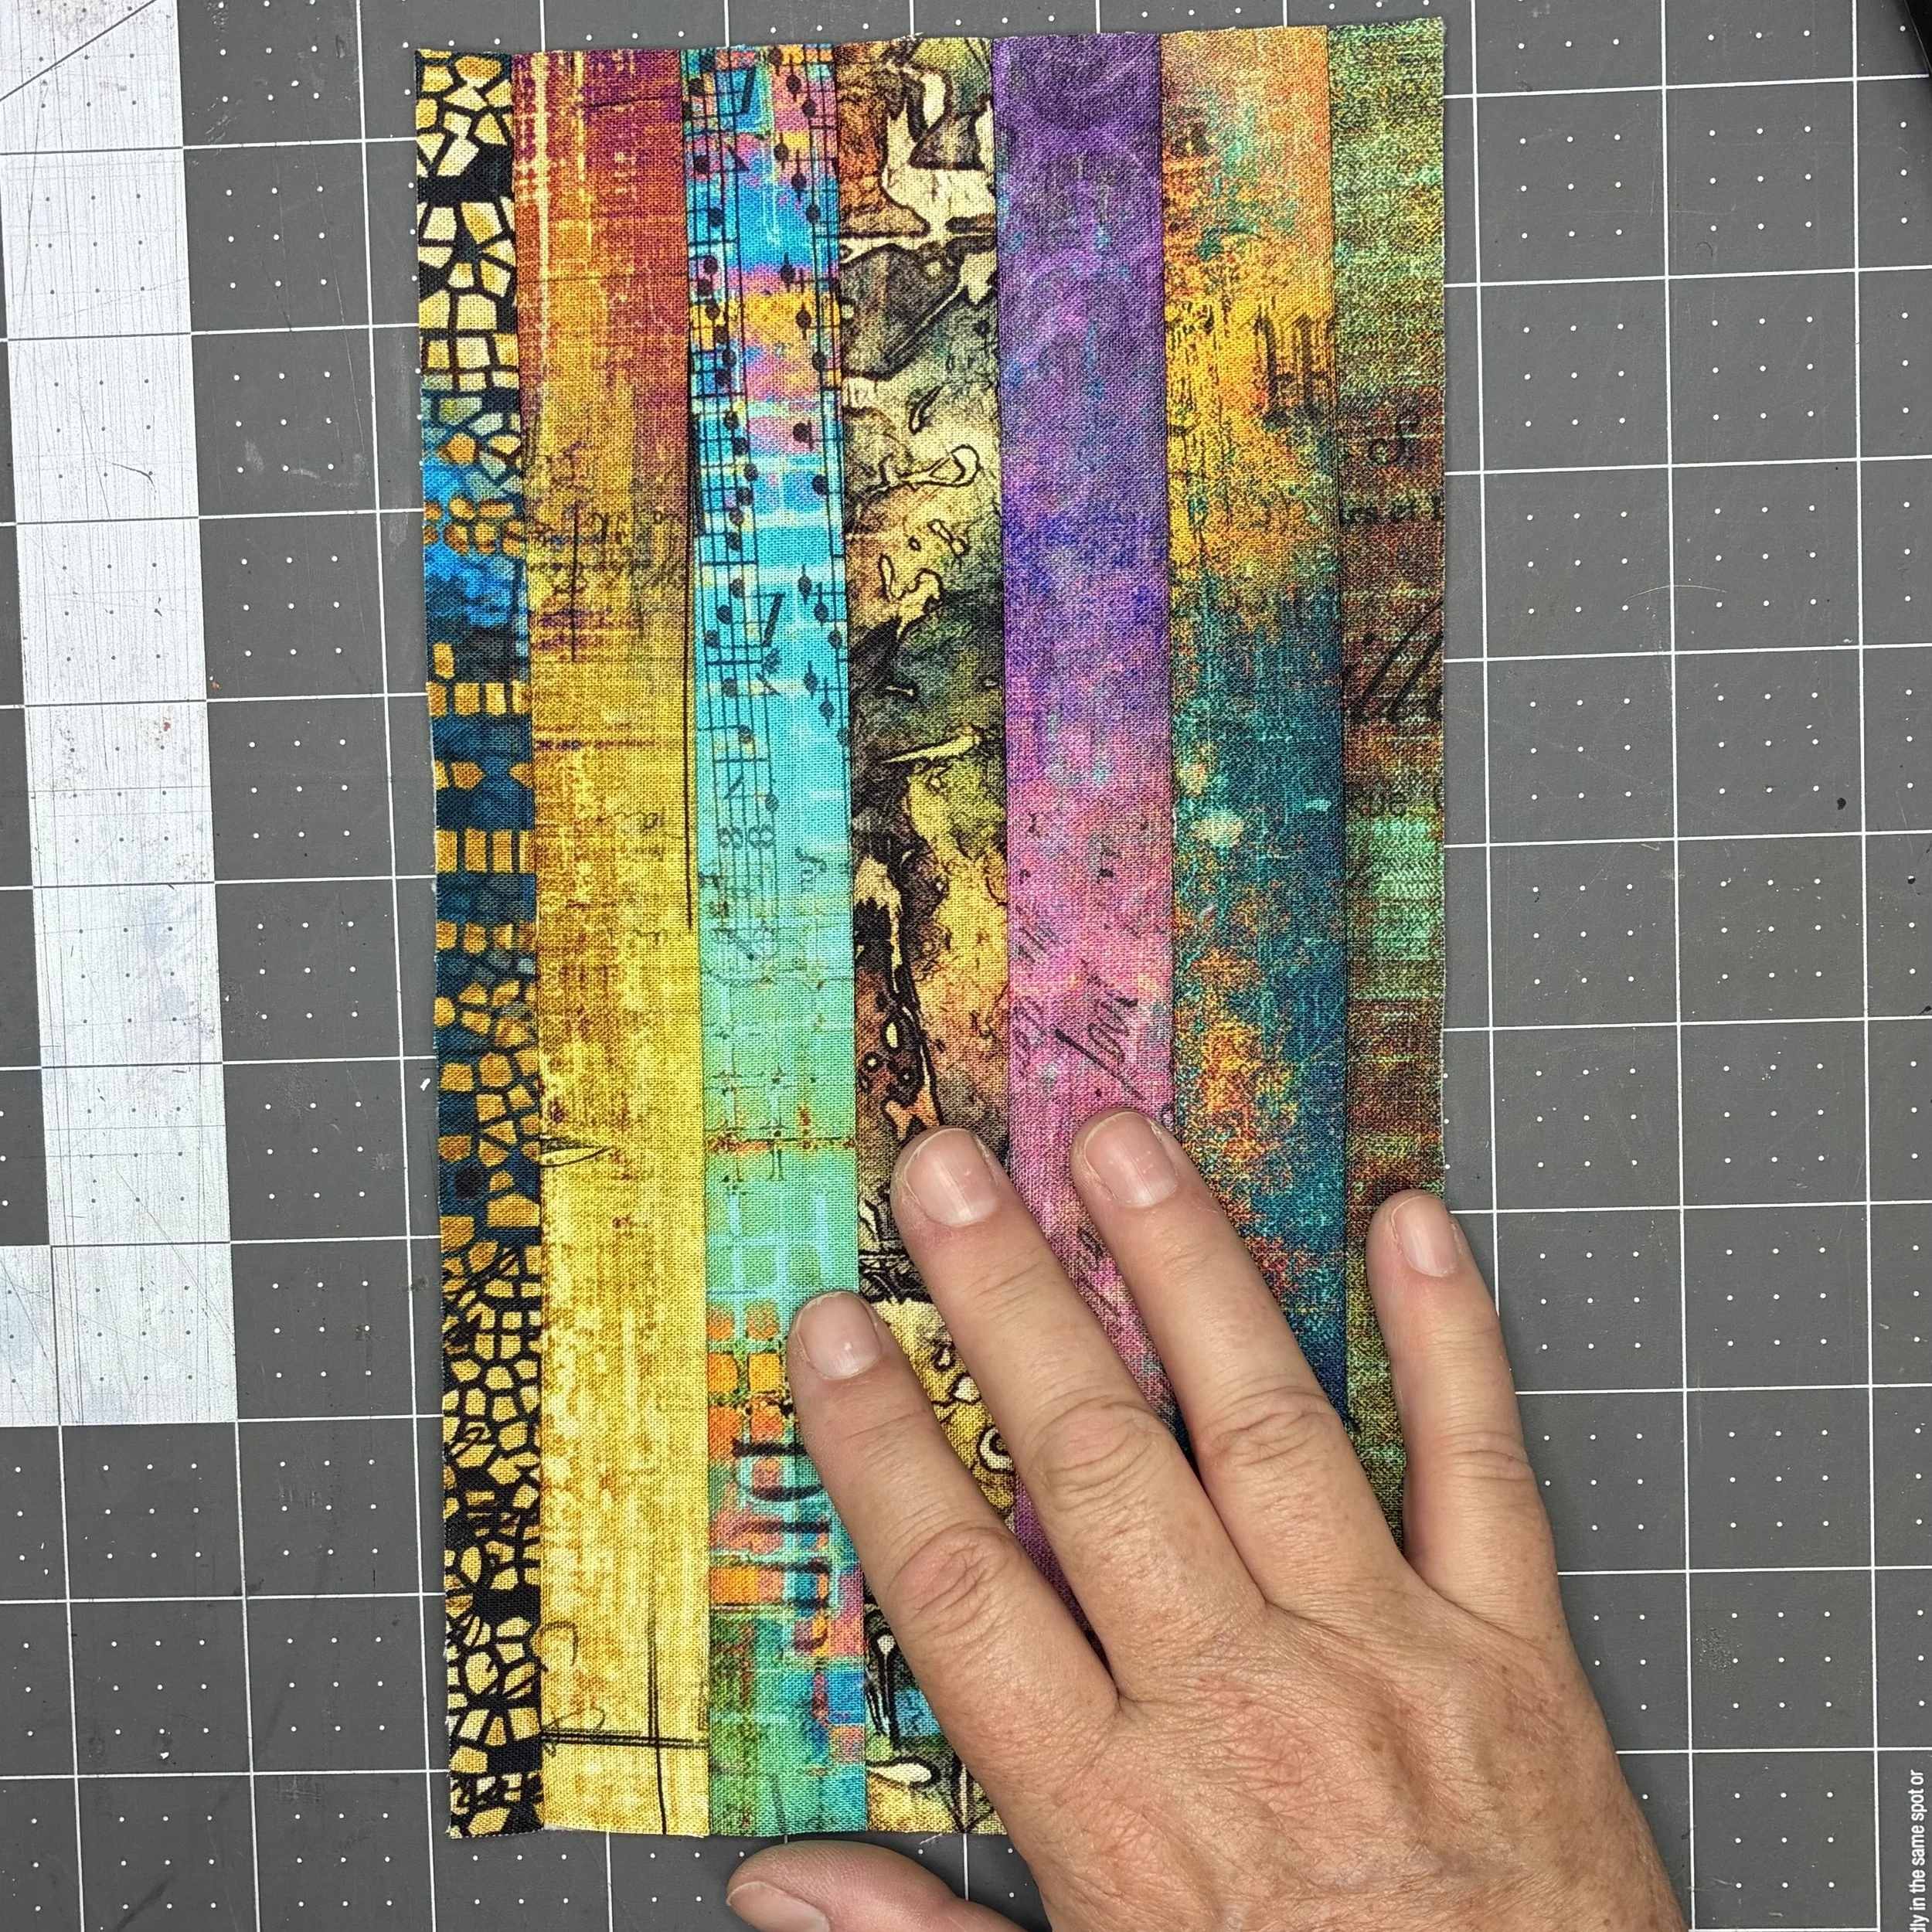
I started by cutting a piece of batting large enough for the remote. I didn’t measure or anything crazy like that…I just set the remote on the batting and cut a piece that looked larger than I’d need. Then I cut 1.5” wide strips from the seven longest pieces of scrap that I had. I’d have liked to do narrower strips and more of them, but I thought that the pattern on the fabric would be all but invisible if not at least an inch wide when sewn.
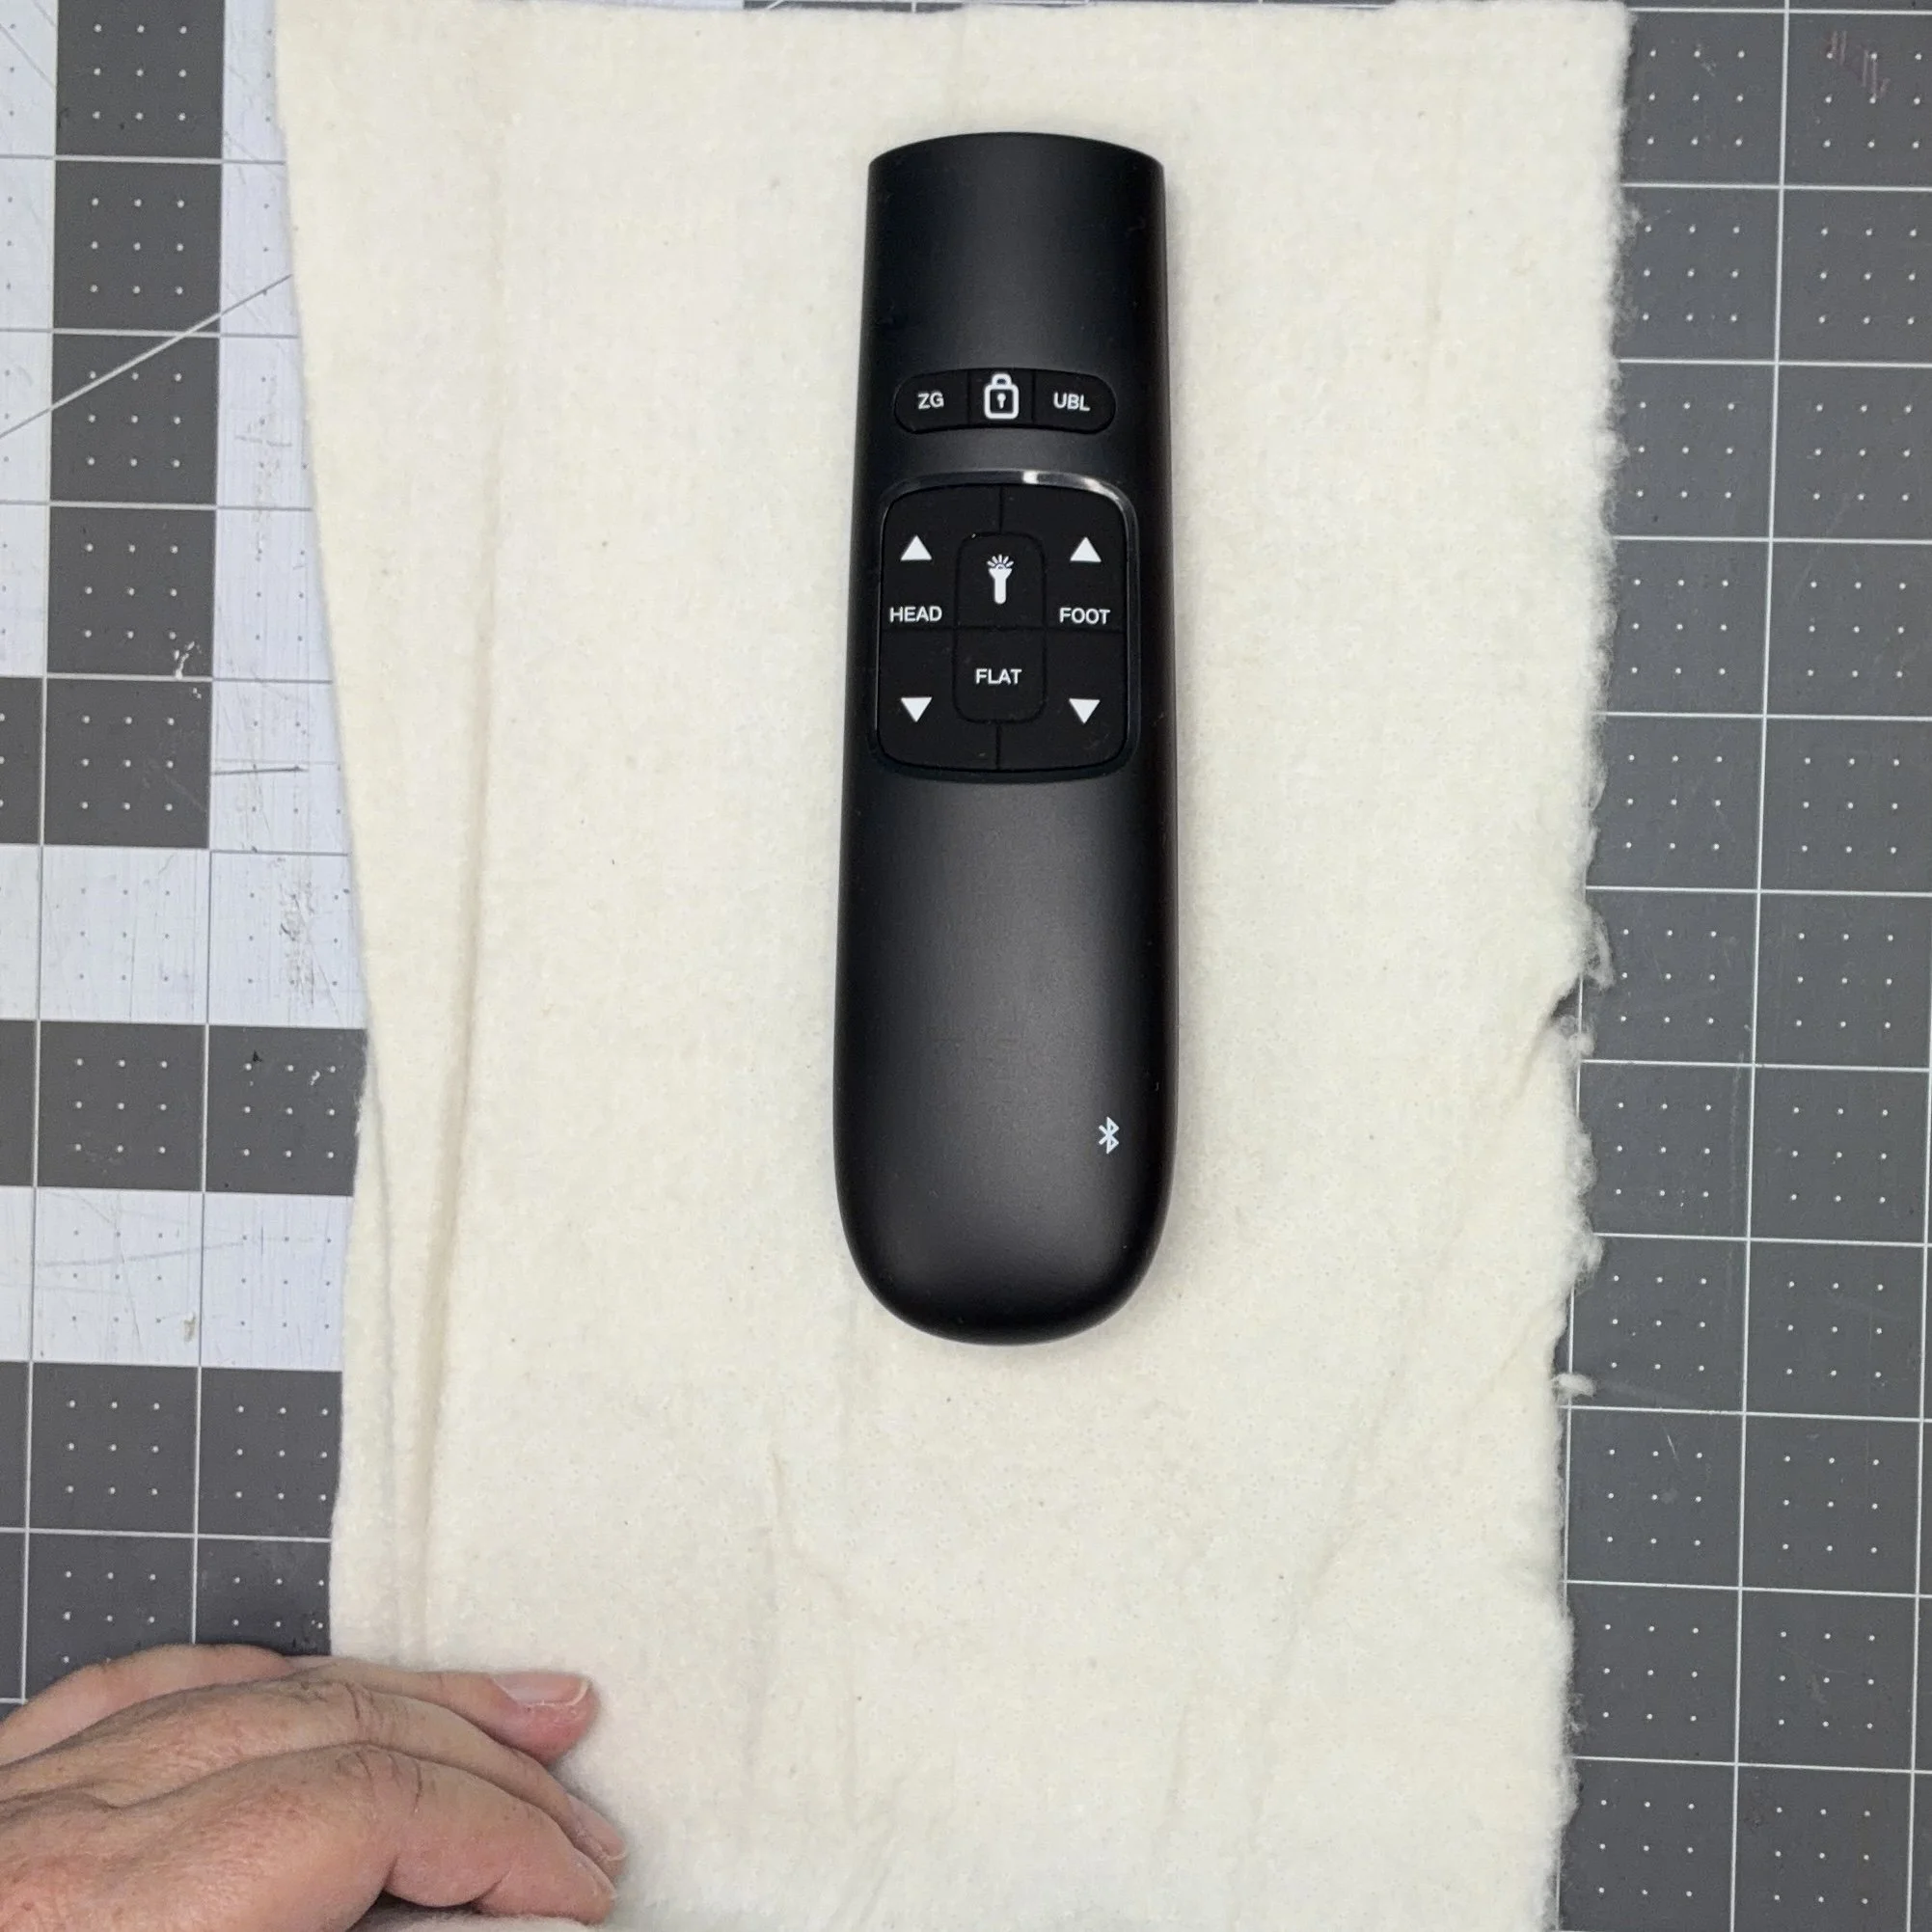
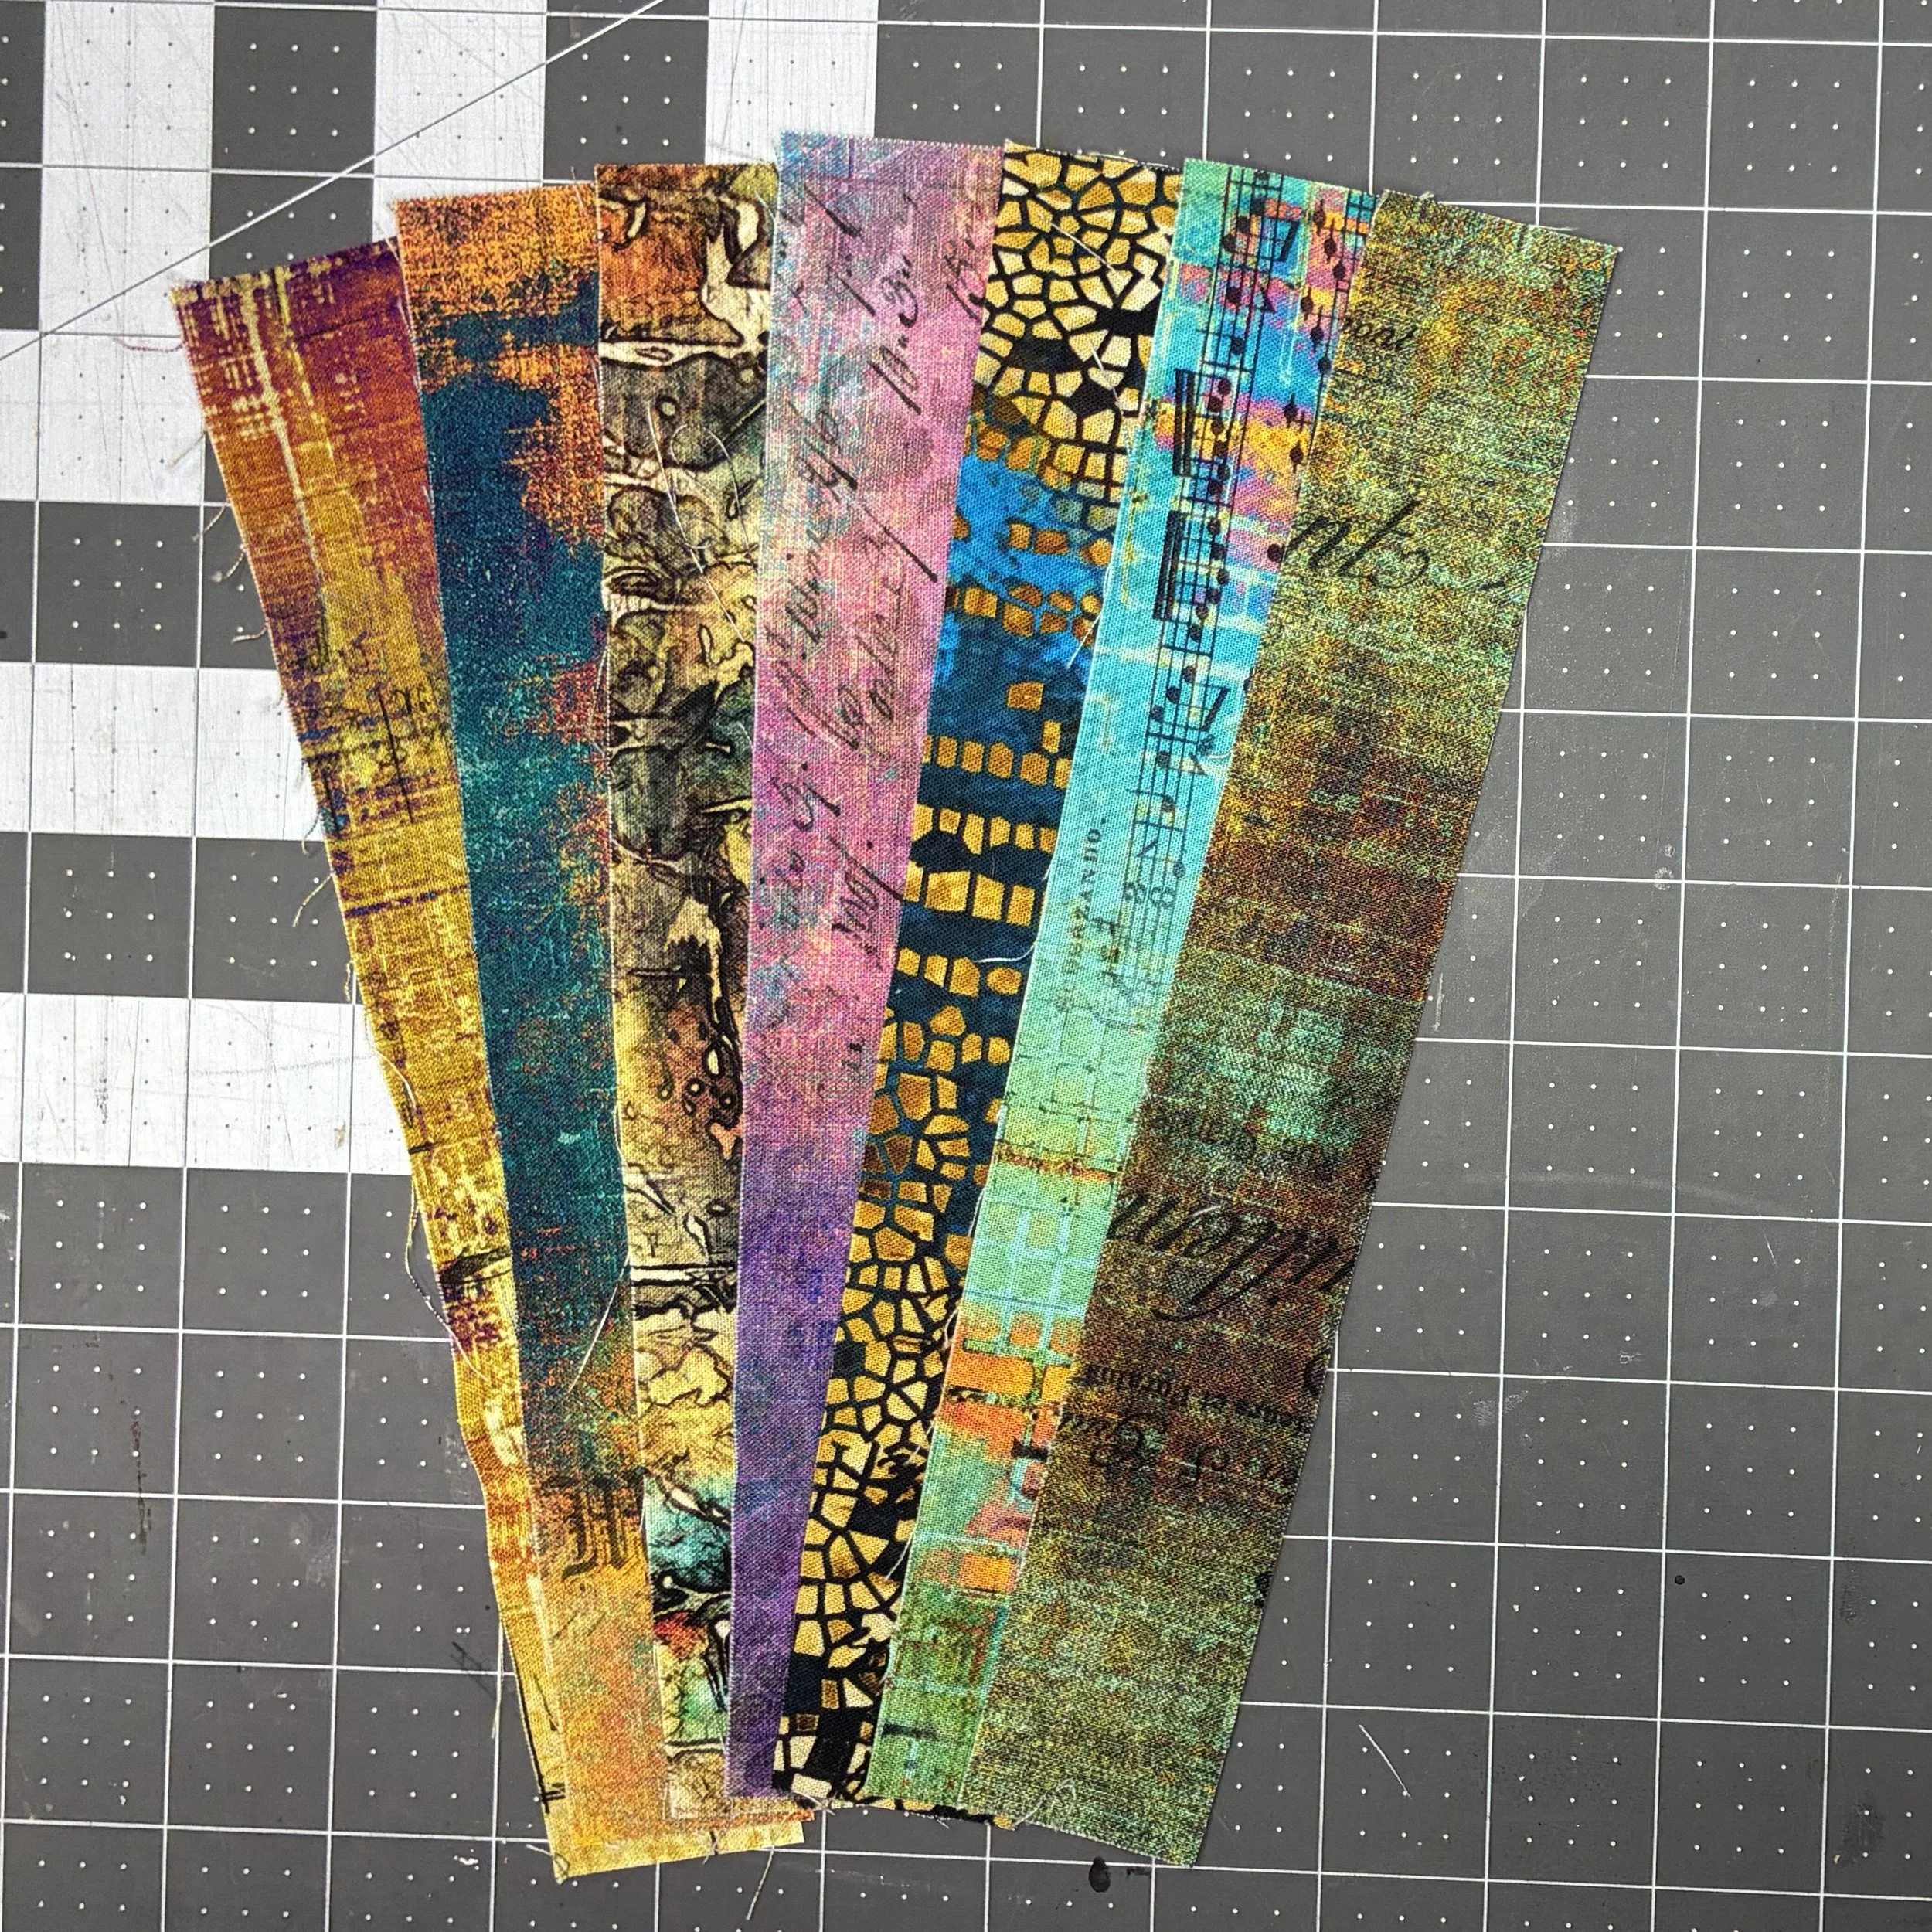
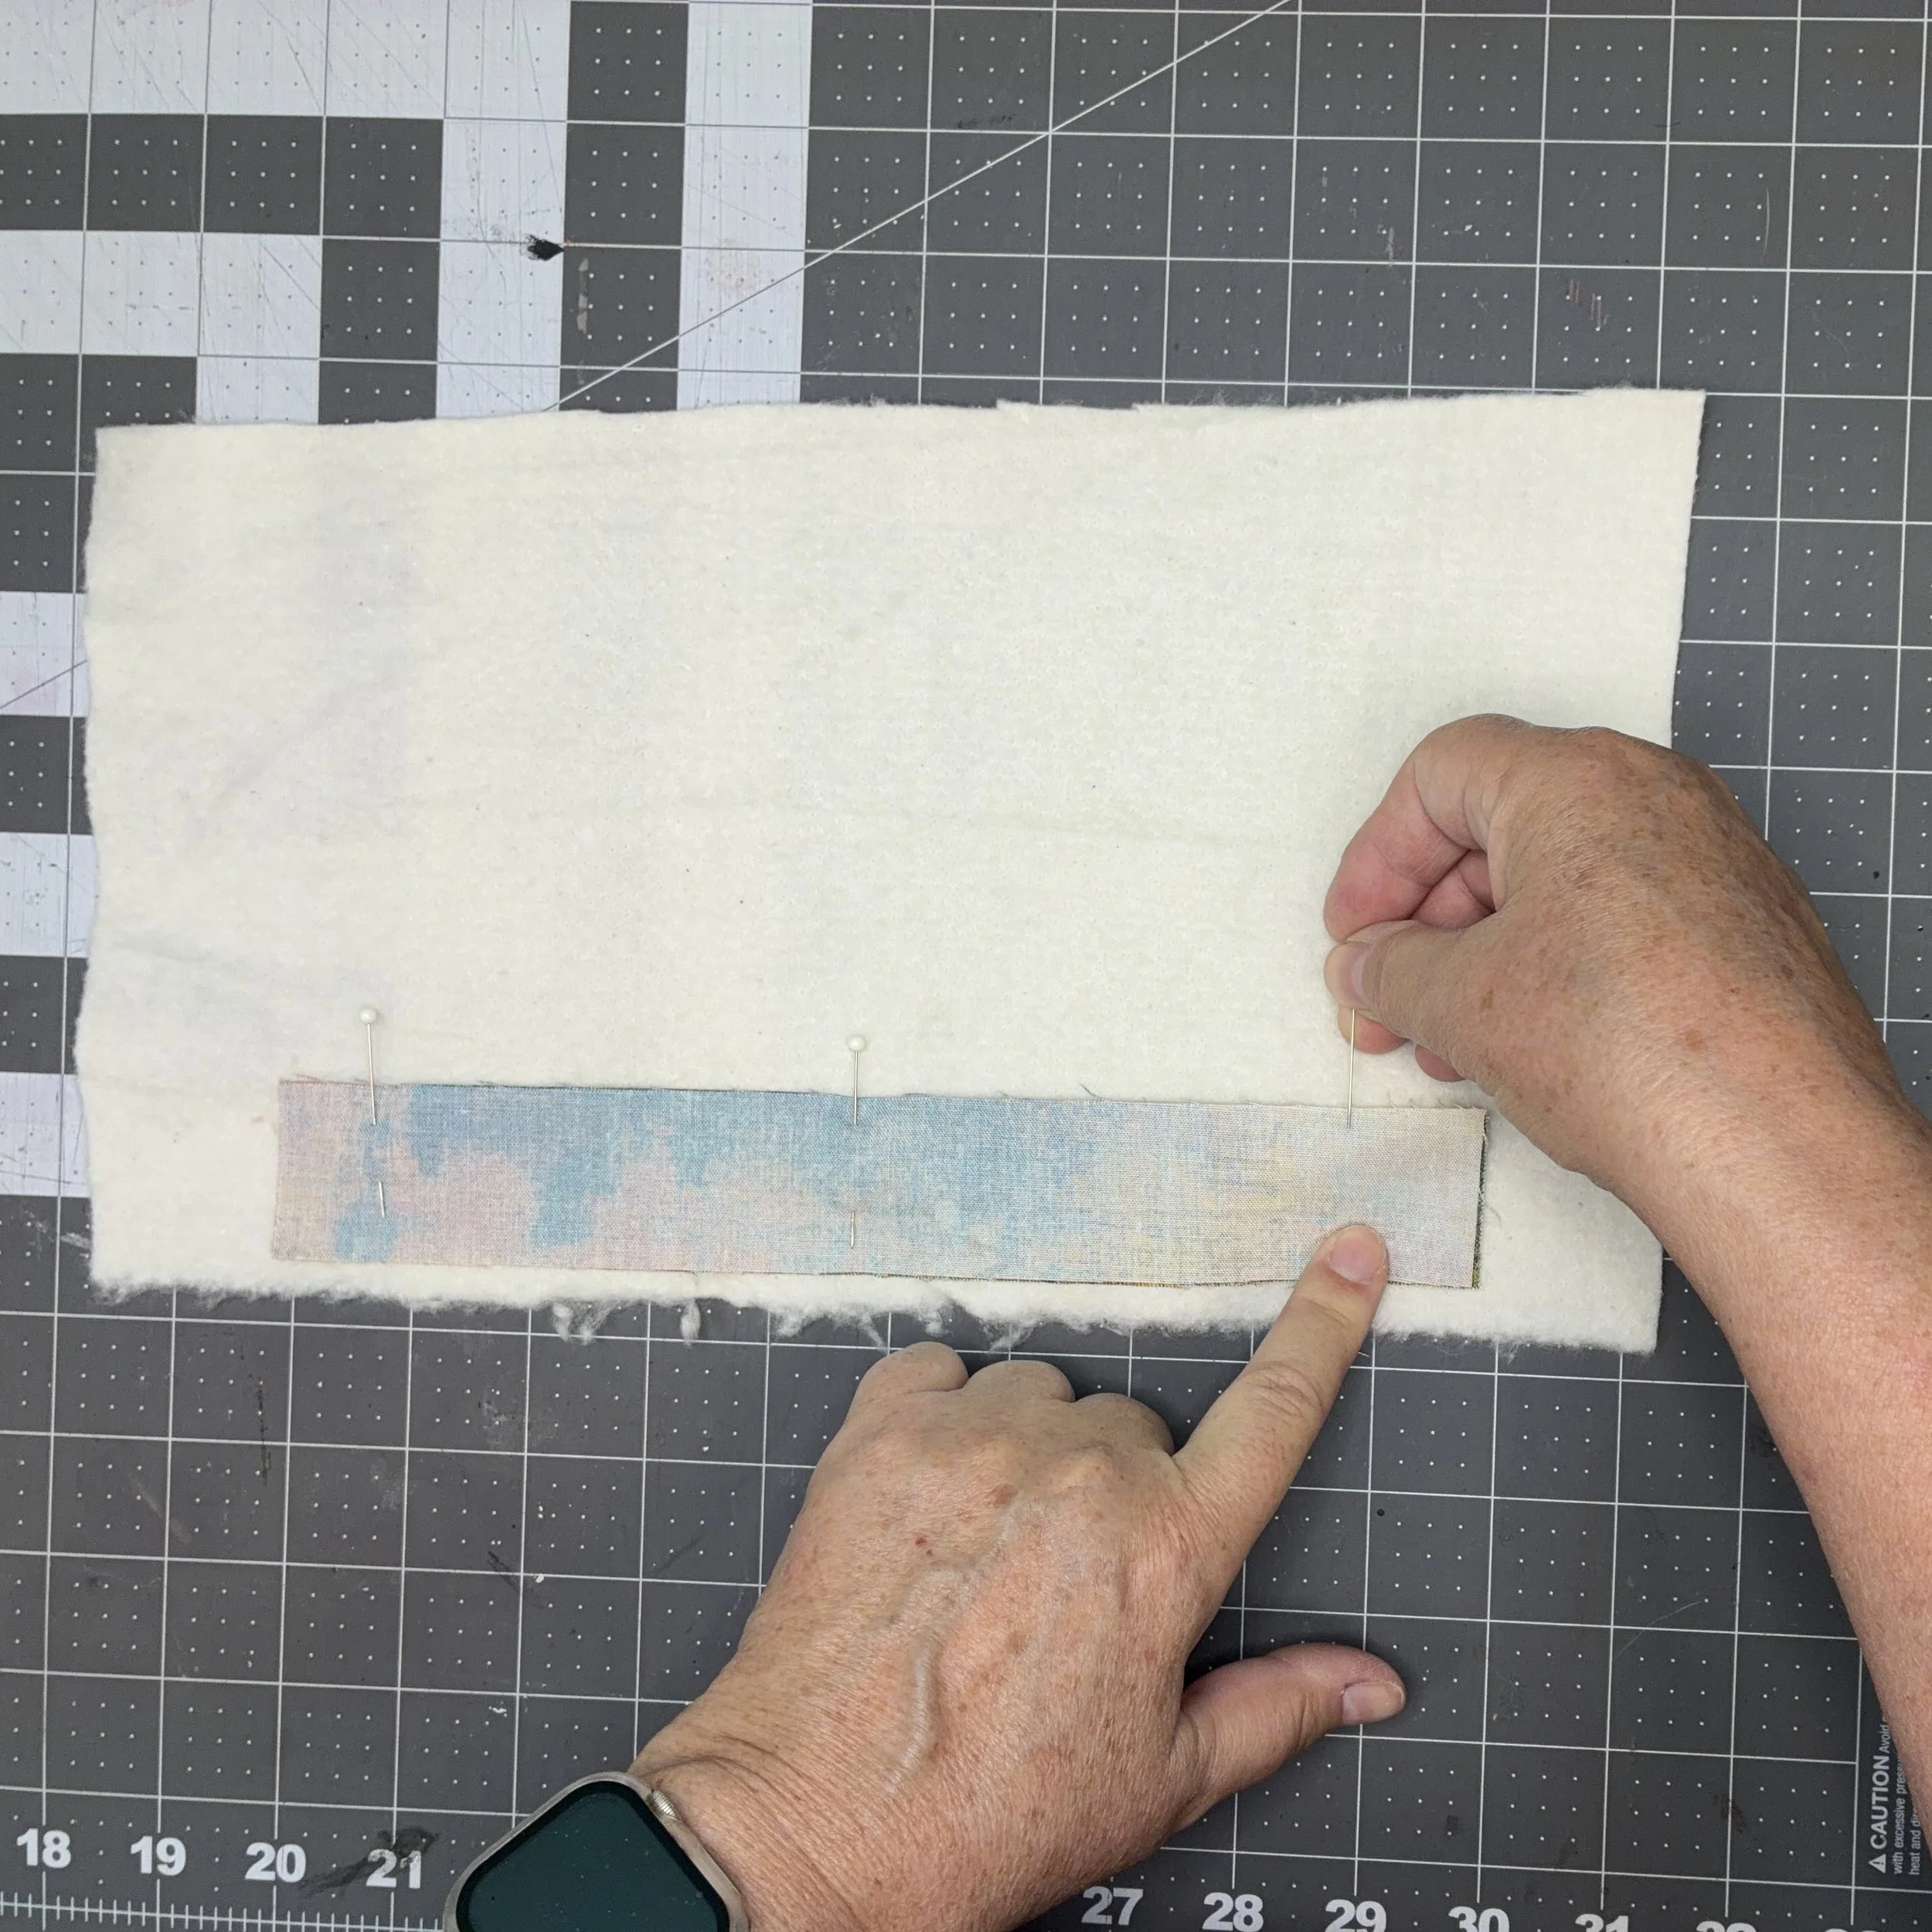
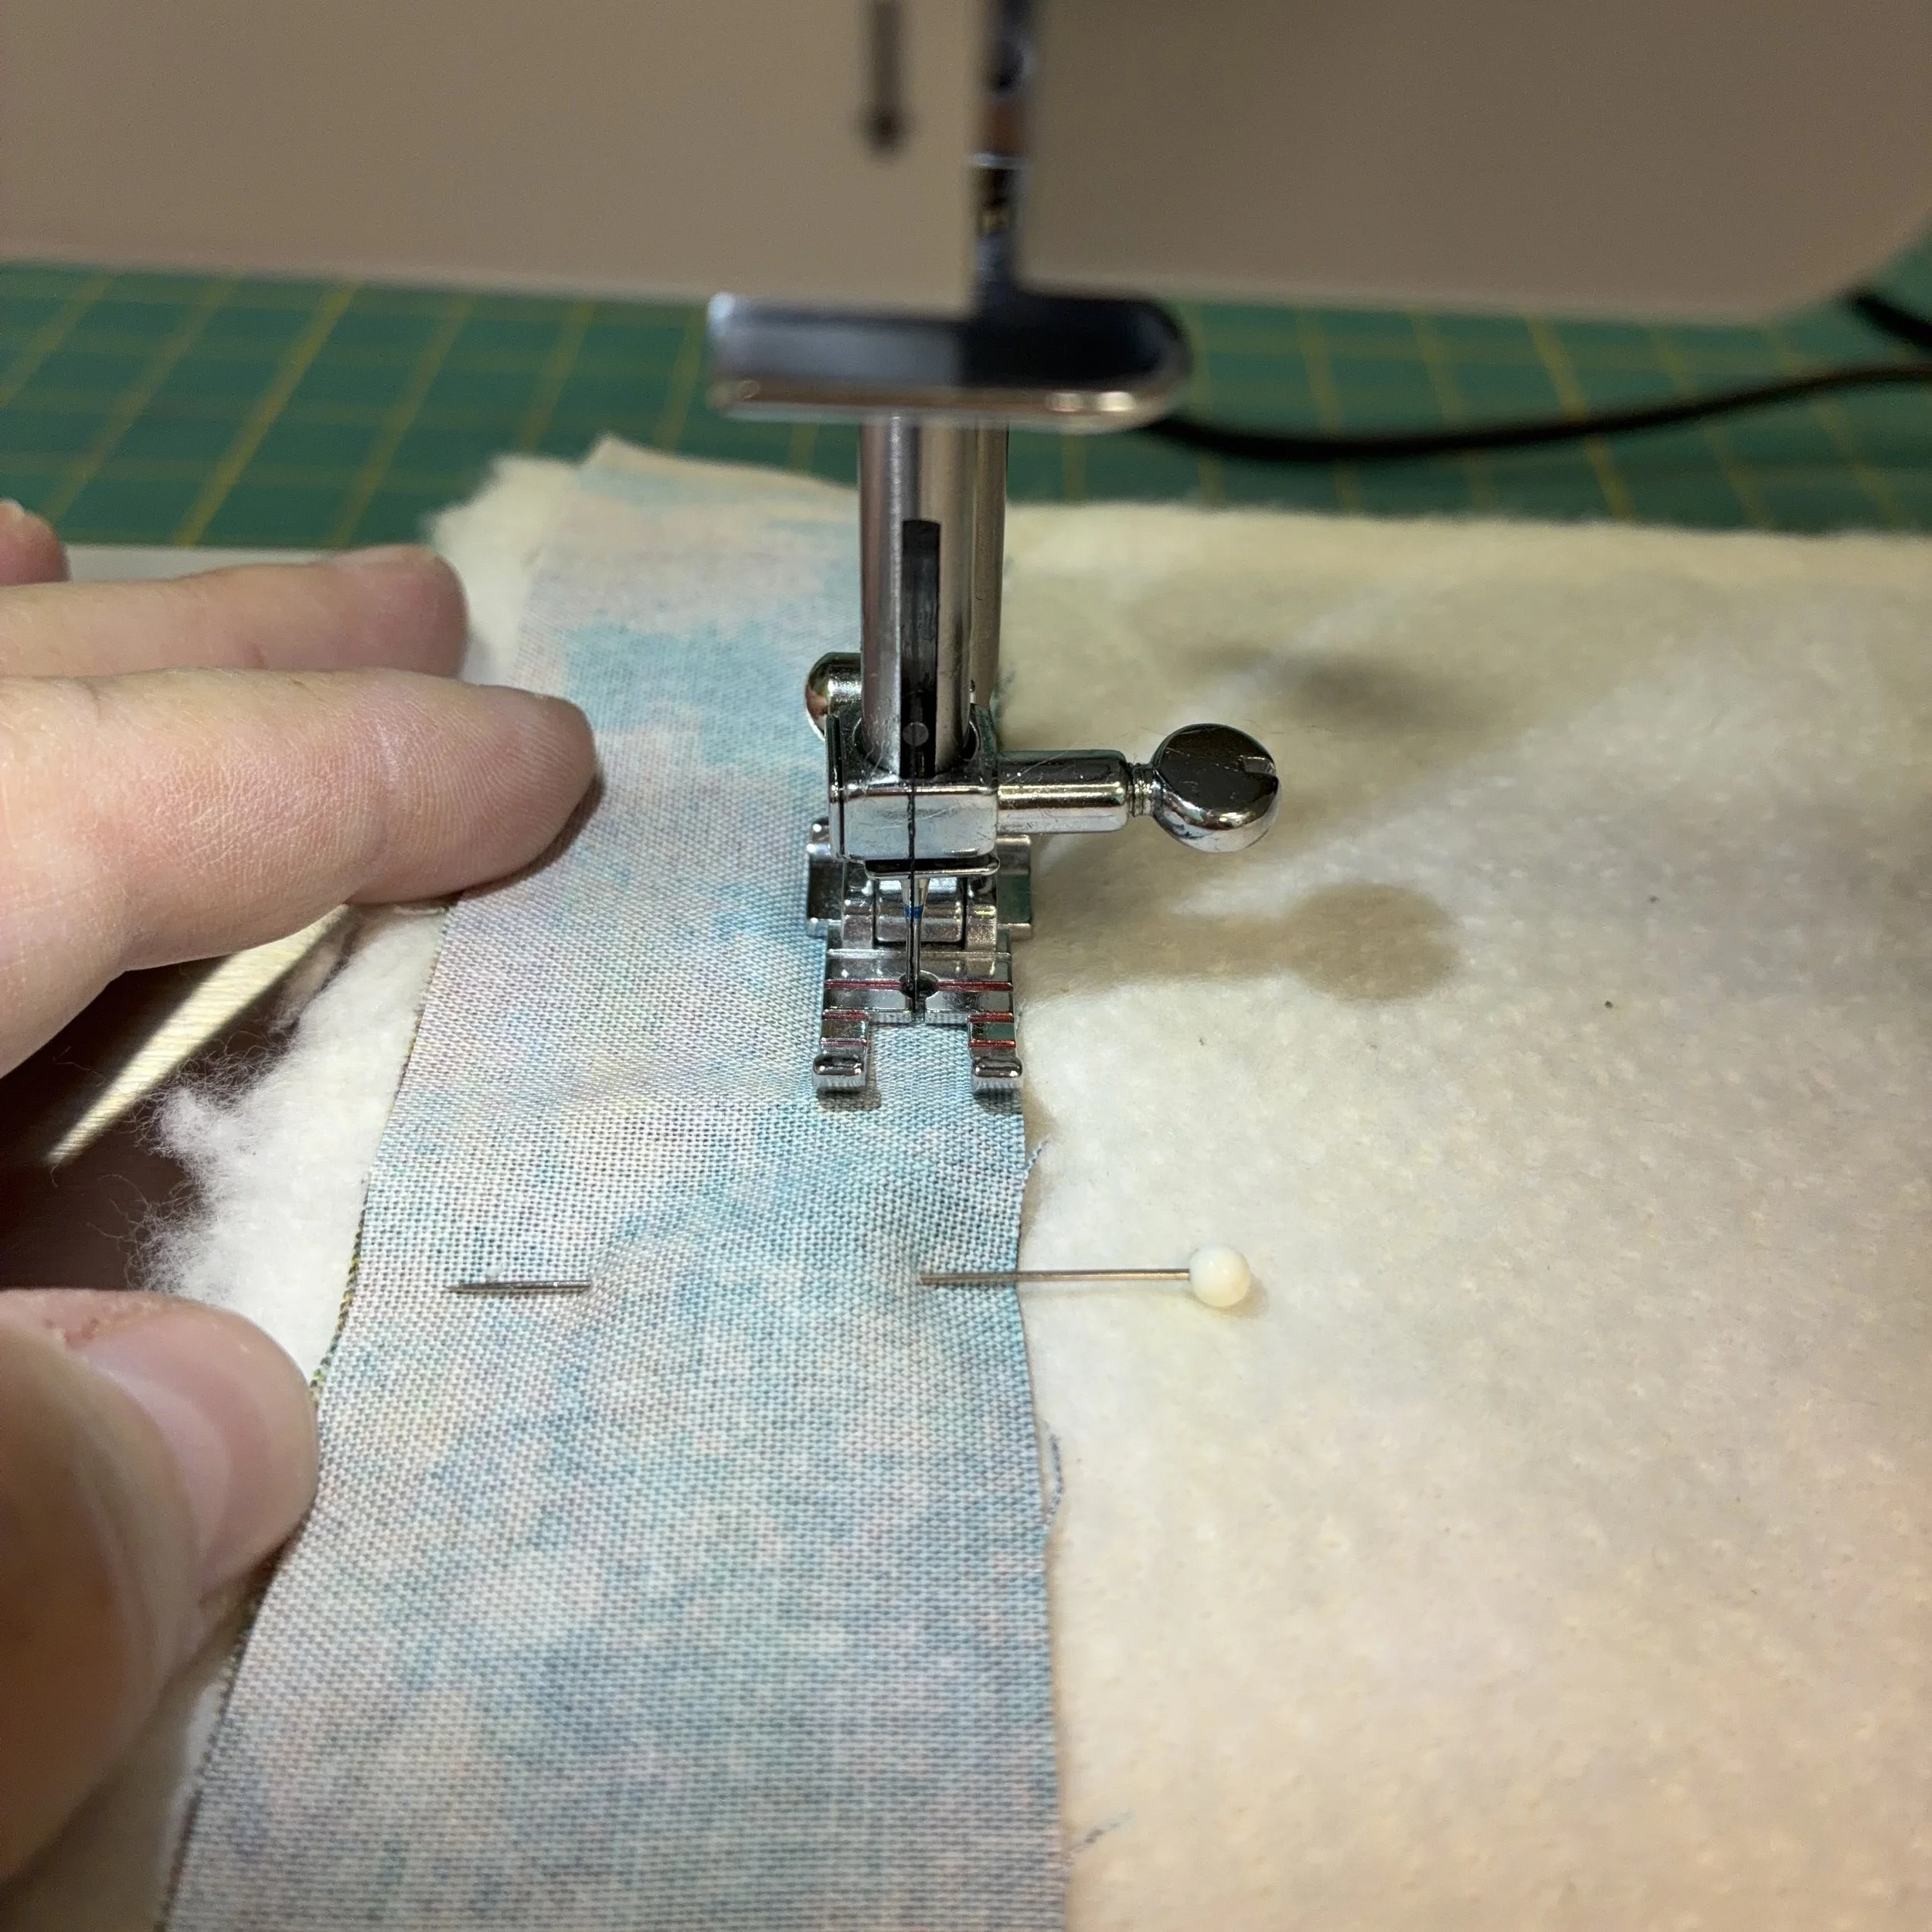
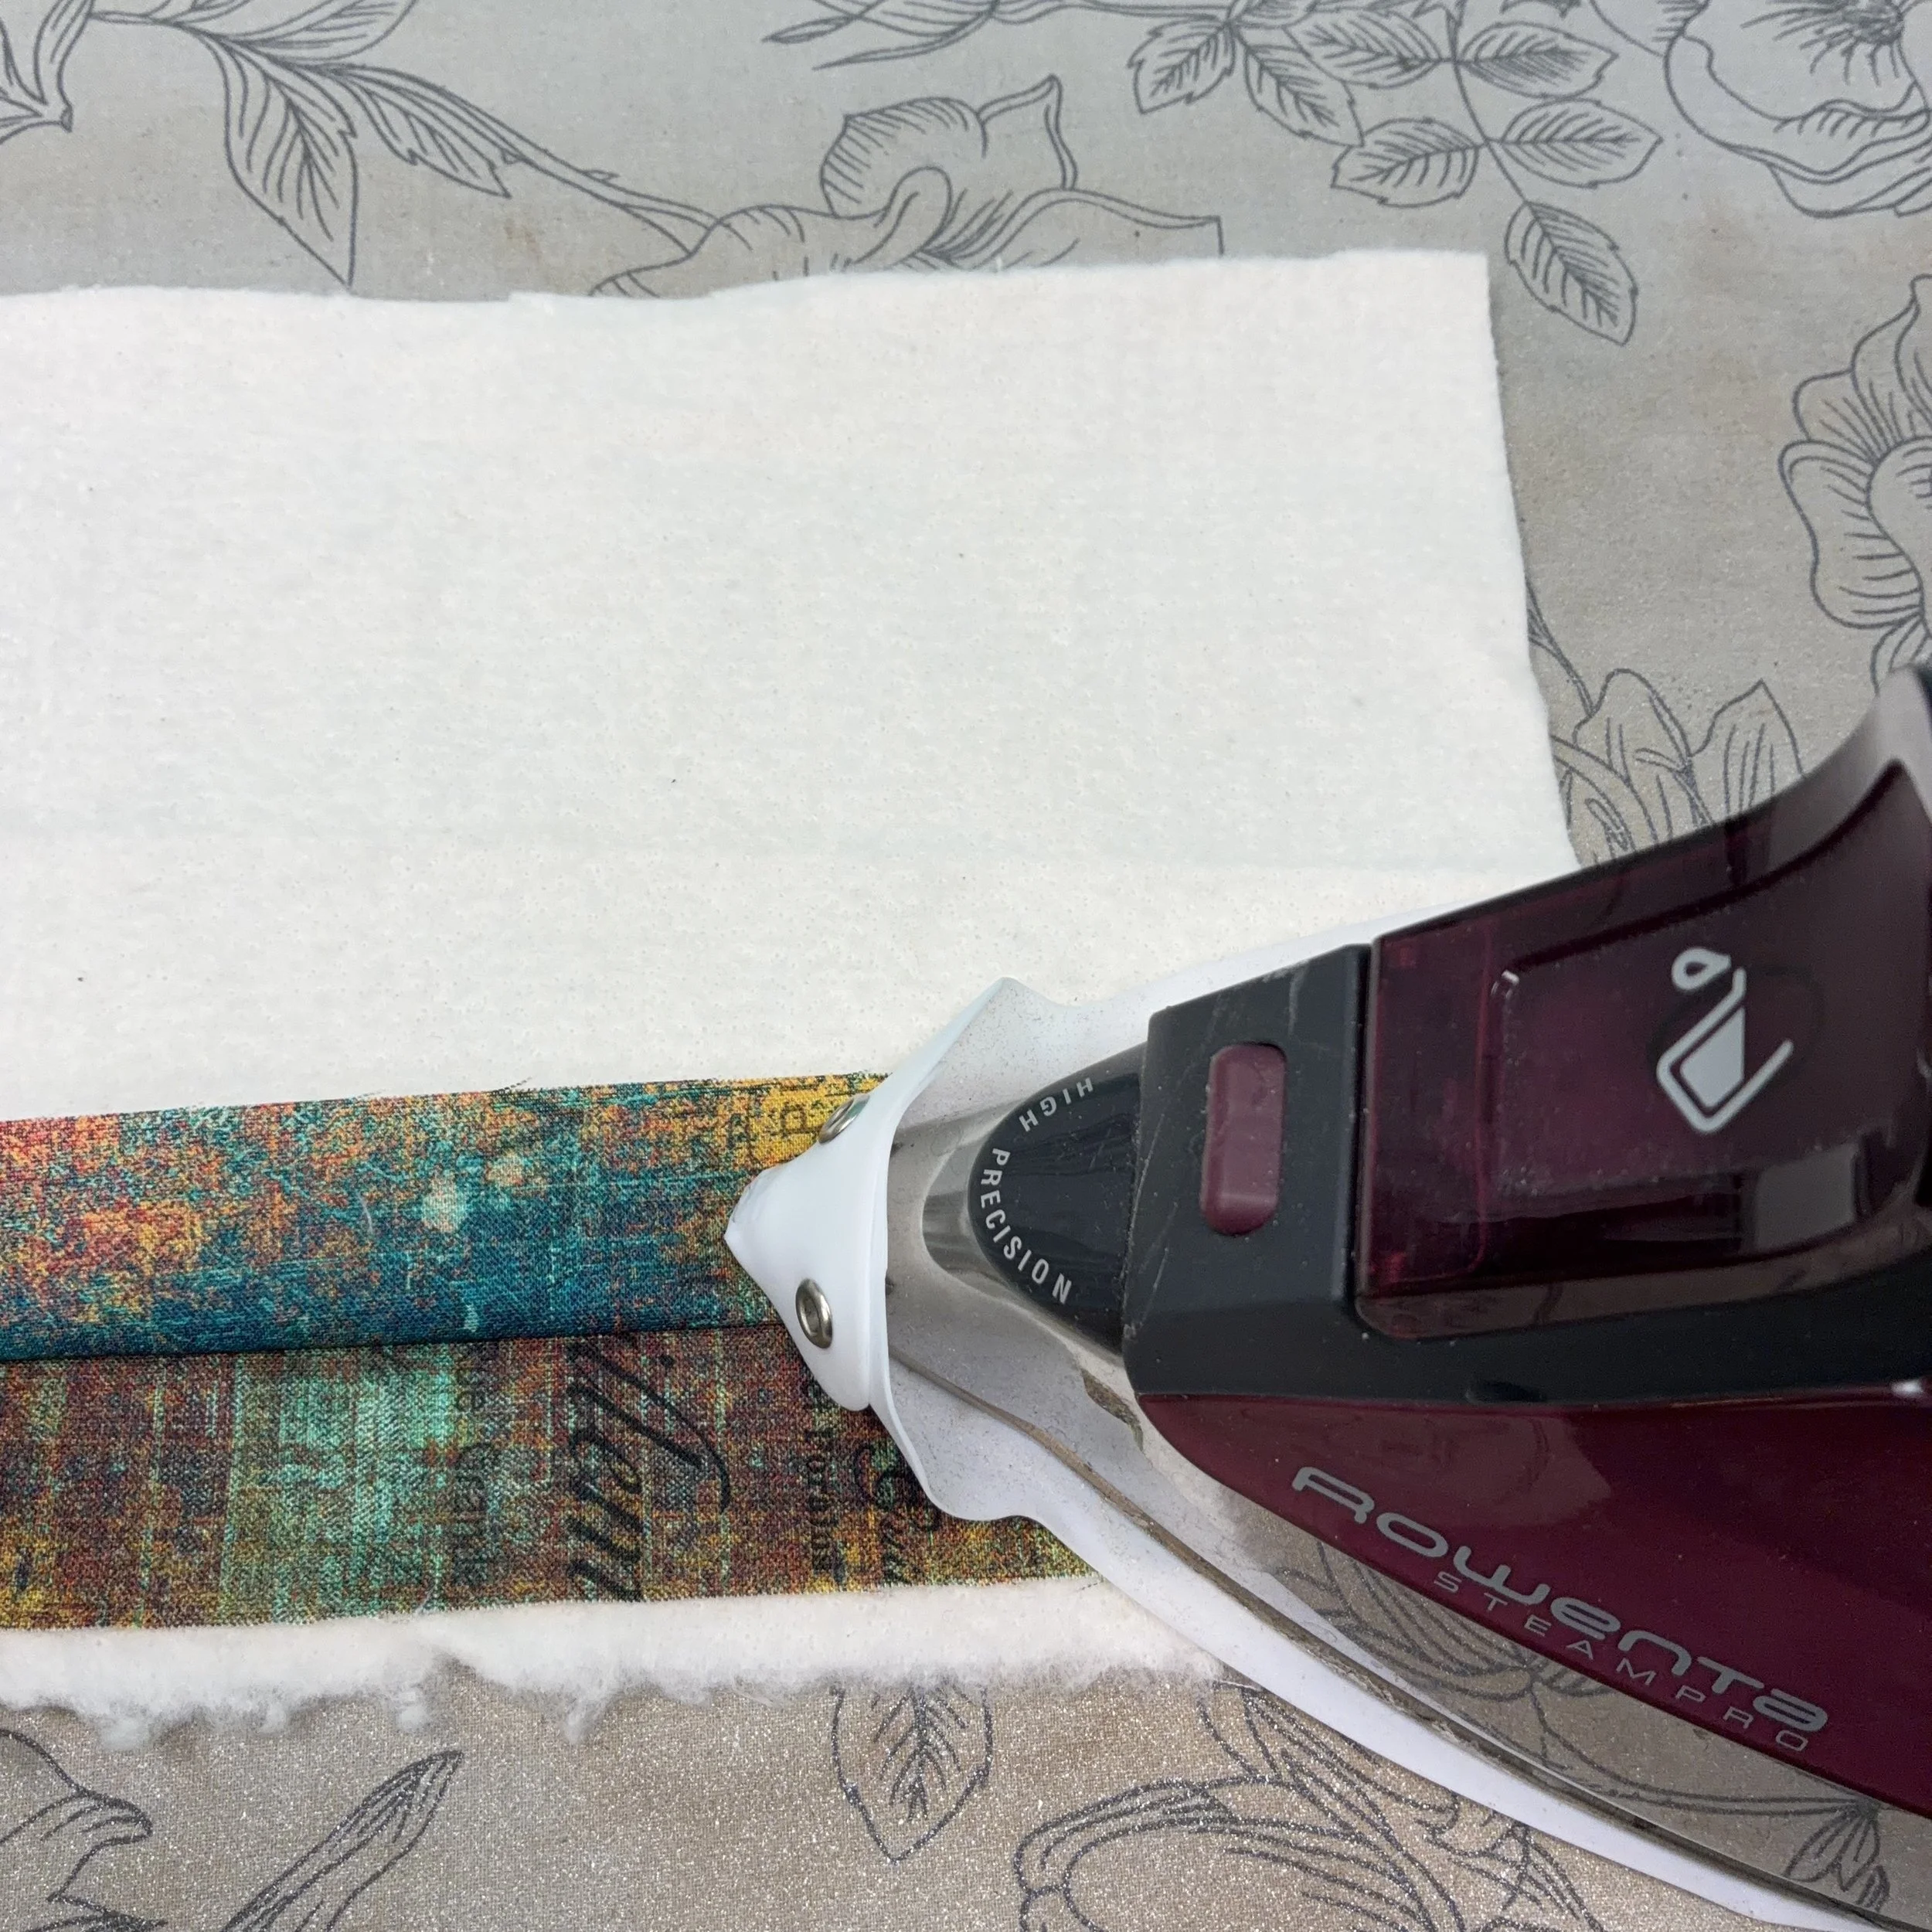
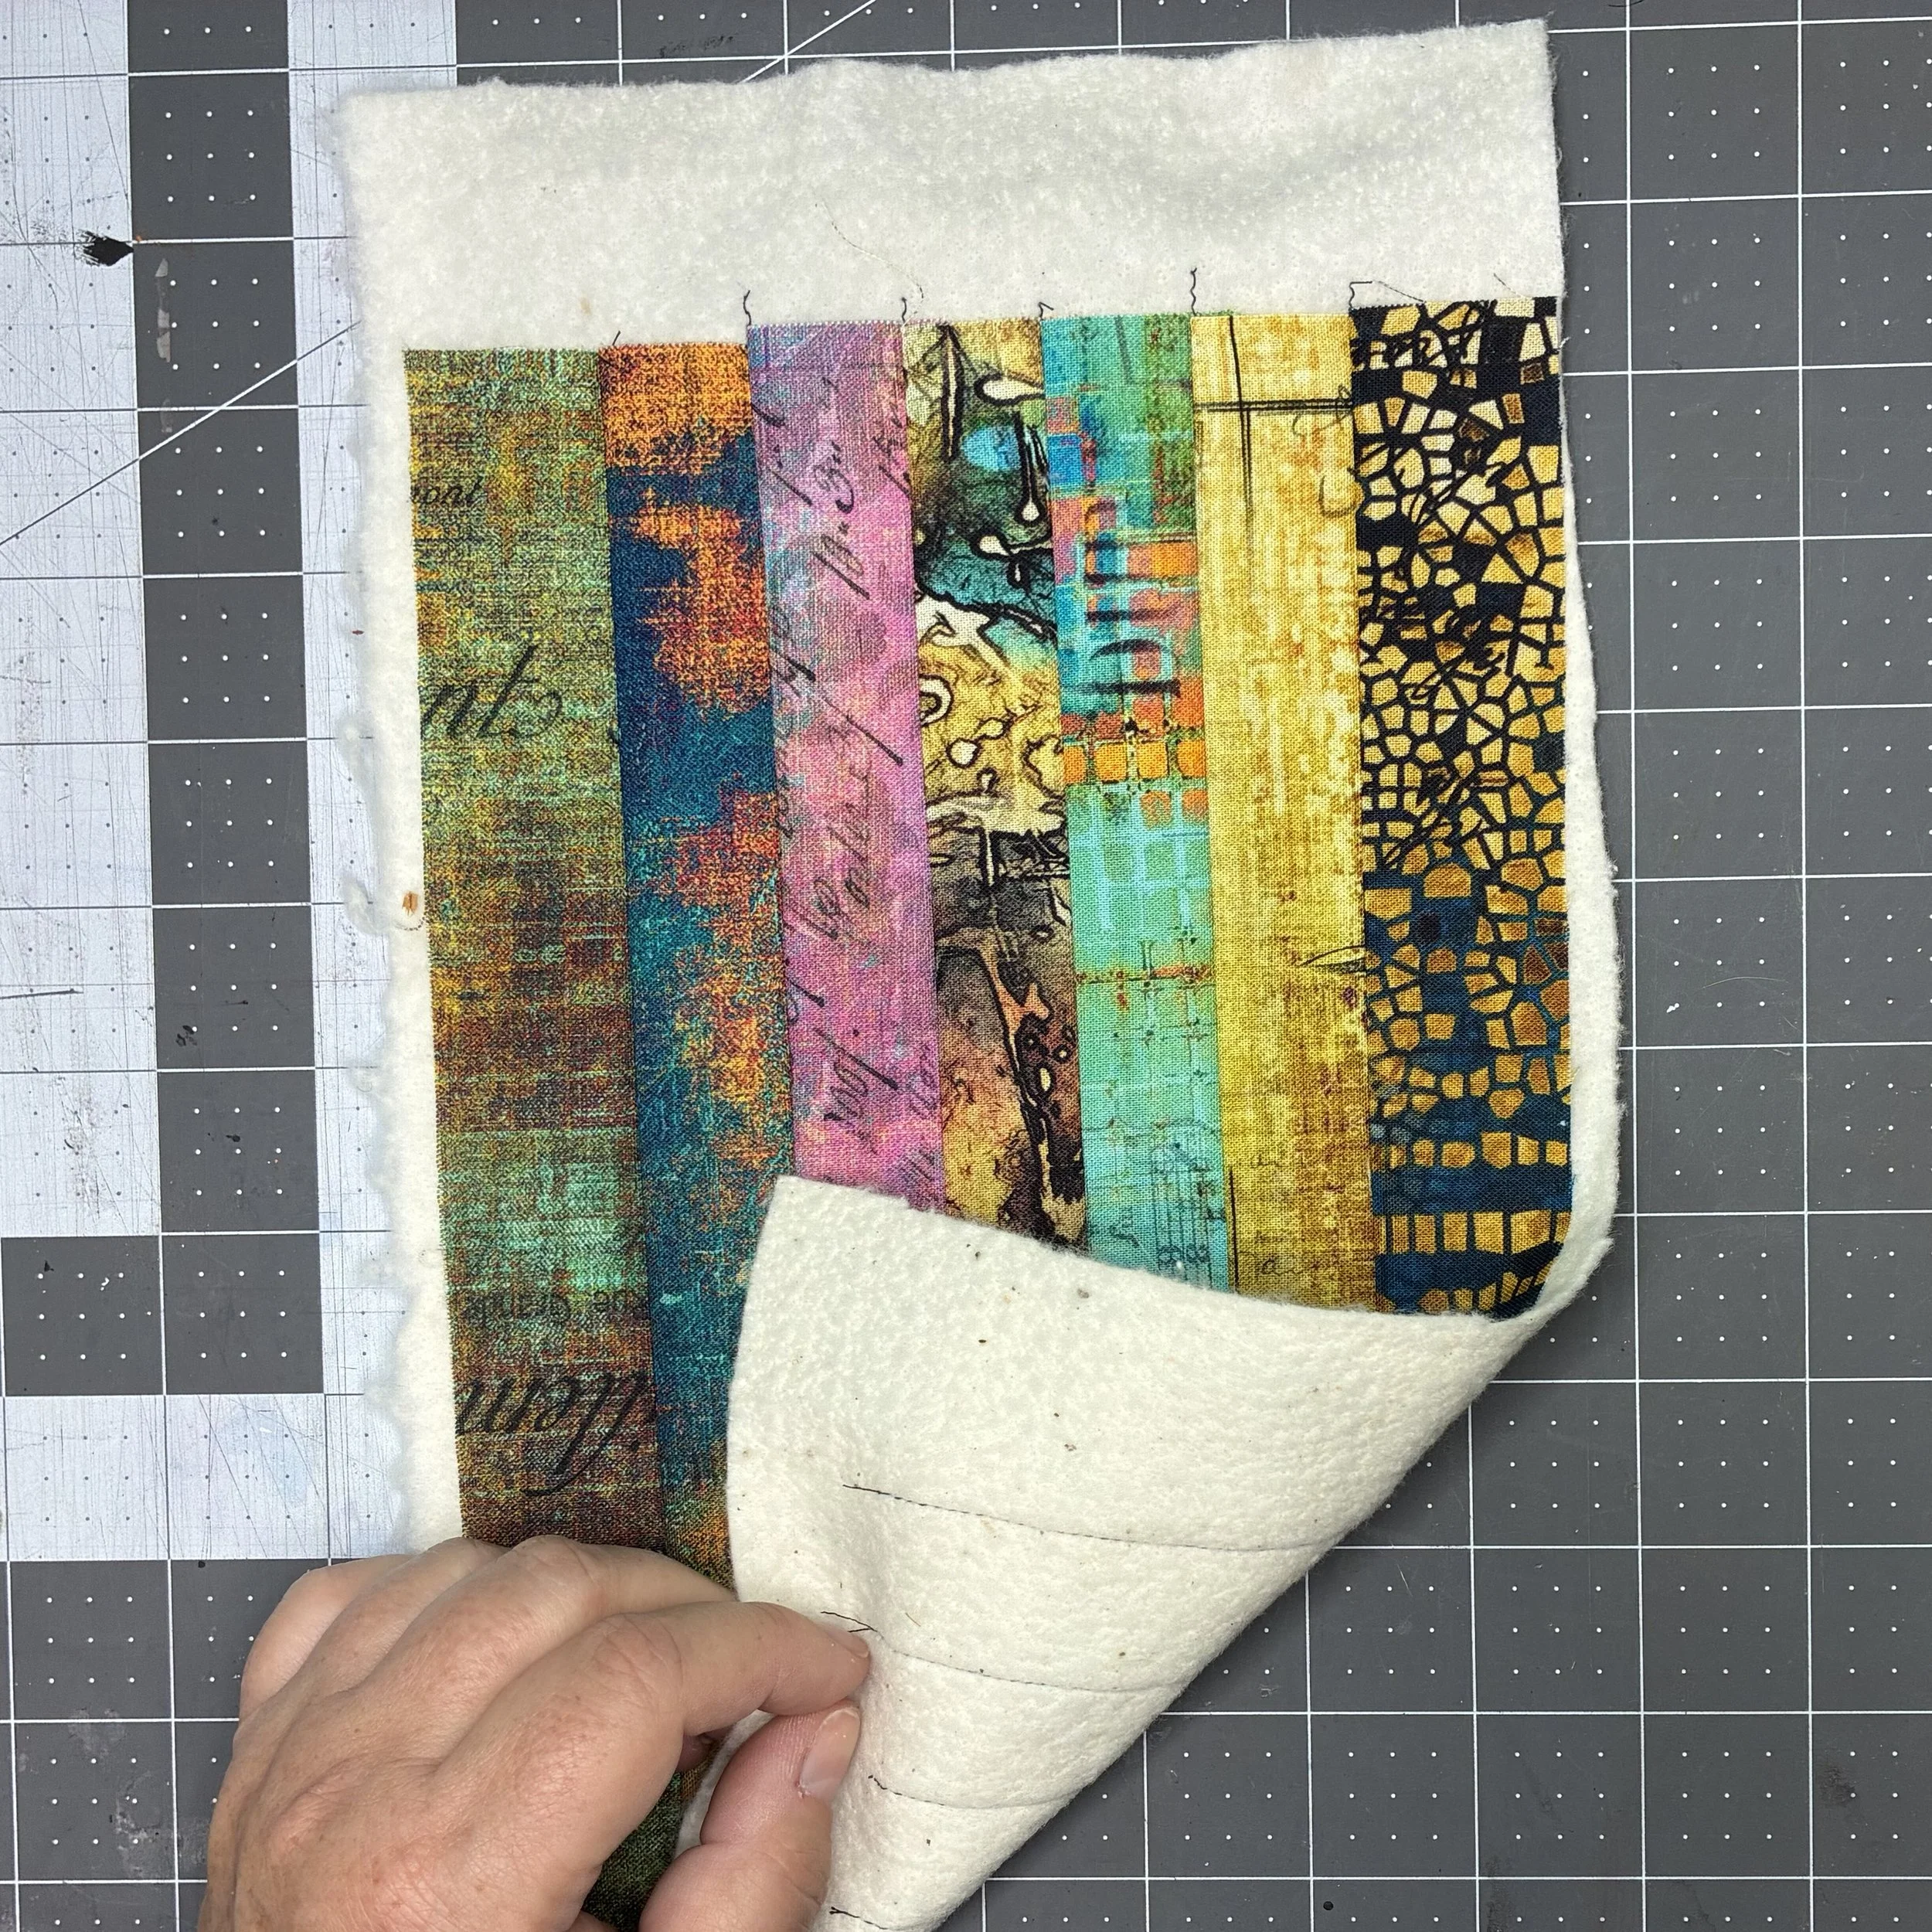
I started with two strips of fabric, set them right sides together, and laid them down on the batting. I sewed a quarter inch seam, joining the strips together and quilting them to the batting at the same time. Then I pressed open the seam, laid a new strip face down on the unsecured edge of one of my earlier strips, and sewed that one down. I continued this way until all seven strips had been quilted onto the batting and the whole thing pressed. Then I trimmed the quilted piece down to what seemed to me a good size.
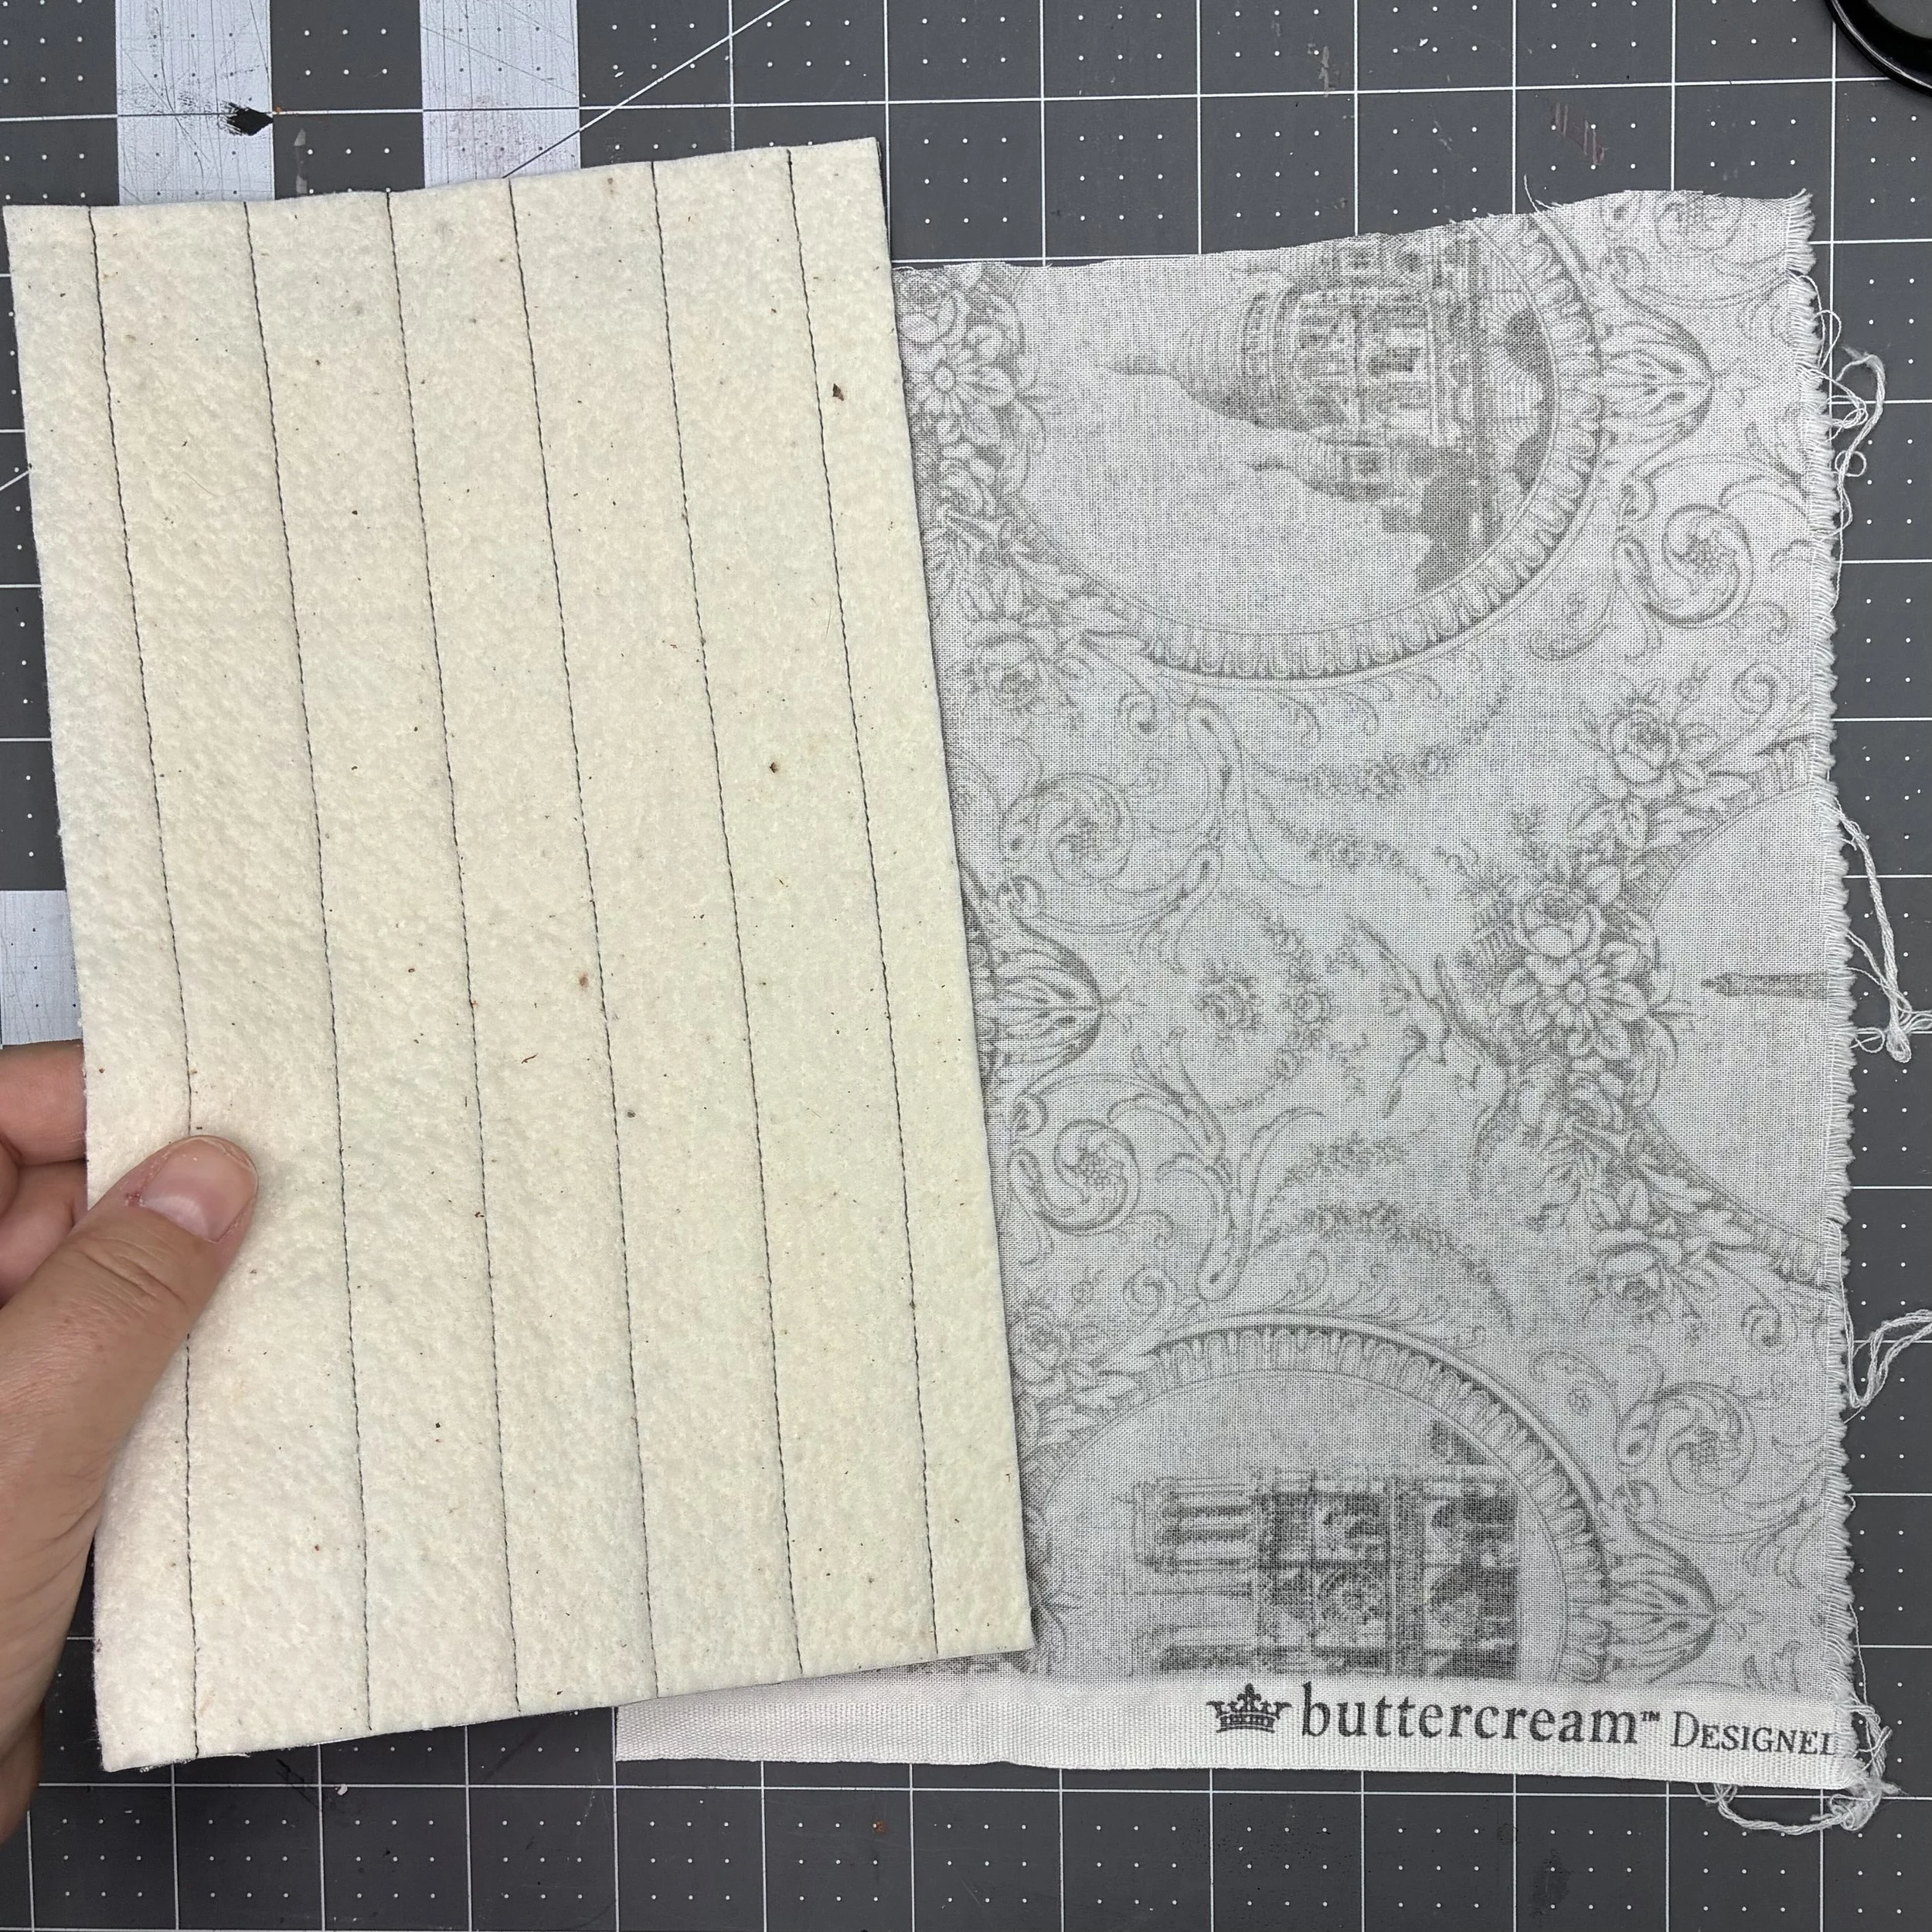
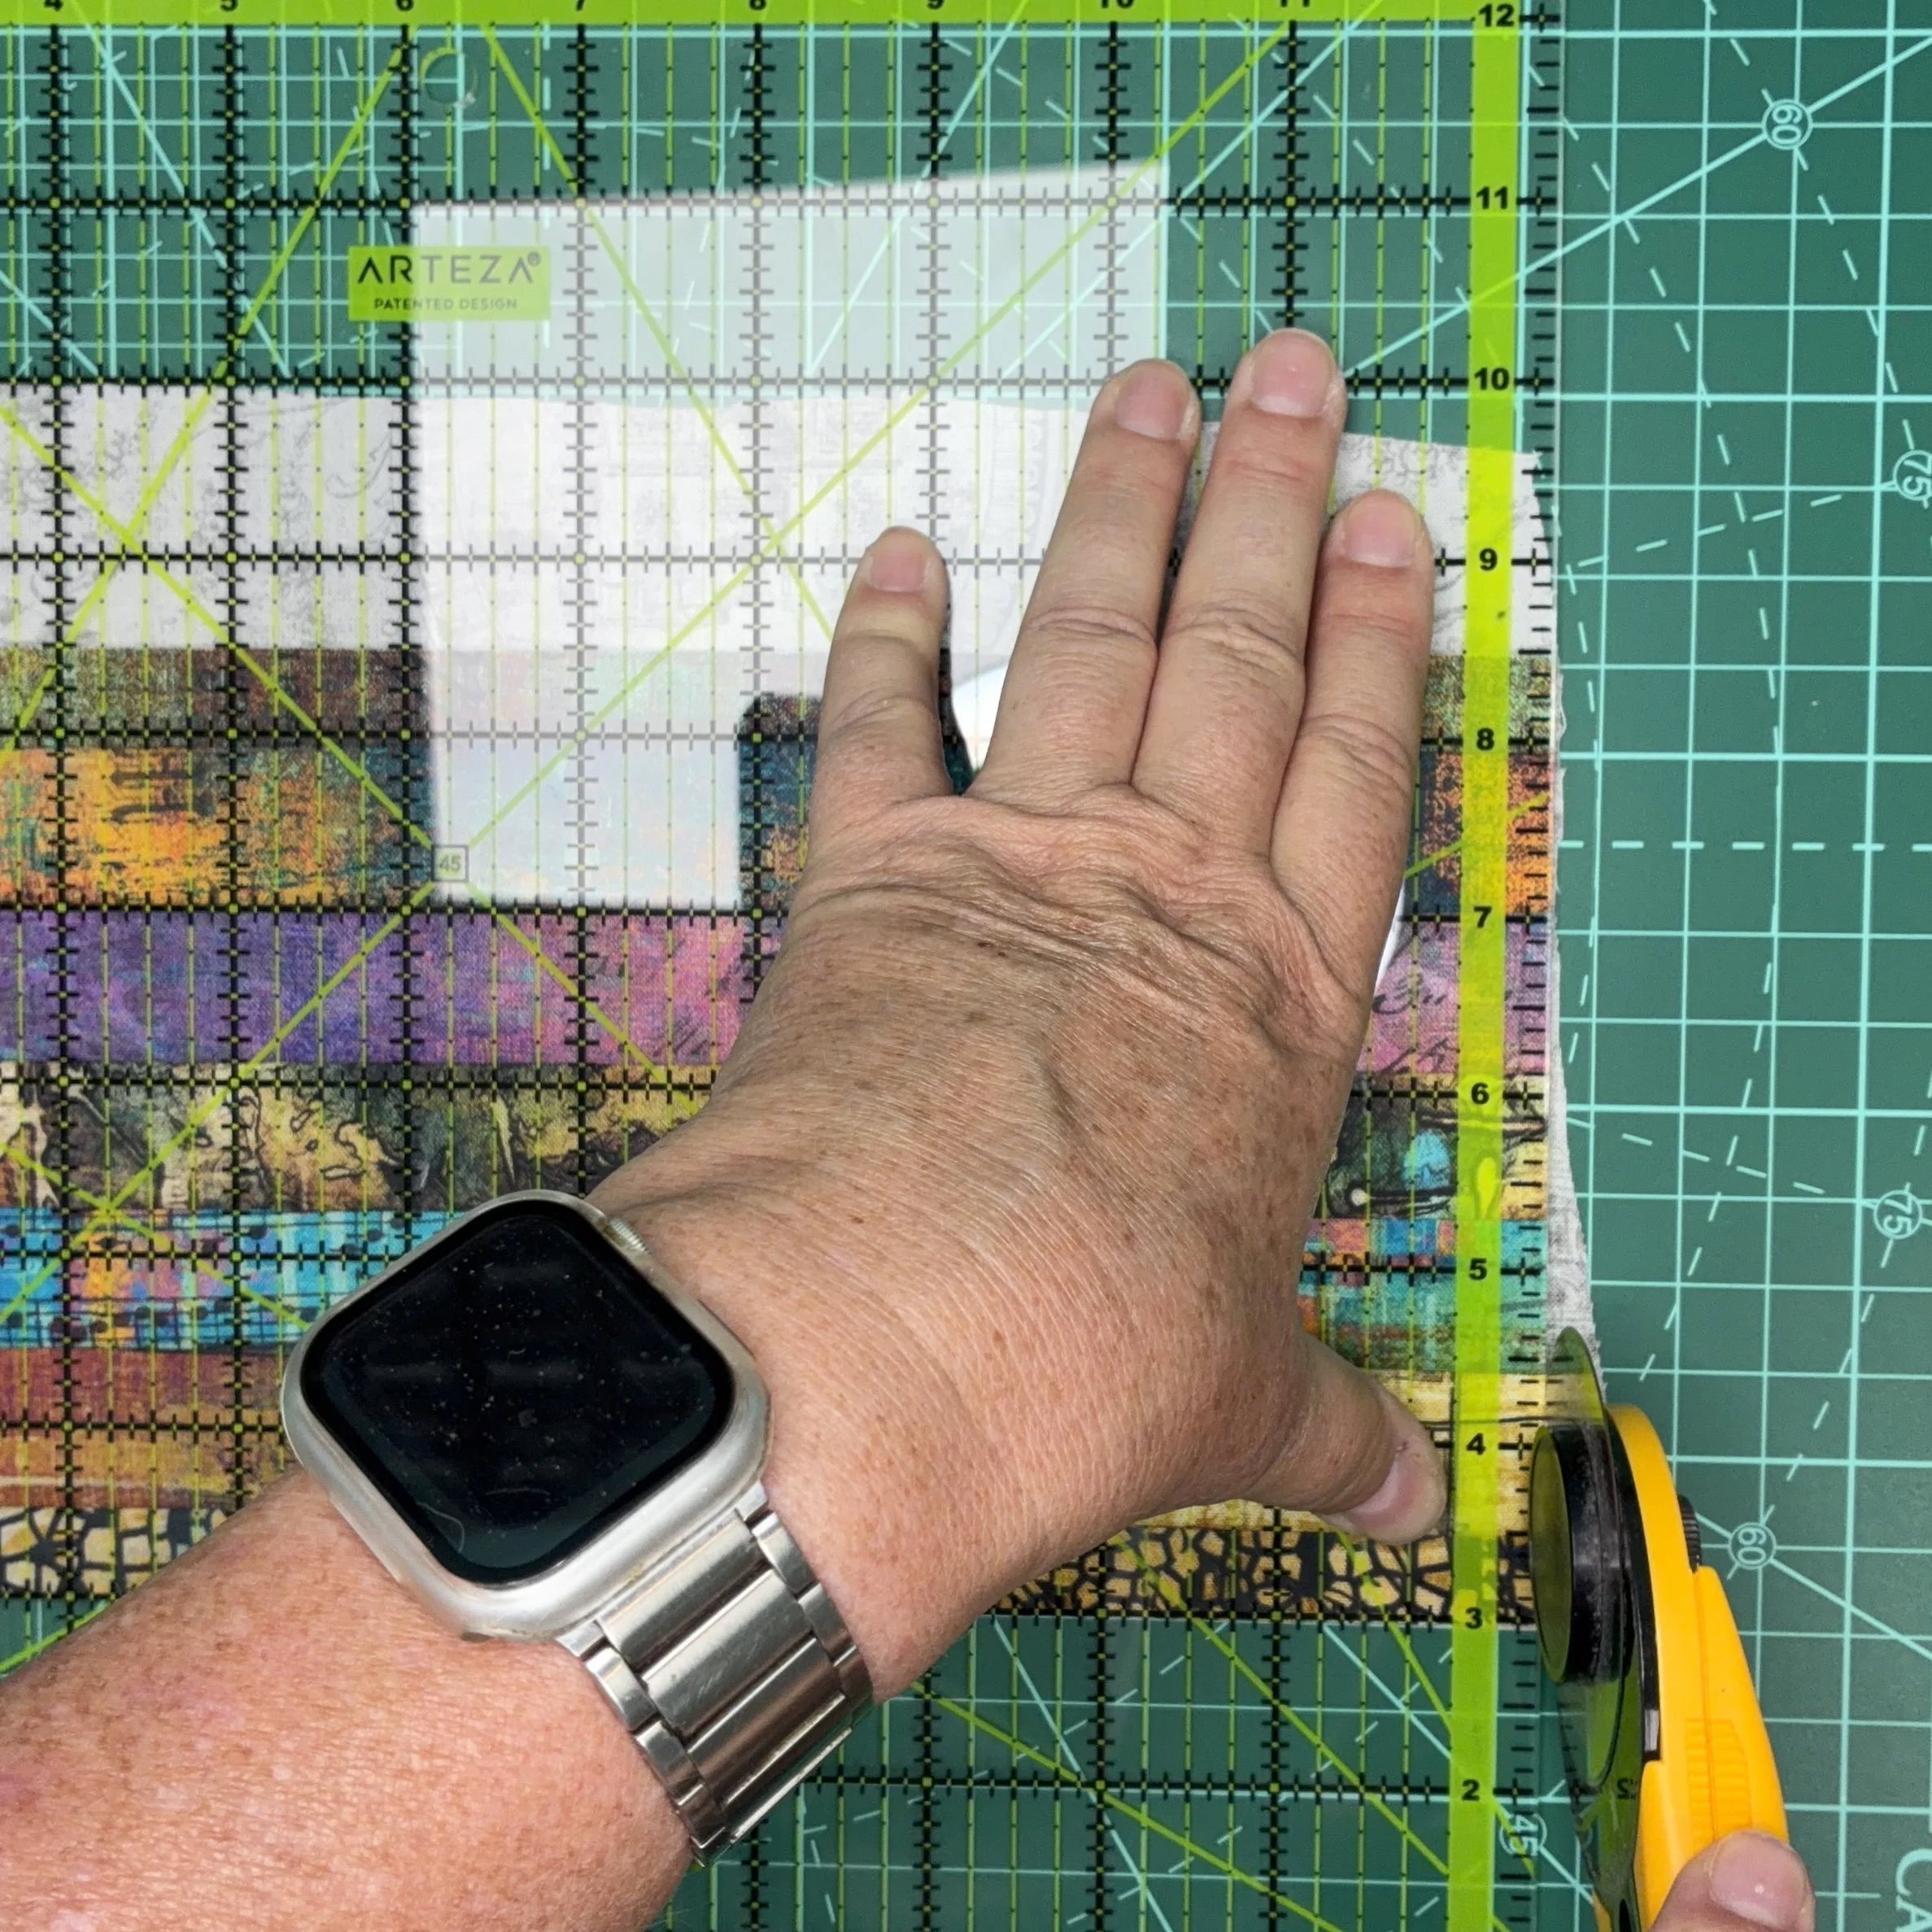
I then laid down a piece of my gray fabric for the lining, laid the batting piece on top to use as a template, and trimmed the gray fabric to the same size. Since I had to trim the gray fabric on all four sides, it made sense to use my rotating cutting board so I wouldn’t have to continually reposition both pieces of fabric to line up for each cut. I don’t use that cutting board very often, but when I do need it, it’s fabulous.
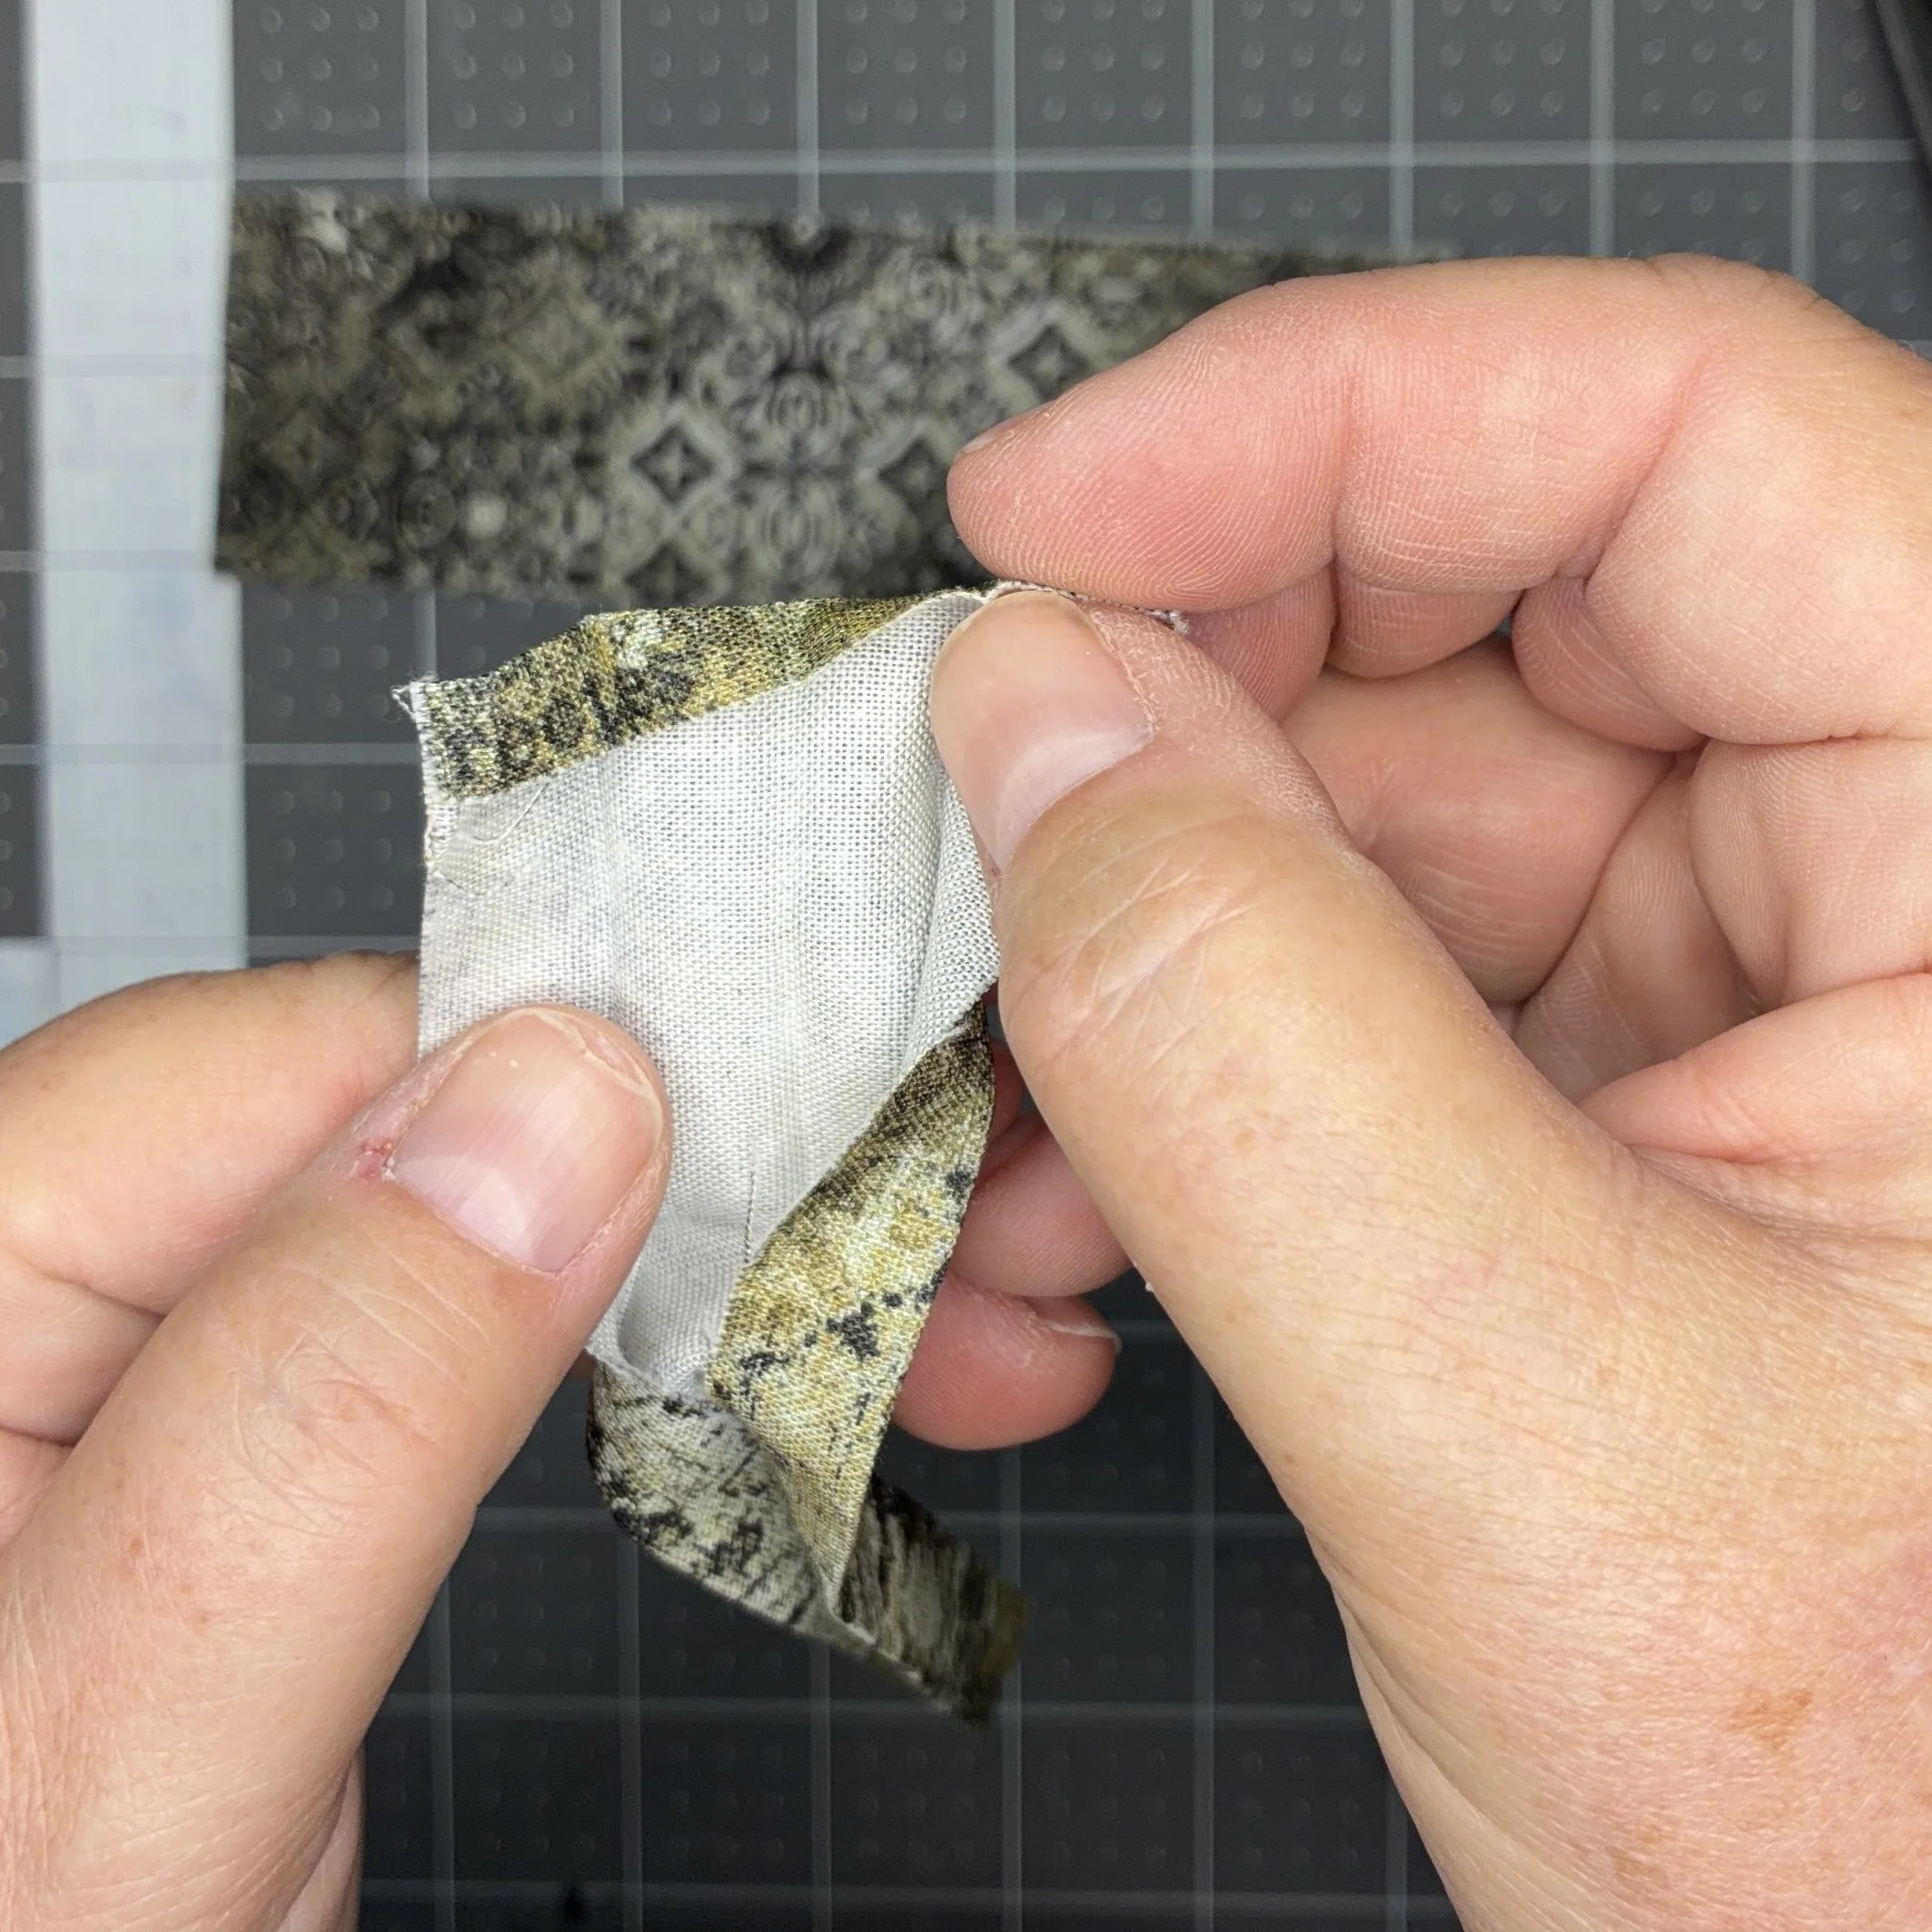
Once the body pieces of my little holster were cut, I needed to make the straps which would secure it in place. To that end, I grabbed two more strips of my scrap fabric, trimmed them down to about 2” wide by 7” long, pressed over a 1/4” on one of the short ends, and then pressed the length like double-fold bias tape. Then I used my fabulous stitch-in-the-ditch presser foot with the needle set just to the left of center to stitch a perfectly straight seam very close to the edges all the way around. Well, most of the way around…I didn’t bother with the raw end, as that would be enclosed in a seam.
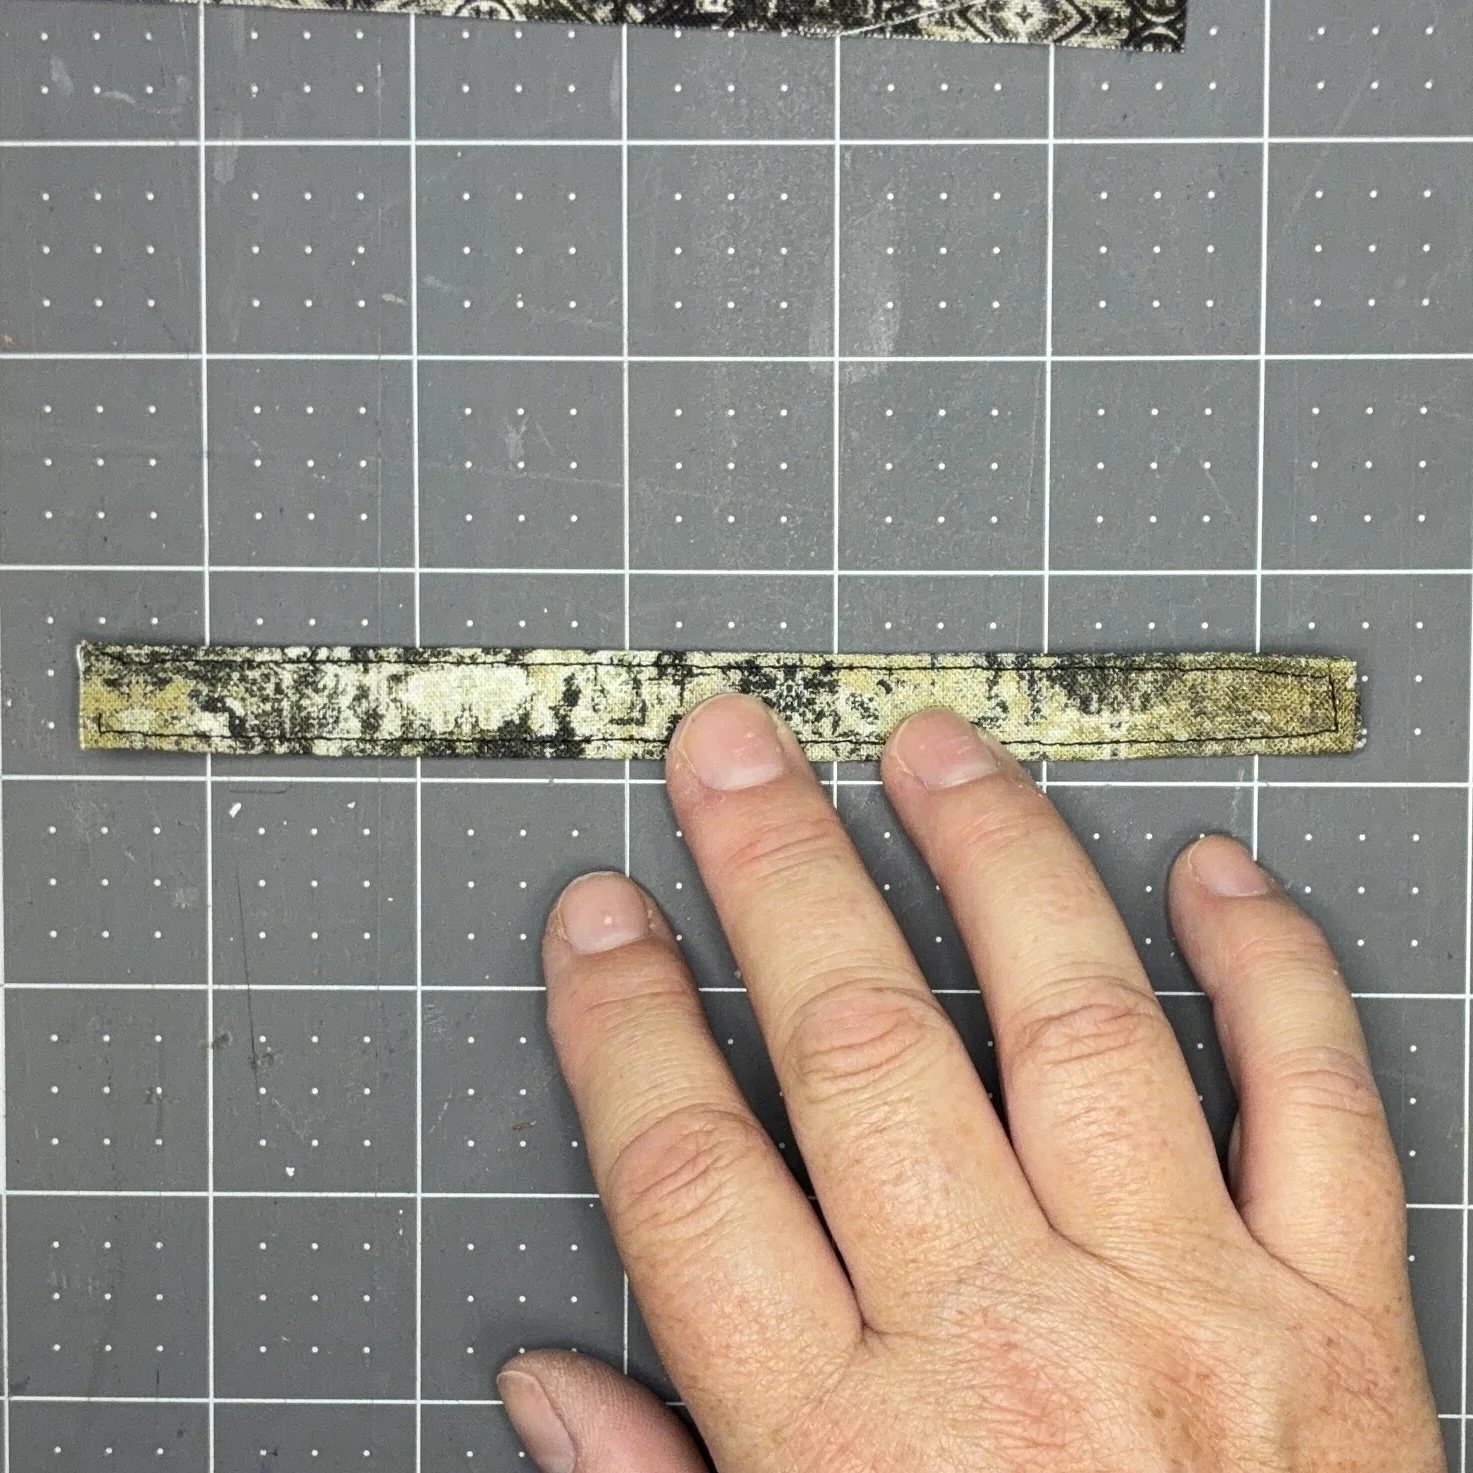
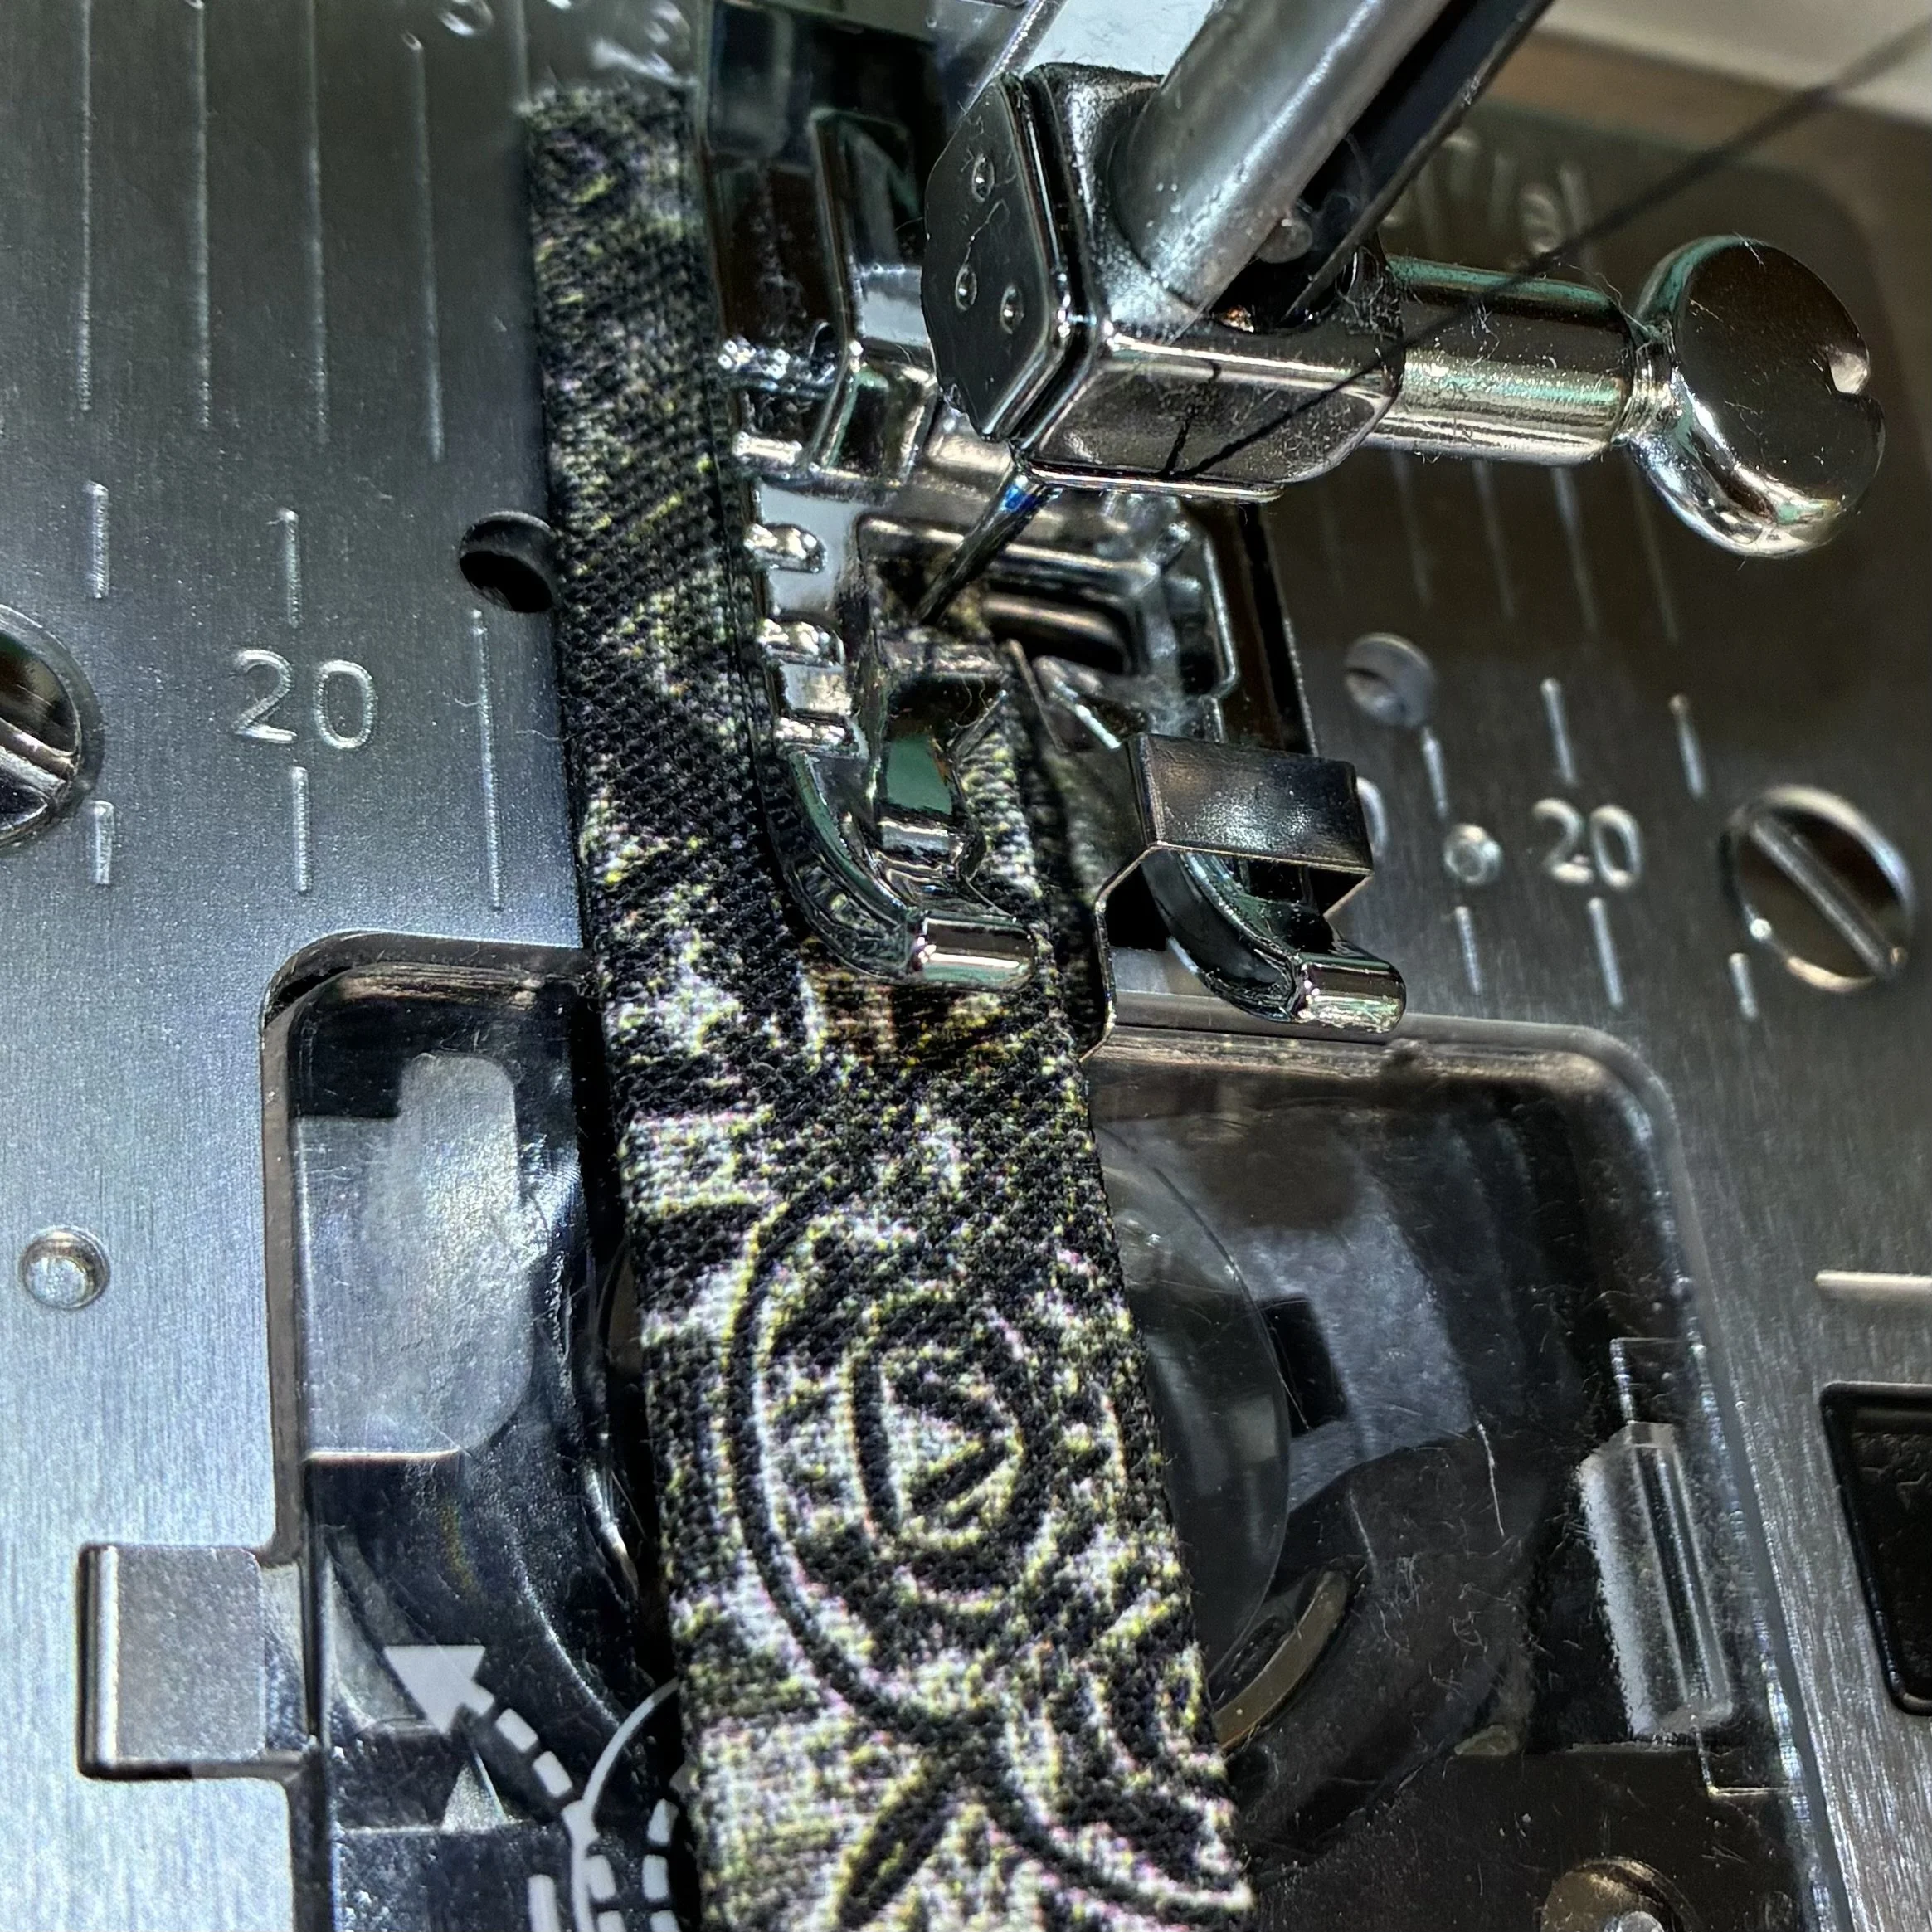
I was going to attach velcro to these straps but decided not to do it until the pouch was finished. My reasoning here was that velcro would make the straps stiffer and bulkier, and since I was going to have to work on the pouch with the straps on the inside, it would be easier if I waited to the end to attach the velcro. I don’t think I was wrong about that, but attaching the velcro after I’d already stitched around the edge produced a visible second seam on the straps that looked a little odd. But I get ahead of myself…
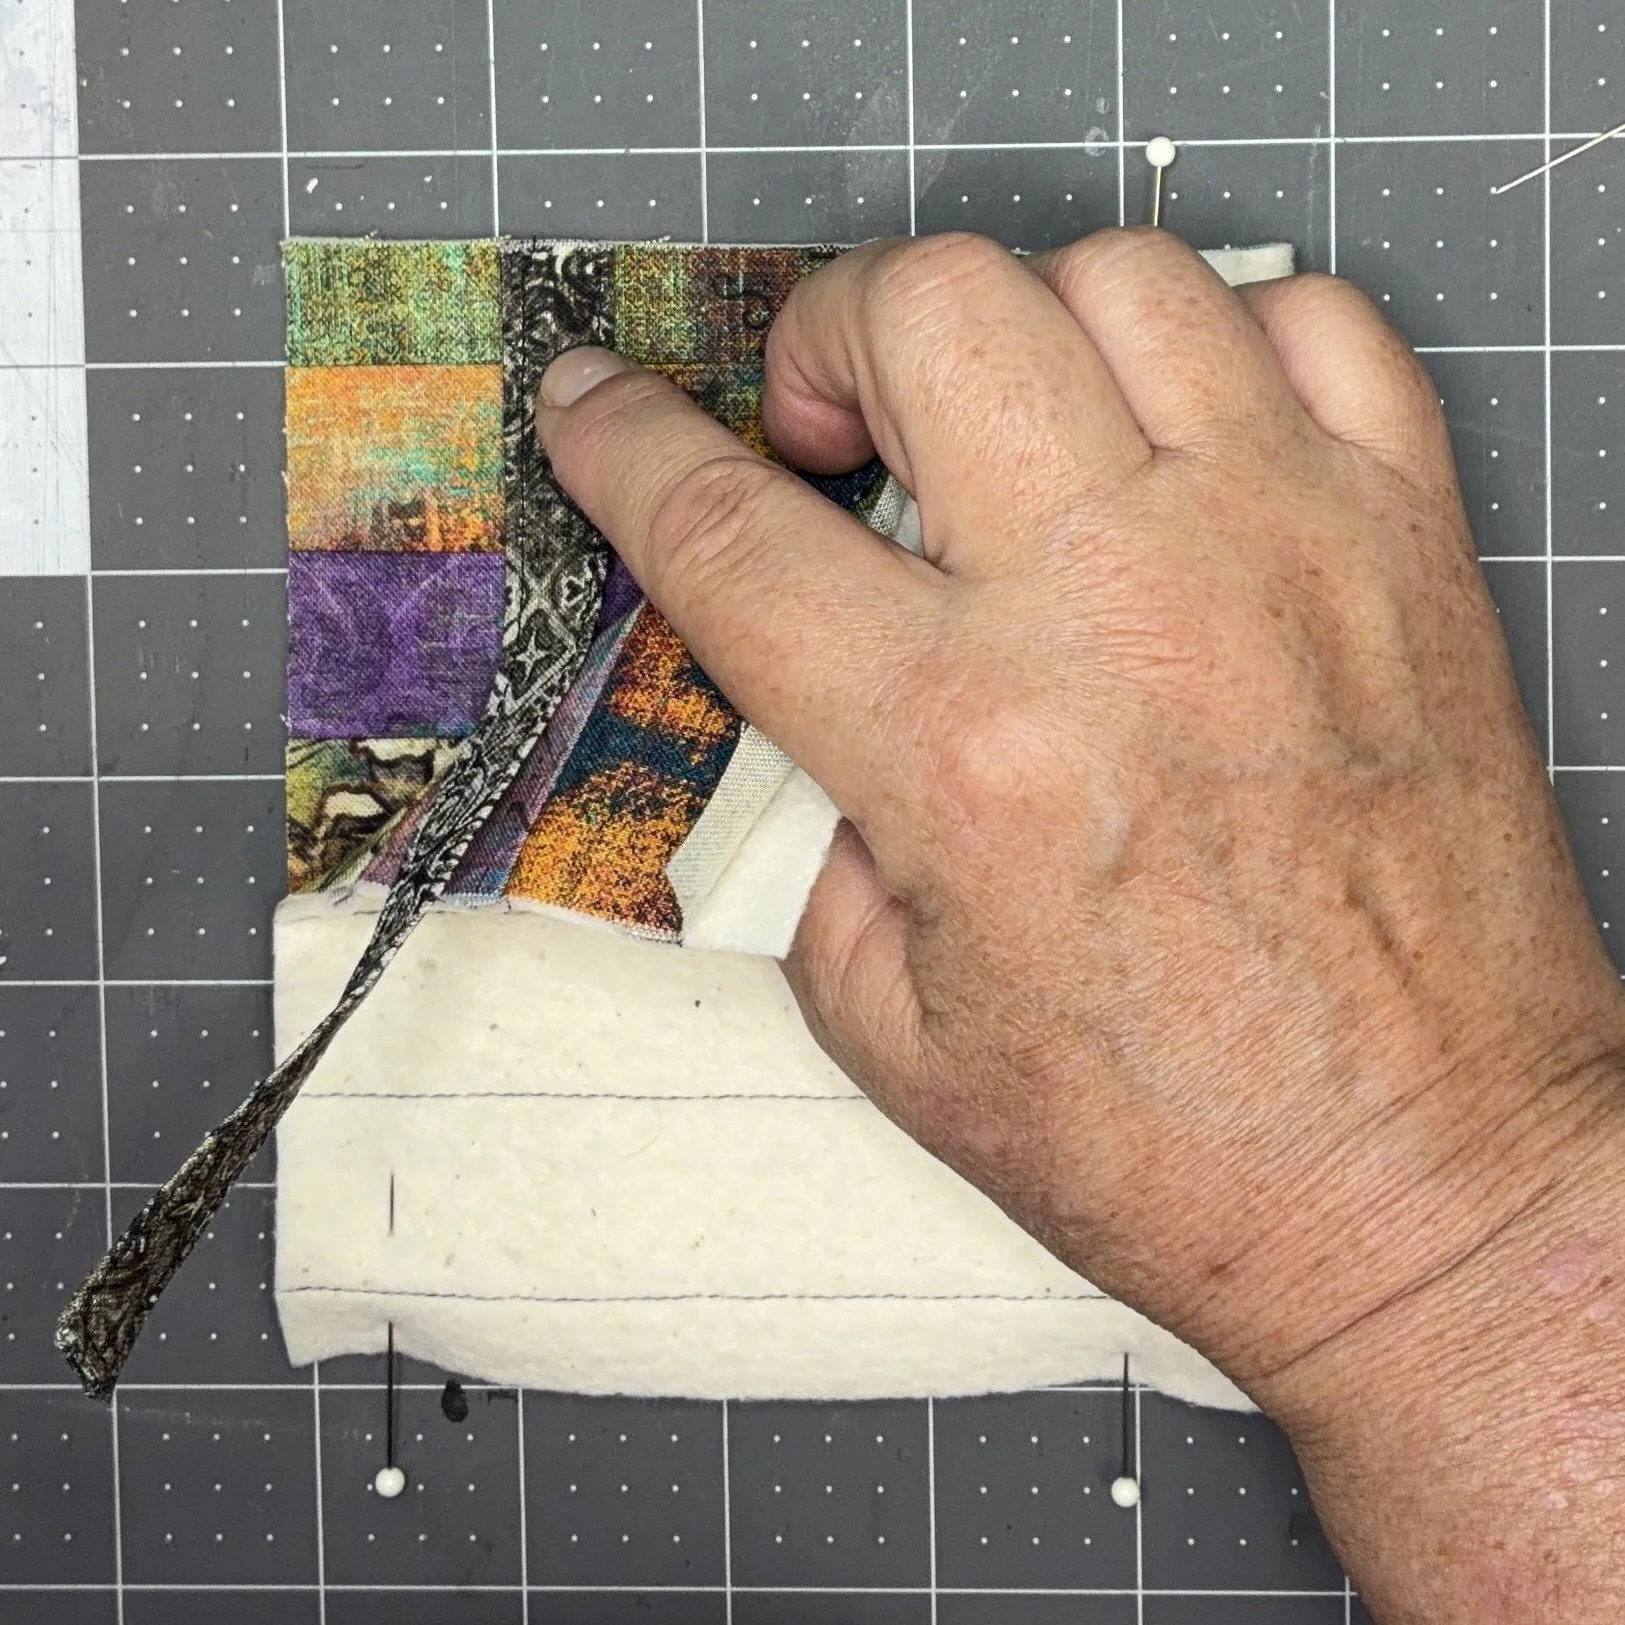
I folded the quilted piece in half with right sides together and pinned along the two sides, leaving the top open. I slid the straps into that seamline about 1” down from the top, and pinned them into place. This left the raw edge of the straps sitting parallel to the raw edges of the quilted piece, and the length of the straps on the inside.
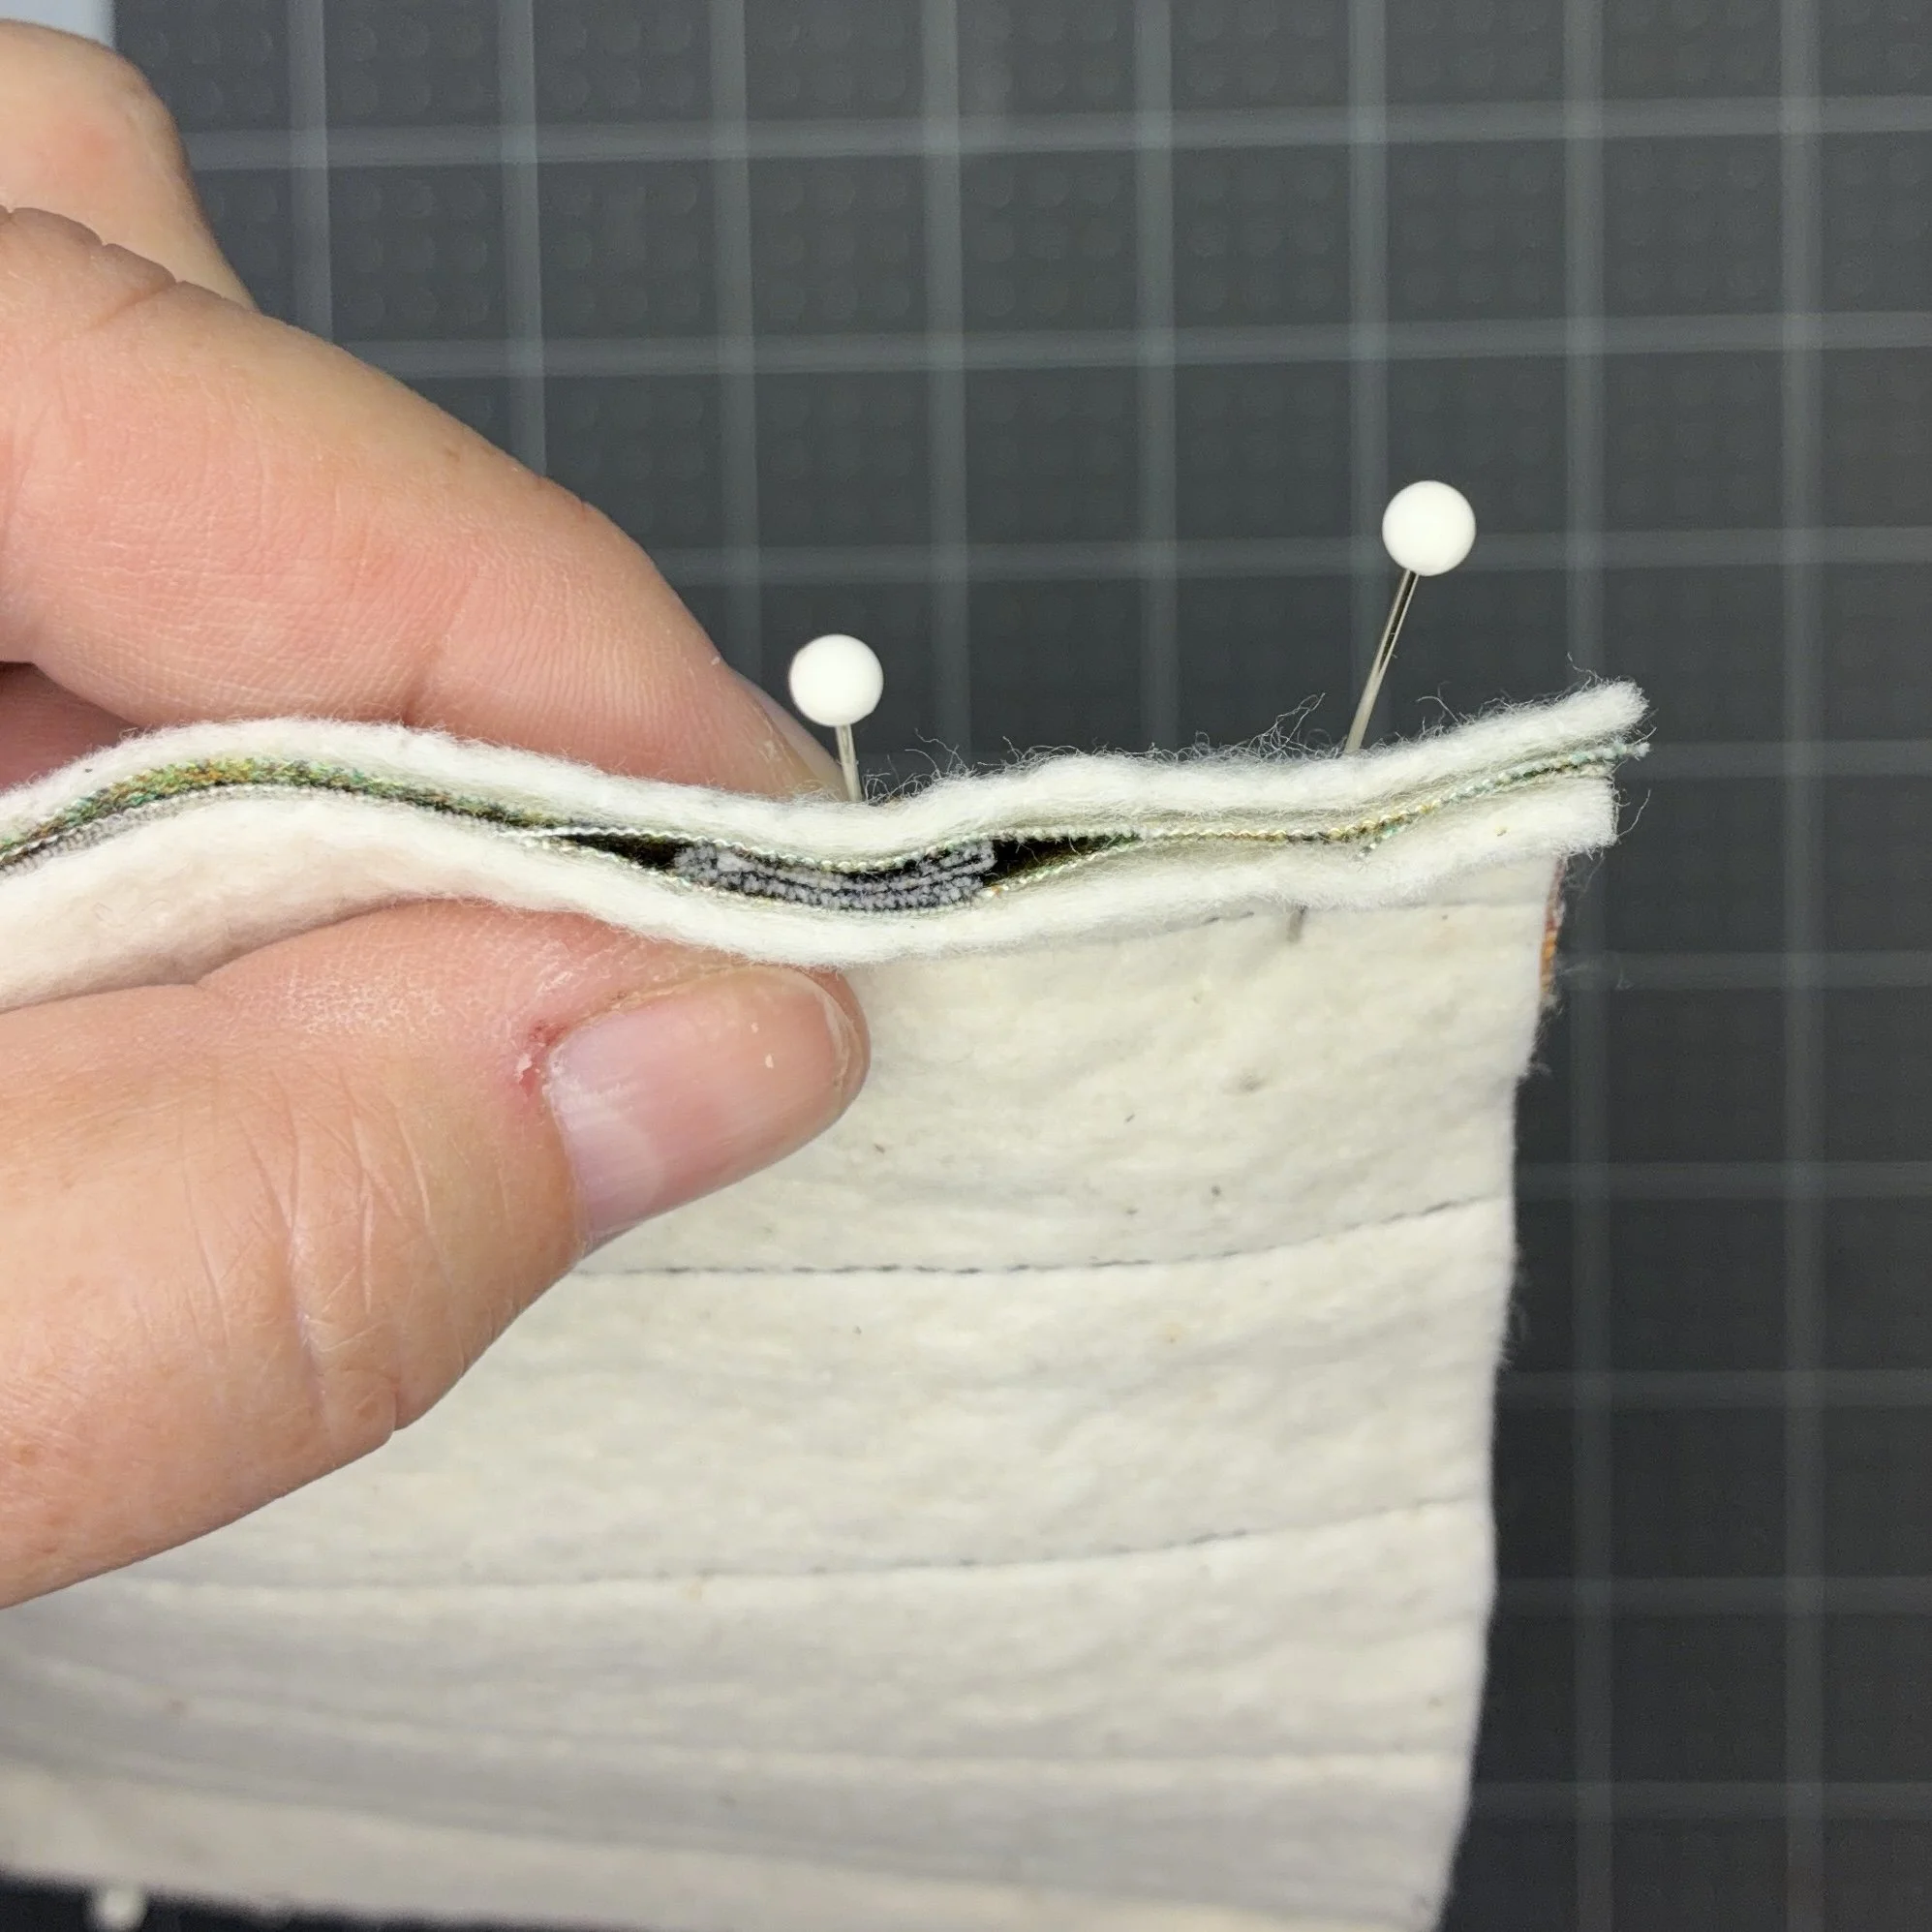
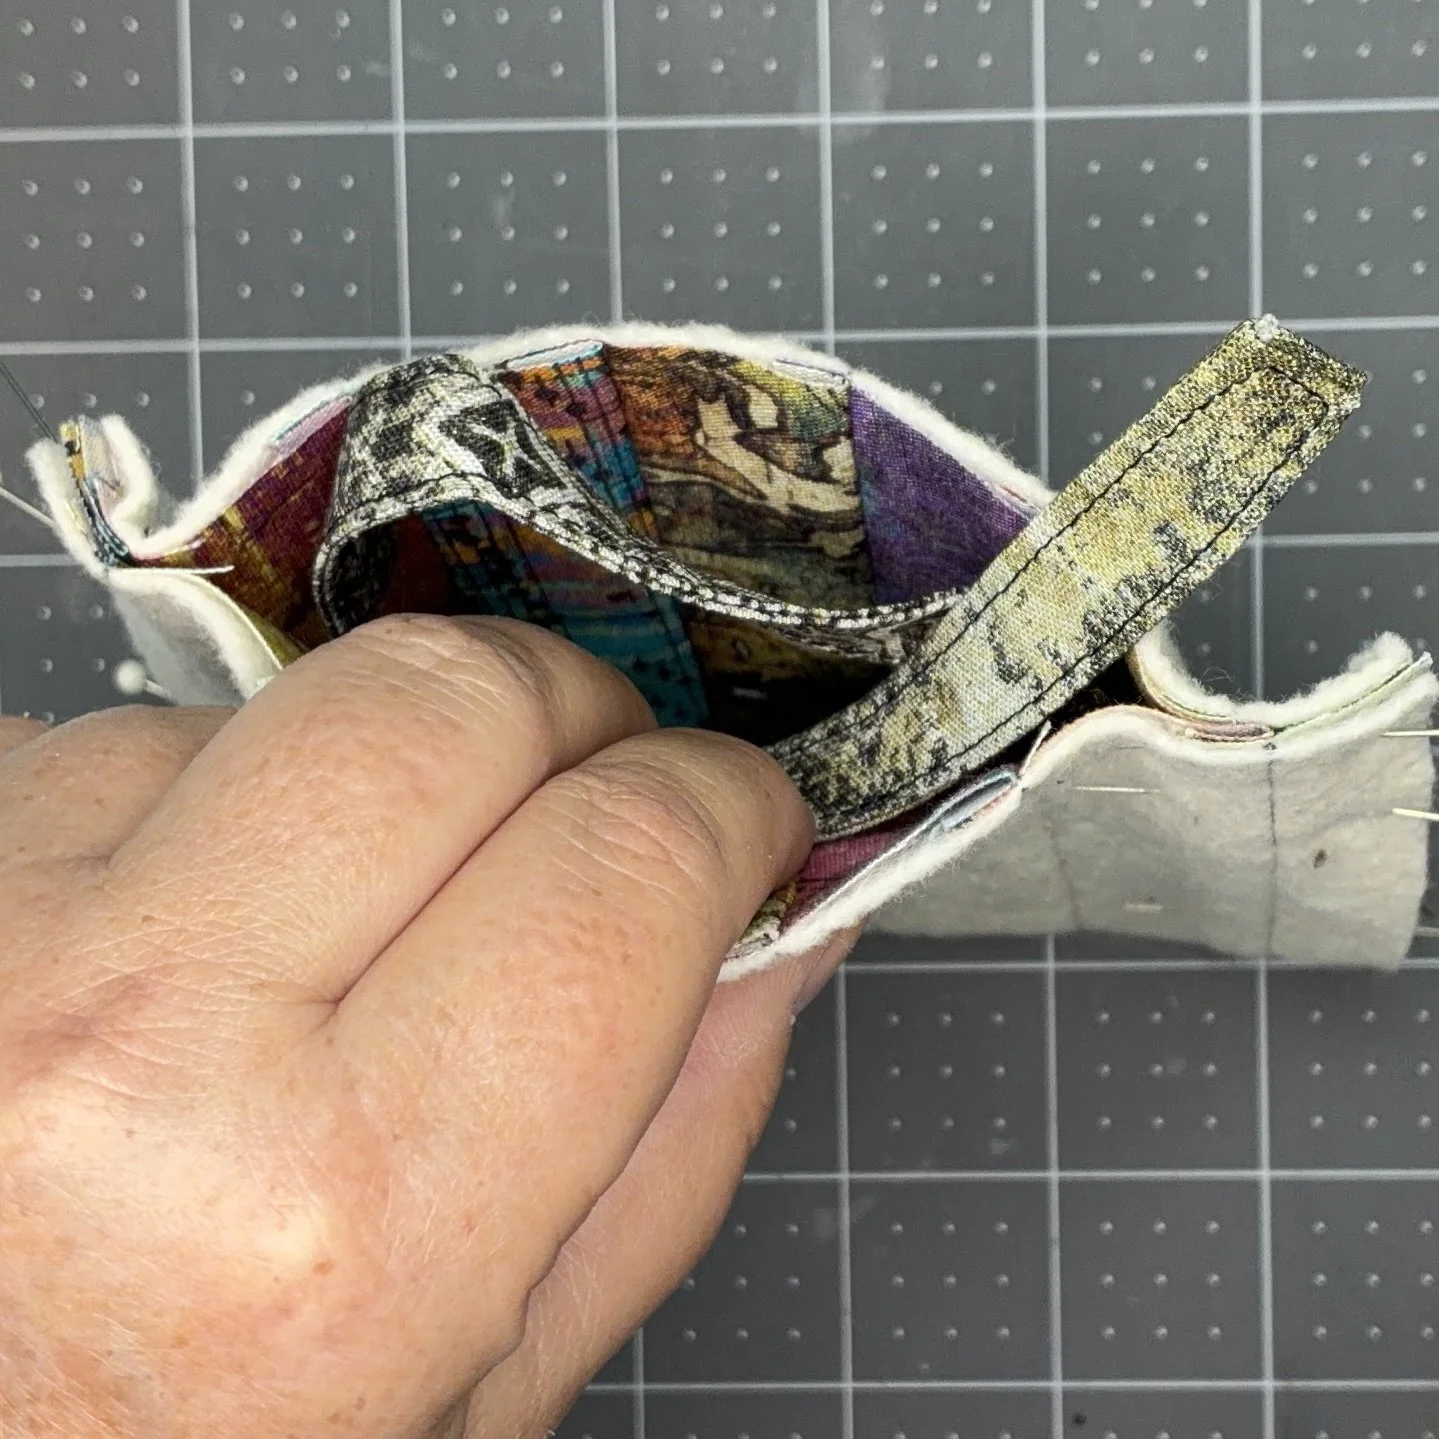
I then pinned the lining fabric in the same way, but marked a section along one seamline to leave open so that I could turn the whole project right side out later. Then I sewed along the sides of both pieces.
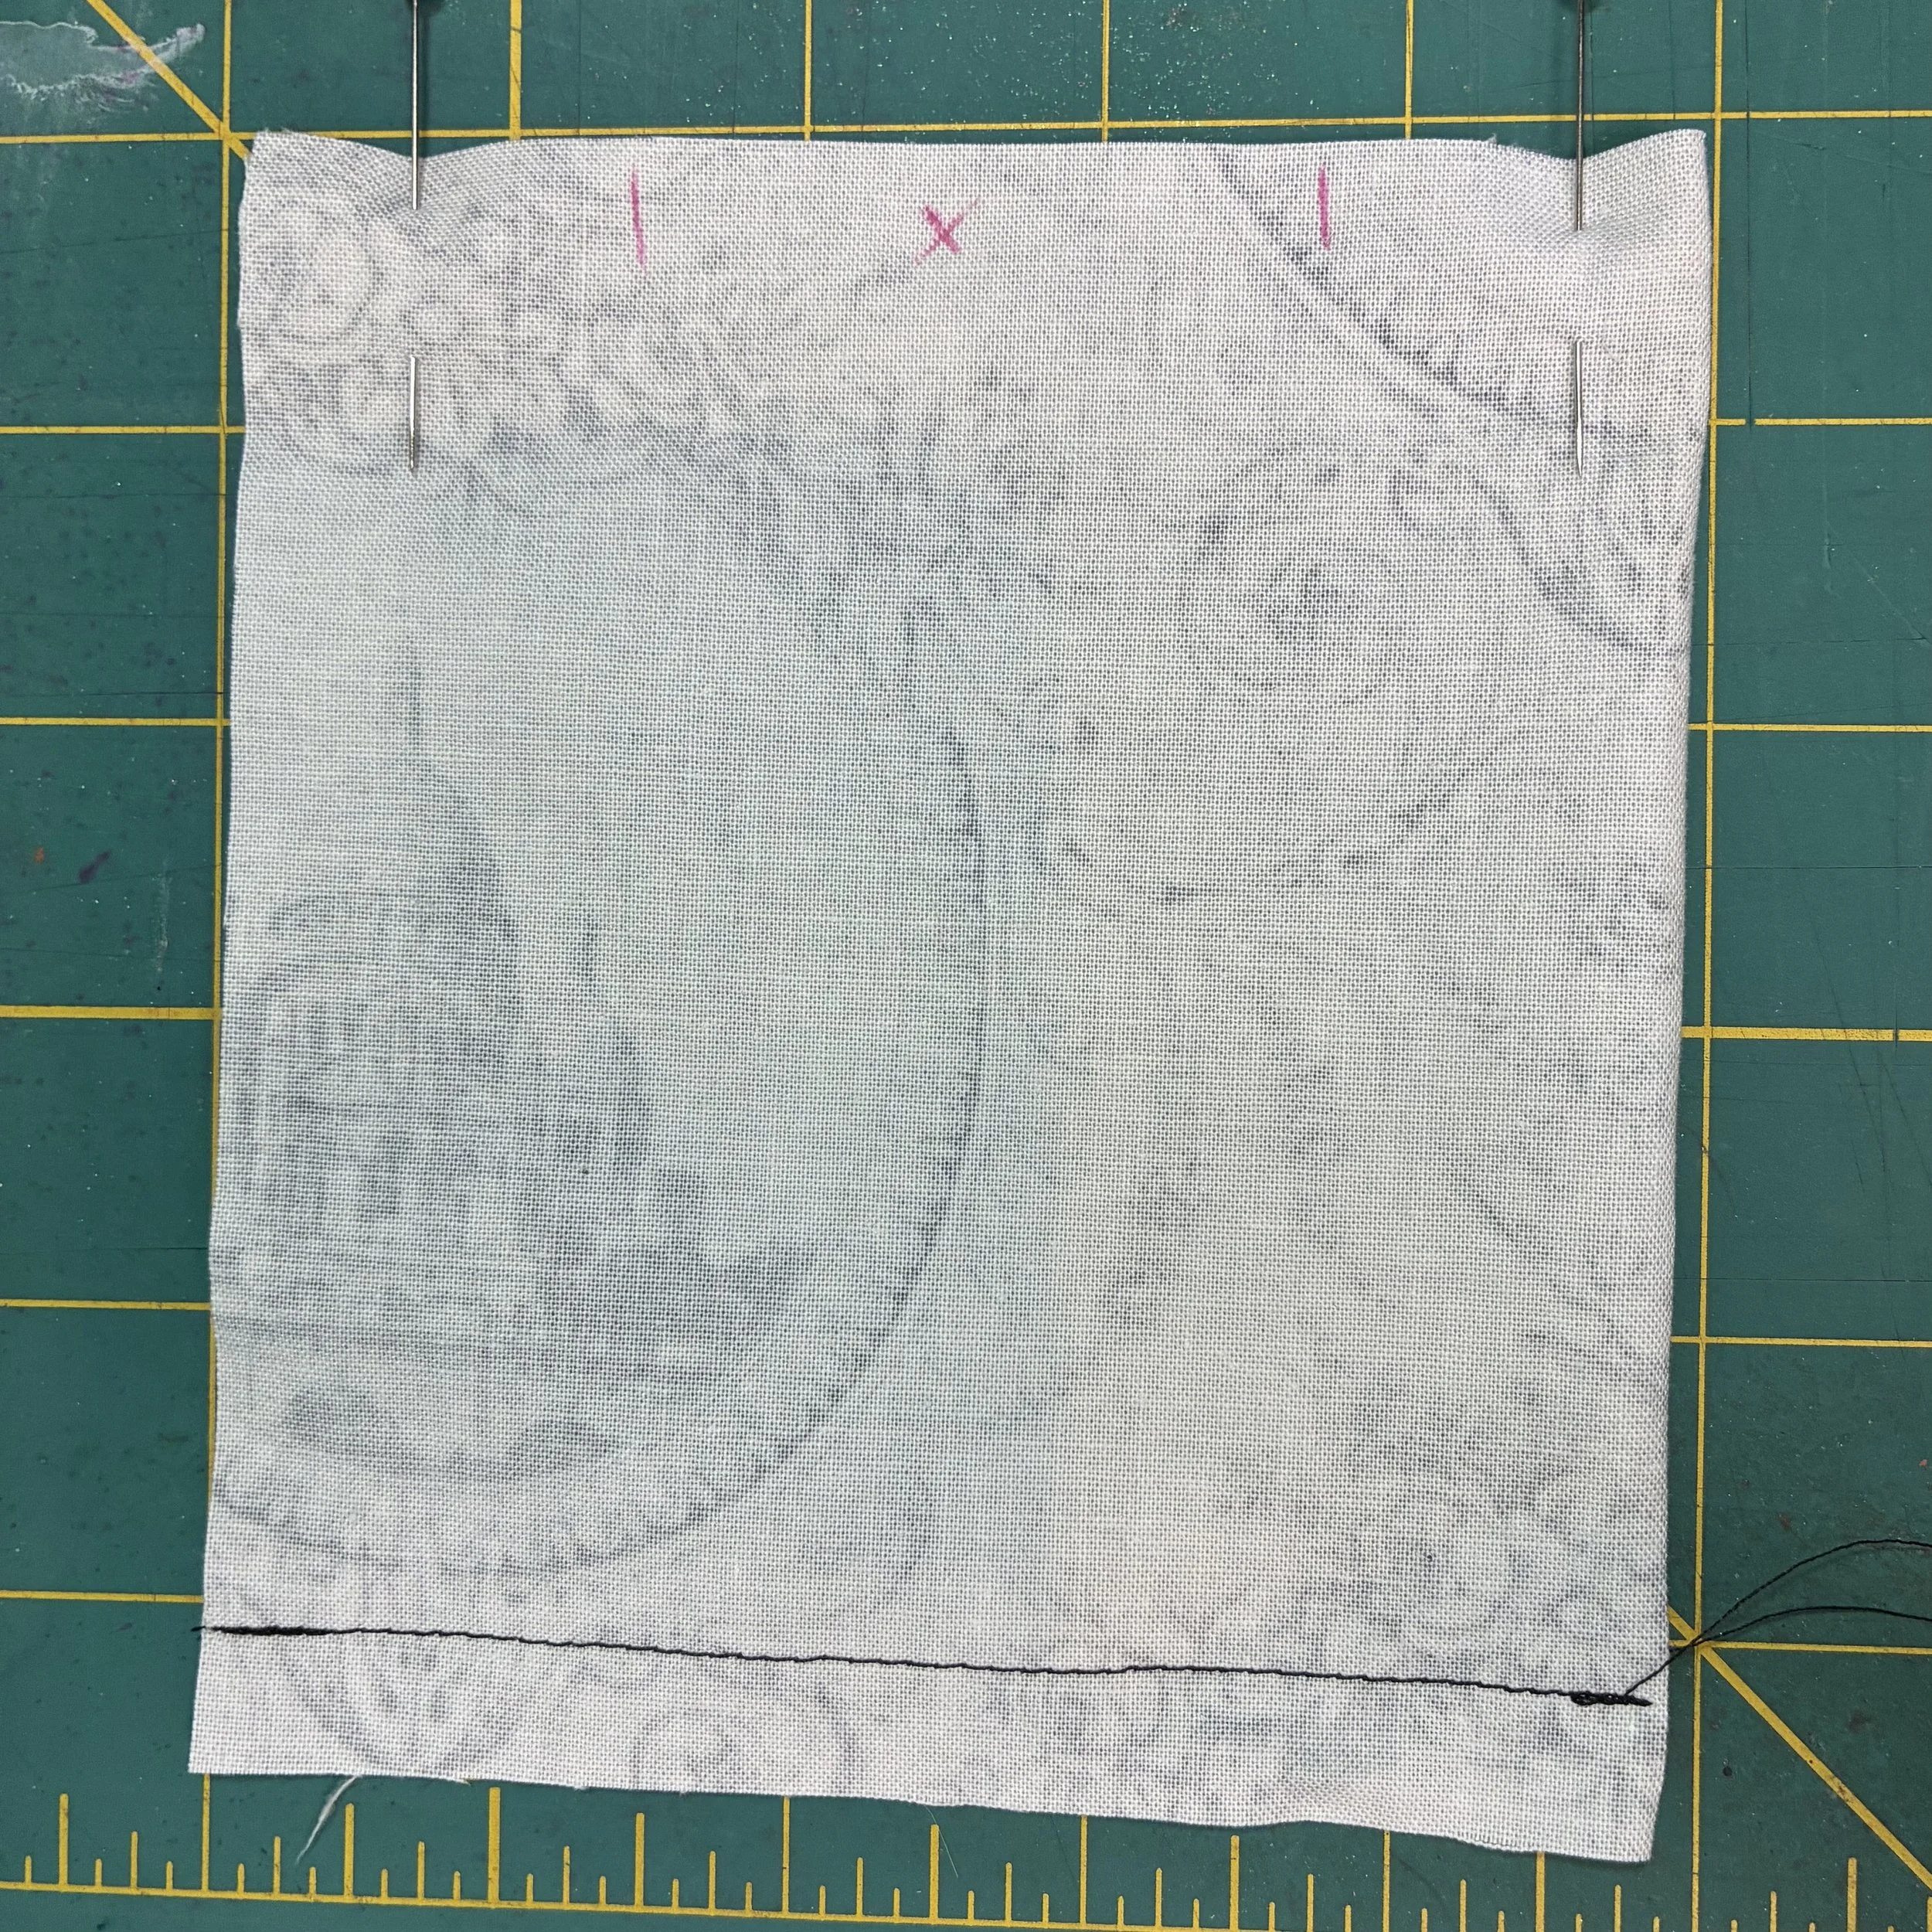
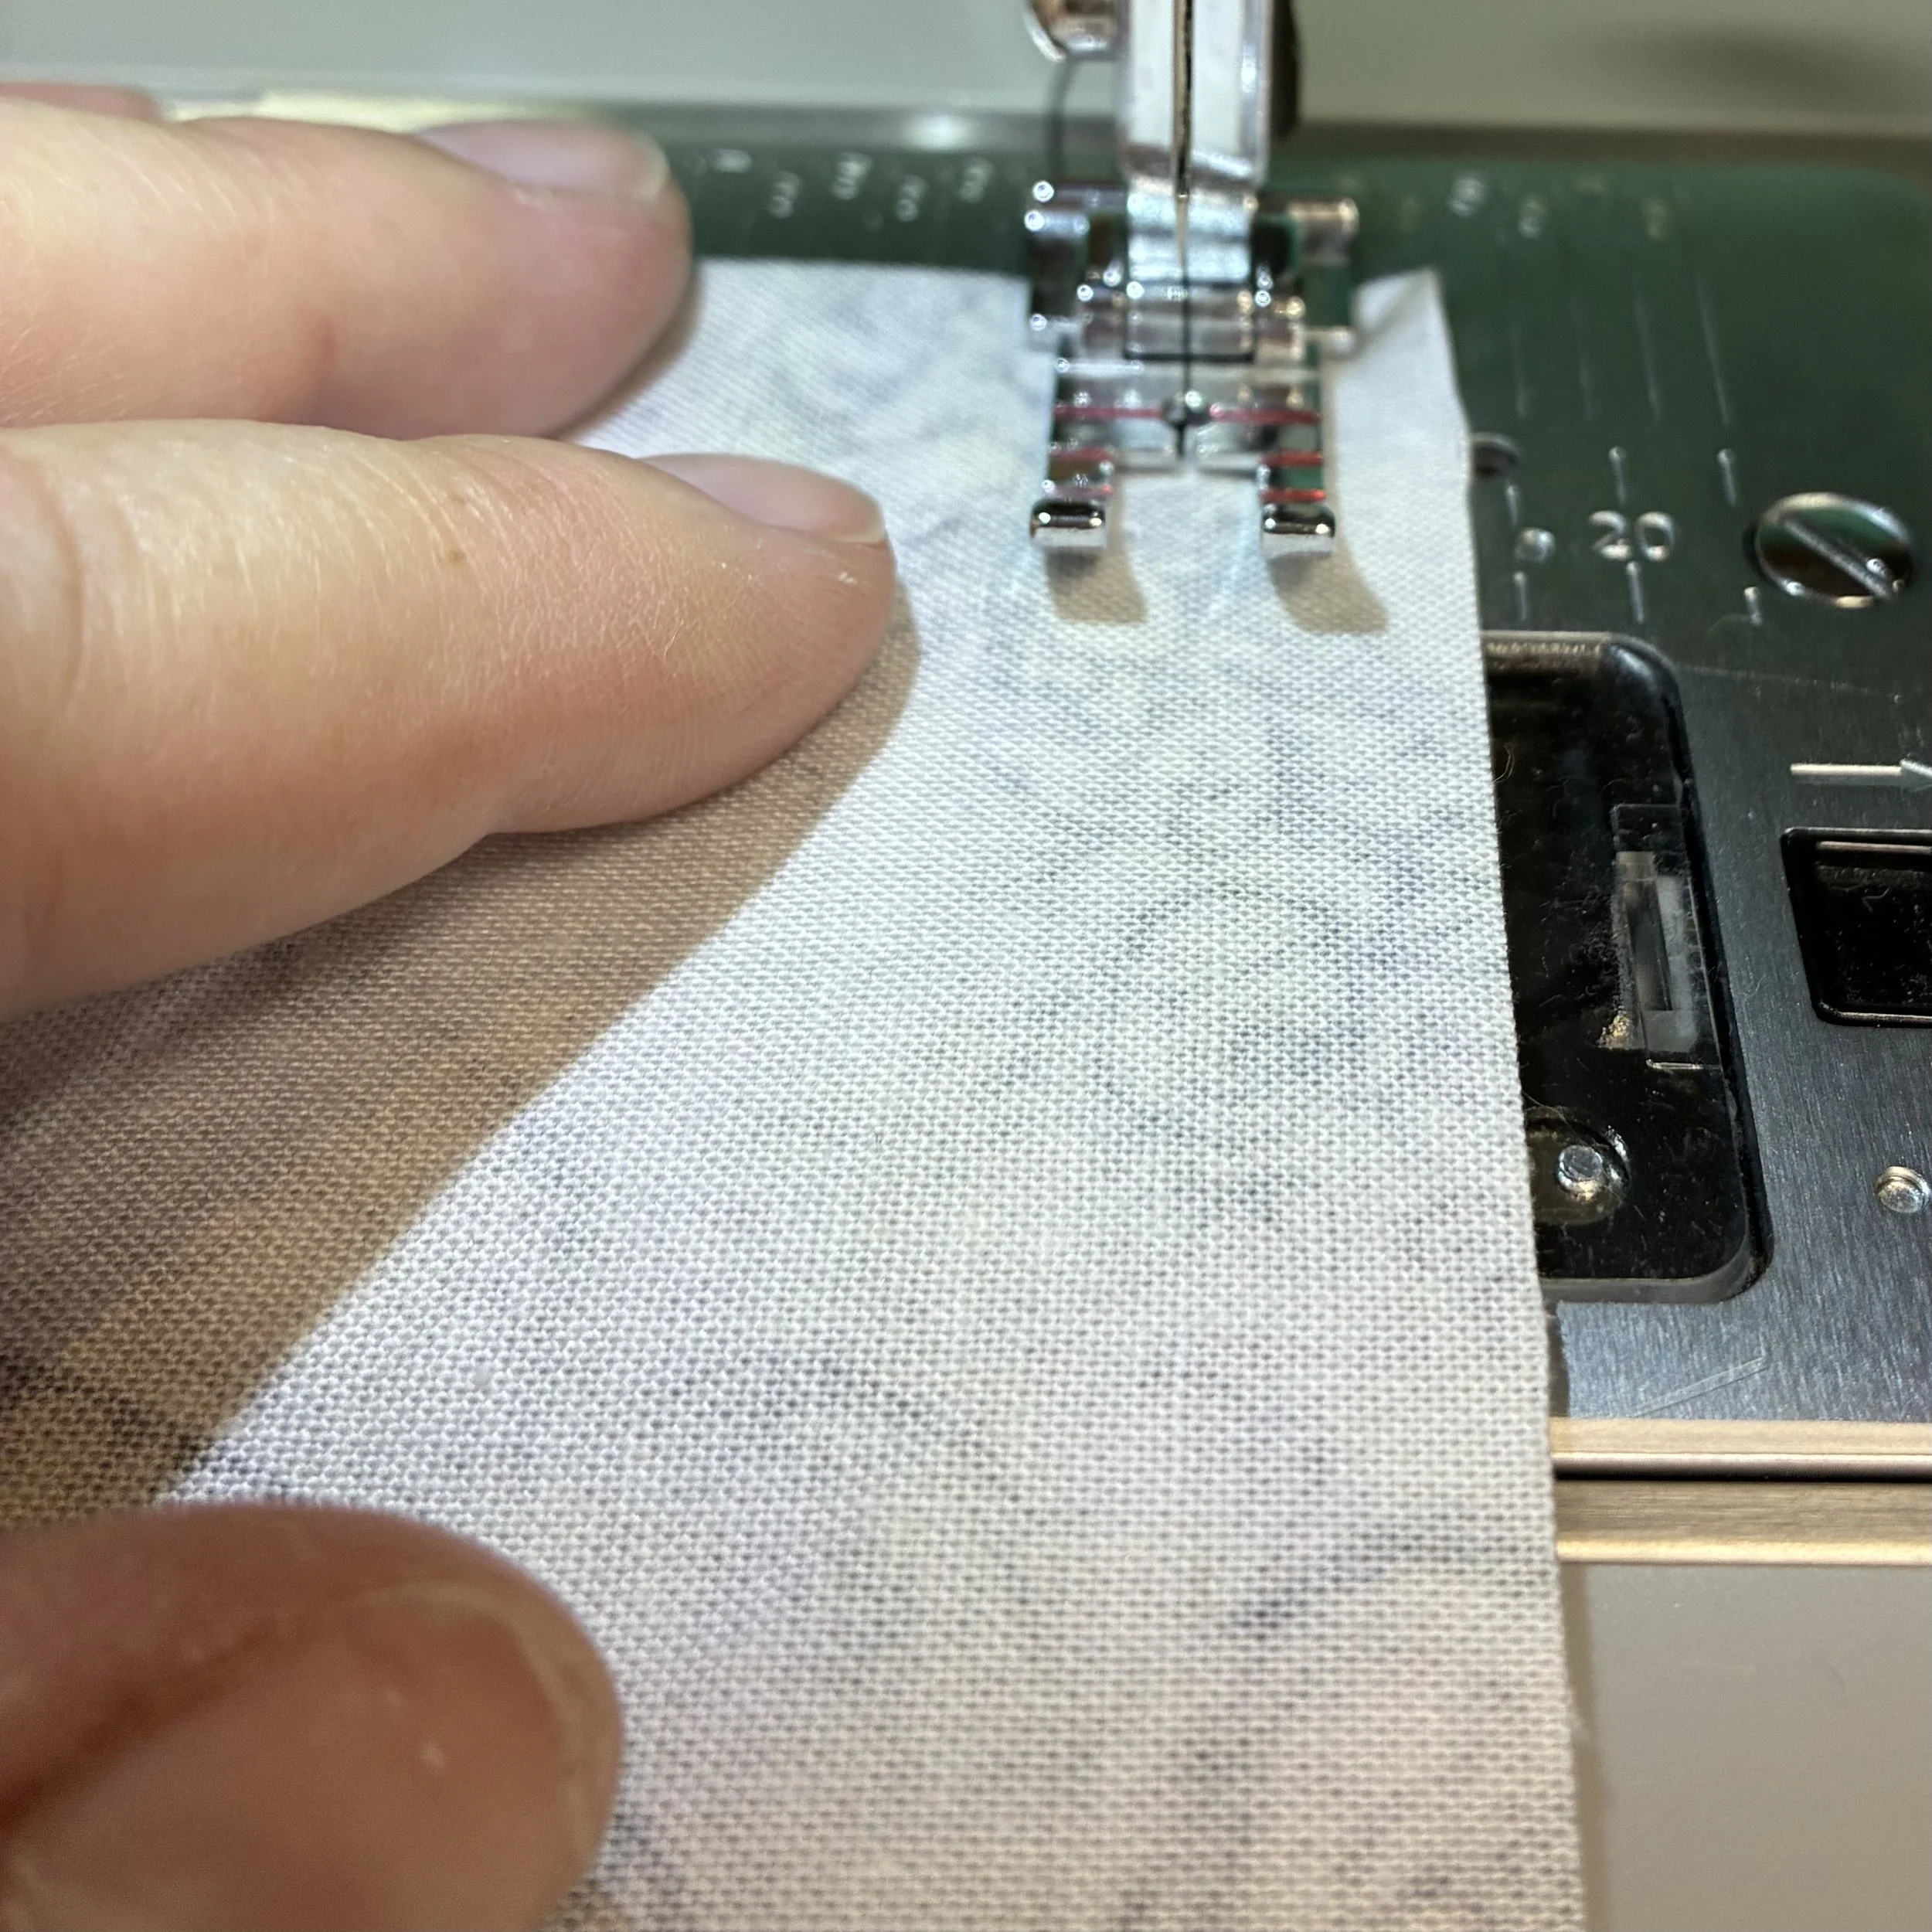
I turned the lining piece right side out and tucked it inside the quilted piece, so that the right sides of both pieces were facing each other. Then I pinned around the circumference of the top edge and stitched both pieces together. Since the opening was relatively small, this was a bit of a challenge on the sewing machine but I just went slowly and carefully and it all came out right.
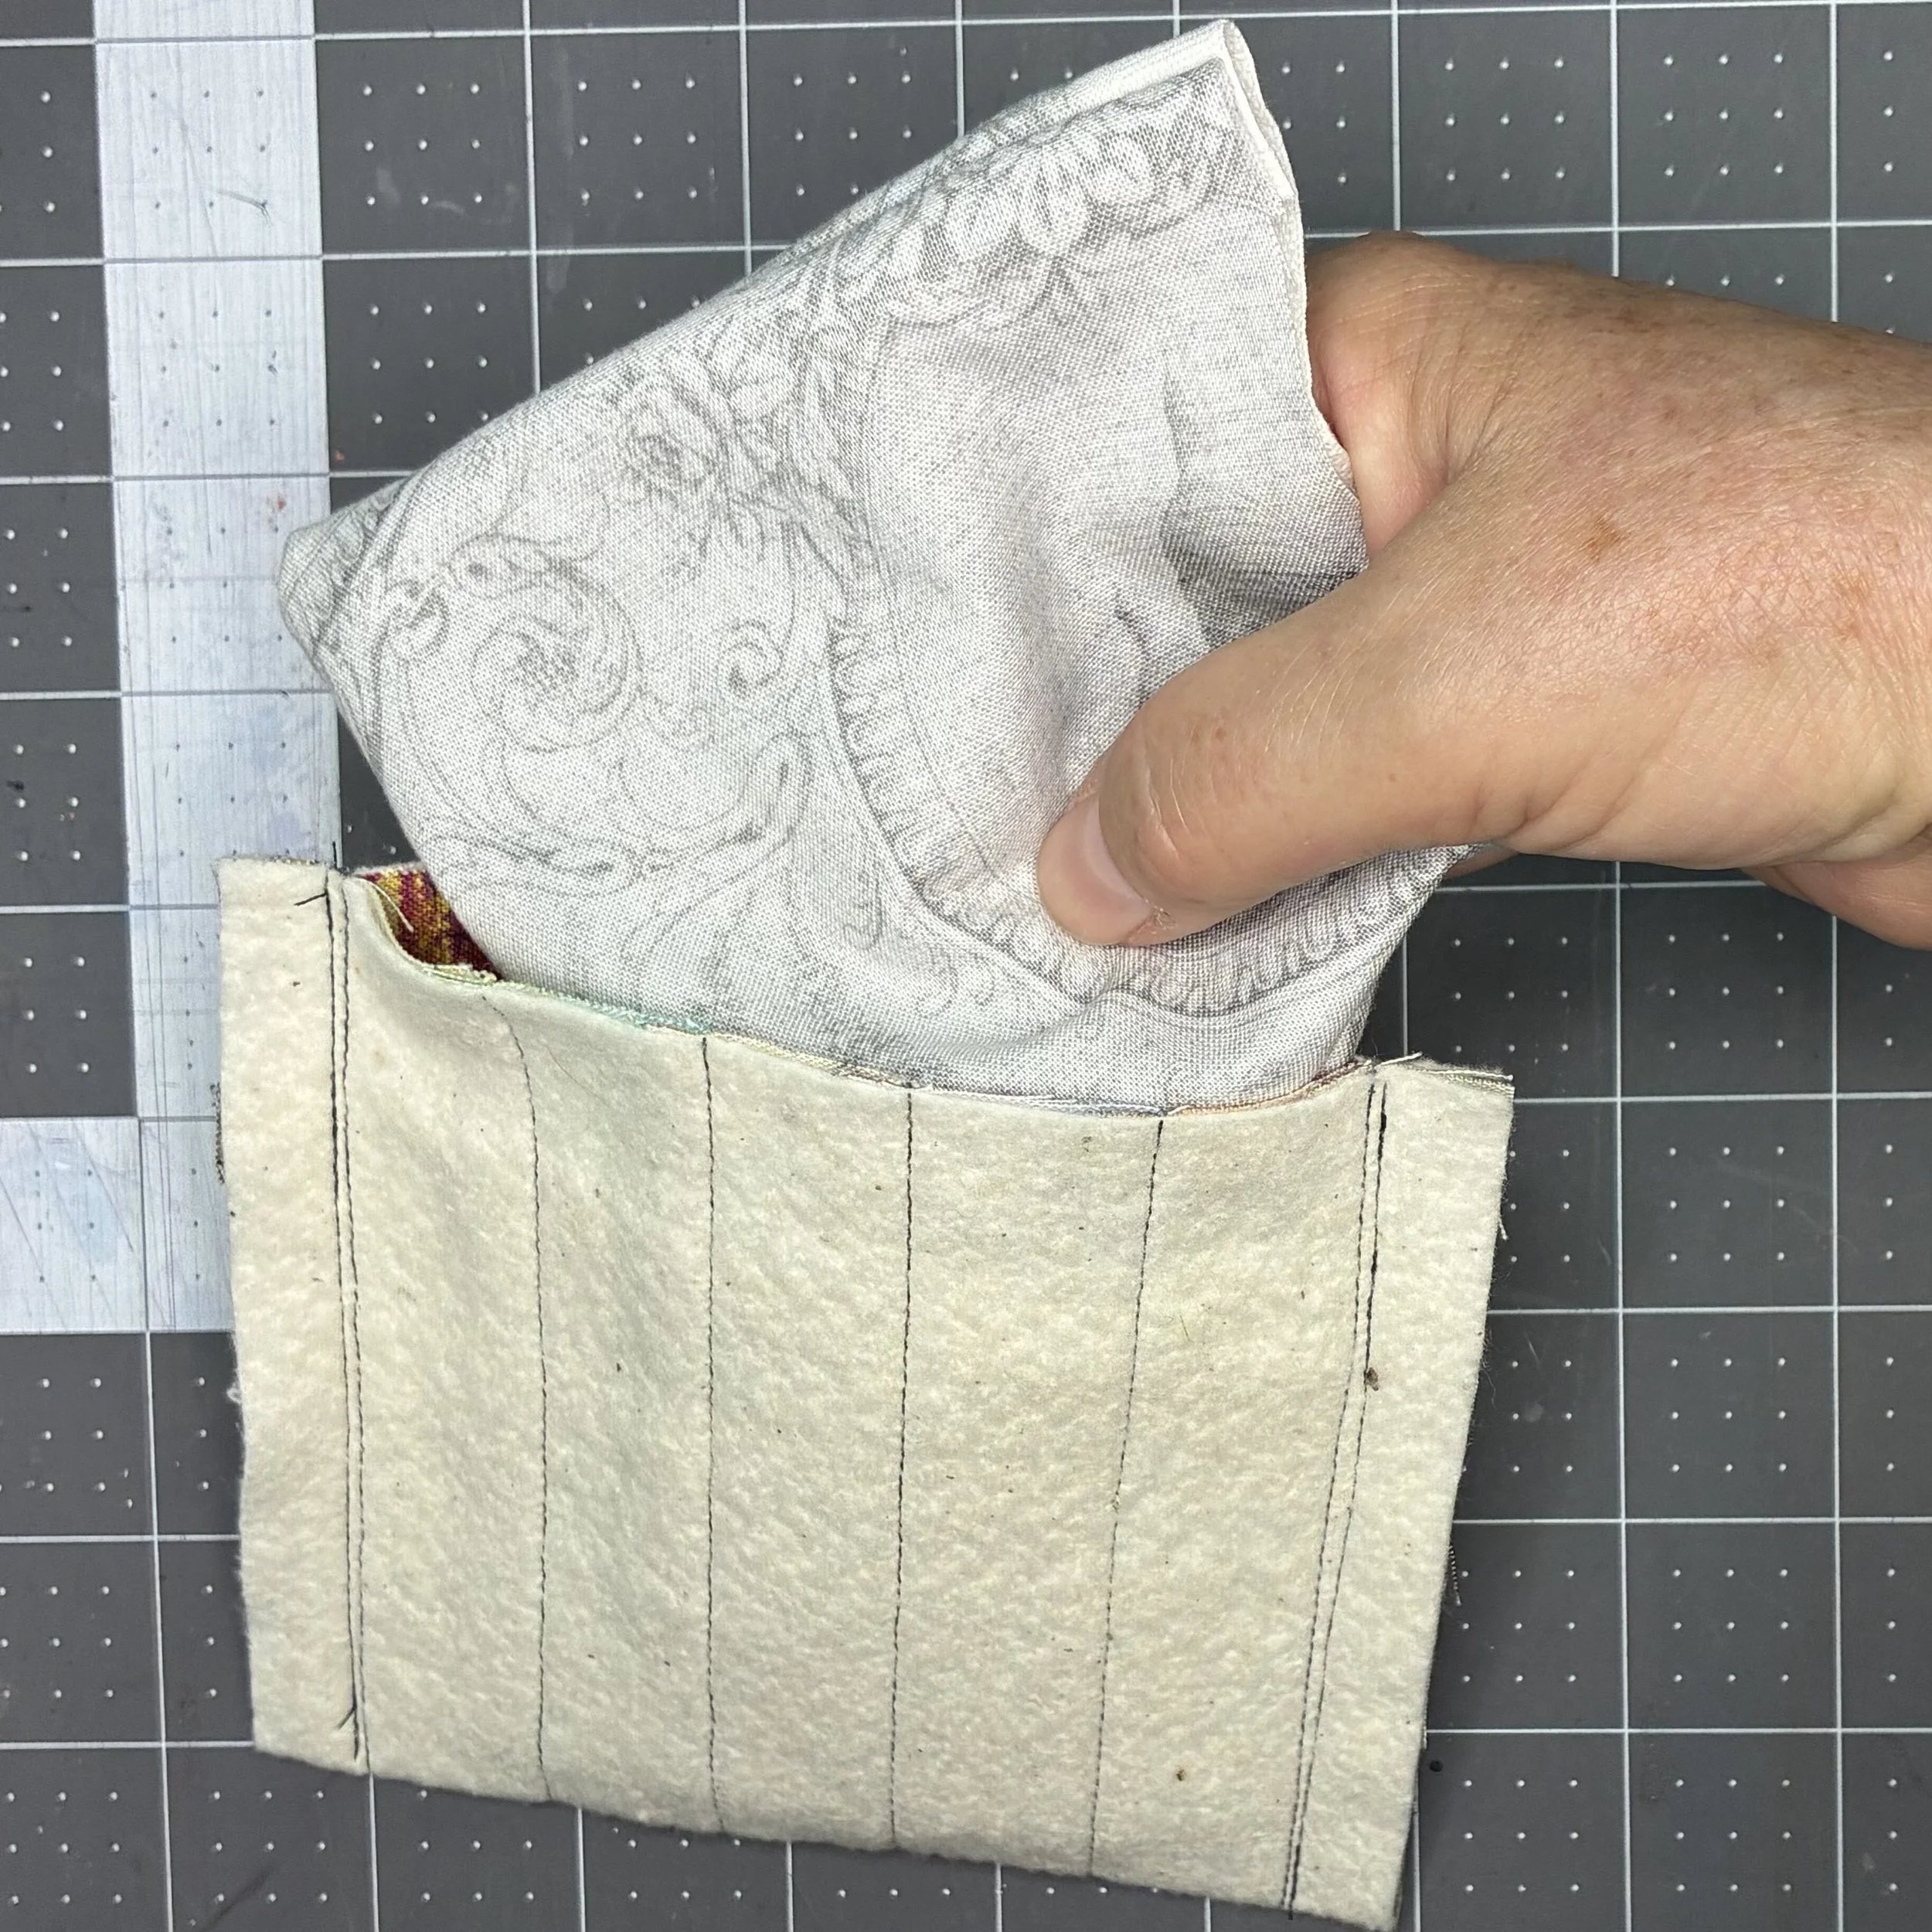
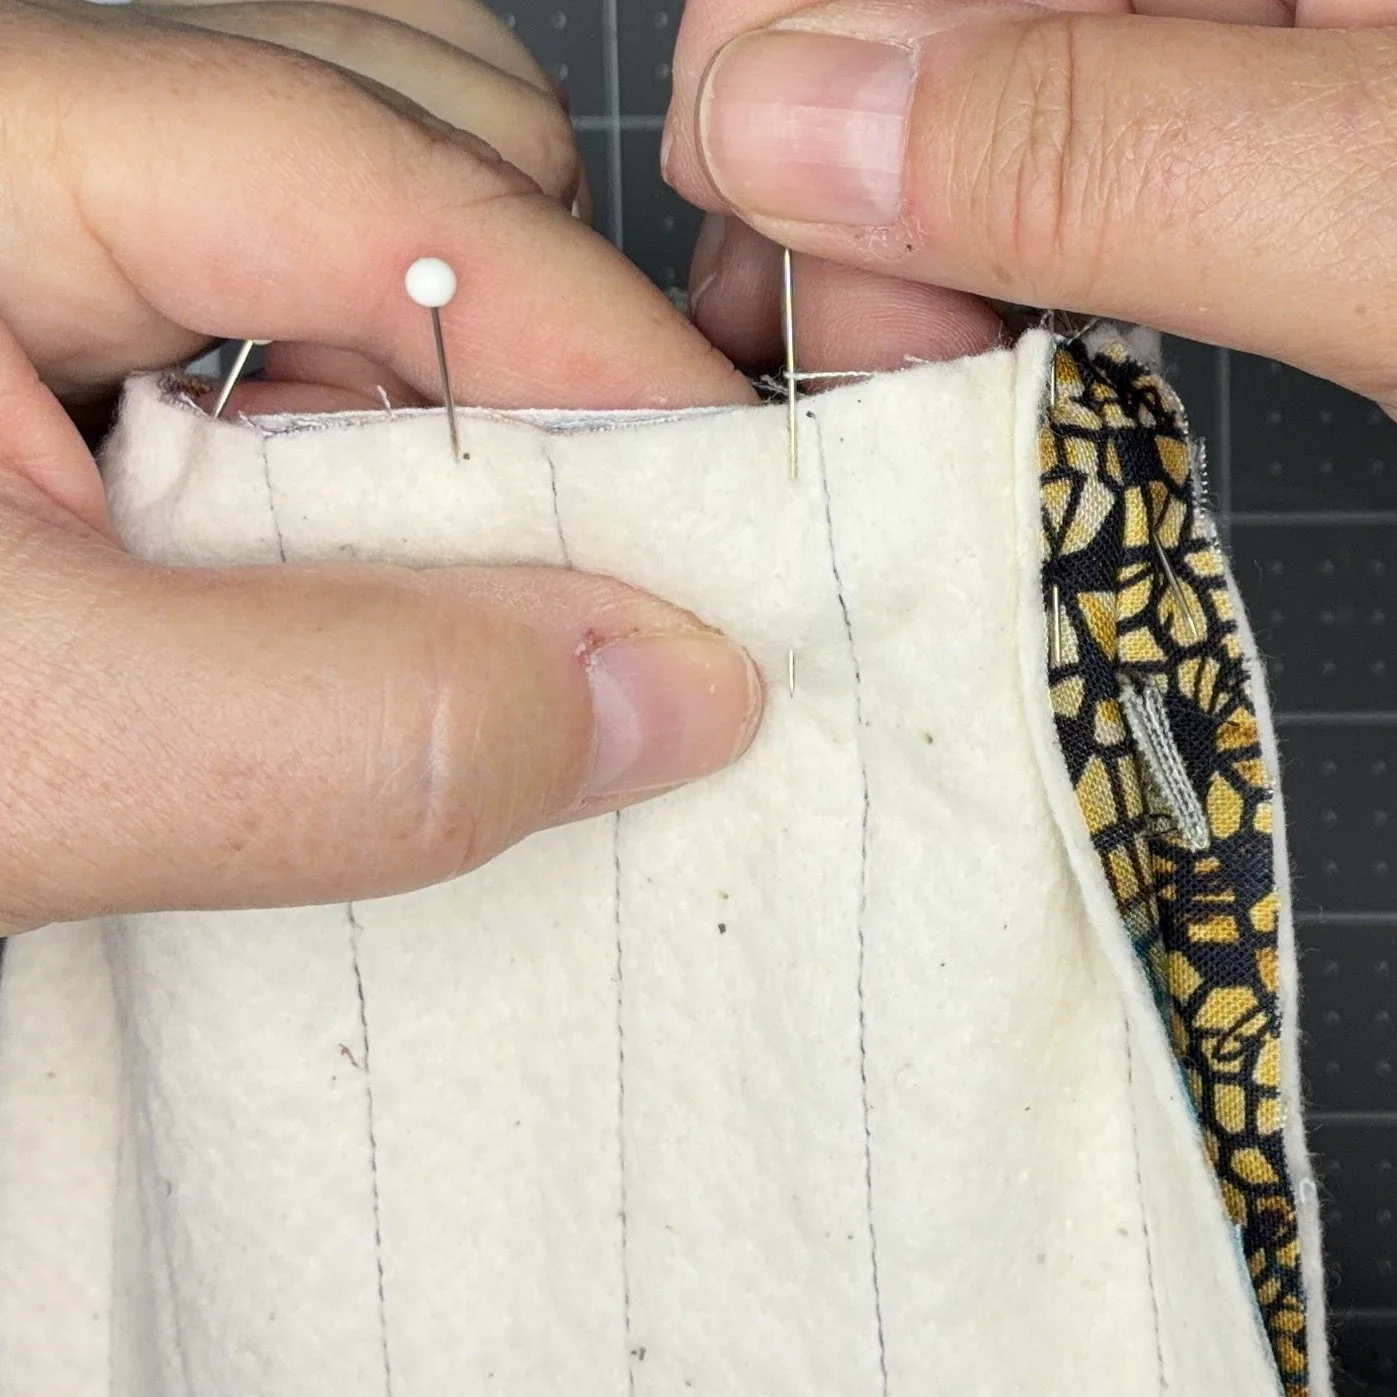
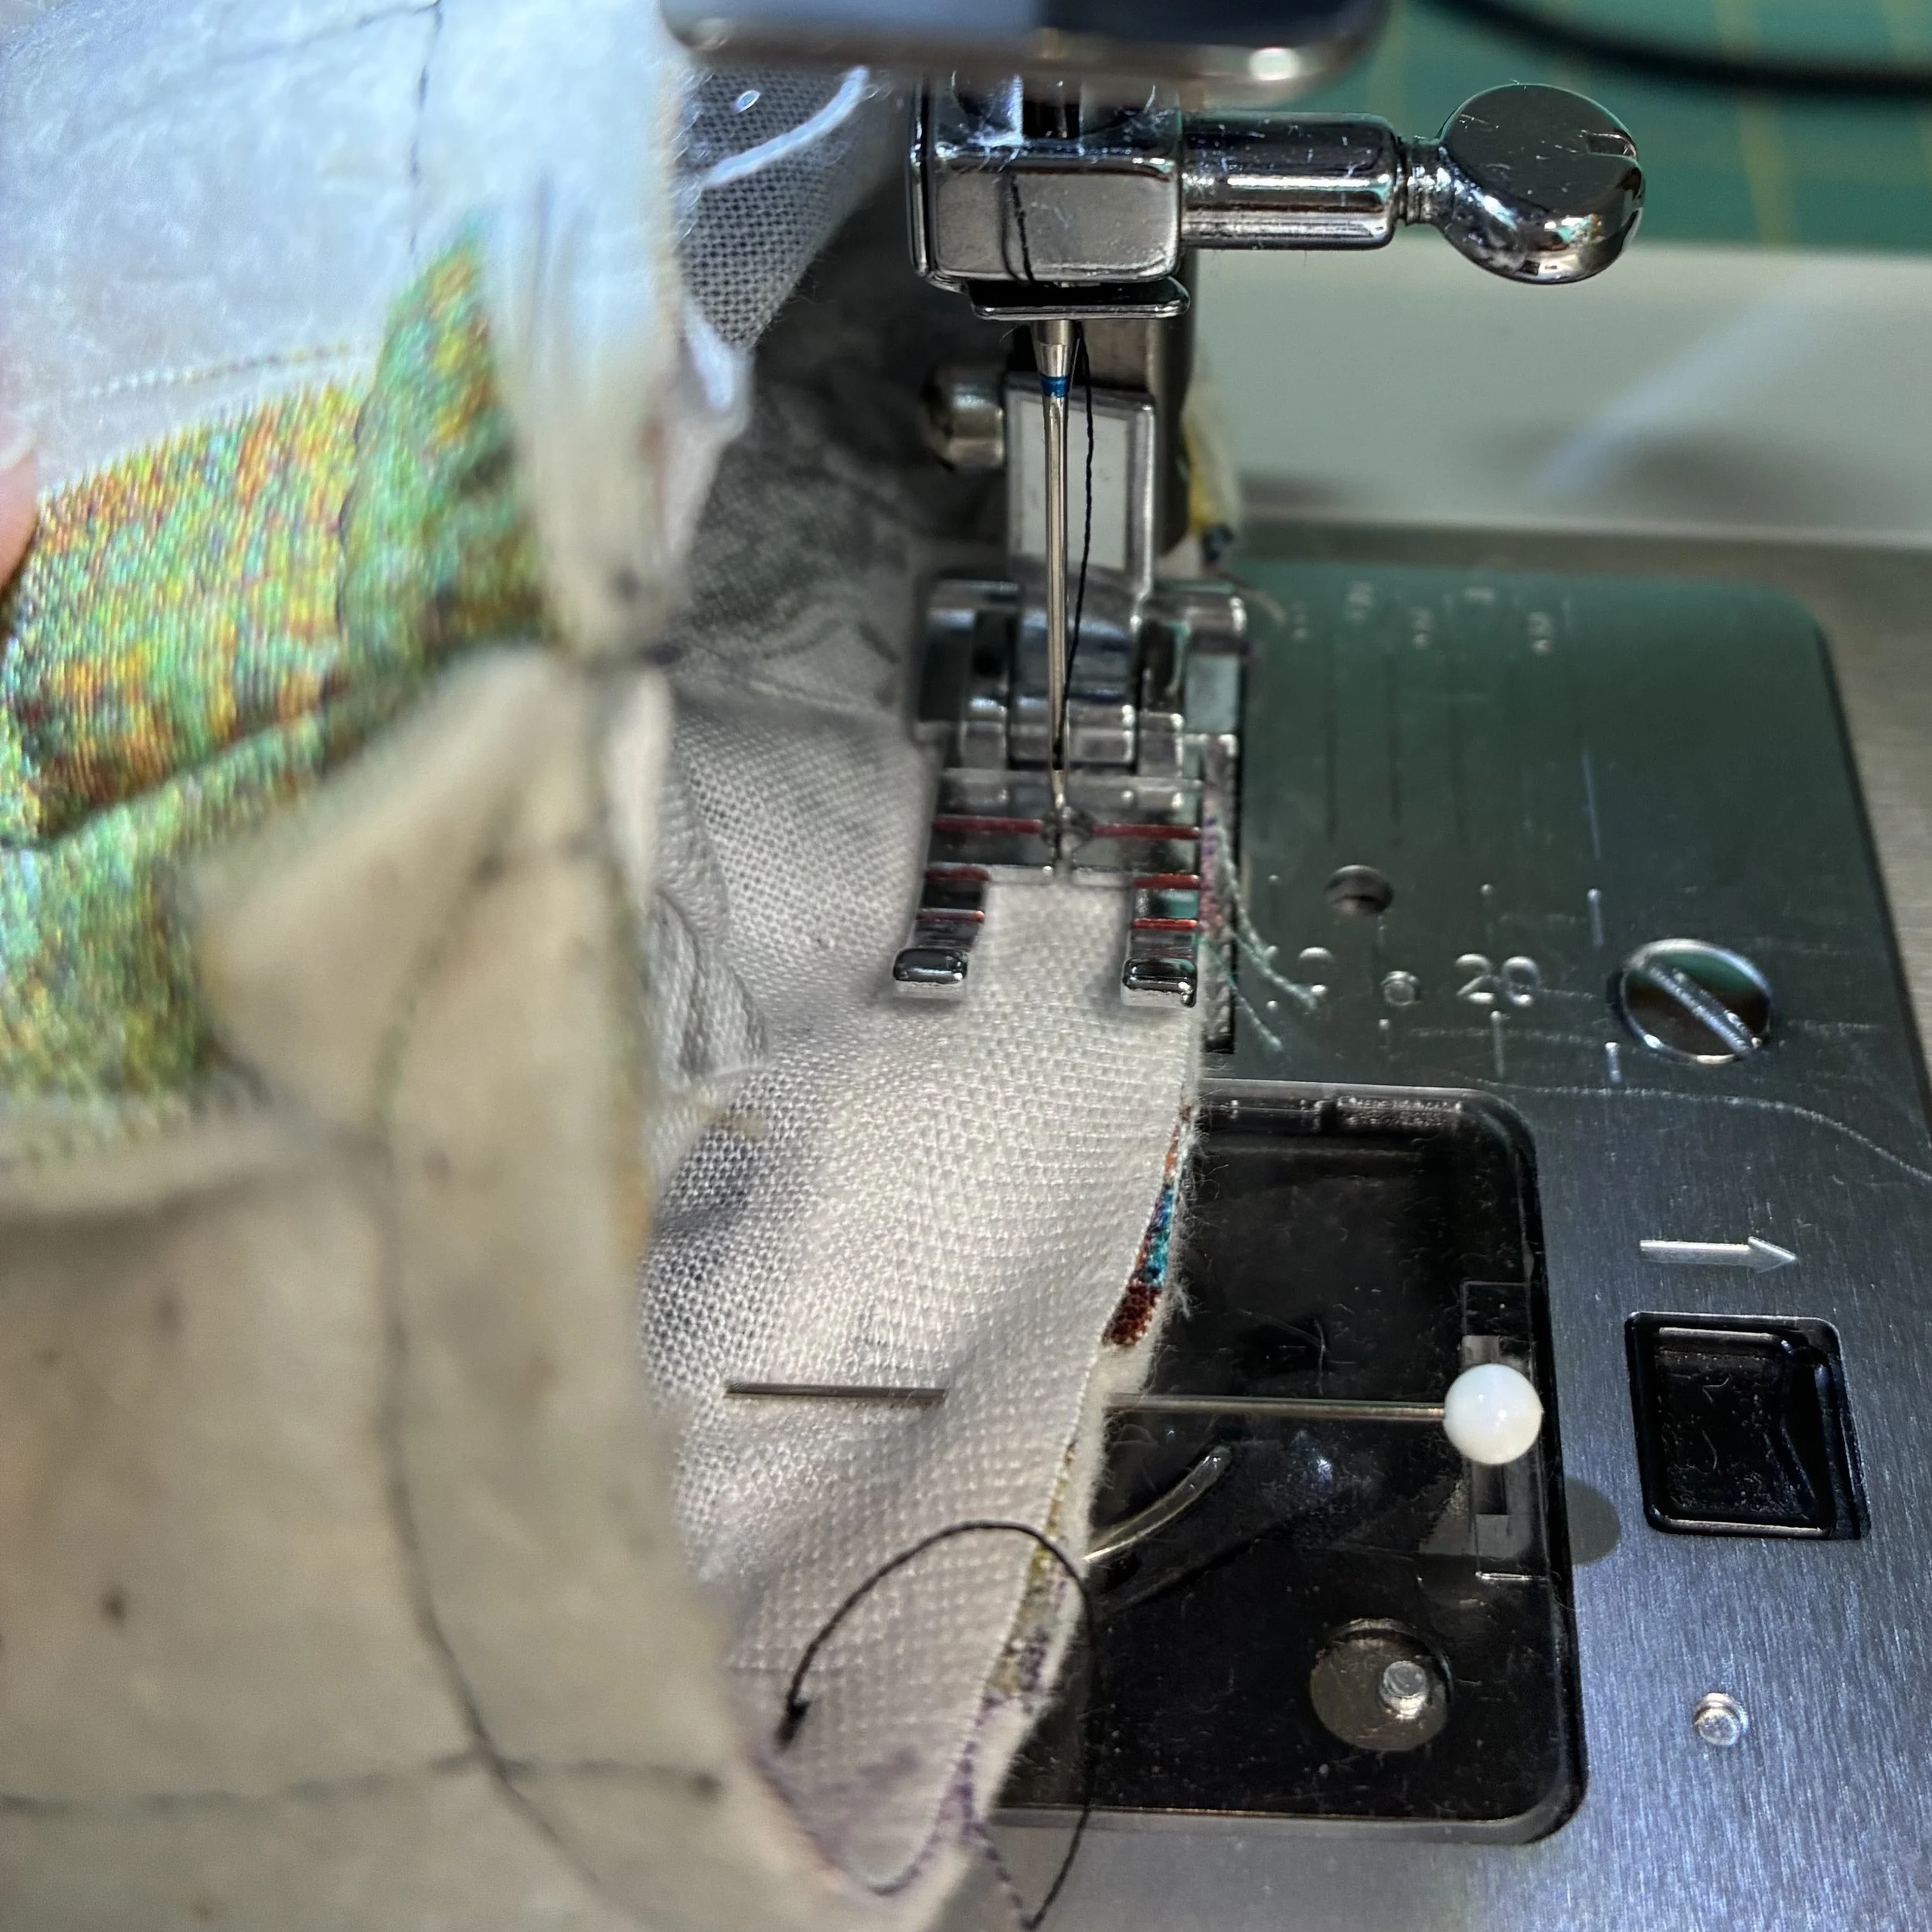
Next, I pulled the lining out of the inside of the quilted piece, and turned the whole thing right side out through the opening I’d left in the lining’s side seam.
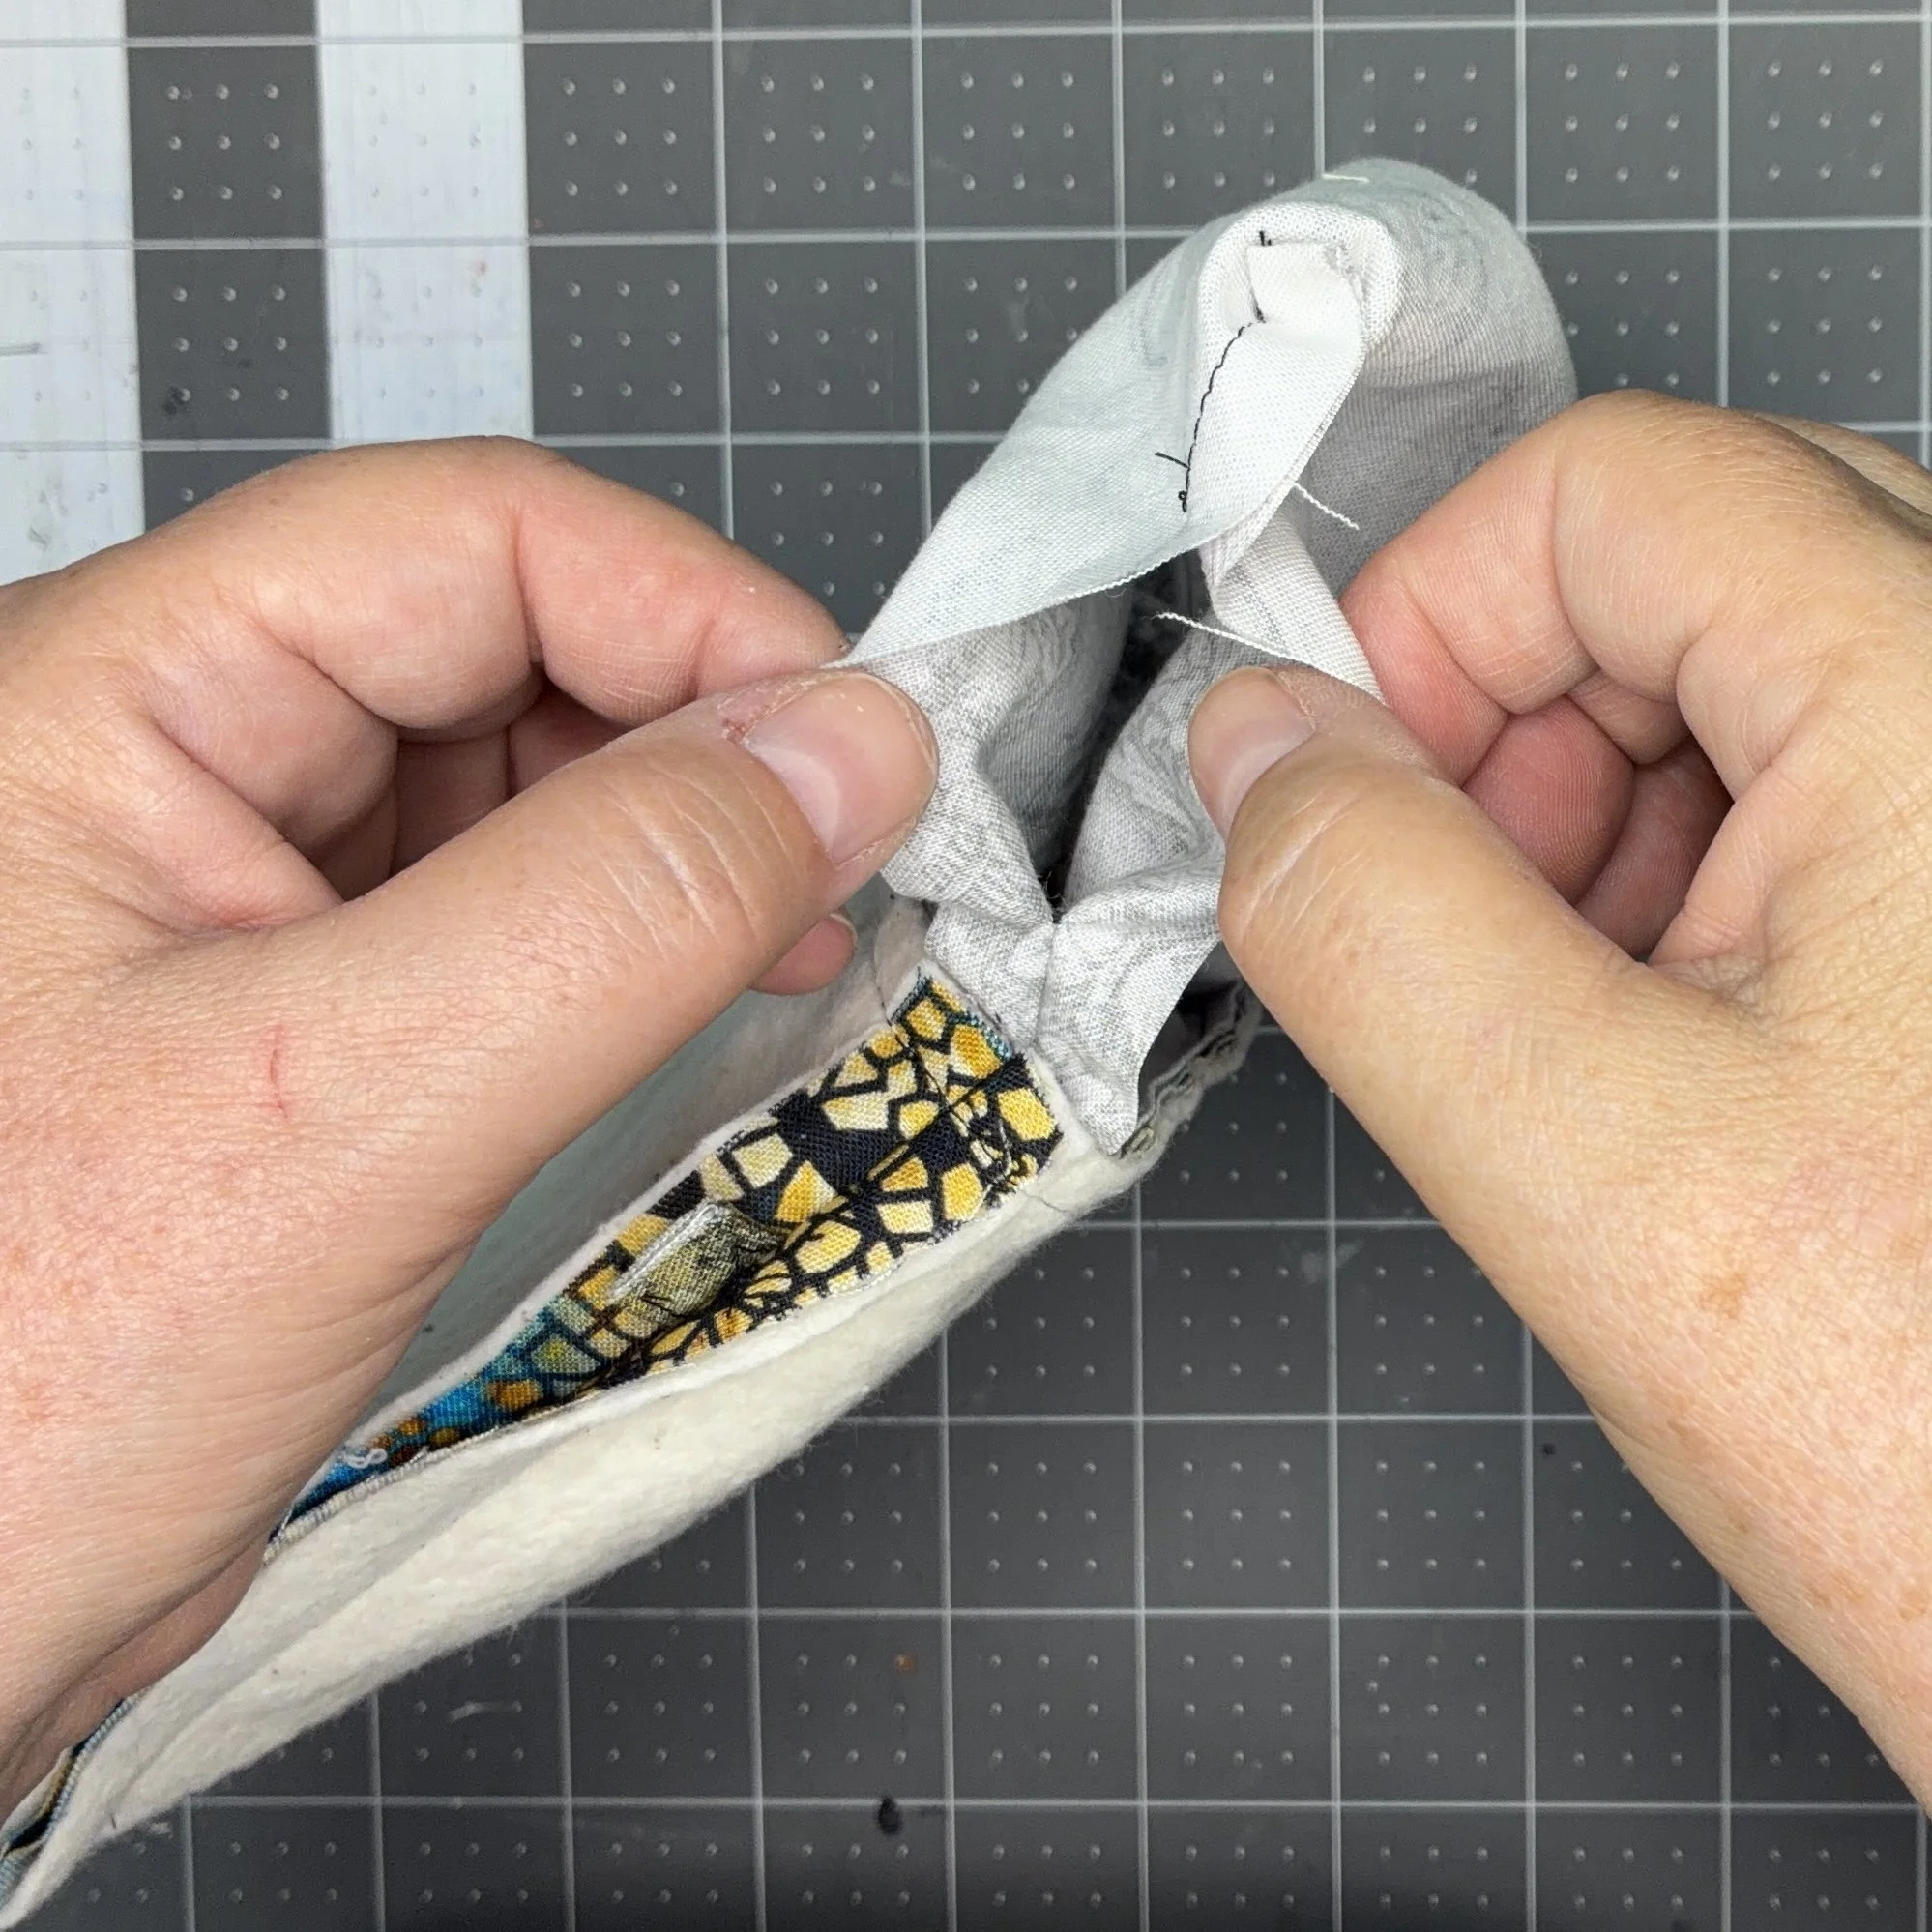
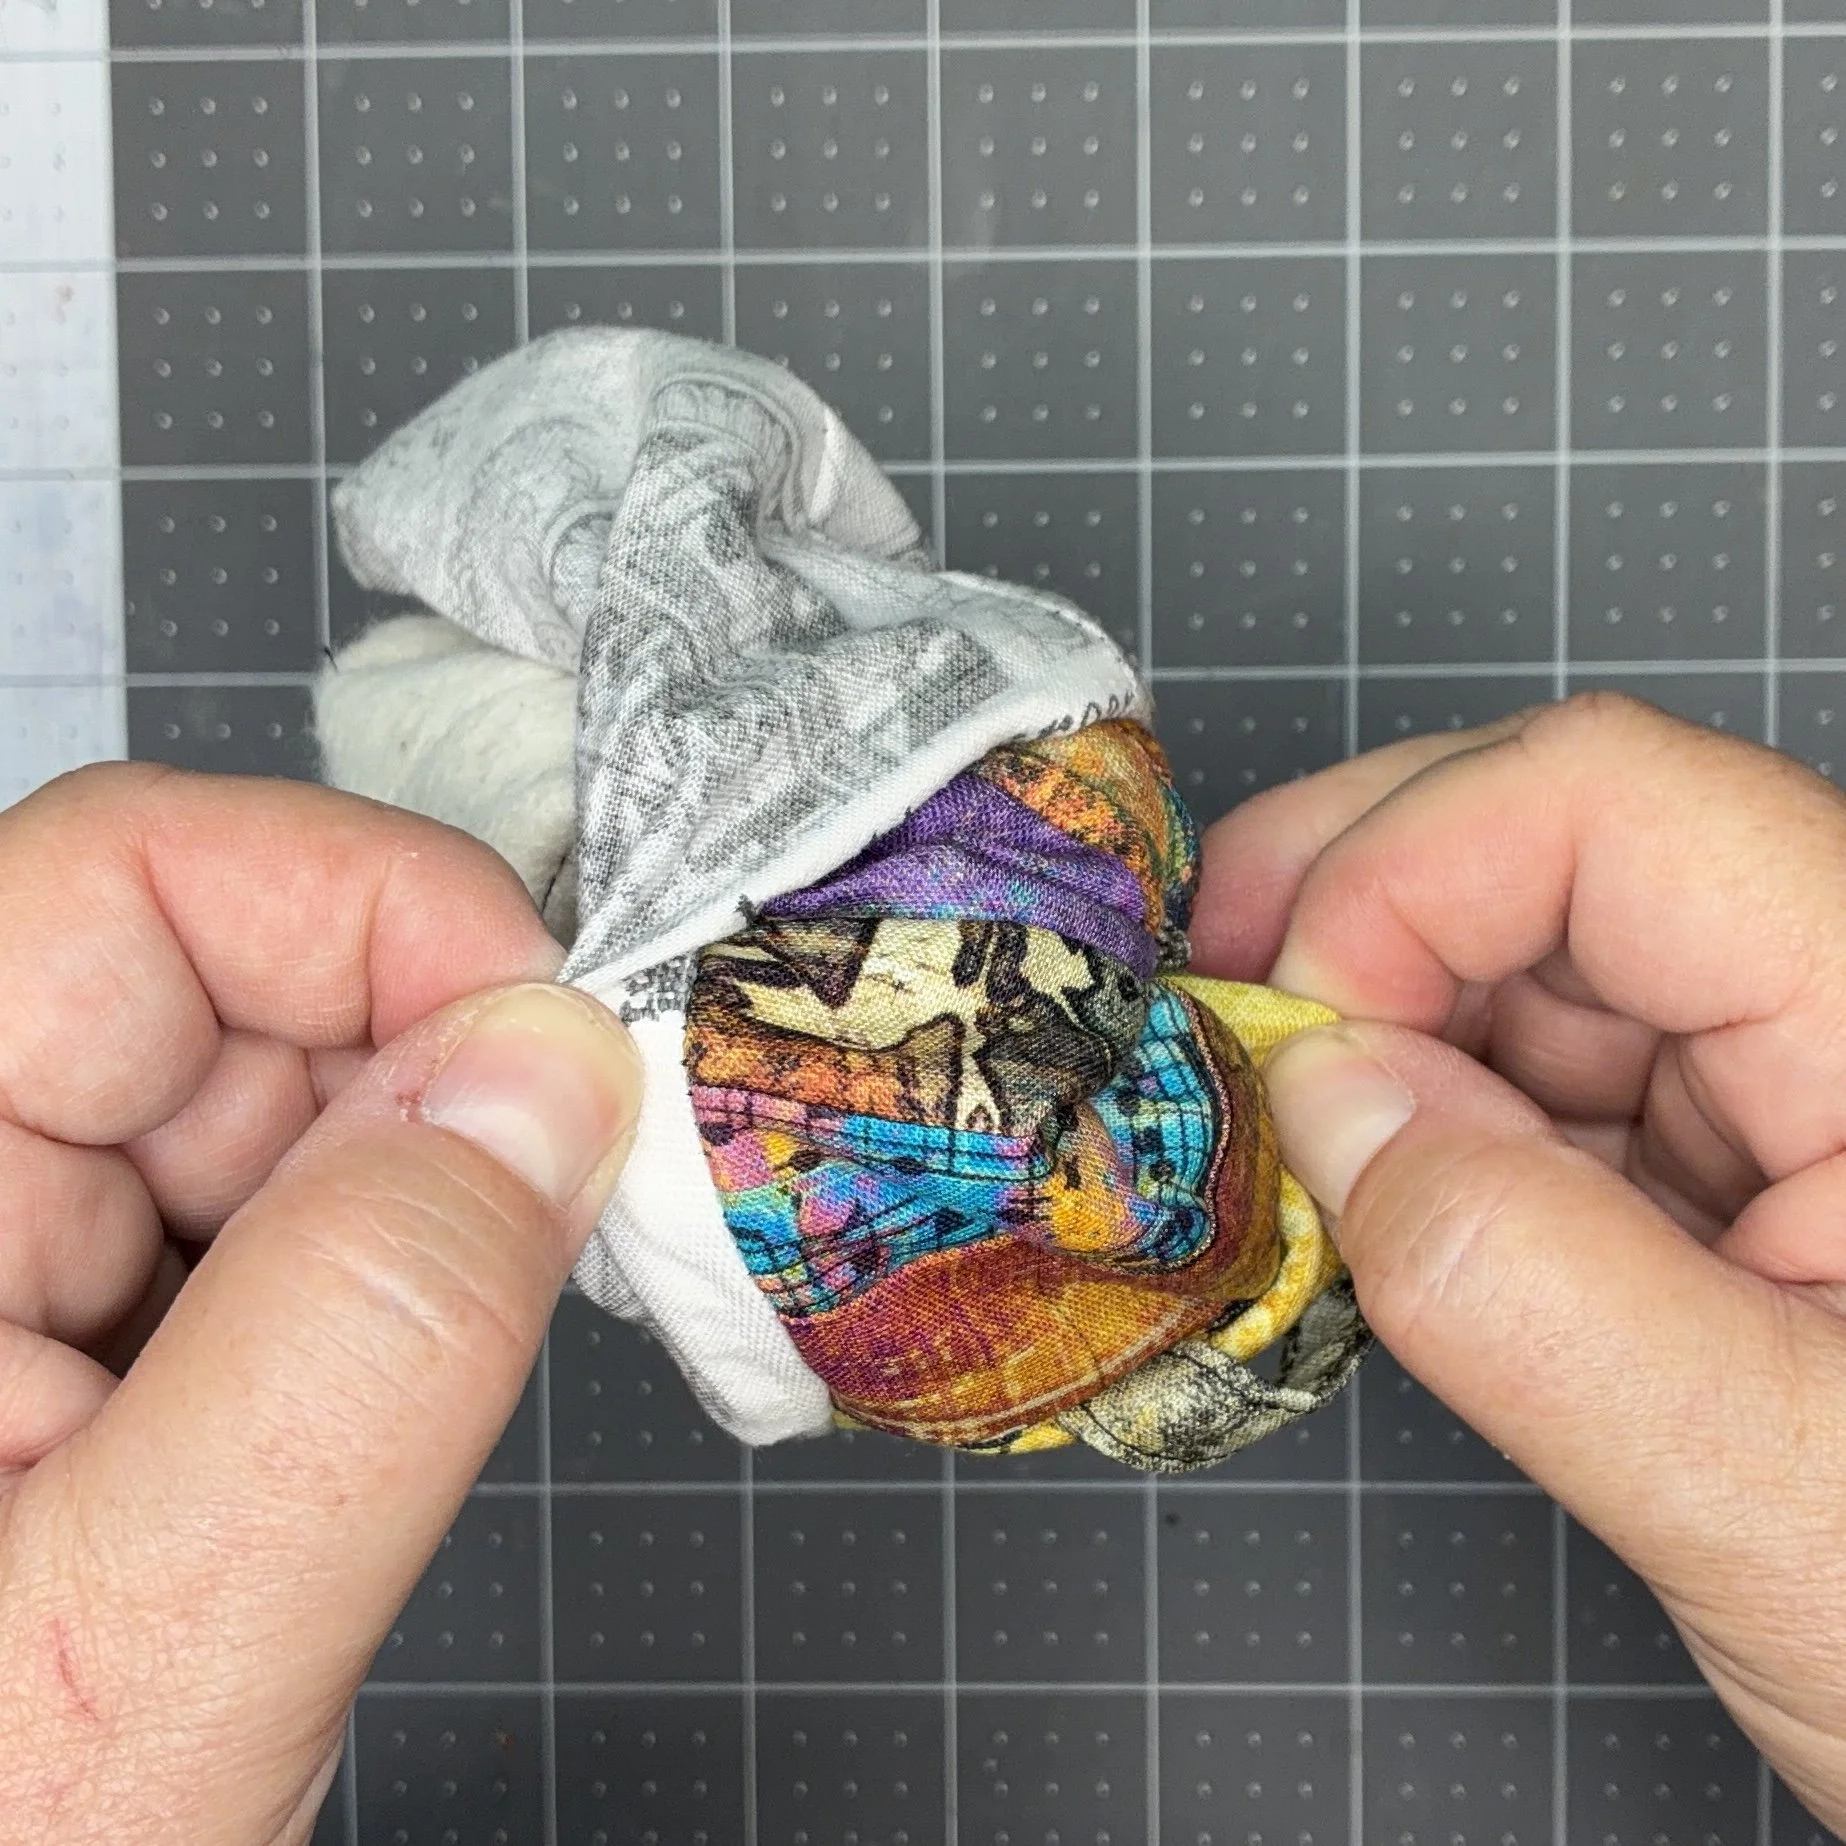
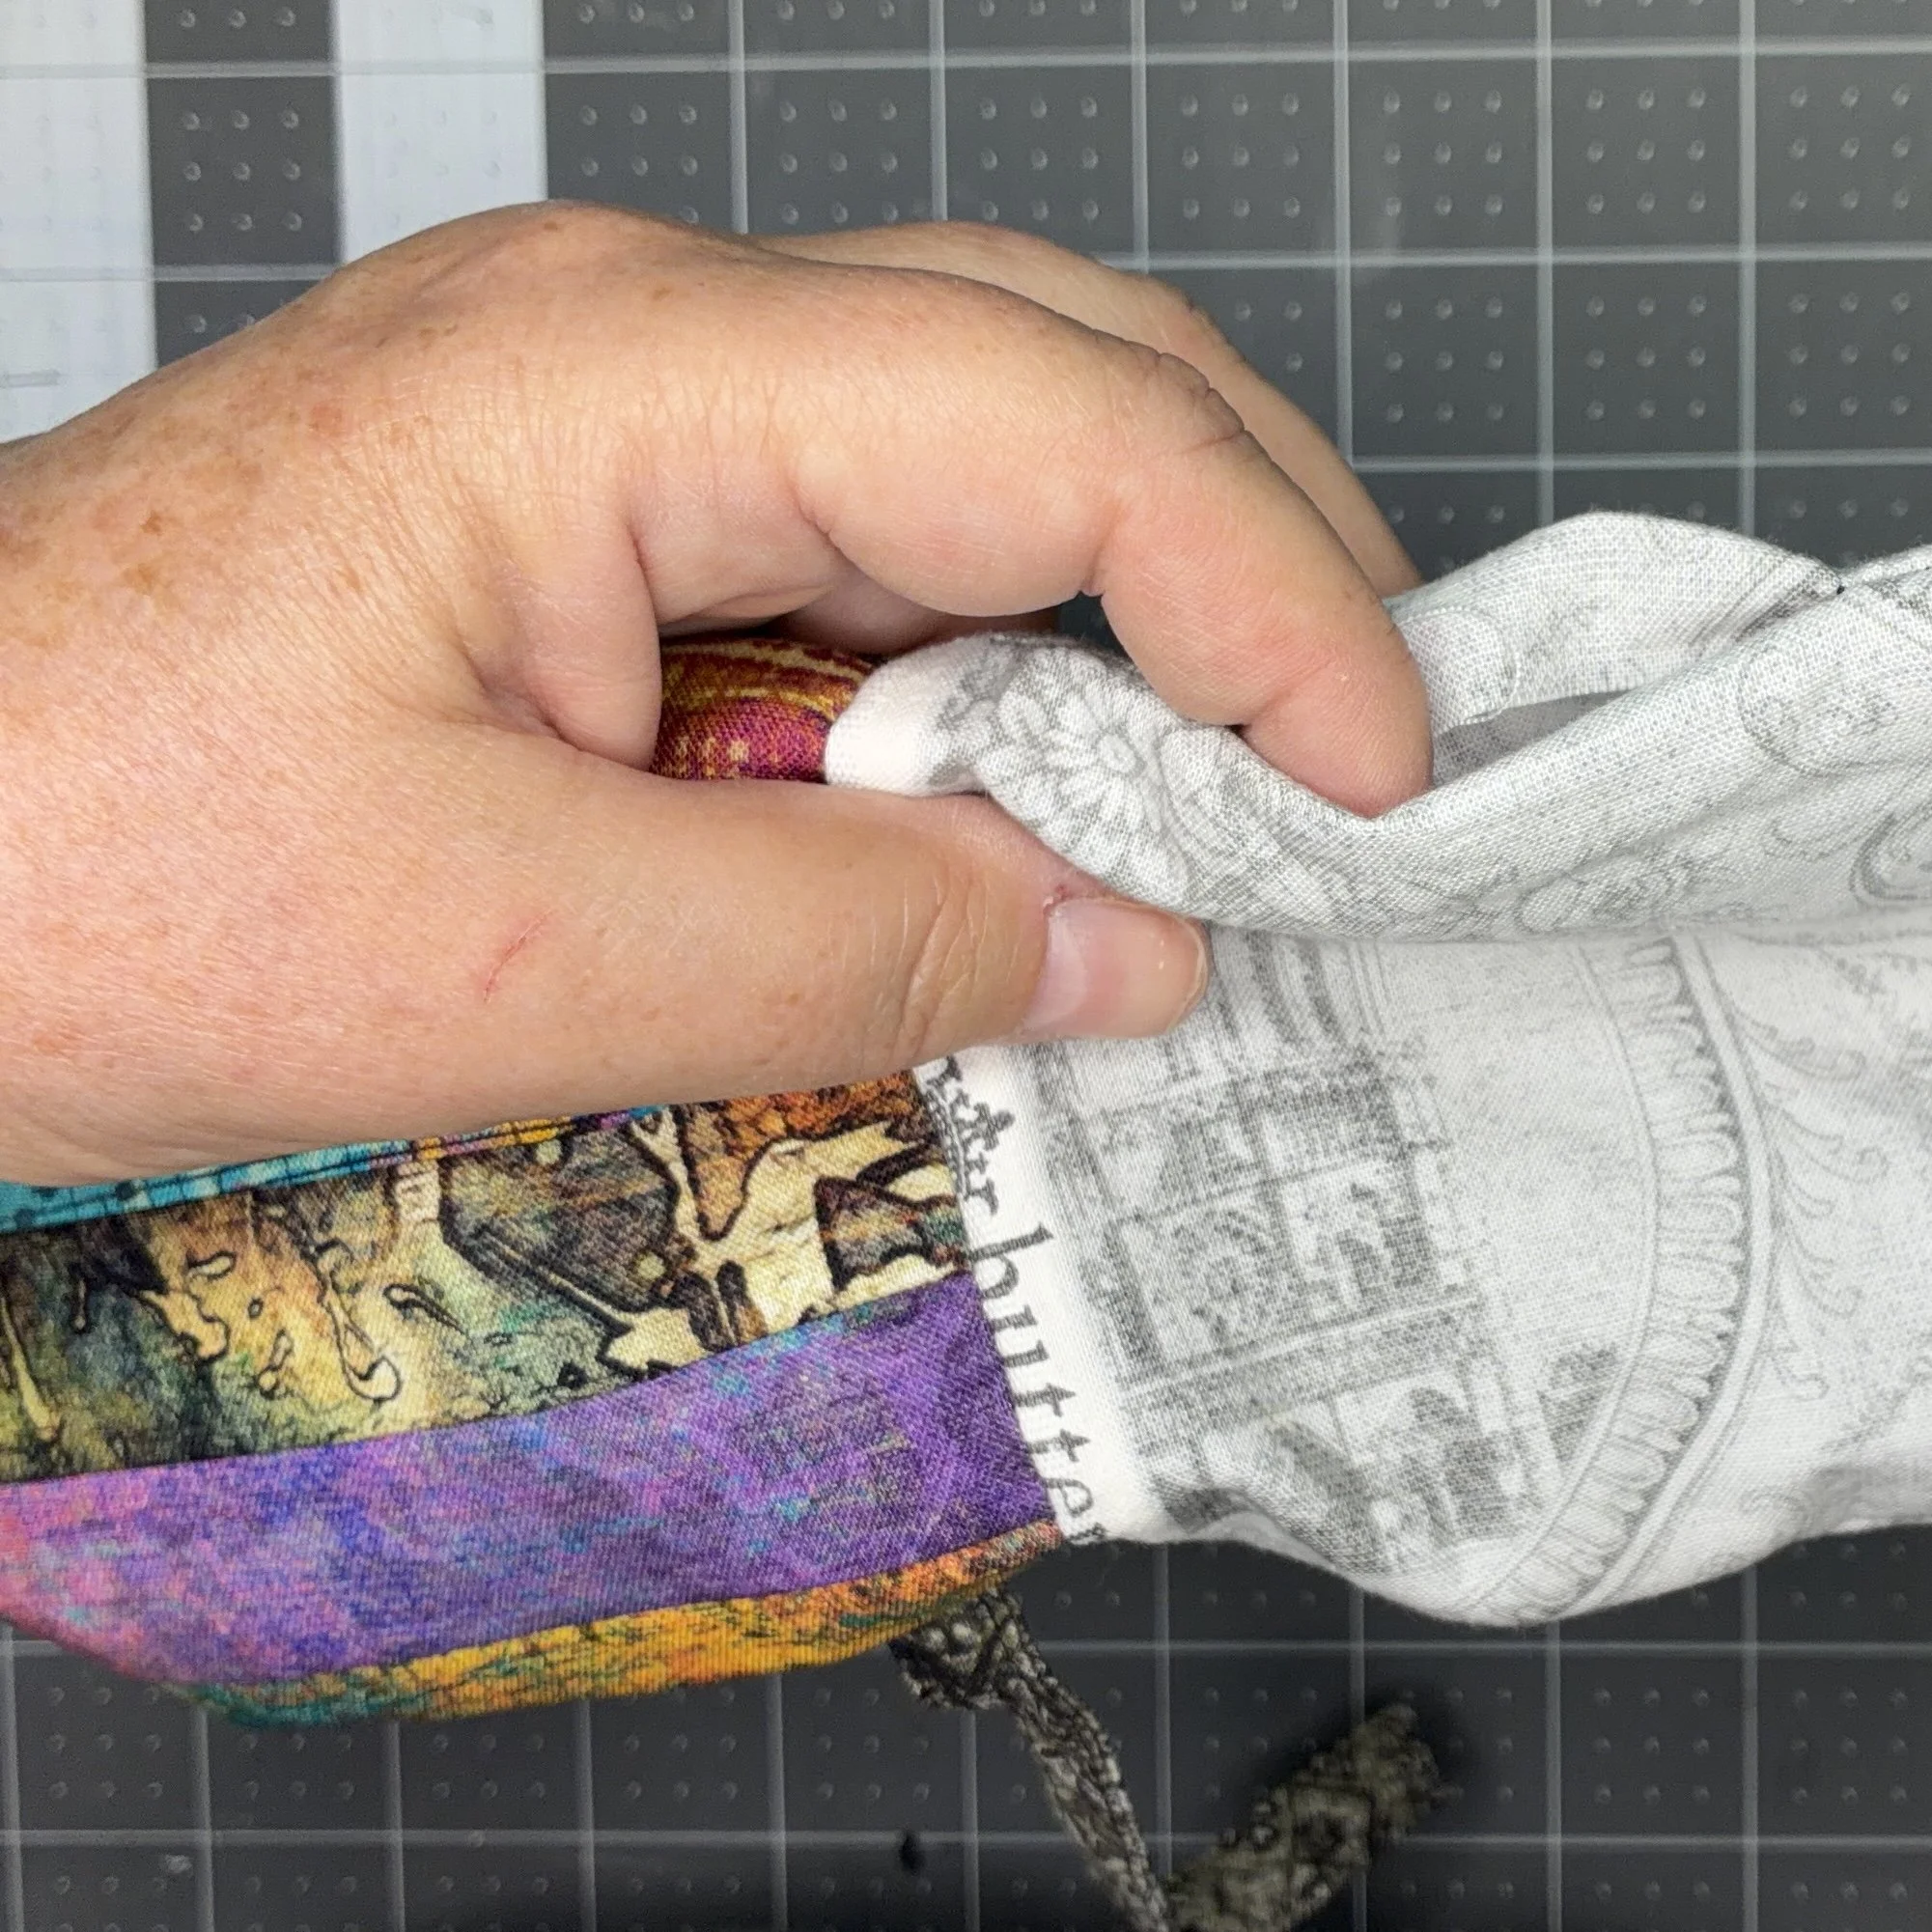
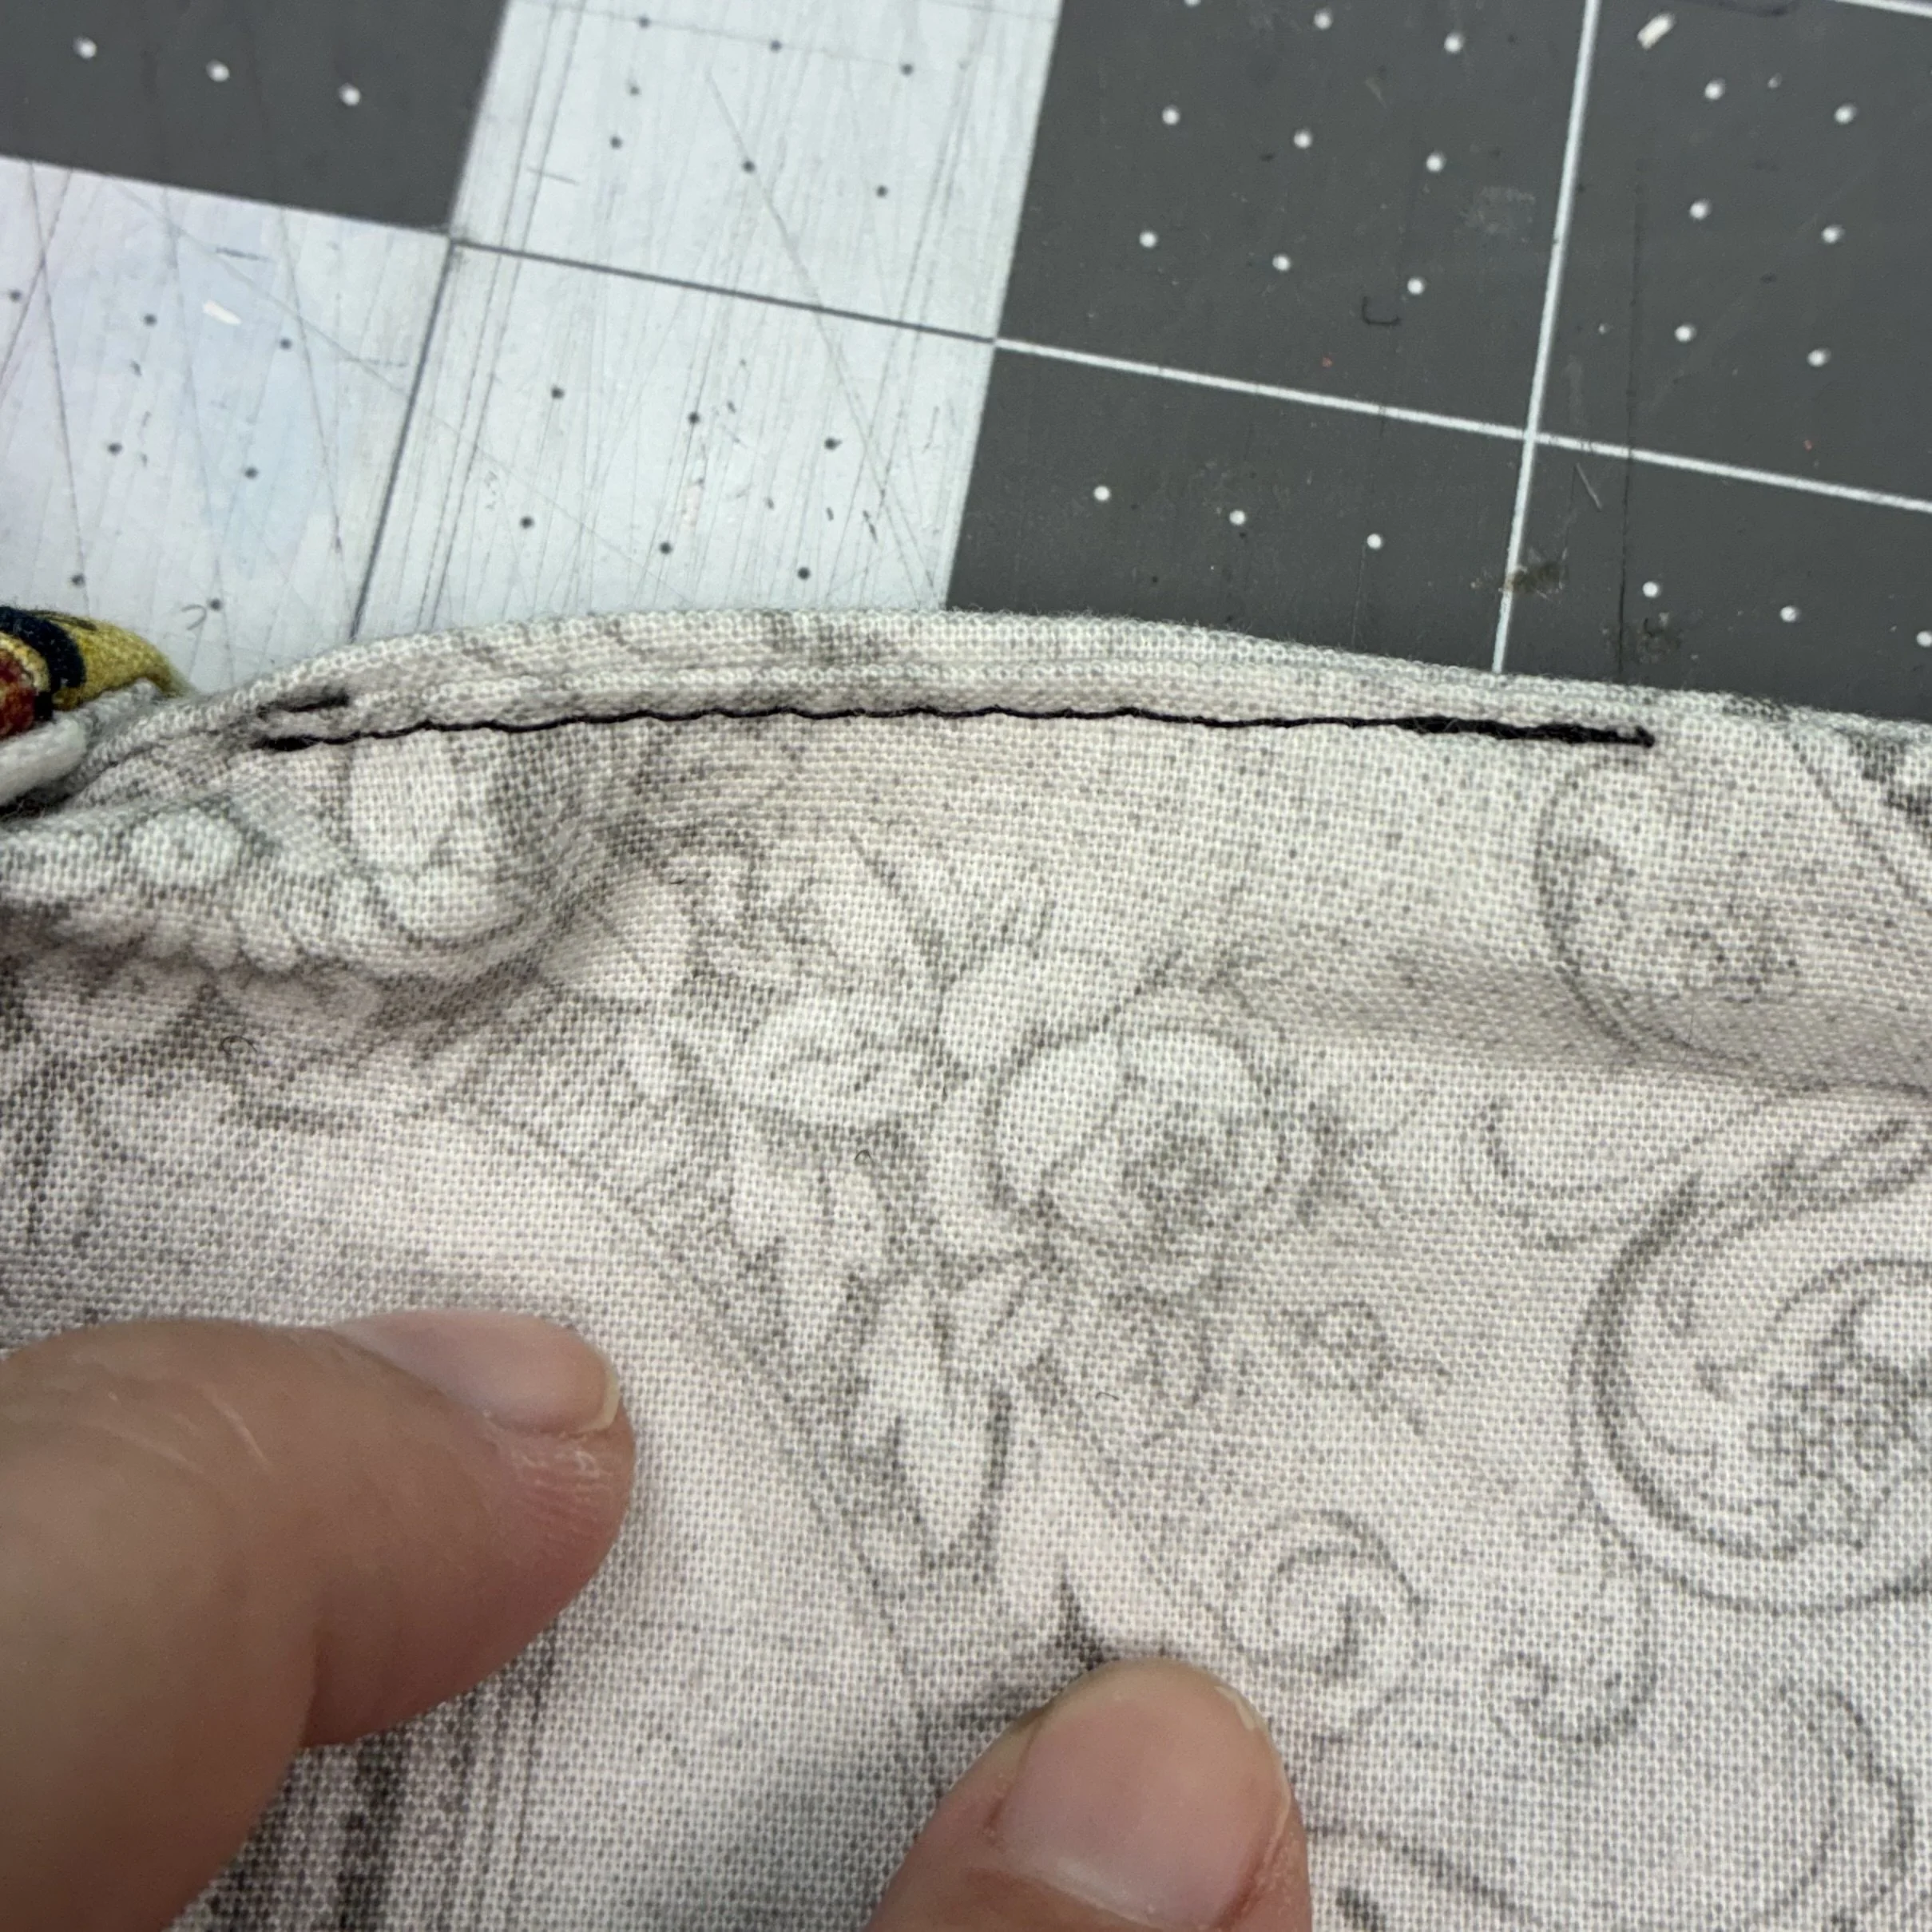
Once it was right side out, I stitched the opening closed. Yes, I could have made it a nicer finish by invisibly hand-stitching the opening, but it just wasn’t that kind of project. I just stitched it on the sewing machine.
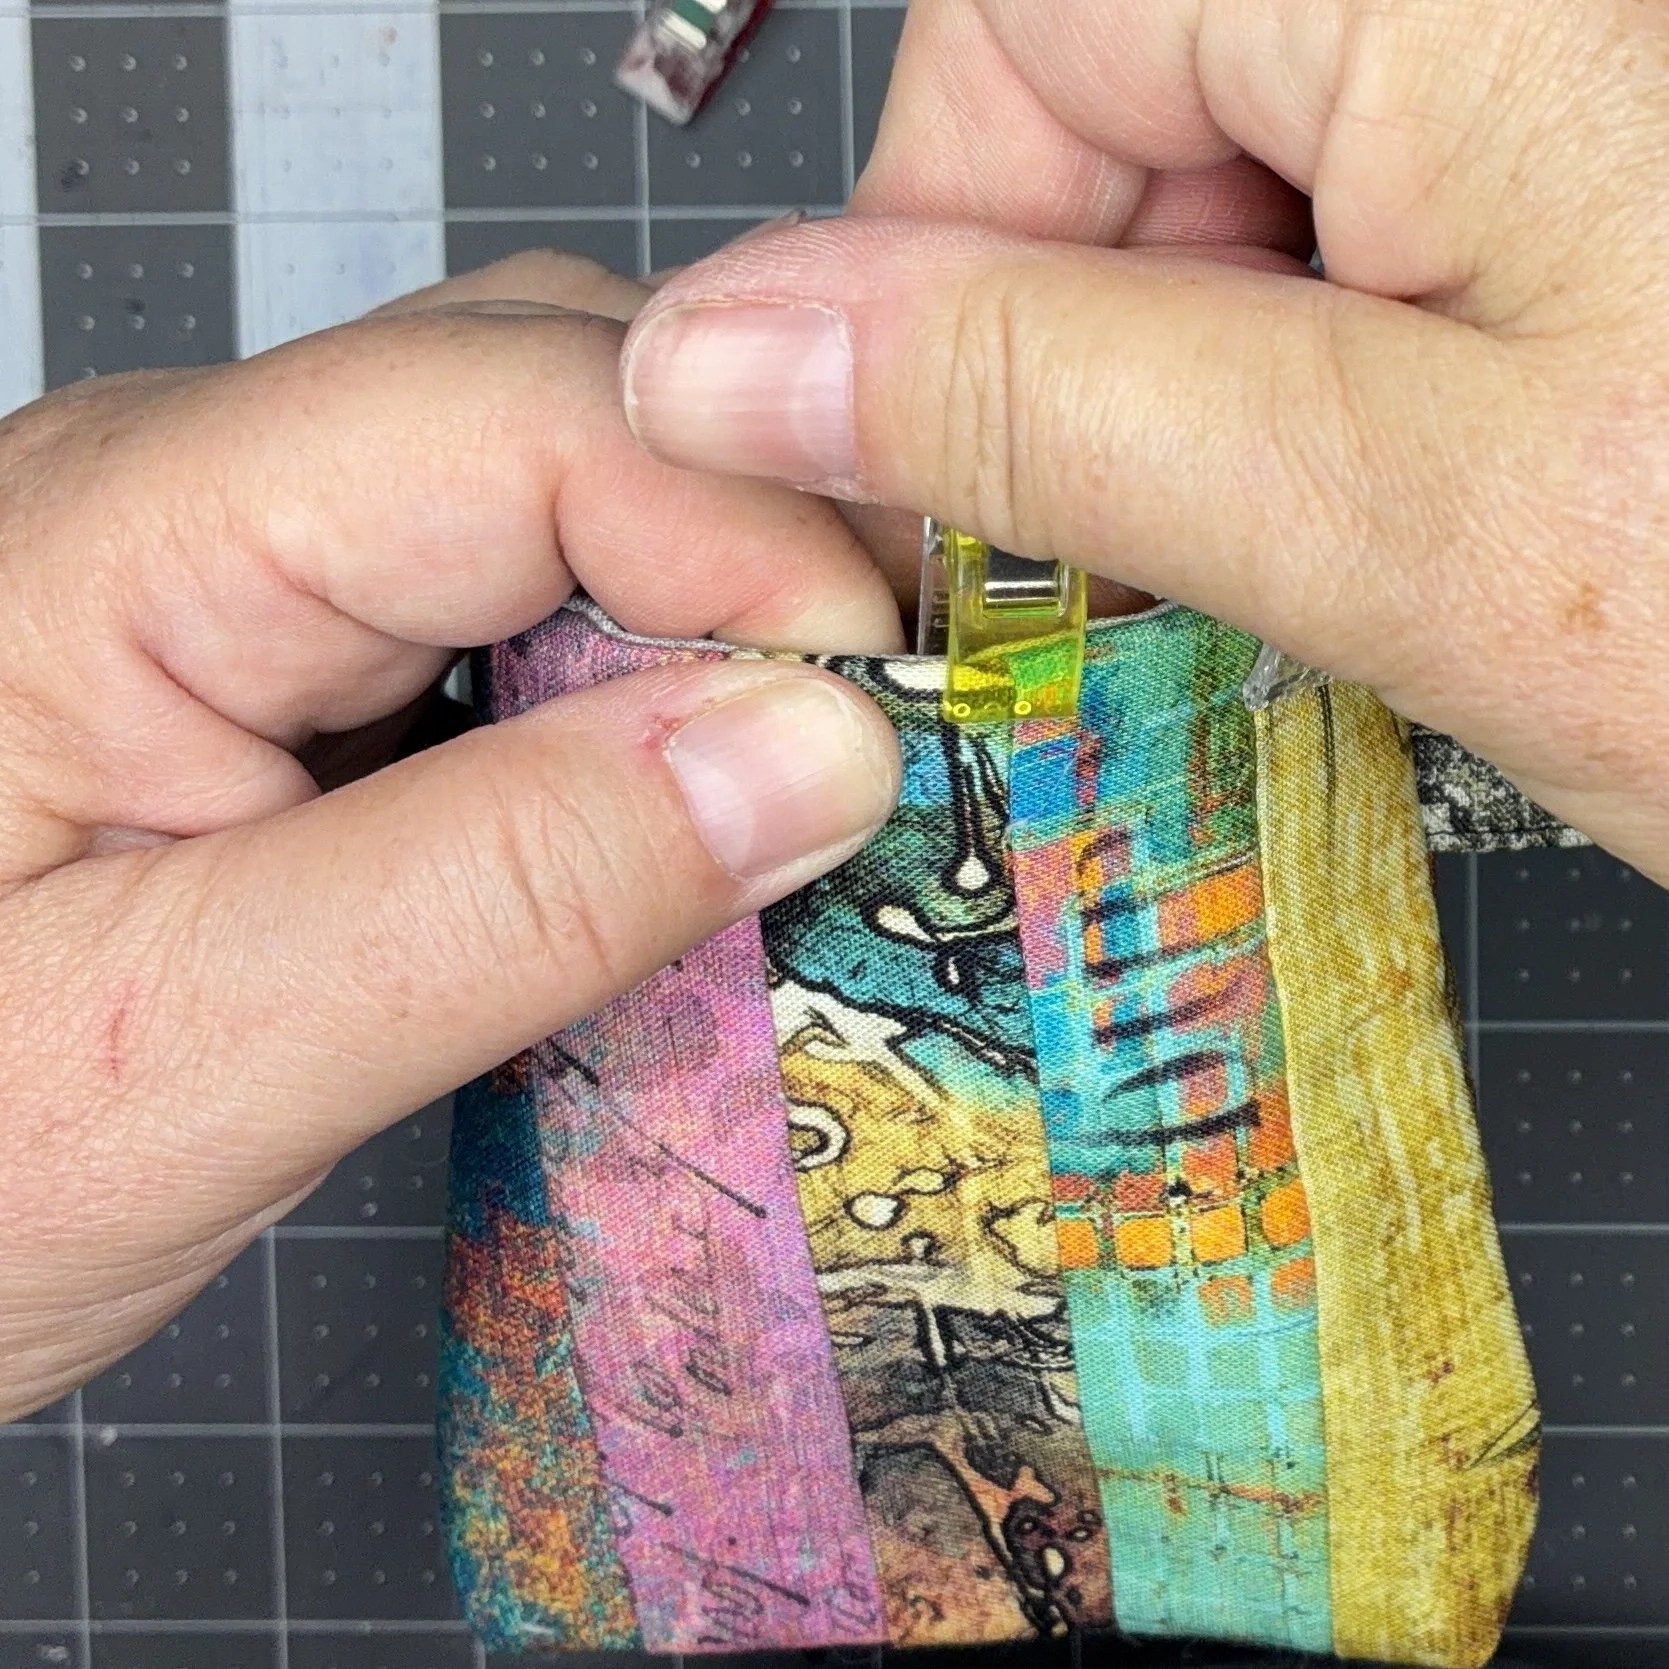
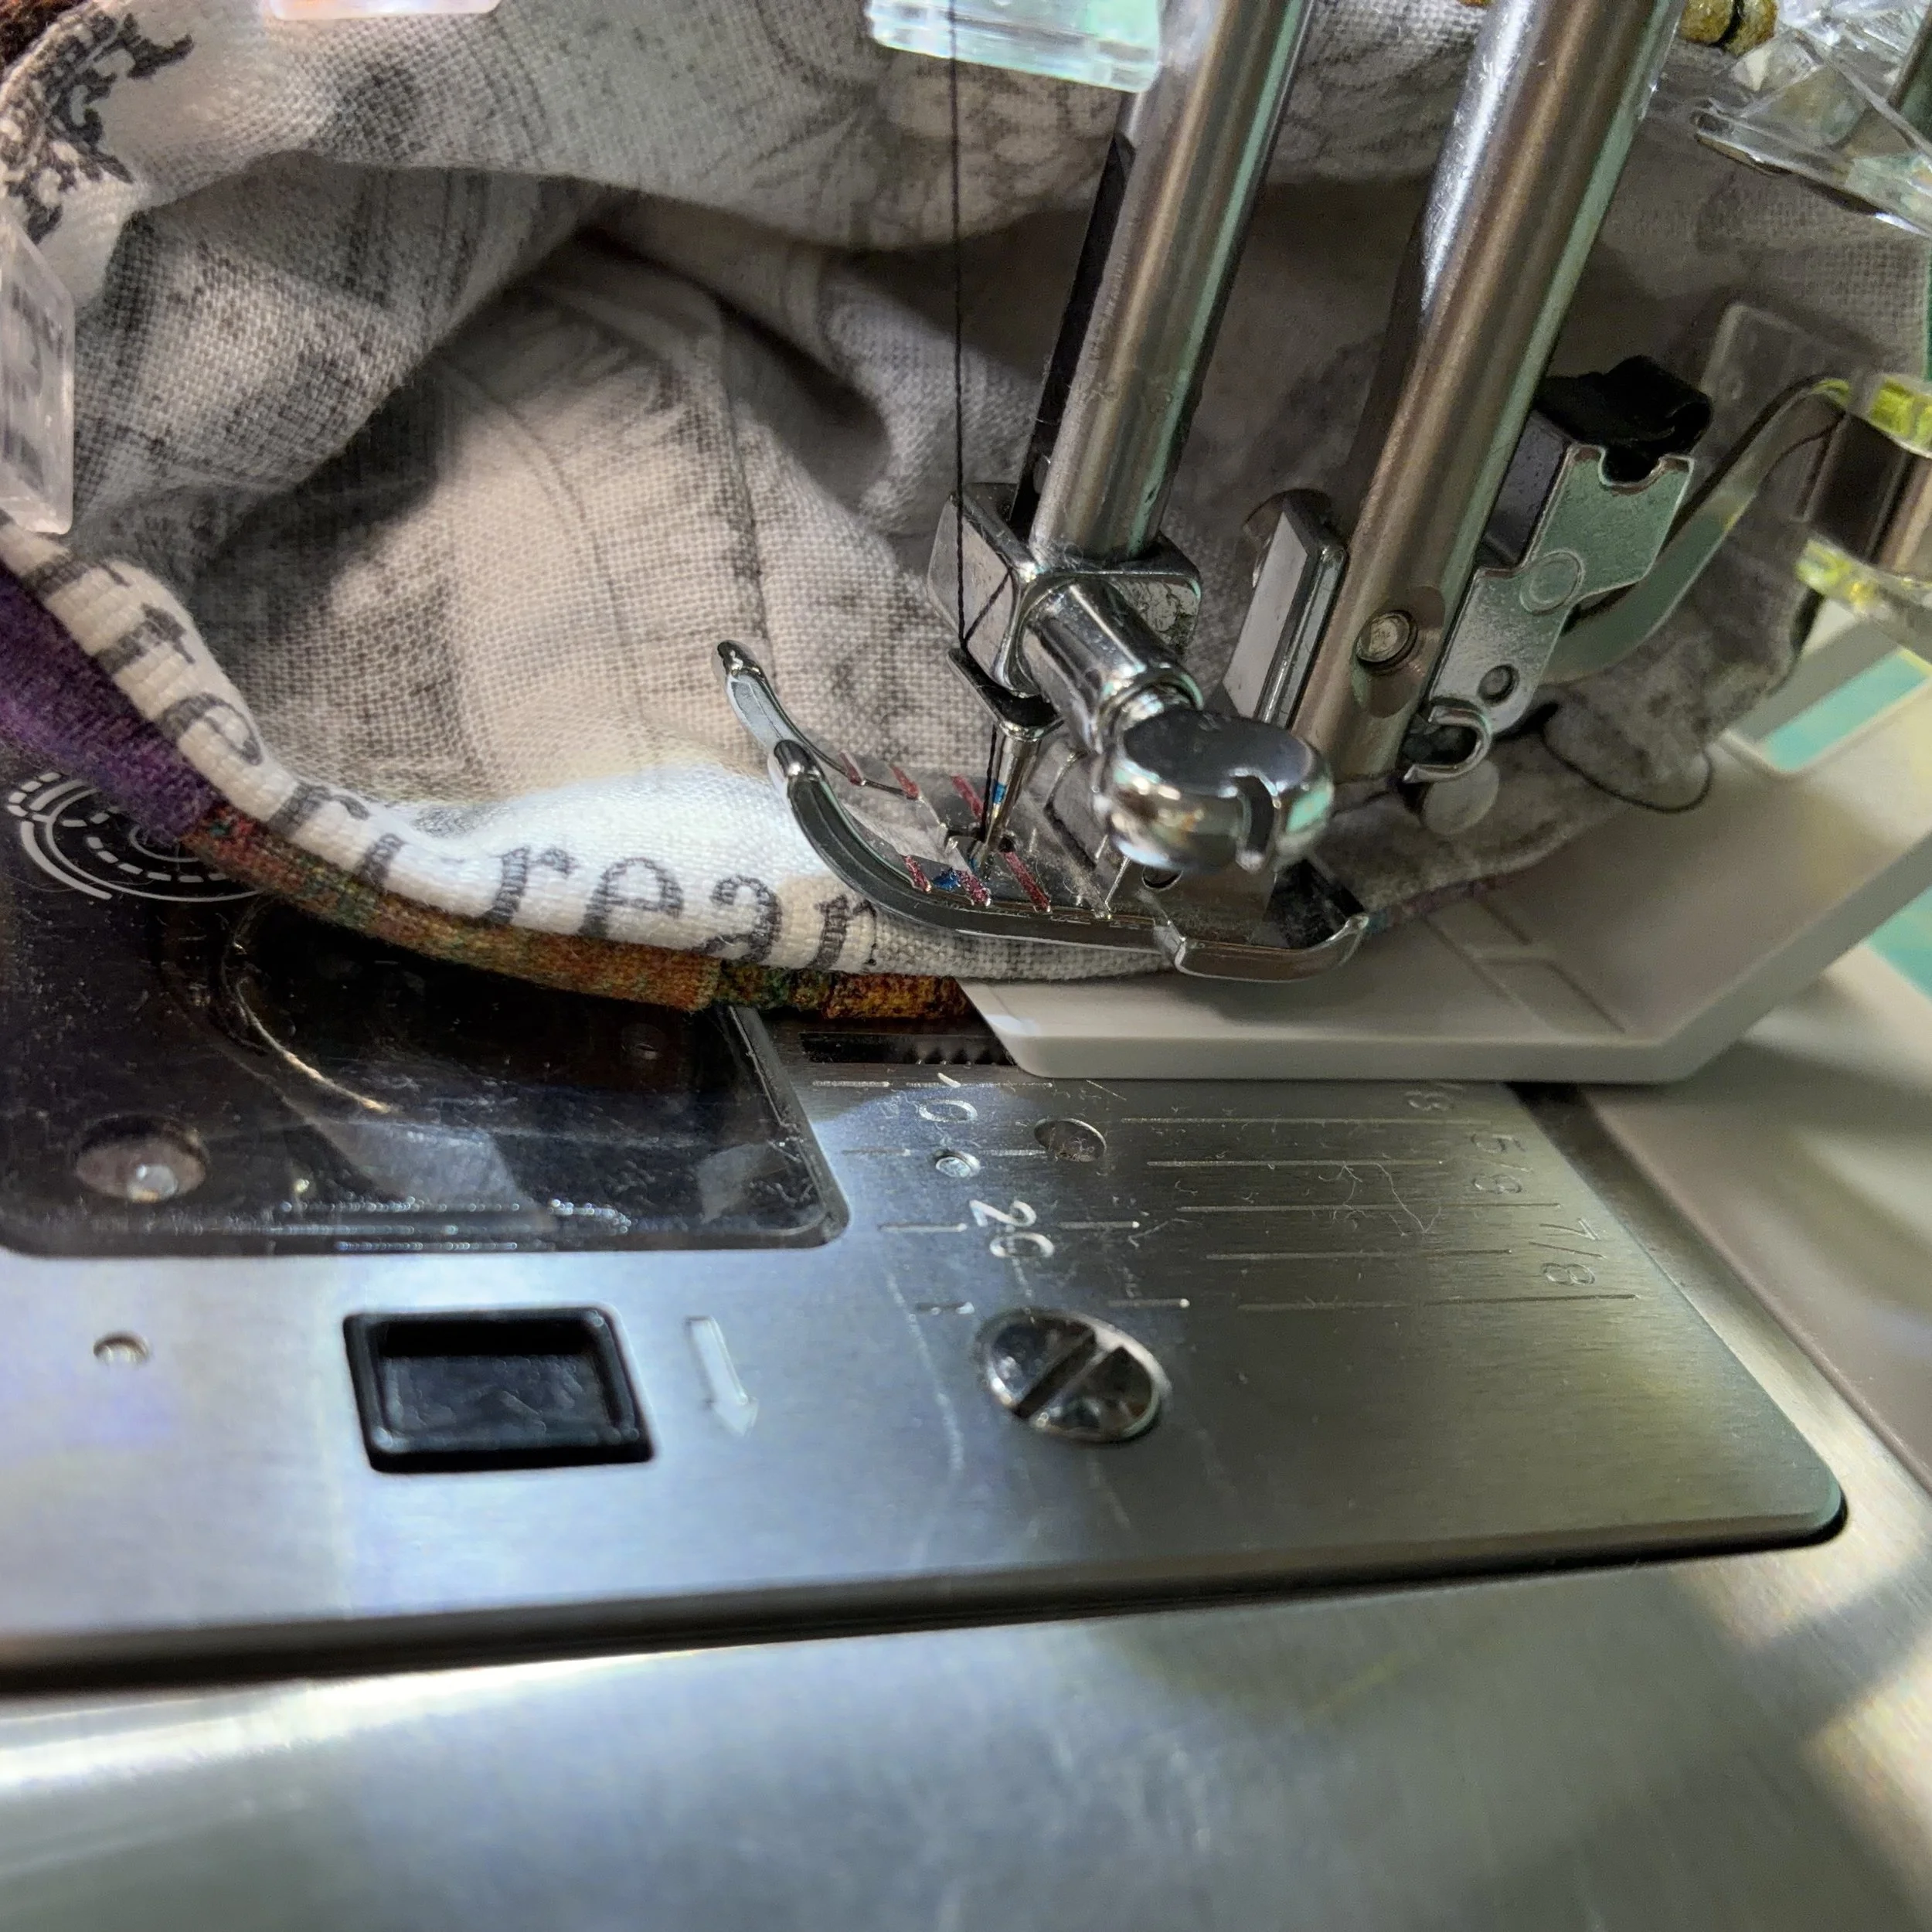
I tucked the lining back inside the quilted outer shell, used my sewing clips to hold the top edge closed, and top stitched around the top edge. When I got to the side seams, which were extremely bulky with several layers of batting and fabric, I had to use my hump-jumper to get over the thick bits. I love that little tool. And I also love saying hump-jumper. Hump-jumper! Hump-jumper! Try it. It’s fun..you’ll see.
Ahem.
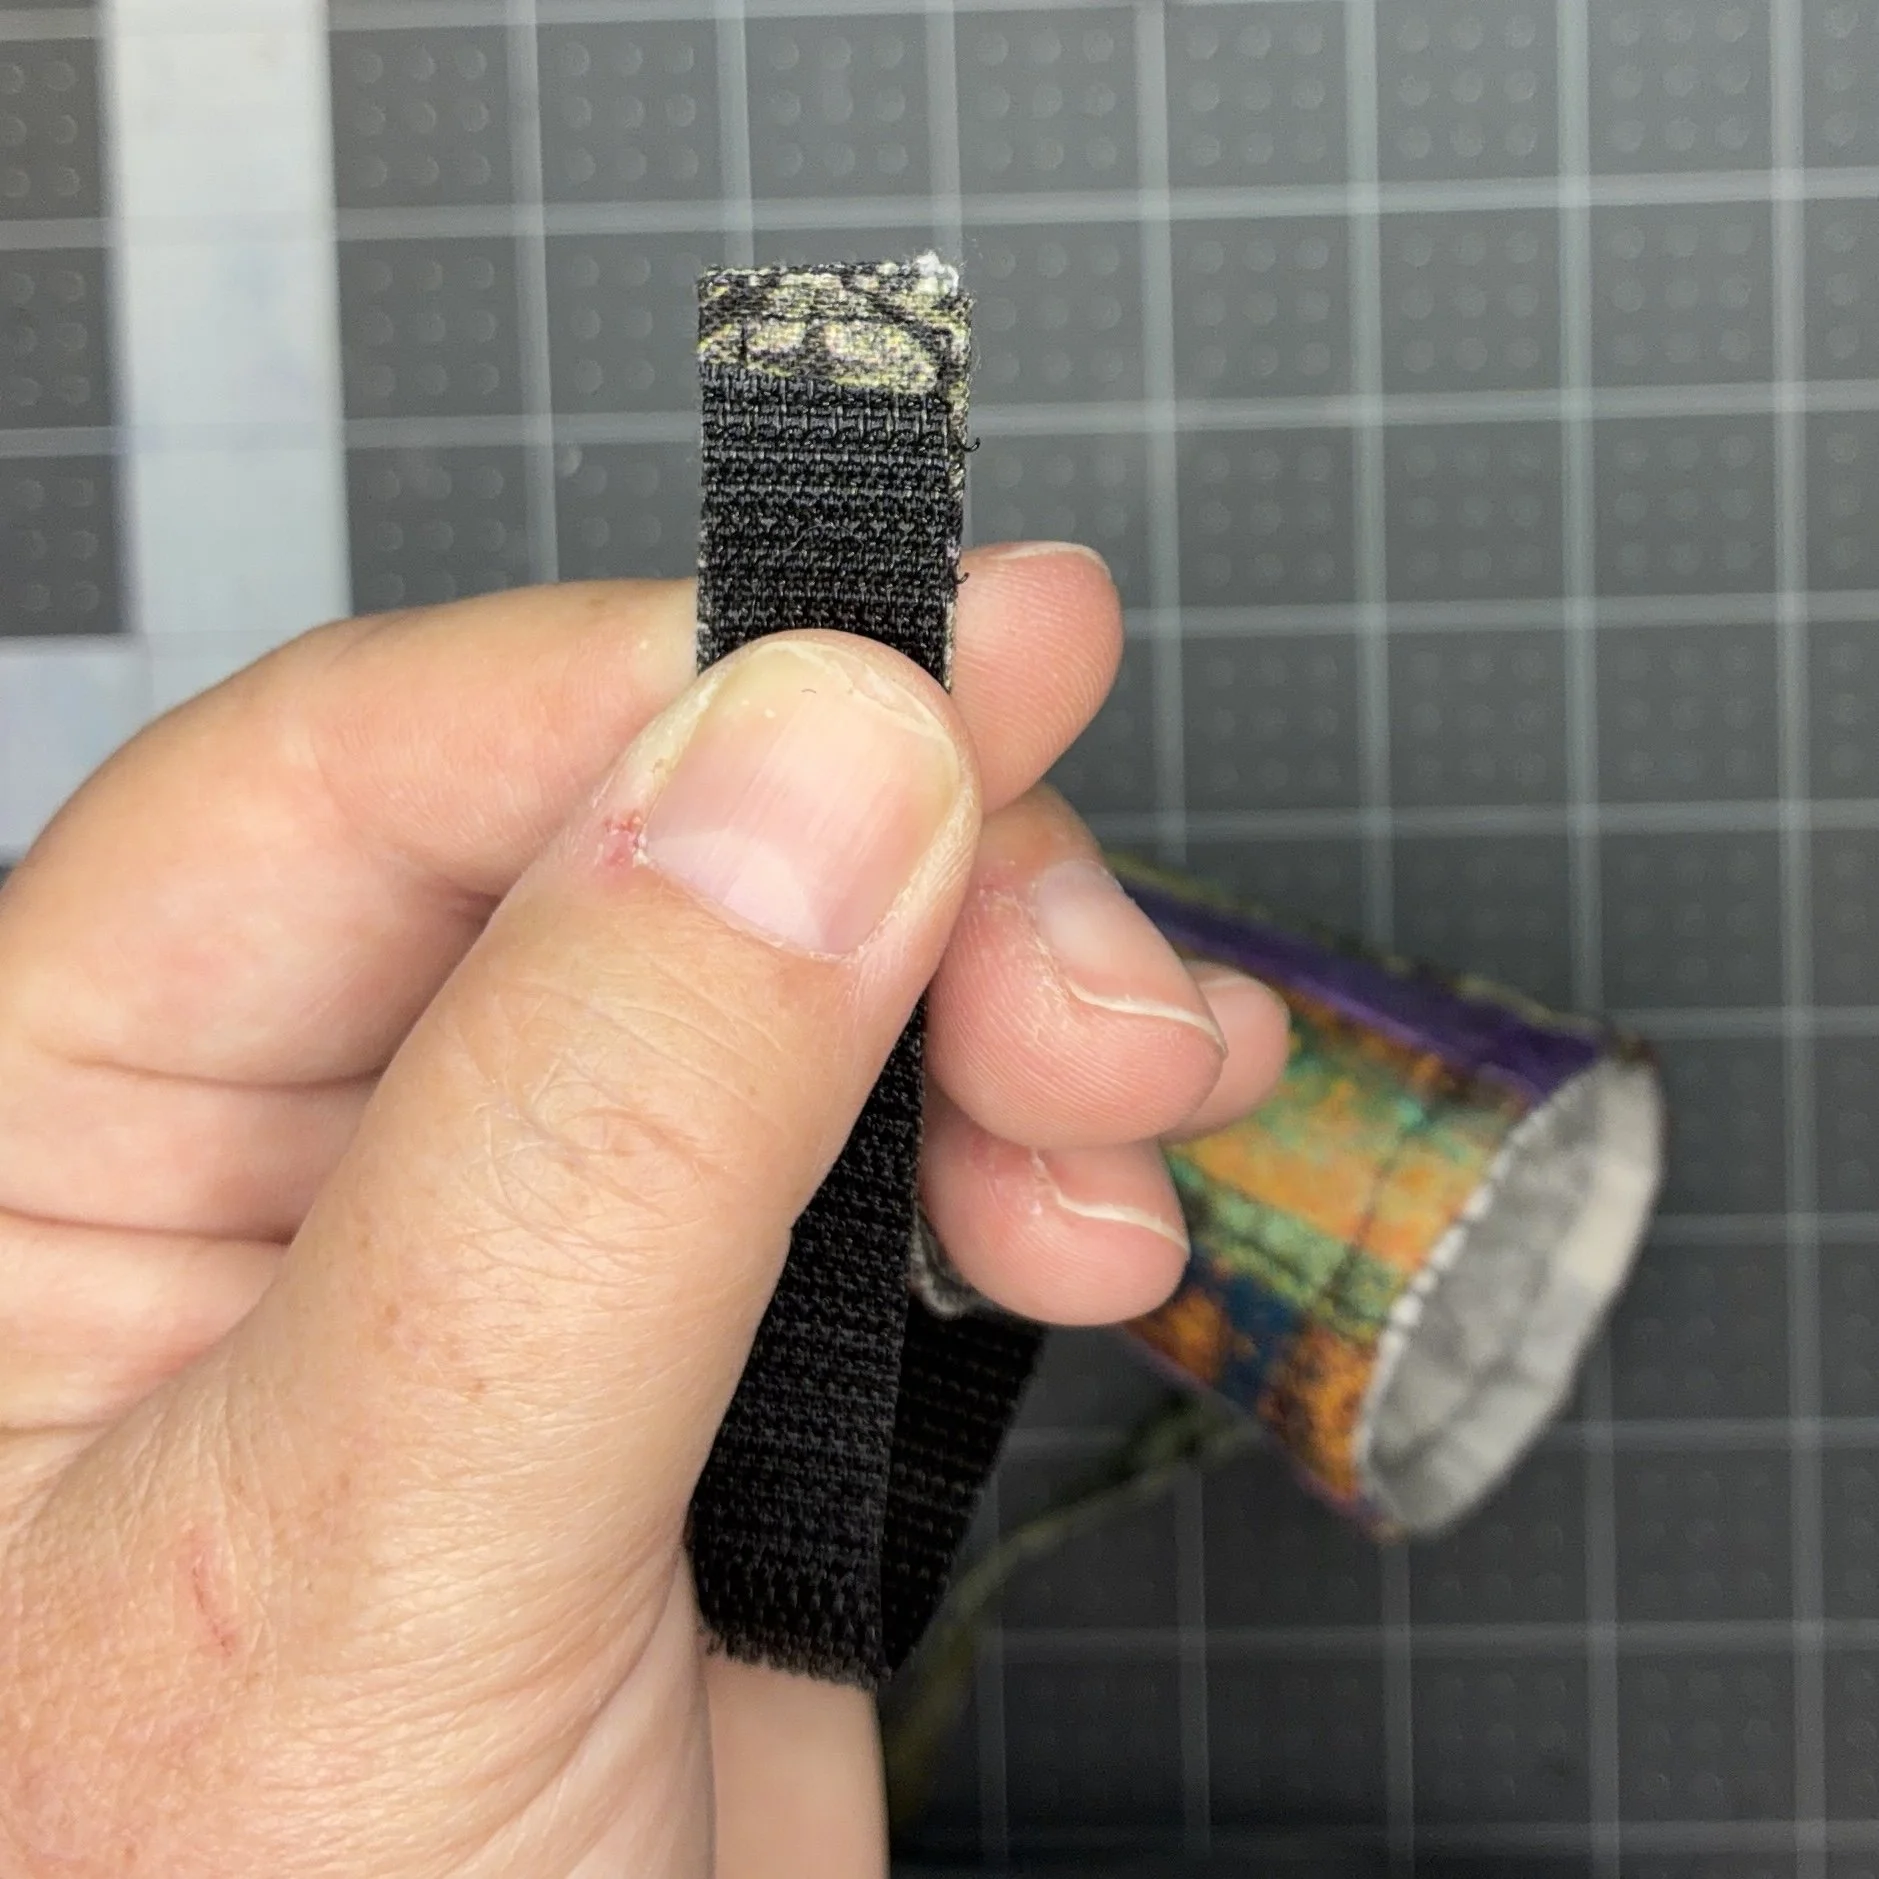
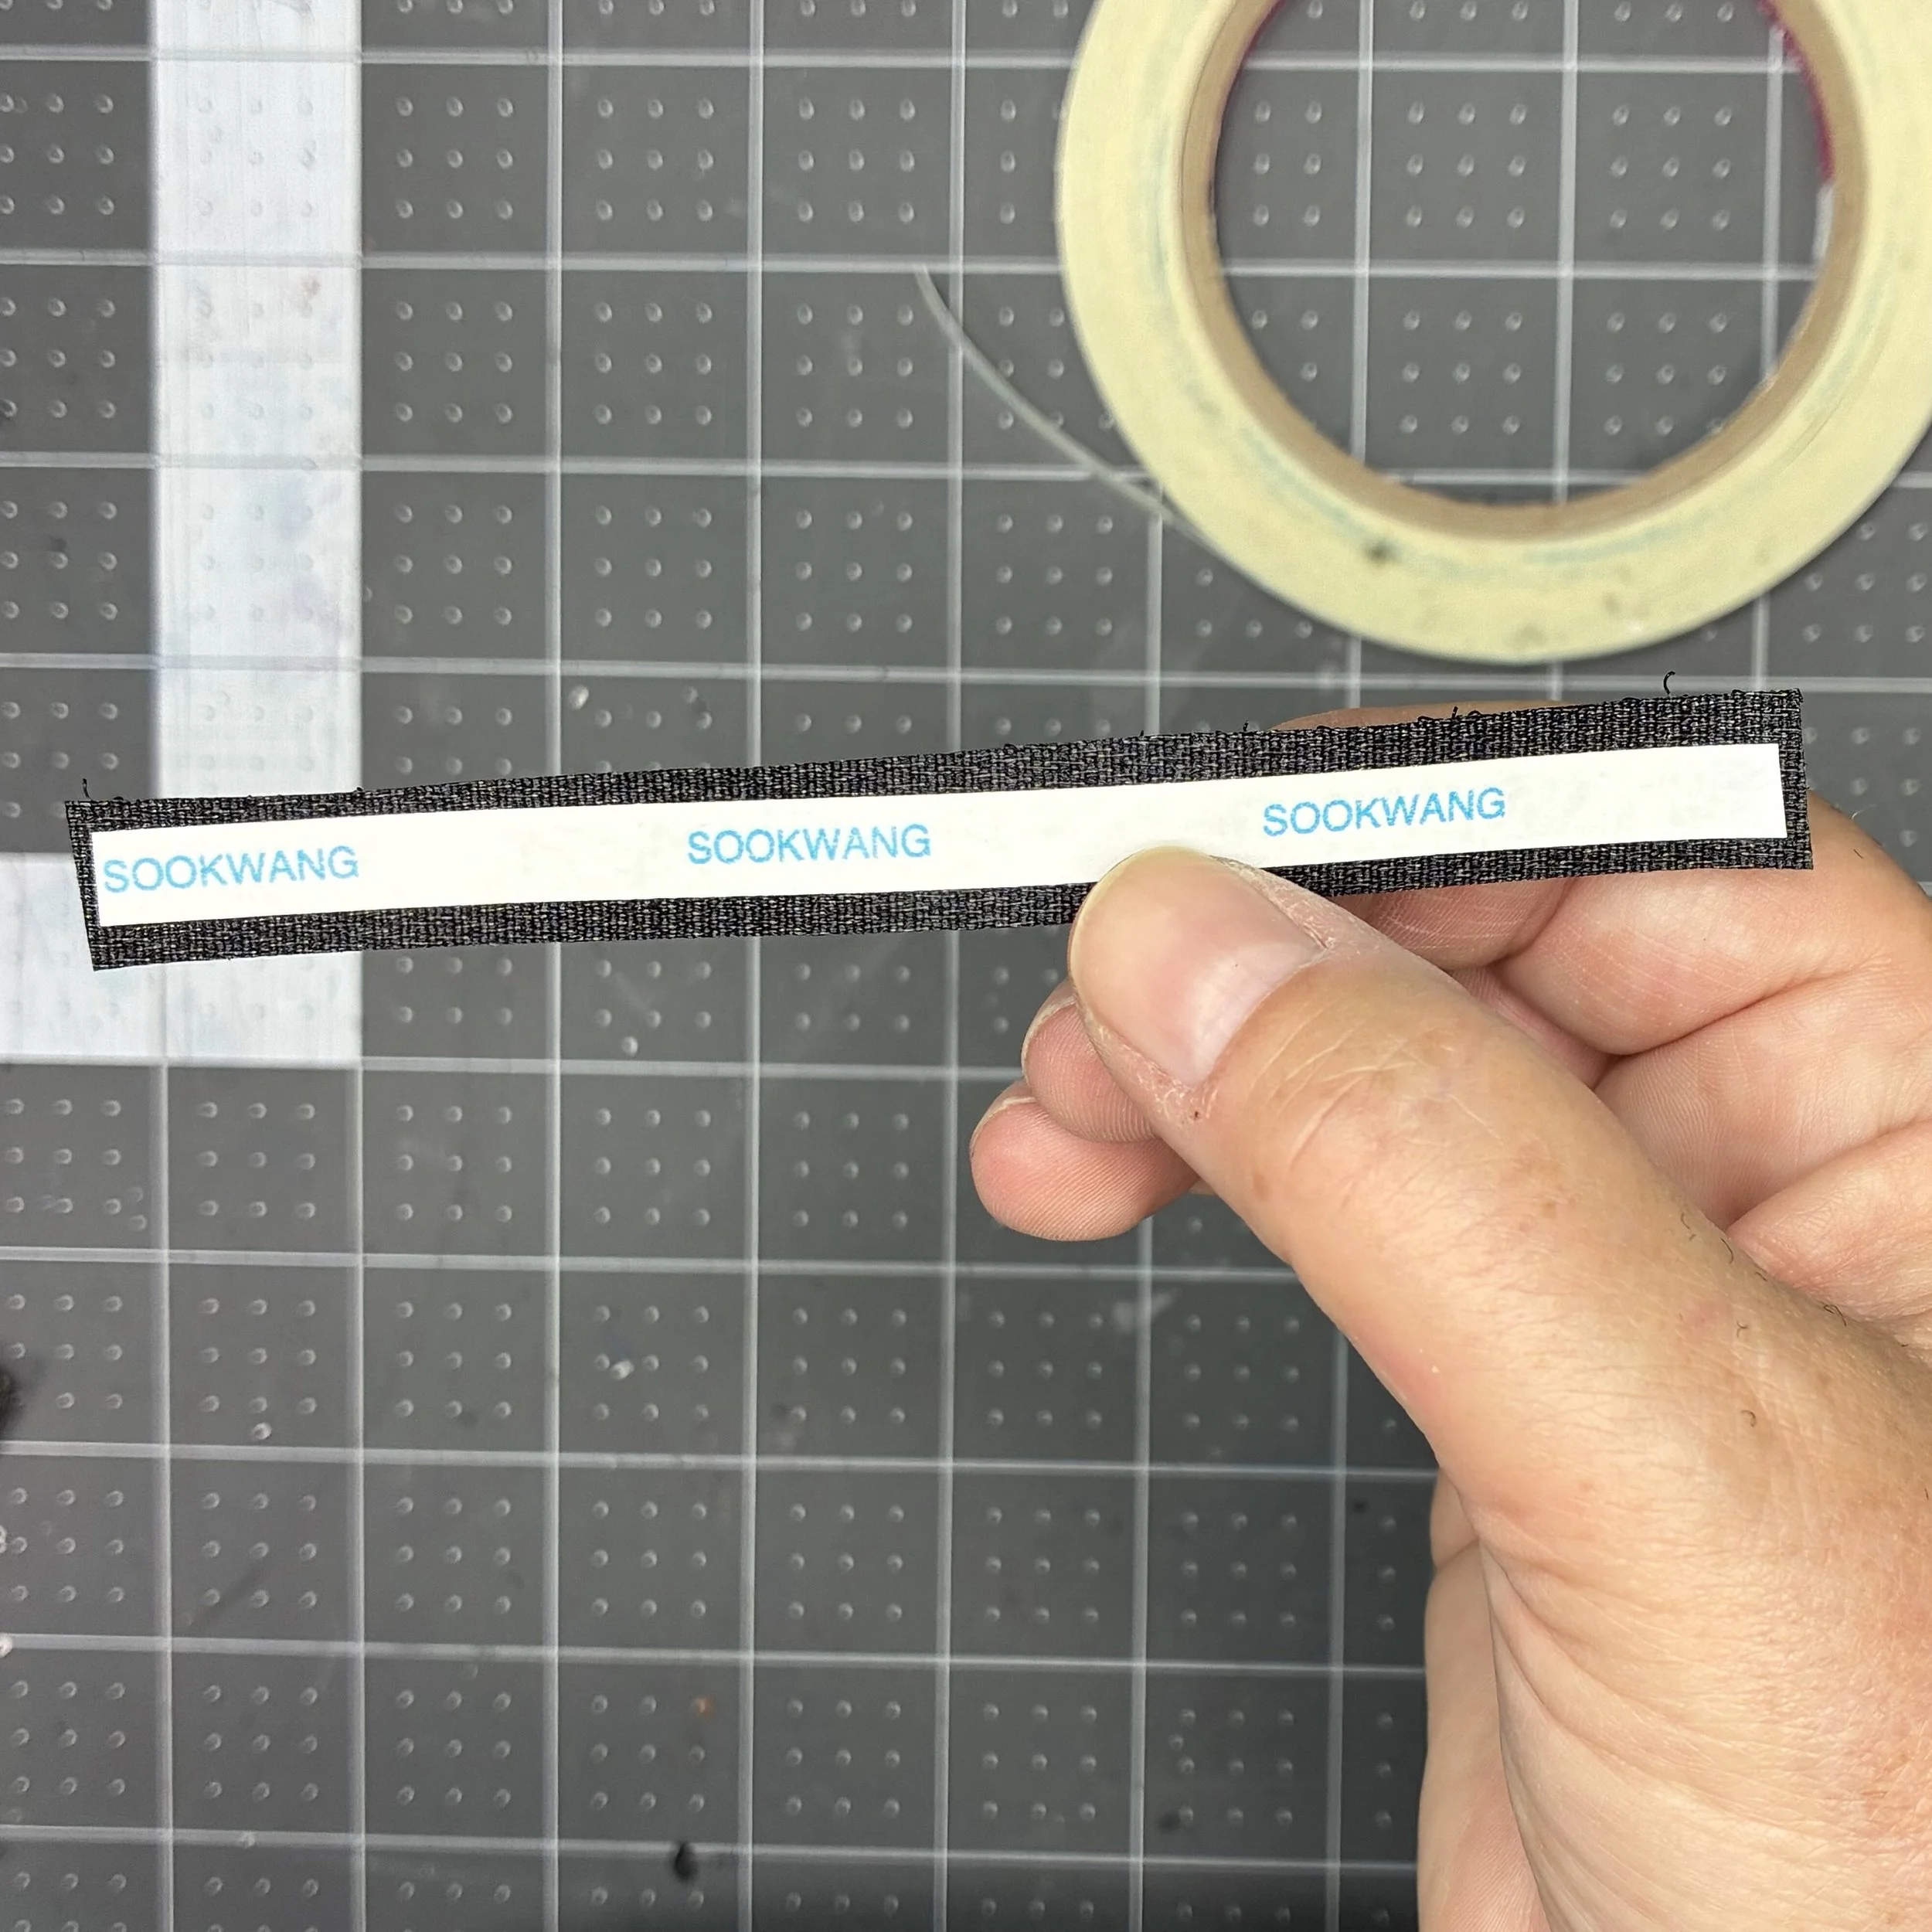
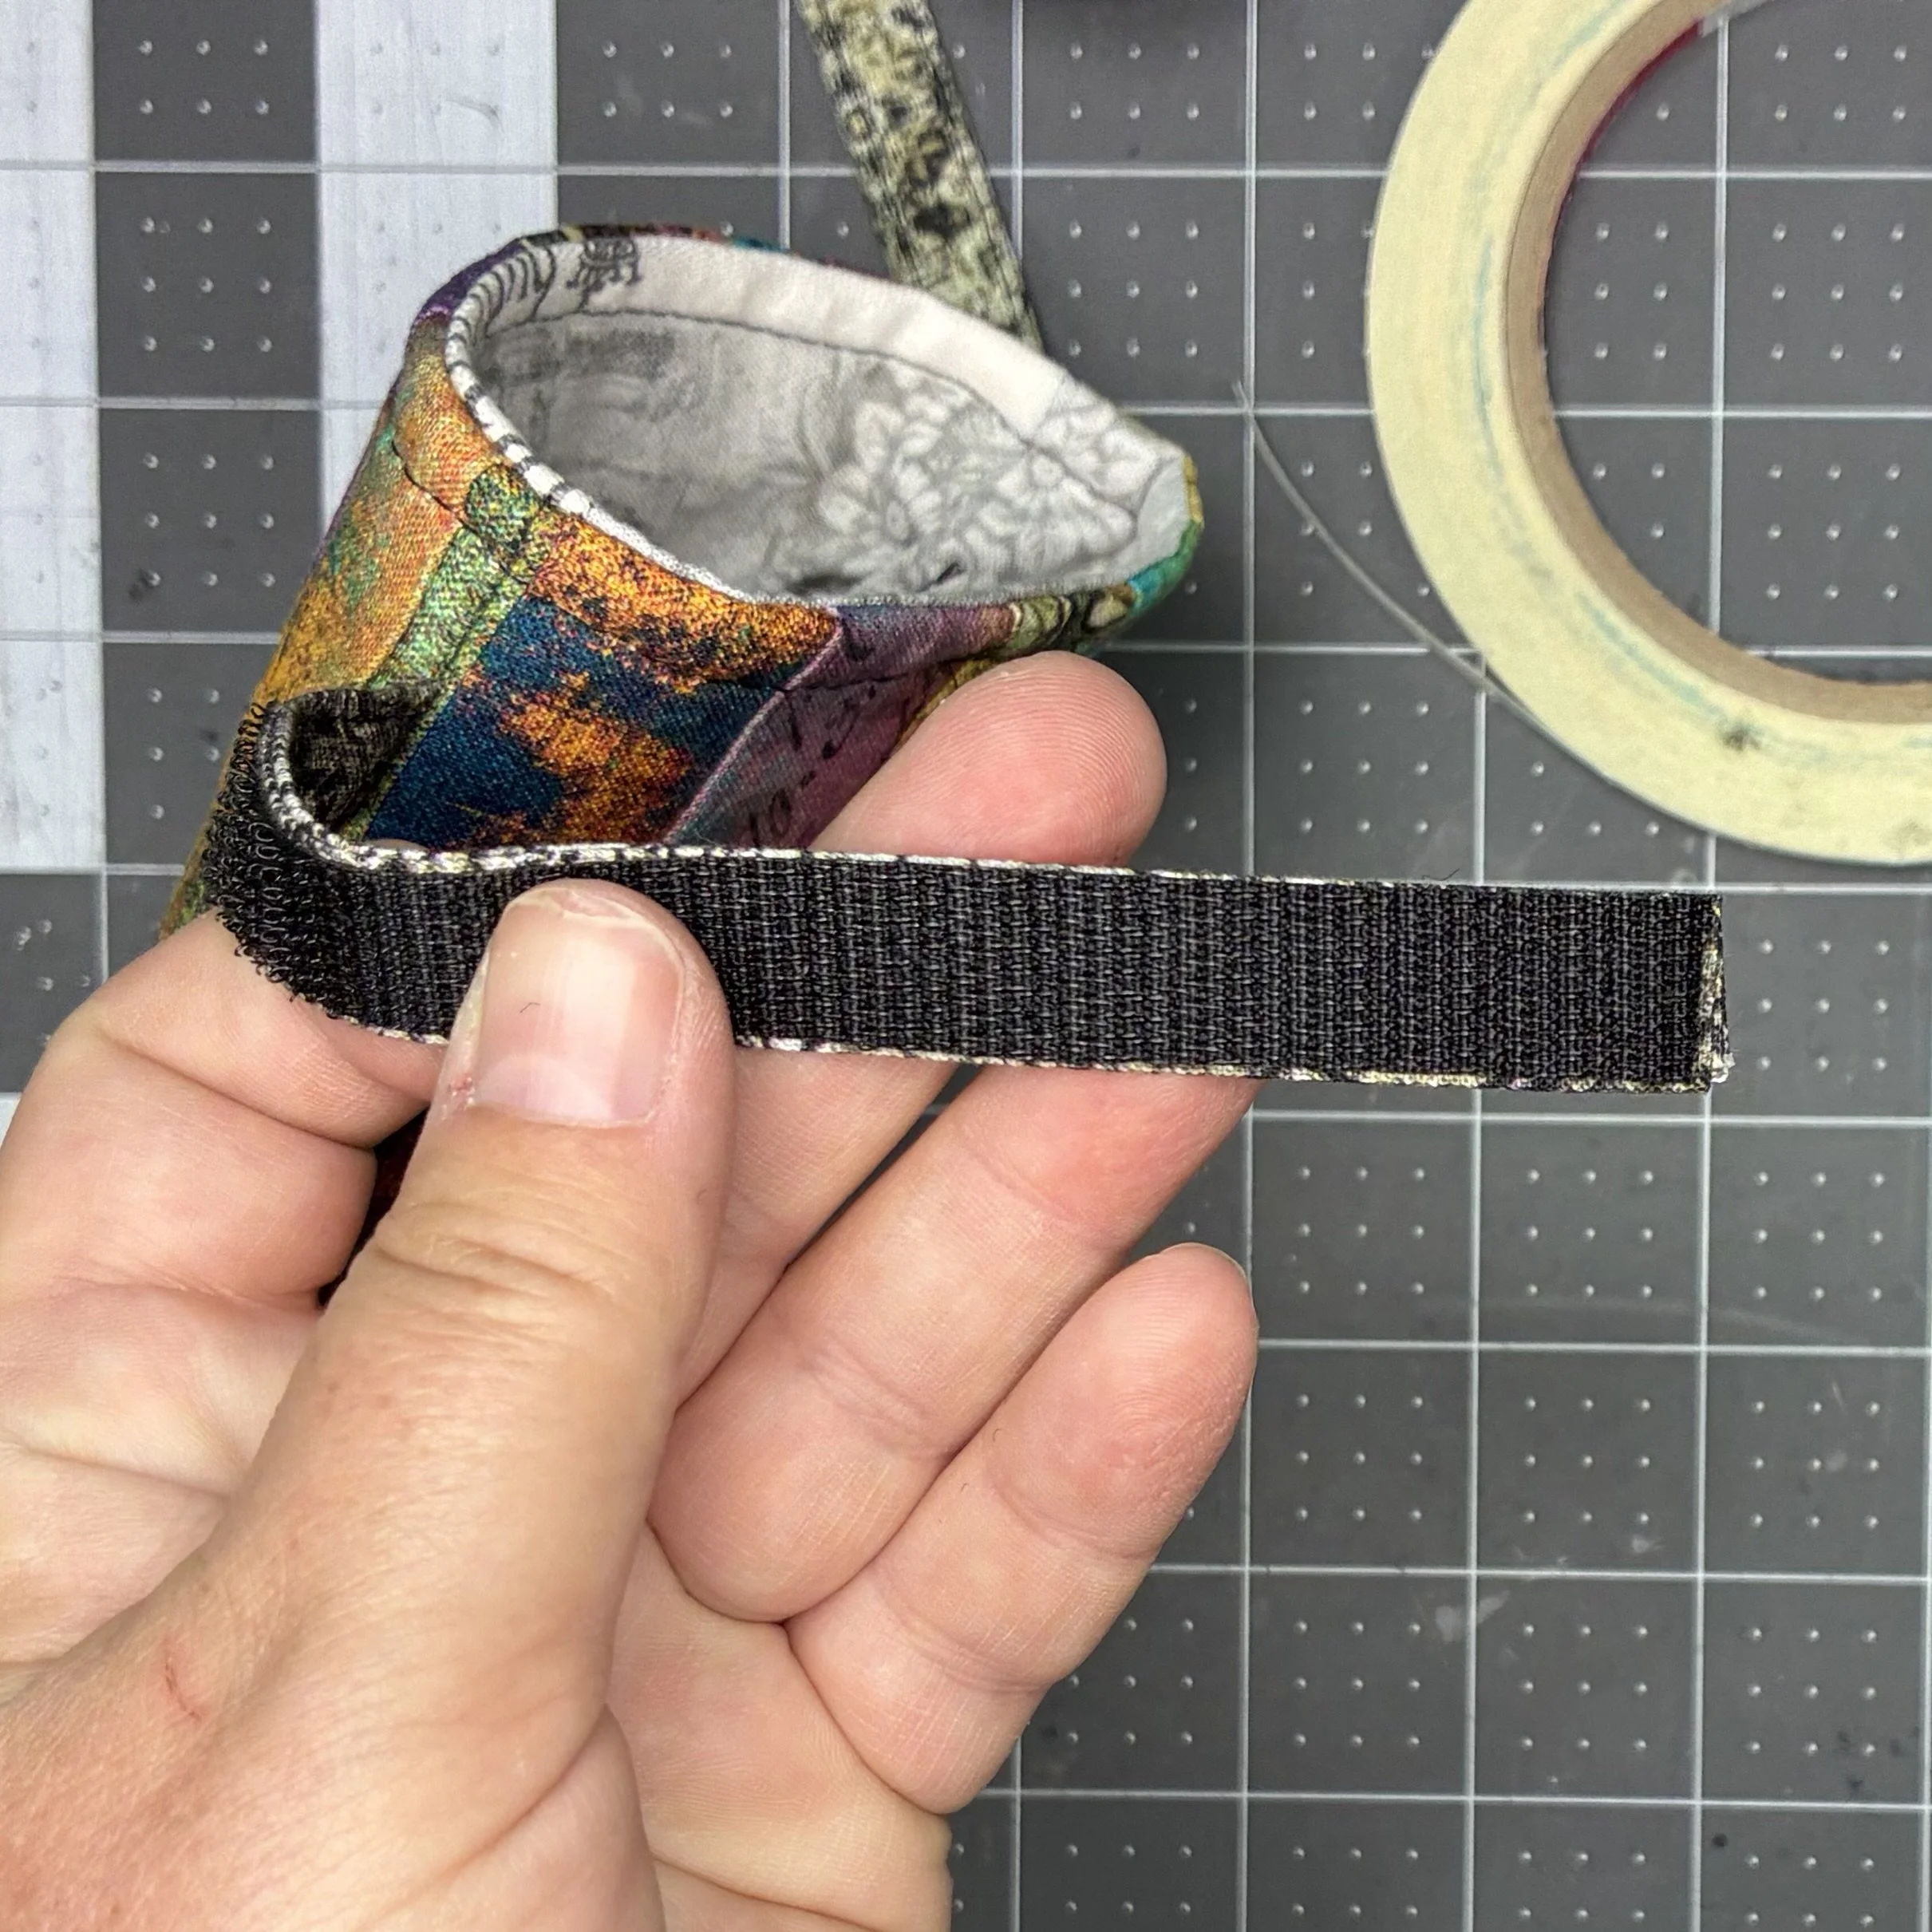
Back to the straps…they were narrower than the velcro I had. No problem, I just trimmed the sides of the velcro strips until they fit. Then I used double-sided tape to baste the velcro onto the straps, and stitched it down. I will point out that one really needs to pay attention to which sides of the straps the velcro goes on. I didn’t make a mistake this time, but it was a near thing.
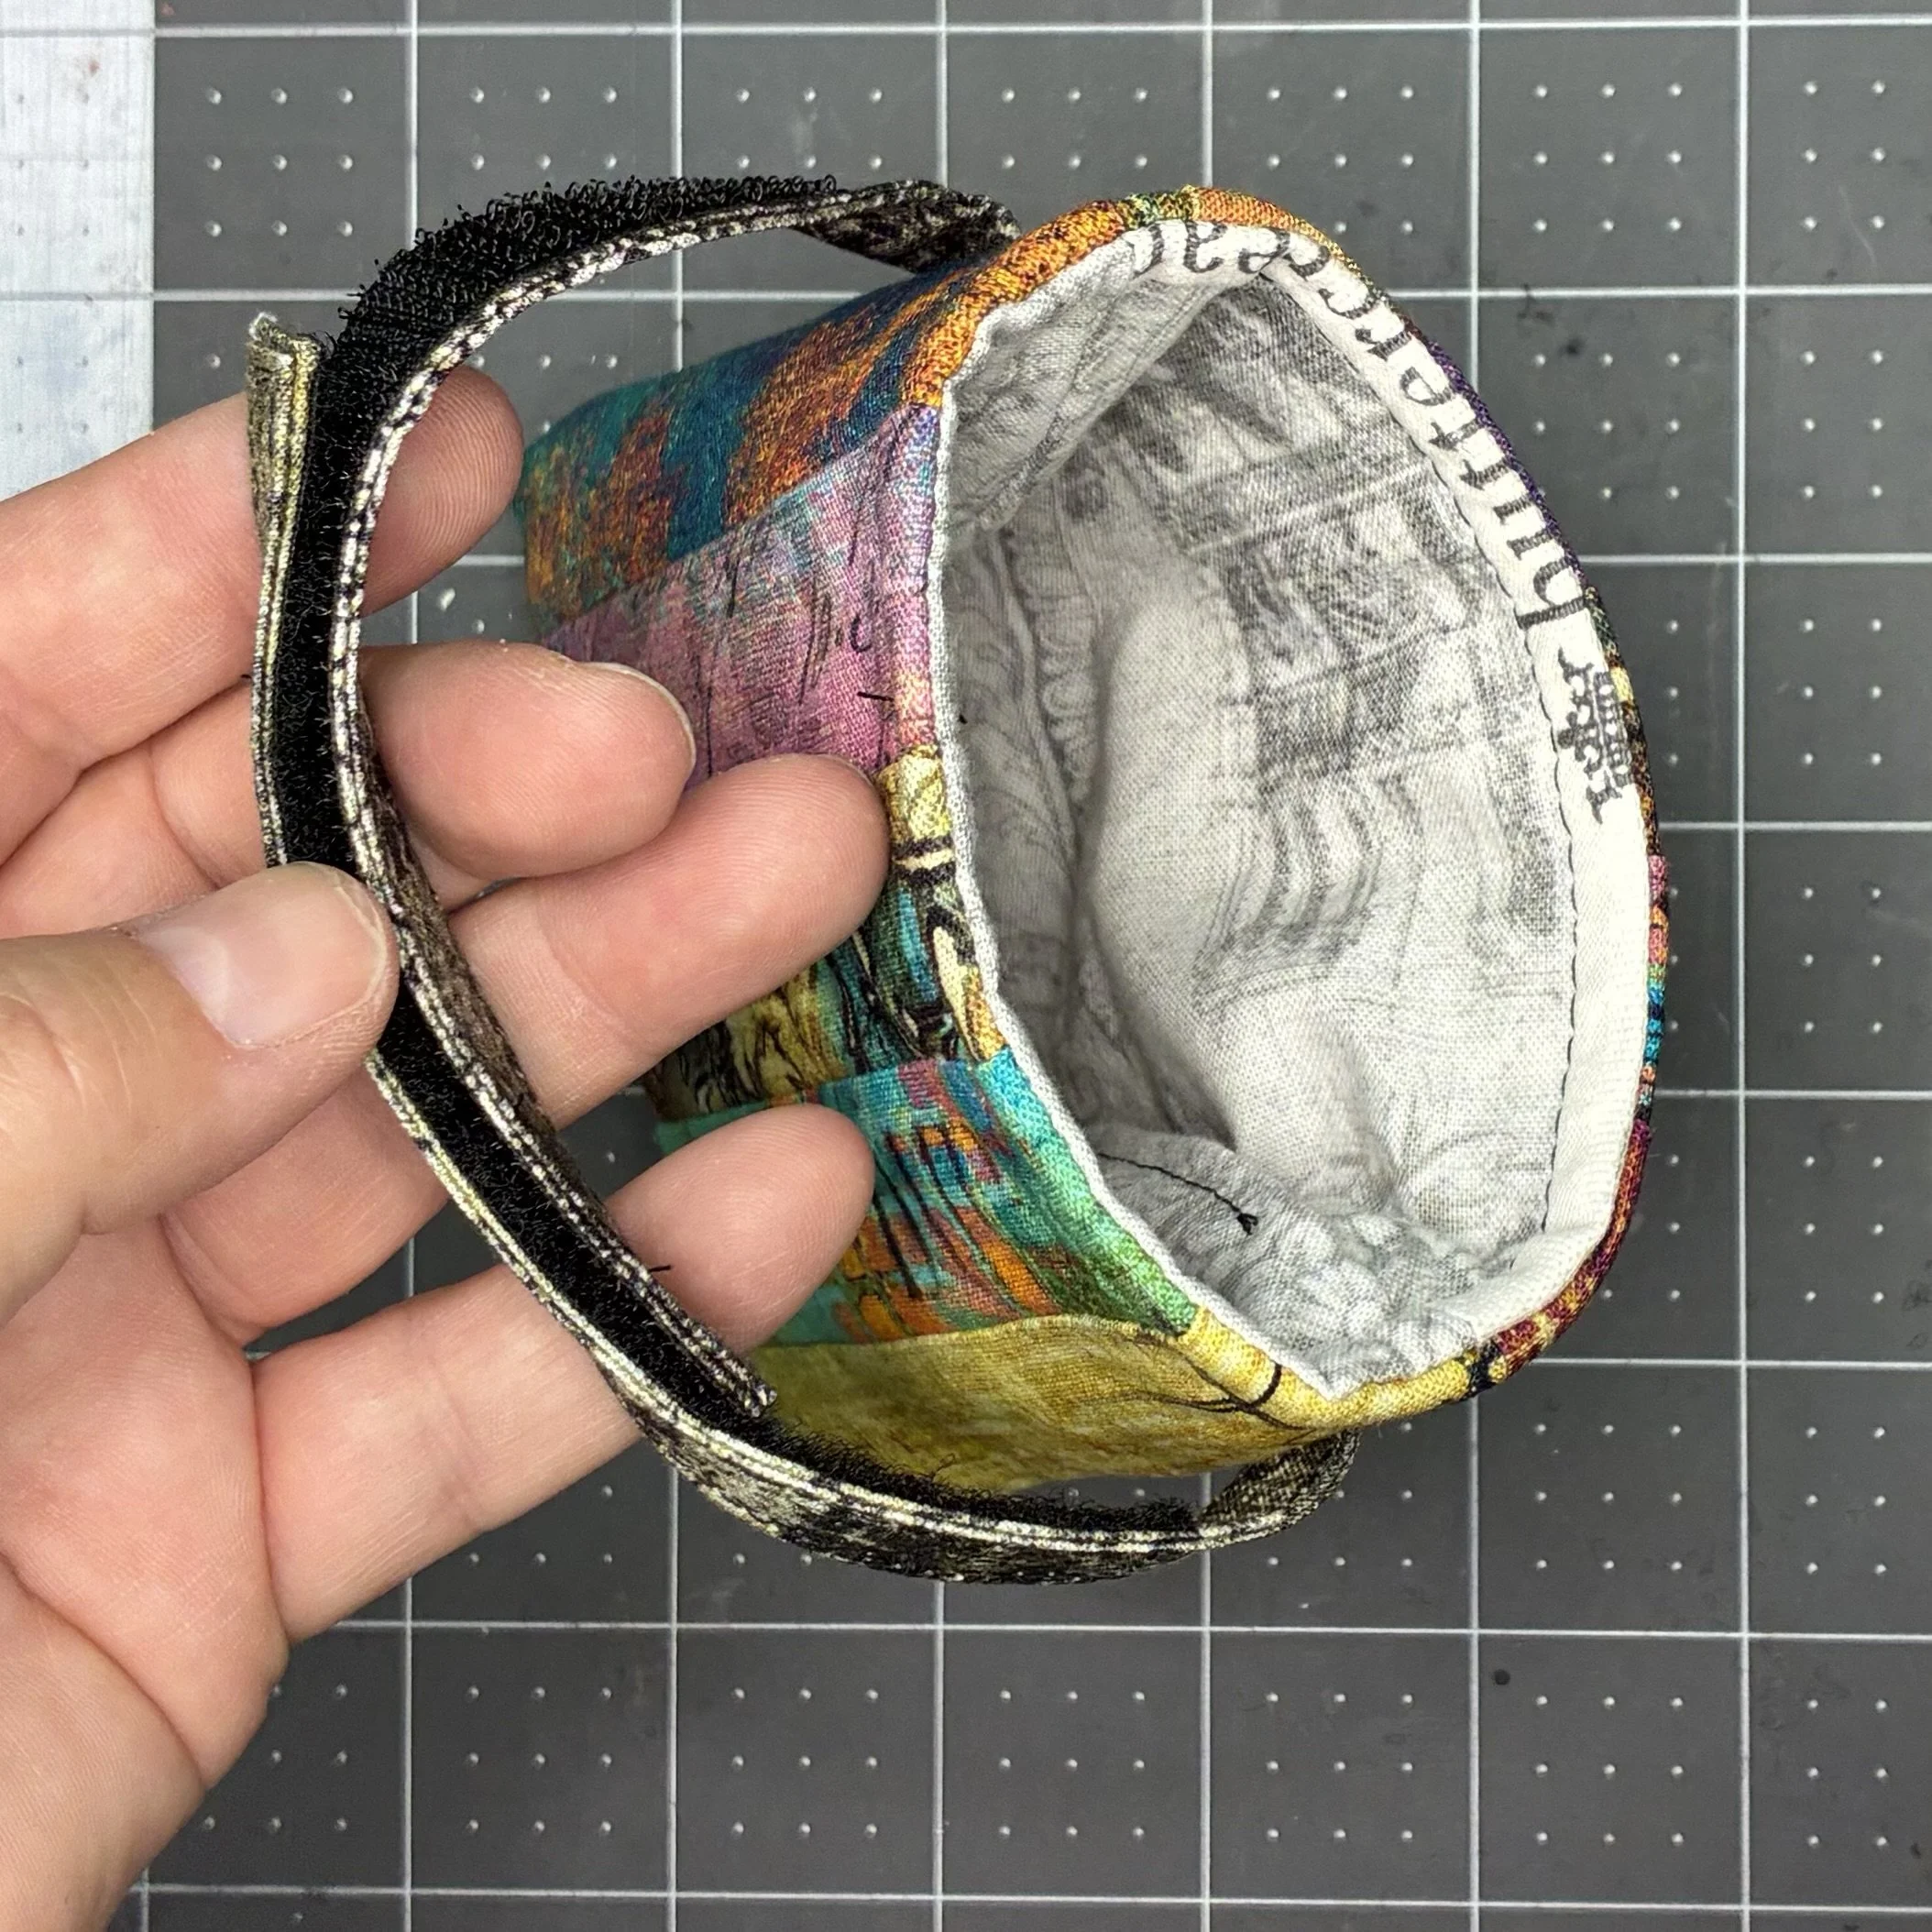
And done! It looks quite cute in place and it works a treat. The holster is big enough that I can easily slide the remote in without looking and small enough that it holds the remote relatively securely. And did I mention that it’s cute?