Adventures In Origami

I know nothing about origami. Okay, that’s not completely true. I know it’s a paper craft of Japanese origin where elegant papers are precisely folded and bent to form amazing and sometimes fantastical shapes.
When I was browsing YouTube recently, the algorithm showed me some origami videos, one of which detailed how to make hidden paper clips in an envelope shape. I have done a previous article on hidden paper clips, but this video intrigued me because it required no glue or drying time, and the end result was adorable. I decided to give it a try.
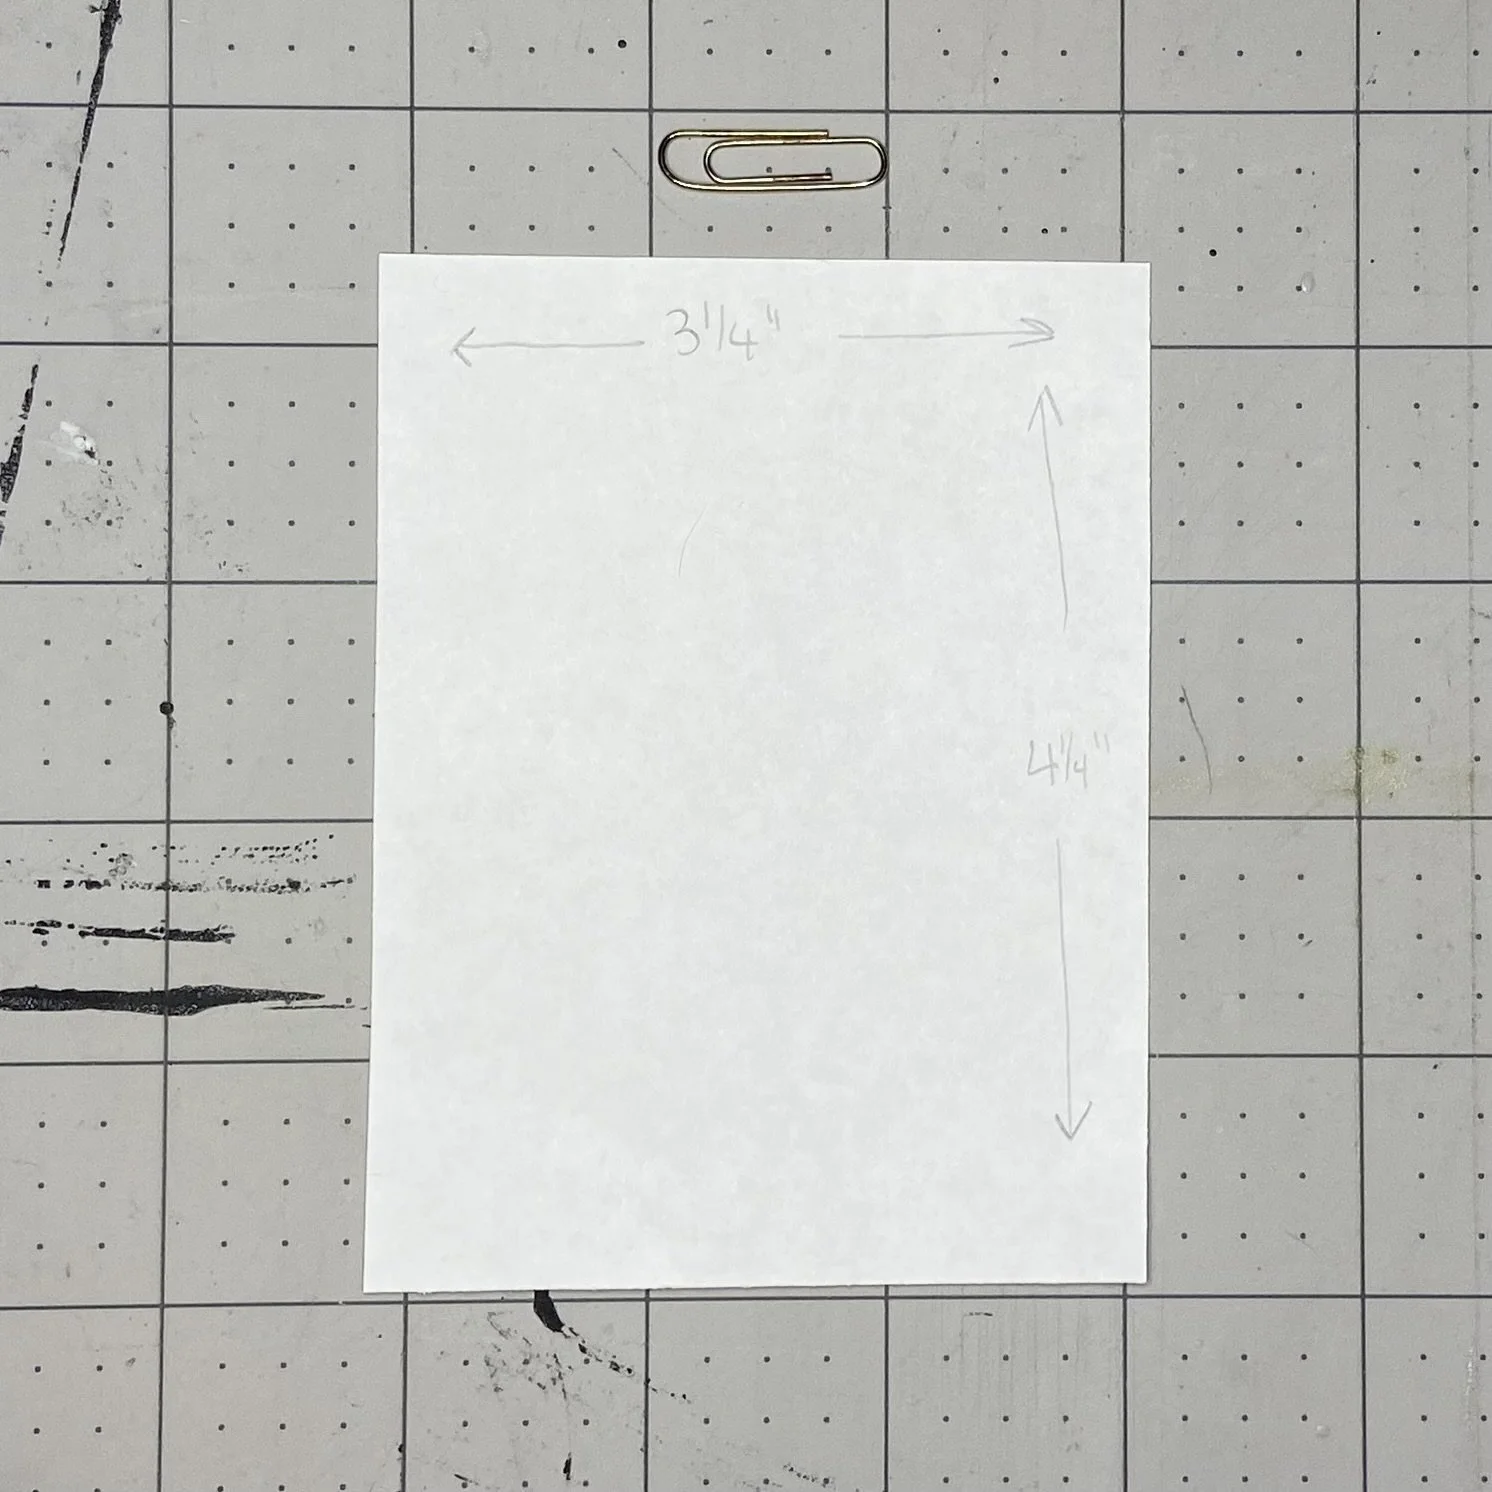
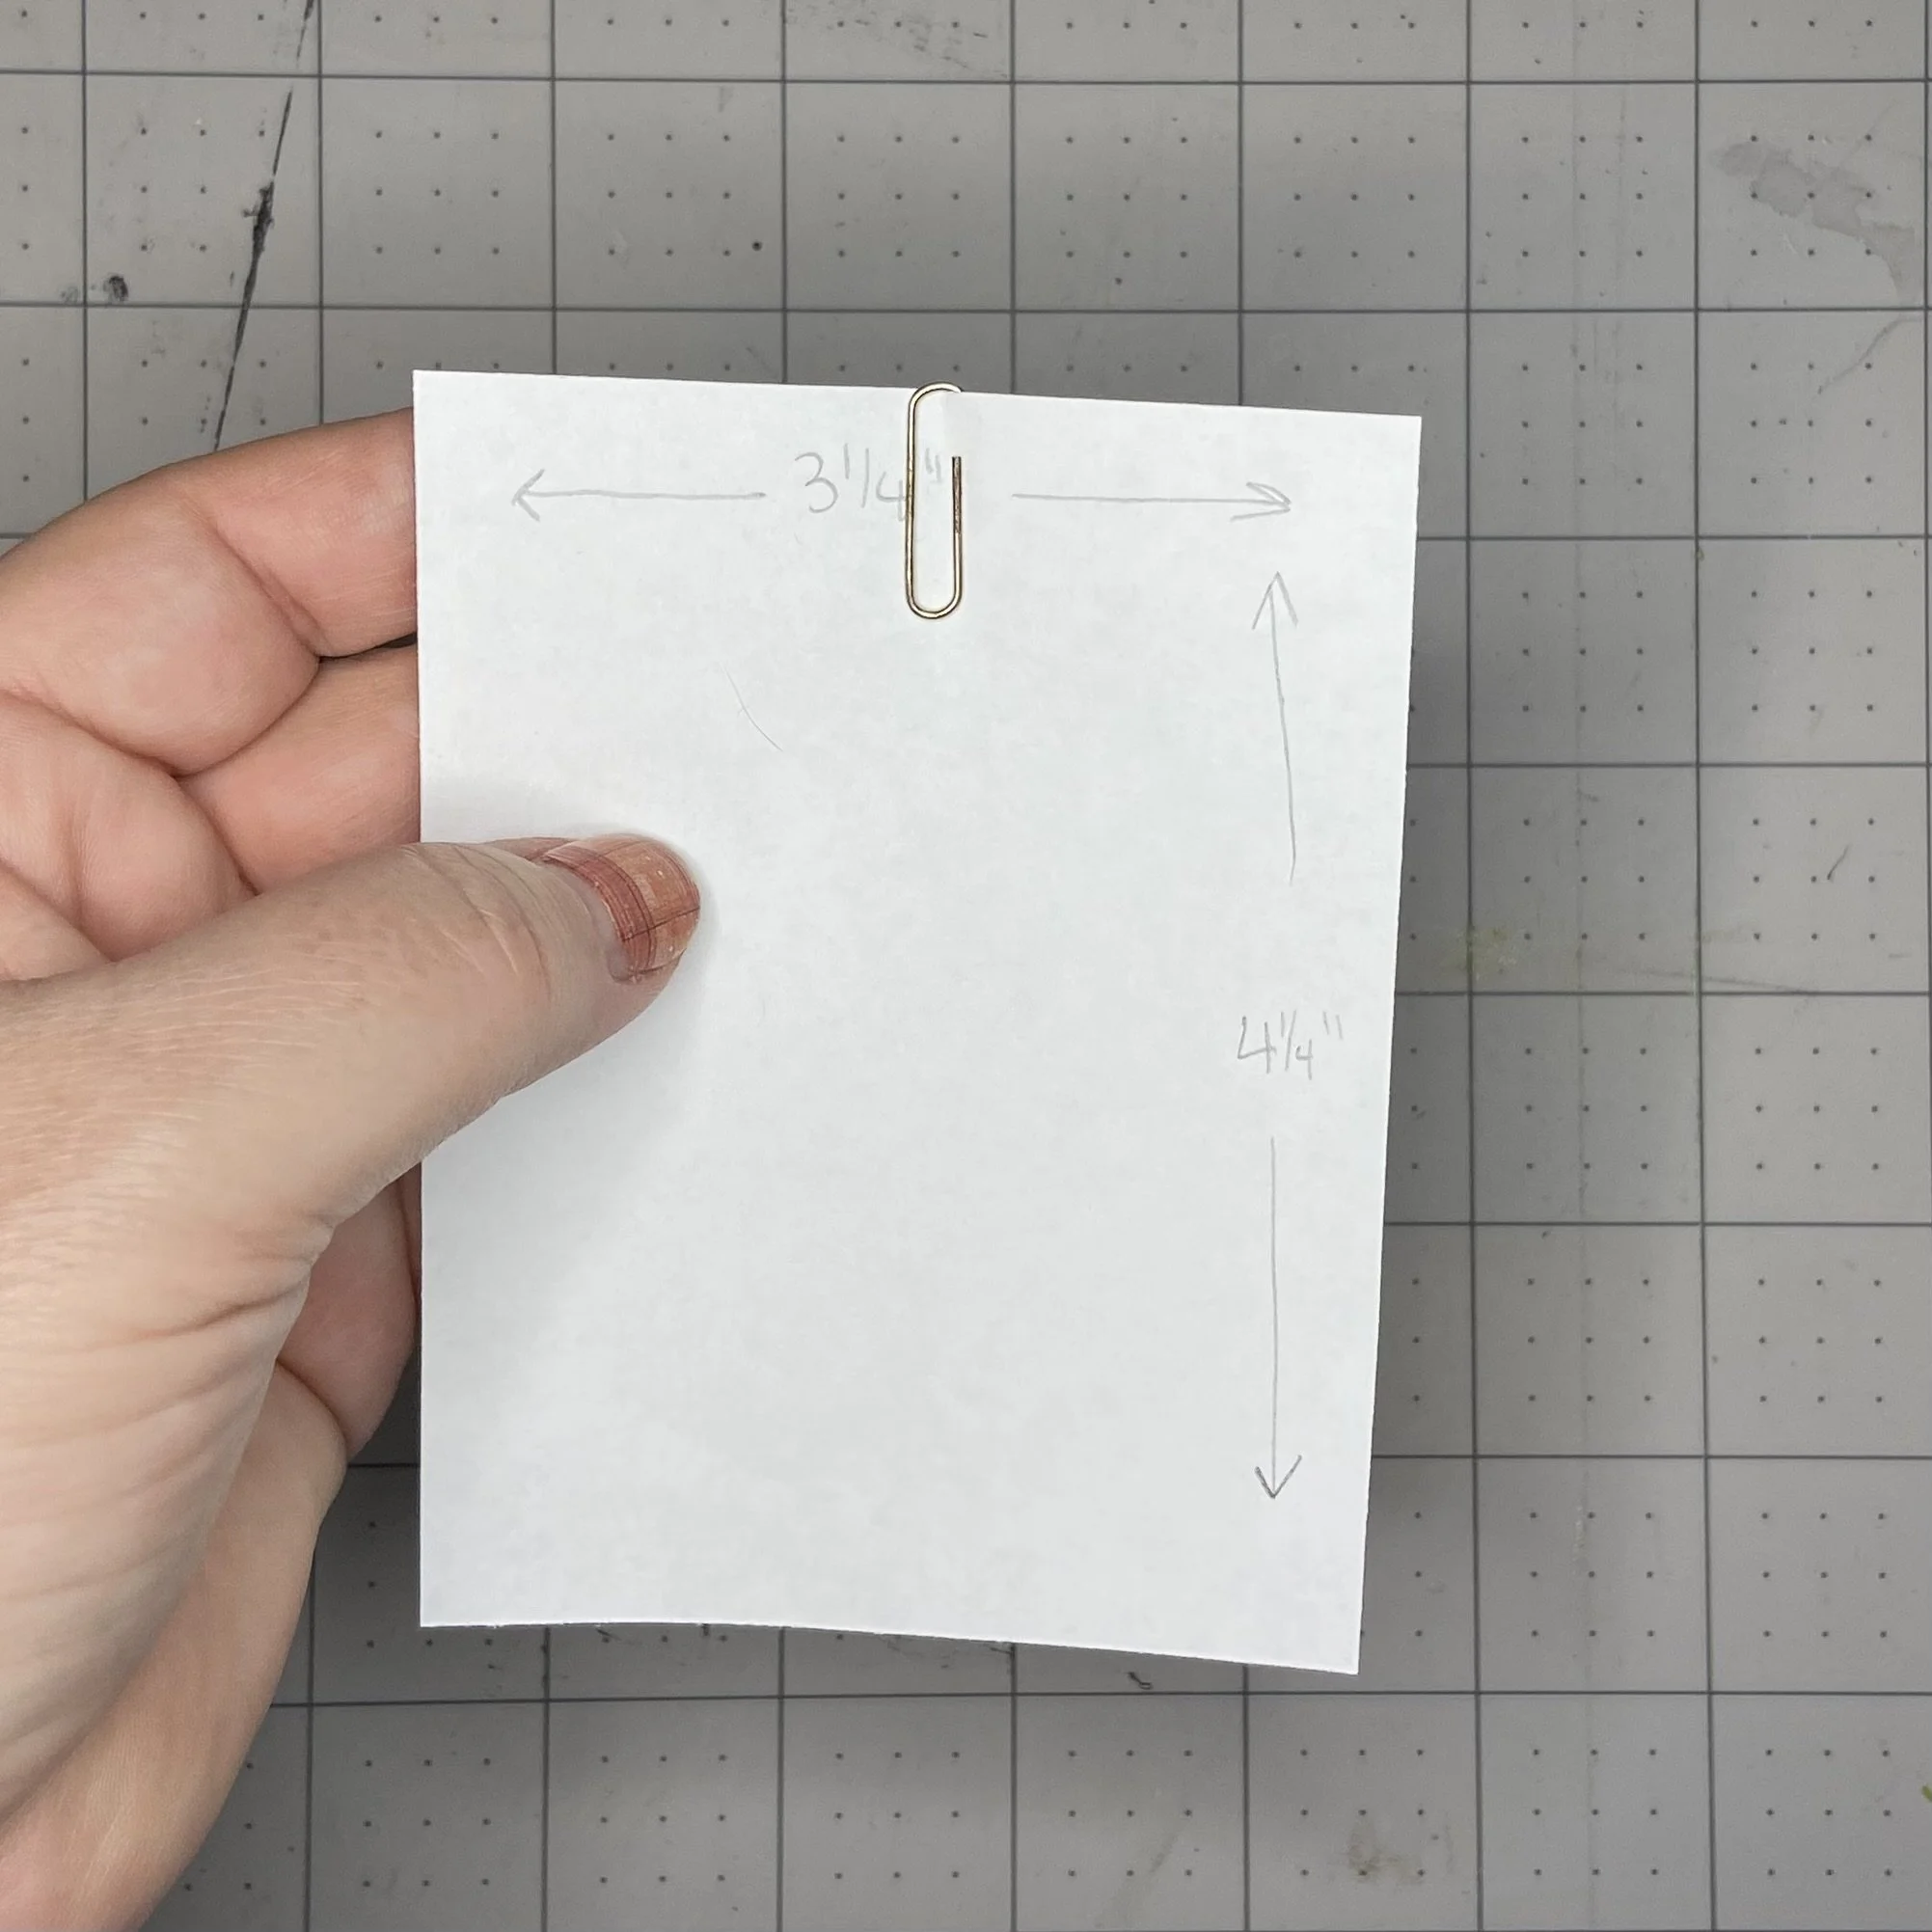
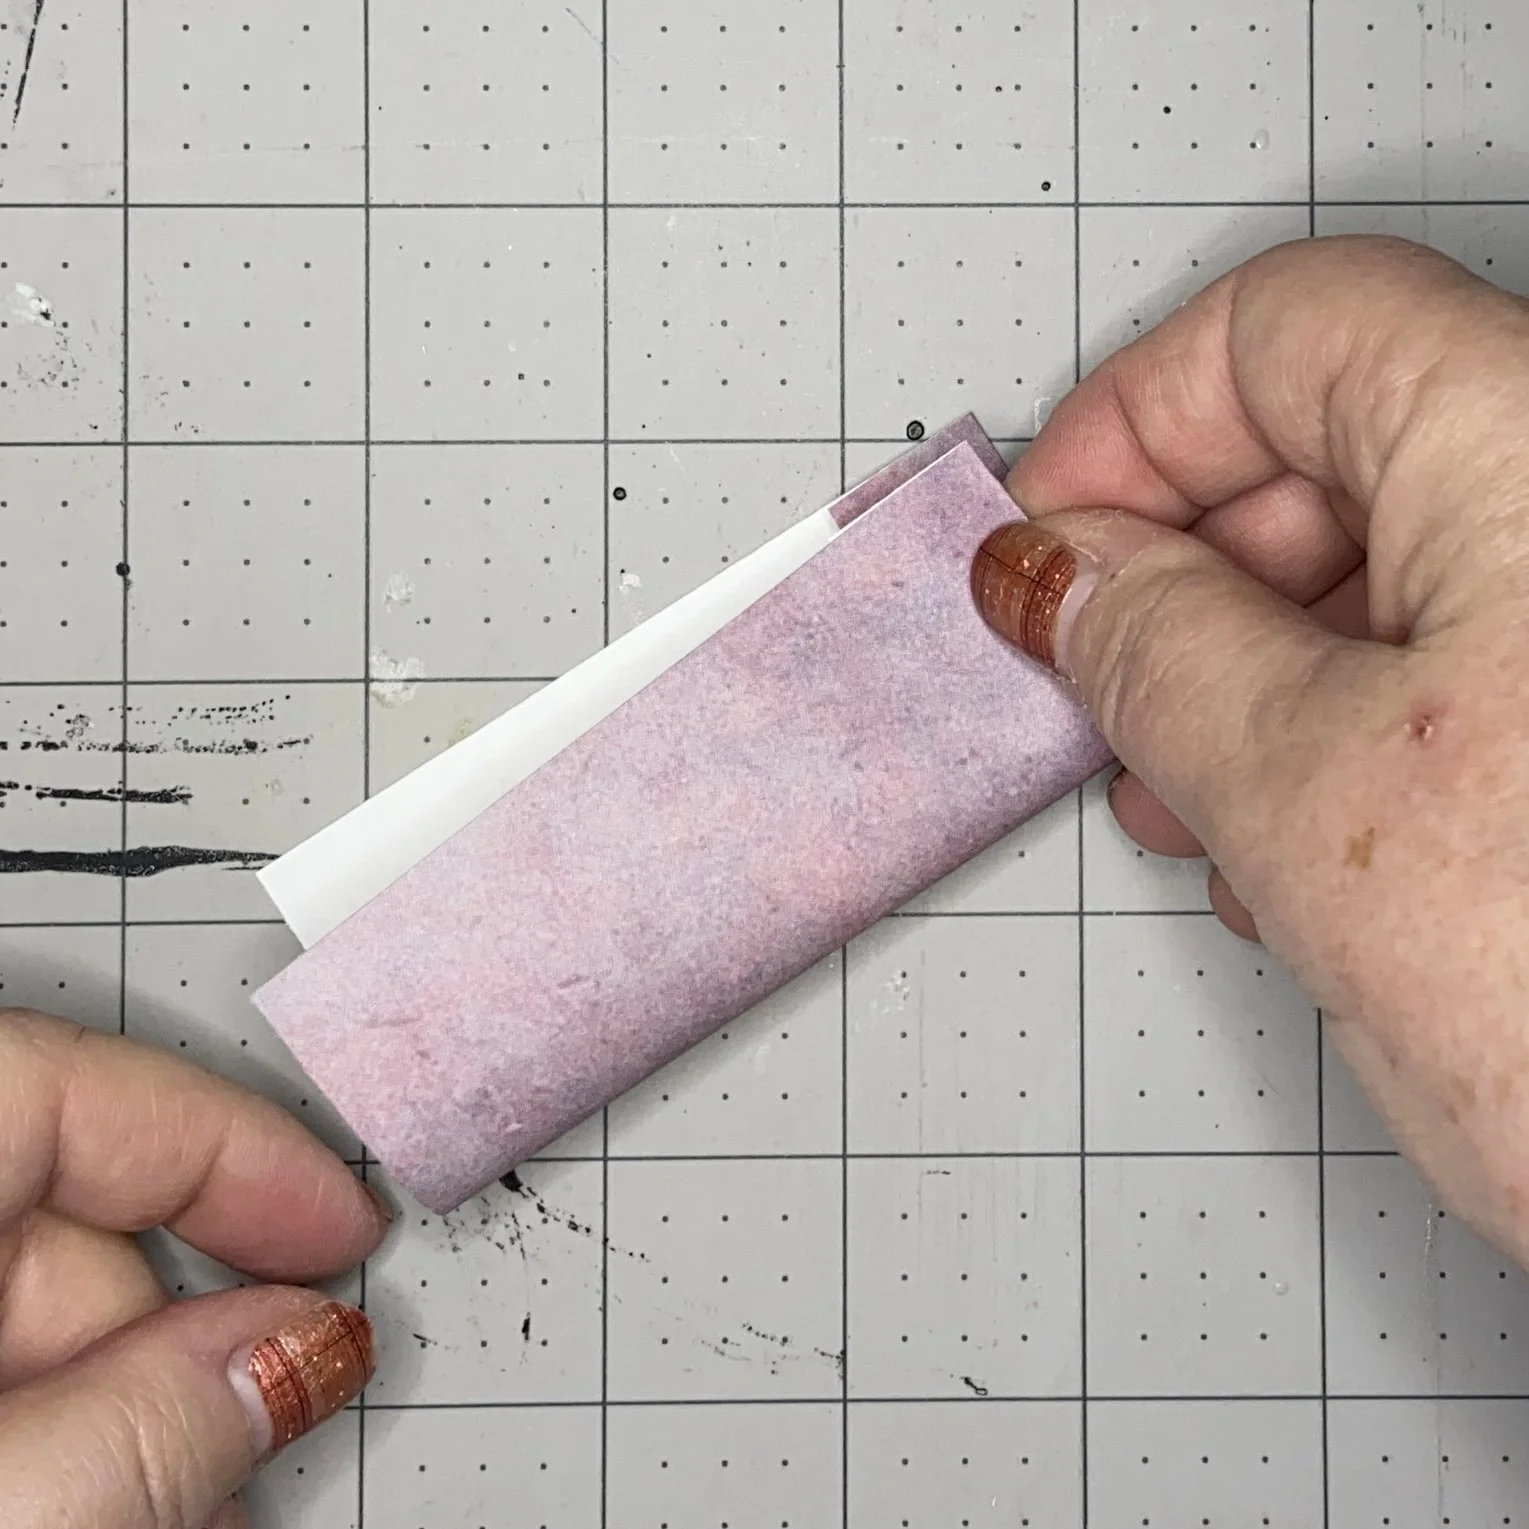
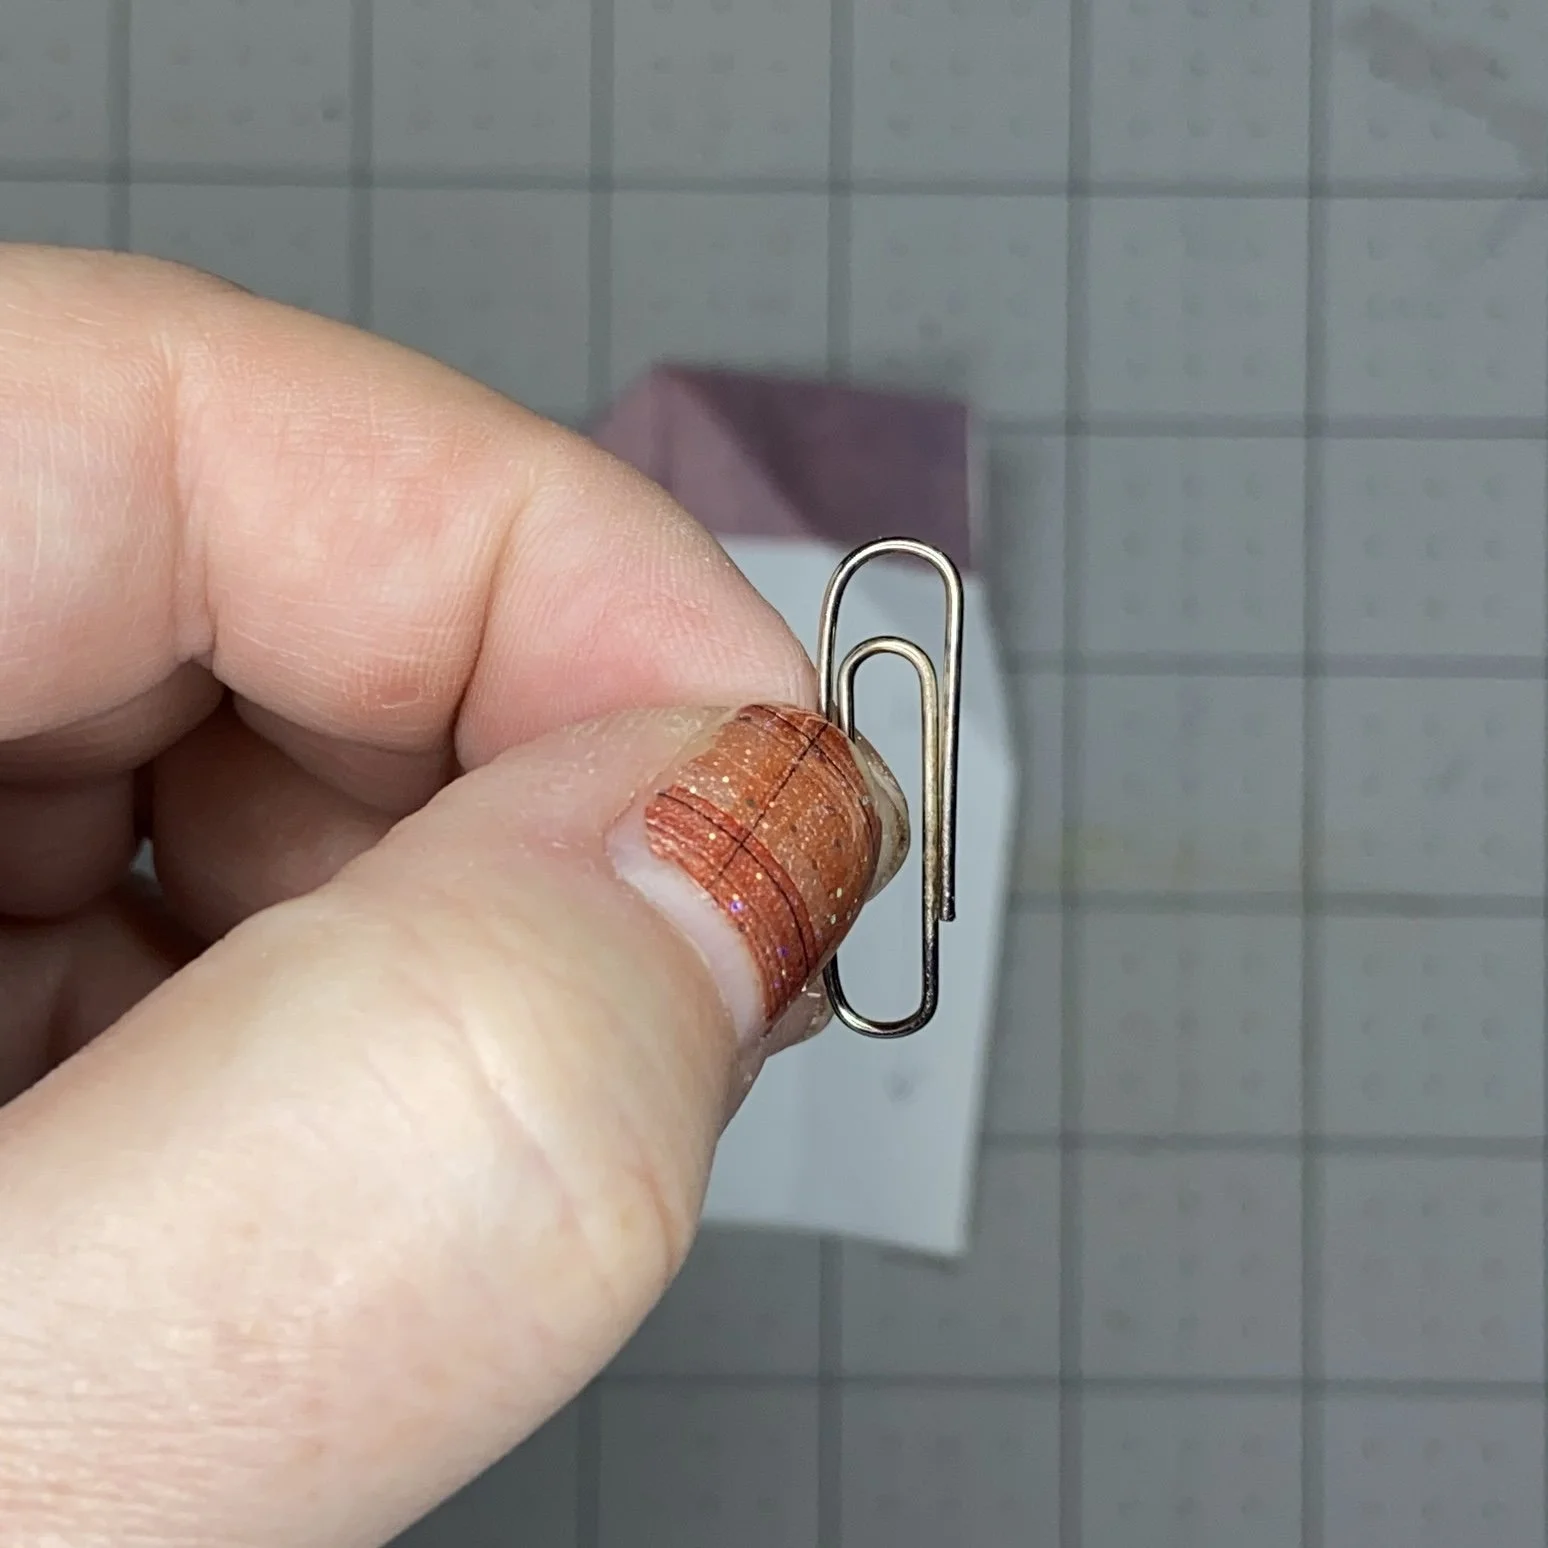
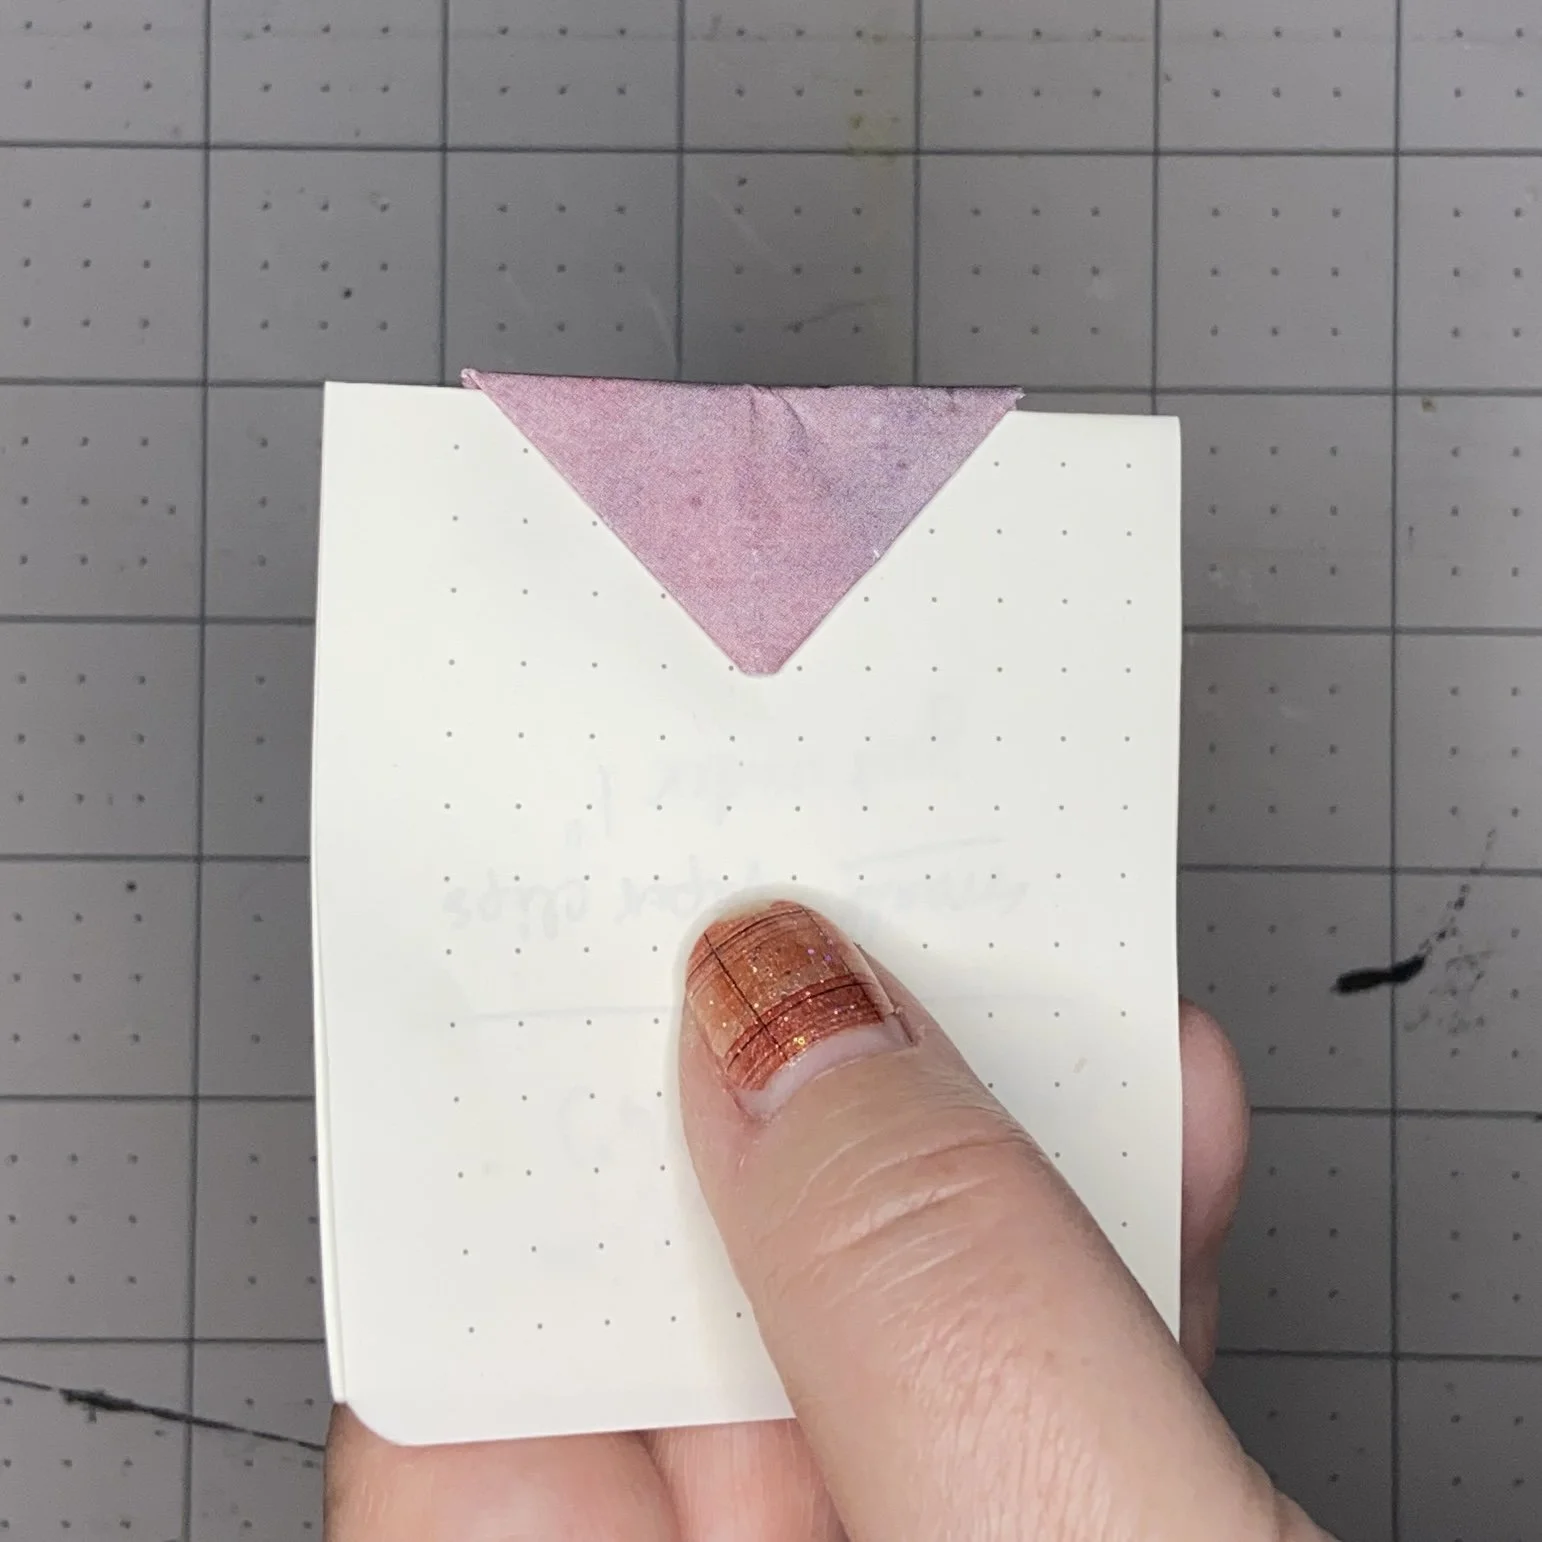
Pulling out some scraps of decorative paper, I cut the size I needed, which was 3.25” x 4.25”. I also dug out some small paper clips, which are about an inch long. Working on the wrong side of the paper, I put the paper clip on the 3.25” side with the shorter leg facing me and then bent the paper over the paper clip. This was just to measure how deep to make the top fold, so once I’d made a little imprint, I took off the paper clip, and folded the top over to the mark I’d made, using my bone folder to make sure the fold was crisp.
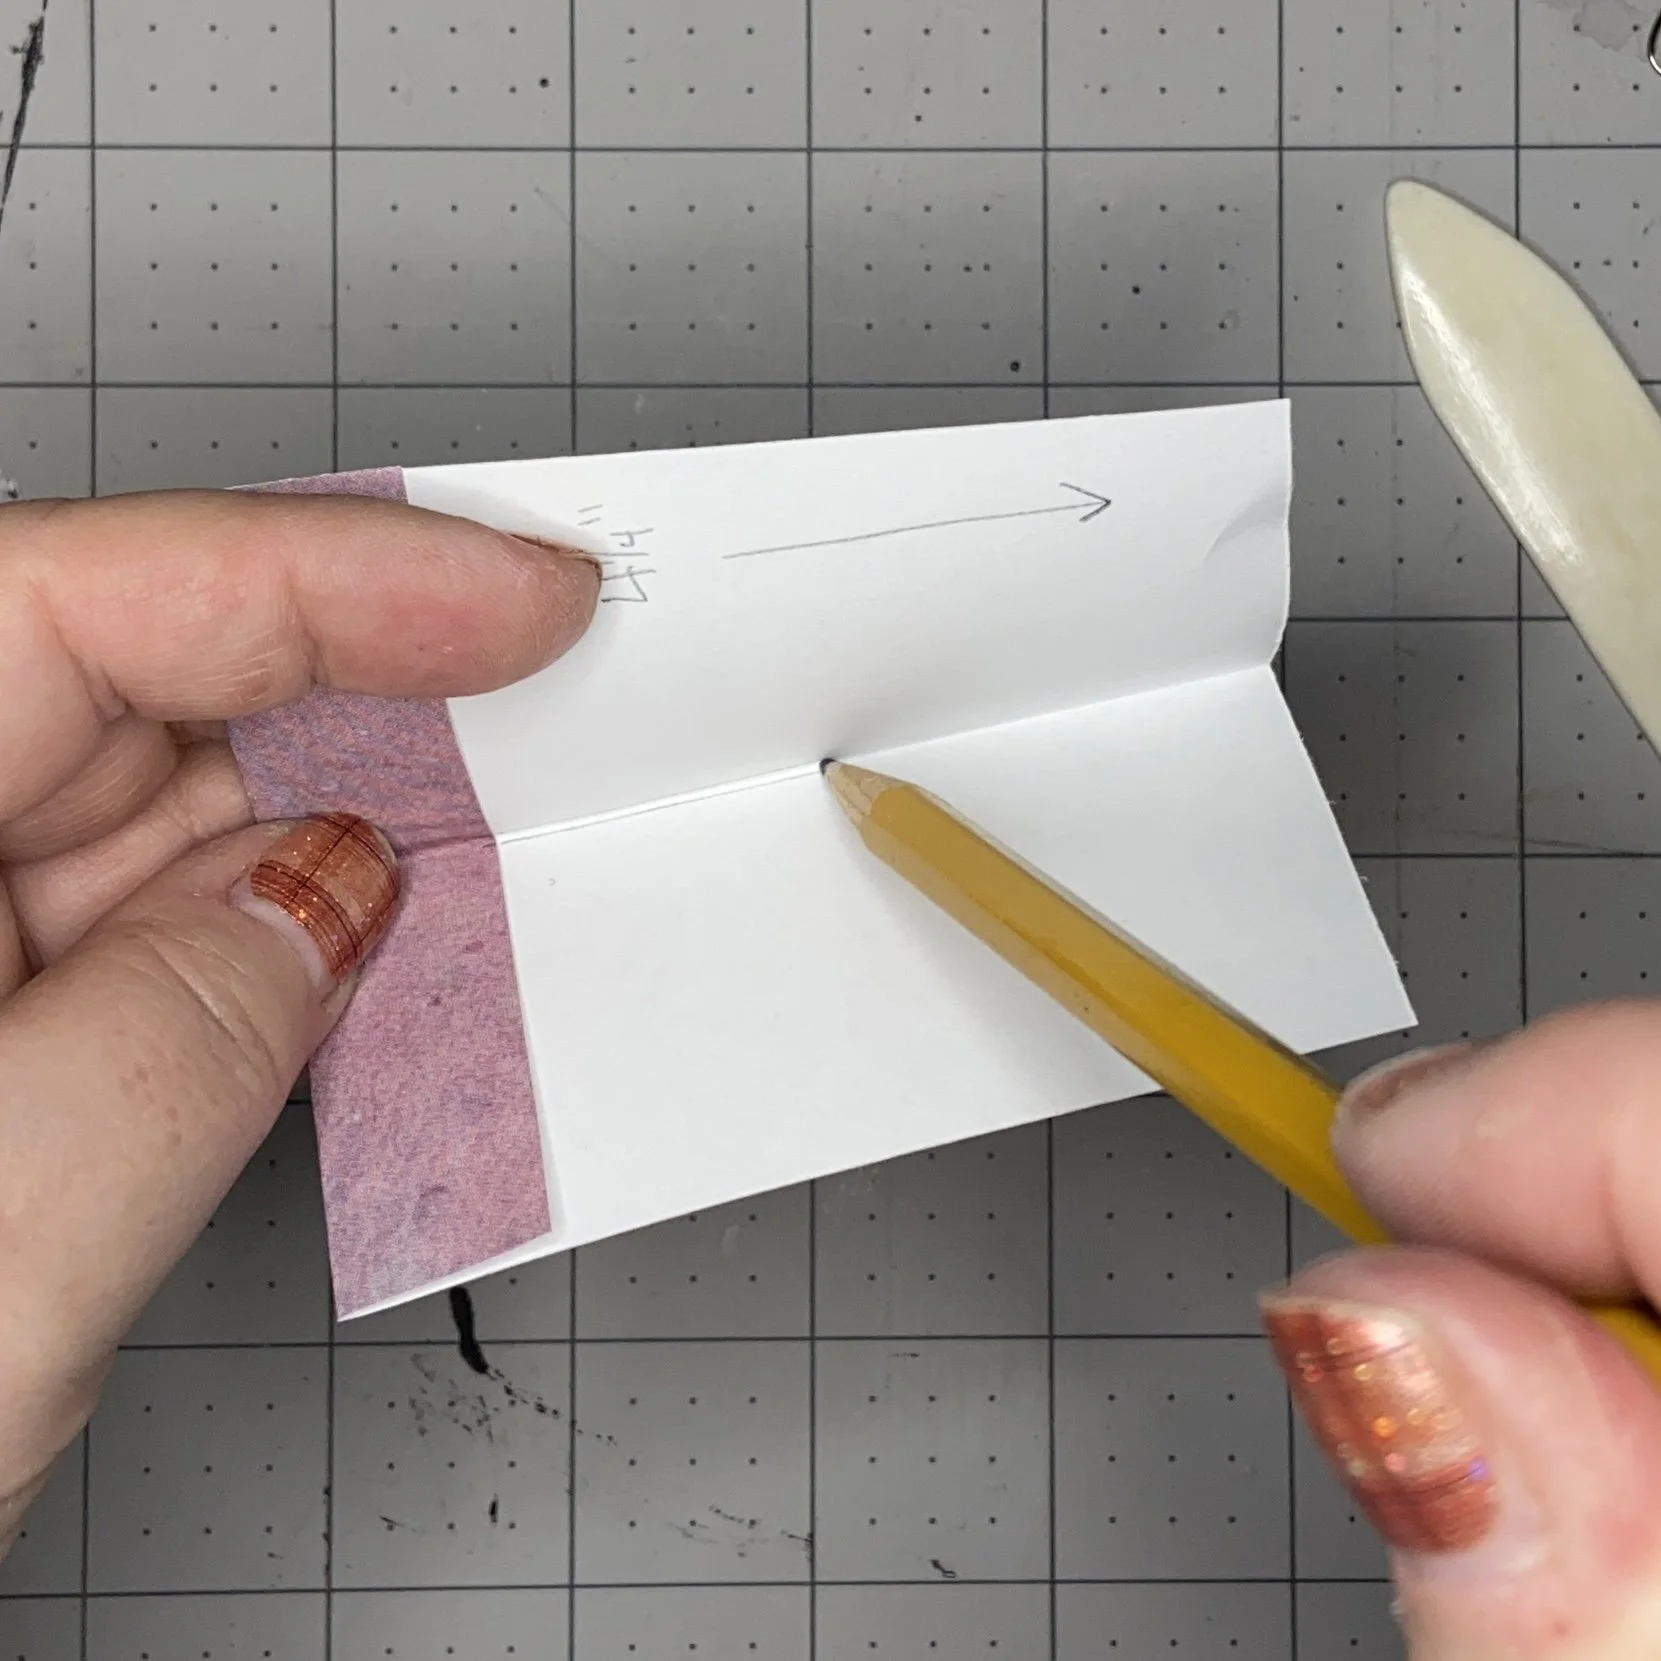
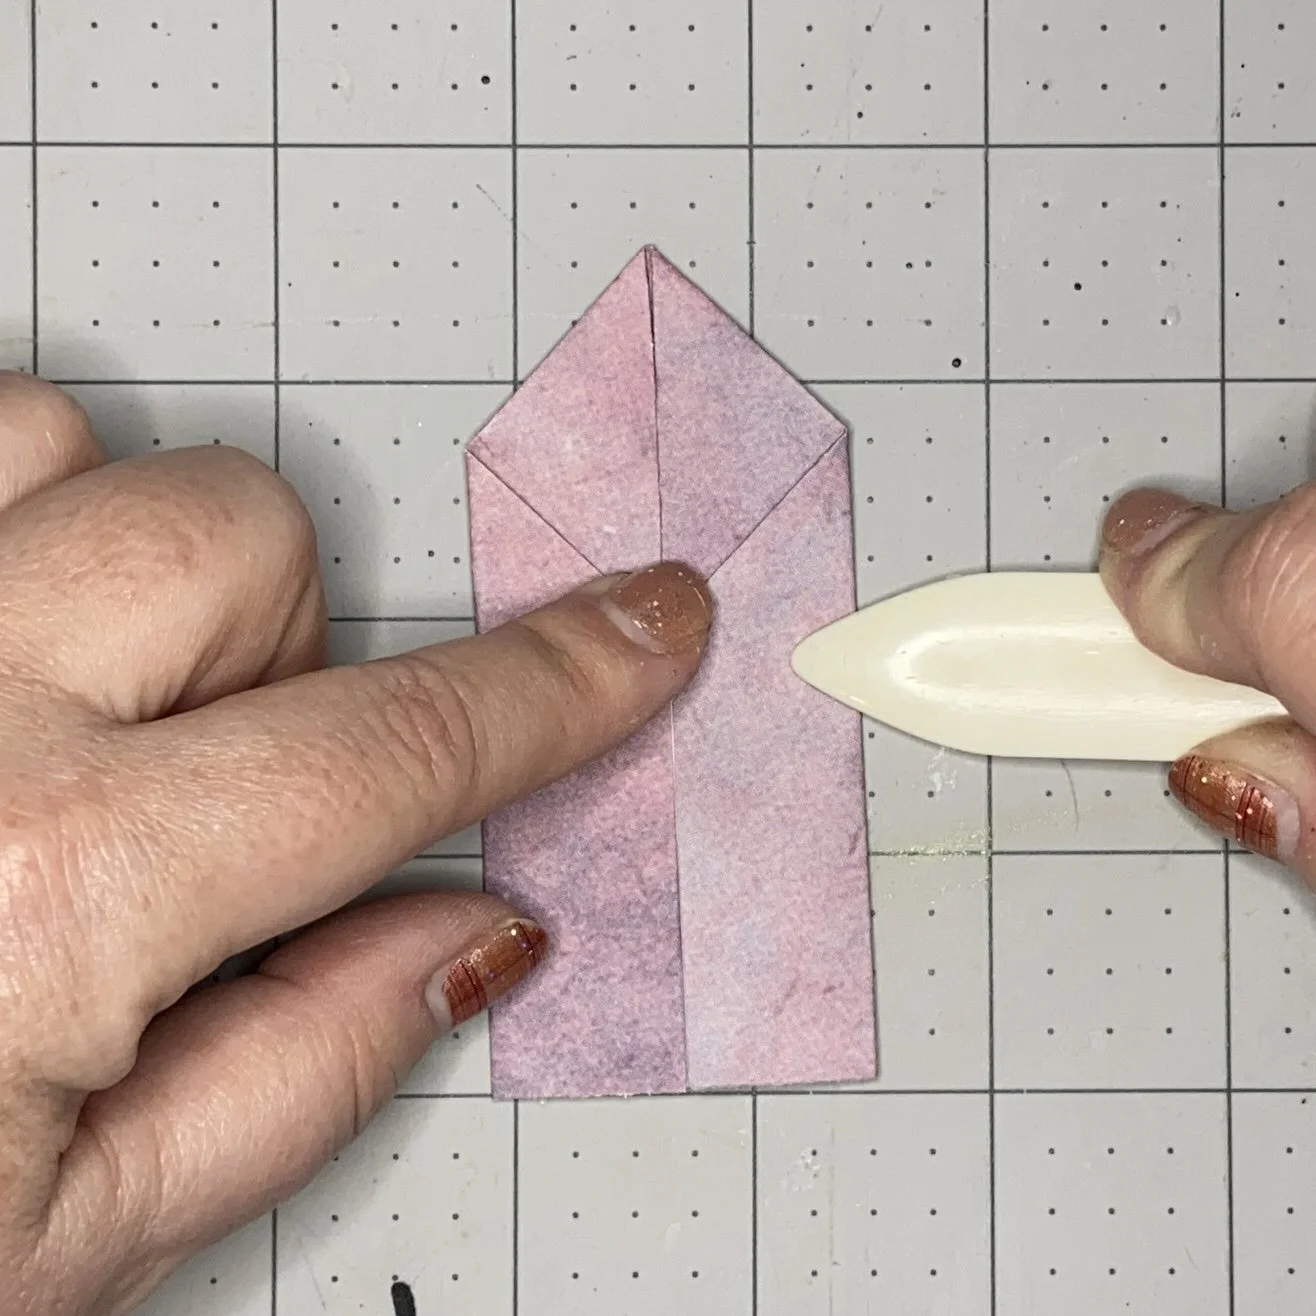
Then I folded the paper in half, parallel to the 4.25” edge. Once that fold was pressed in with the bone folder, I opened it a little and ran a pencil down the inside of the crease I’d just made because that fold is hard to see when you need it as a marker later. As you might notice in later pictures, because the pencil was dull and I was too lazy to sharpen it, the mark is actually two marks on either side of the fold. Nonetheless, I judged “good enough” and moved on with my life.
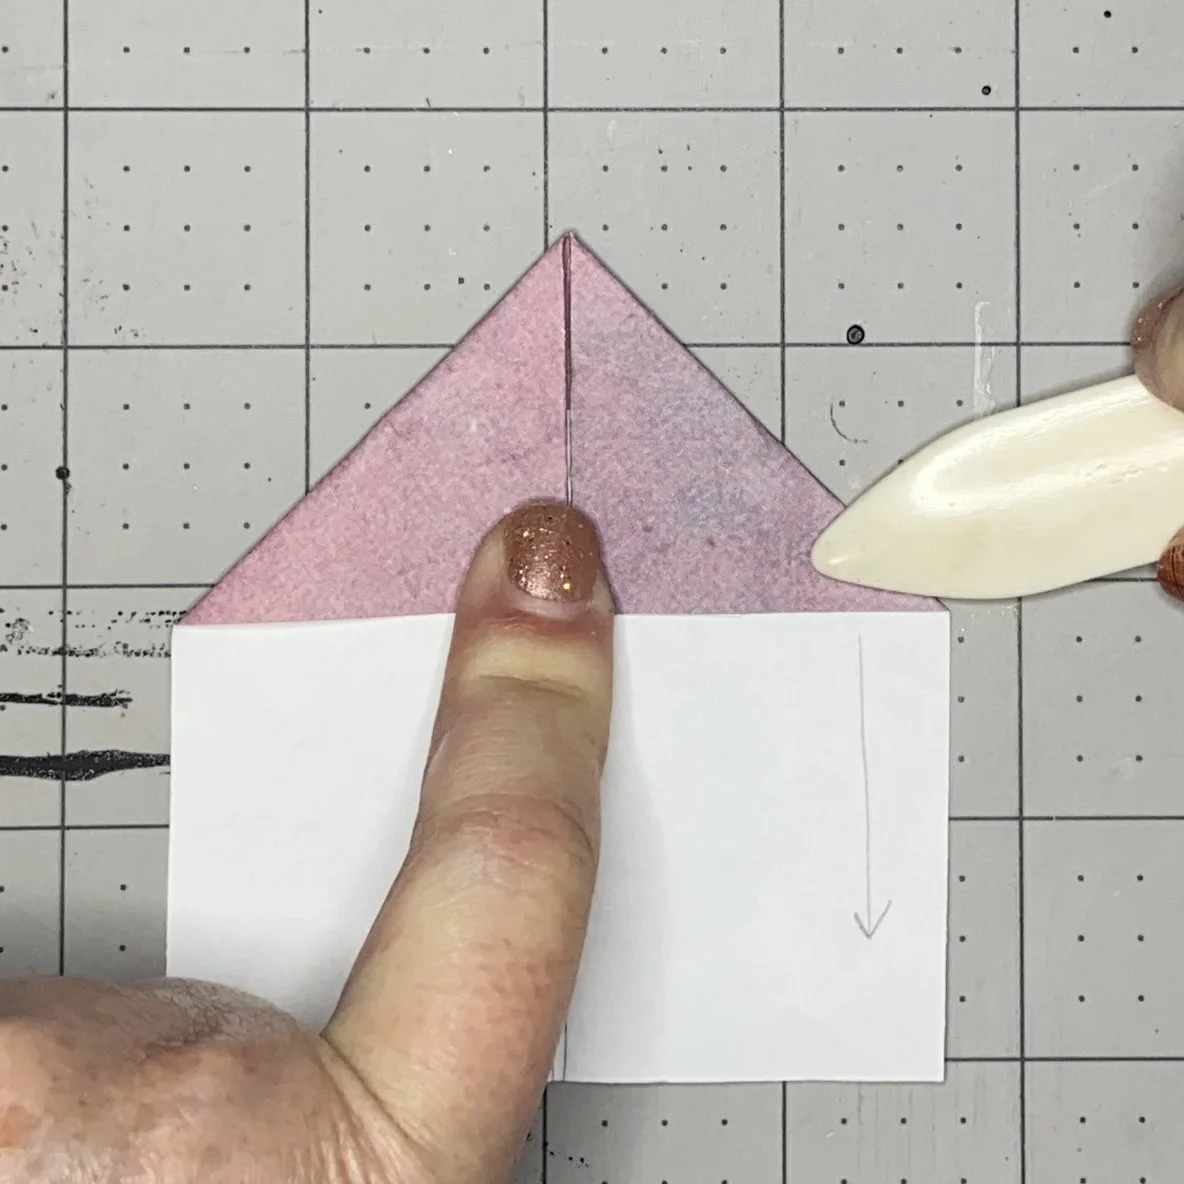
Next, I folded down the top edges like I was about to make a paper airplane, bringing both those corners to meet that center line I made. At this point, I had four layers of folded paper, so the bone folder really helped keep things even and straight and tight.
Then the long sides came in to meet the center line, and were pressed in place with the bone folder.
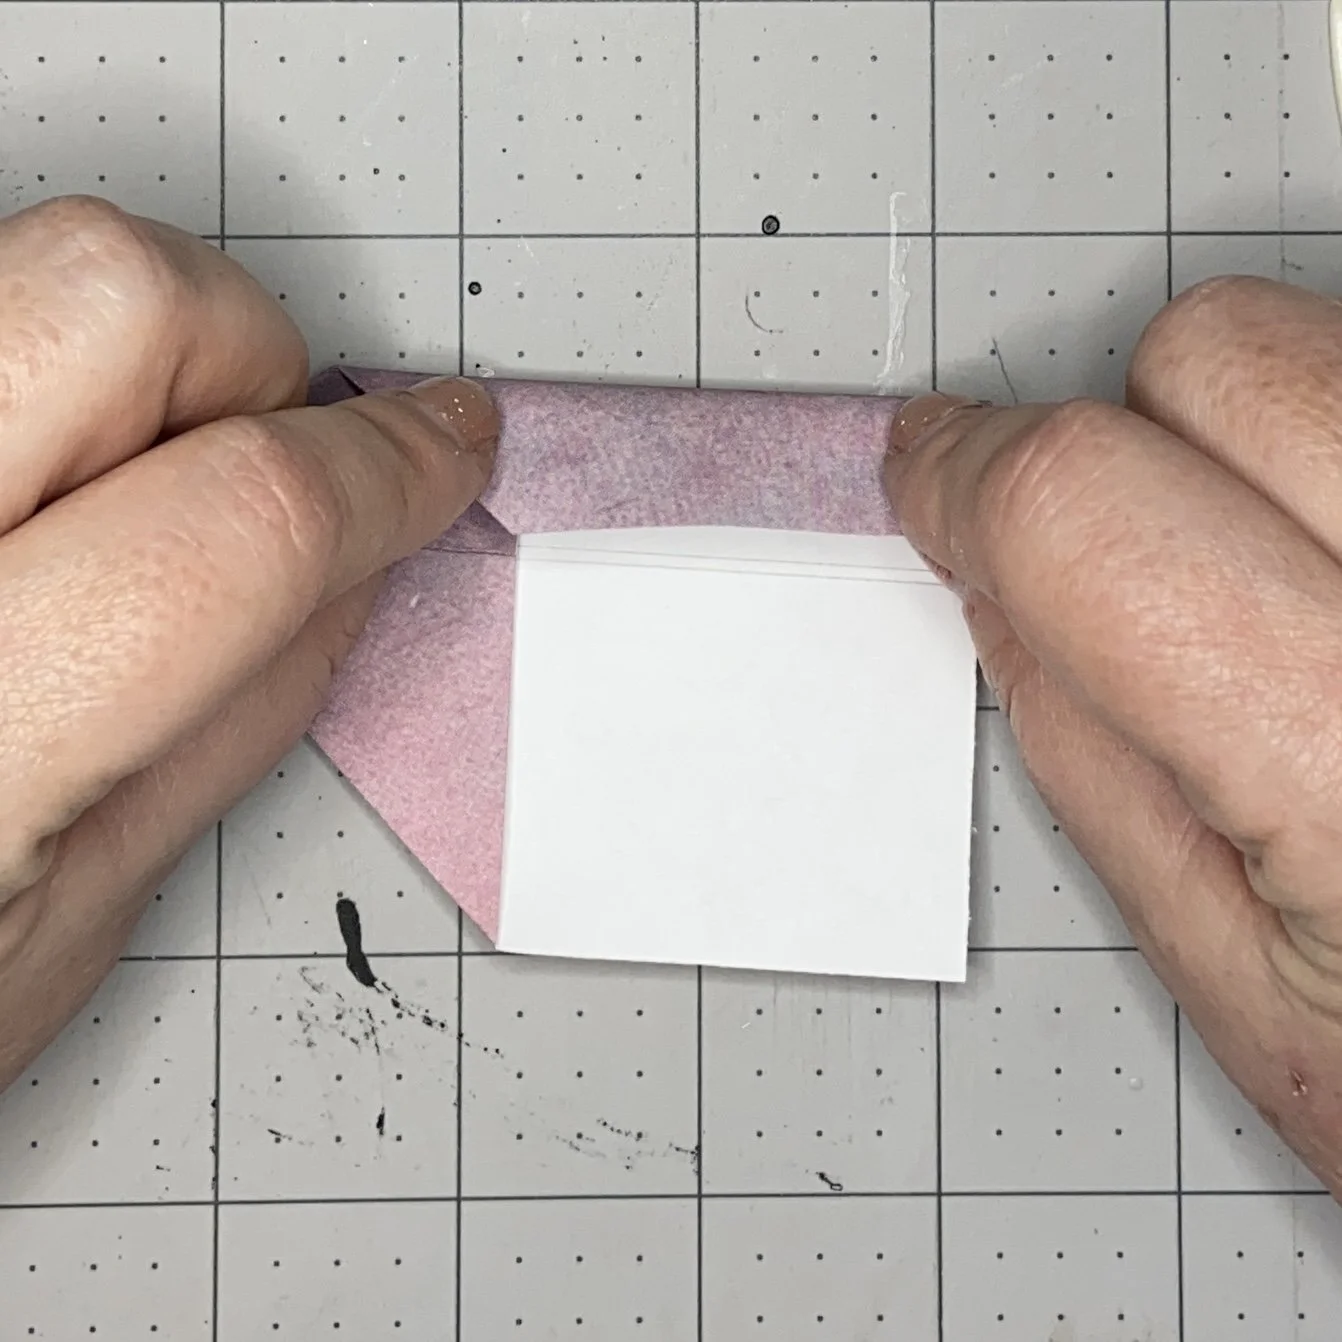
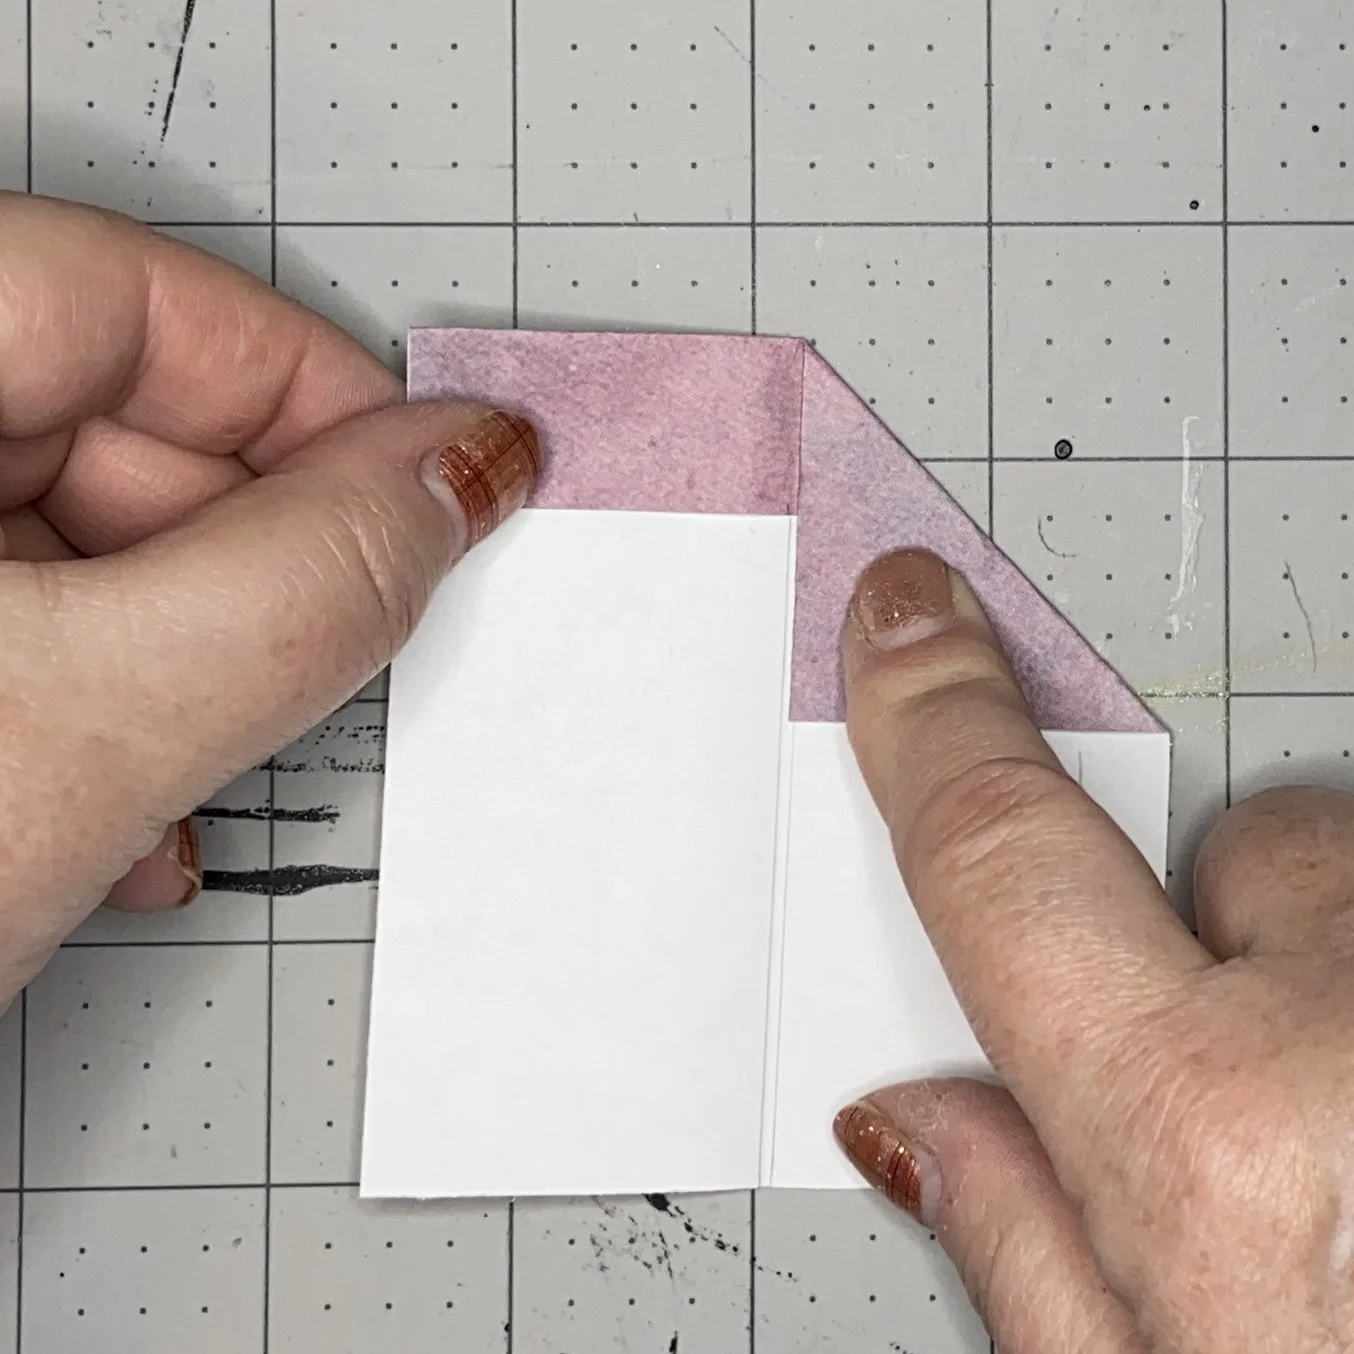
Now I had to do a little unfolding. I unfolded both those long sides, and then unfolded the right “wing.”
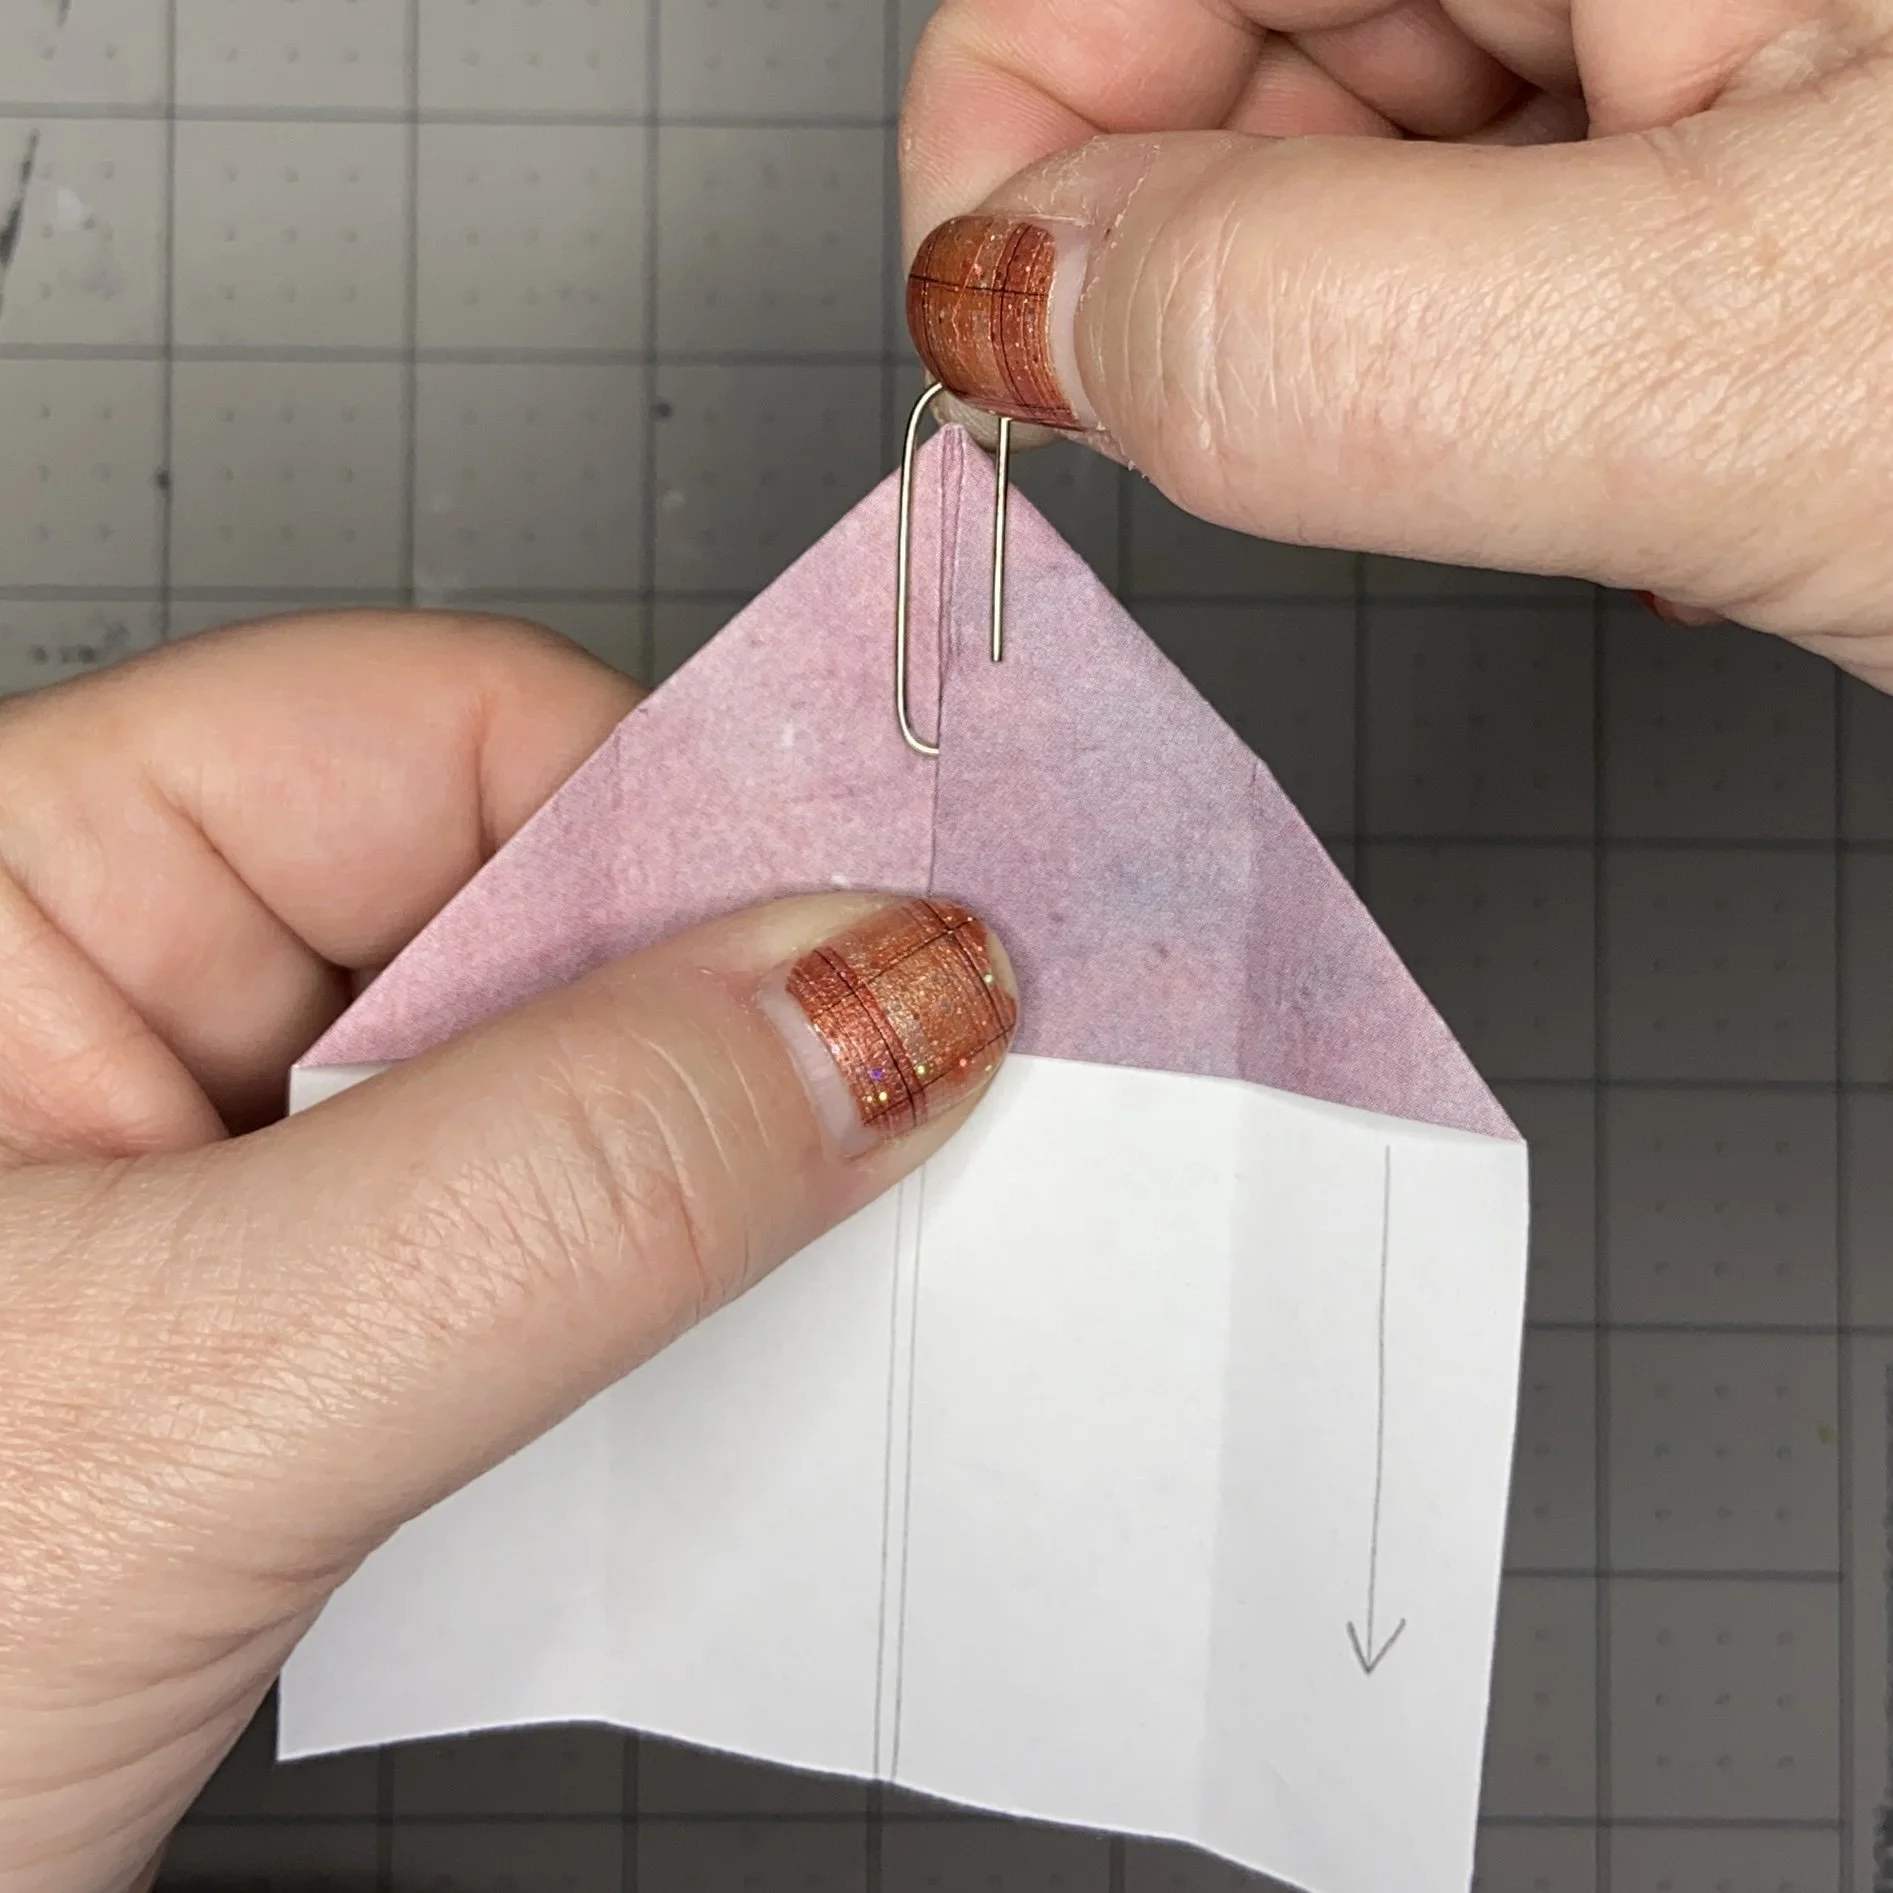
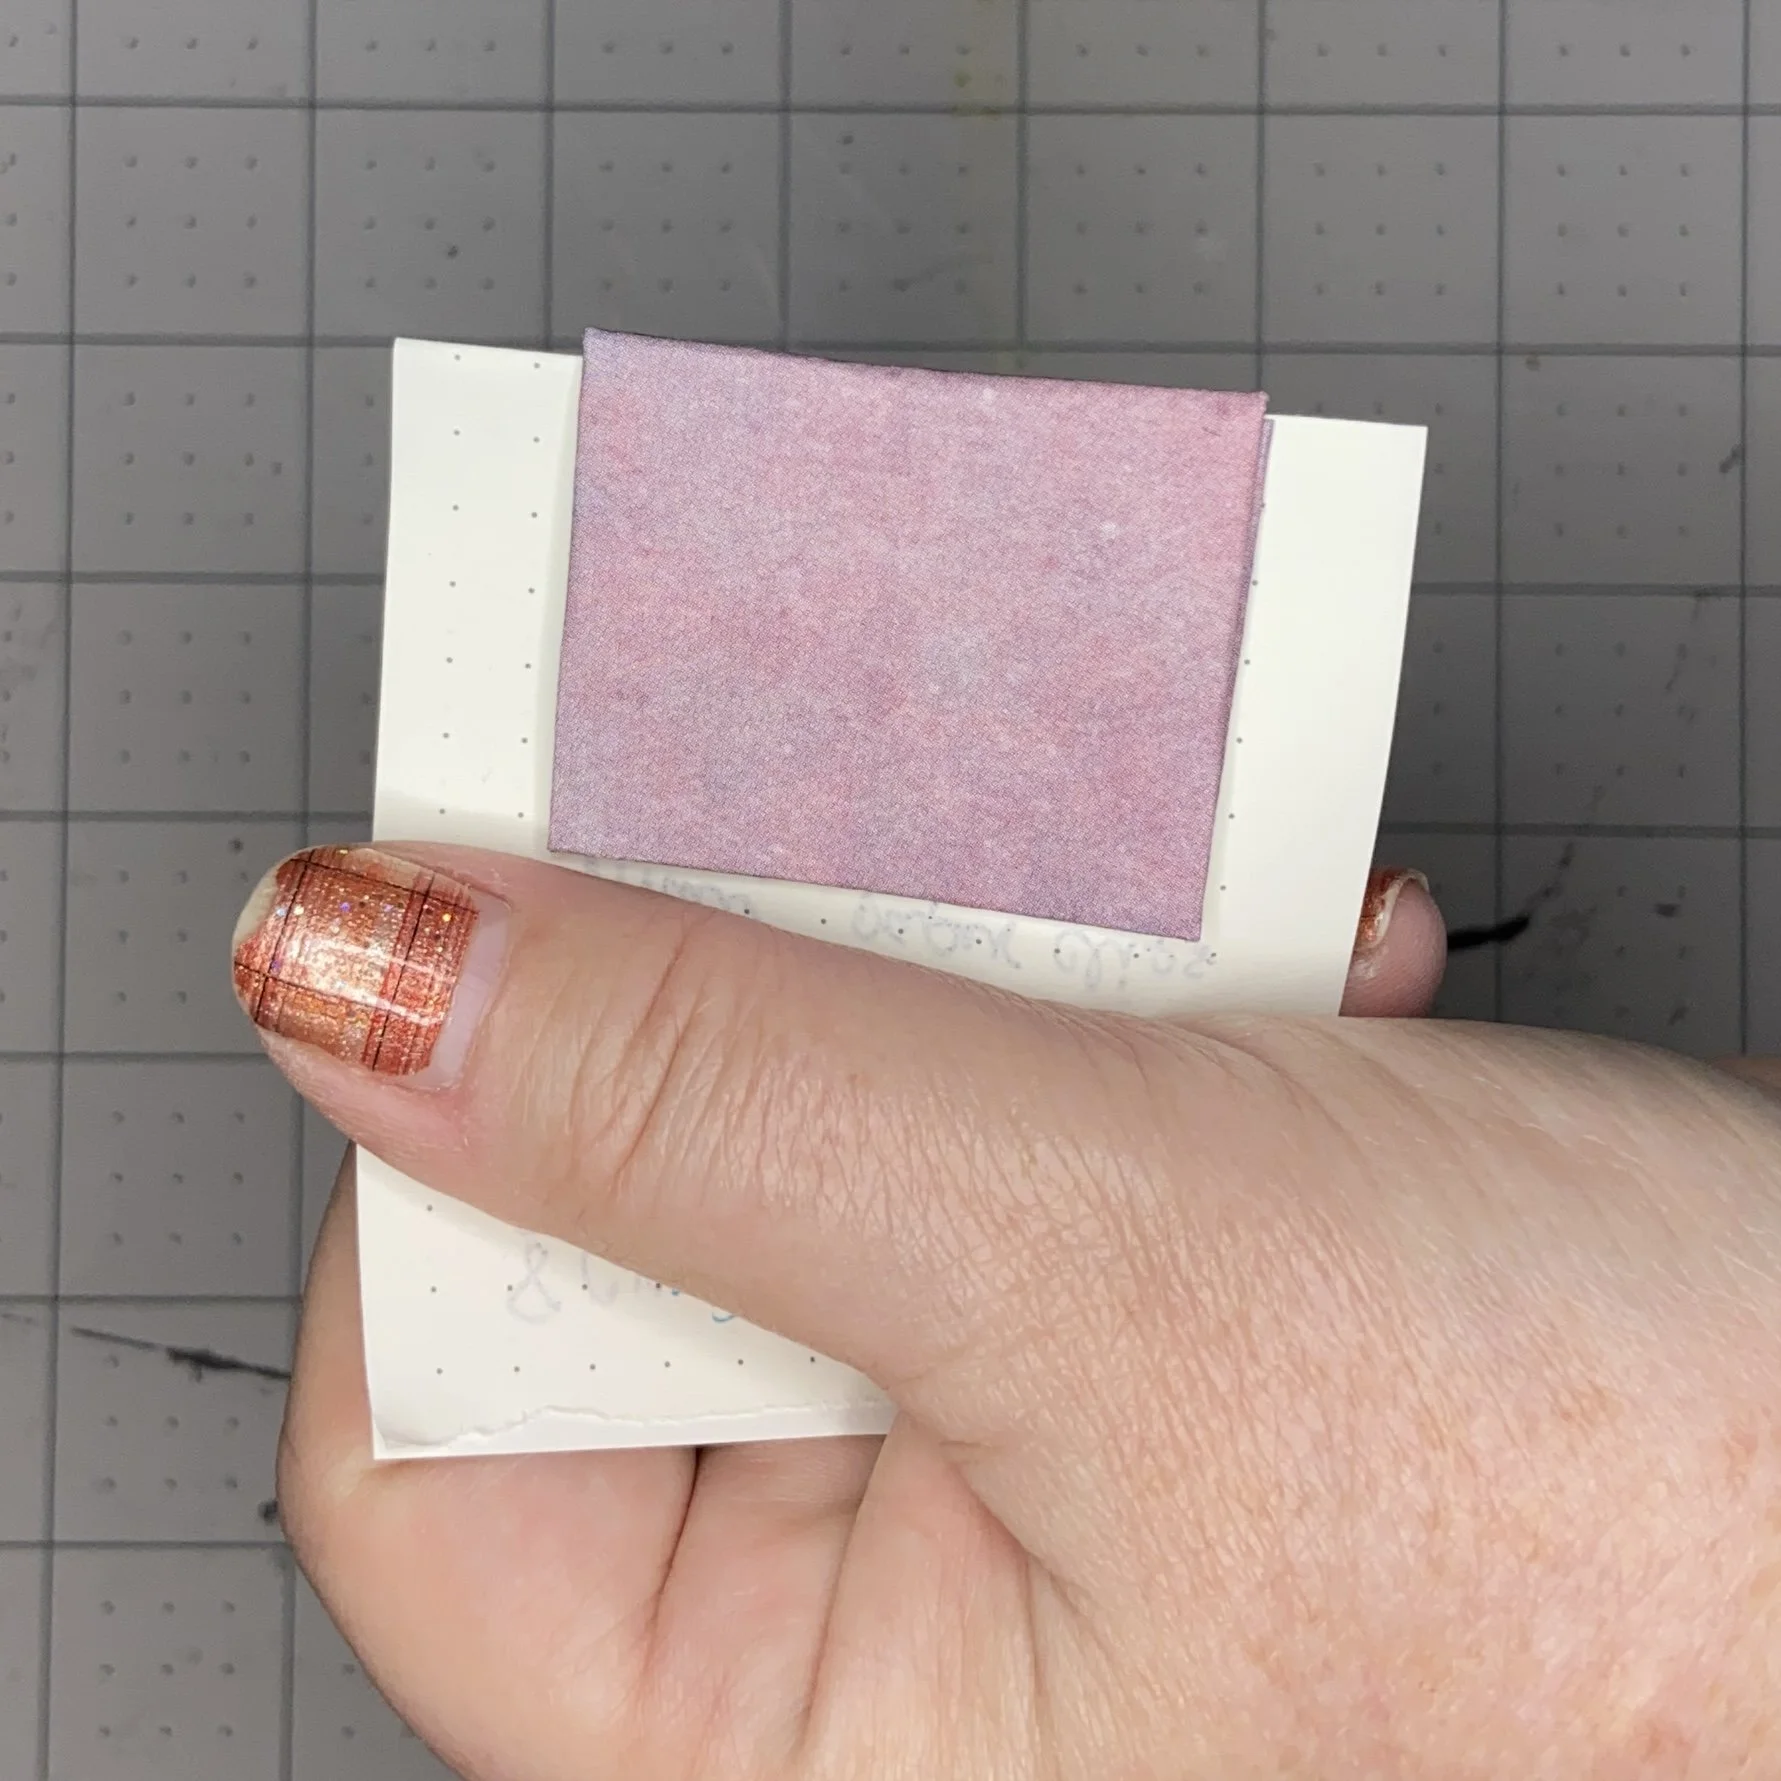
The paper clip was inserted next but the orientation was important. I had to make sure that I was holding it so that the end of the long loop was to the right. I inserted the paper clip with the short loop under the top folded edge, starting just a little to the right of the left wing, which was still folded. Then I carefully worked the paper clip to the left until half of the large loop was sitting on top of the folded wing.
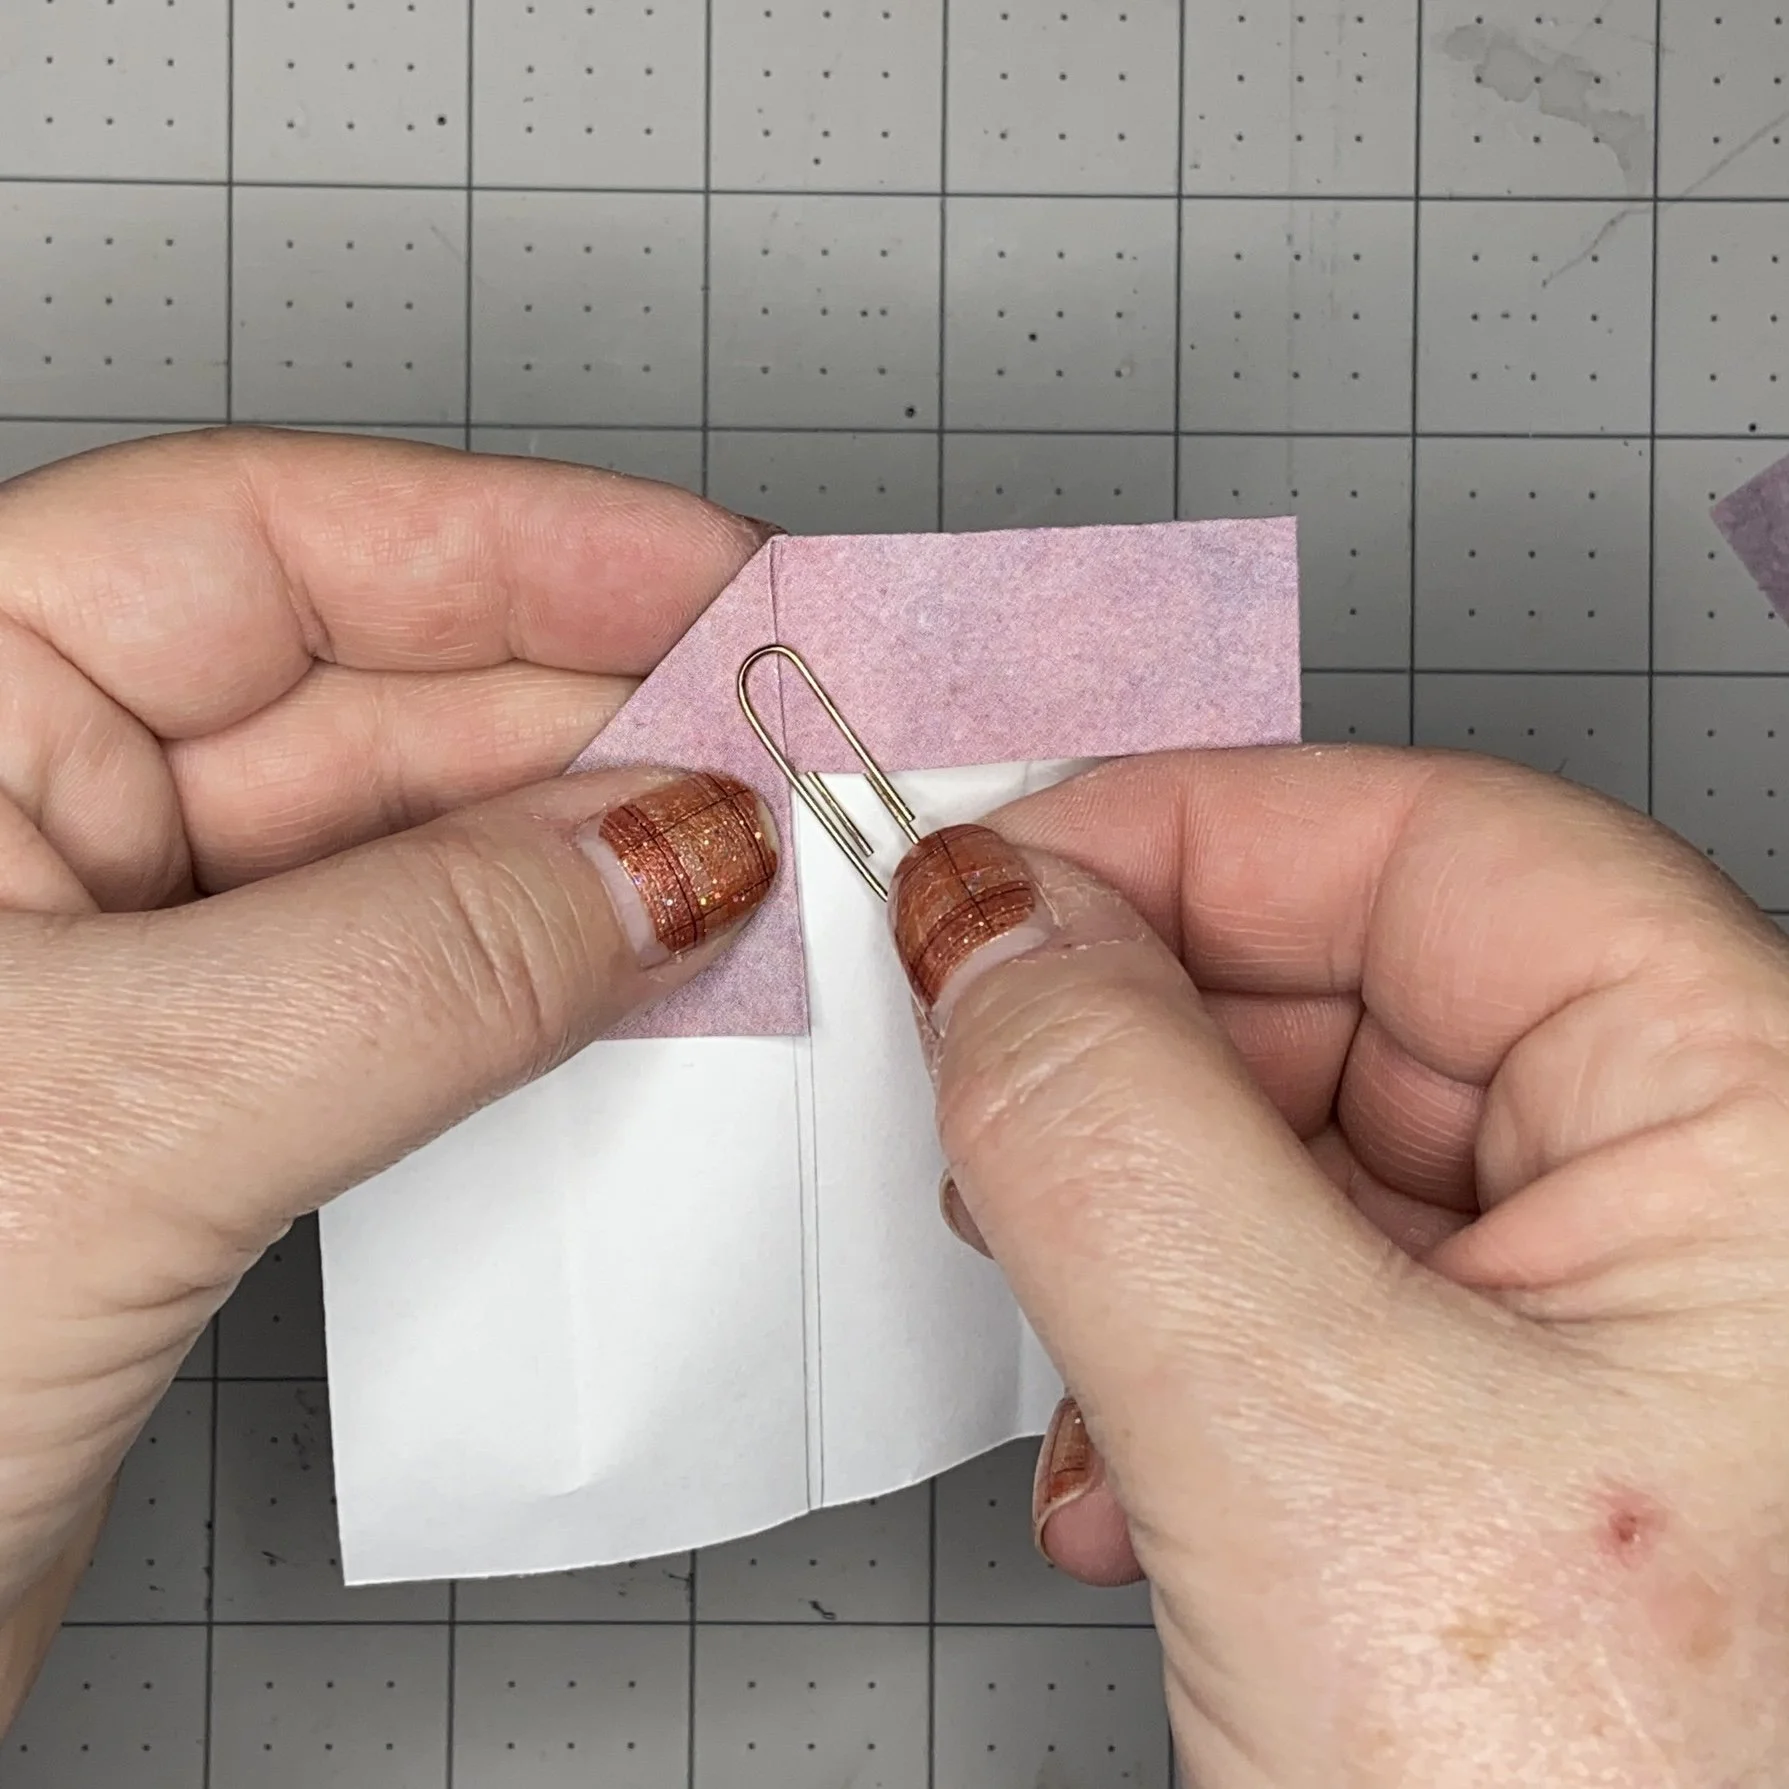

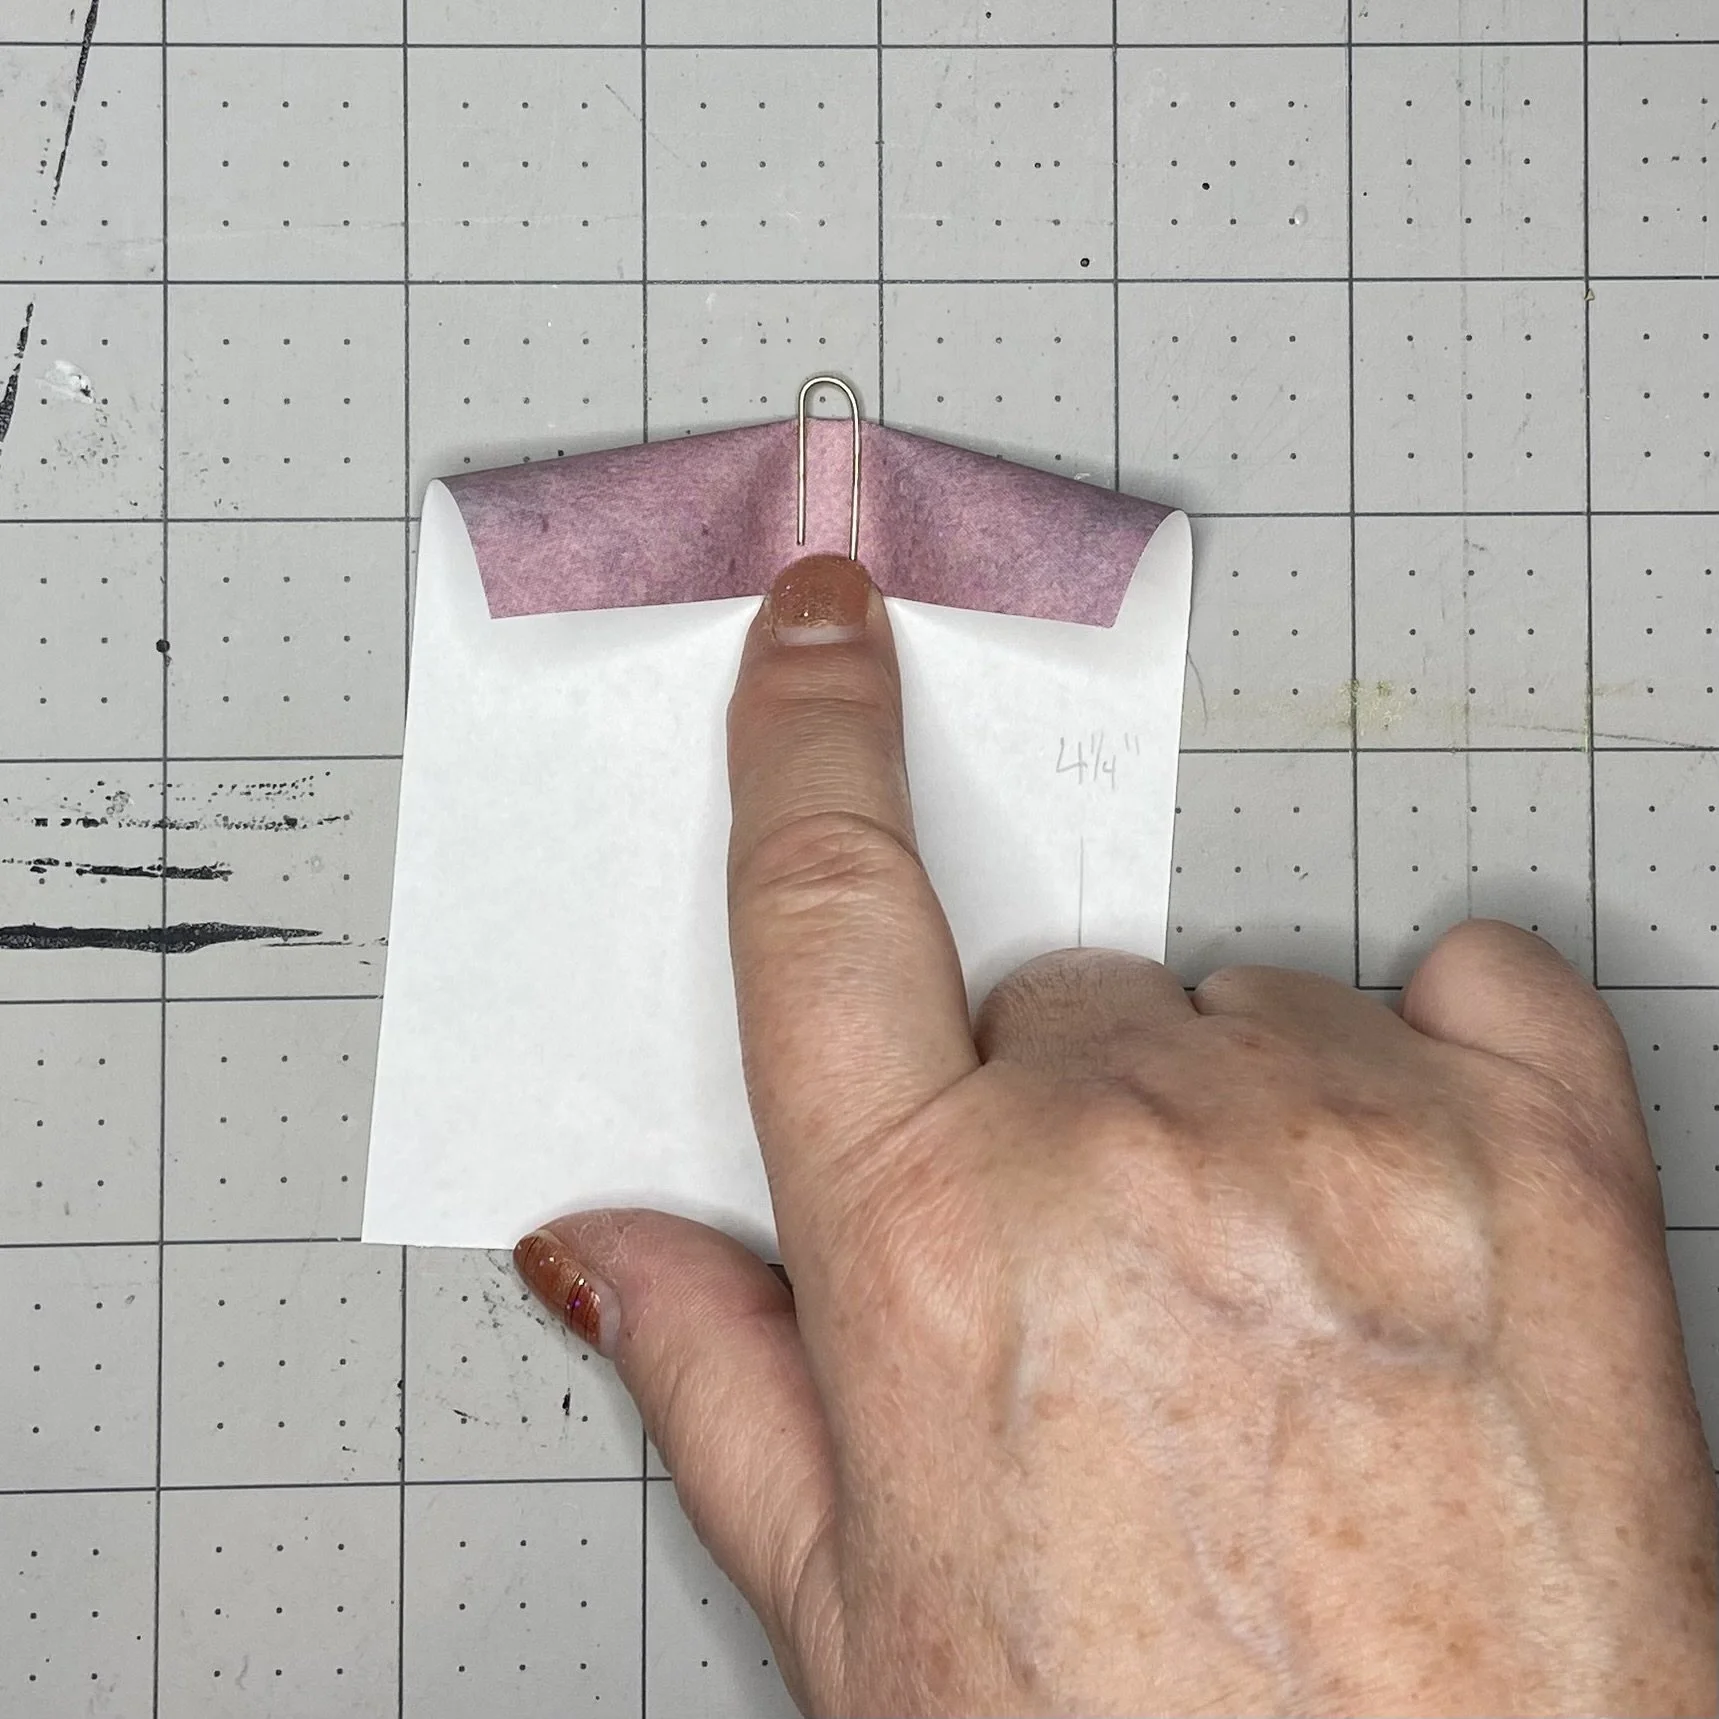
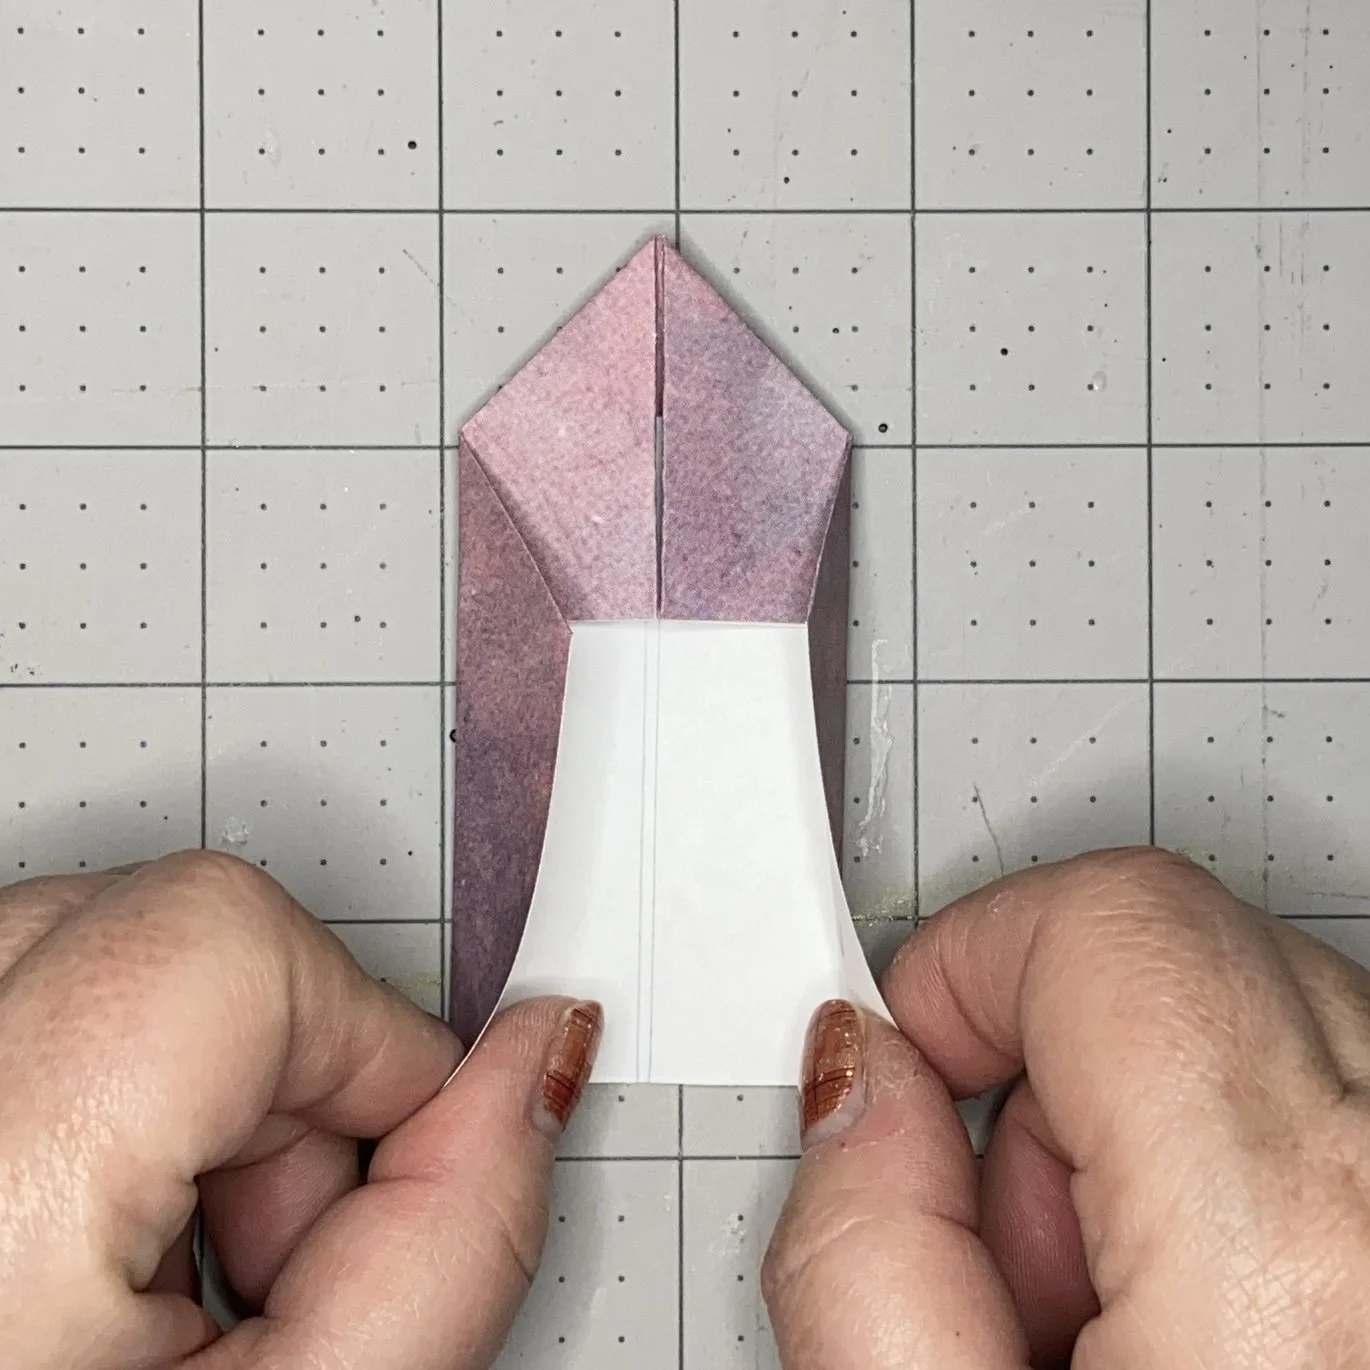
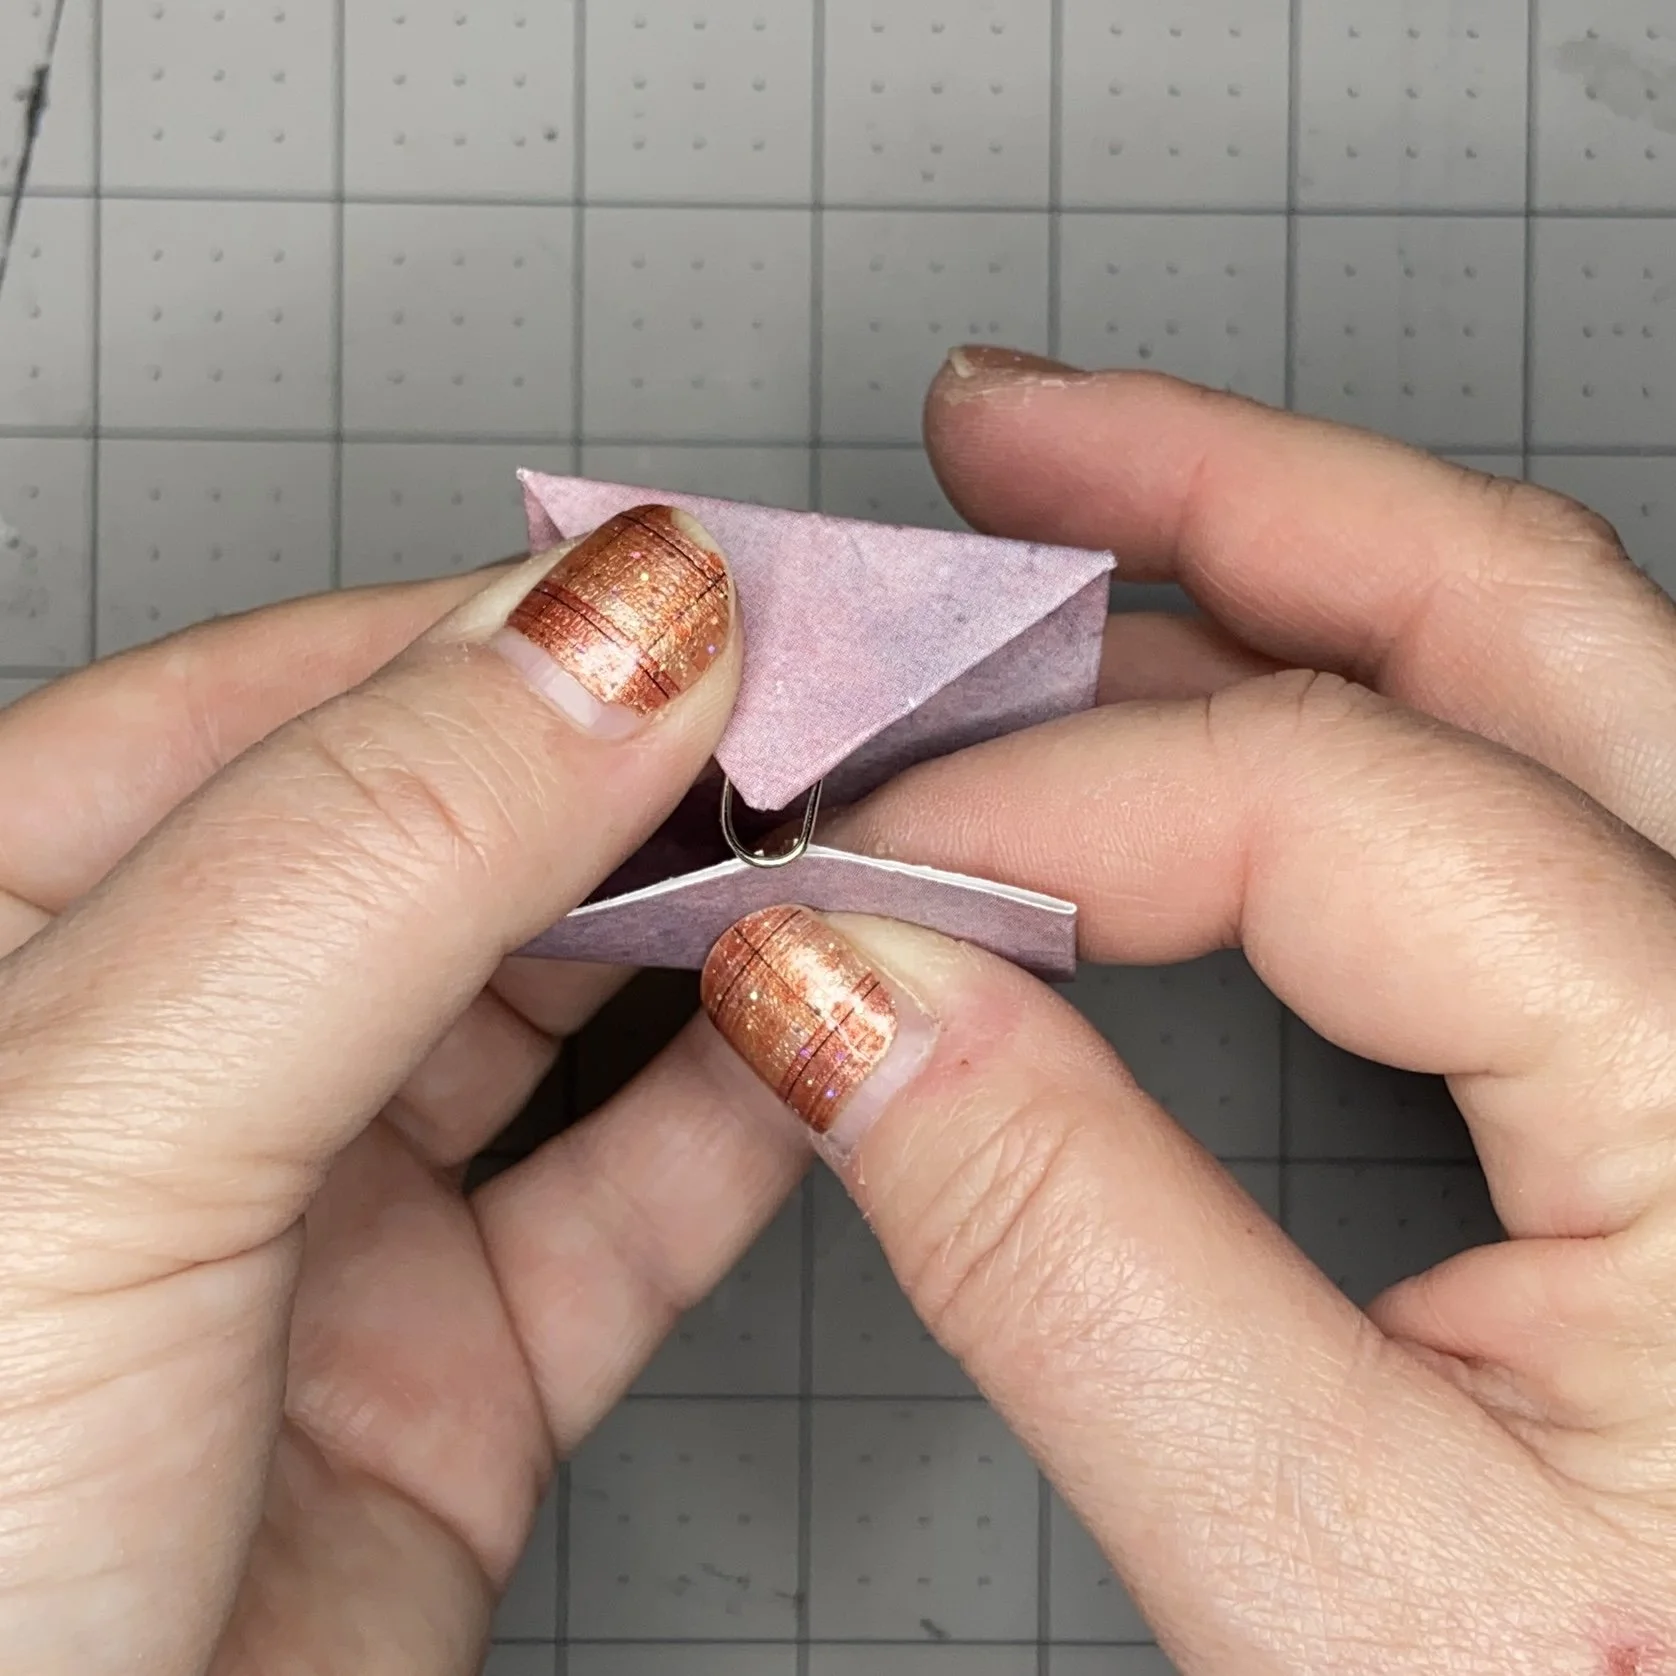
The next bit was slightly fiddly. I had to keep reminding myself: don’t rush and don’t push. Be gentle and patient. I brought the right wing back toward its folded position. When I got the edge to the paper clip, I slipped the edge under the end of that large loop. Once it was under the edge, I carefully worked the rest of the wing back into its folded position, so that it was sitting under the right leg of the big loop of the paper clip. Once it was securely in place, I slid the paper clip up as far as it would go, being careful not to displace its position on the folded wings as I did so. Et voila, the hardest part was done.
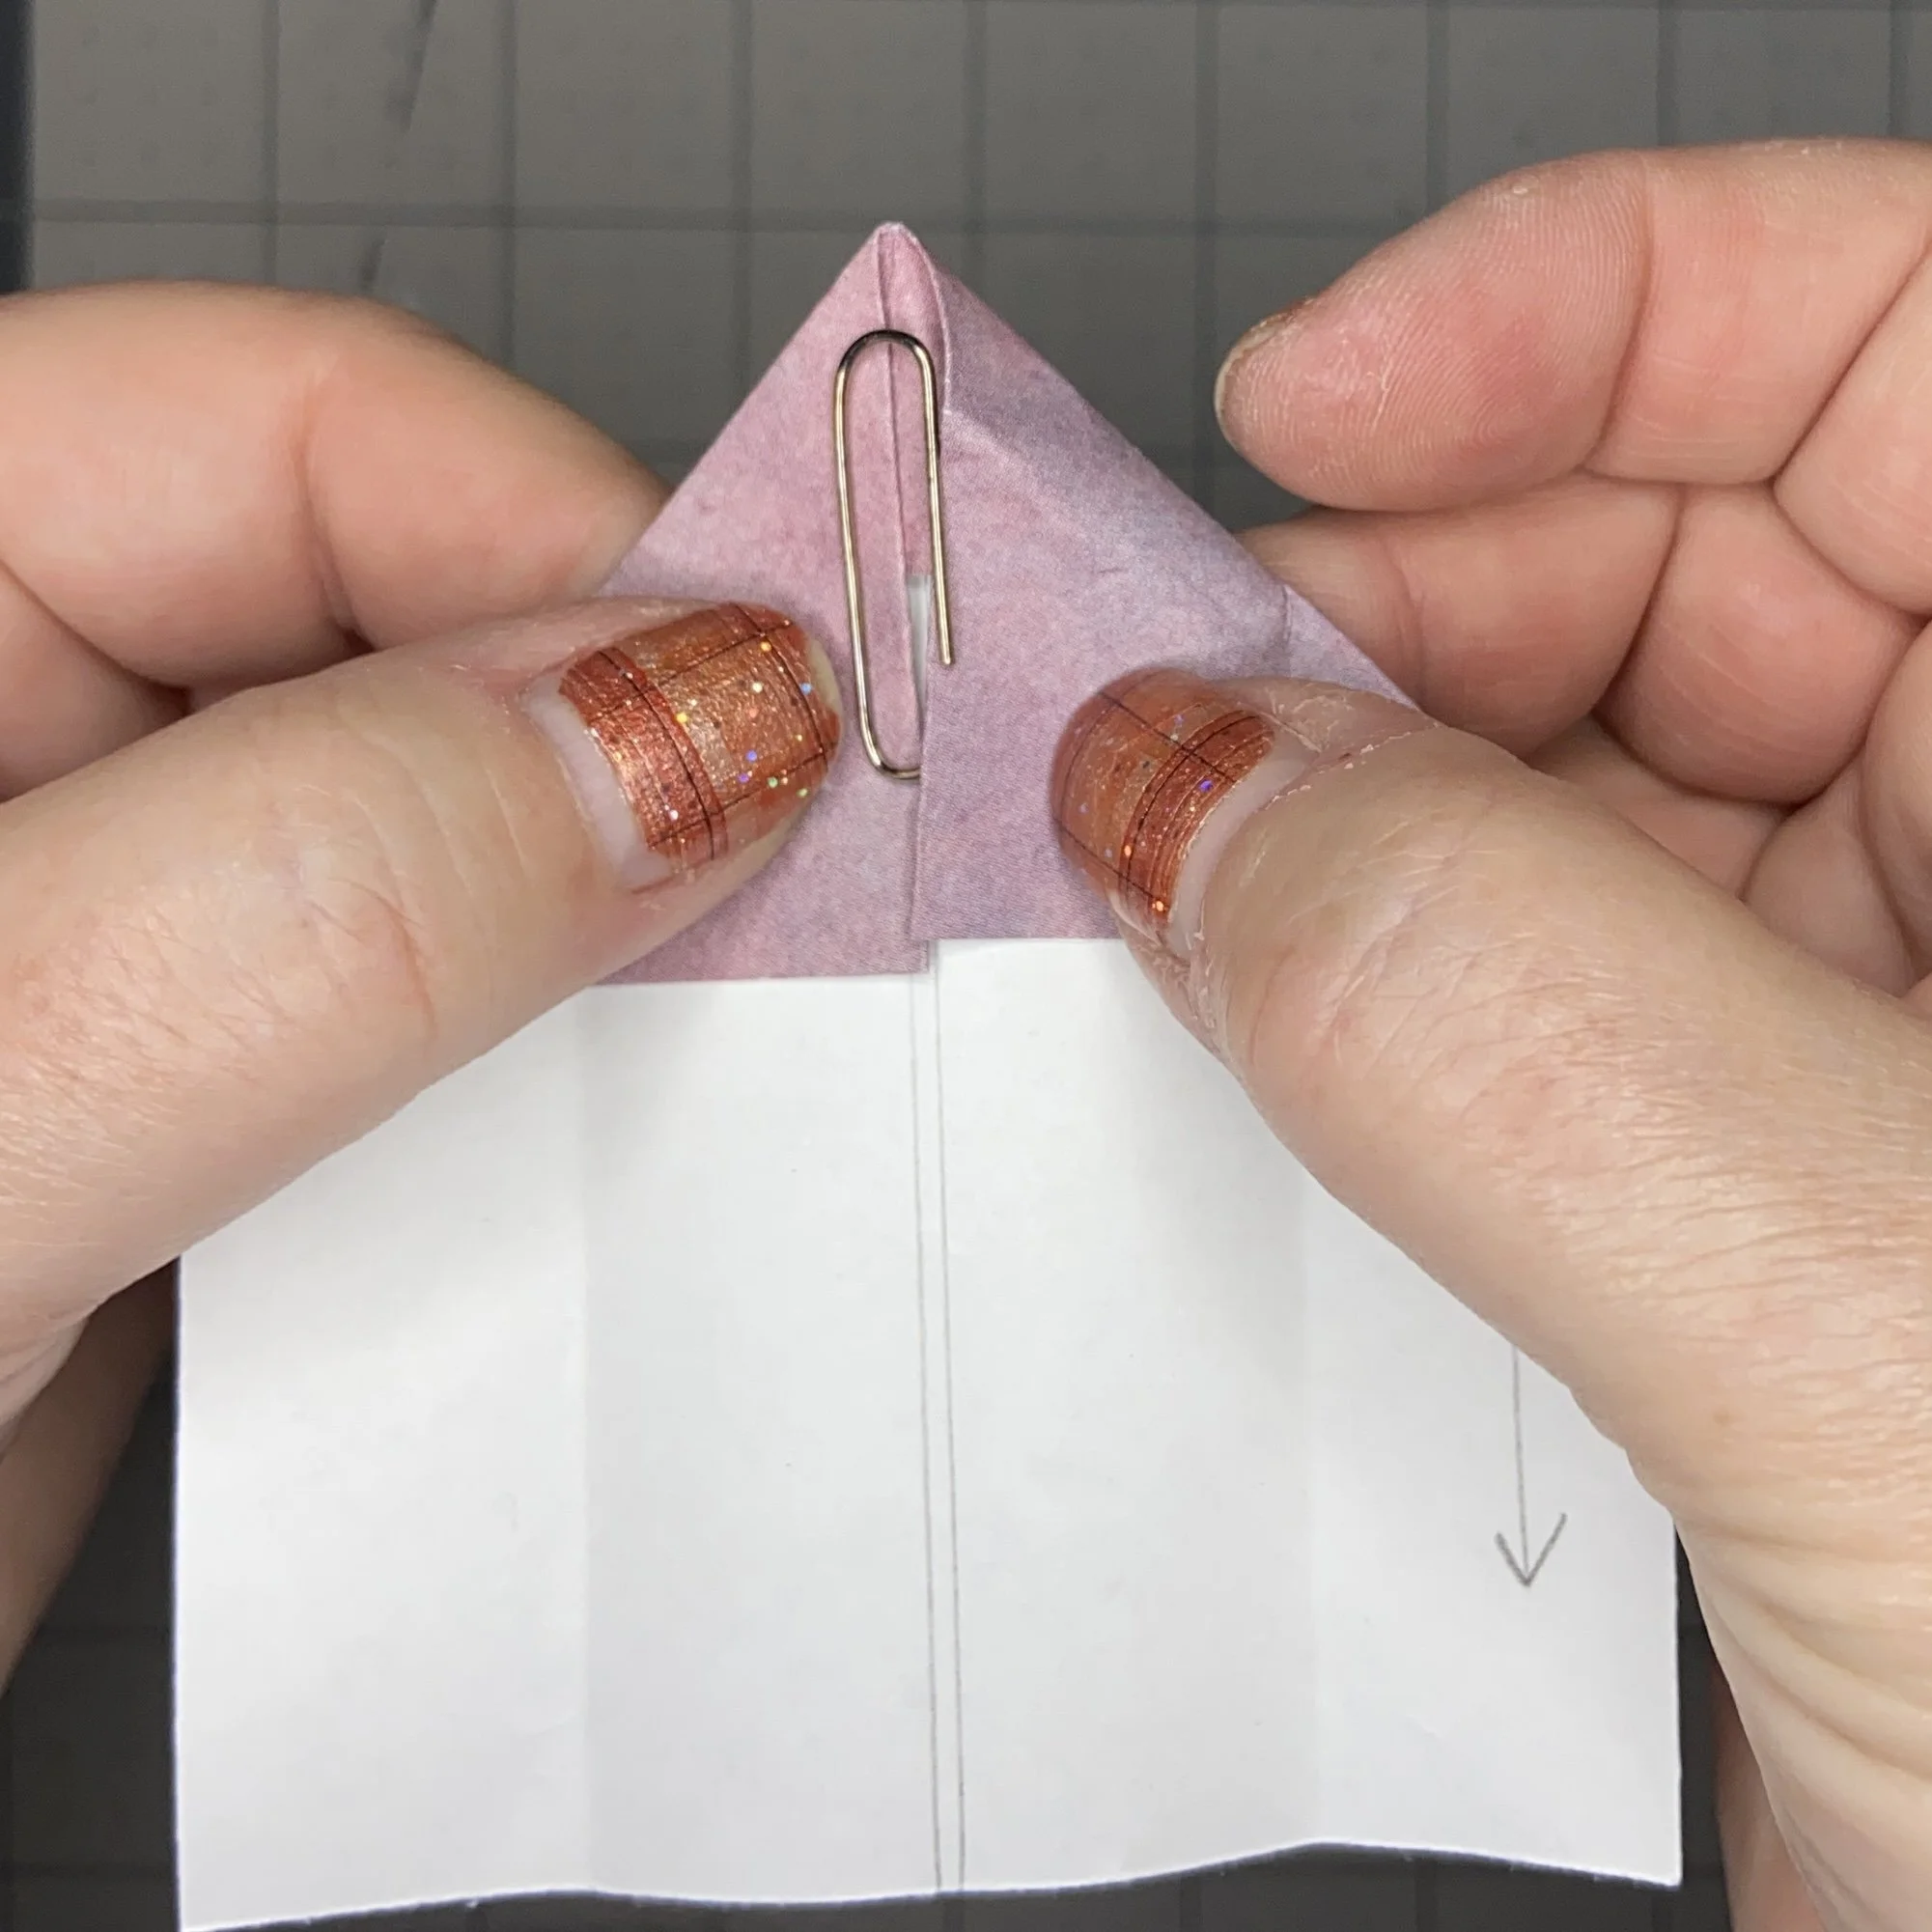
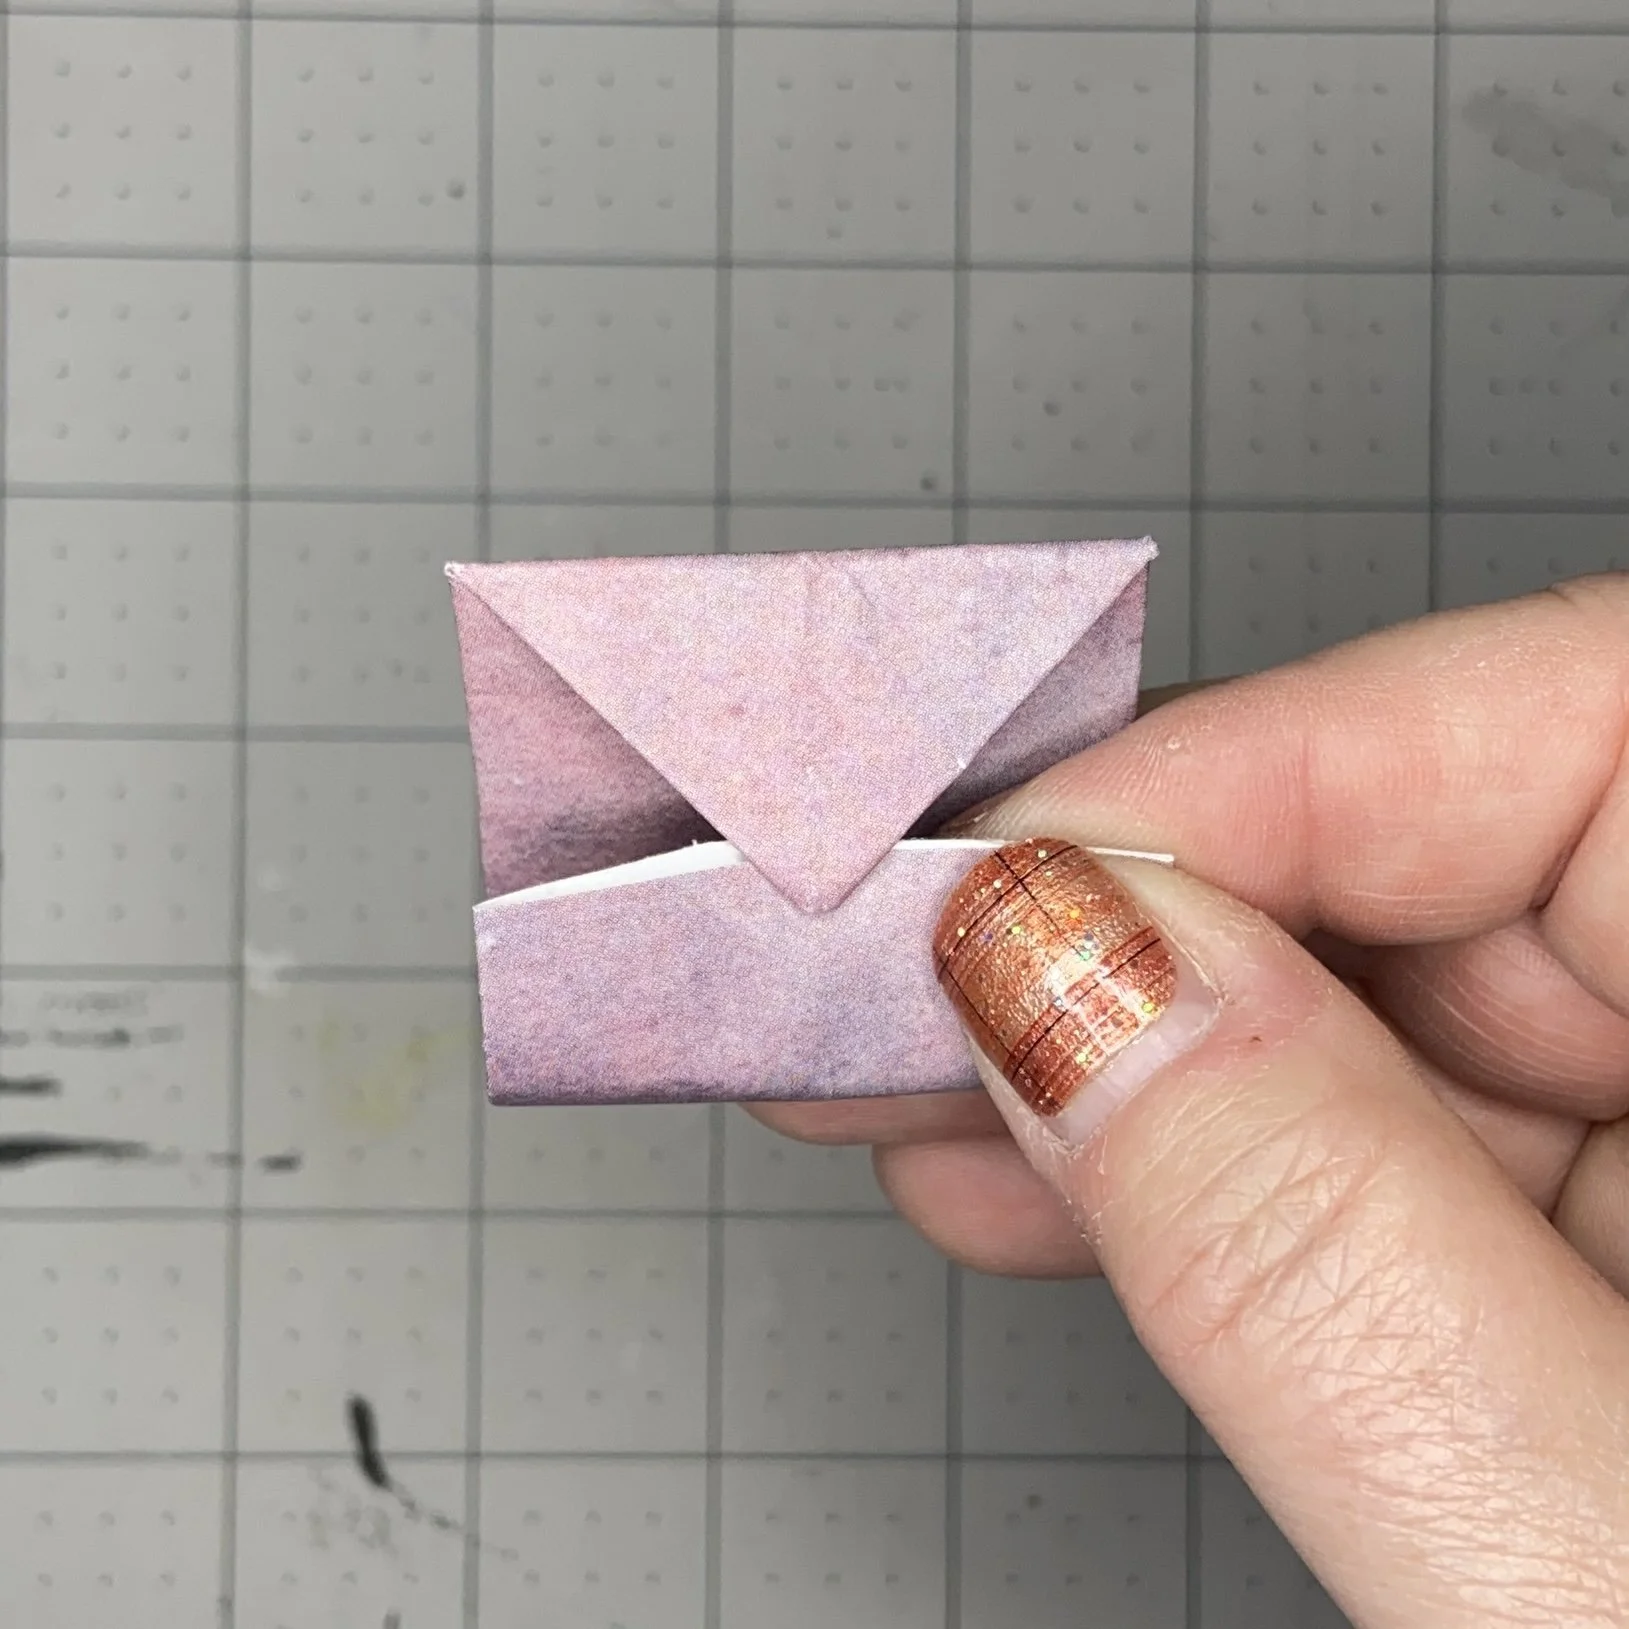
Next I folded the top of my piece over the paper clip and pressed that fold in place.
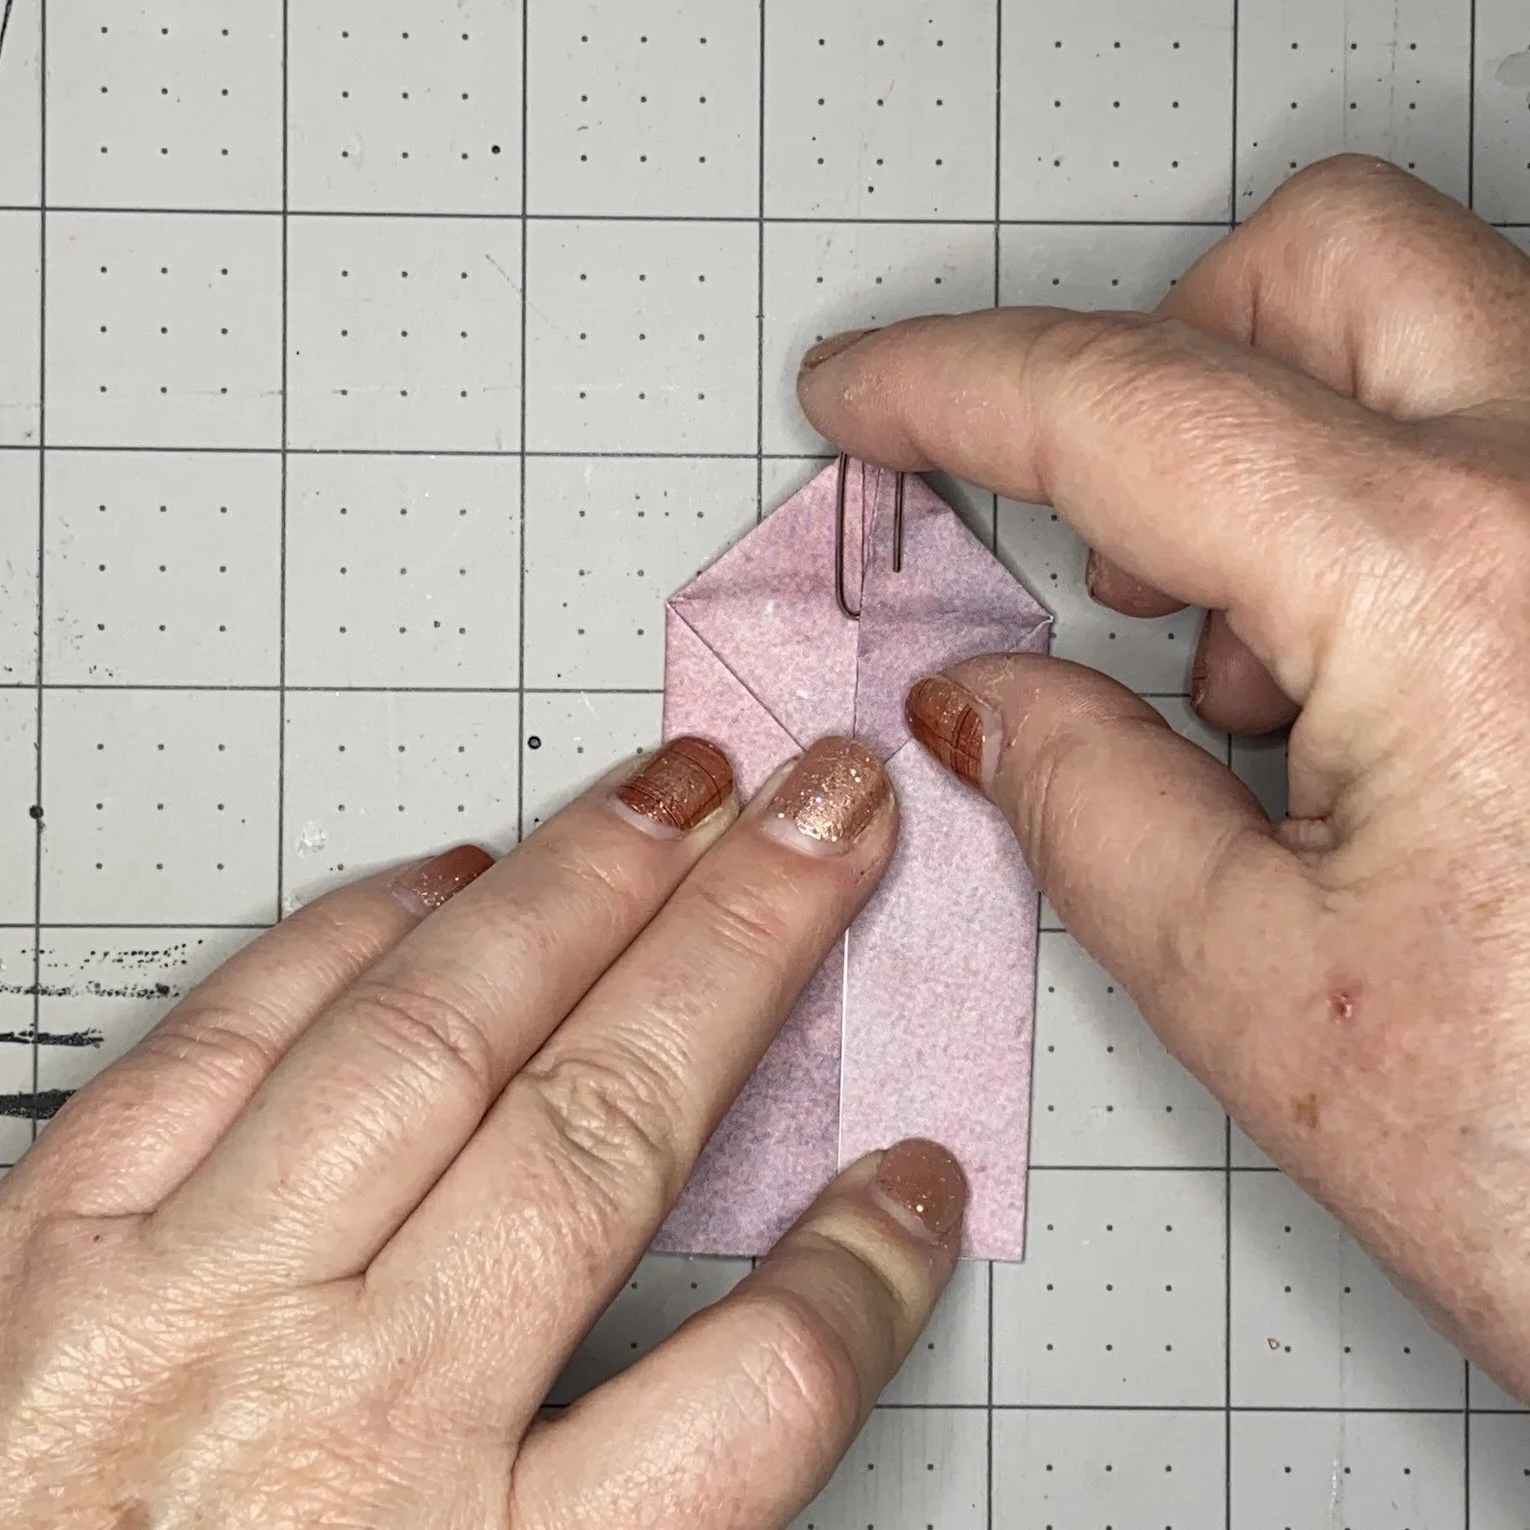
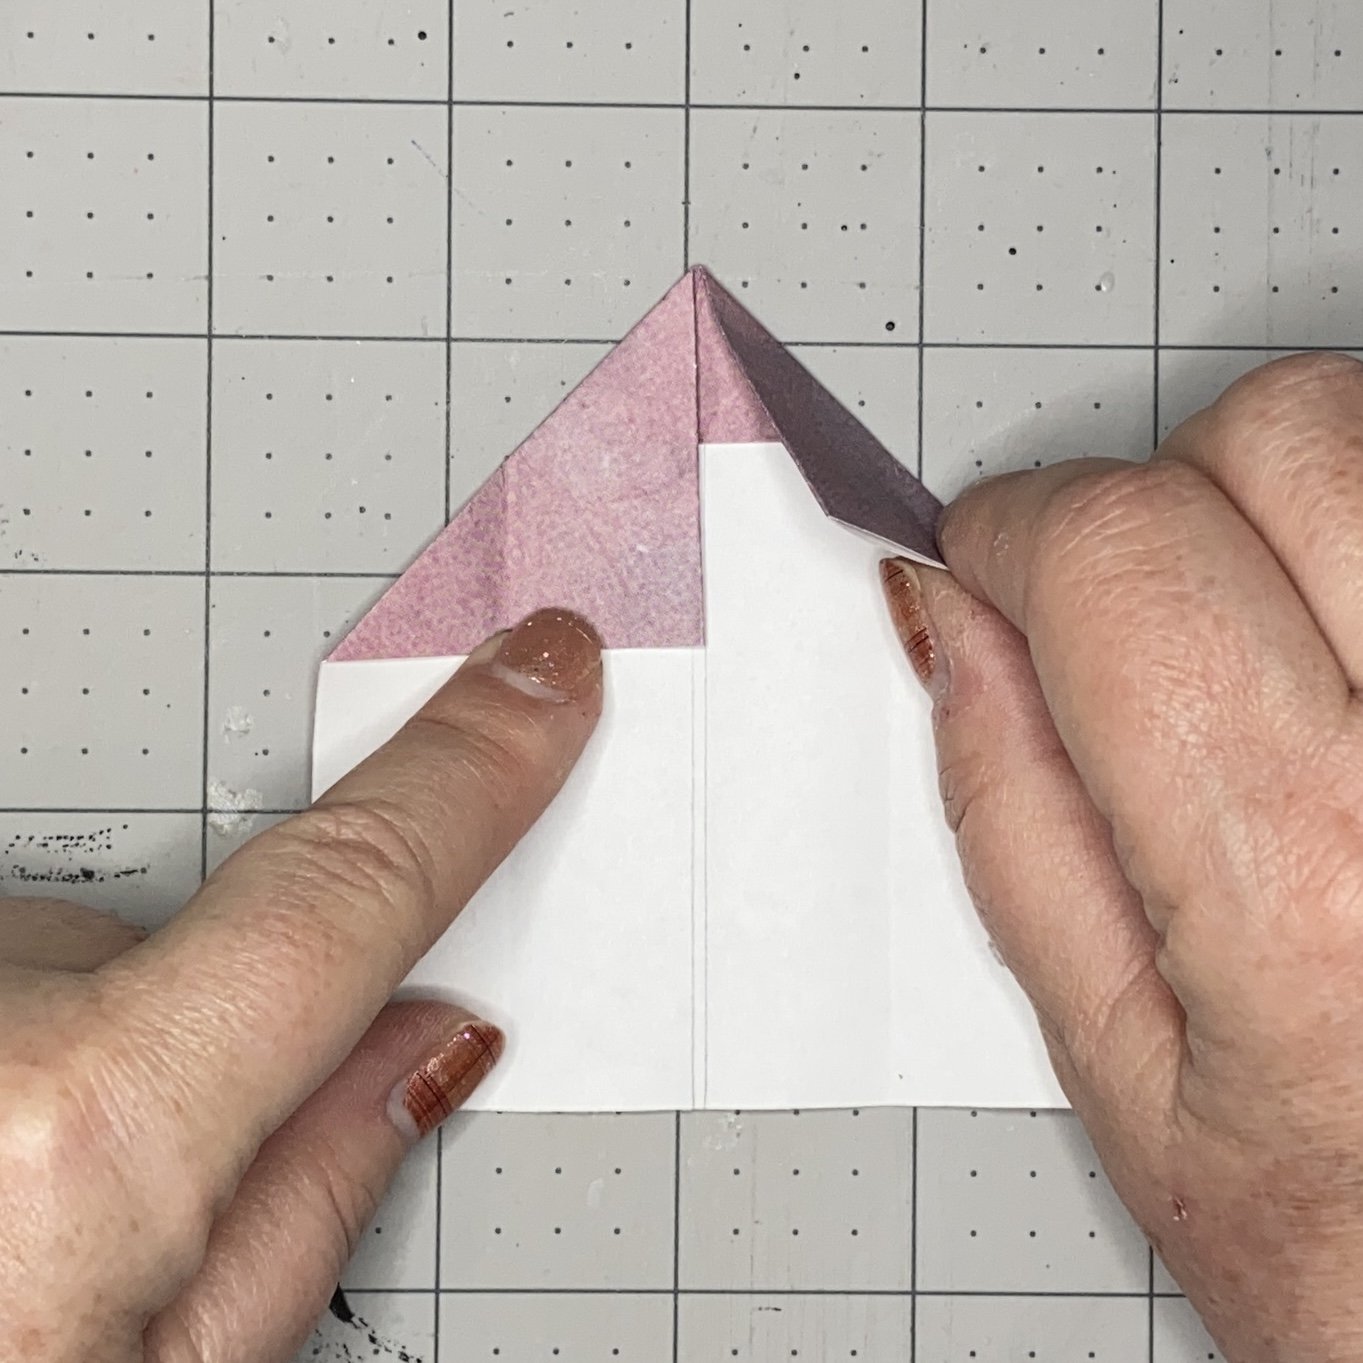
Then the bottom was folded up to meet the top edge. I had to be very careful not to go past the top edge at all. In fact, folding it just a hair short of the top edge seemed to be ideal. And of course, I pressed that fold into place.

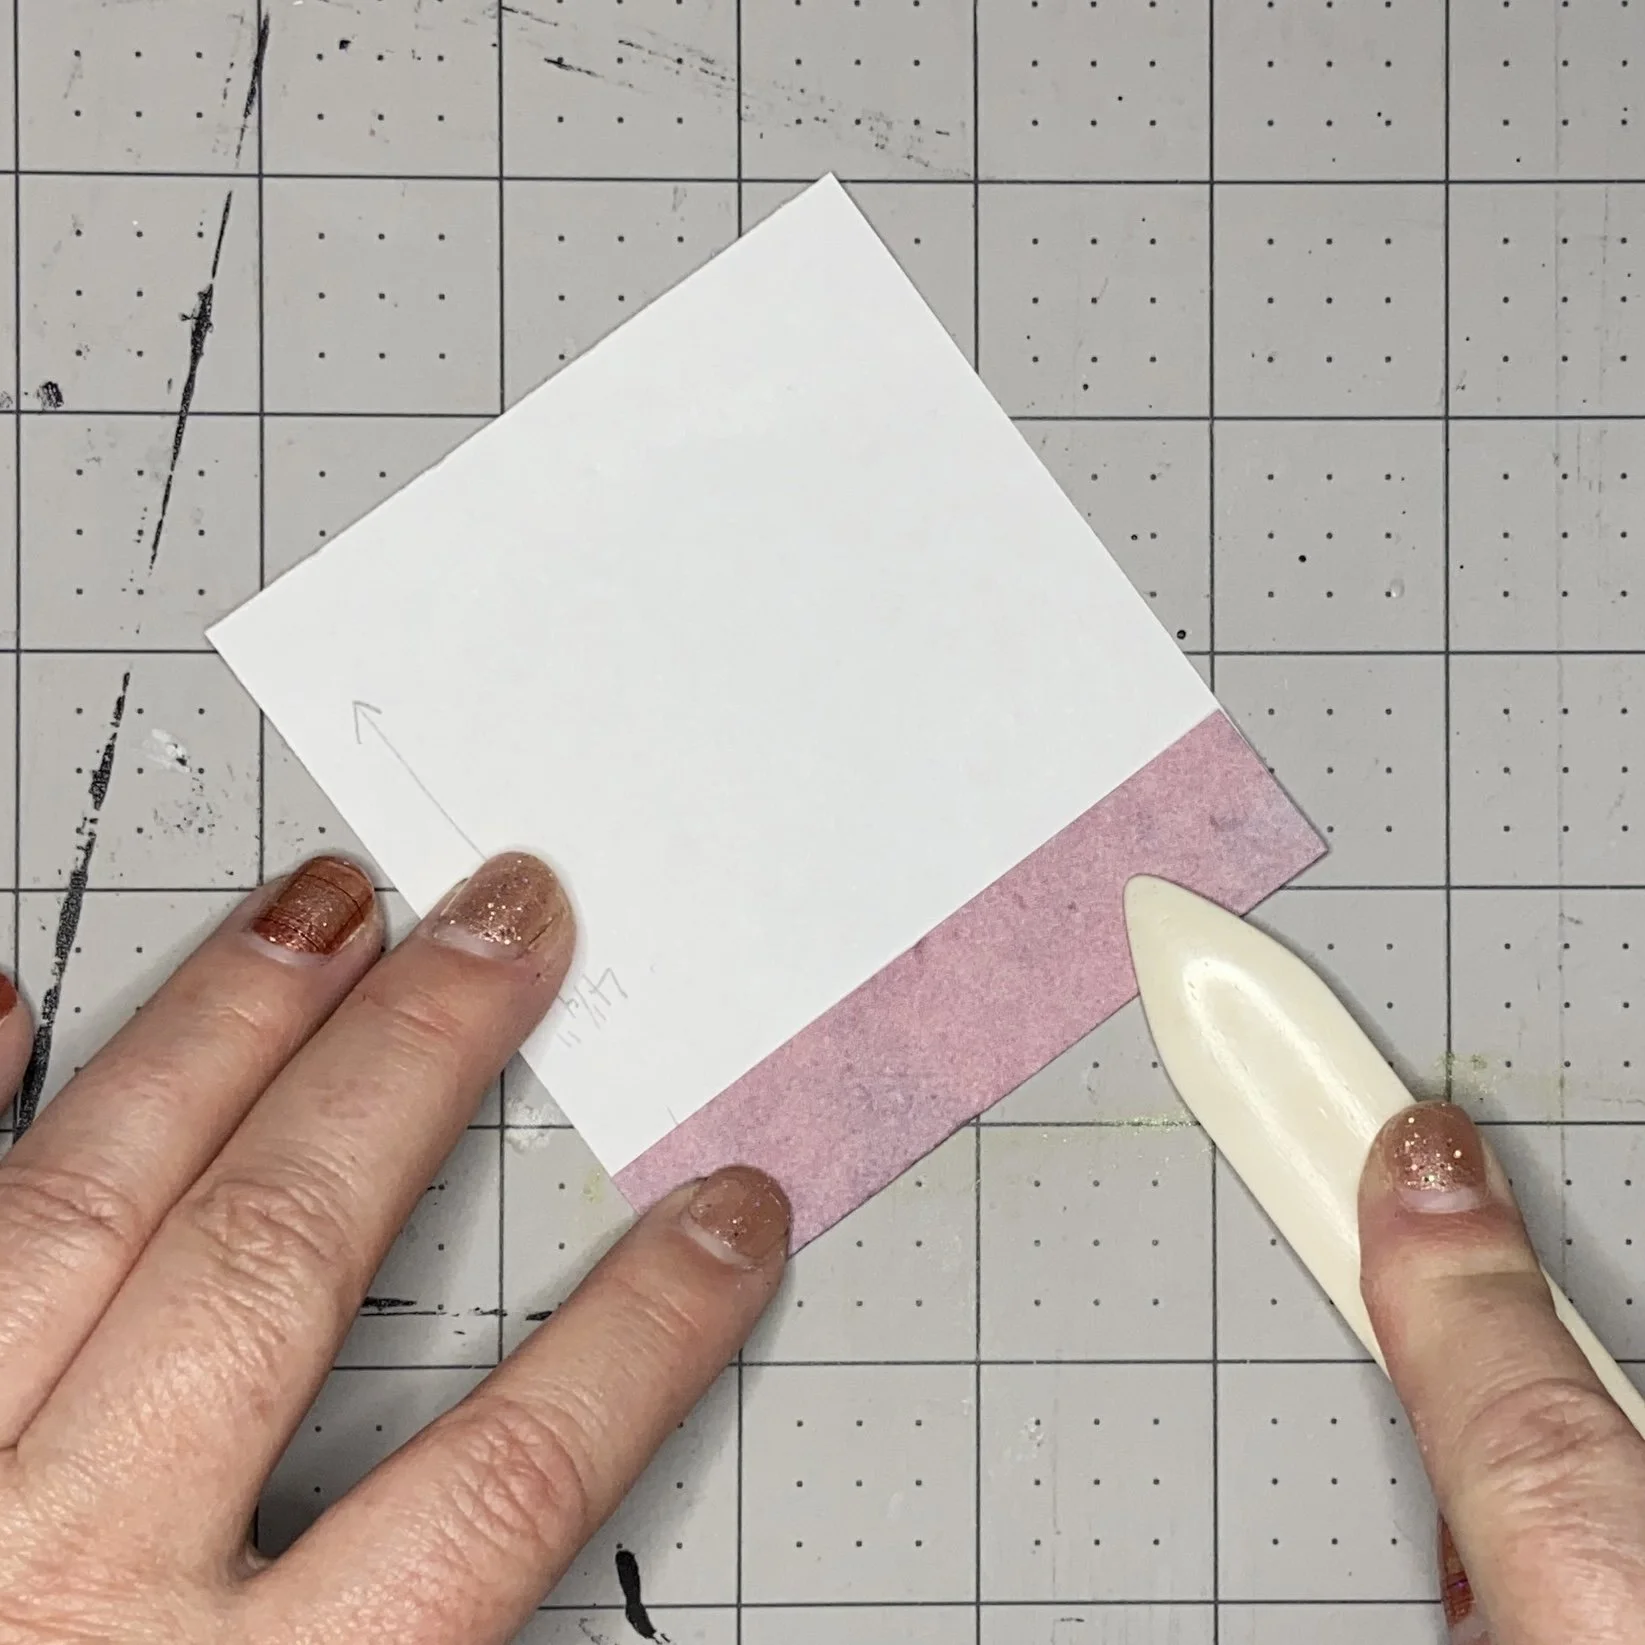
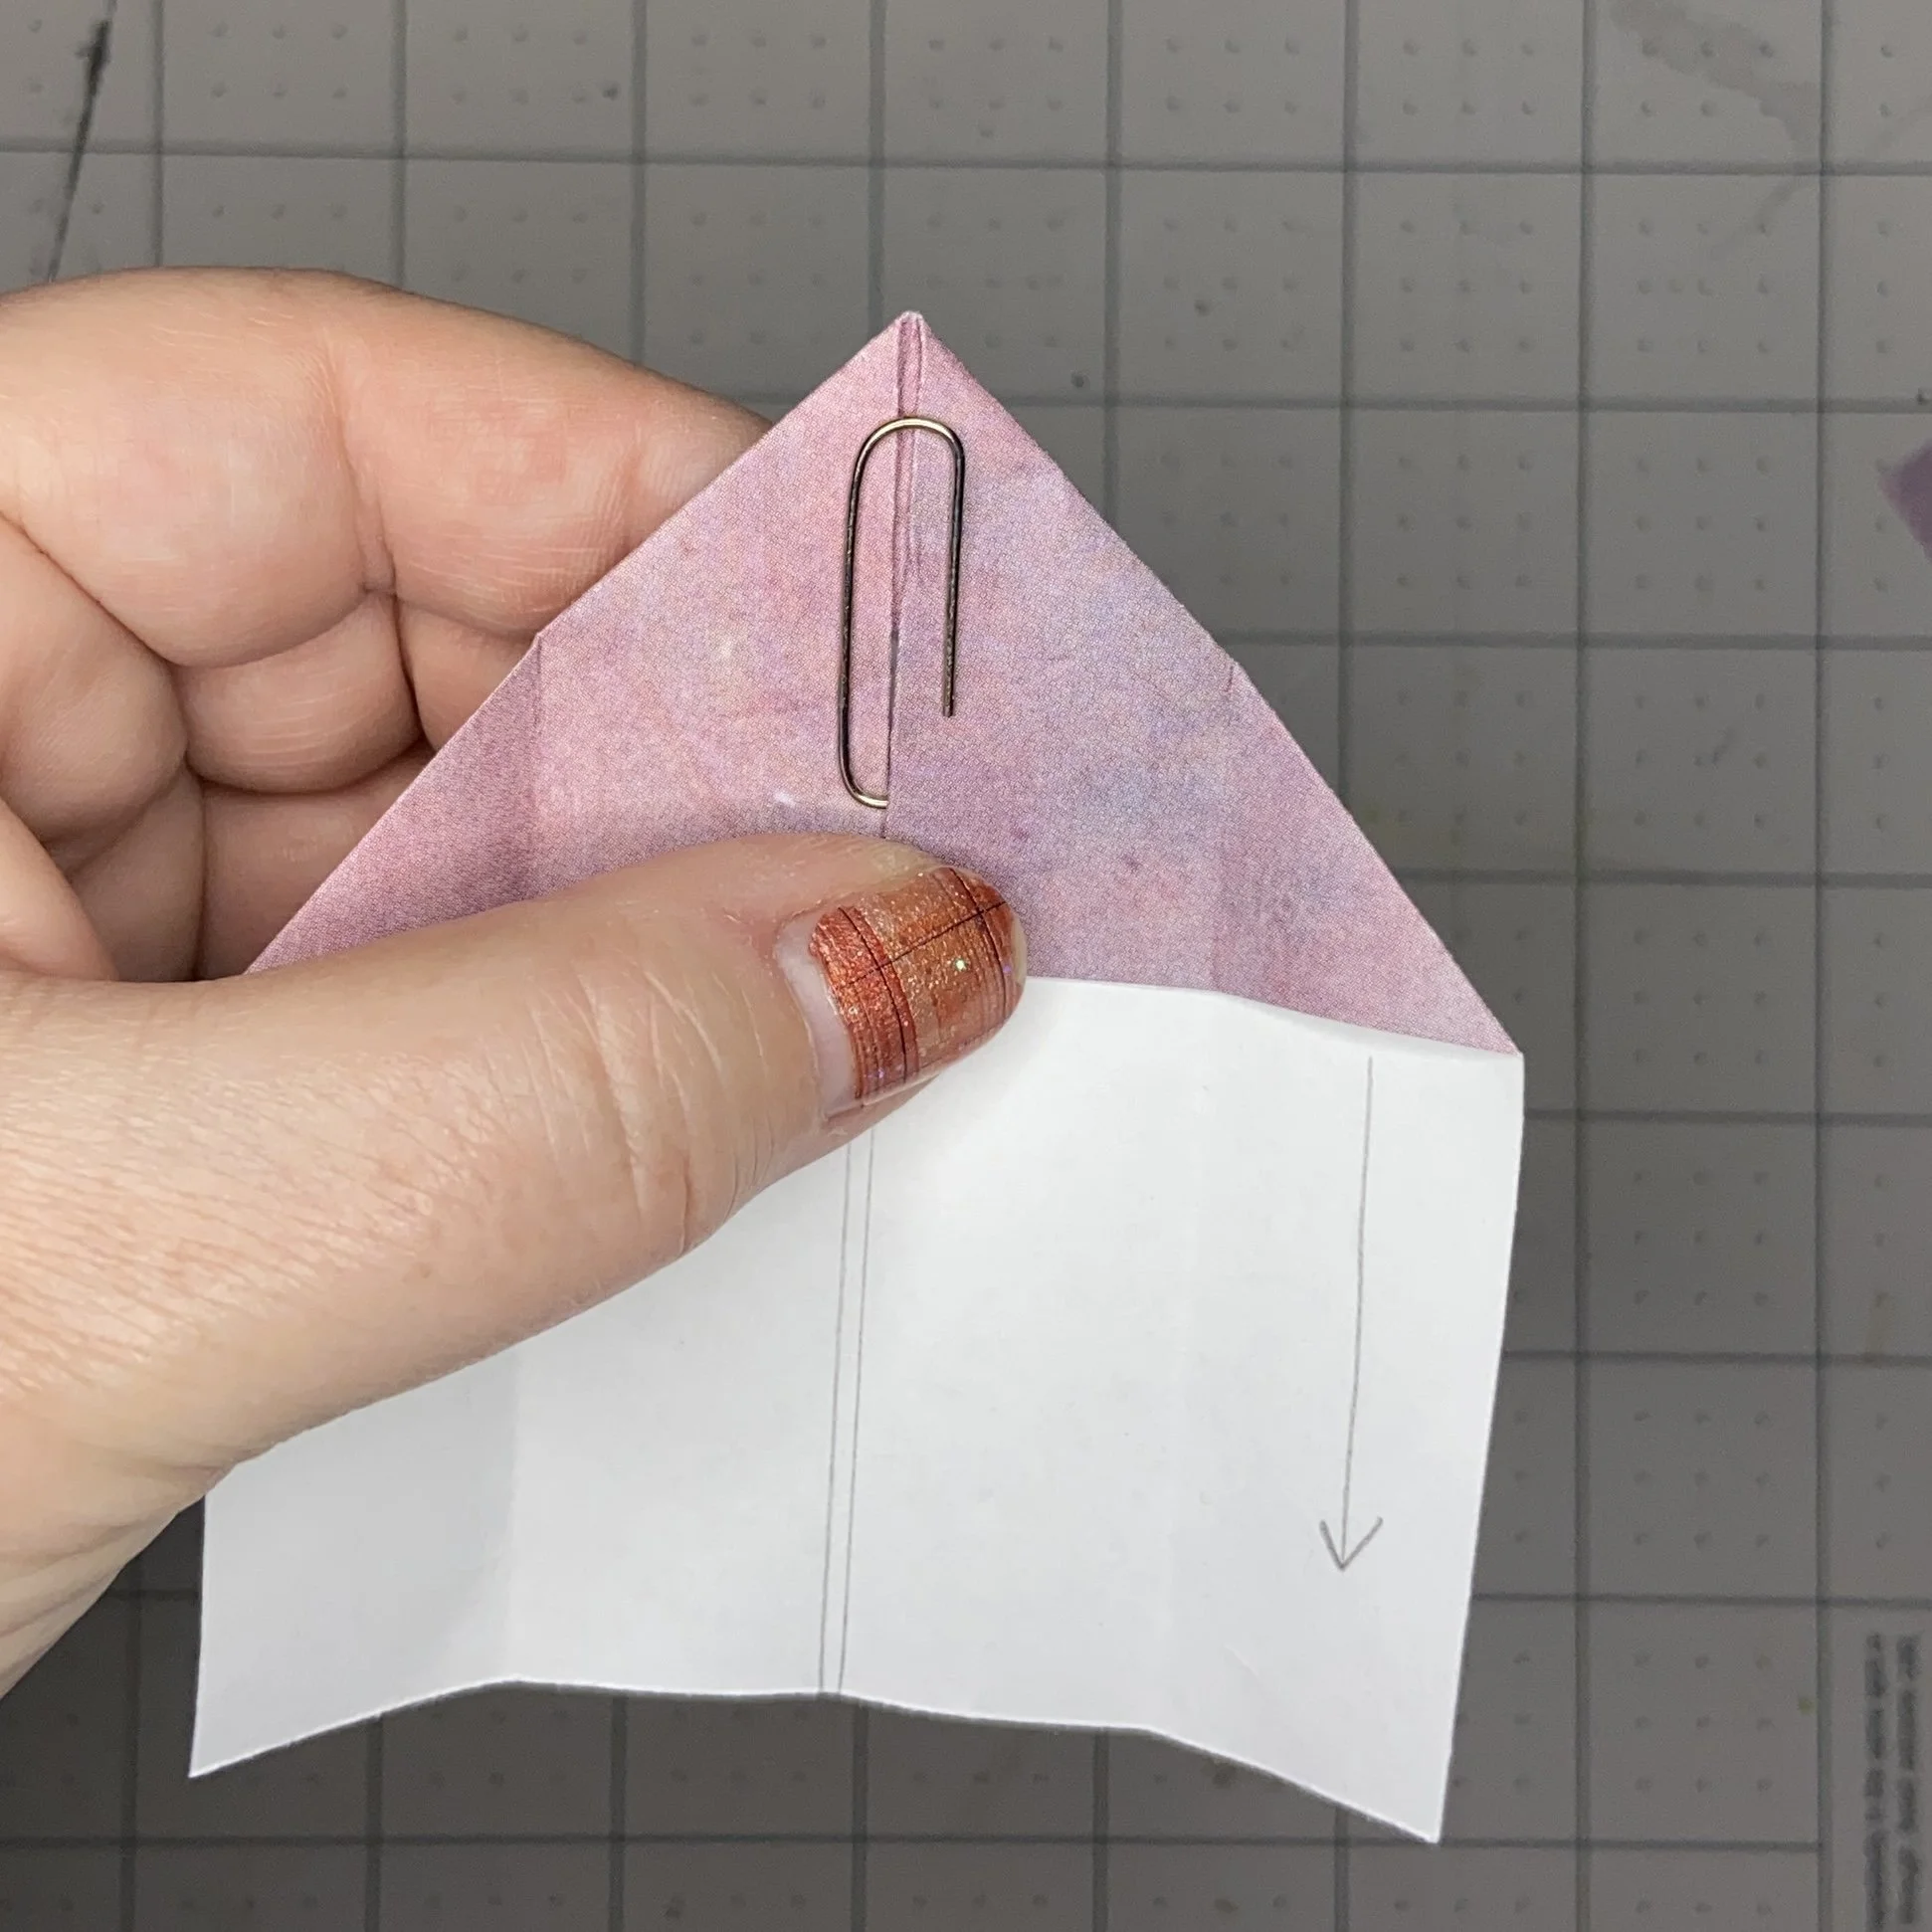
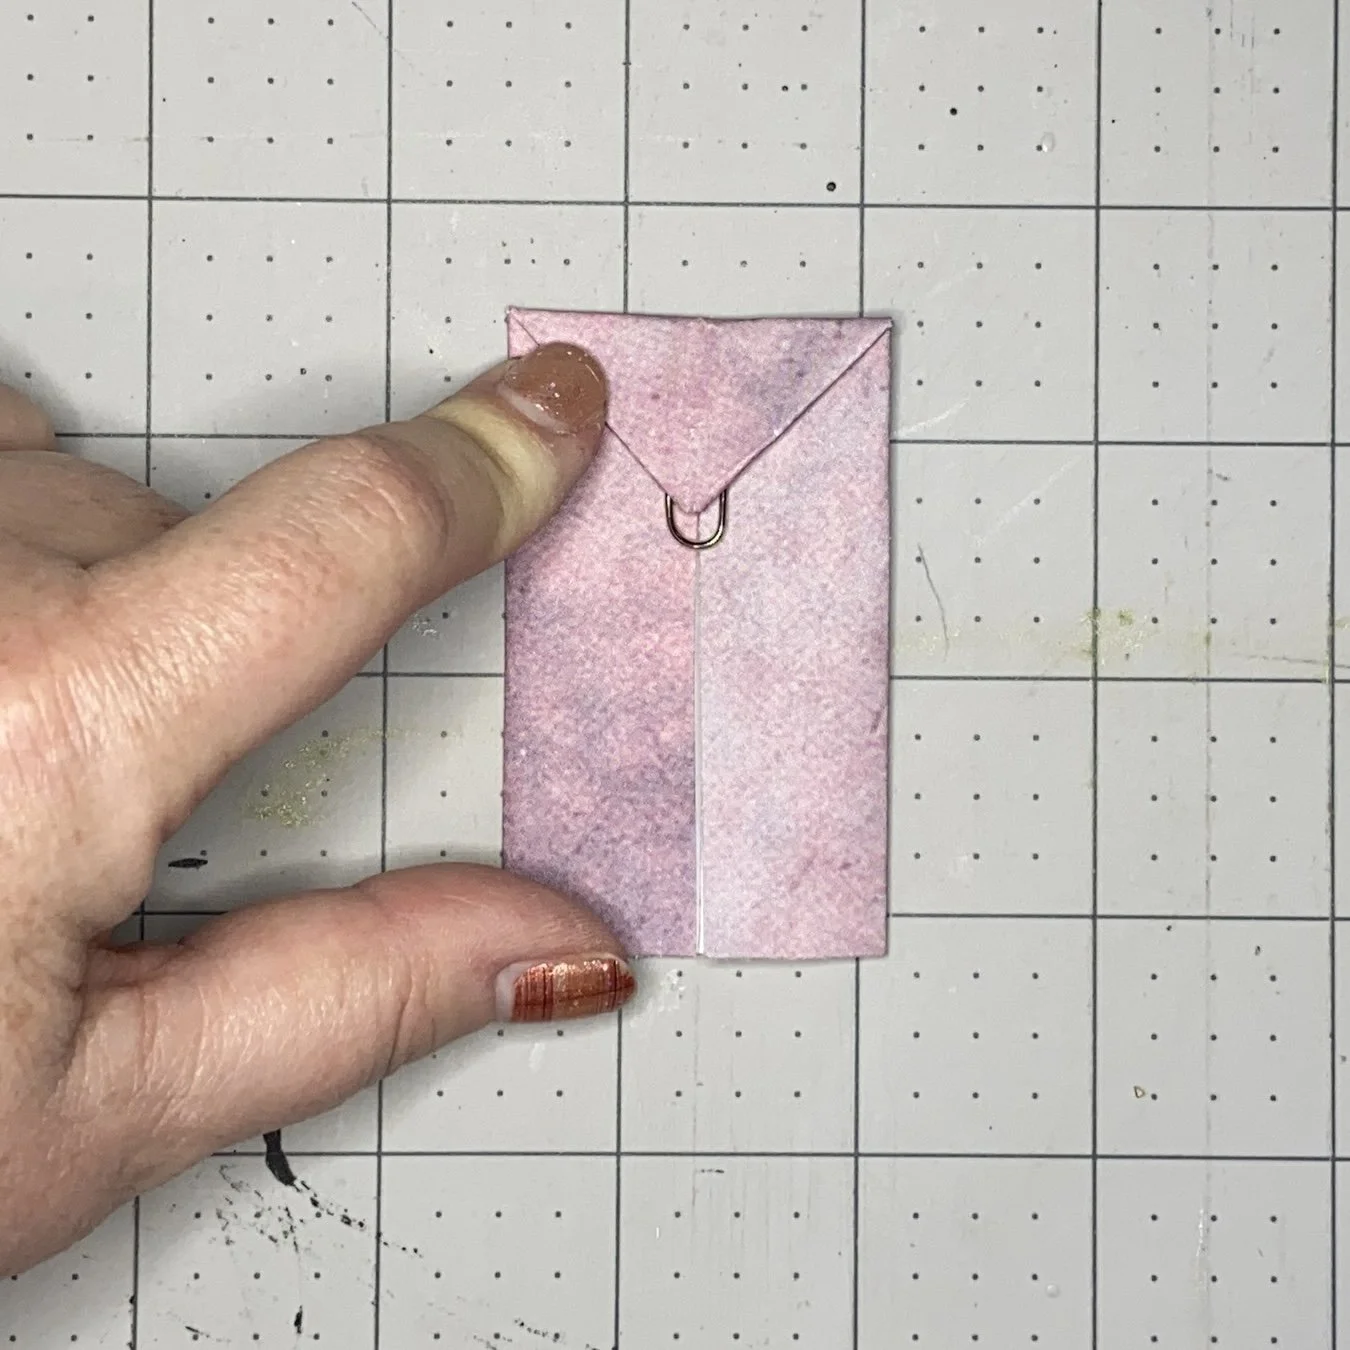
And finally, I slid the still-visible leg of the paper clip between the layers of that bottom folded edge, and pushed the bottom edge up between the leg of the paper clip and the point of my envelope. This sounds more difficult than it is.
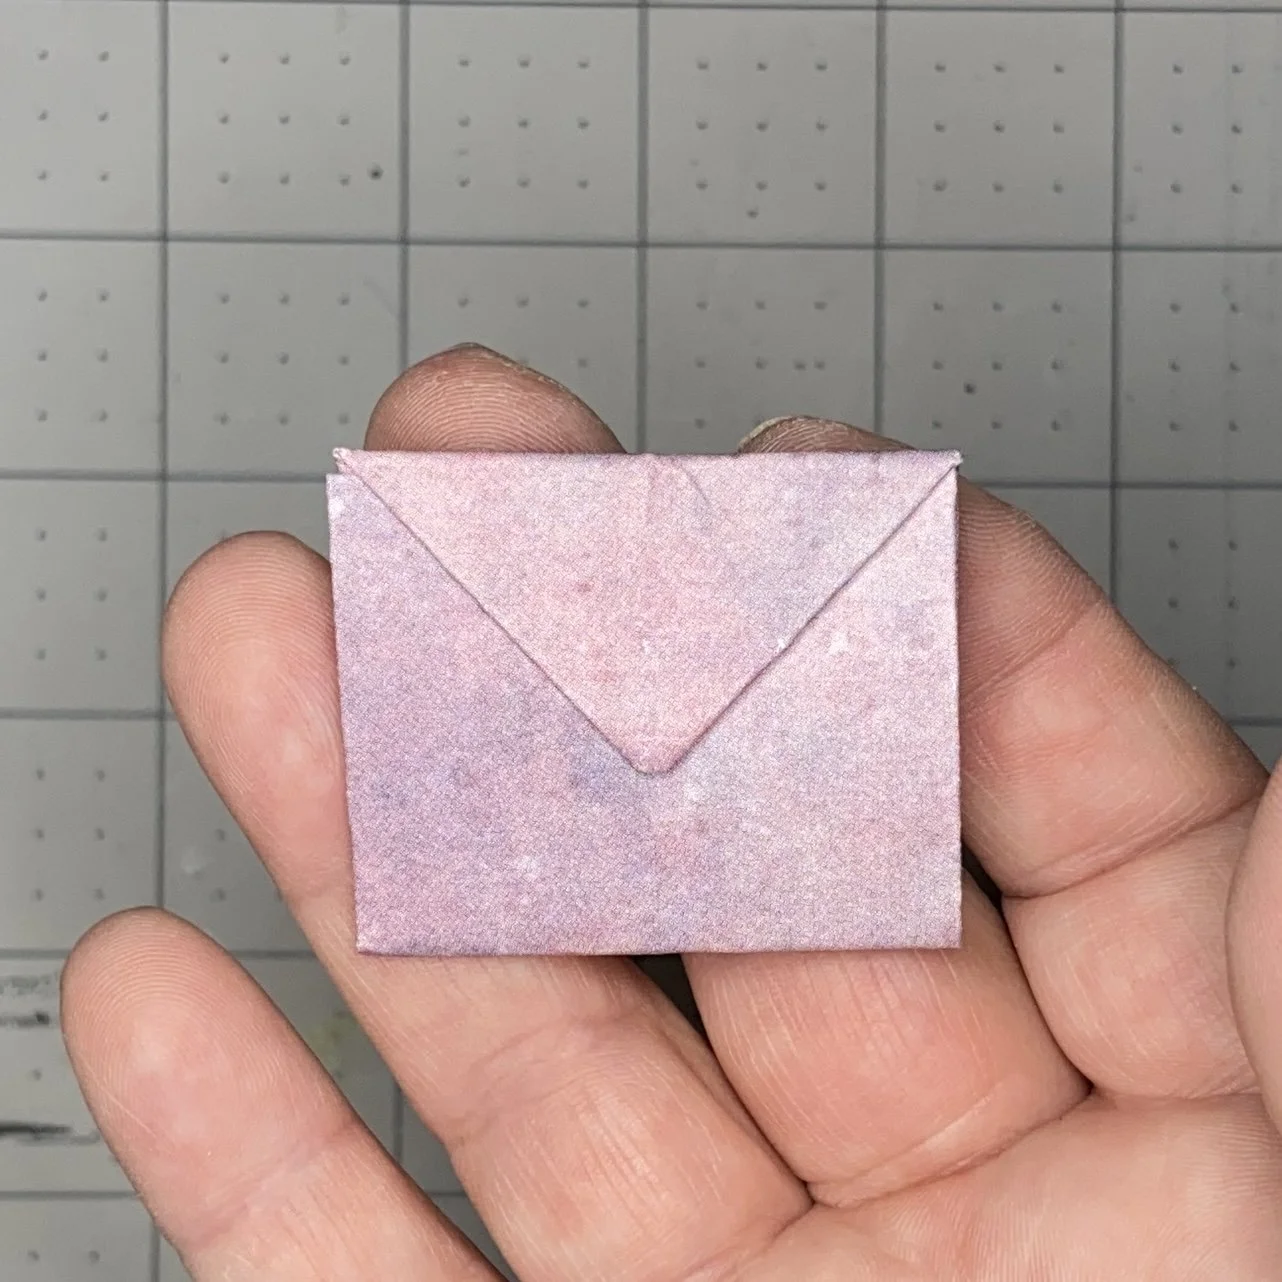
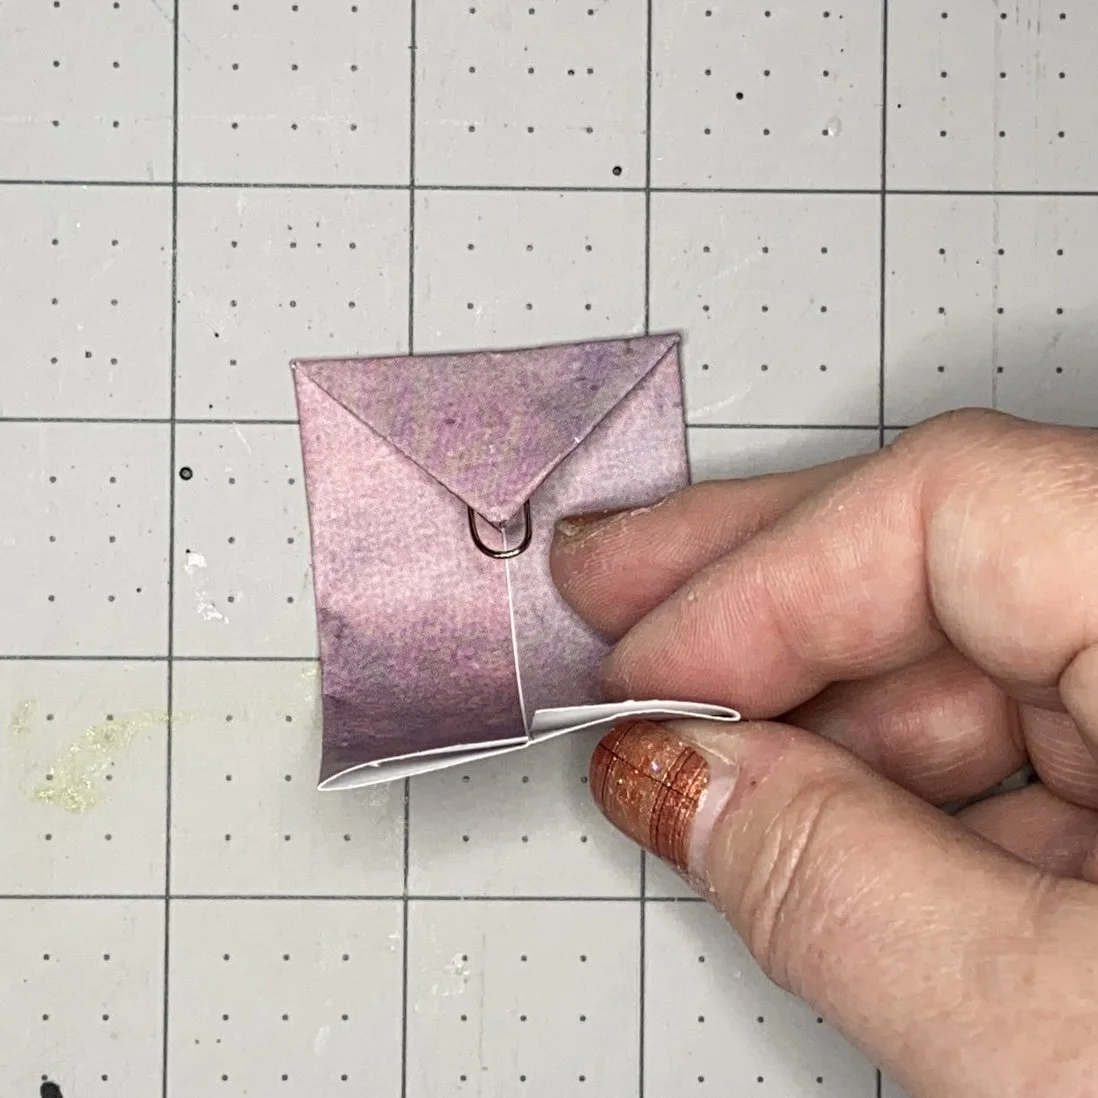
And done! When you slide this hidden paper clip onto the edge of something, either the pointed “flap” edge will show or else the “address” side of the envelope will show, dealer’s choice.
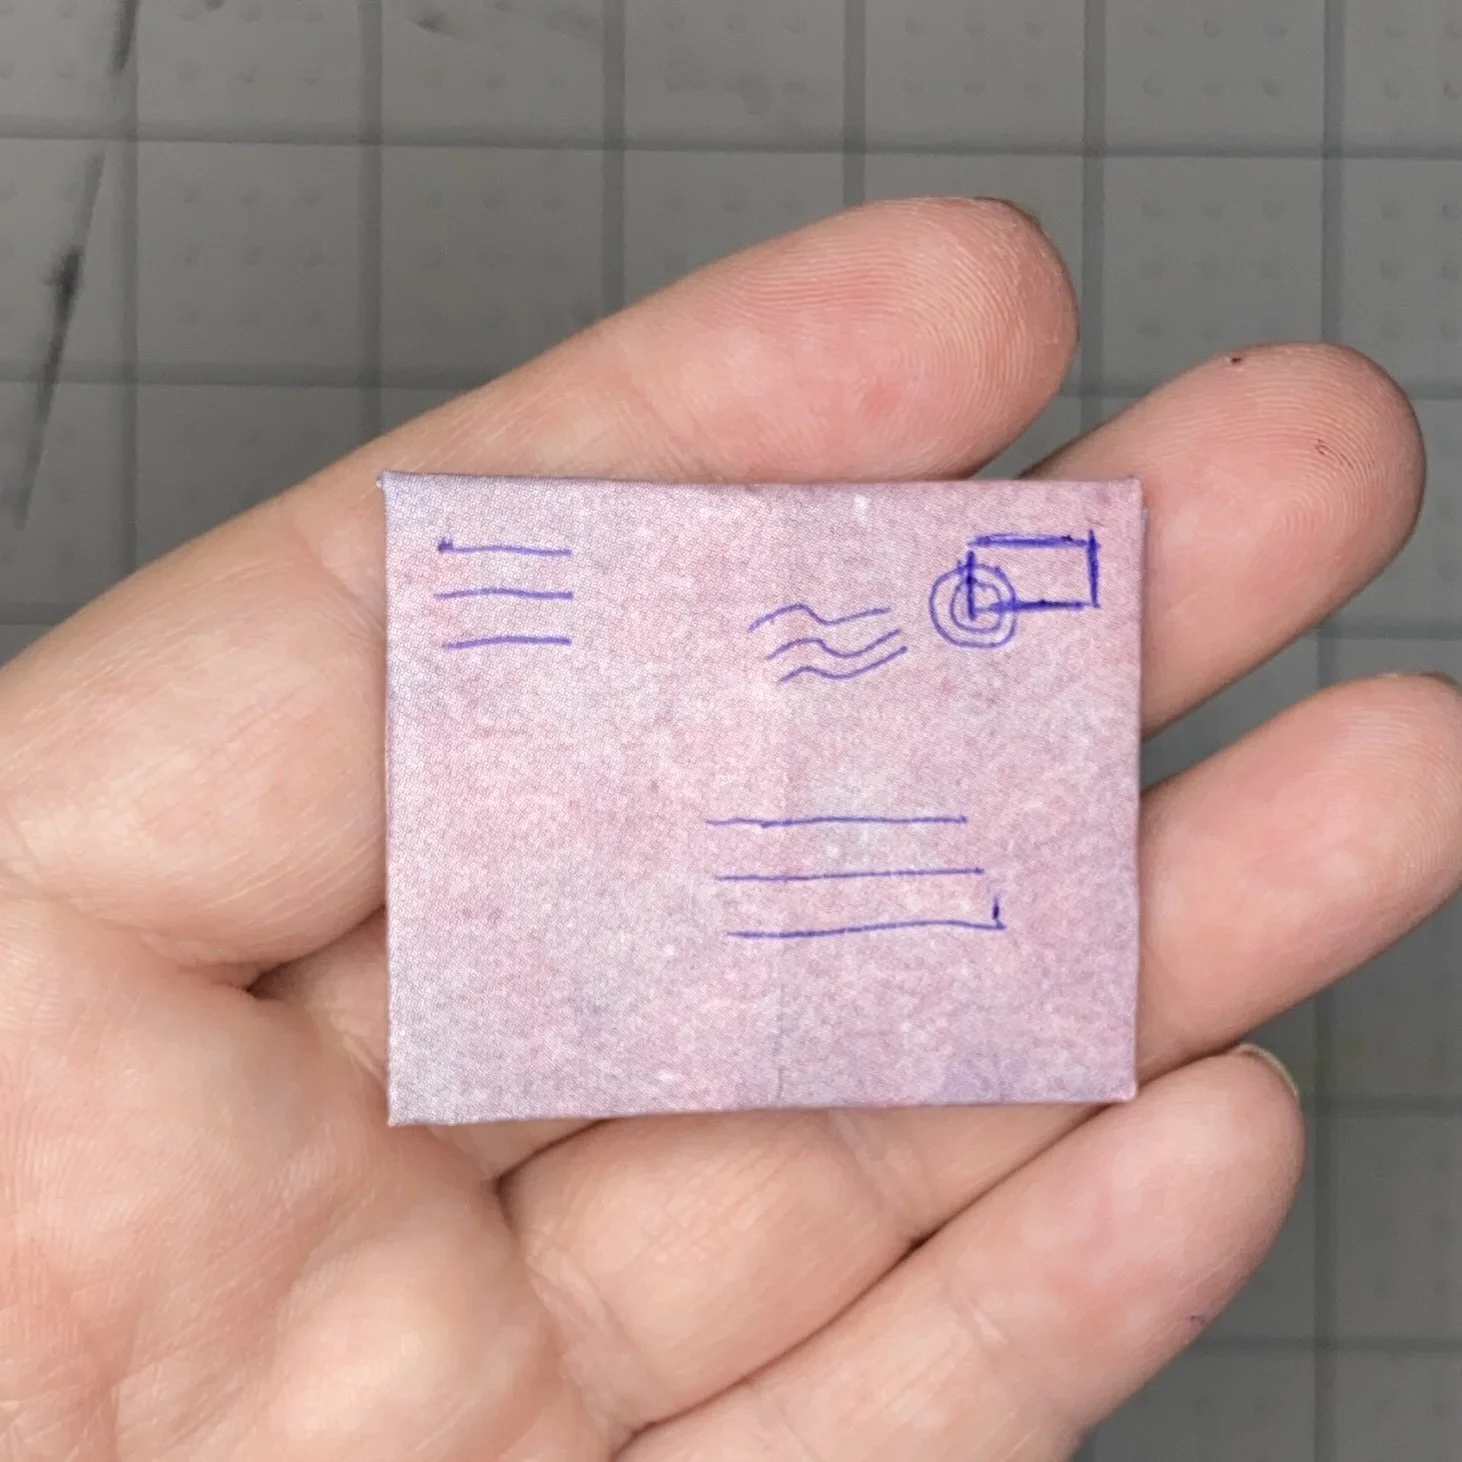
And if you wanted to draw in a little stamp and postmark and some address lines, you could do that as well. With any luck, your drawing skills are better than mine. This, as you can see, is a very low bar. Once you’ve made a couple of these and get the hang of it, they go very fast indeed. They’re cute and fun and useful. Try it!