Adventures In Twisty Coasters
As an Amazon associate, I may earn a small commission if you navigate to Amazon from my site and buy something. This will not result in an extra cost to you.
This week’s project was inspired by Two Strands, which is the name of a YouTube channel to which I am subscribed. This particular maker also gave me the idea for my Quilt-As-You-Go project. She’s got some great ideas.
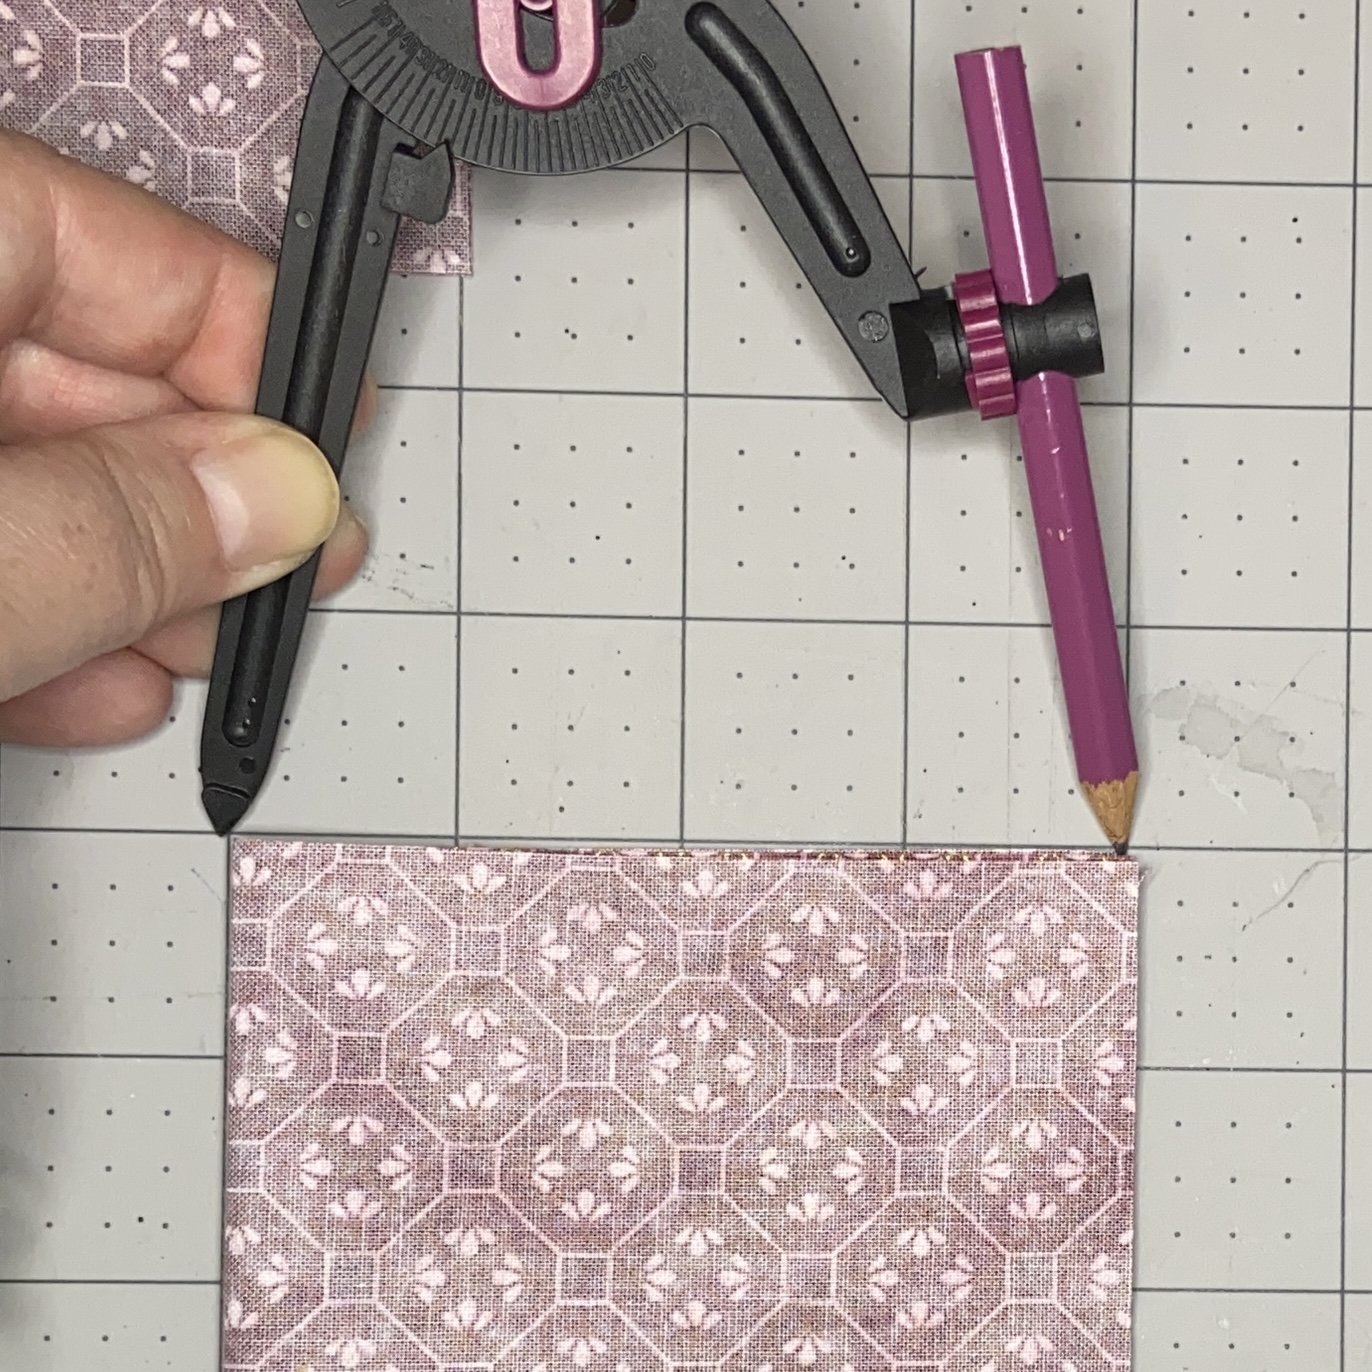
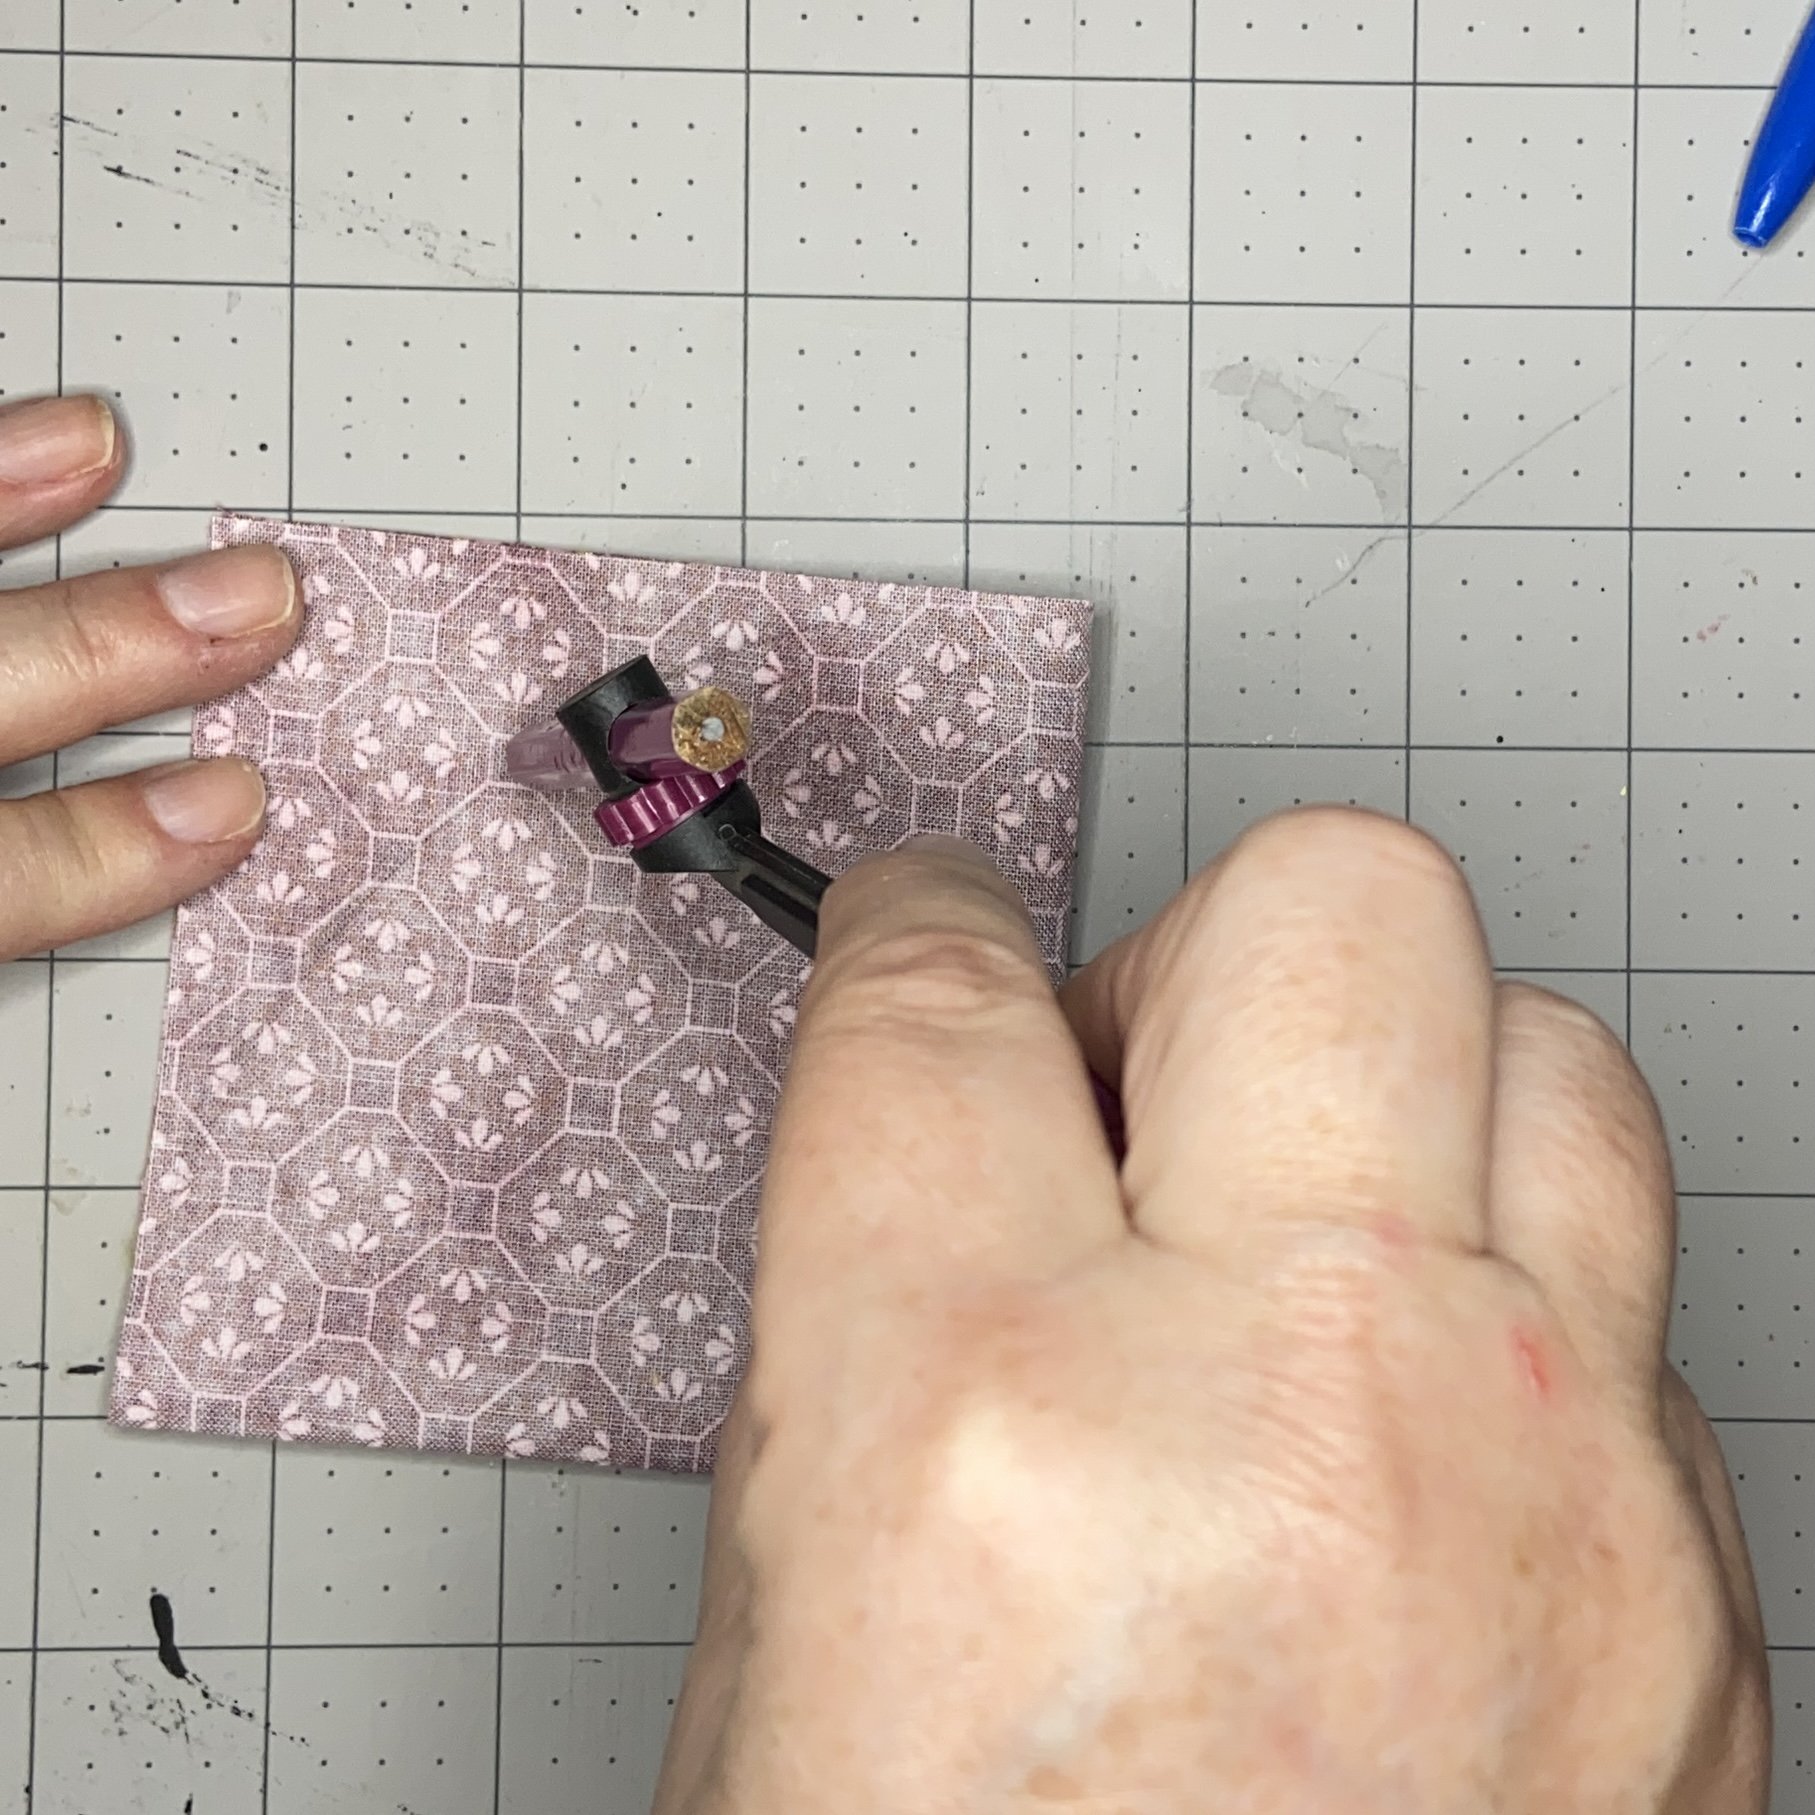
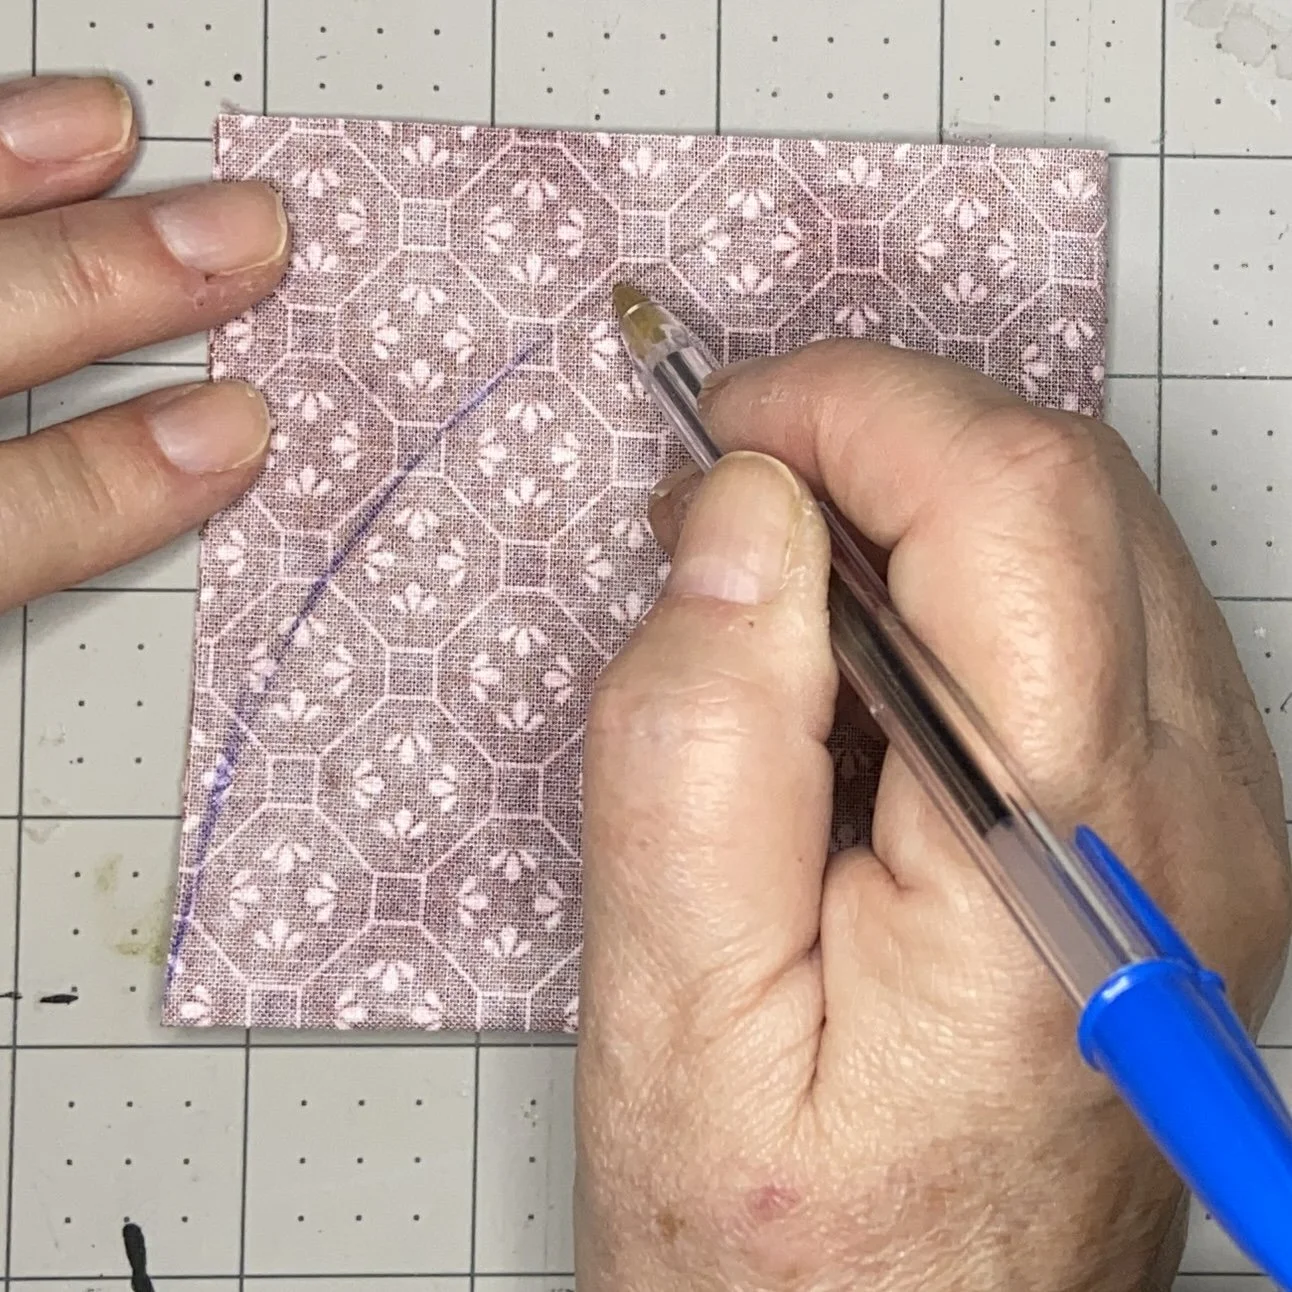
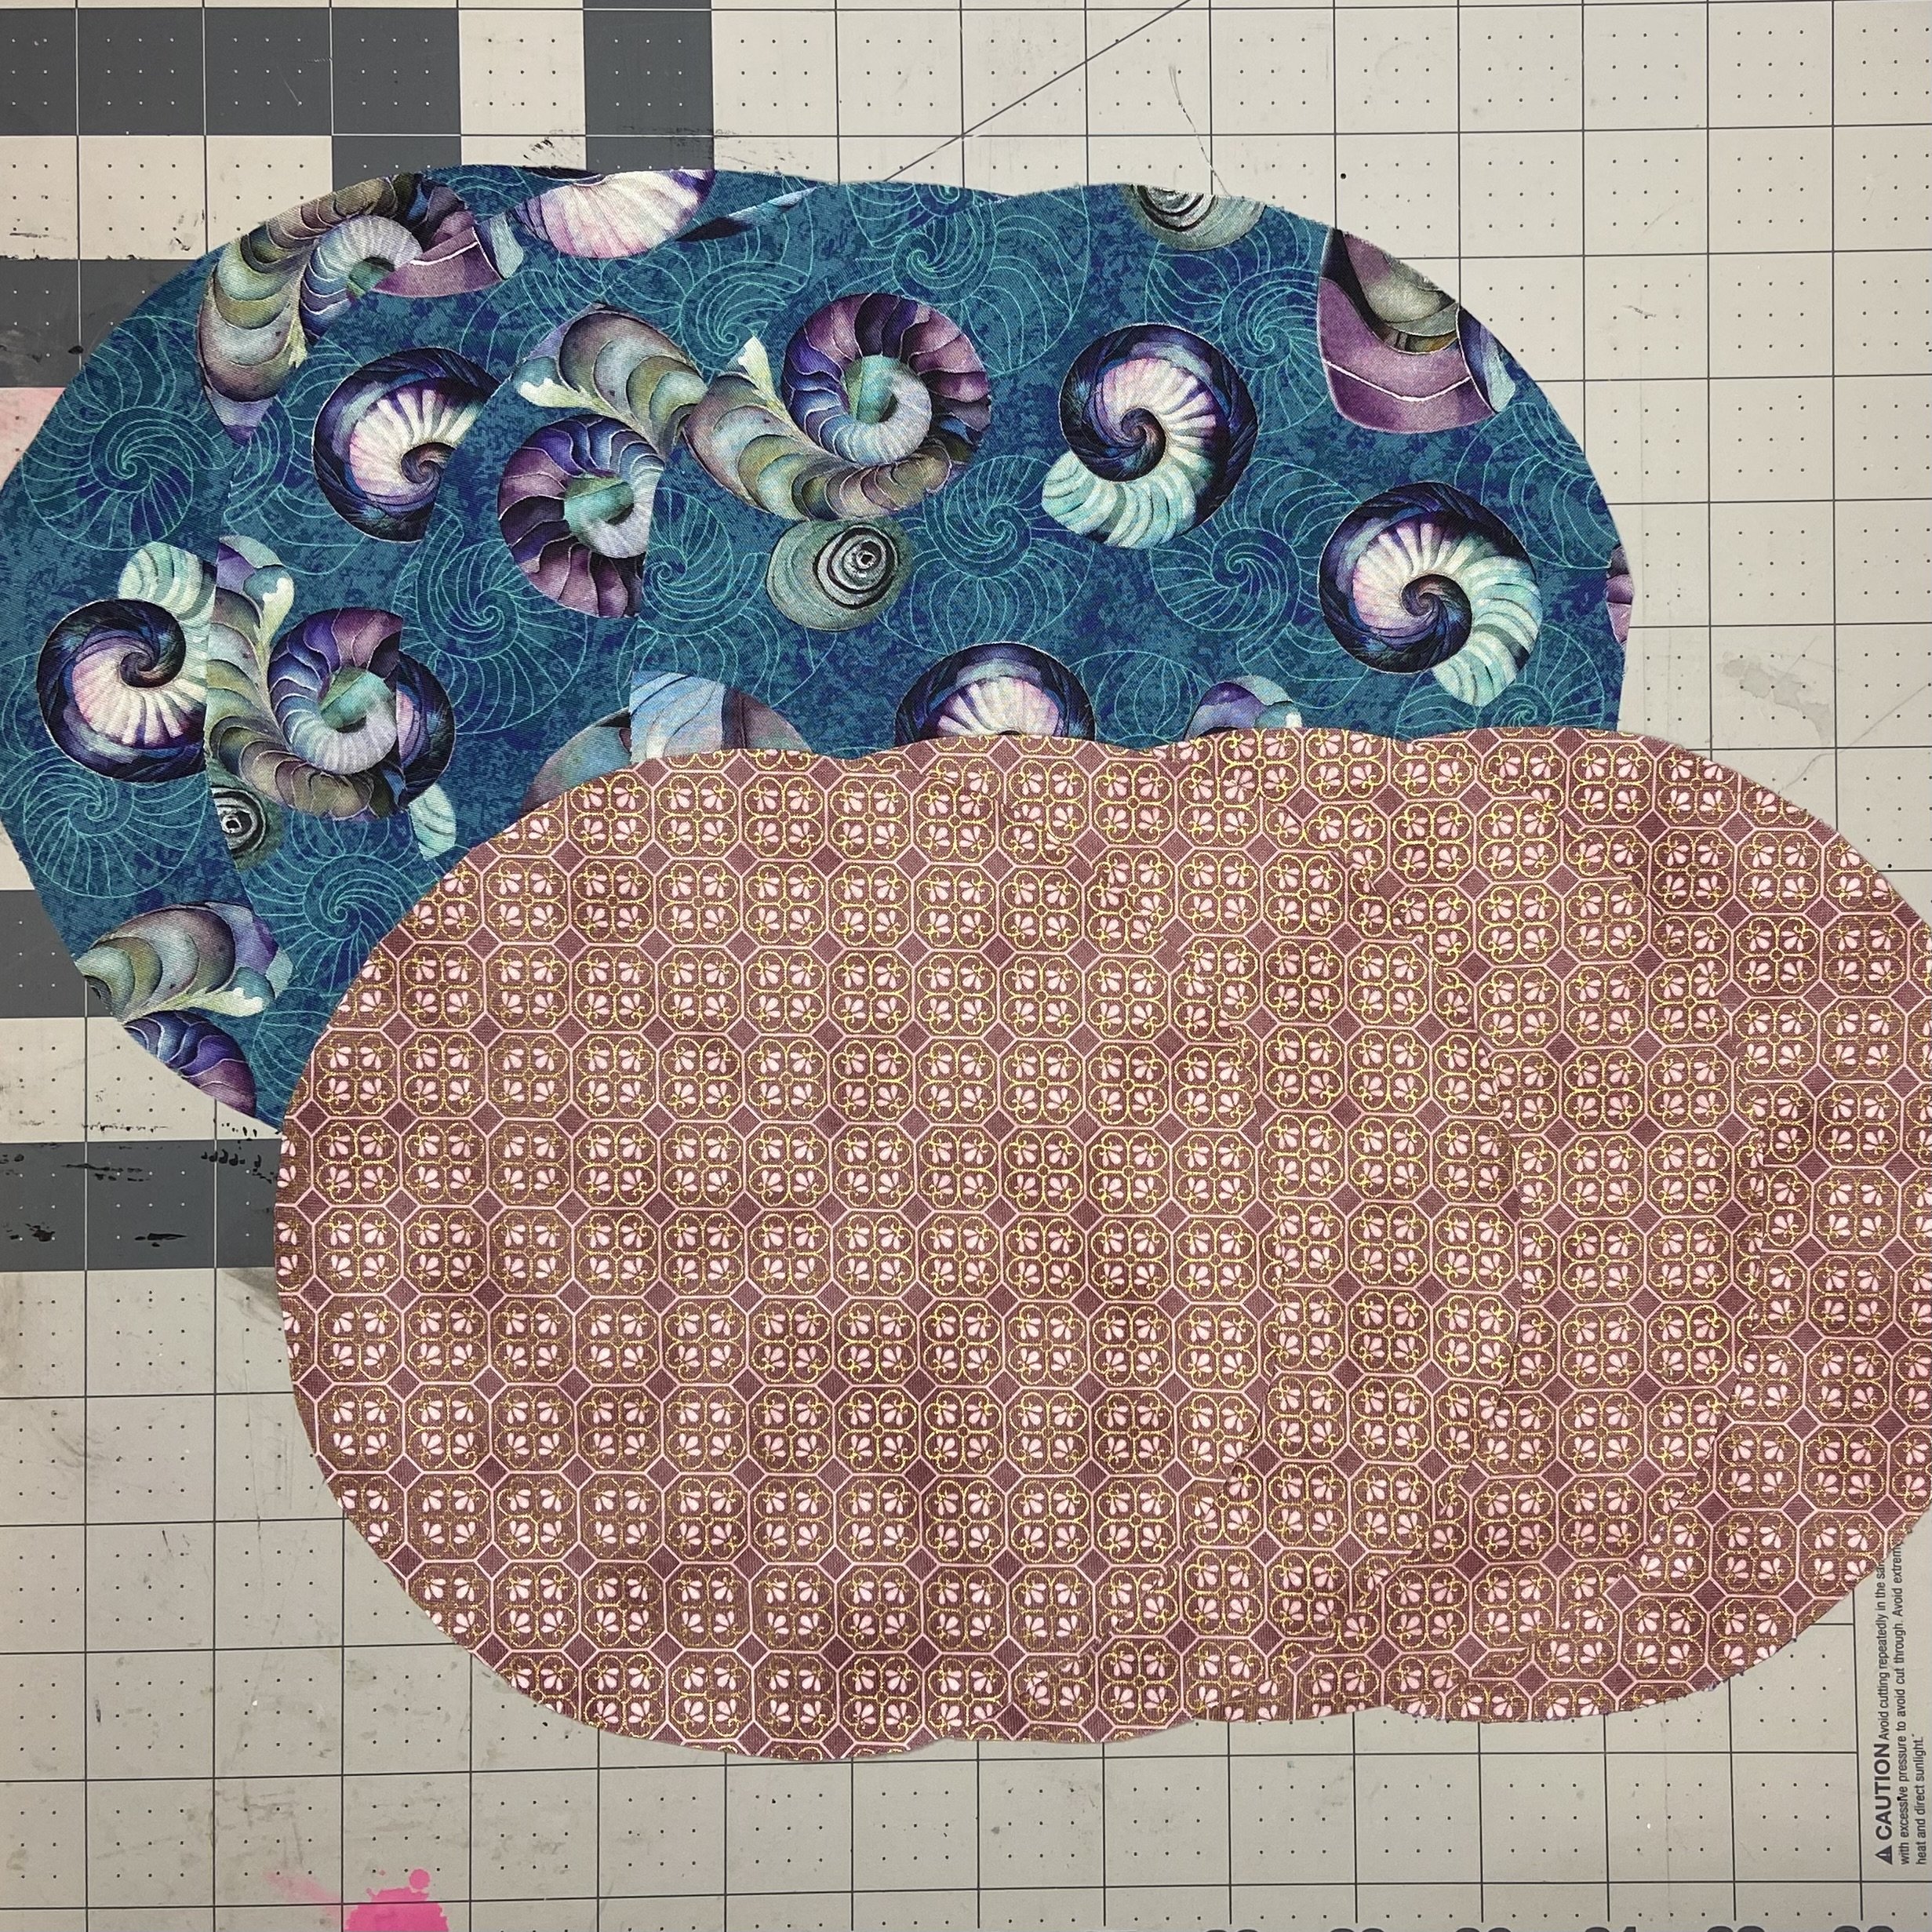
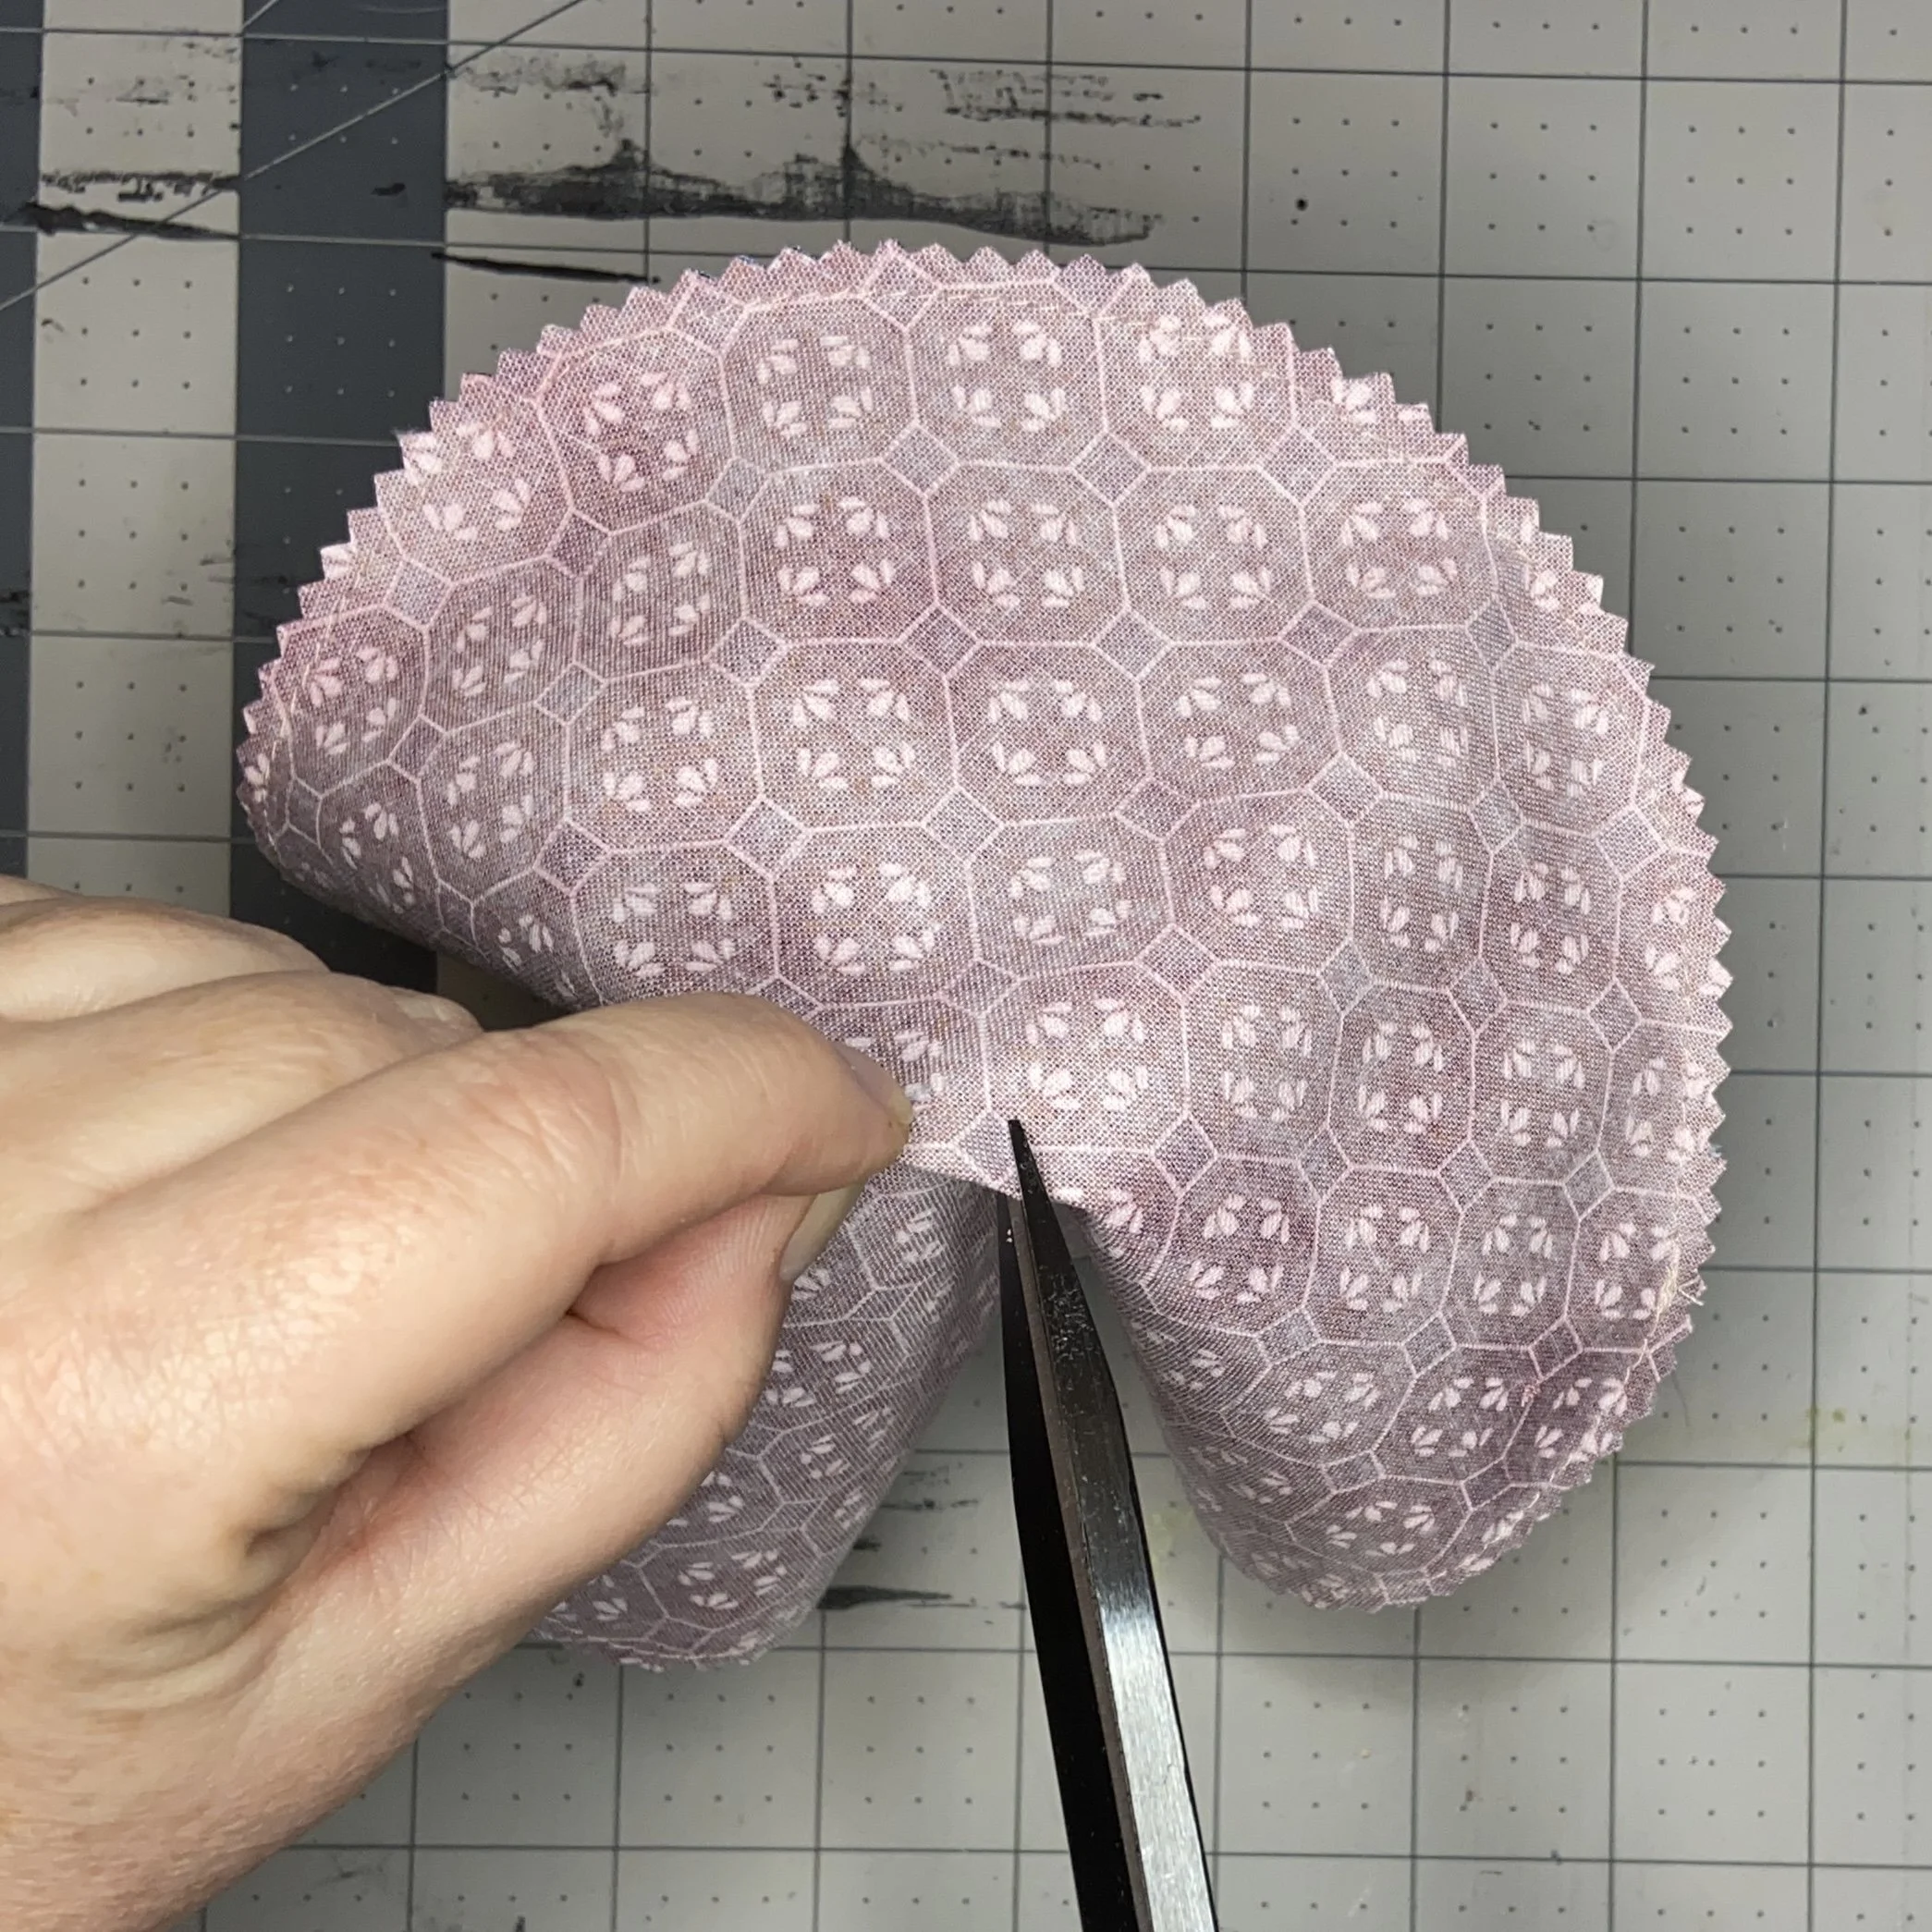
This week, it’s coasters again. Start by cutting out four 8.5” squares out of two different cotton prints, for a total of eight pieces. Then fold one piece into quarters, and use a compass to mark a 4” radius/circle (arc, in this case). My cheap compass (left over from my school days) will not hold a pen, only a pencil. So once I’d made an almost invisible pencil mark, I traced over it with a ballpoint pen. Then I pinned the fabric so that the layers would not shift around, and cut along my line.
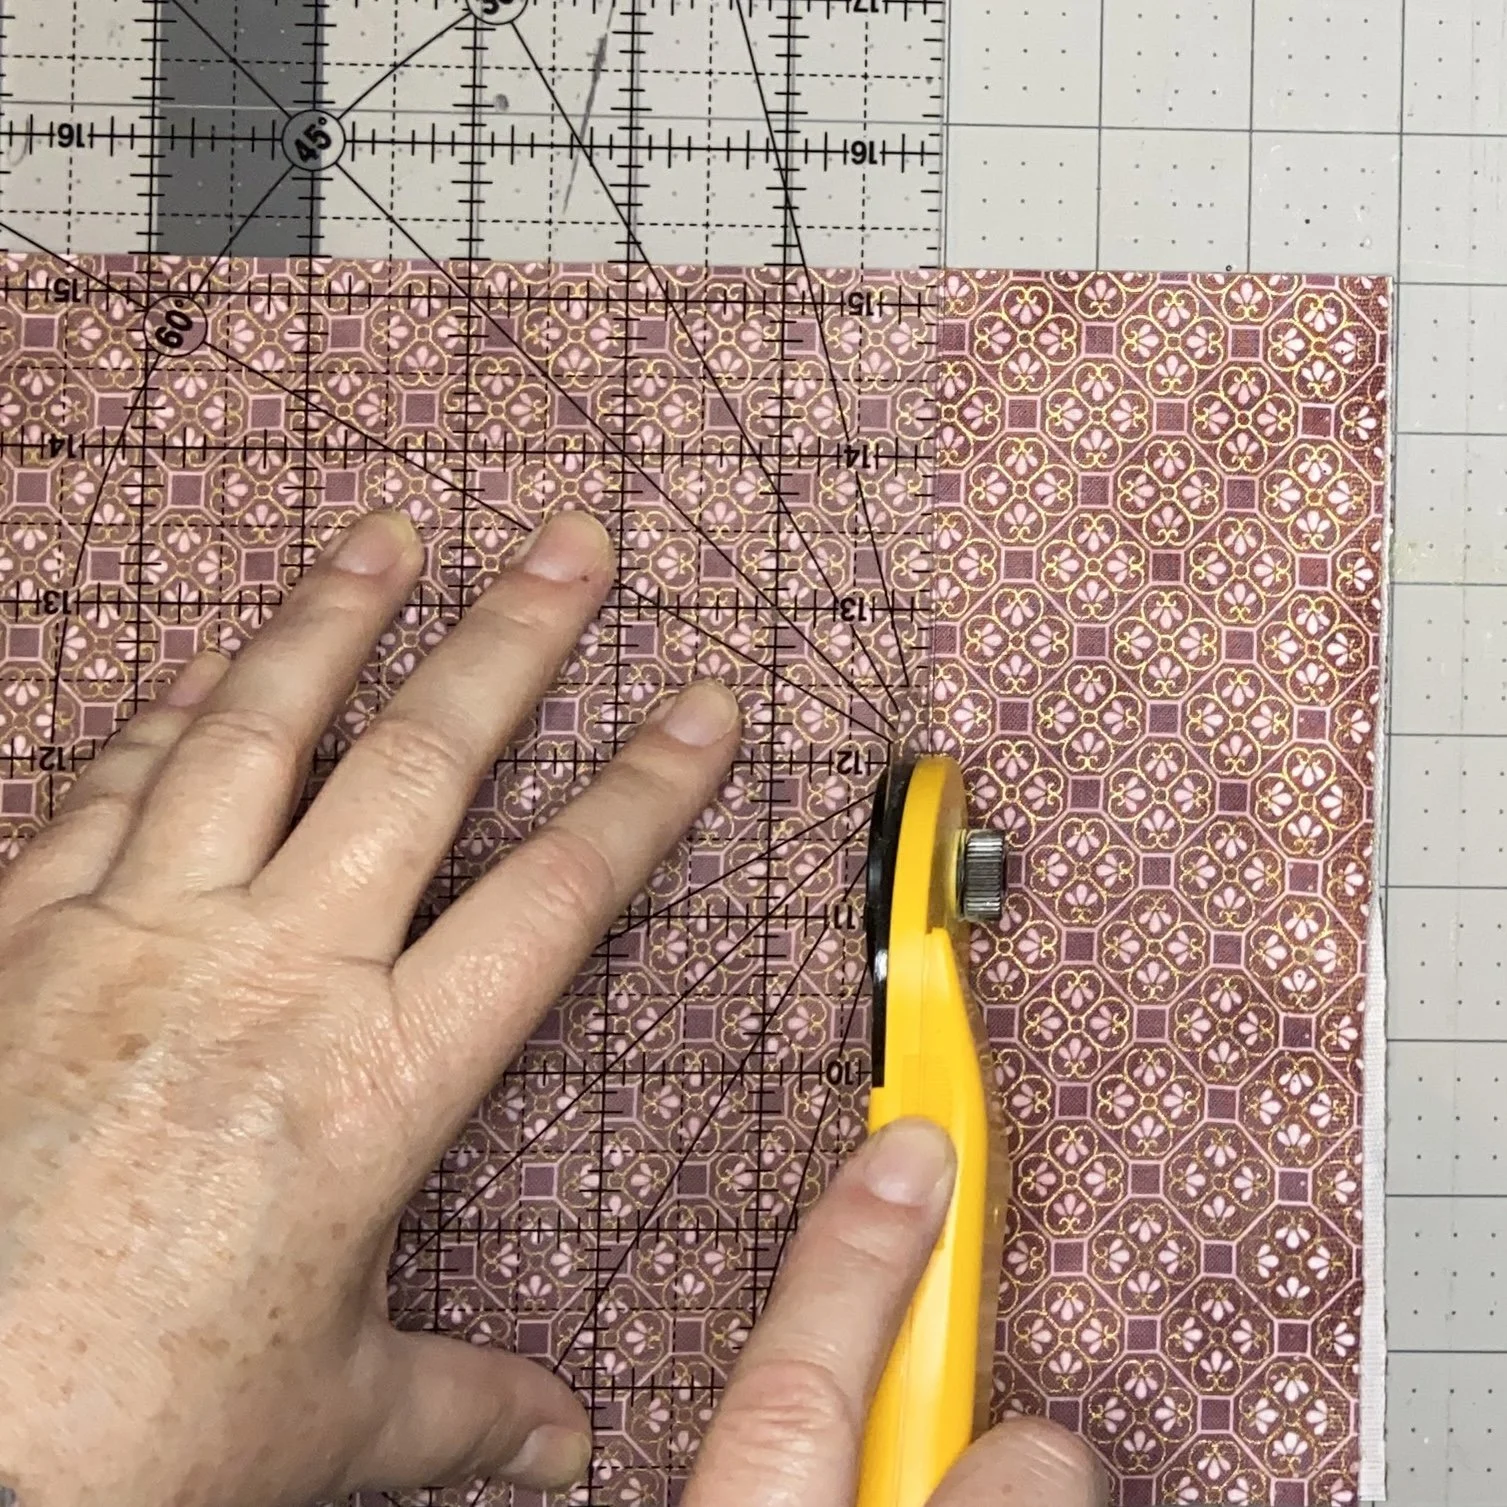
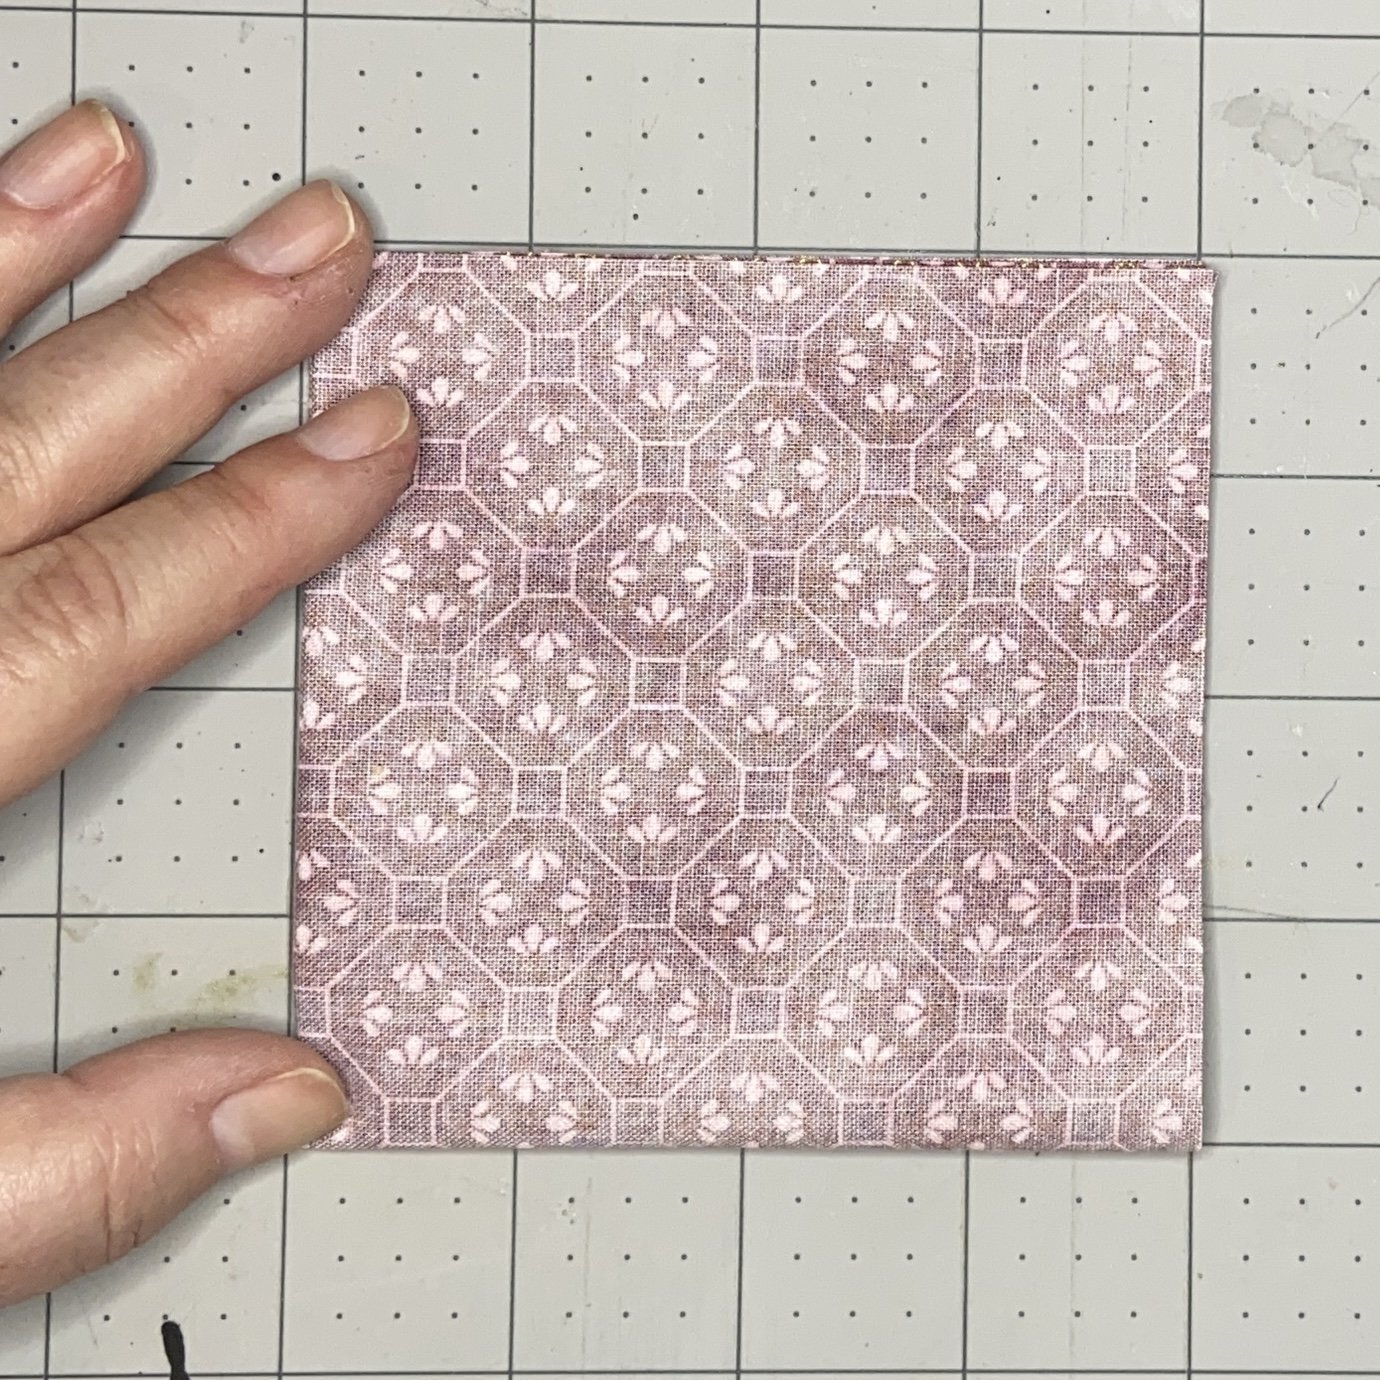
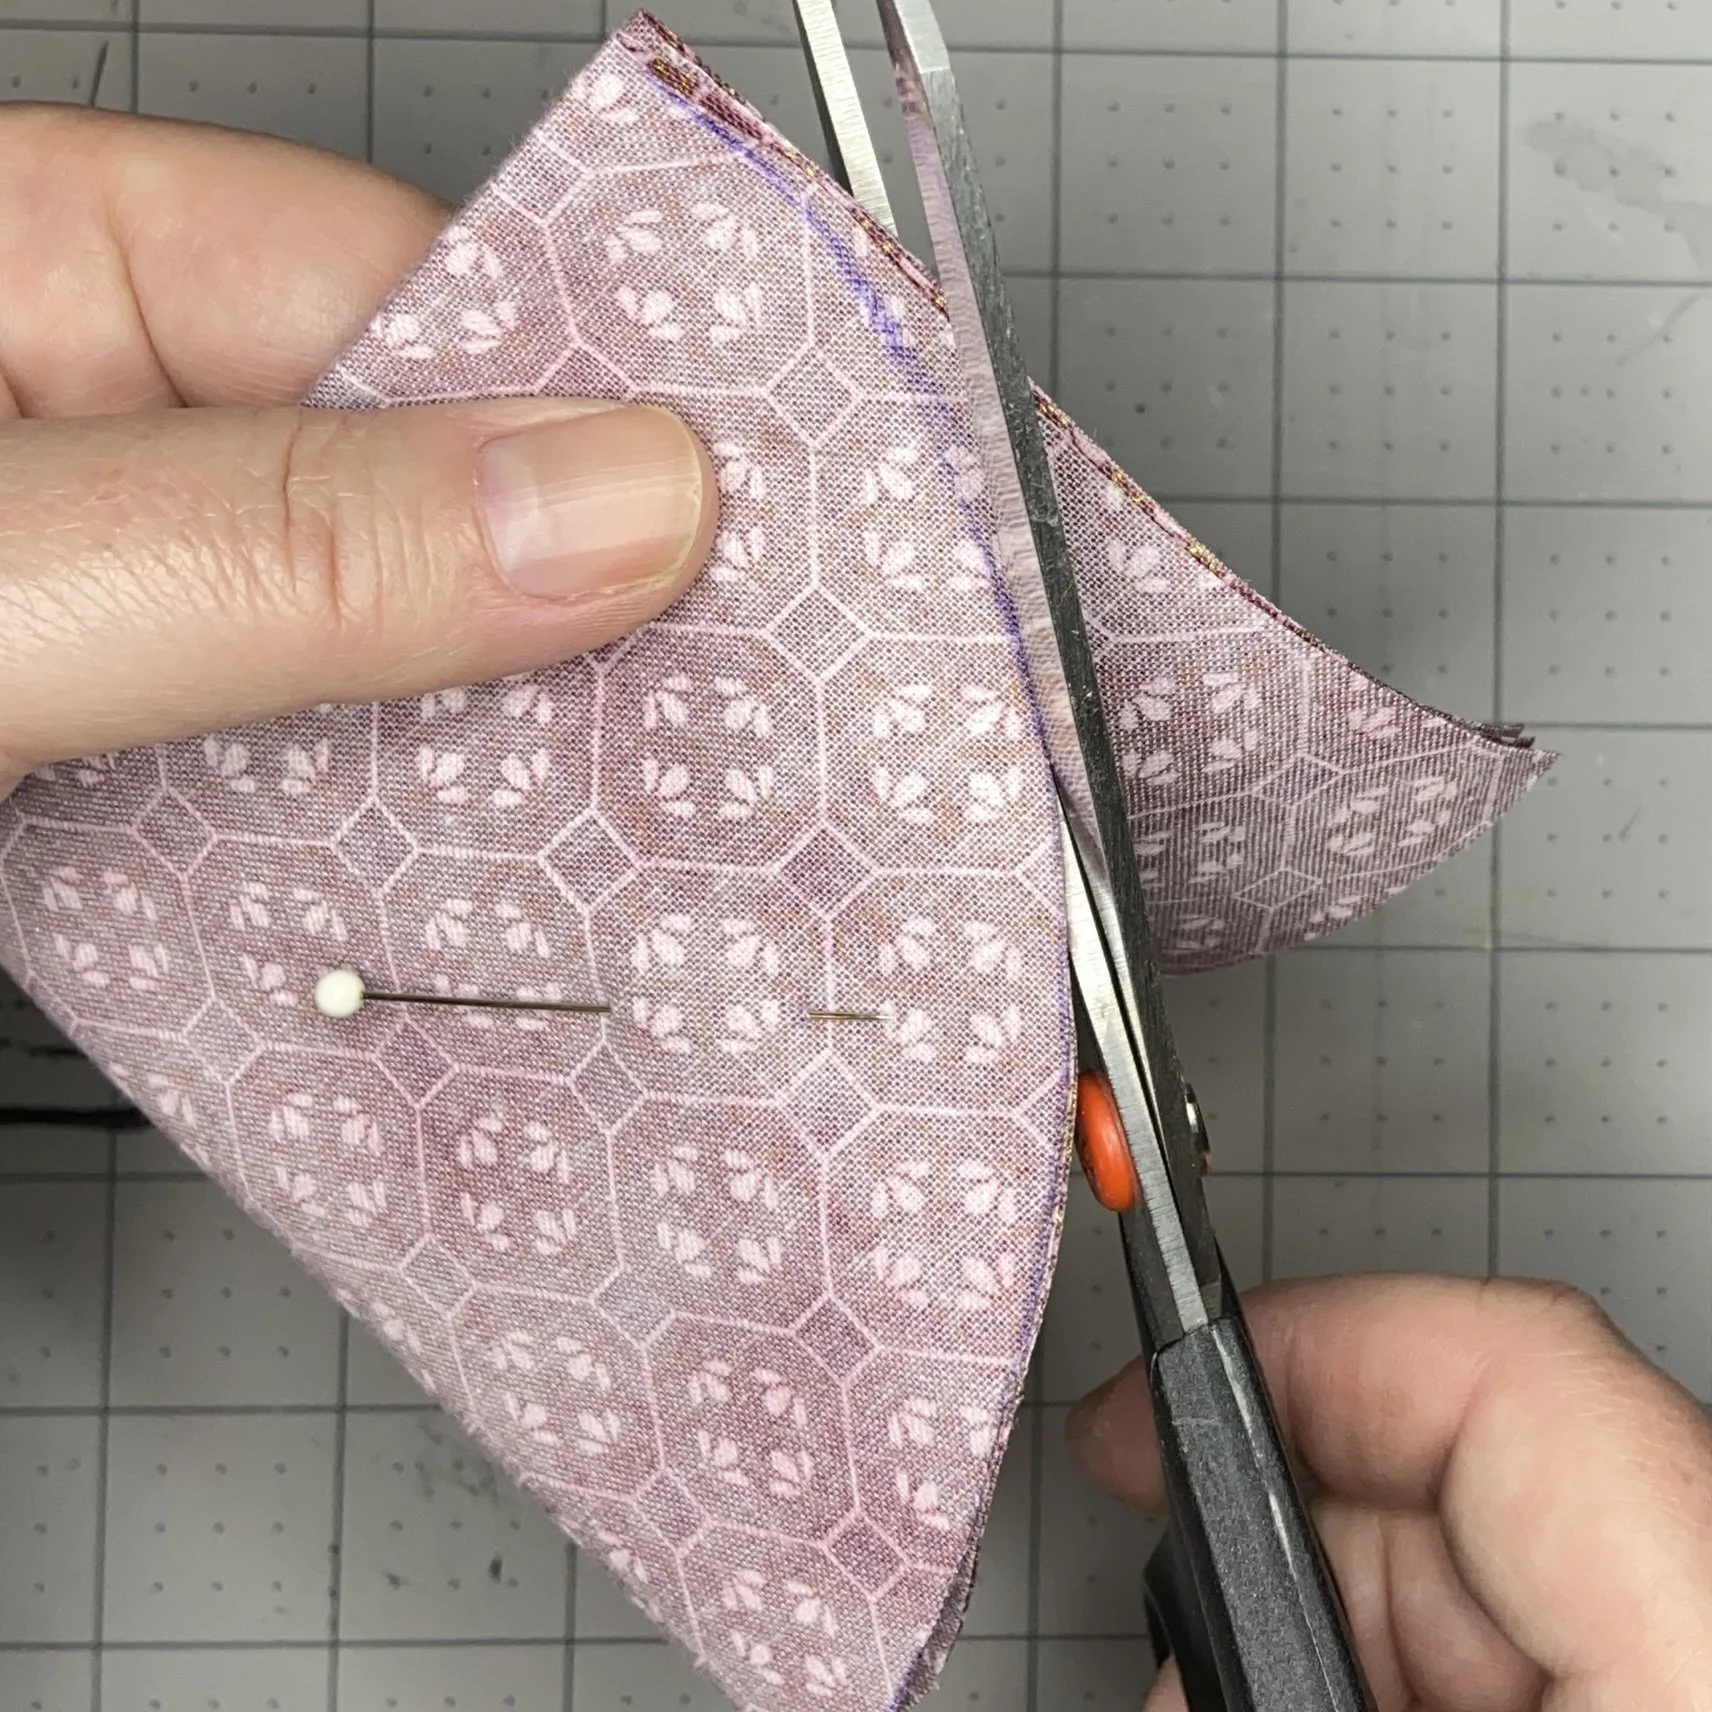
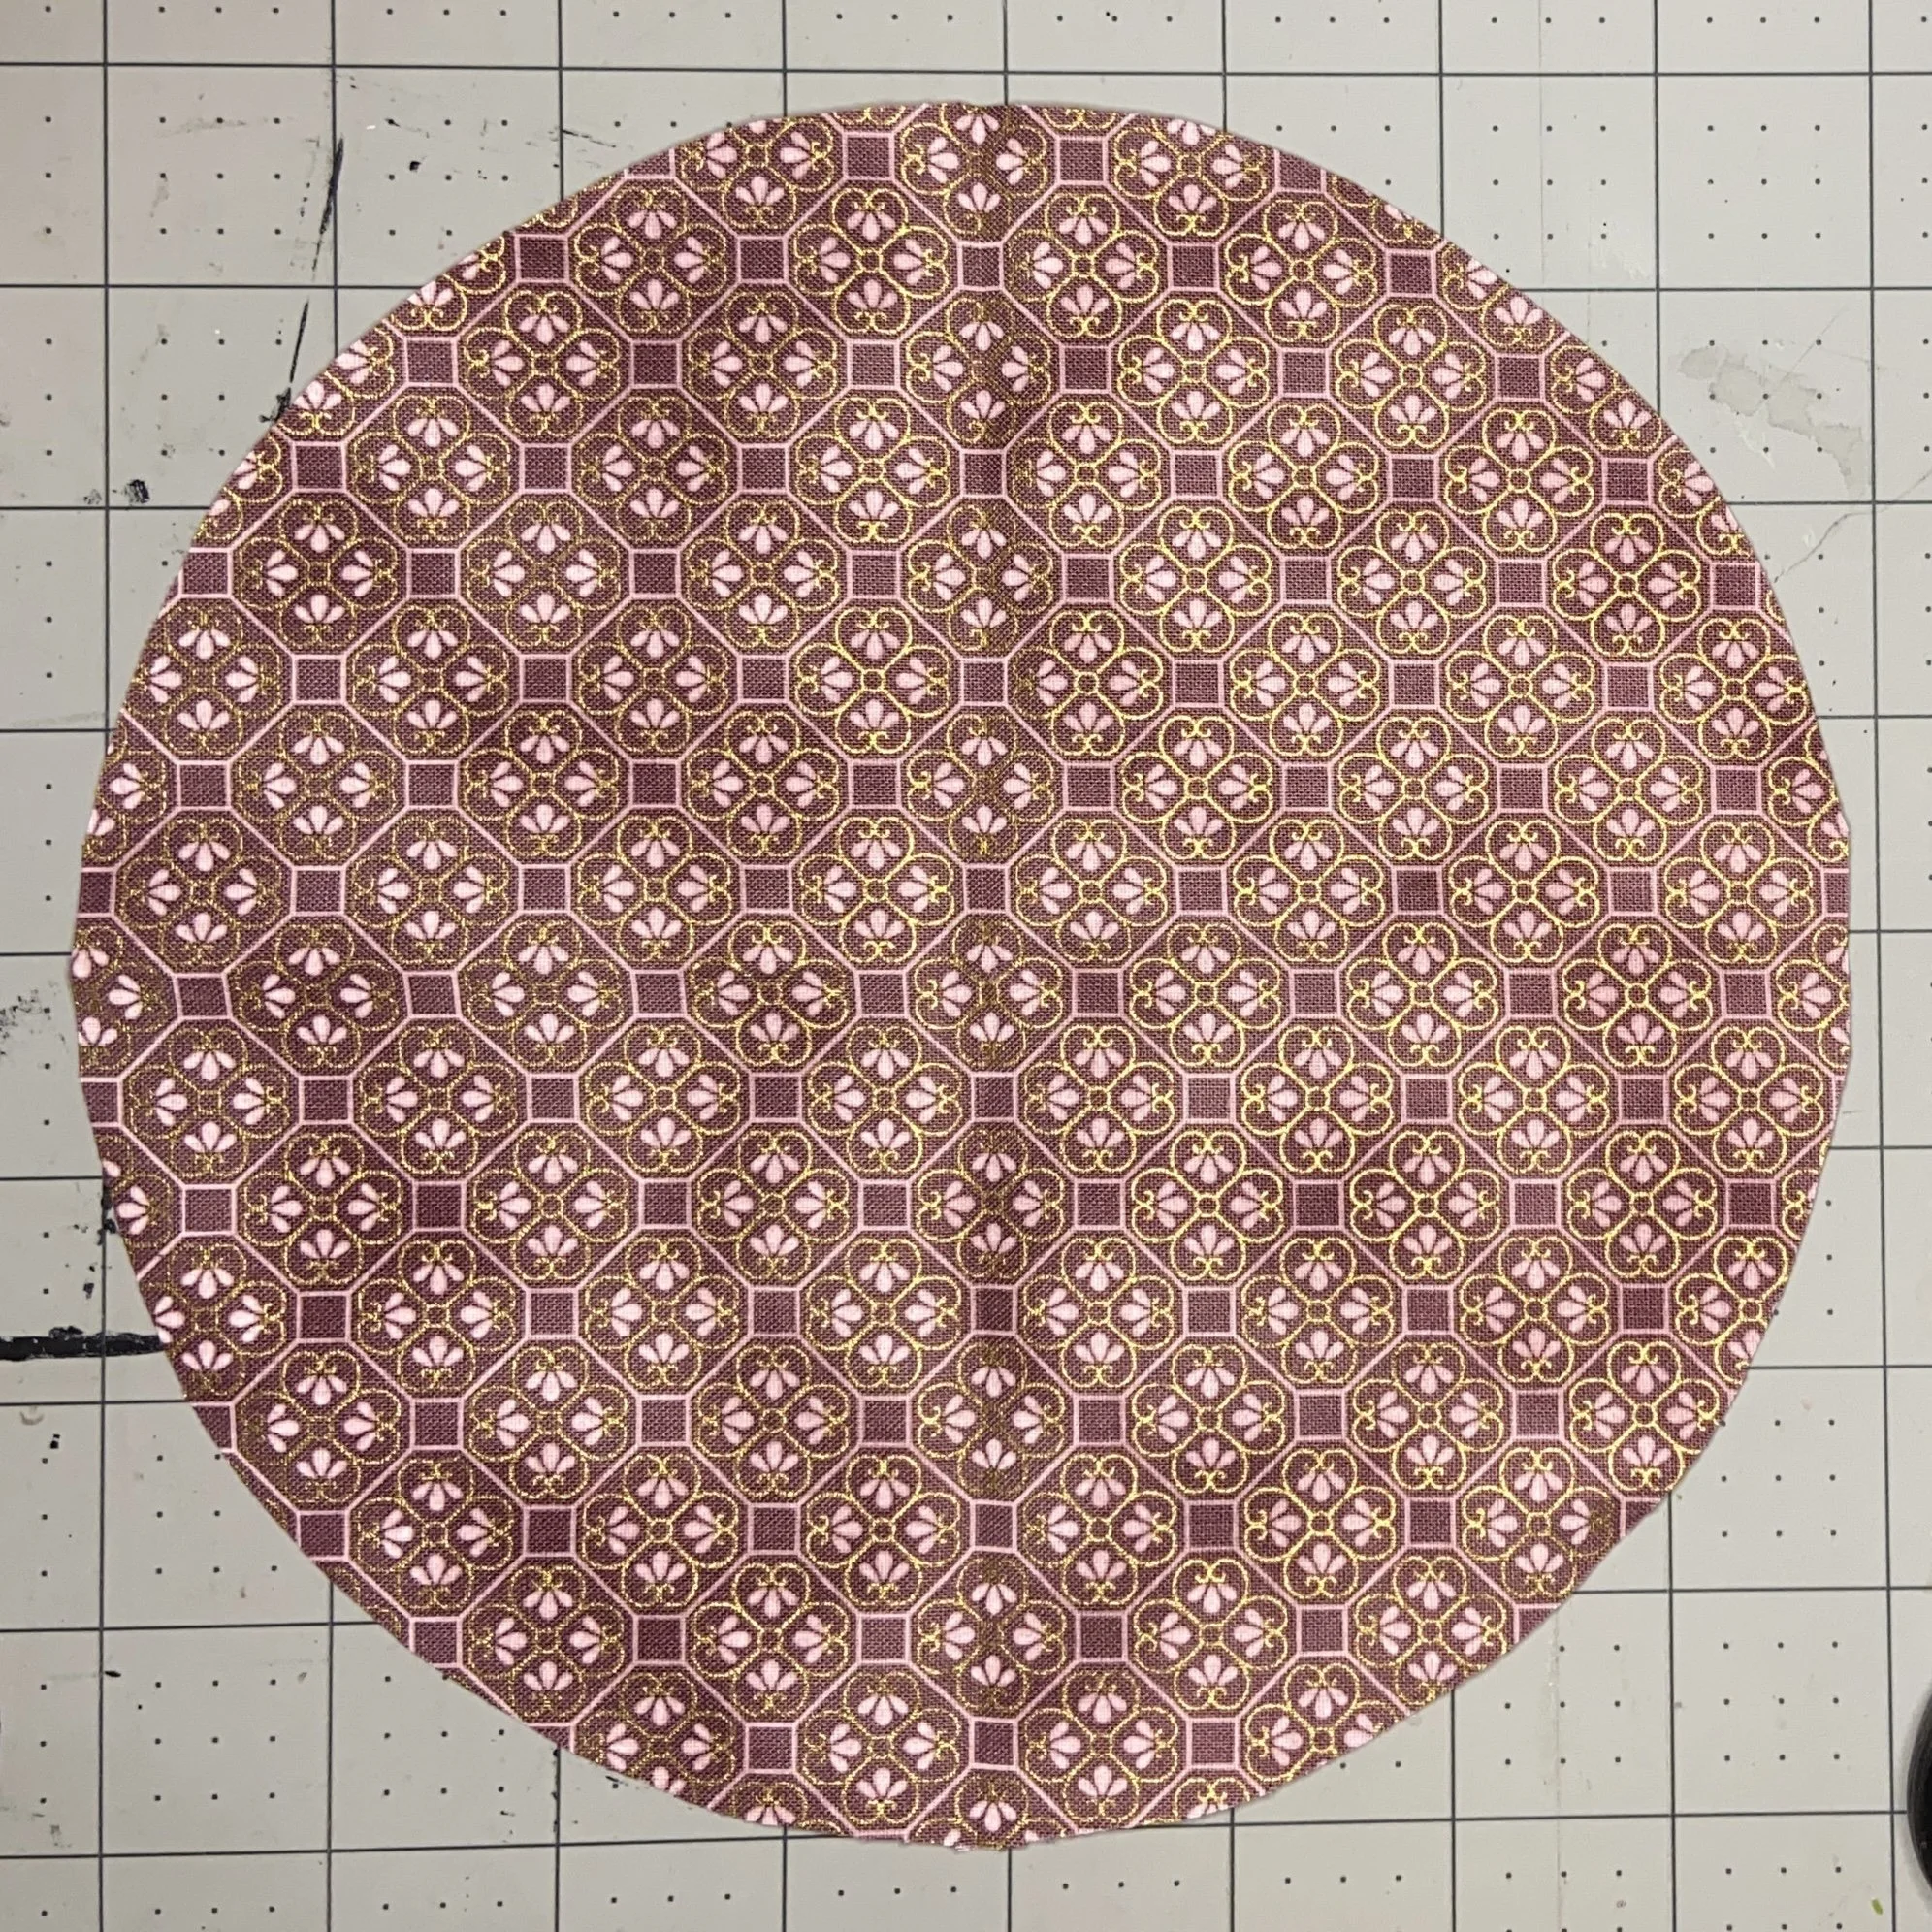
This gave me a (near) perfect circle. I kept my original piece folded and pinned and used it to mark the arc on all the other fabric pieces, cutting them out as well. Now I had eight circles, four in each fabric print.
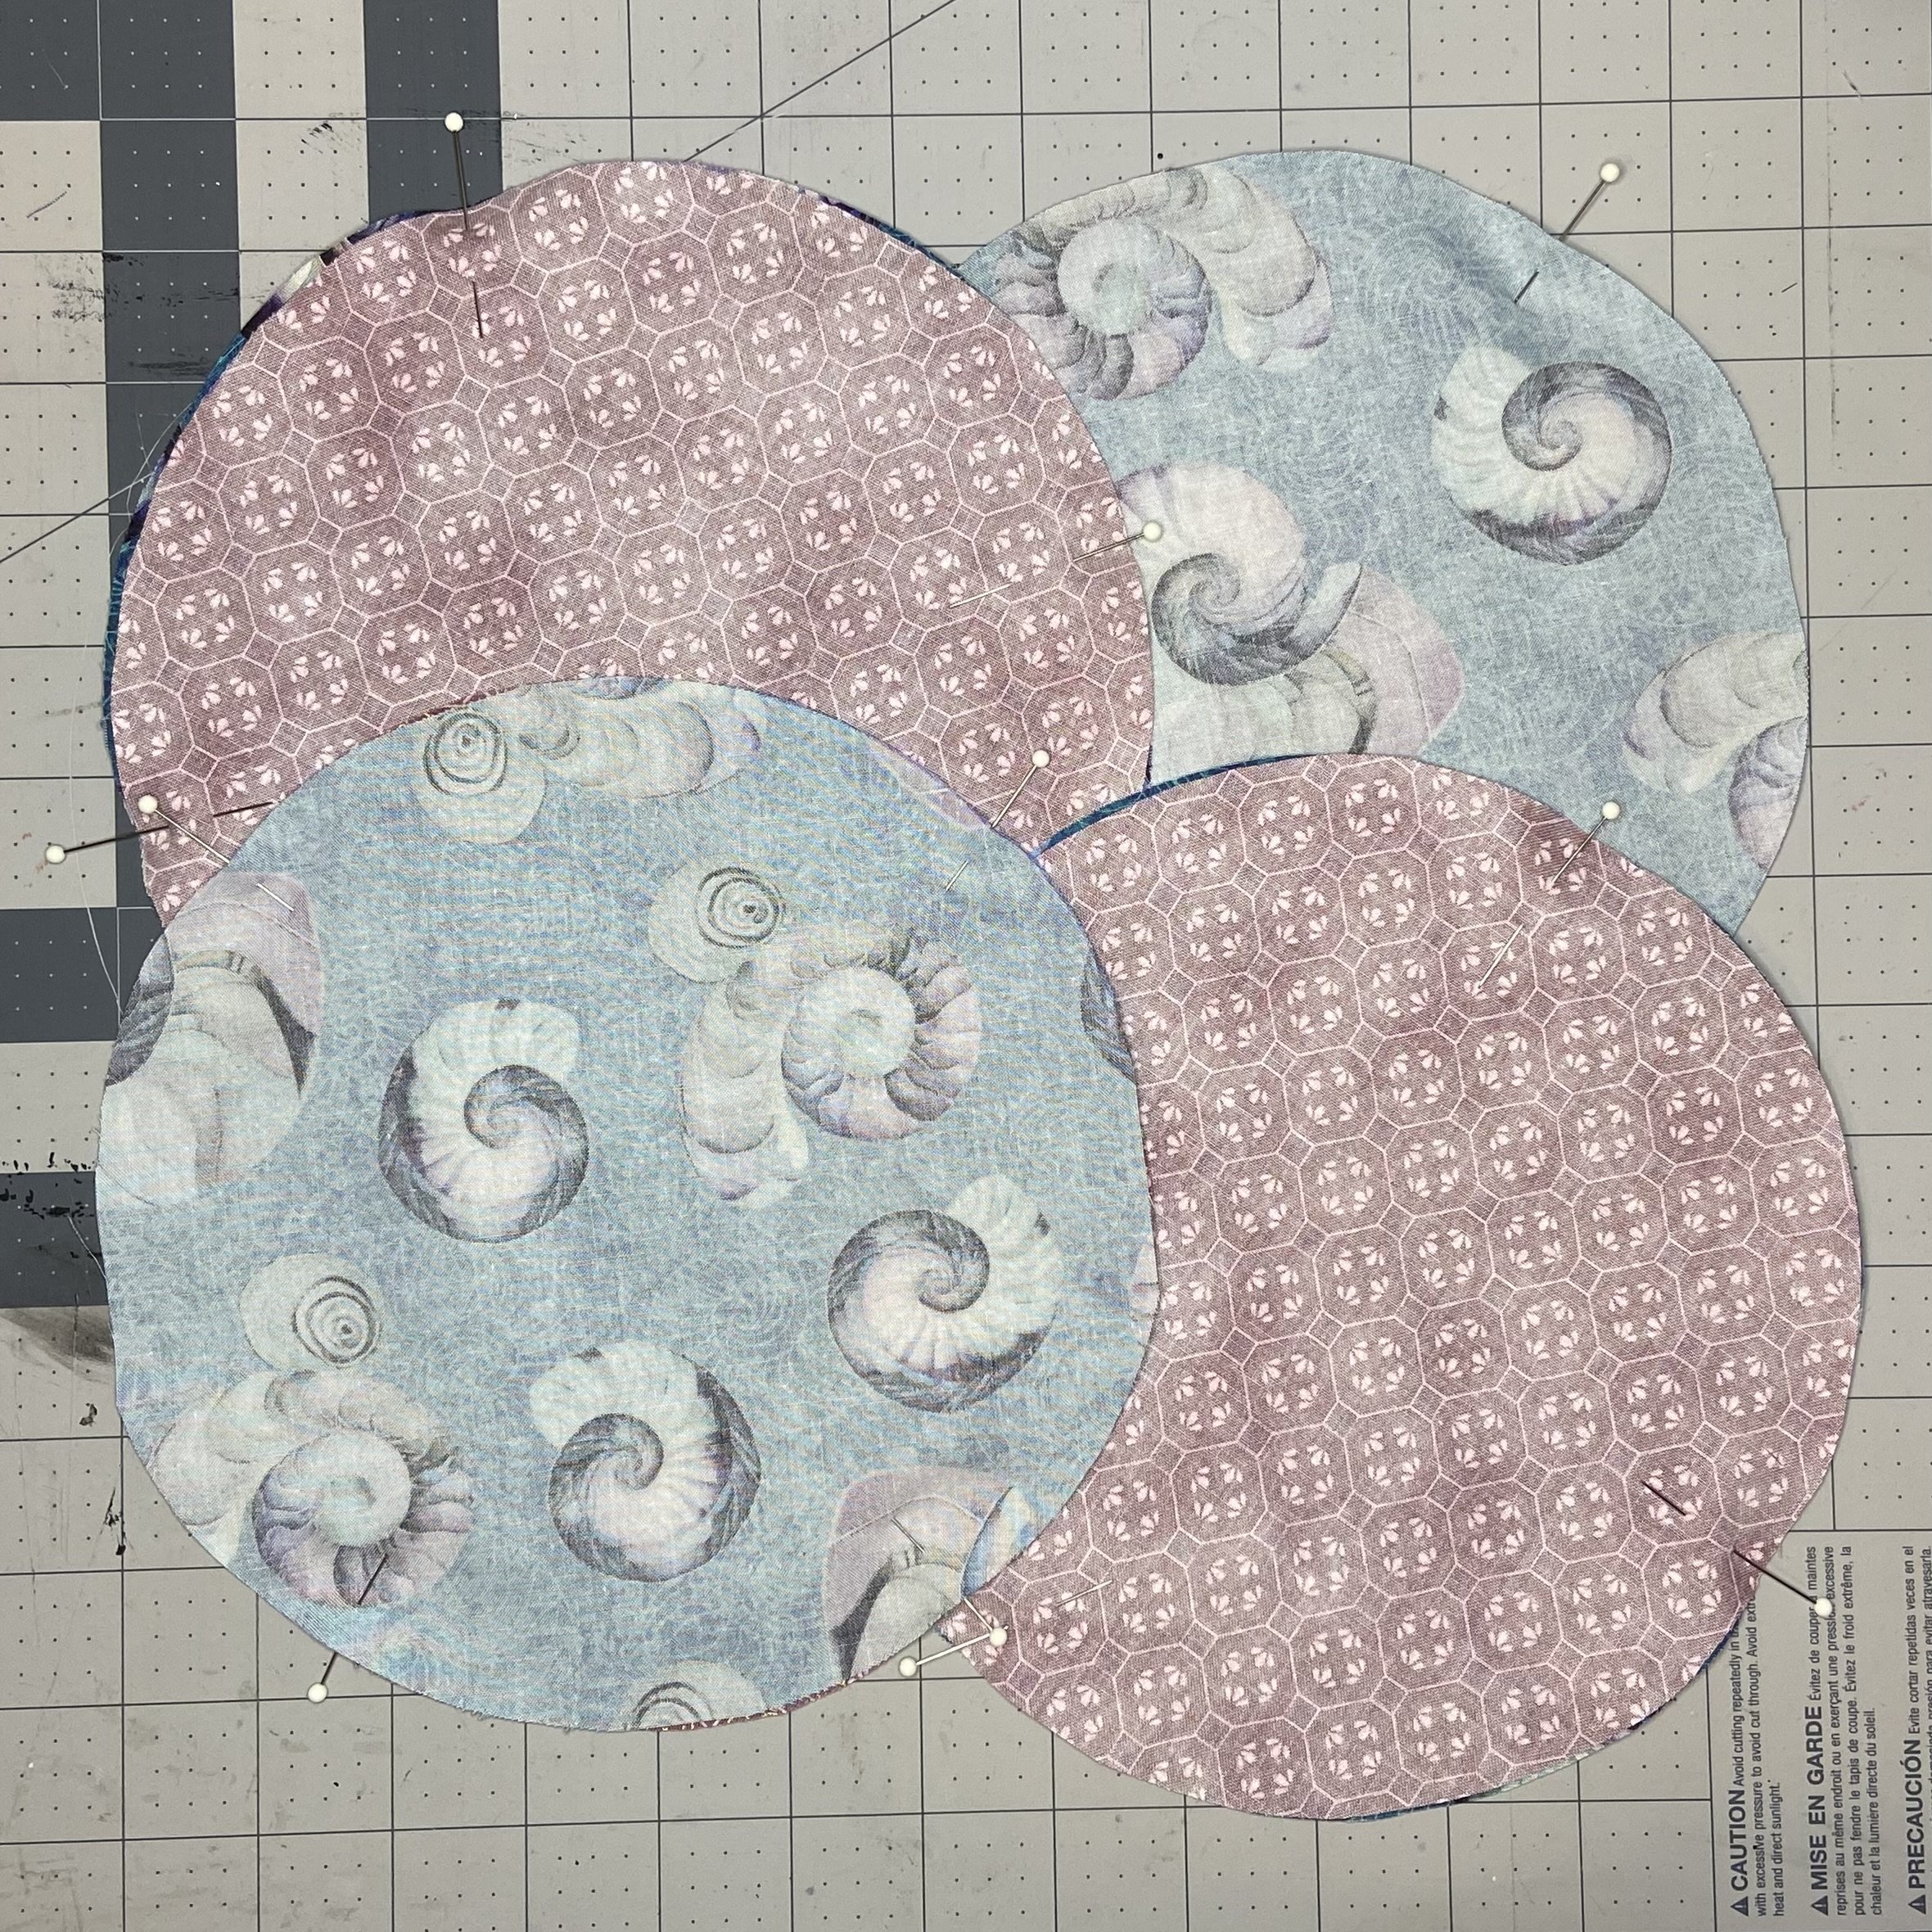
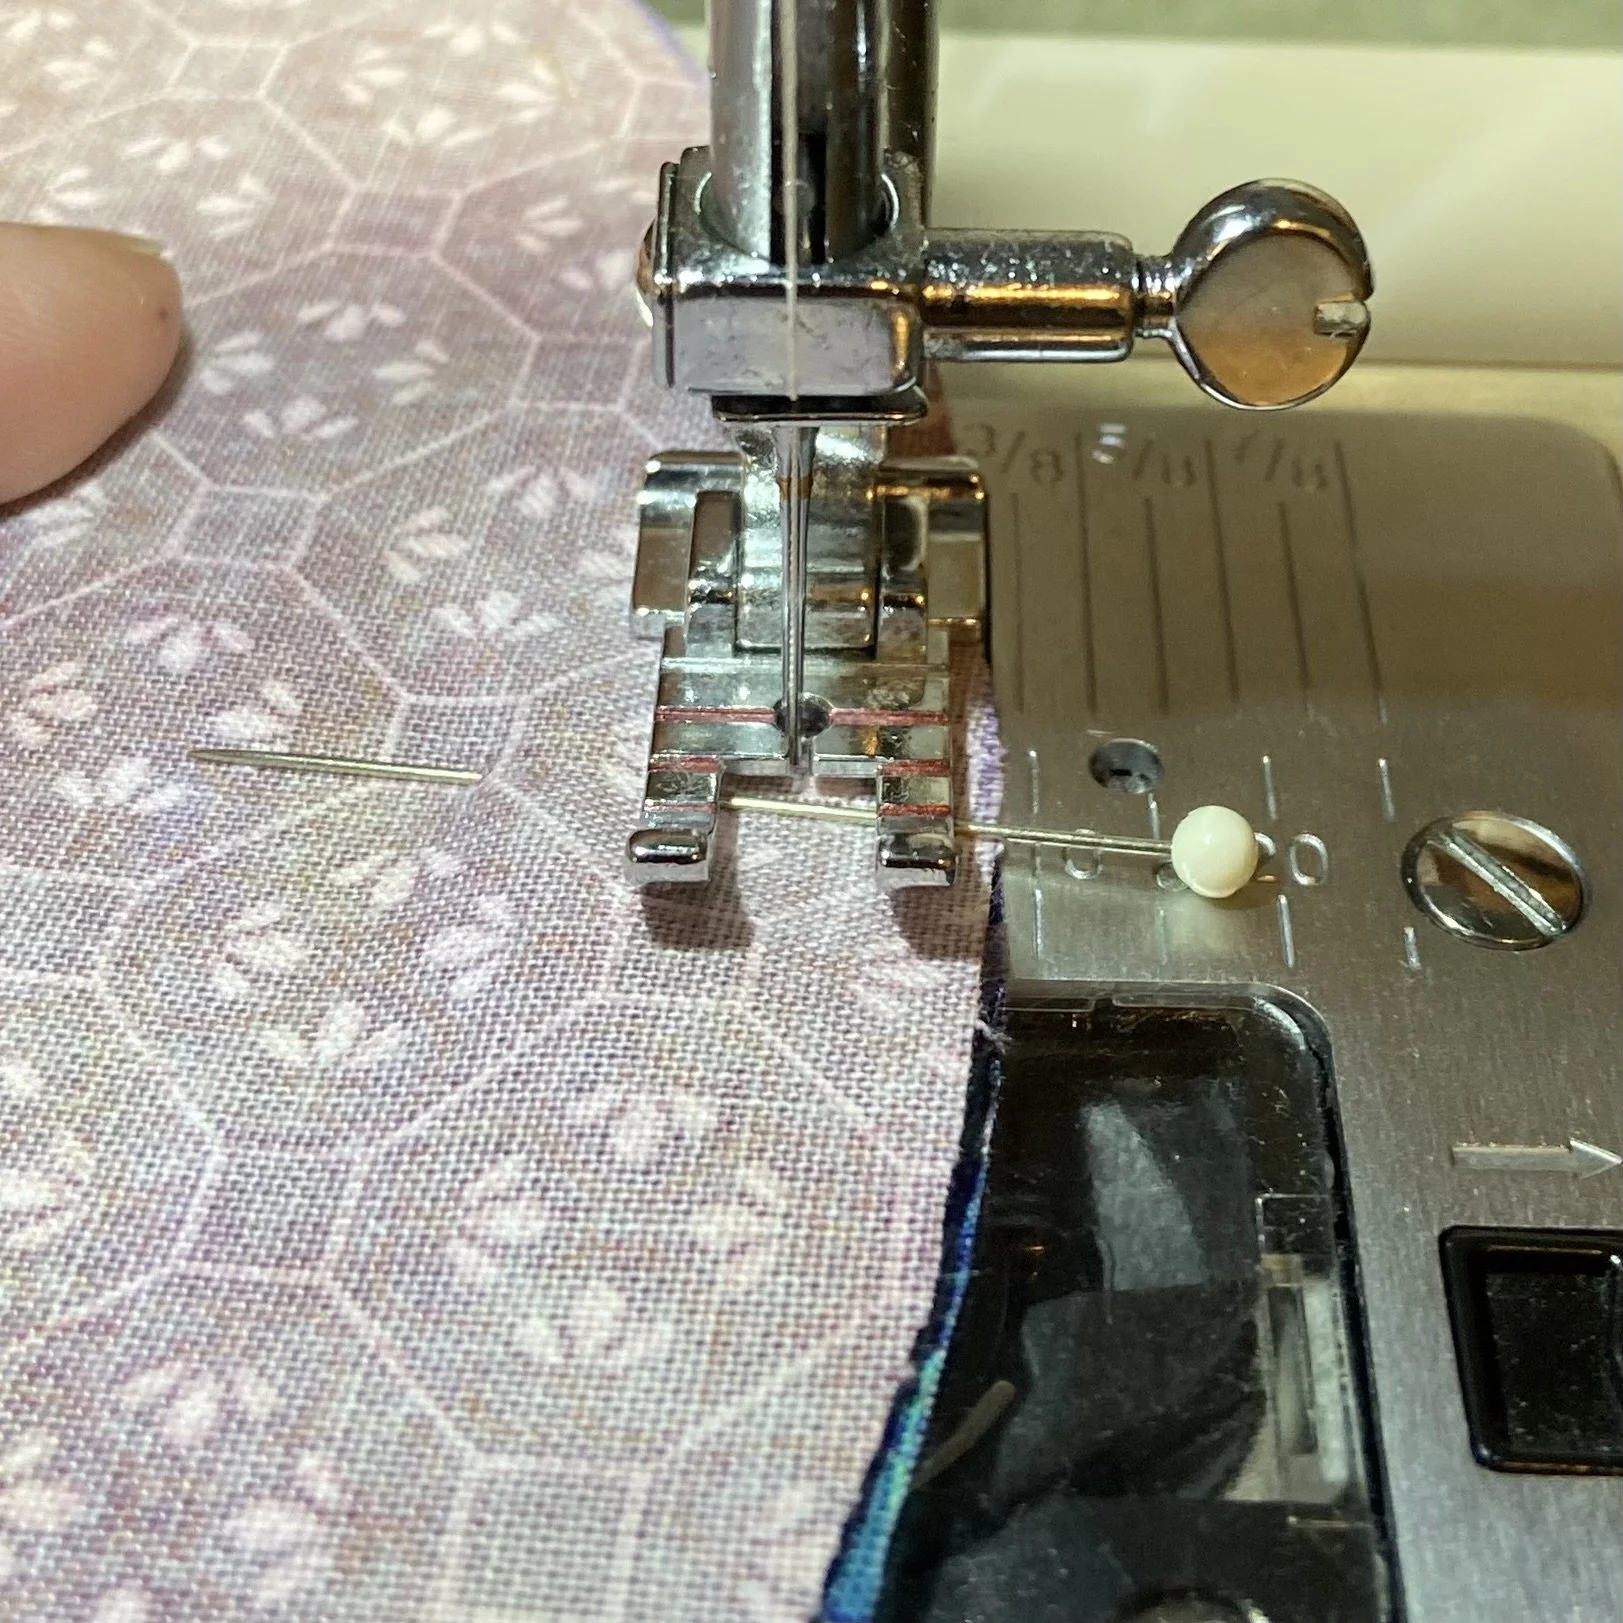
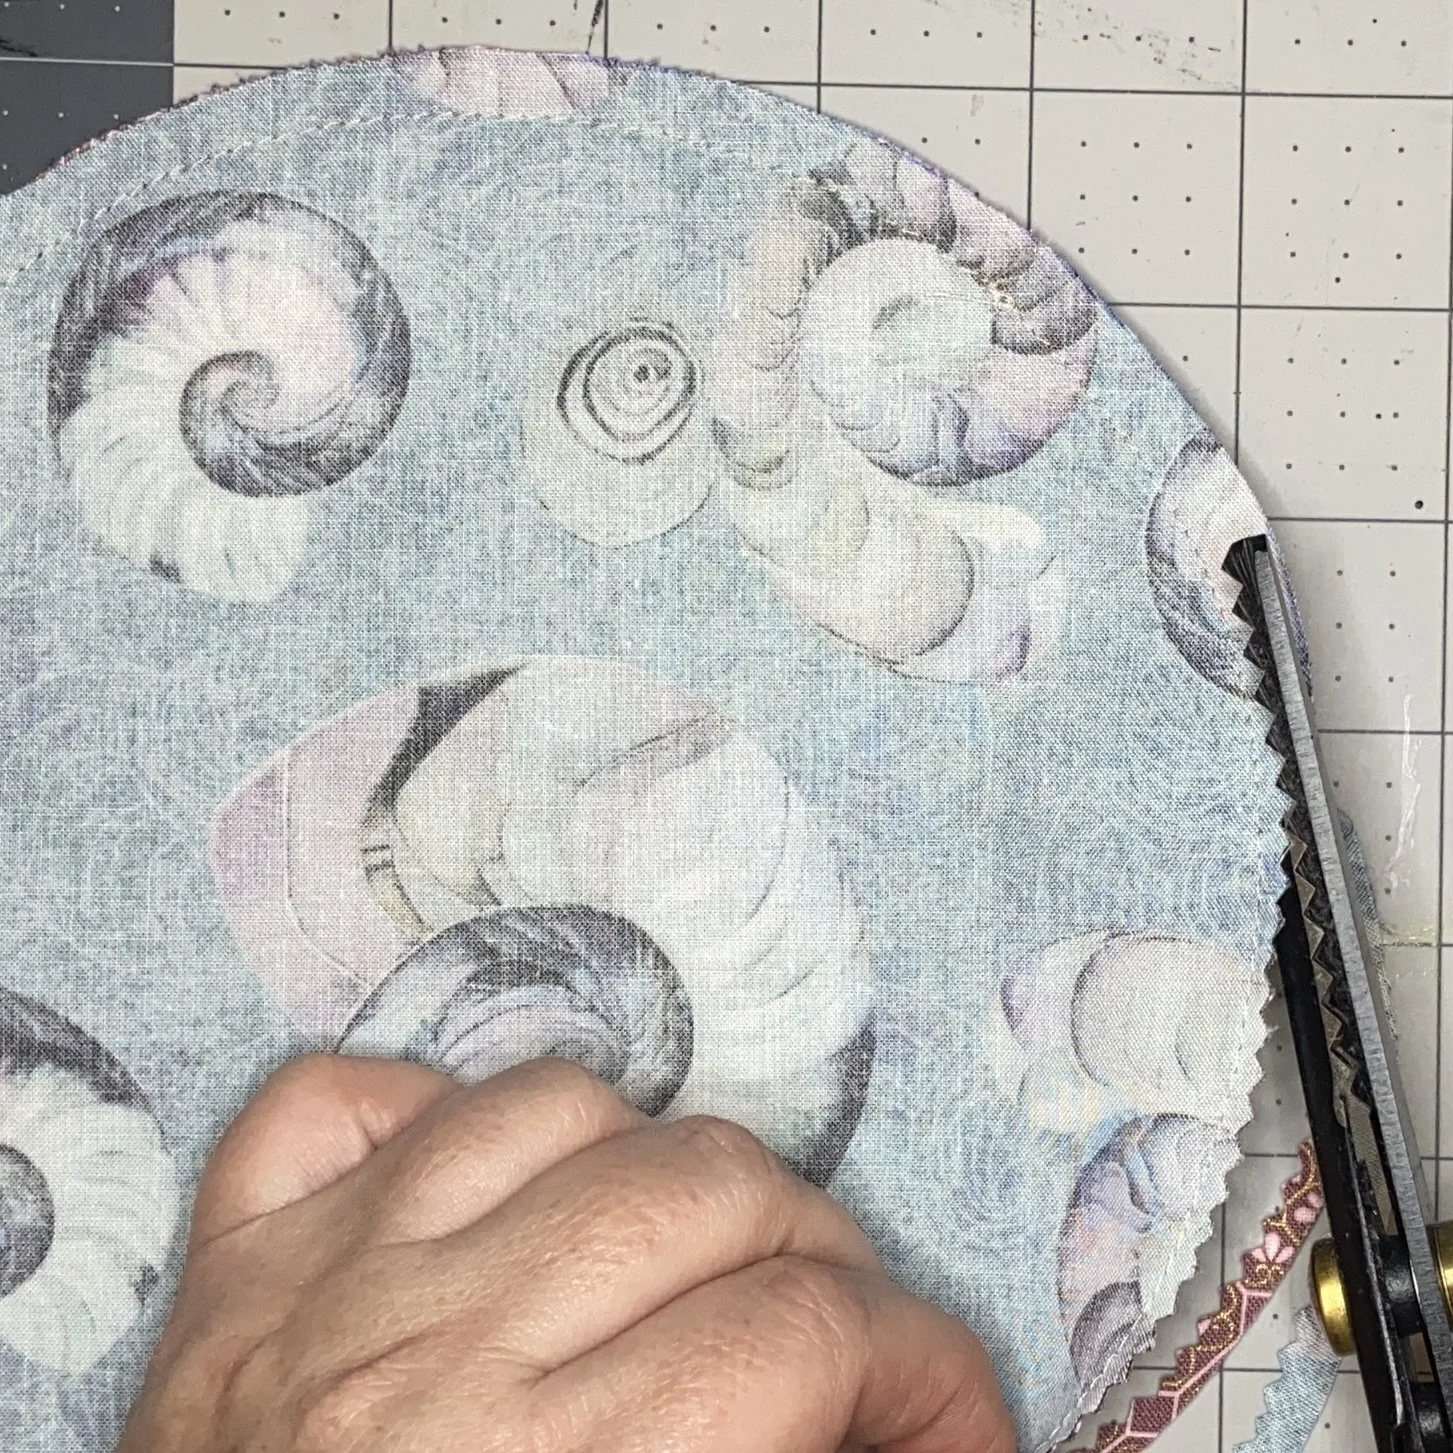
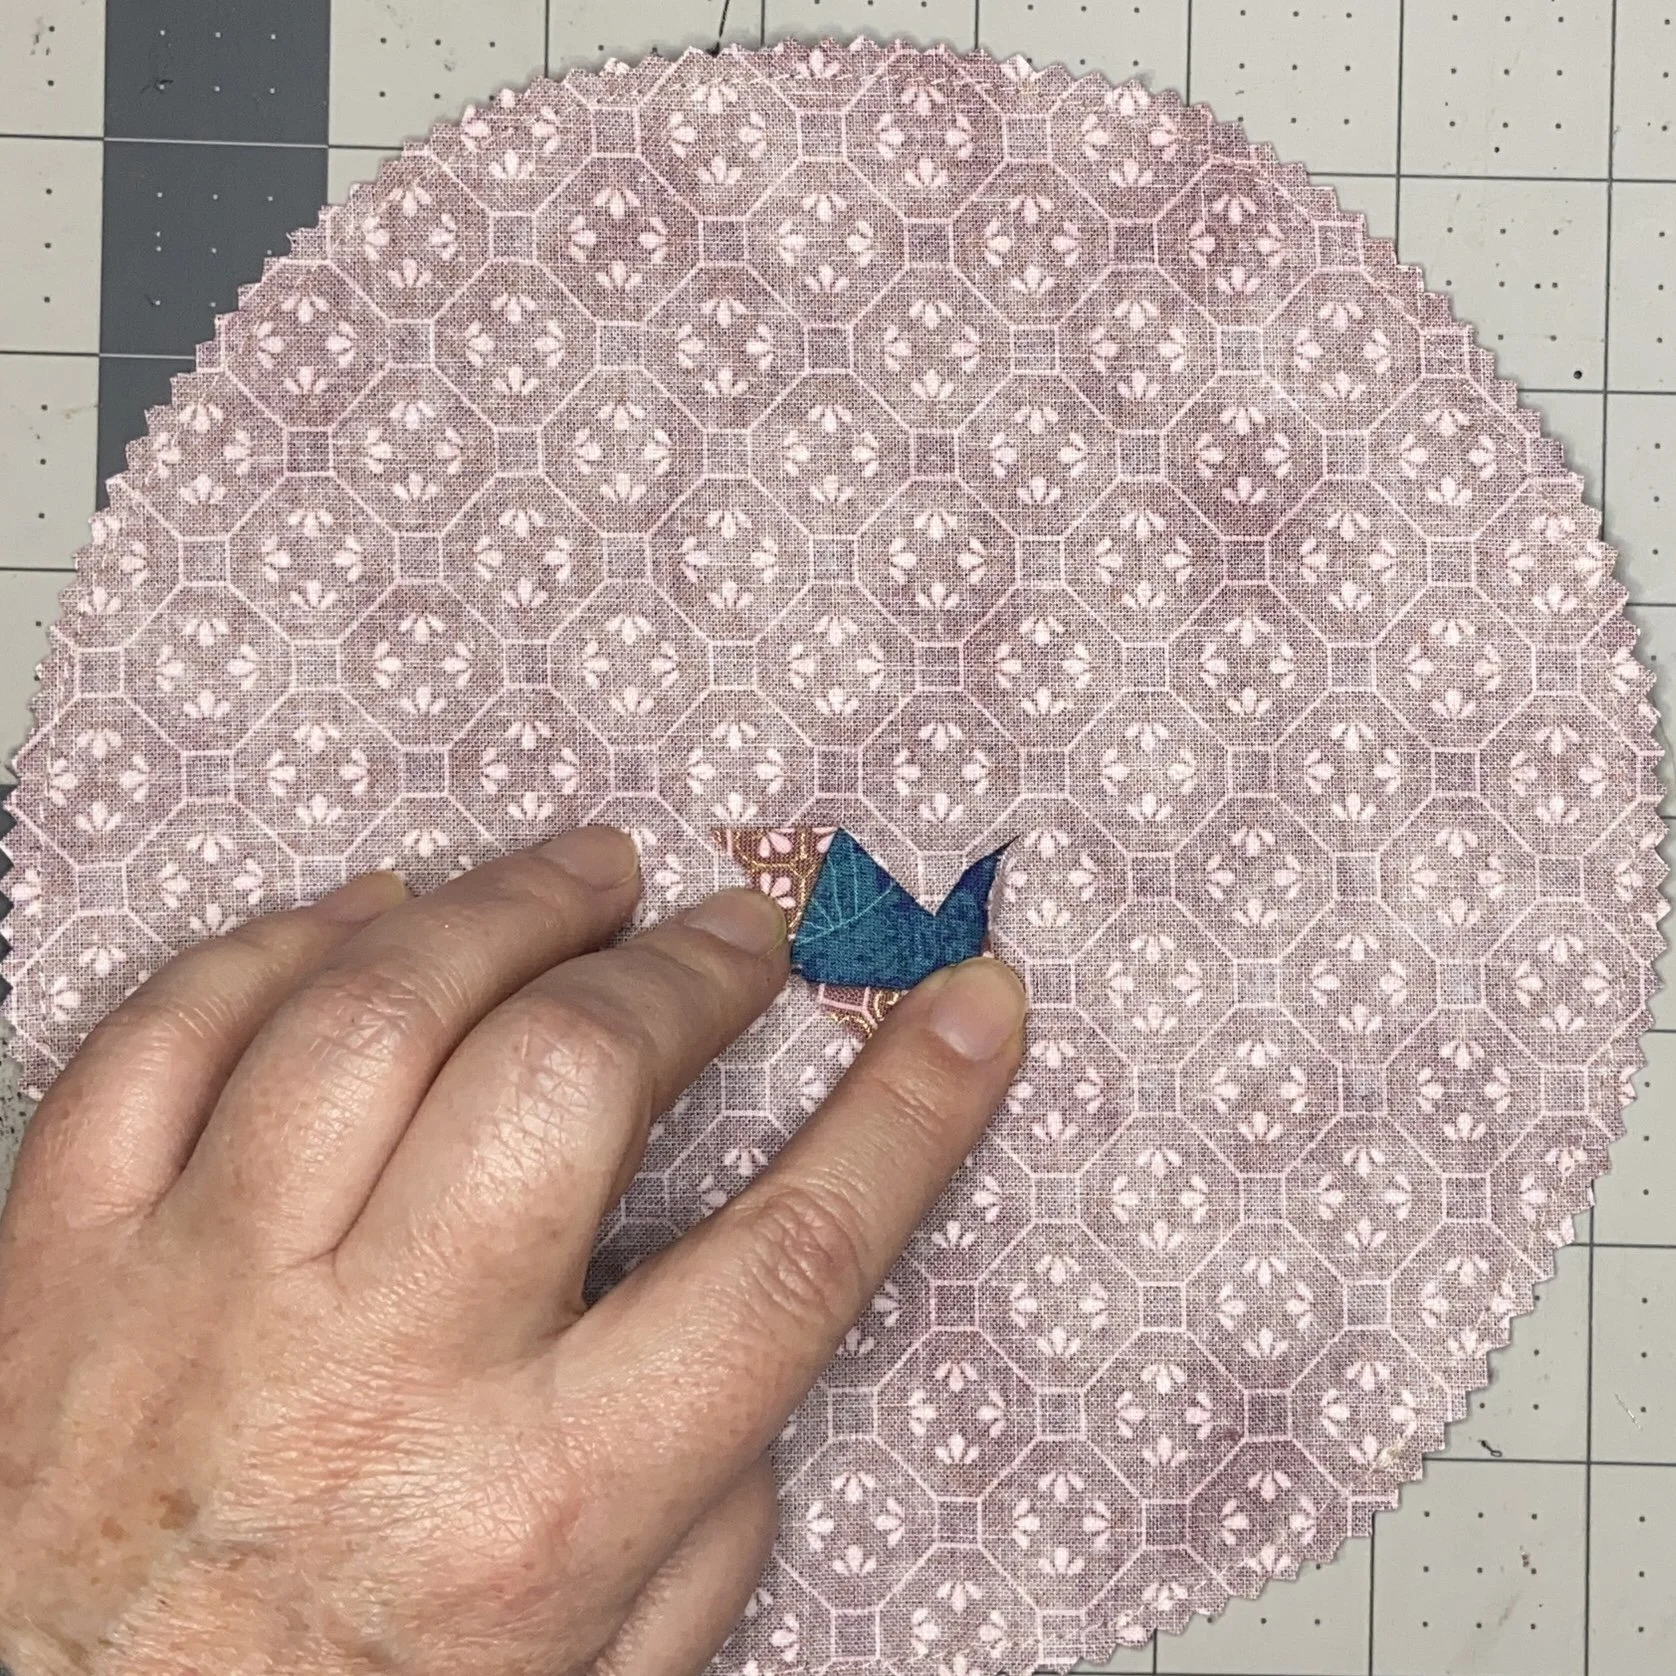
Next, I pinned together one of each print with right sides facing each other, and did the same with the other circles. I sewed each pair with a 1/4” seam all the way around. I did not leave an opening for turning. Then I used my pinking shears to trim the seams; this would both reduce bulk and also replace the need to clip the curves, so they would lay flat.
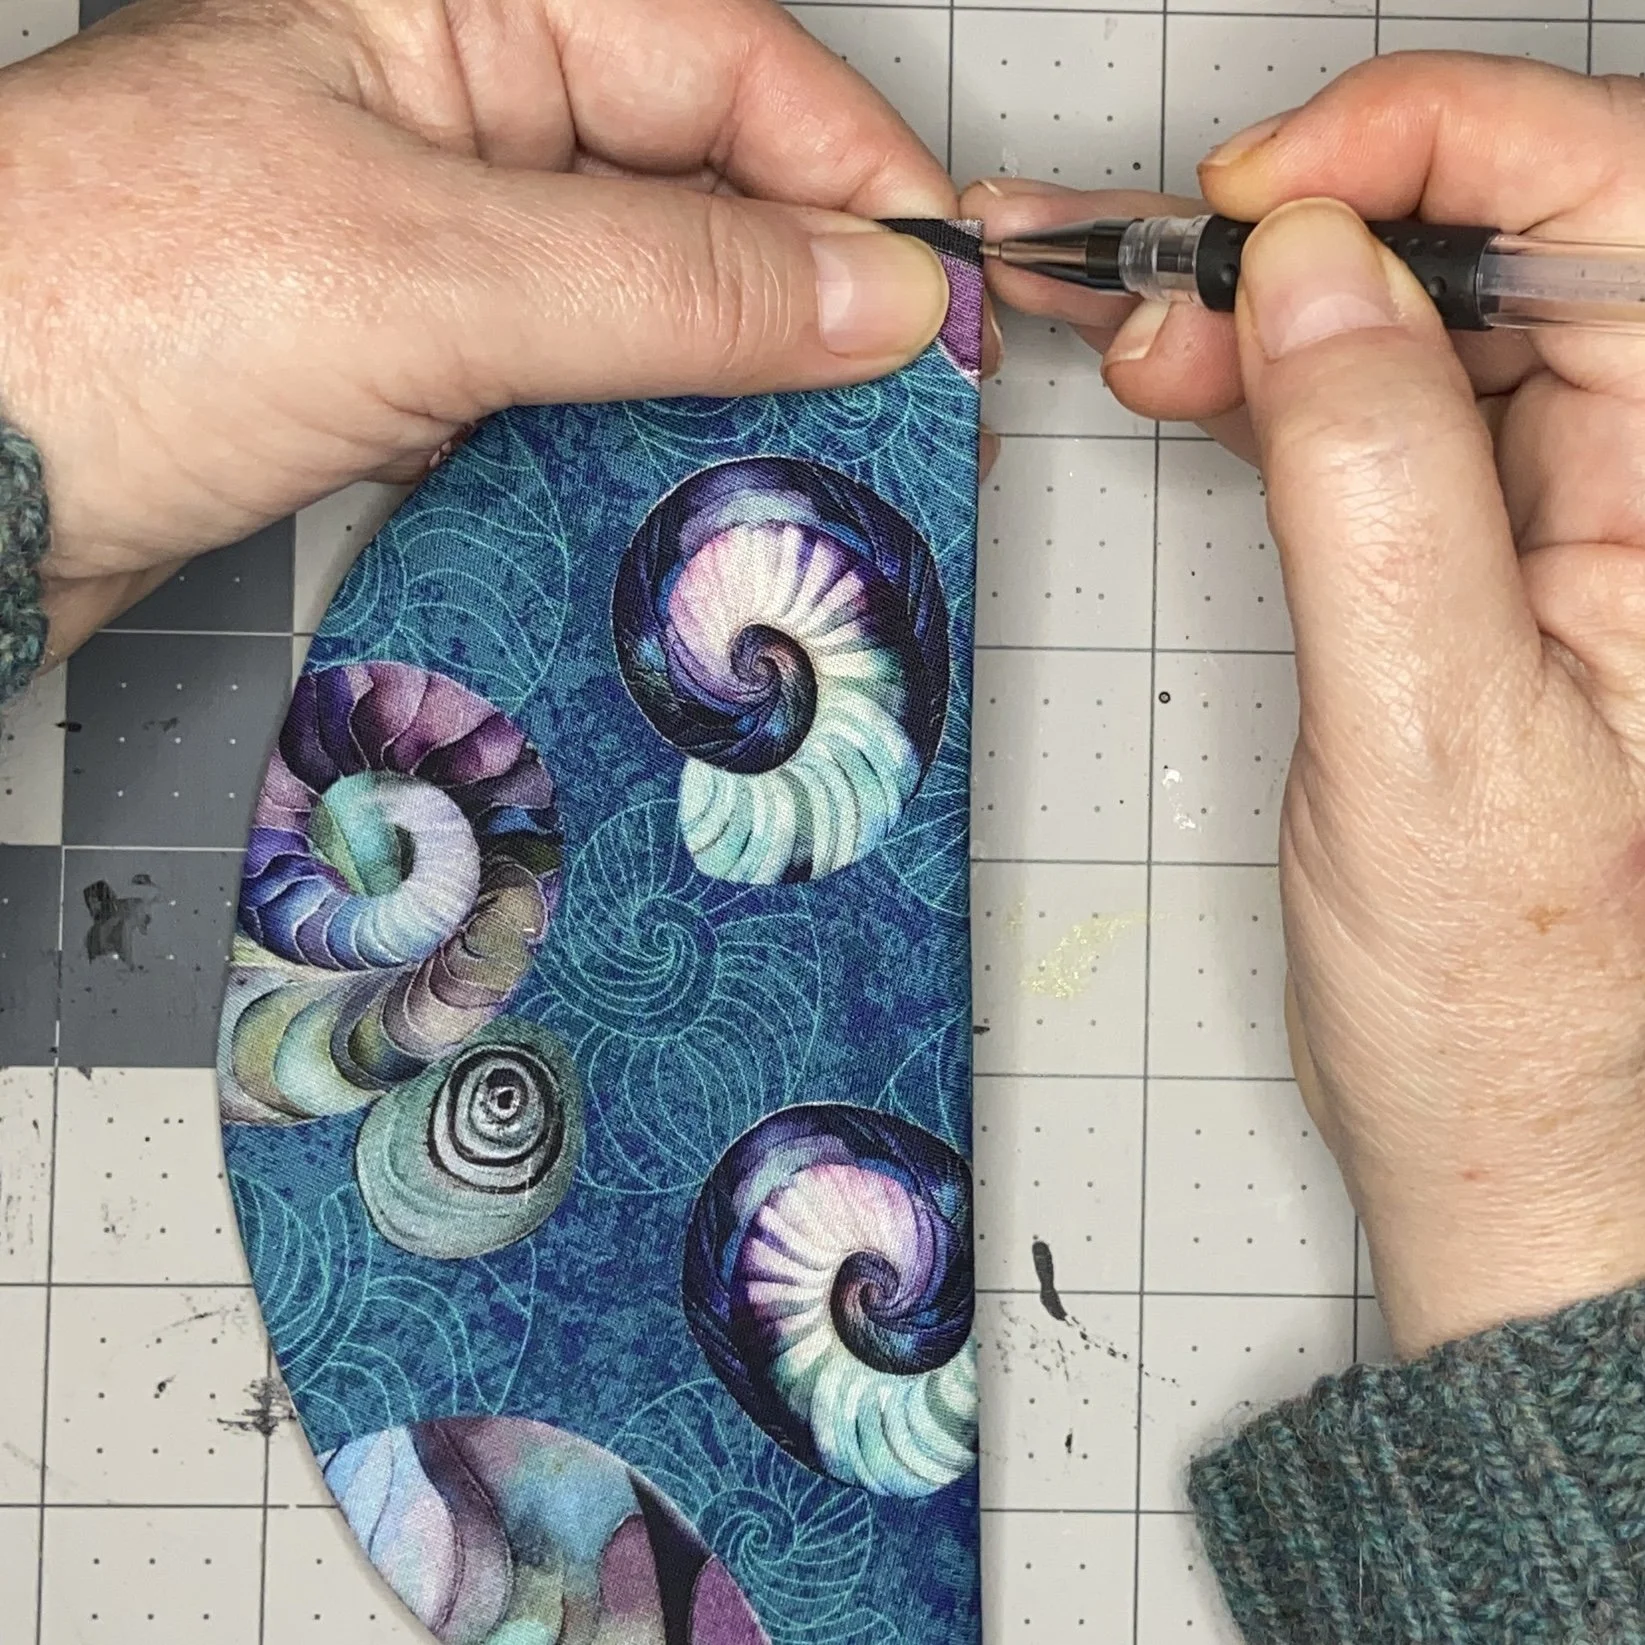
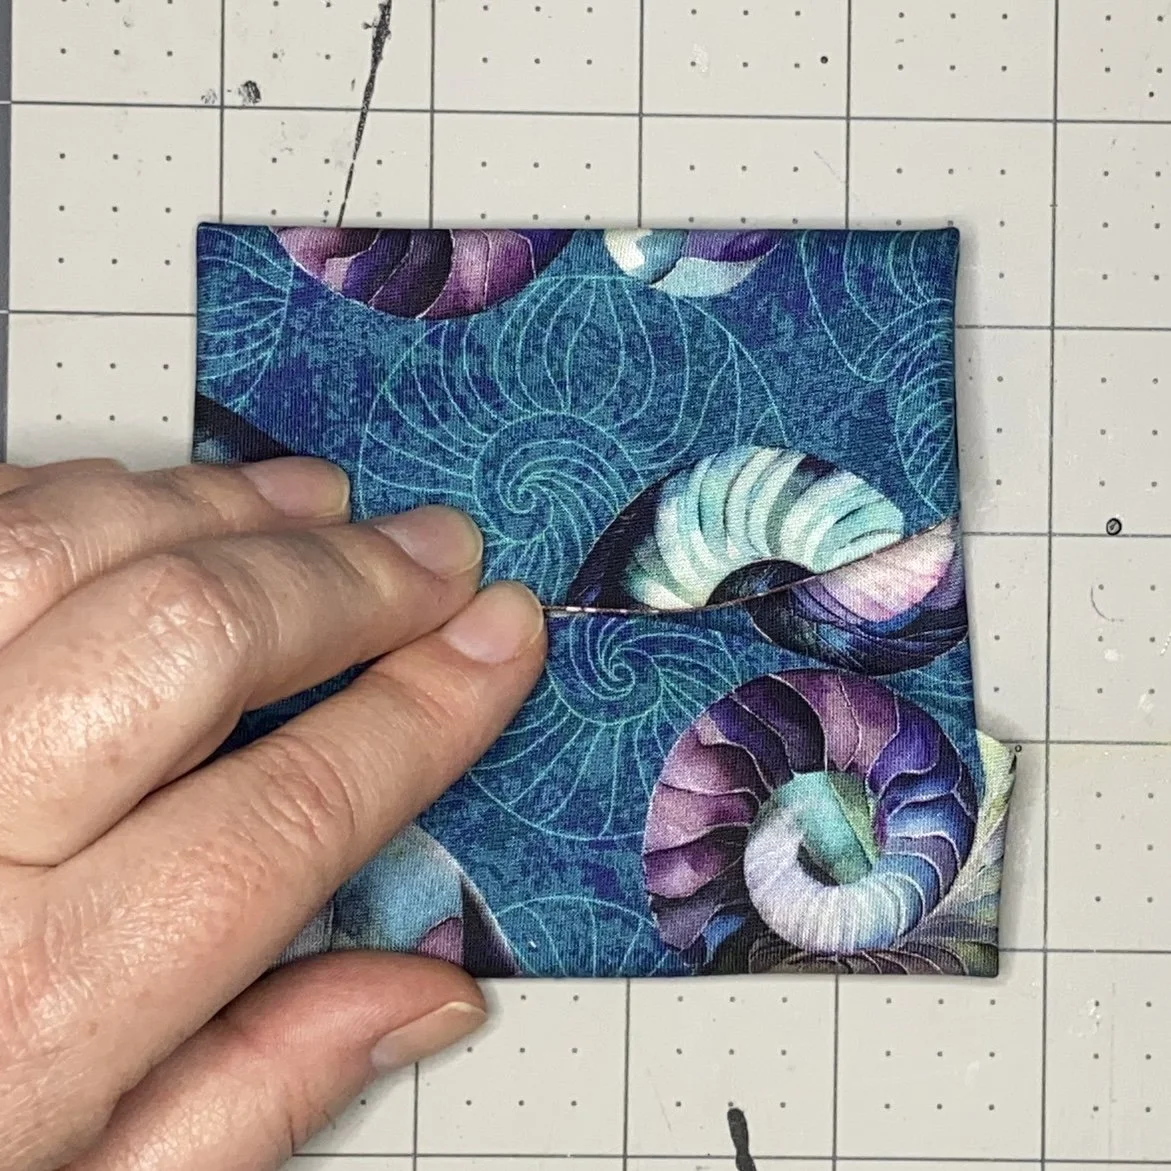
Time to be brave: I used my sharp fabric scissors to cut a hole in the center of the fabric that I decided would be the contrast fabric, rather than the main fabric. To make the hole, I cut a 1” opening, then cut about 1/2” into either side of that, making an X shape. This left me with a relatively small hole but it was big enough to turn the piece right side out. Be very careful not to cut through both layers of fabric! Just the one side, and then turn the piece.

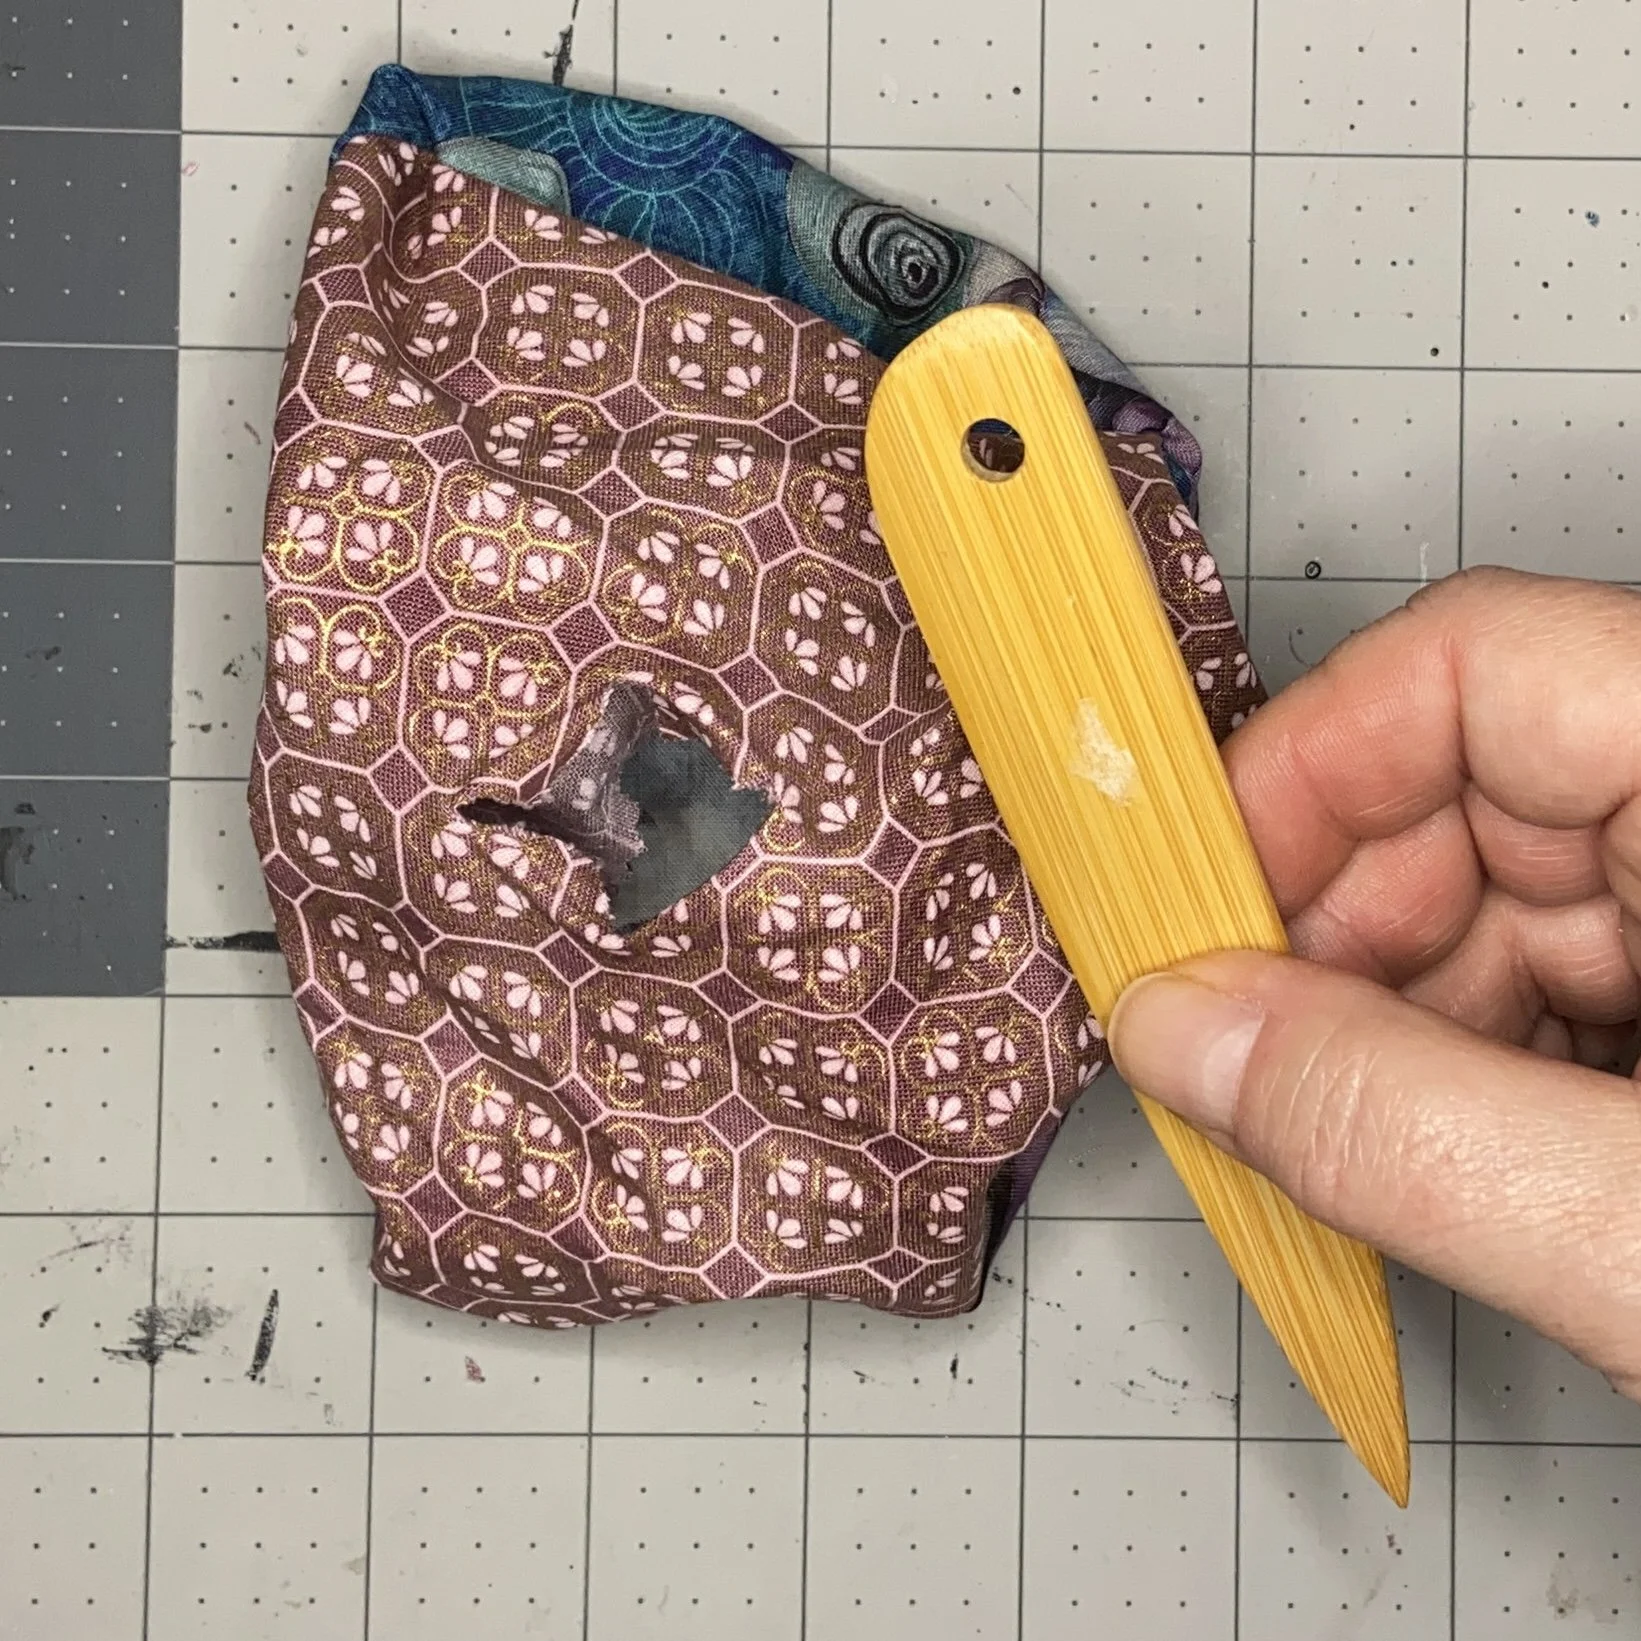
Next, I used the bamboo bone folder that once belonged to my grandmother to push out the seams. The curved edge works nicely for that, when working through the hole to get to the inside of the seam. Then I pressed, making sure that the seams were opened all the way out and the fabric flaps of the hole were also pressed flat.
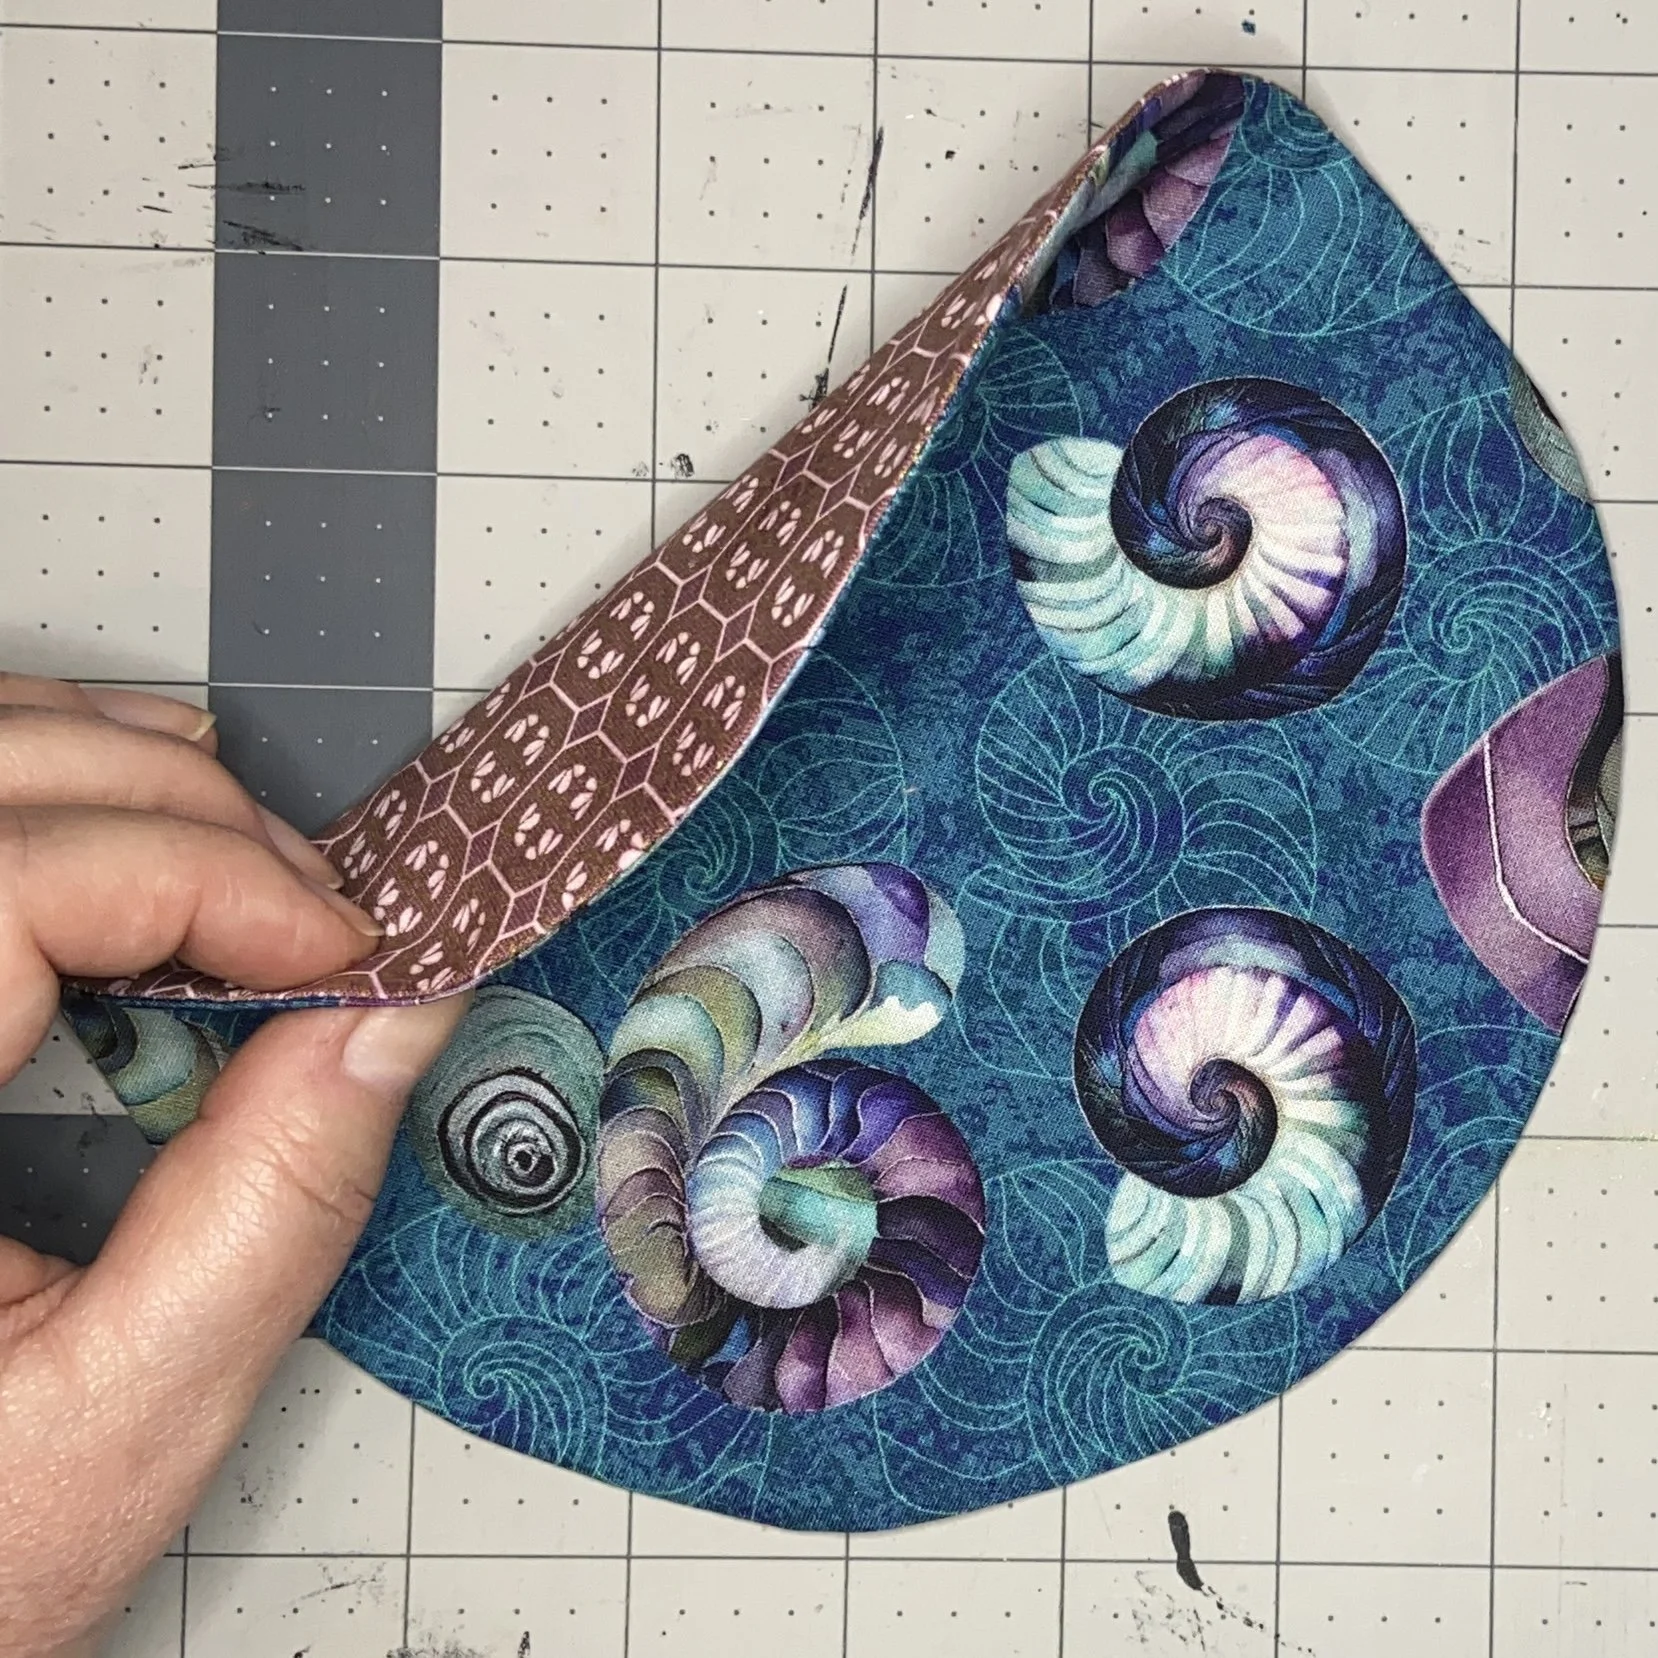
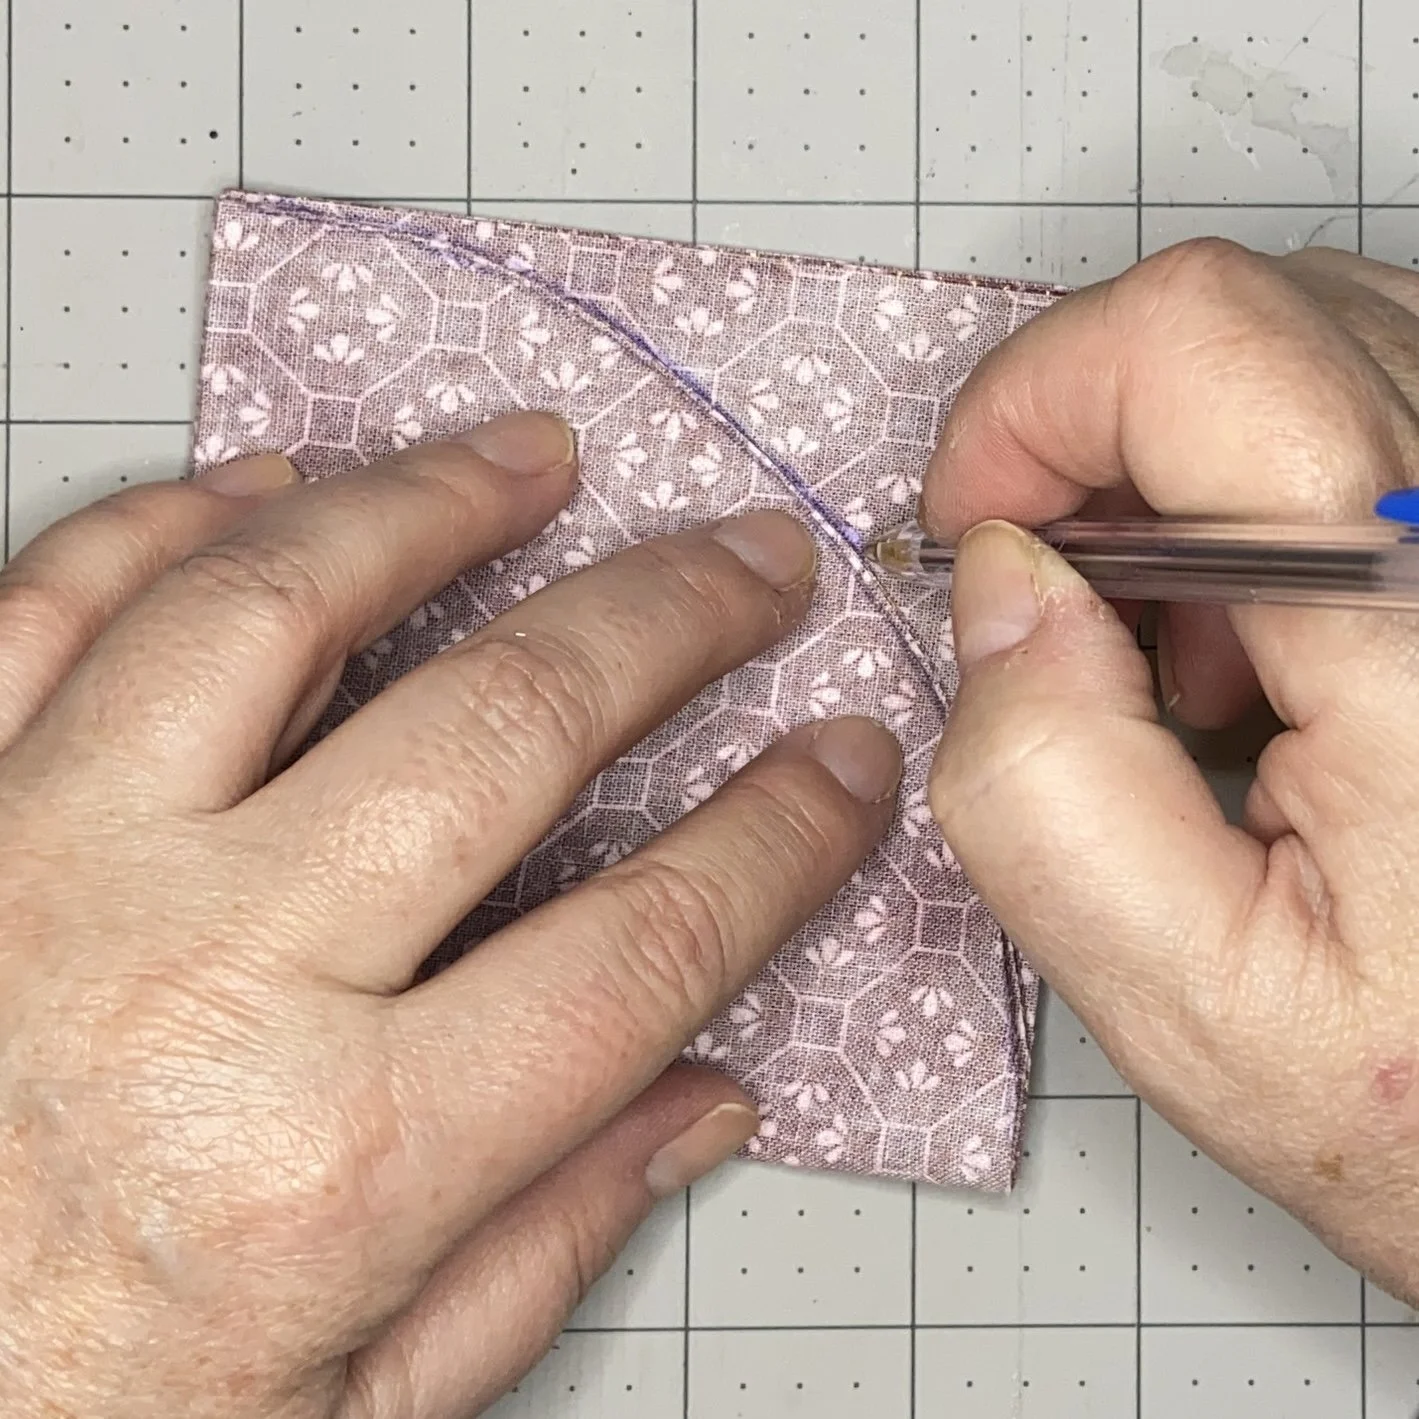
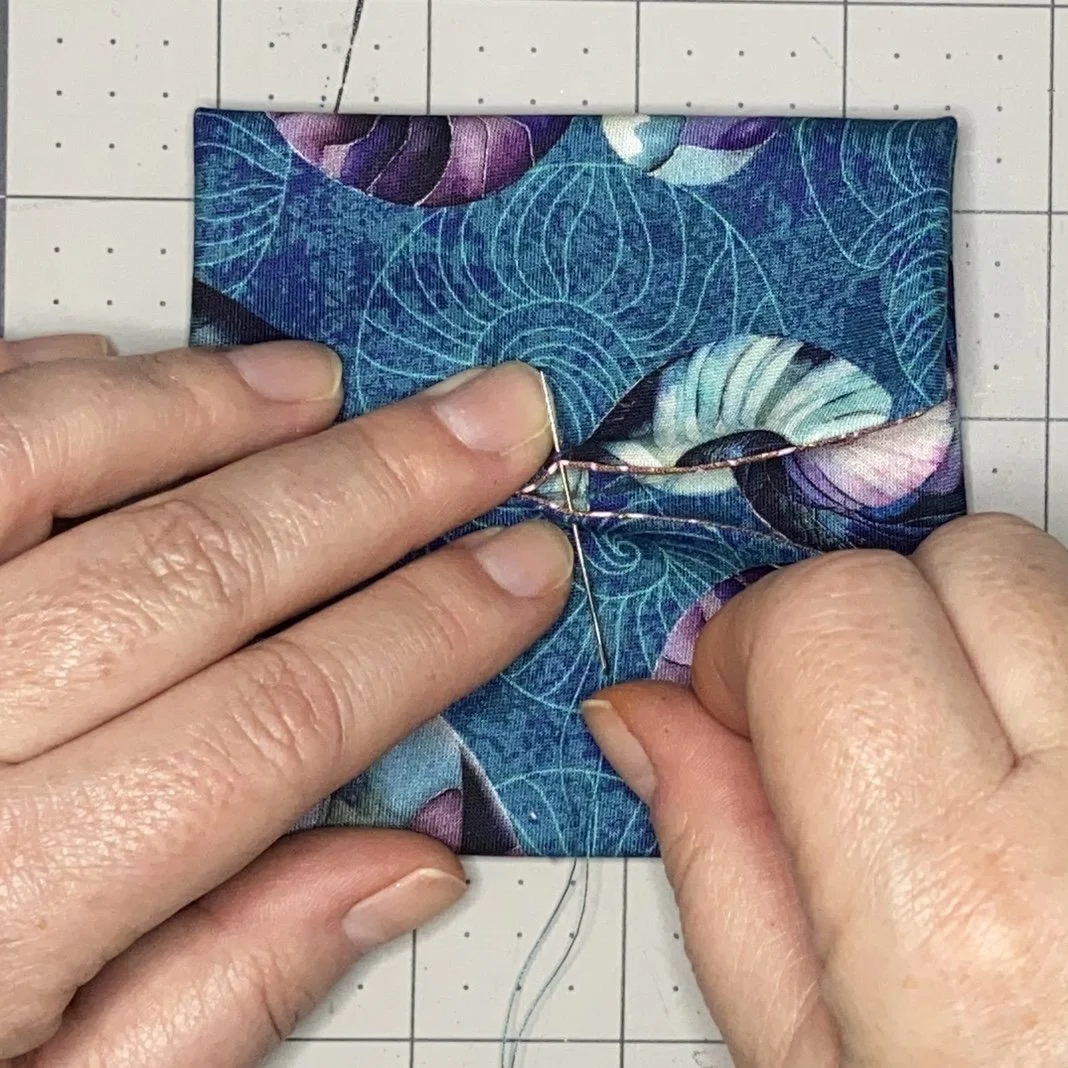
Now for the tricky bit. I folded each piece in half, and marked the fold points on both ends with a heat-erasable marker. Then I opened the piece back up and brought those marked points to meet each other in the center, as you can see in the picture below. I used some matching thread and a needle to put in just a couple stitches right at the edge to hold those sides in place.
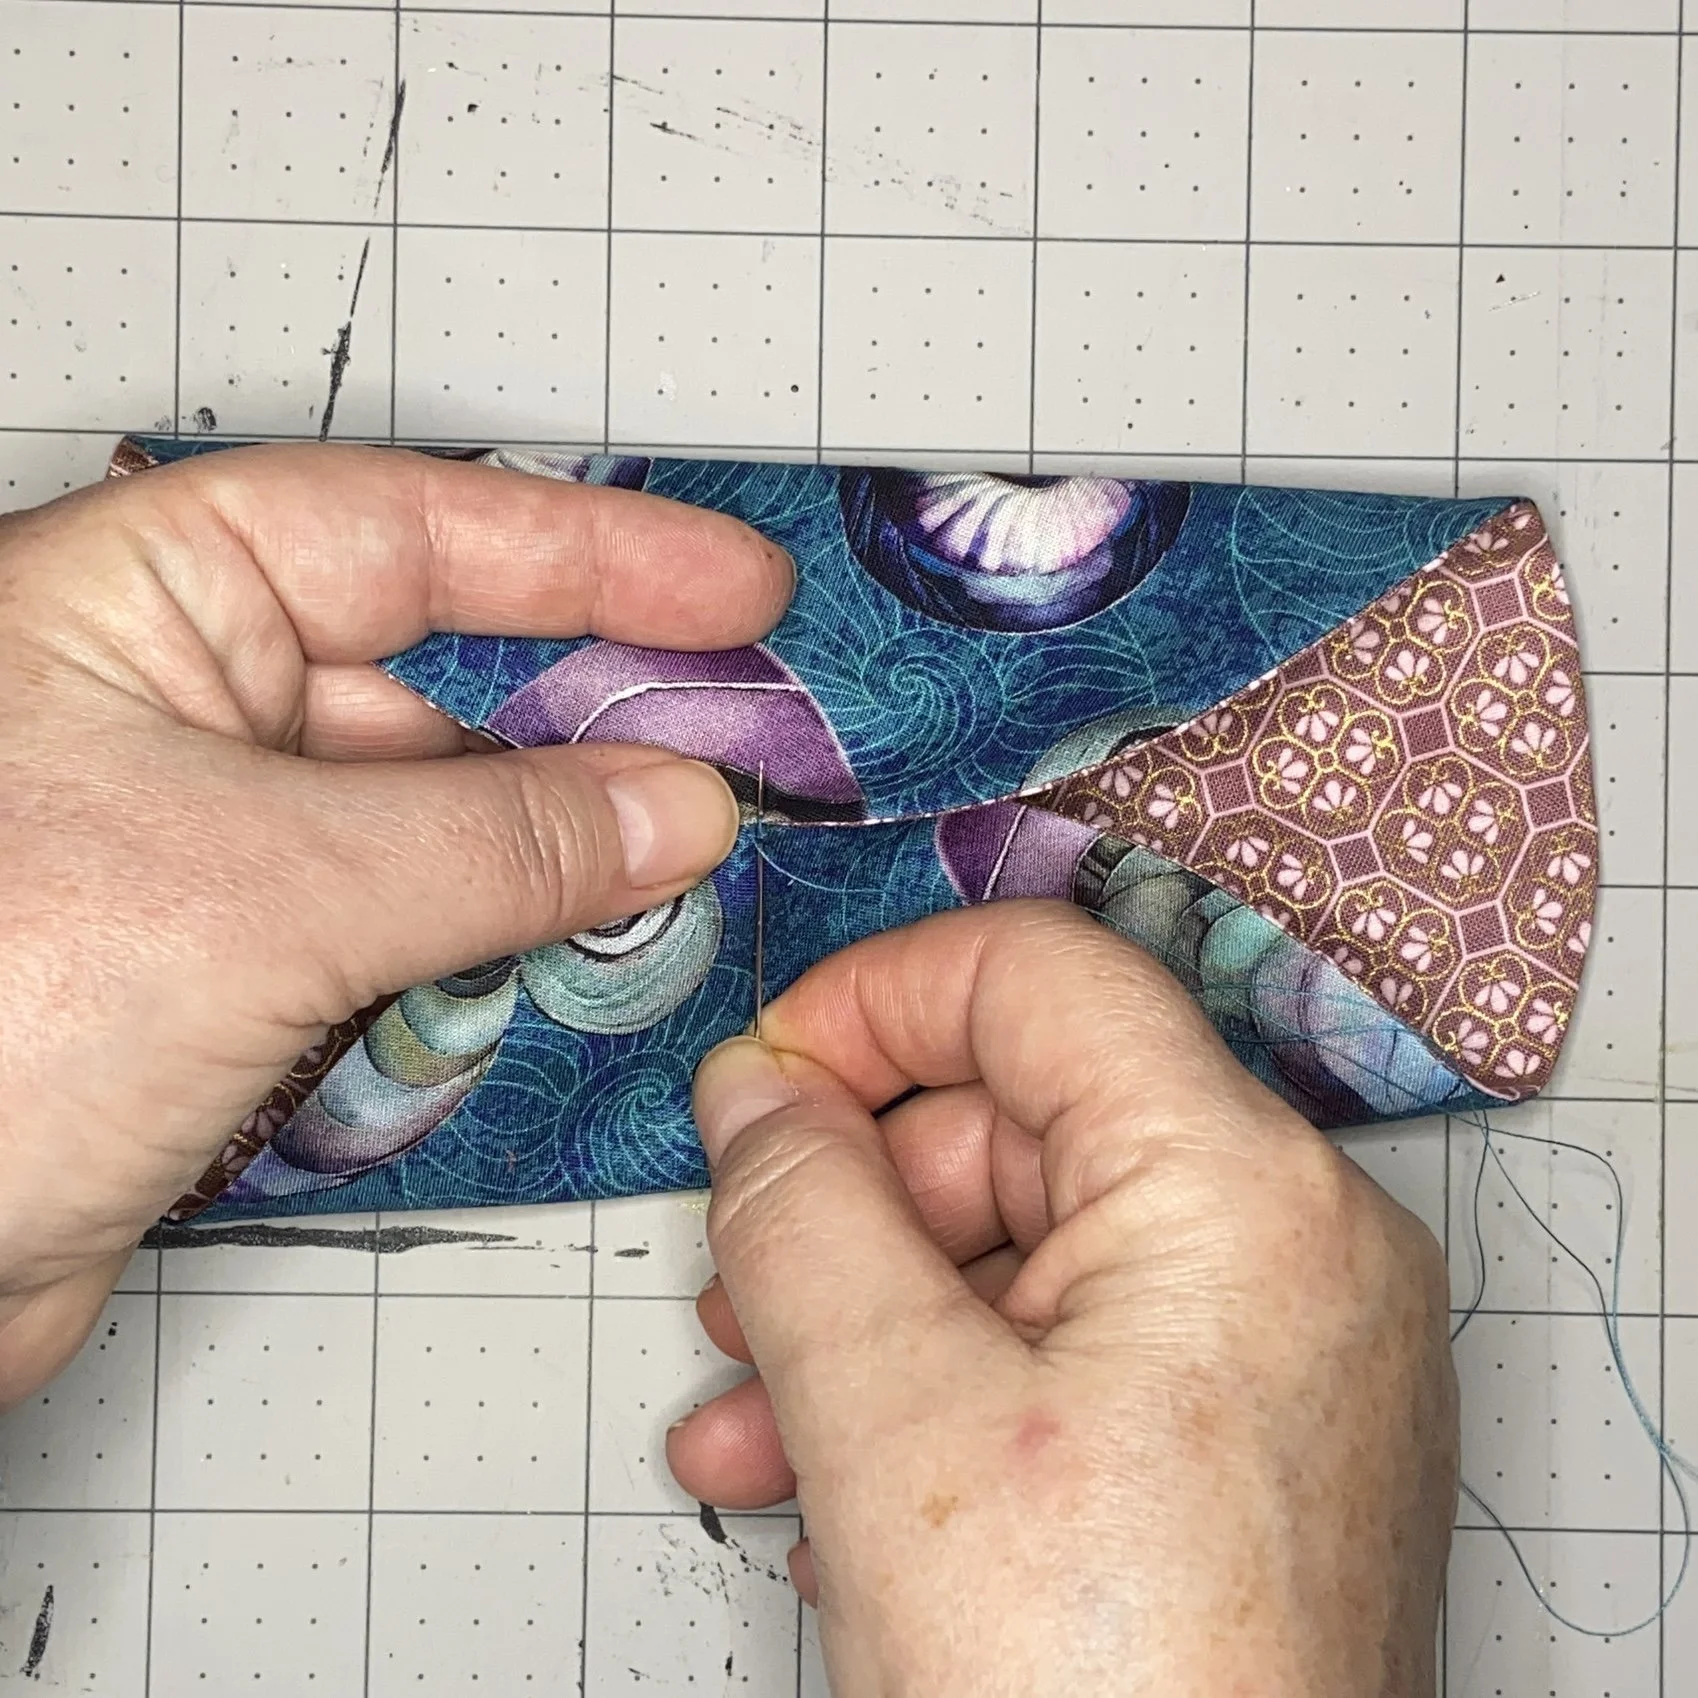
Next, I brought up one of the unsewn ends to the mark I’d made earlier and then brought the other end in to meet it, and again sewed a few stitches to hold these bits in place as well. This left me with a square, more or less. There was a little bulging on the sides, but that wasn’t a problem.

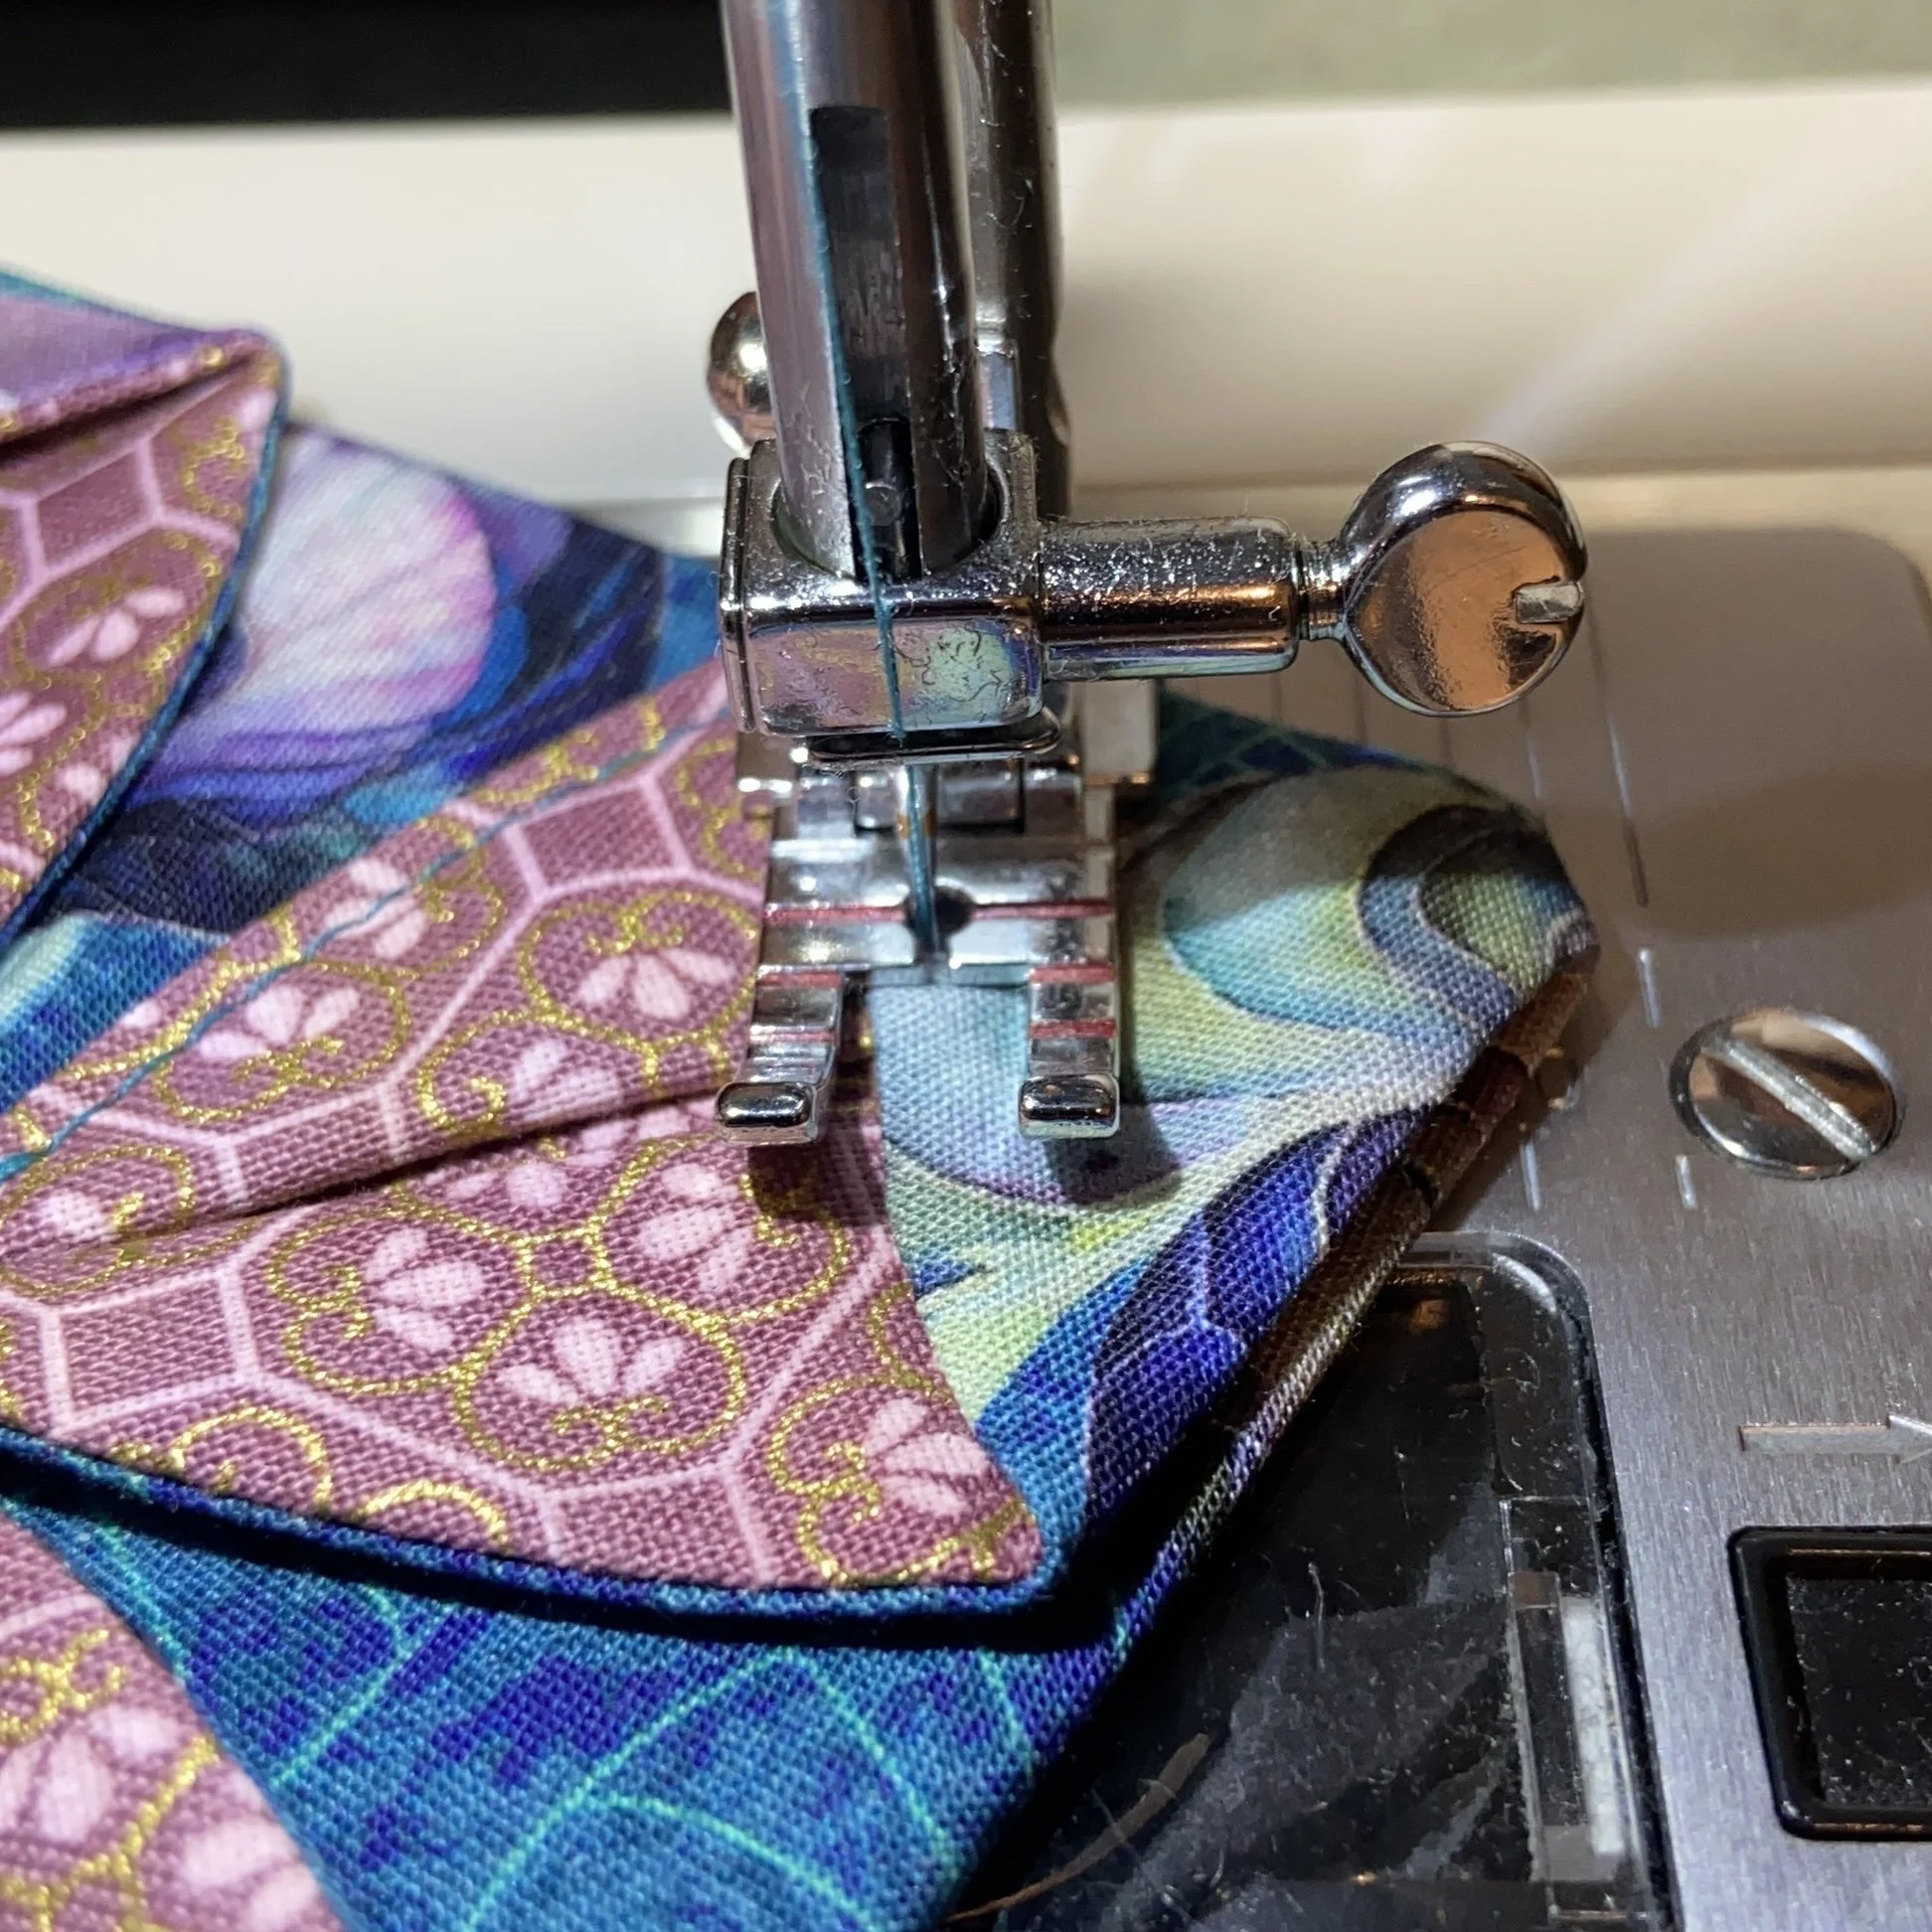
For the next part, I made sure I had sewing clips handy. I tilted my squares so that the point I was working on was pointing upward, and then gently pulled back the overlapping flap. Once I had hold of that, I grabbed the flap underneath and worked it out enough that it matched the first flap, and then folded the corner over the top at an angle. Then I put a clip on the corner to hold it in place until I could press it.
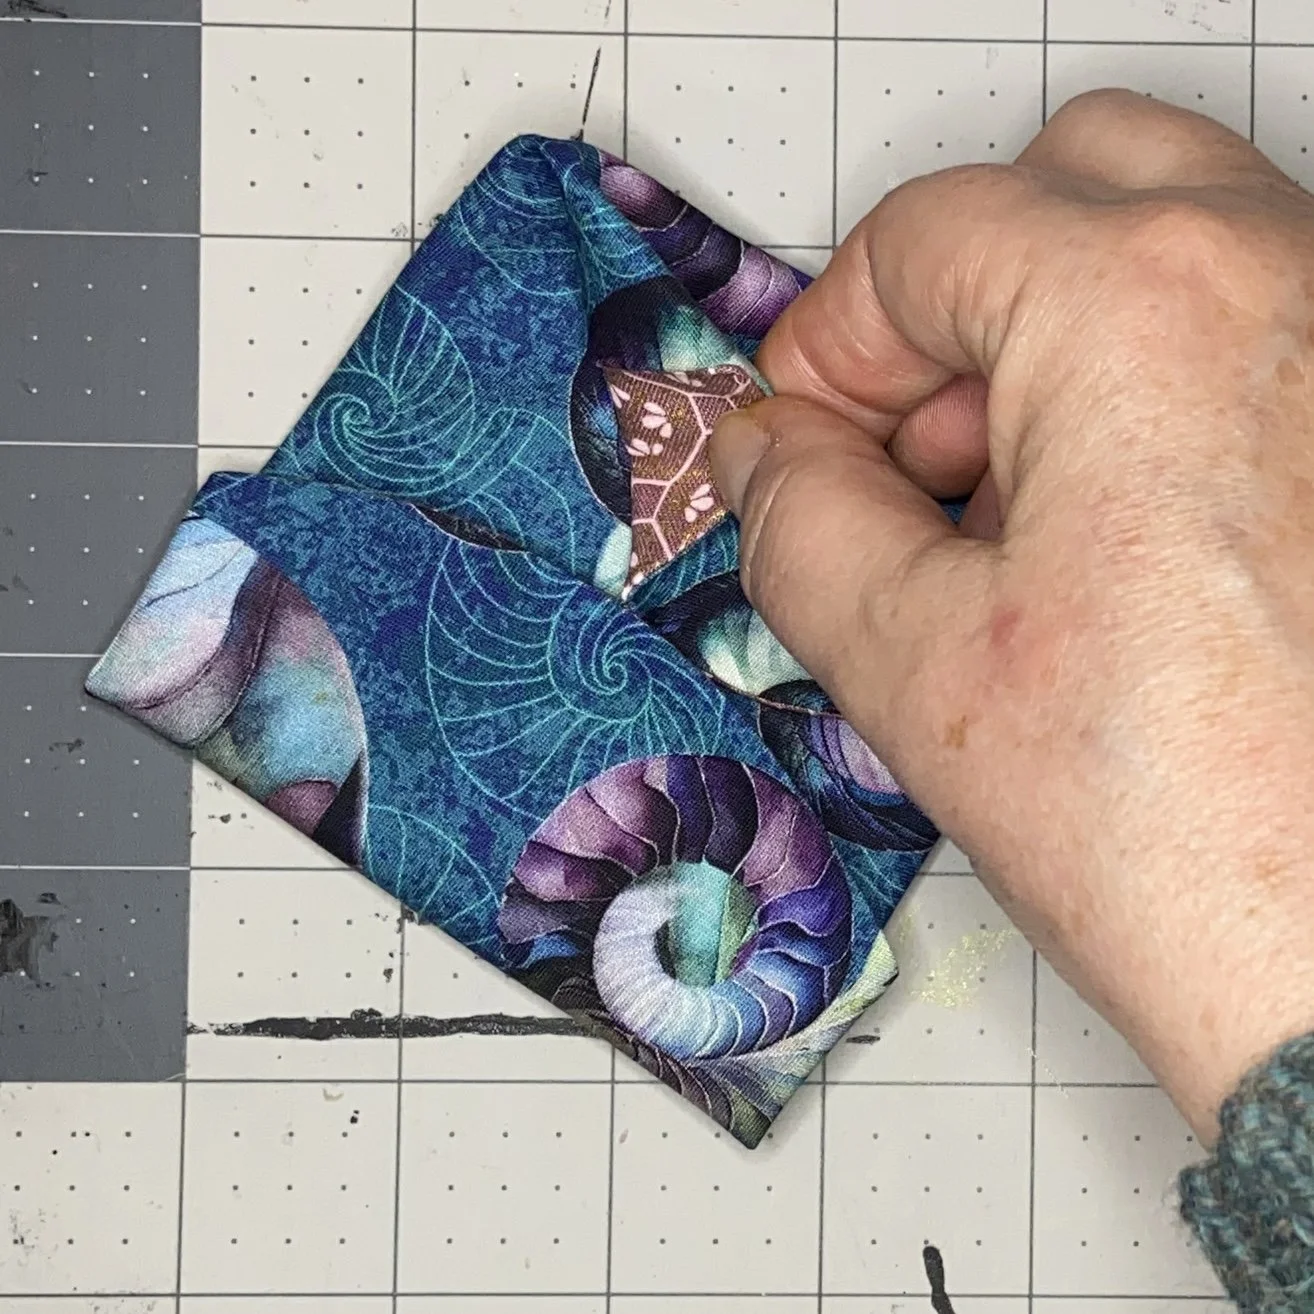

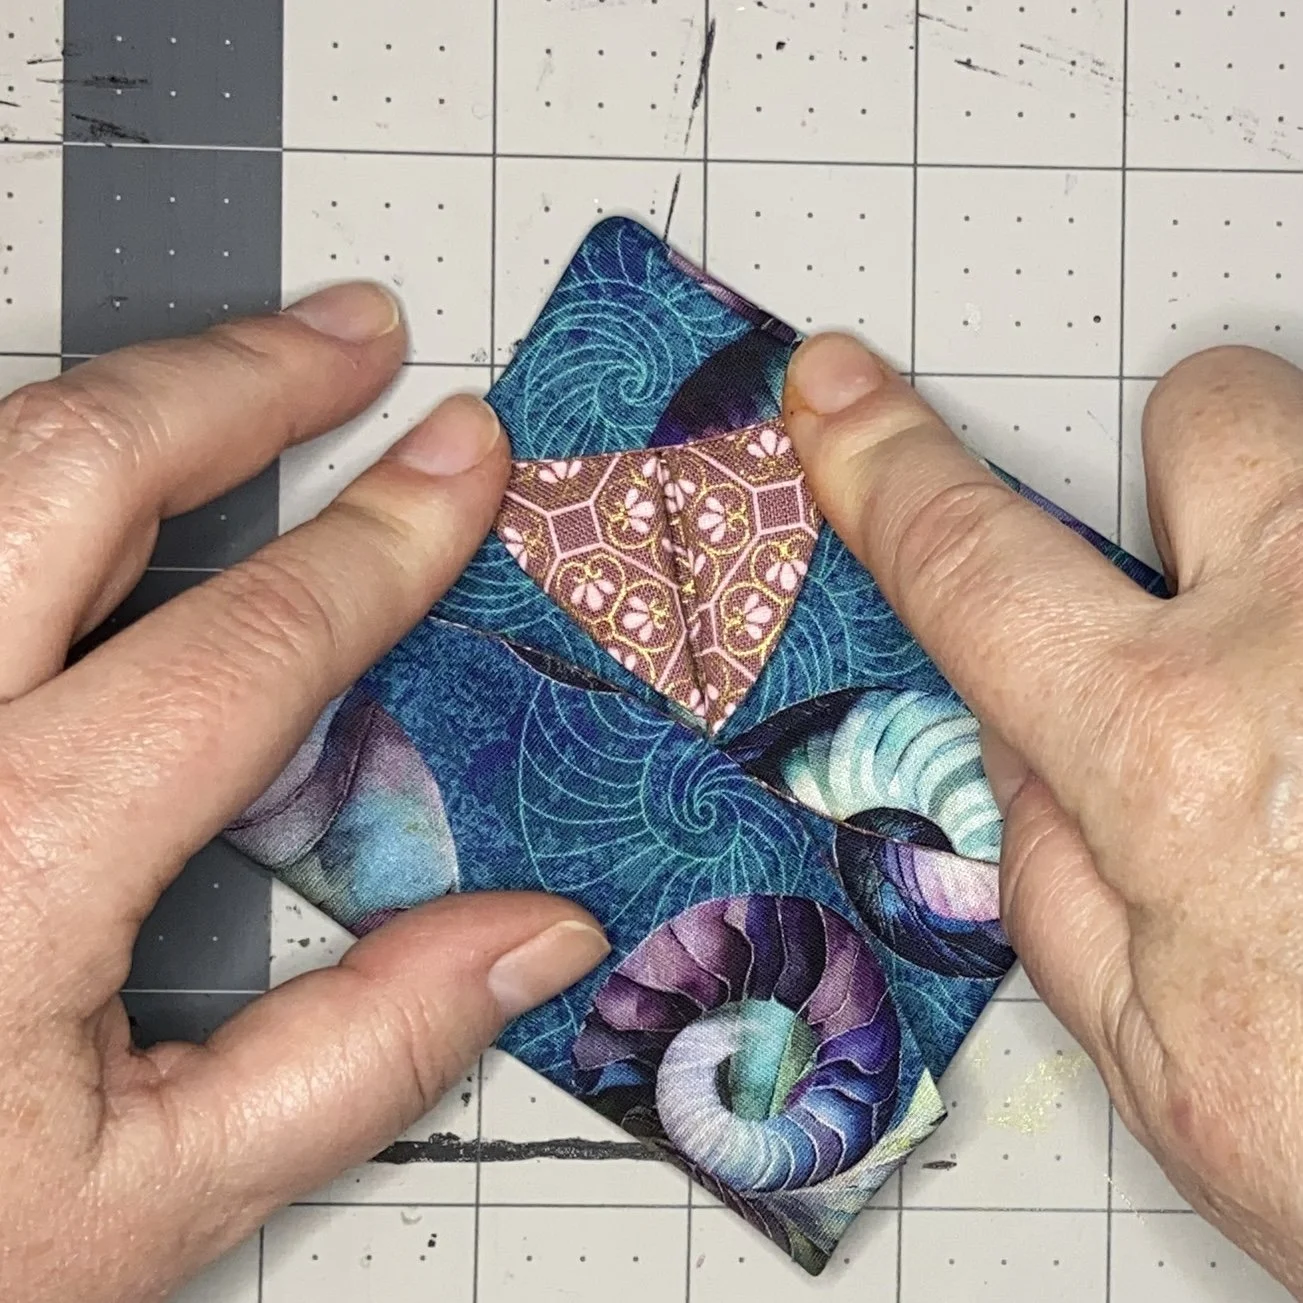
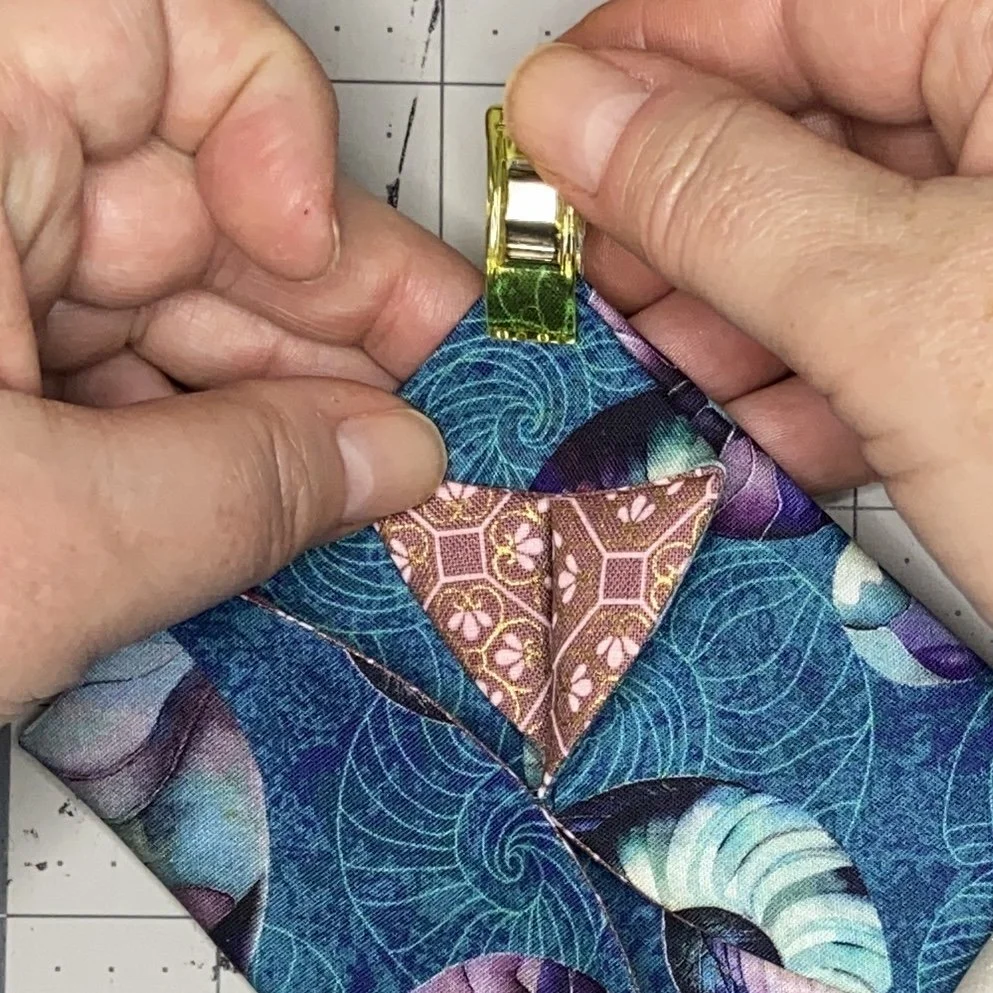
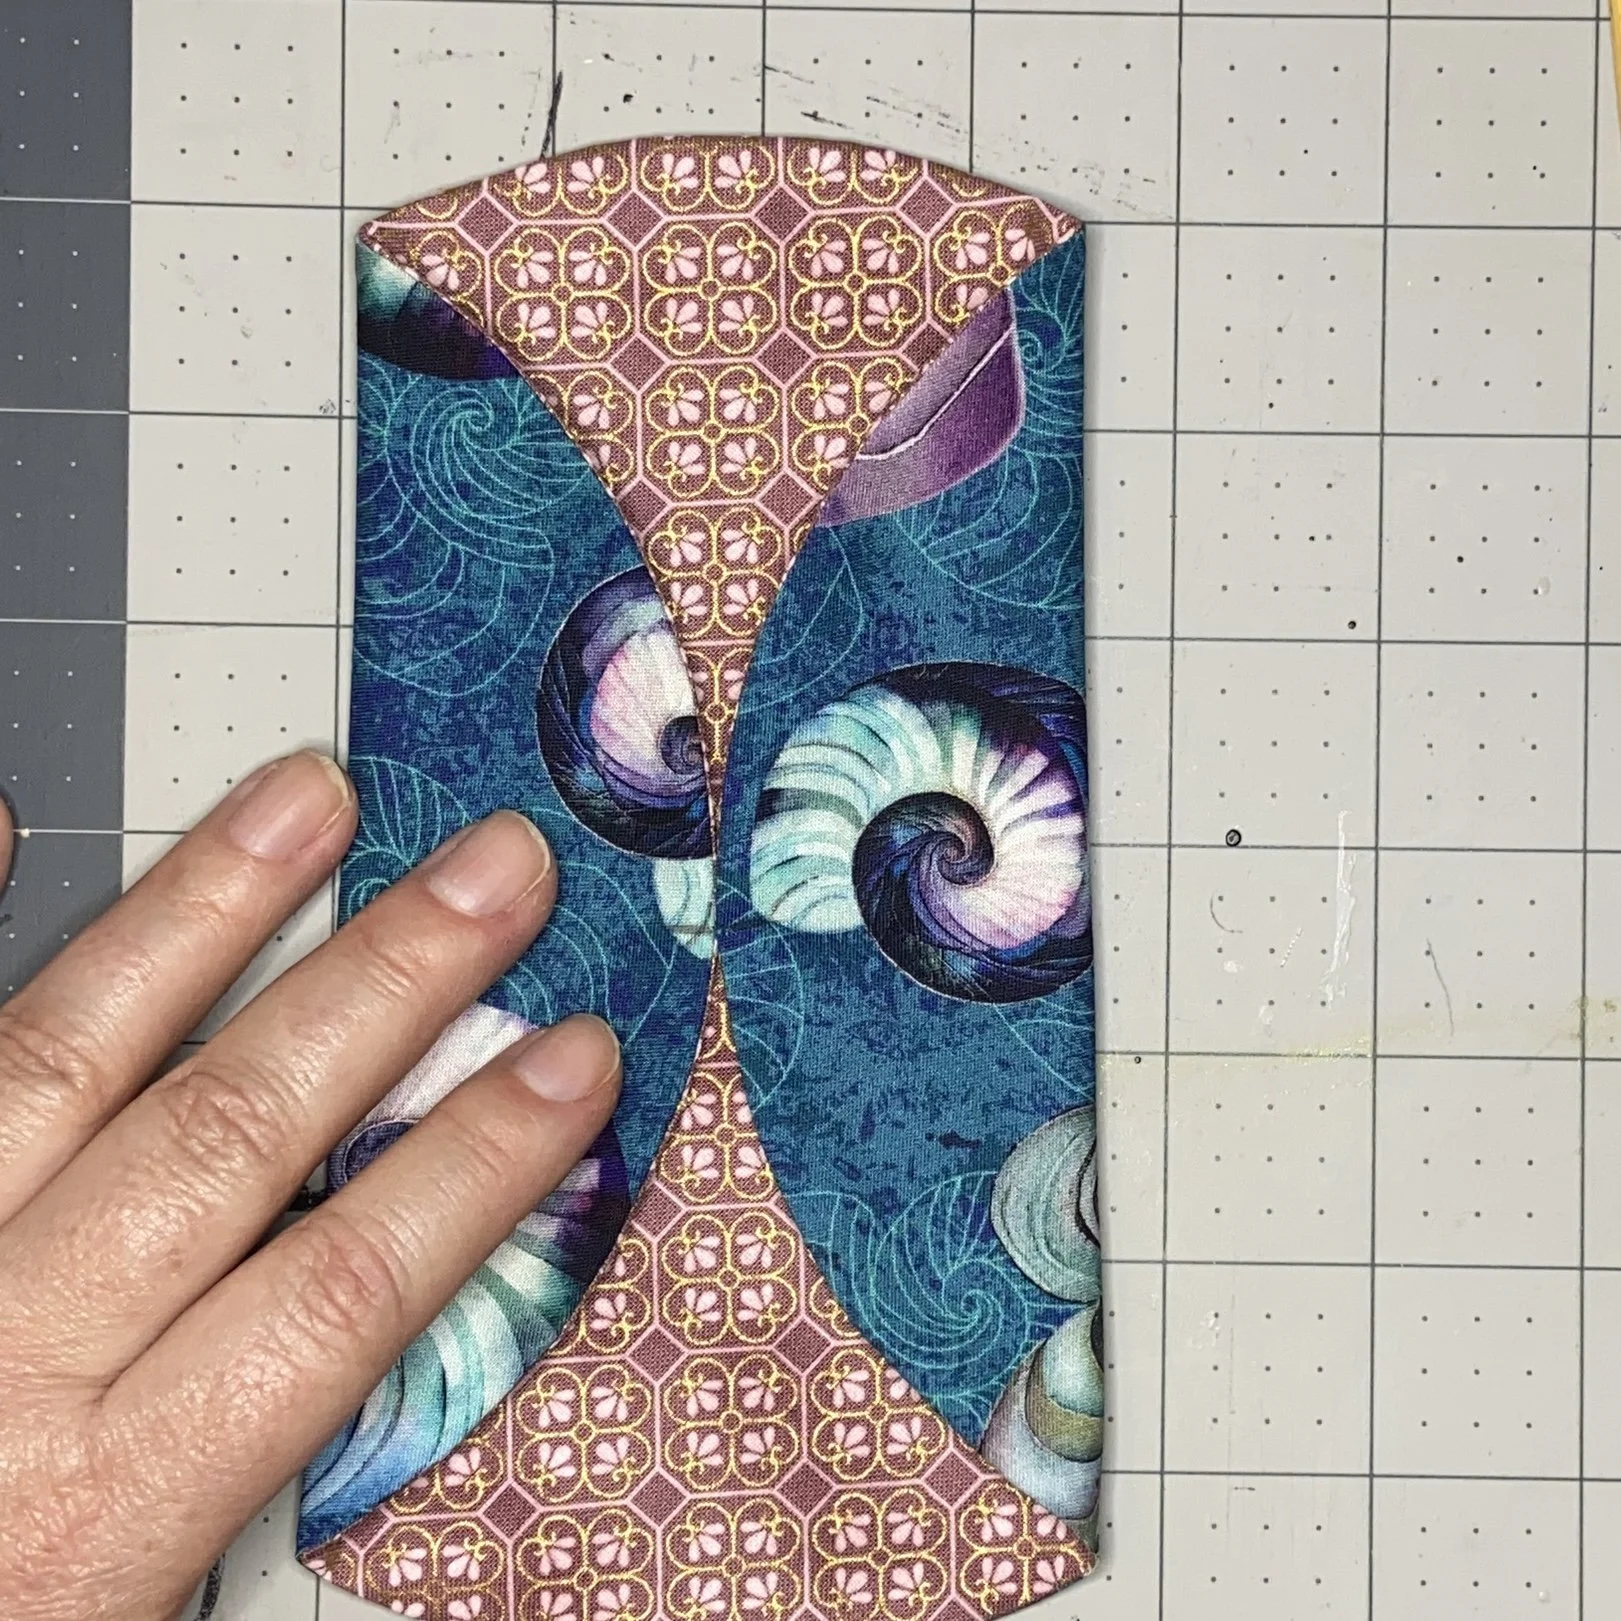
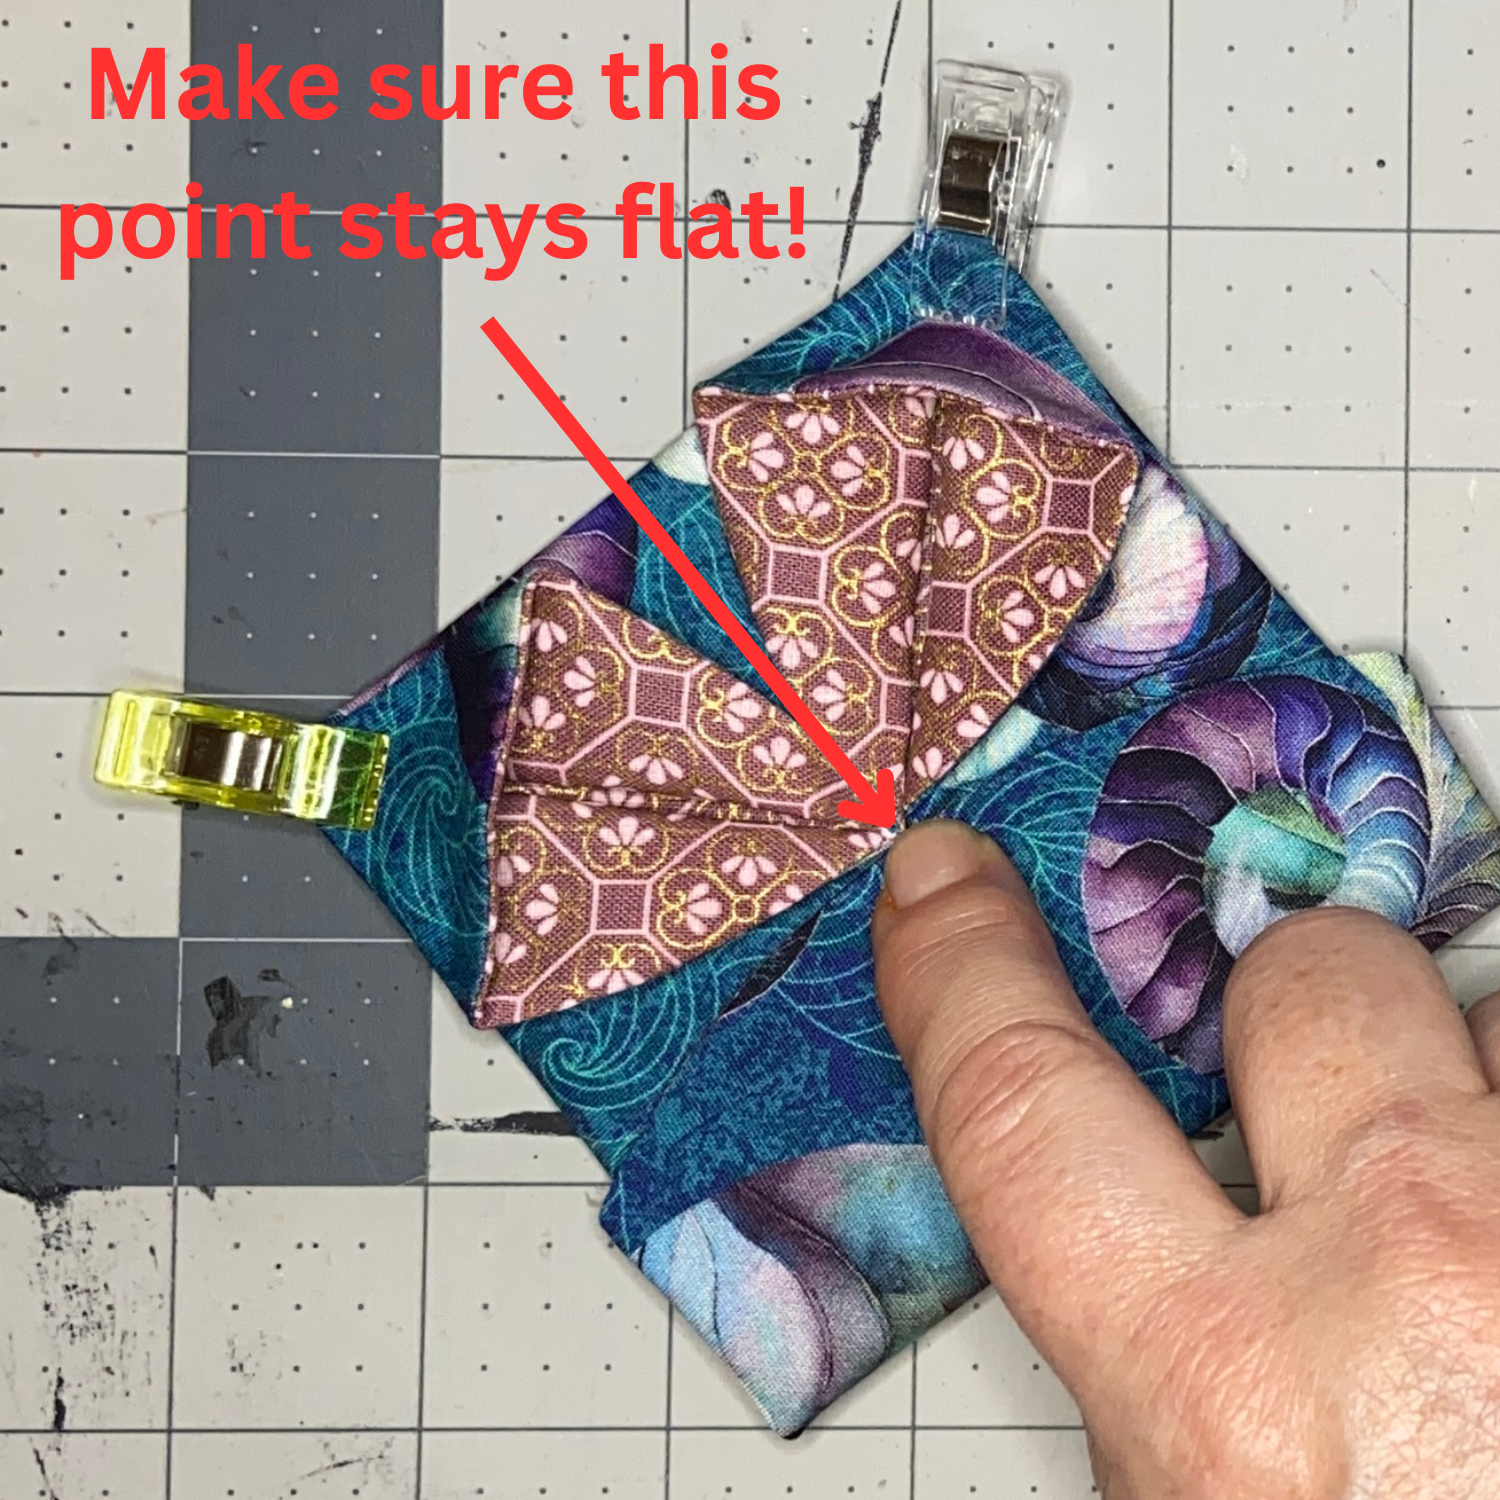
I did this with all four corners. It took a little fiddling and I didn’t manage to get all of them perfectly equal, which wasn’t the end of the world. But an important point: make sure that you’re not pulling out so much fabric that the center, where you stitched those edges together earlier, is lifted up or it will stay that way. Which would be bad. If it’s bulging upward, just adjust the angles and sizes of your various flaps and it will all come right. Once I had it the way I wanted it (more or less), I pressed everything into place and was able to remove the clips.
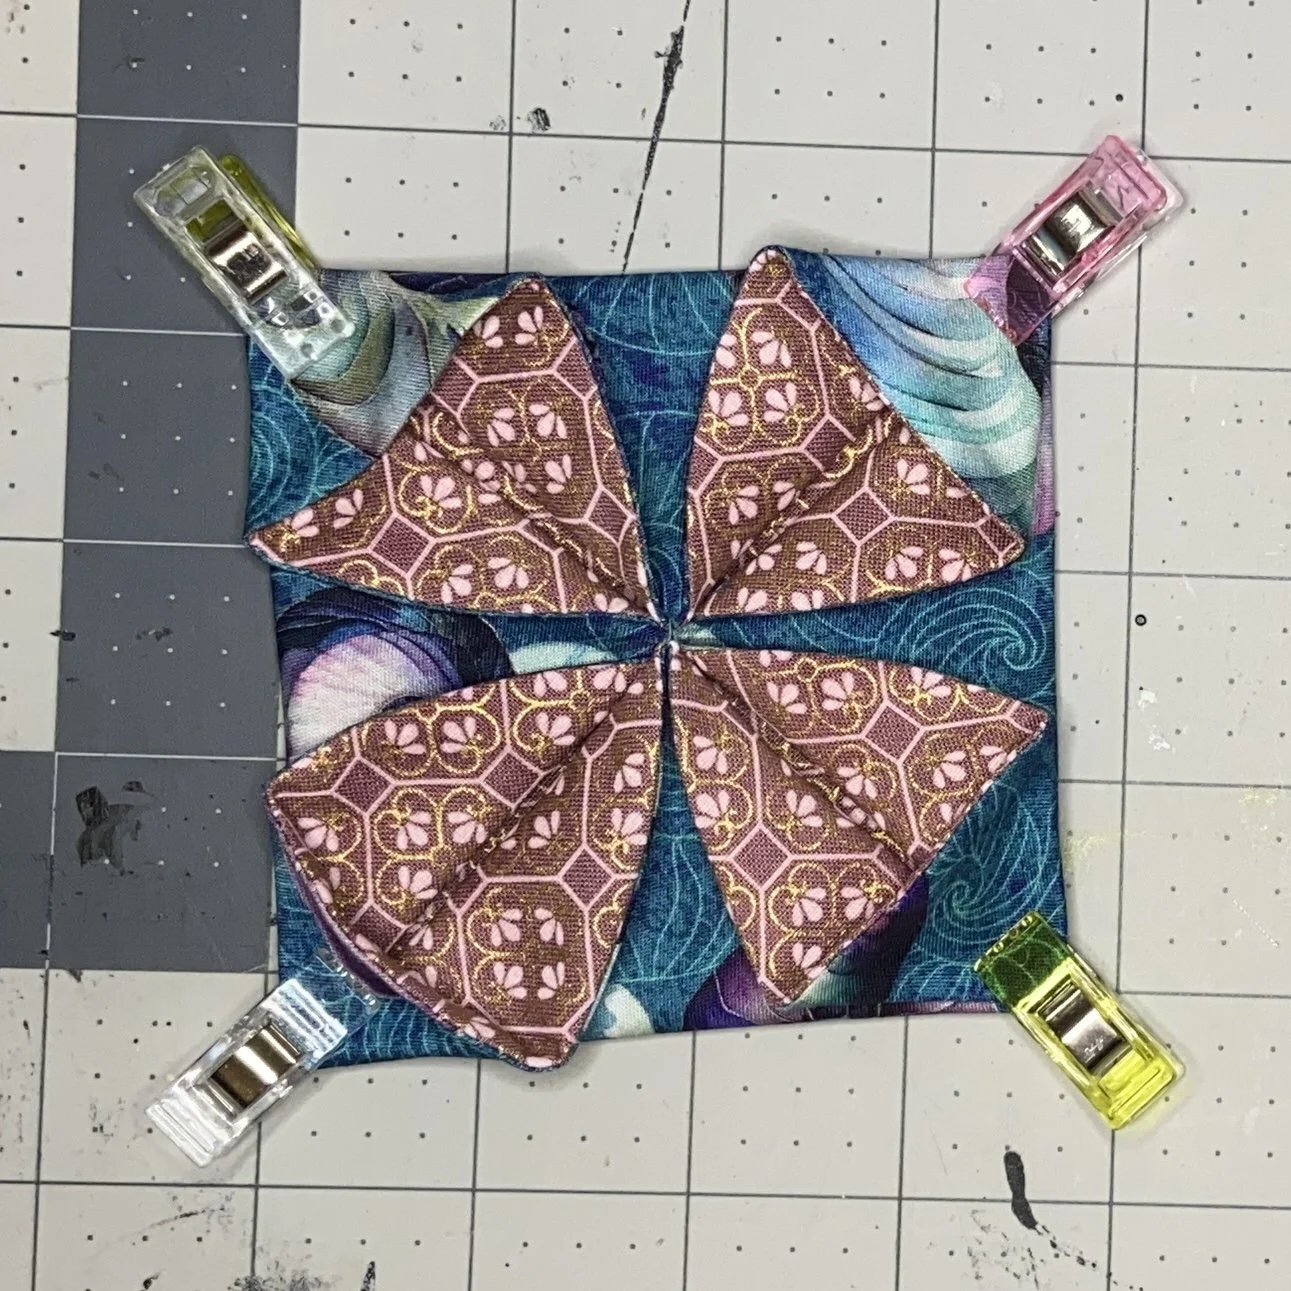
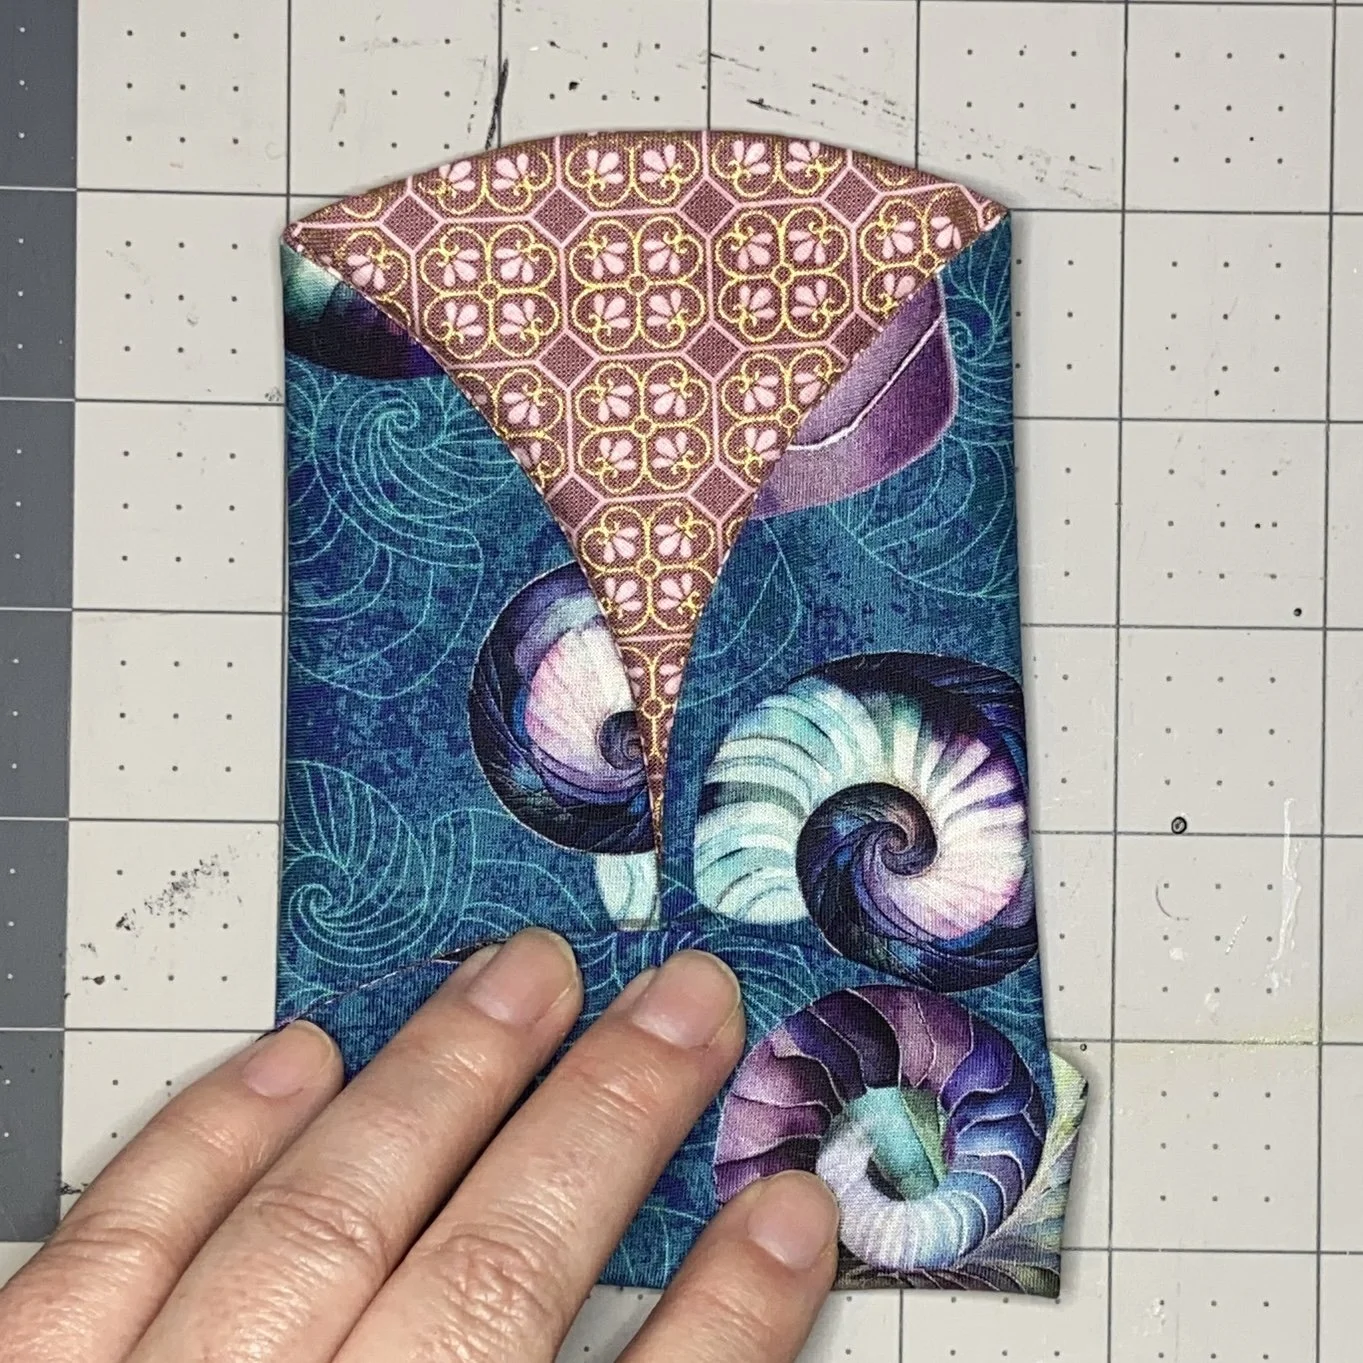
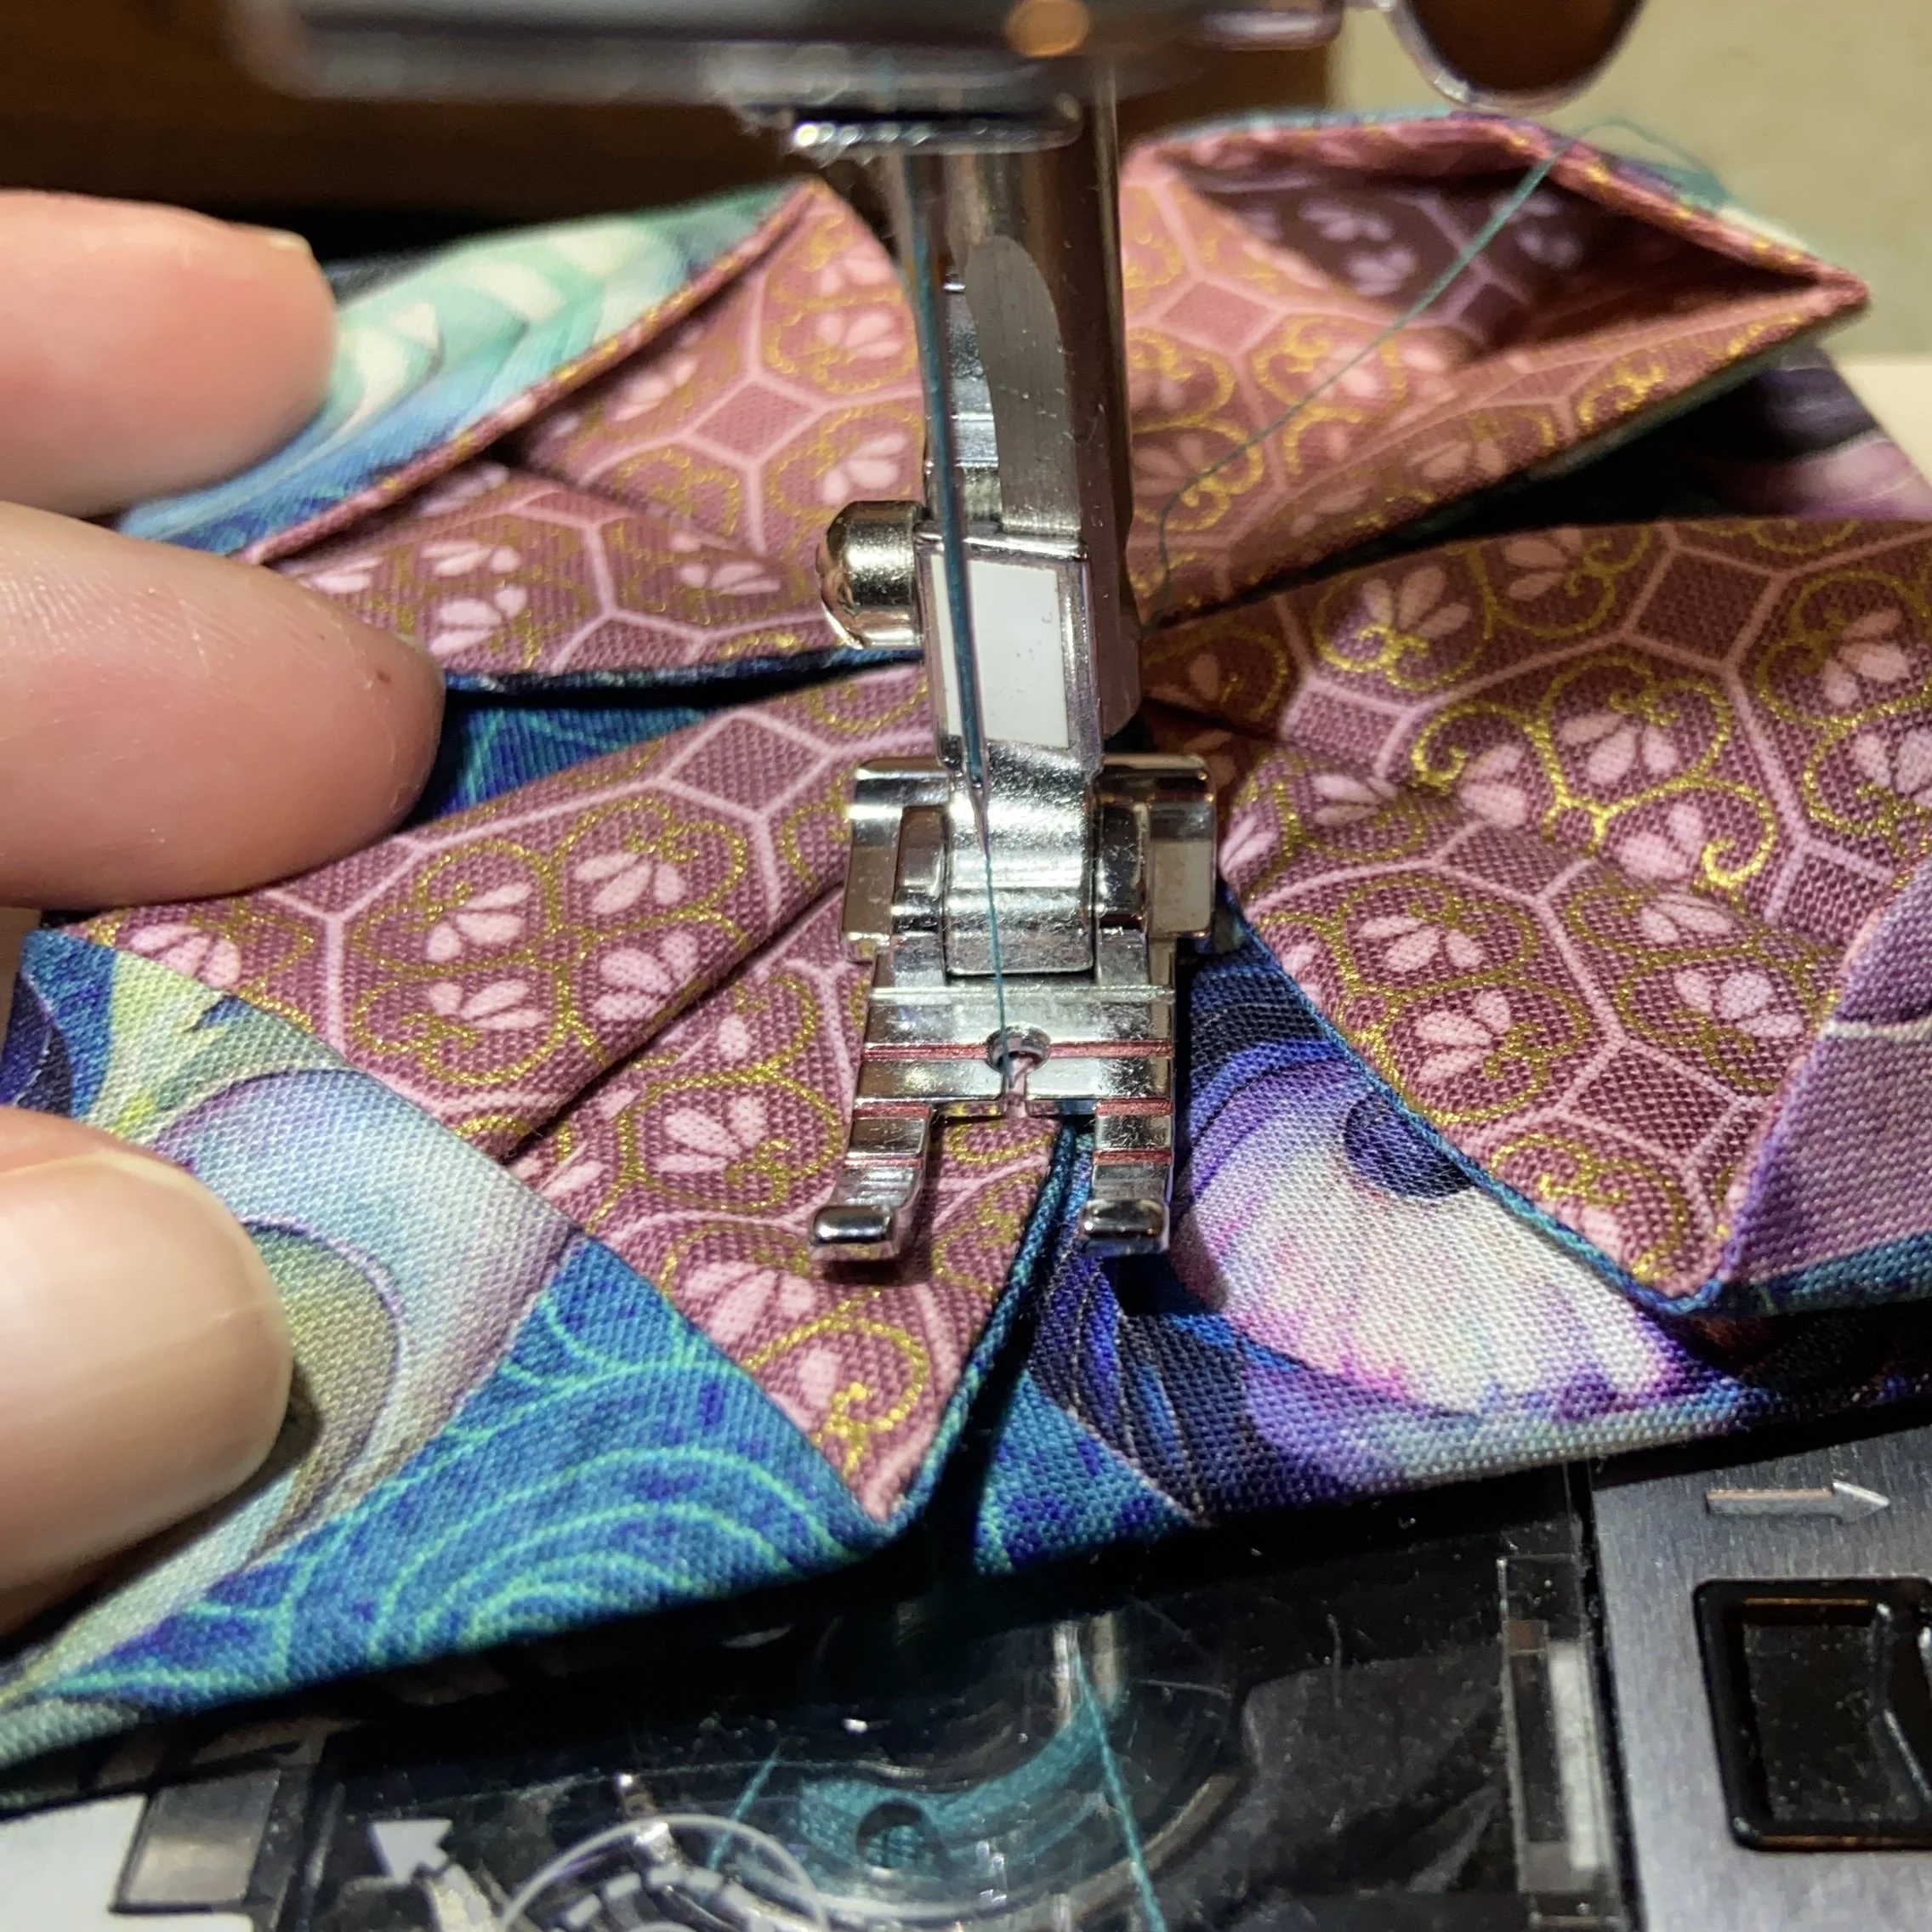
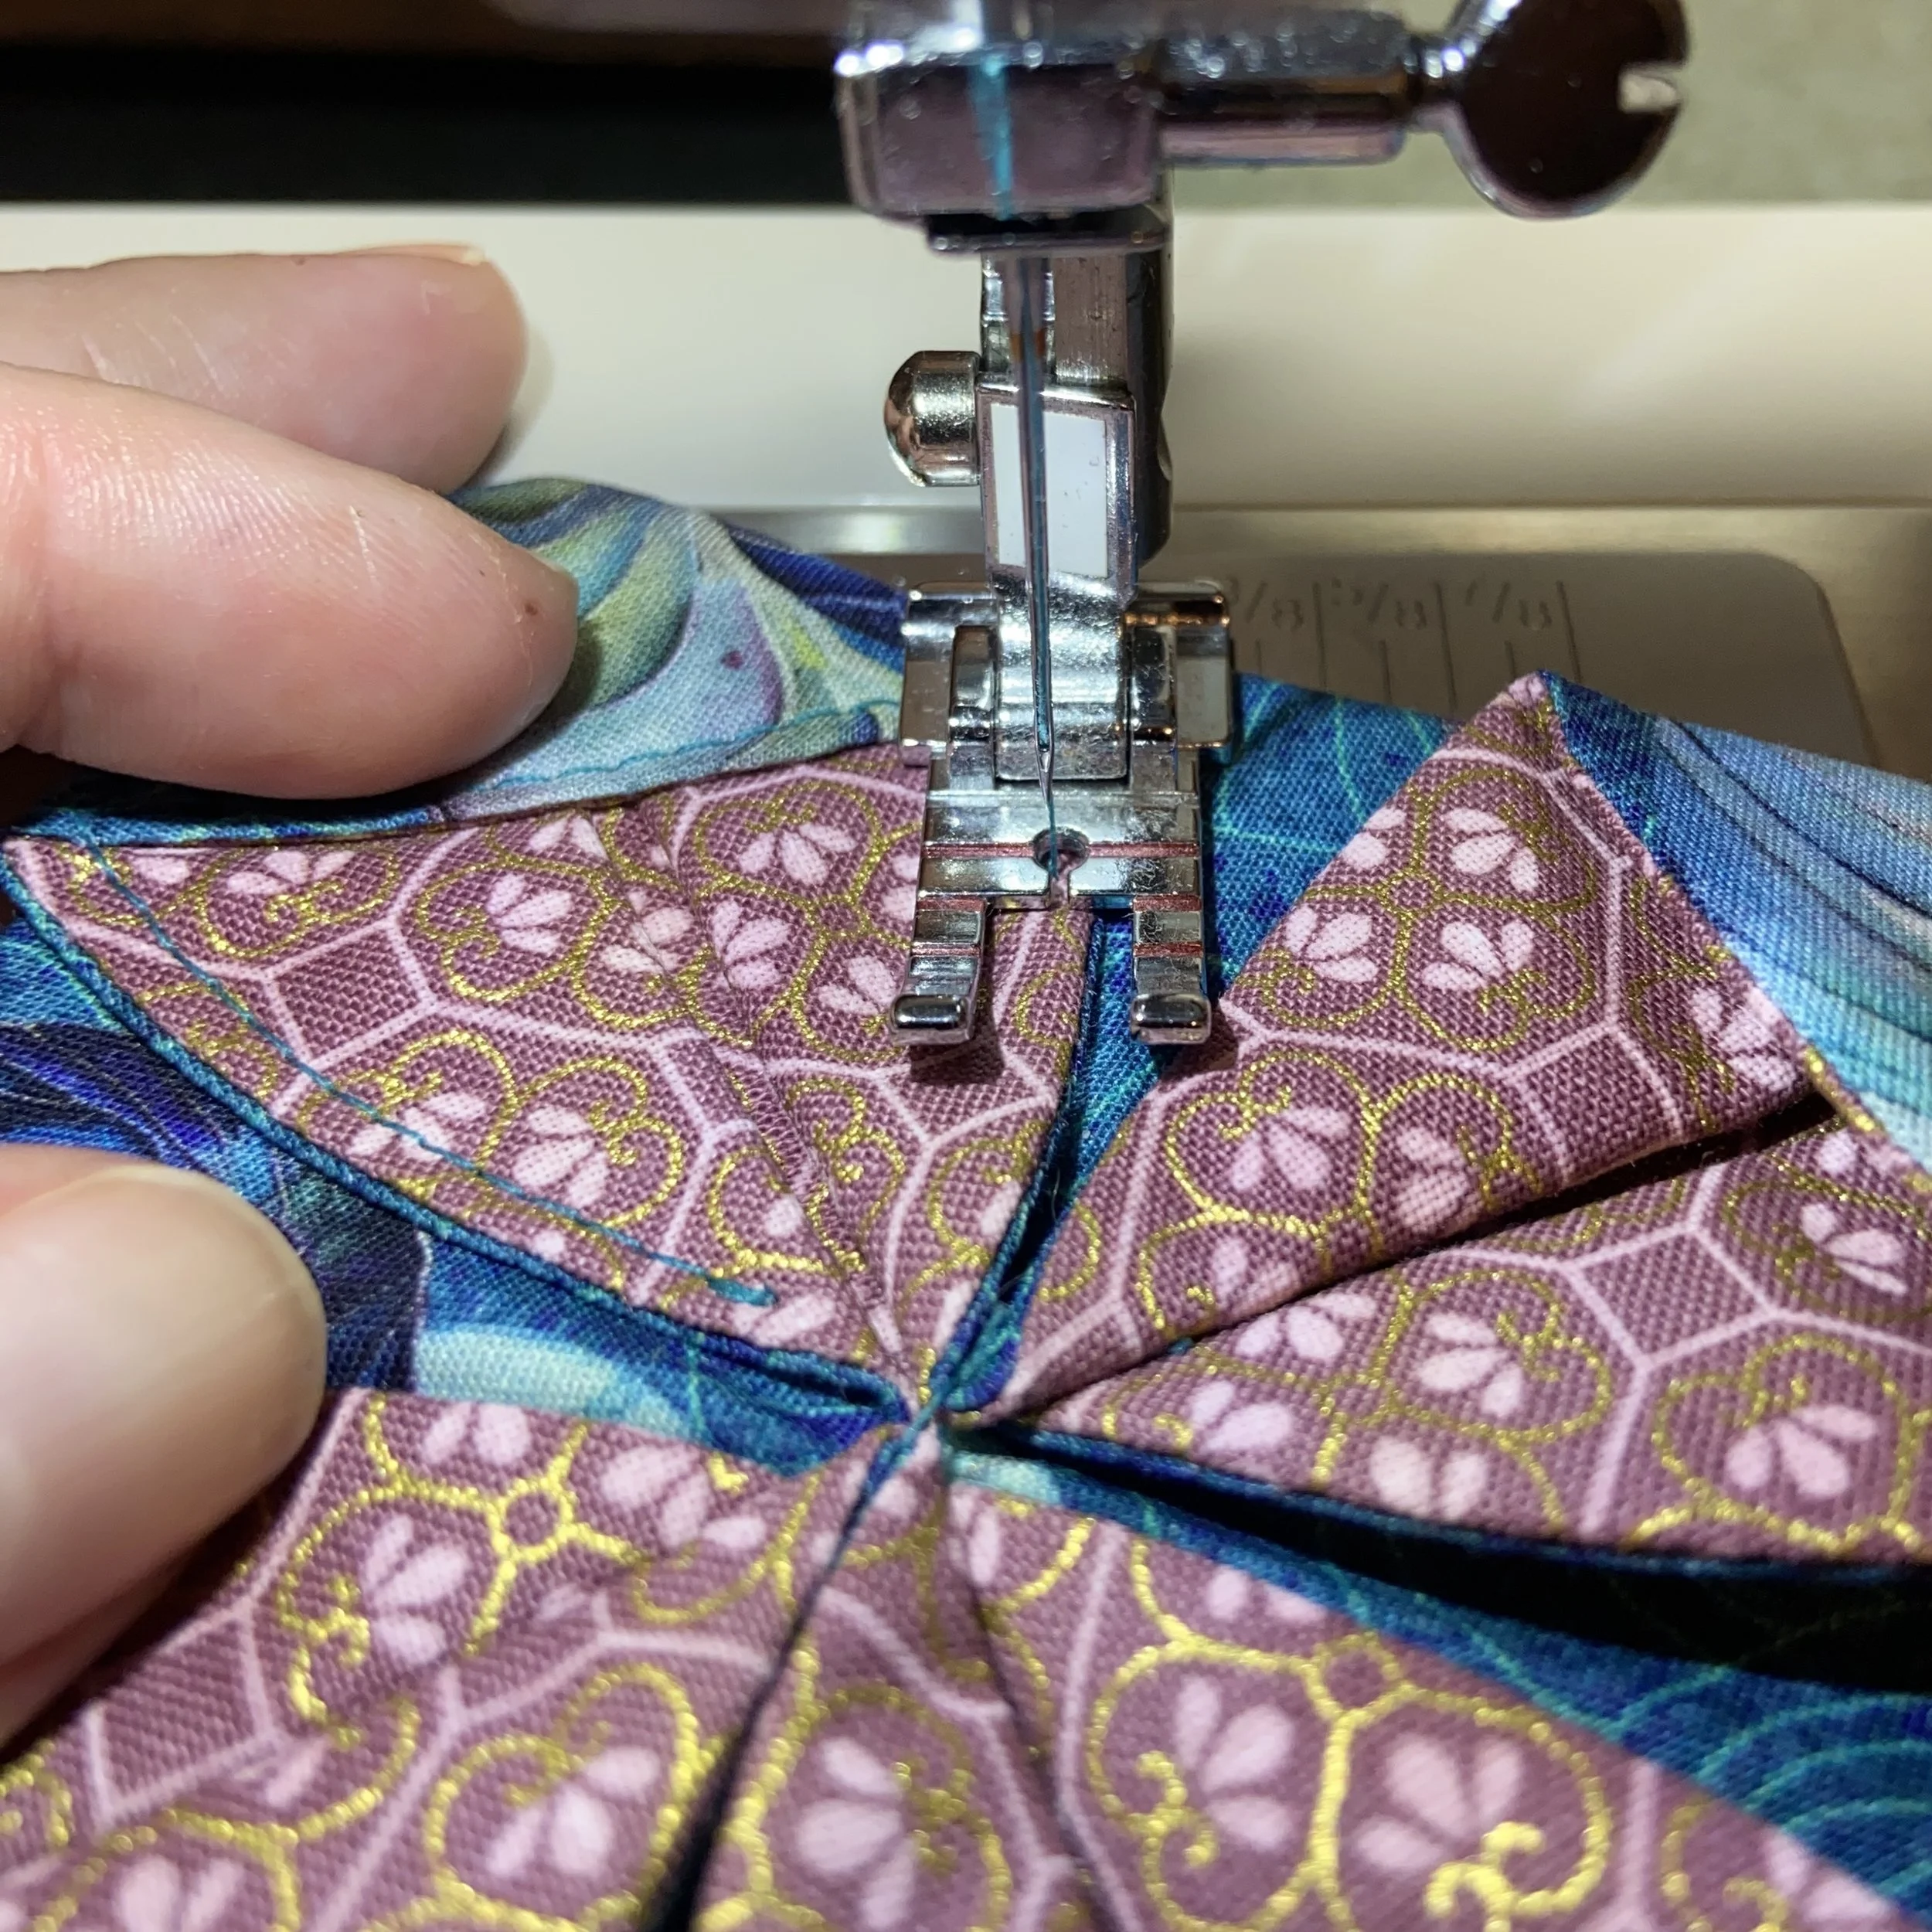
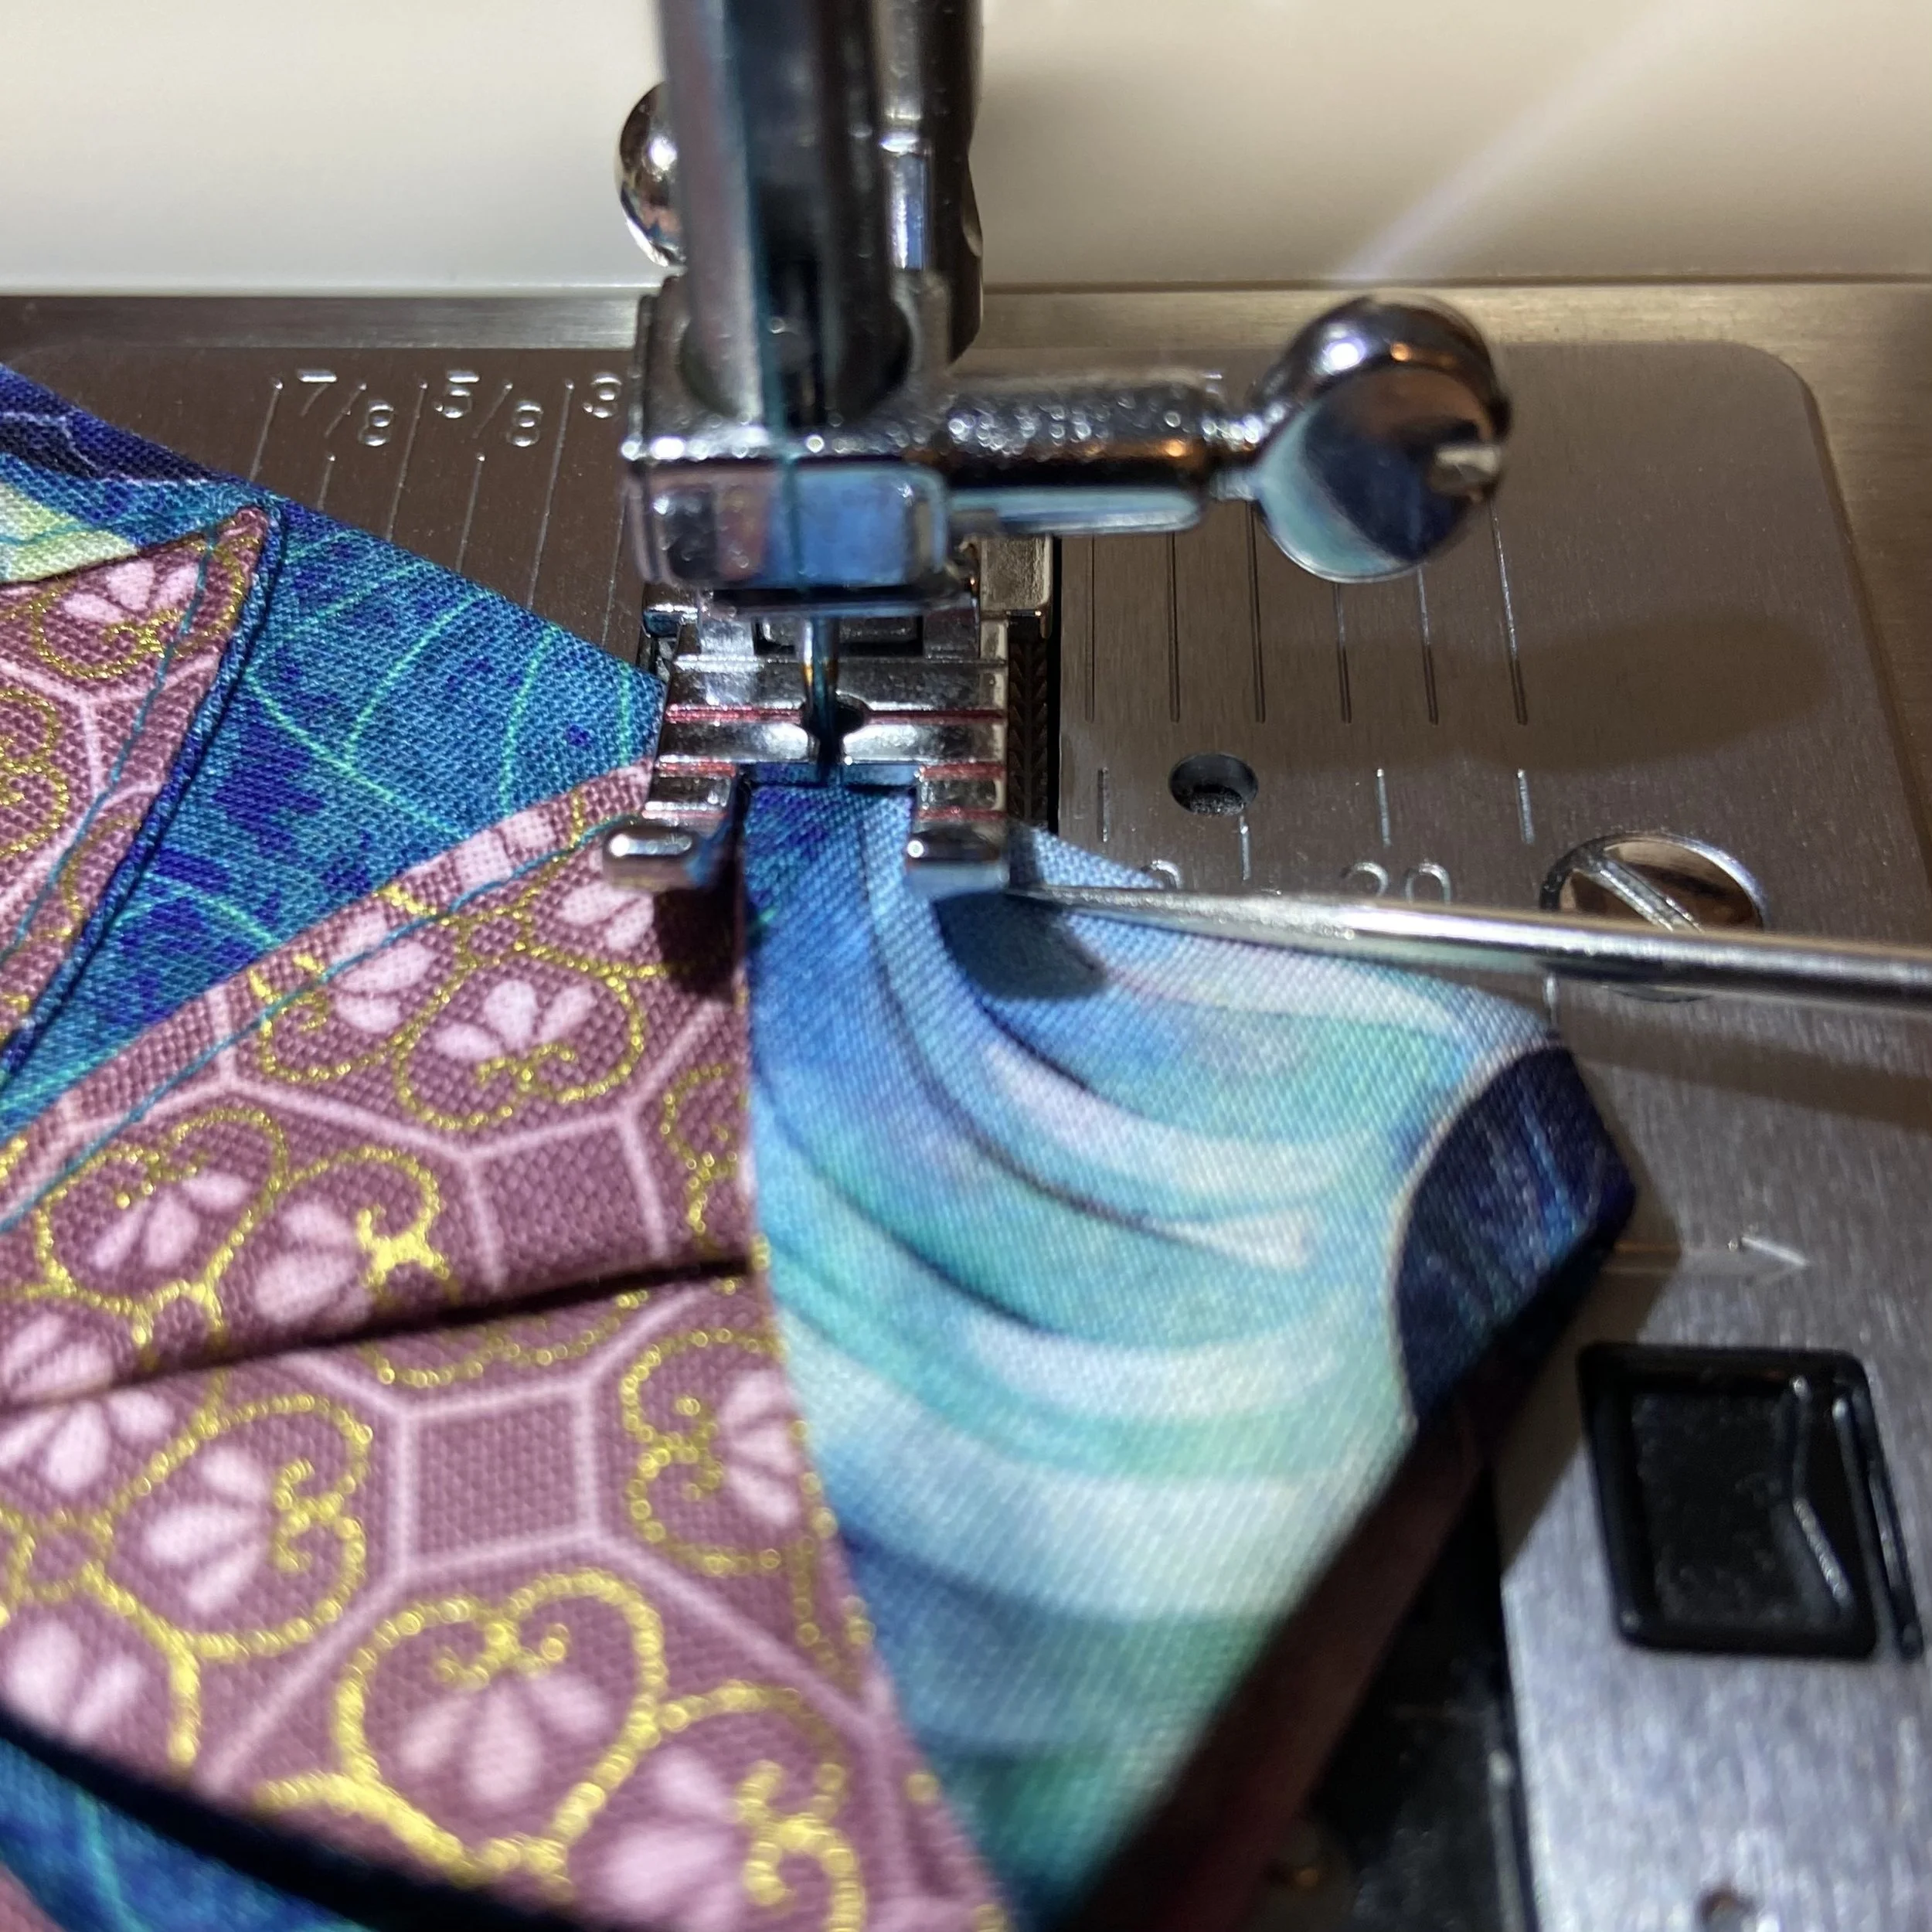
Next, I started in the center and carefully sewed up one leg of the contrast fabric, across the curve of the main fabric, and down the other leg of the contrast fabric. When I got back to the center, I had to take a couple stitches to position myself to start on the next leg, up, across, and down. I did this for all four corners. Since I was right on the edge of the piece multiple times, I needed to use my little sewing awl to keep the fabric from bunching up as I started a new seam.
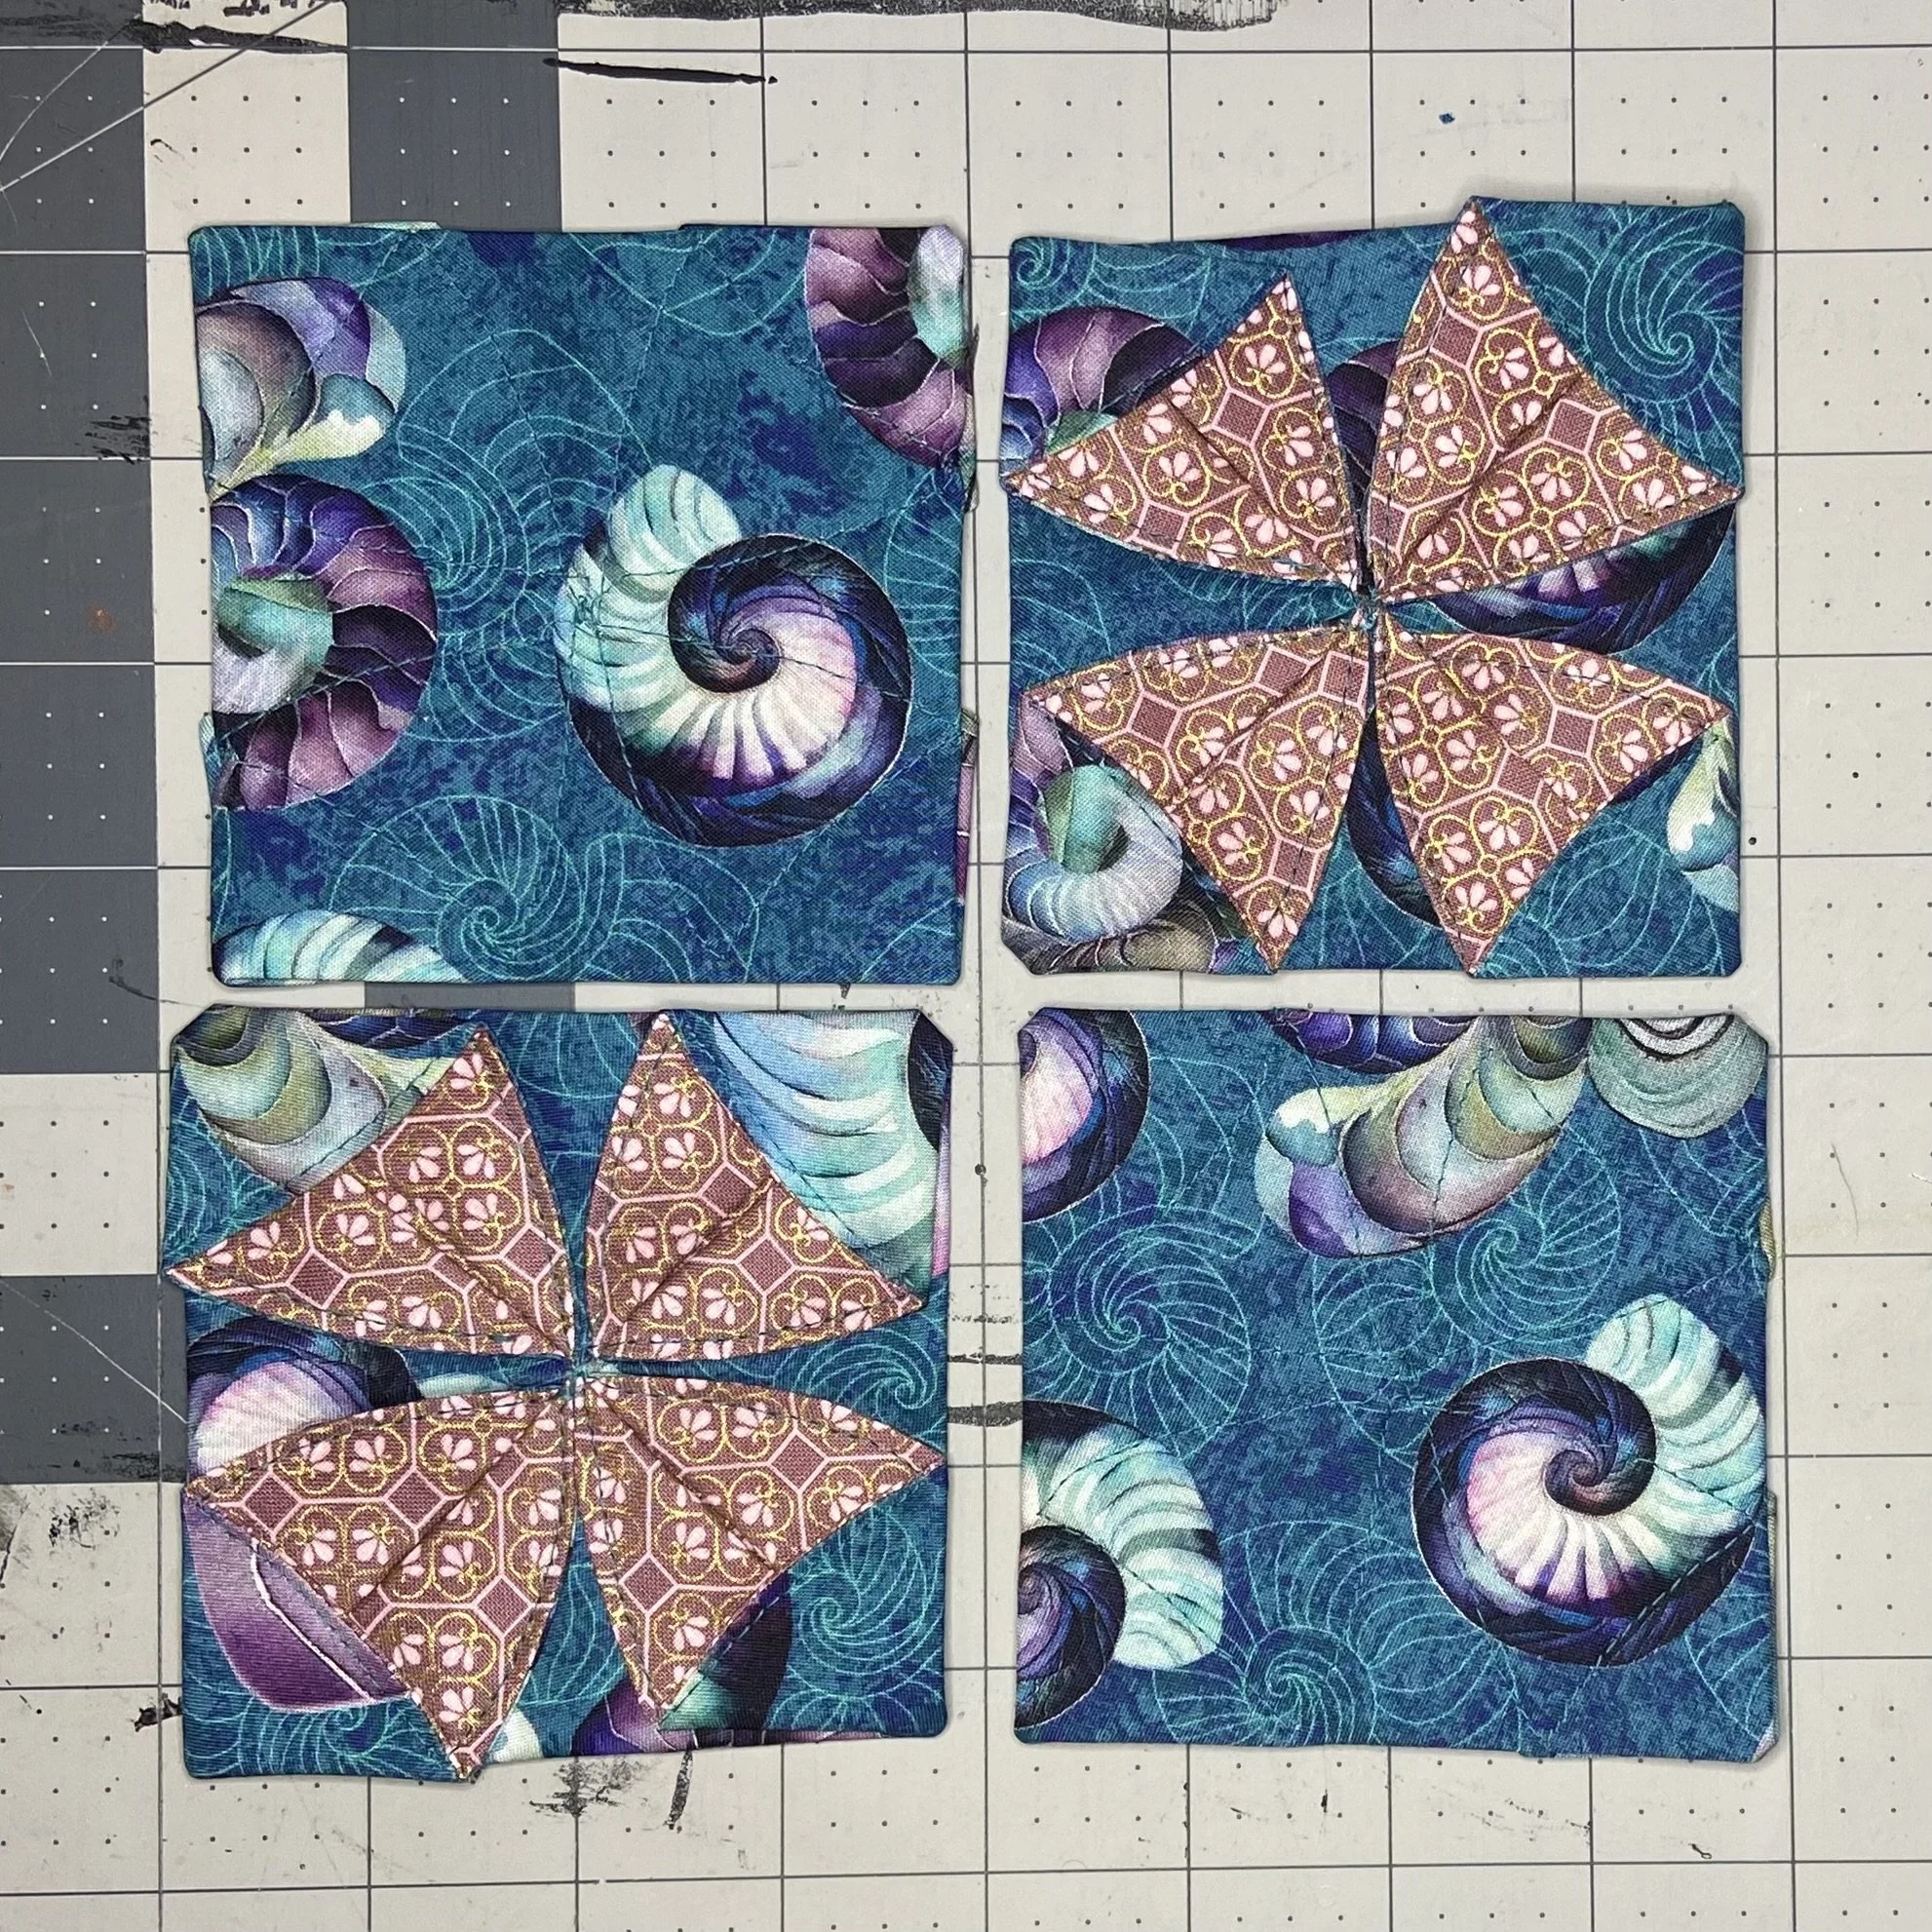
And done! Four cute little coasters that would make a perfect quick-and-easy gift for any occasion. Say, for example, Mother’s Day, which sneaks up on me every year. Yes, I know that these aren’t exactly identical…I’ve chosen to view that as a feature, rather than a flaw. “Yes, that’s how you can tell each one was made by hand, not by some soul-less machine.” I’ve got the explanation all worked out and ready, should anyone dare to criticize my darling coasters.