Adventures In Spring Nookery
As an Amazon associate, I may earn a small commission if you navigate to Amazon from my site and buy something. This will not result in an extra cost to you.
I’m in the process of moving house (as our English cousins like to put it) so I’m a little tardy in putting up the results of my second quarter book nook. But hey, it’s still spring, right? So this still counts as my spring book nook.
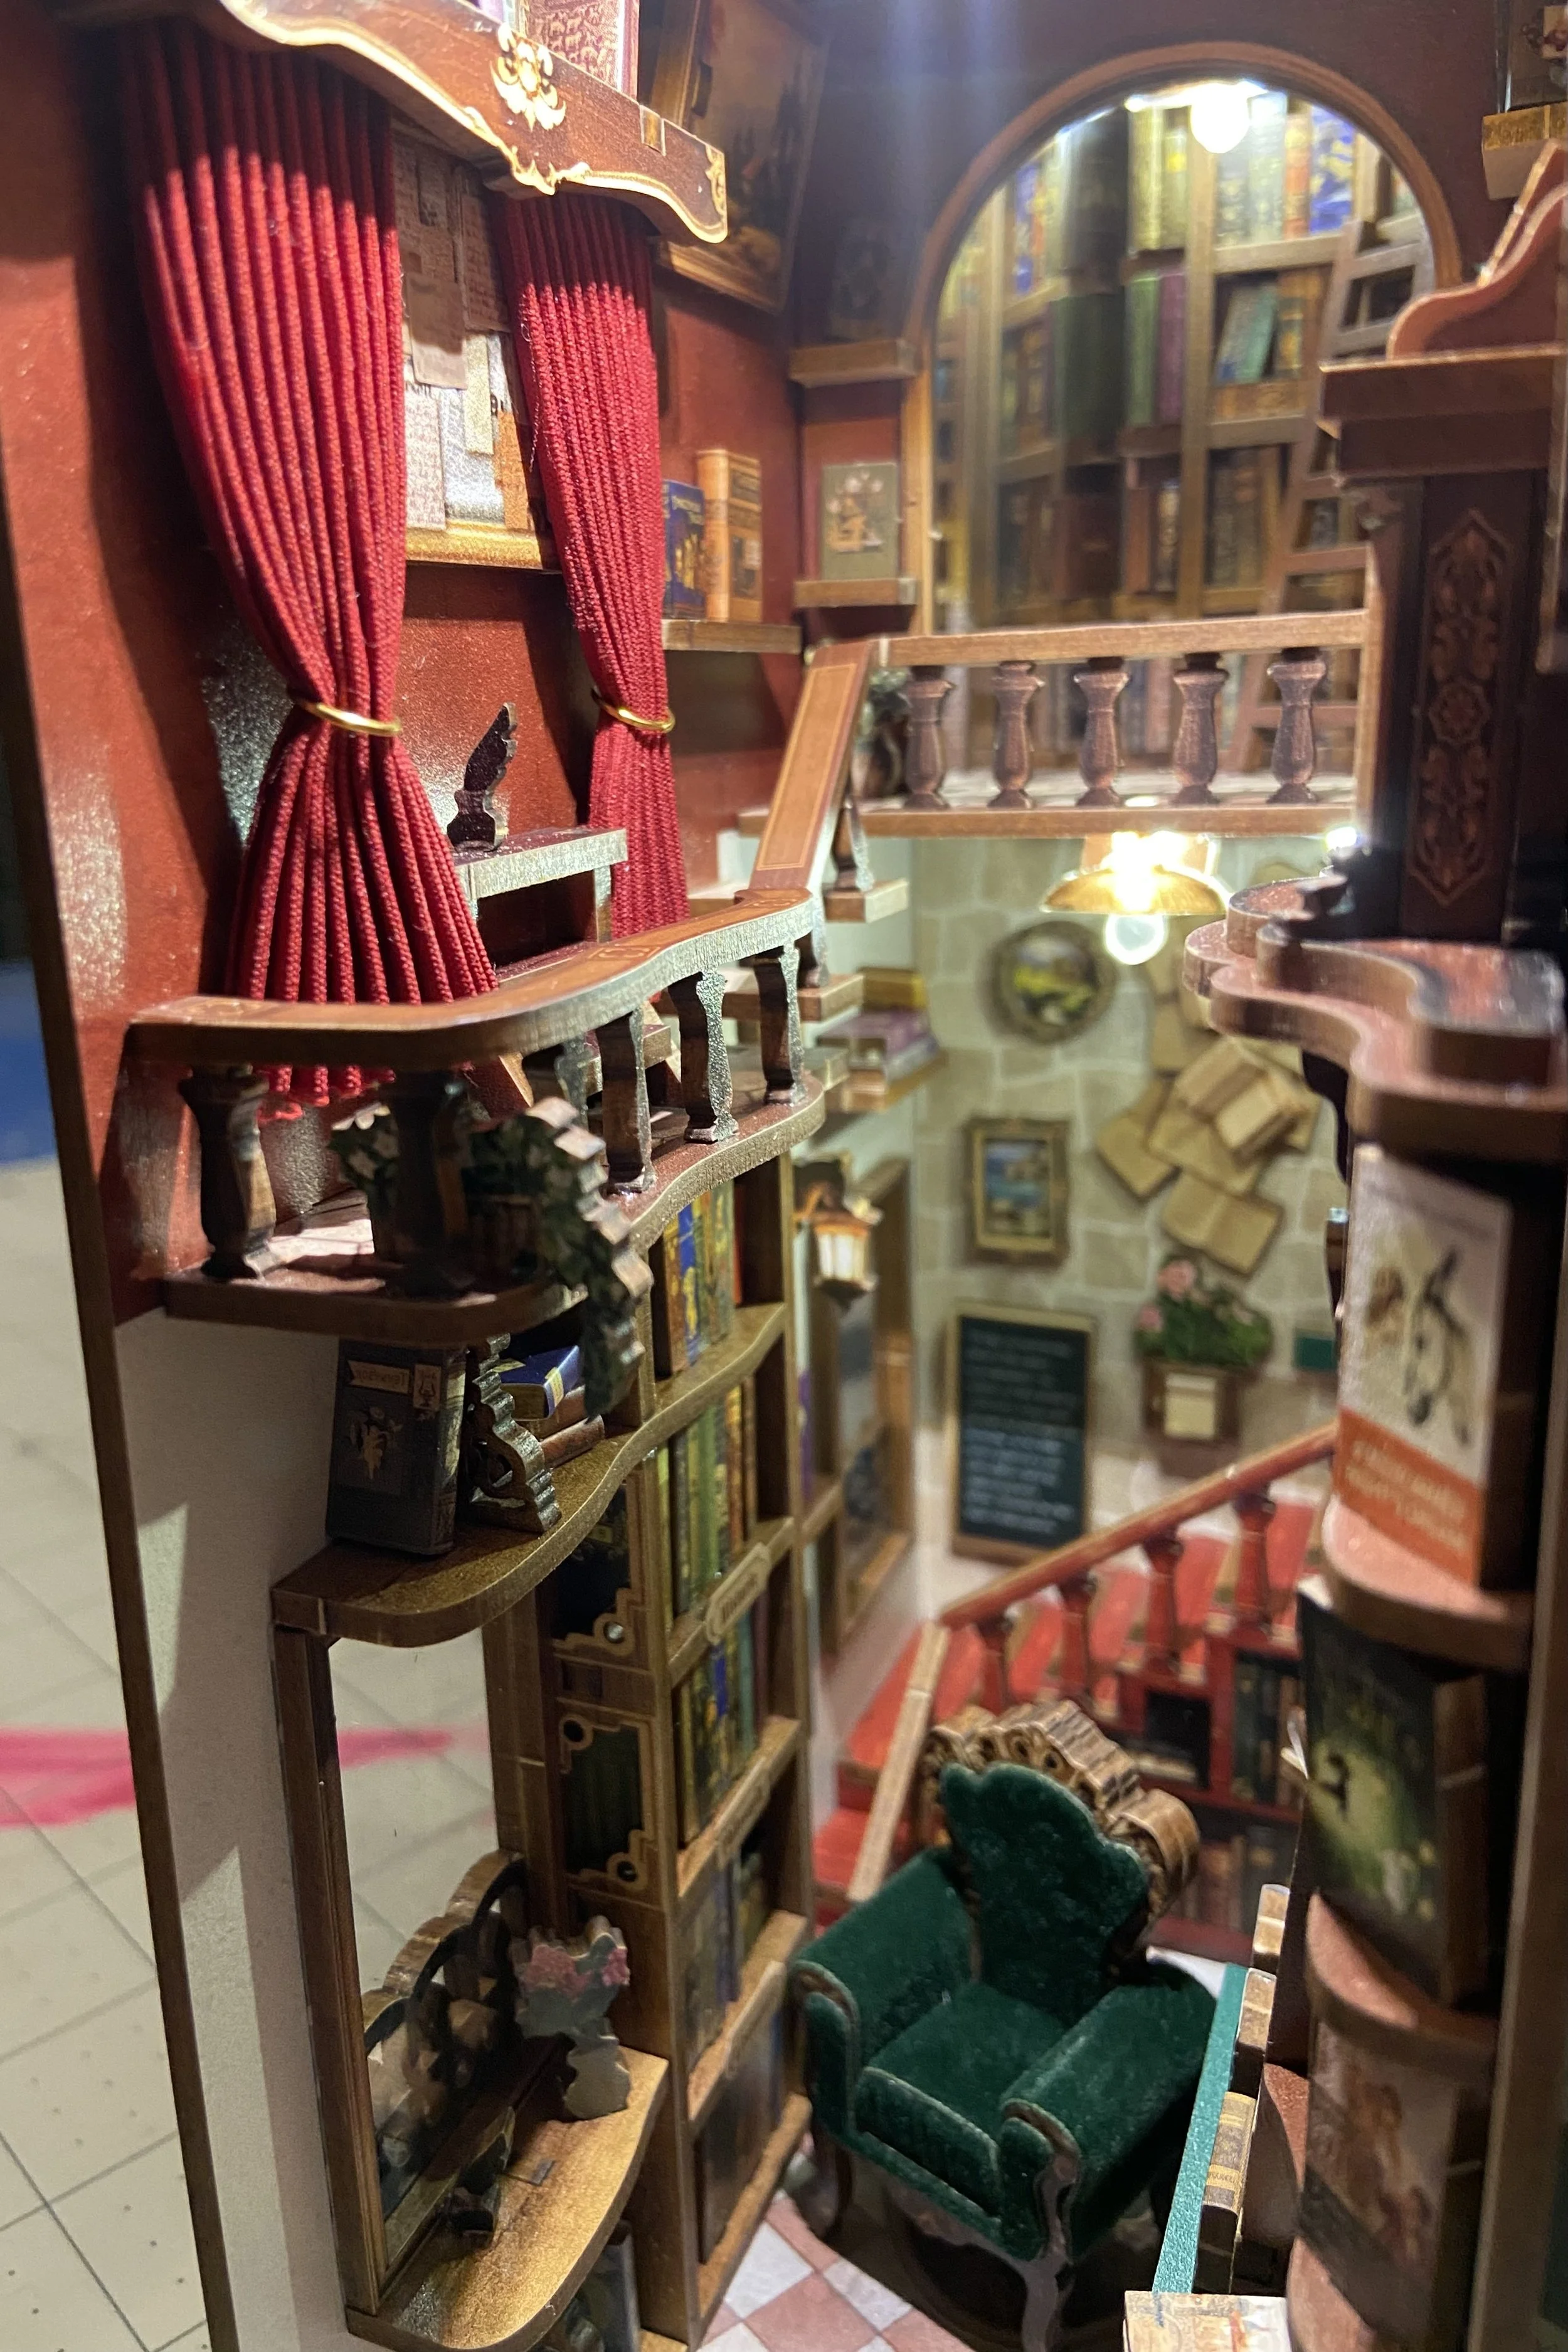
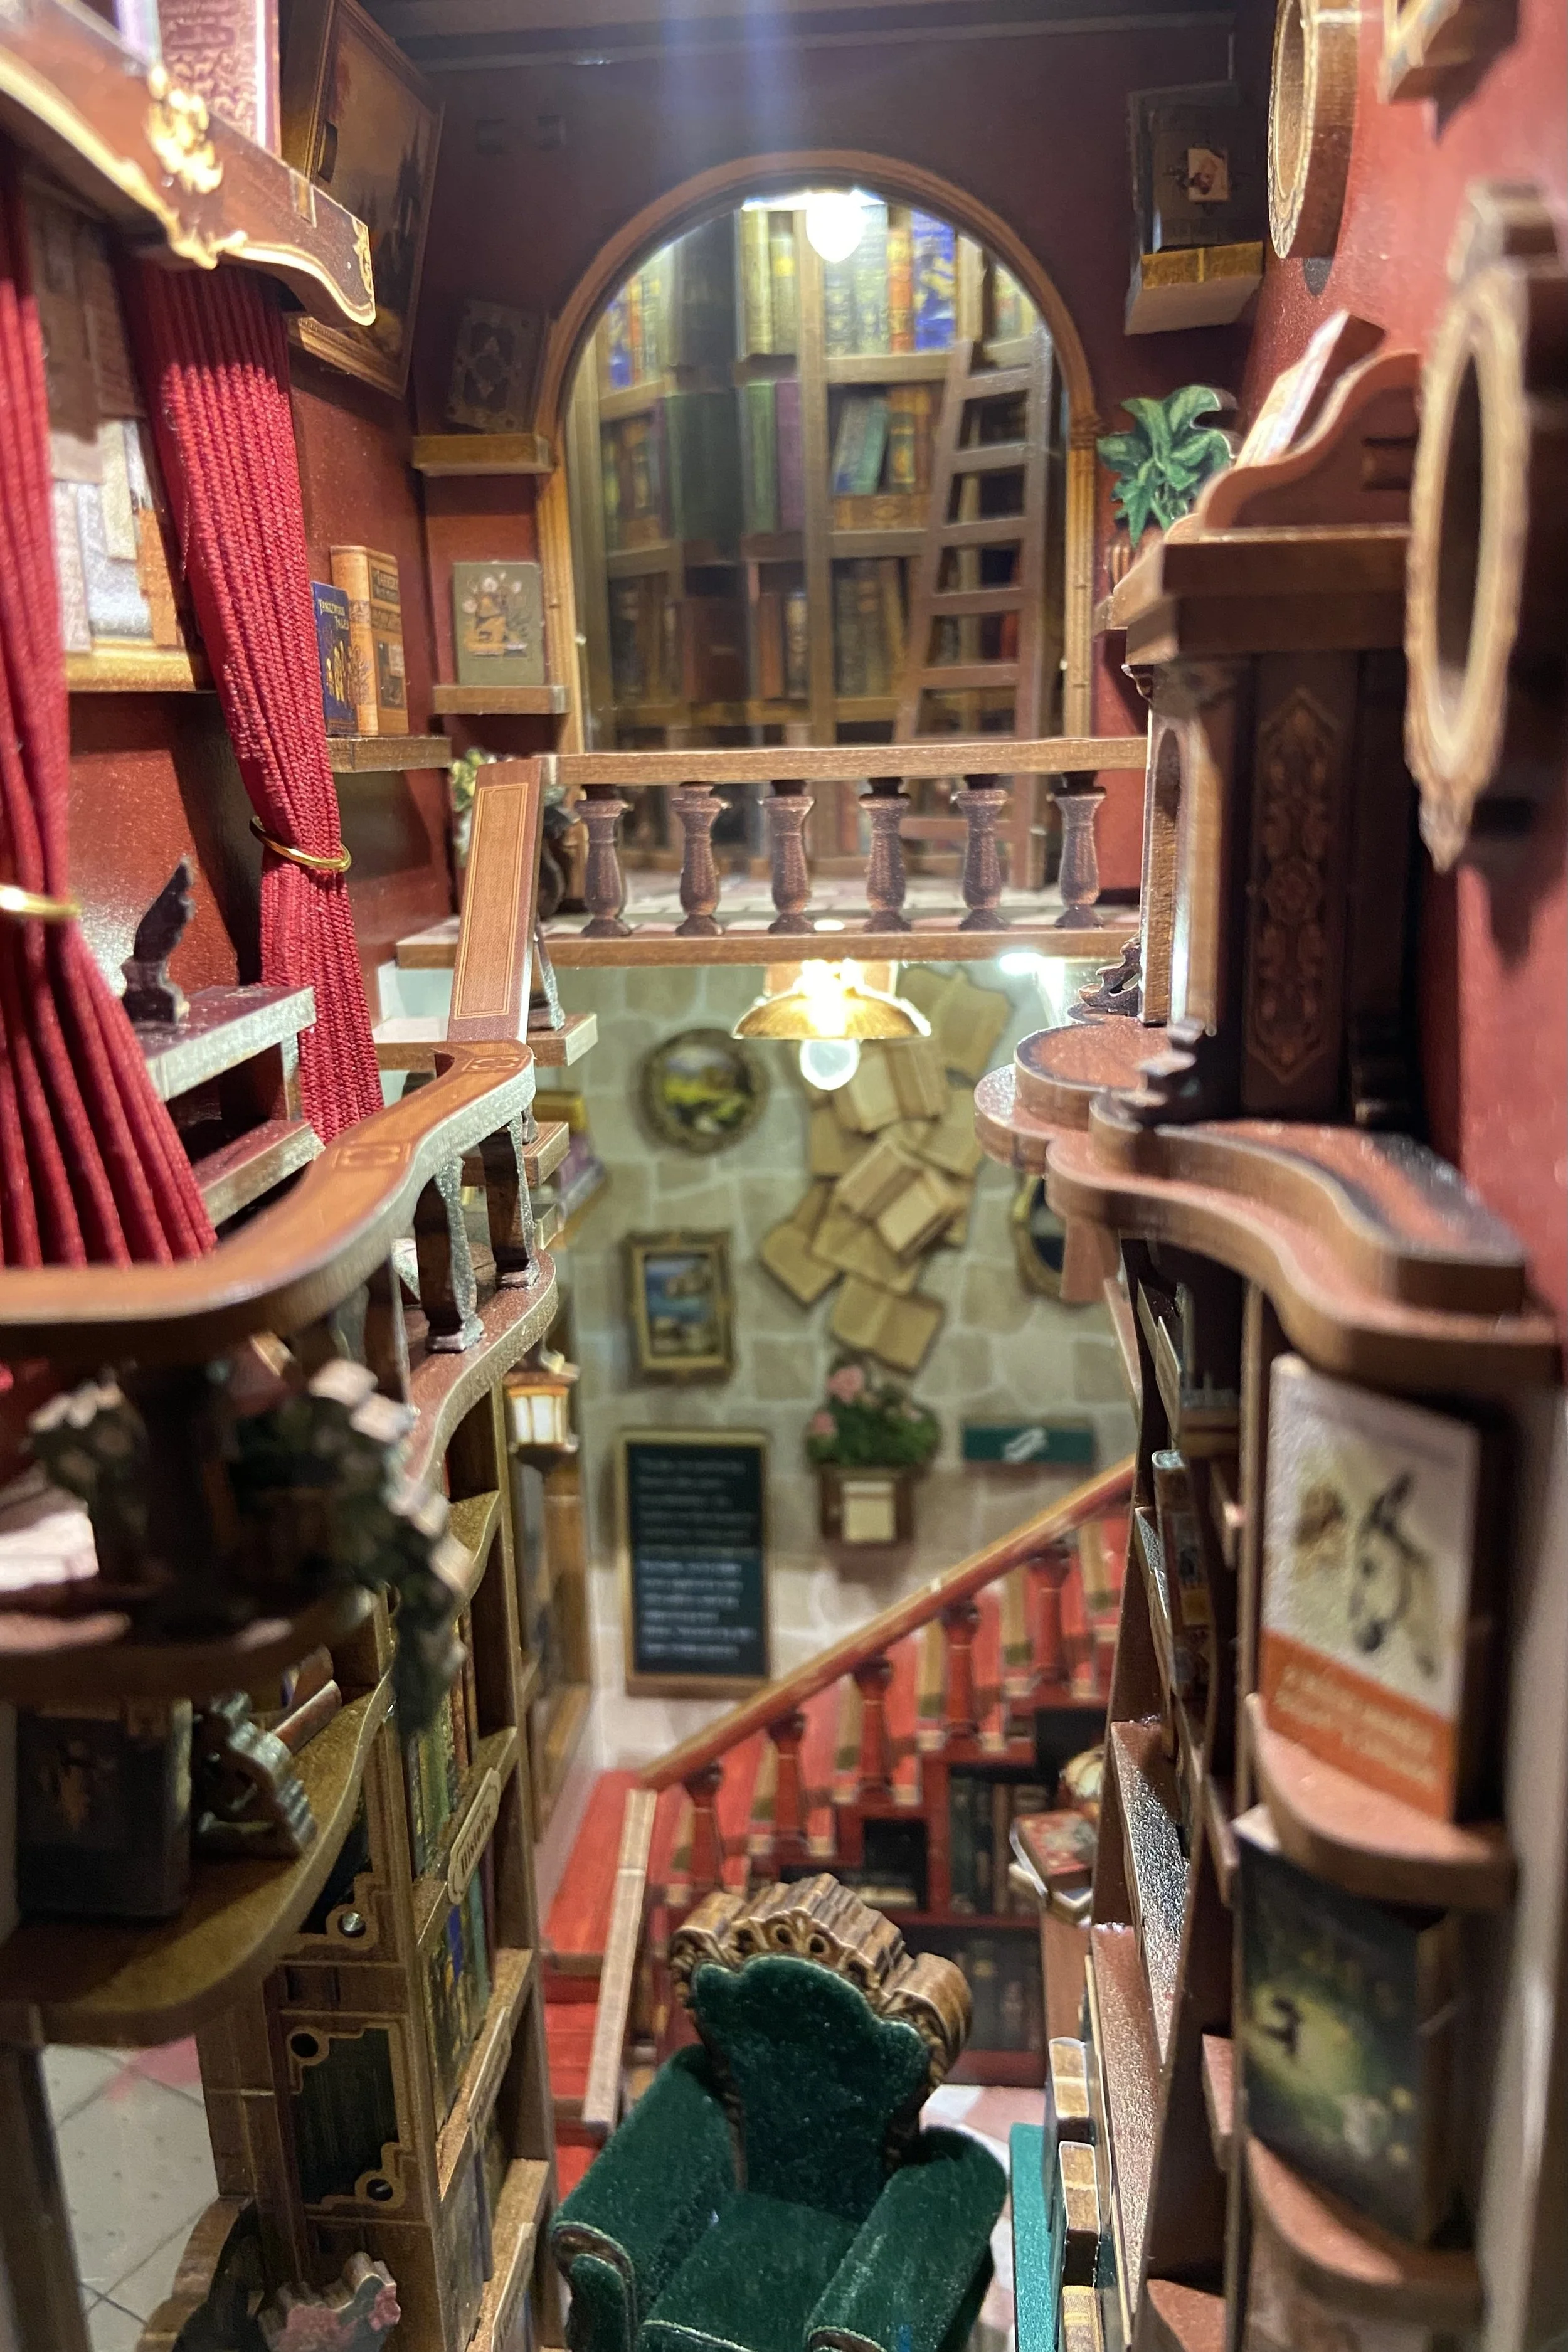
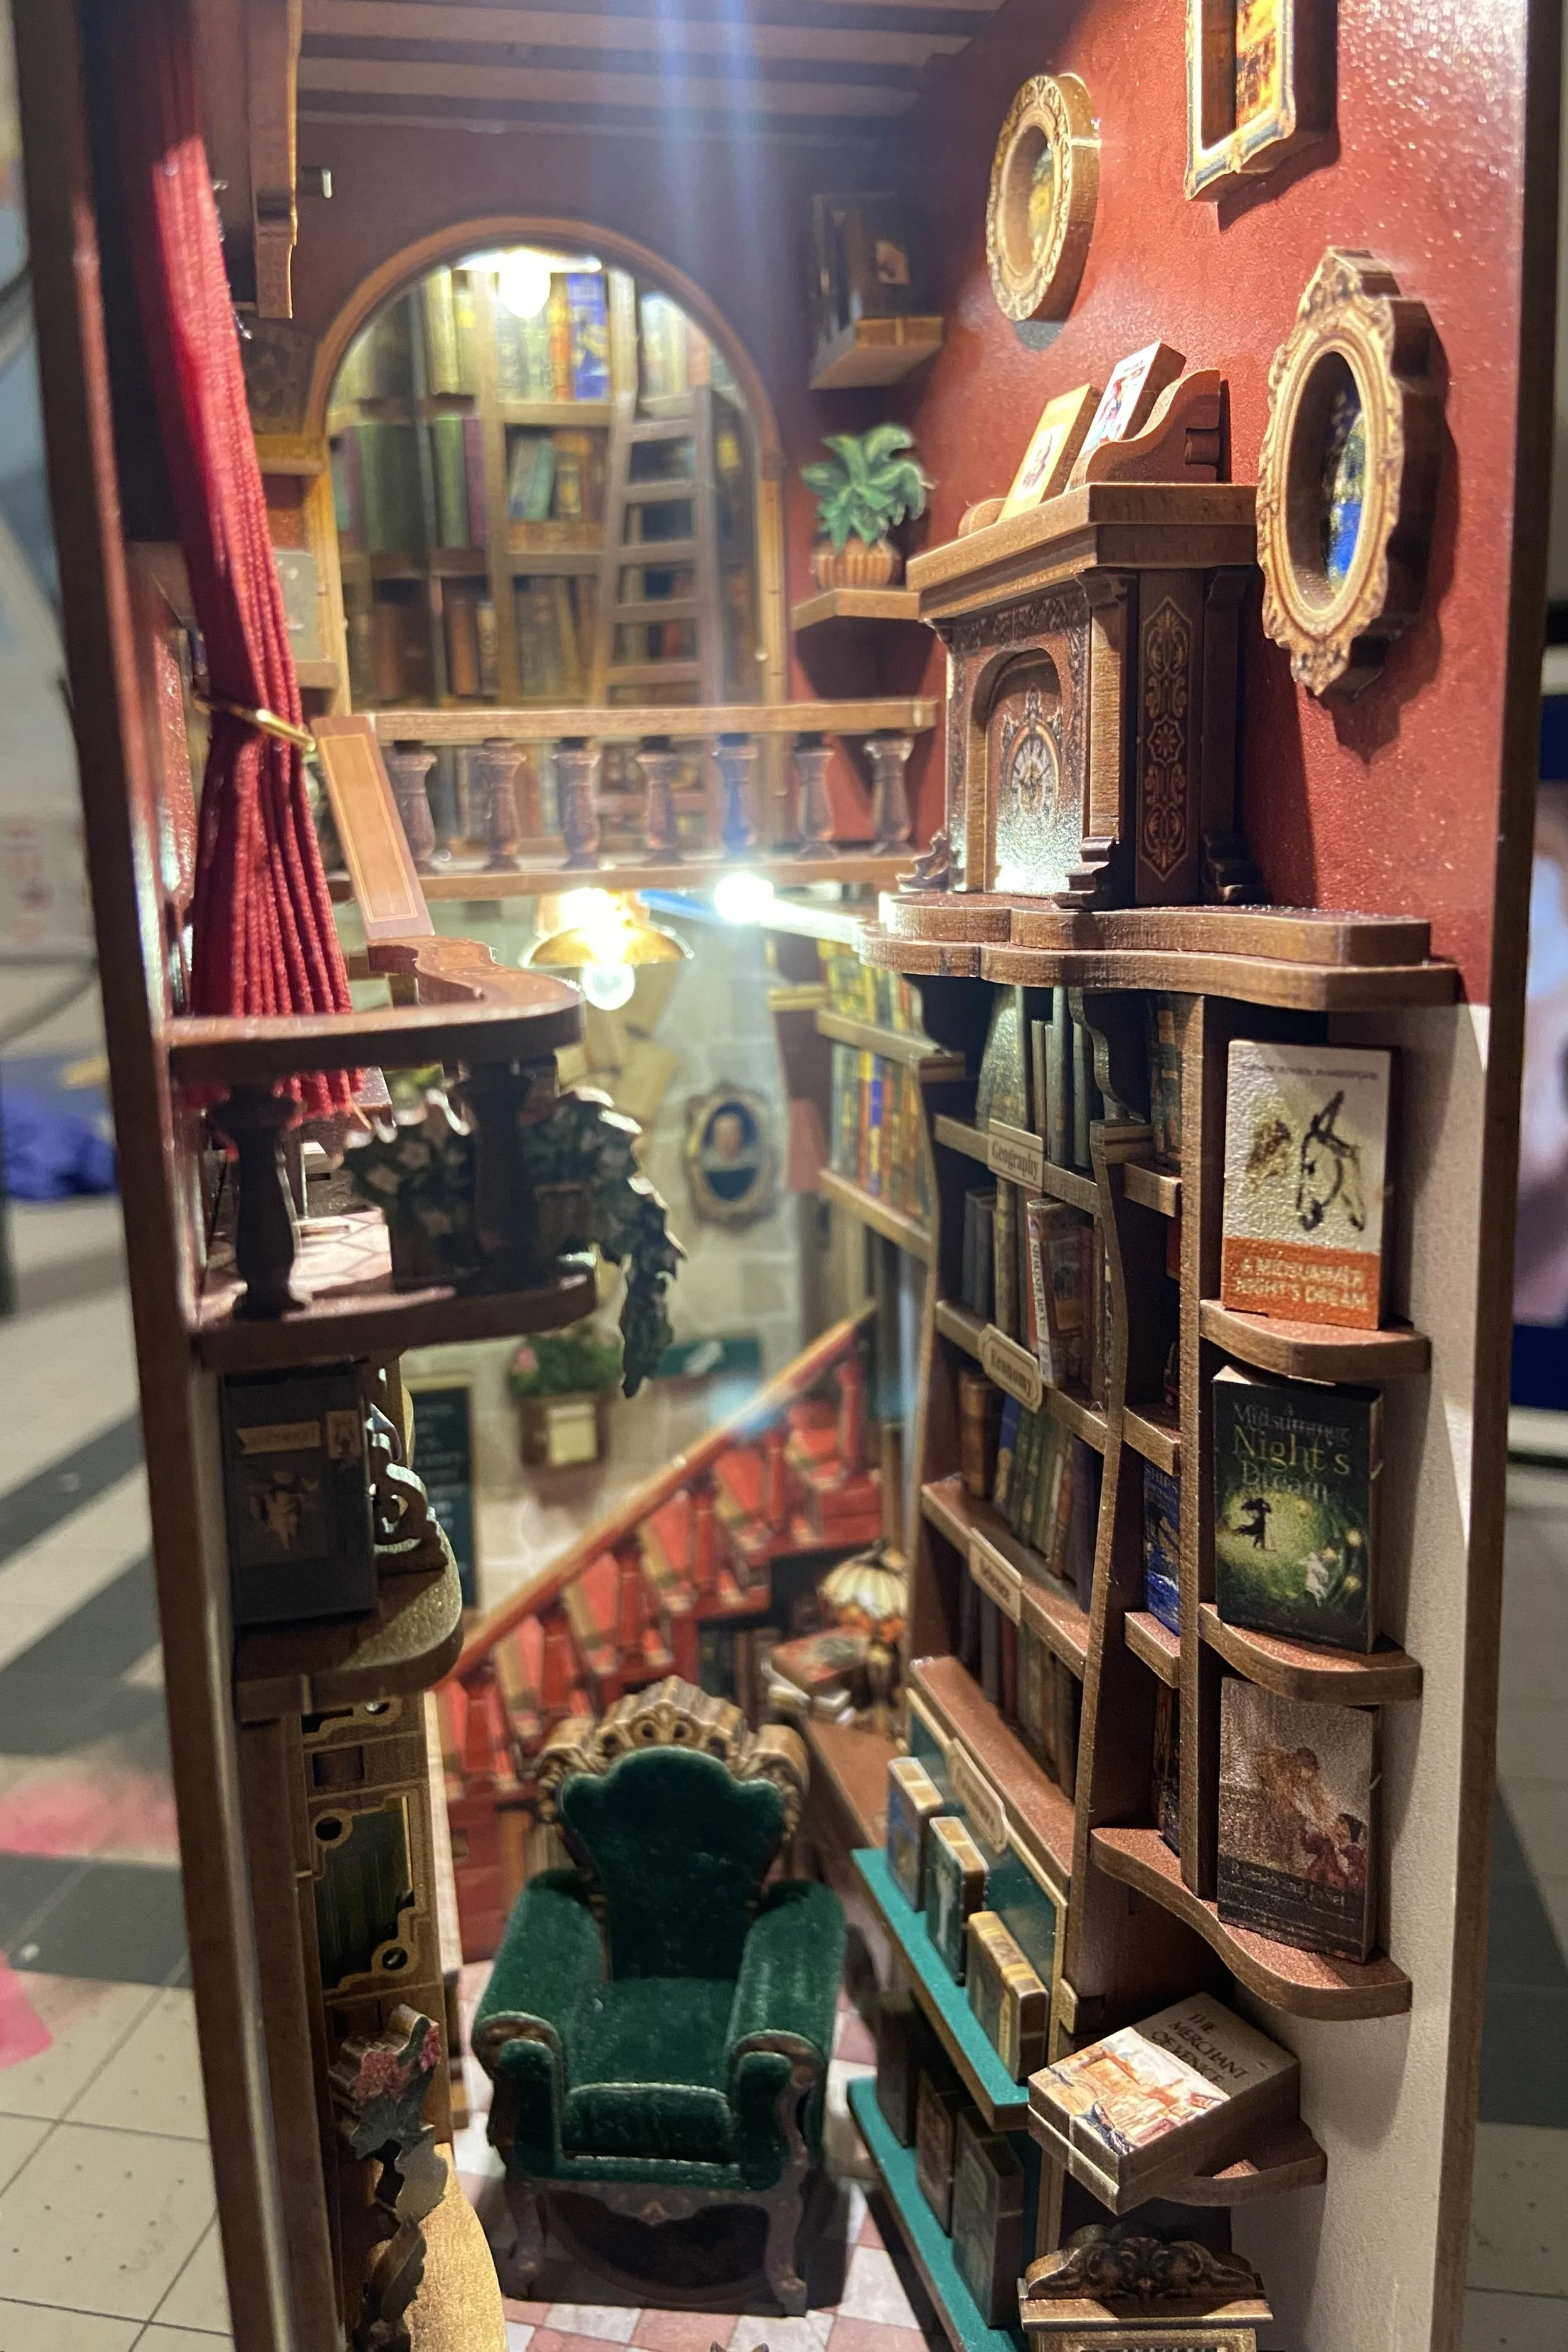
My most recent nook build is another Tonecheer kit called Left Bank Bookstore. Like most Tonecheer kits, it’s well documented and the parts are well-made and well-labeled. In every previous kit, all the wood pieces have come in sheets. This kit had several sheets but also several little rectangles of pieces, which was new to me.
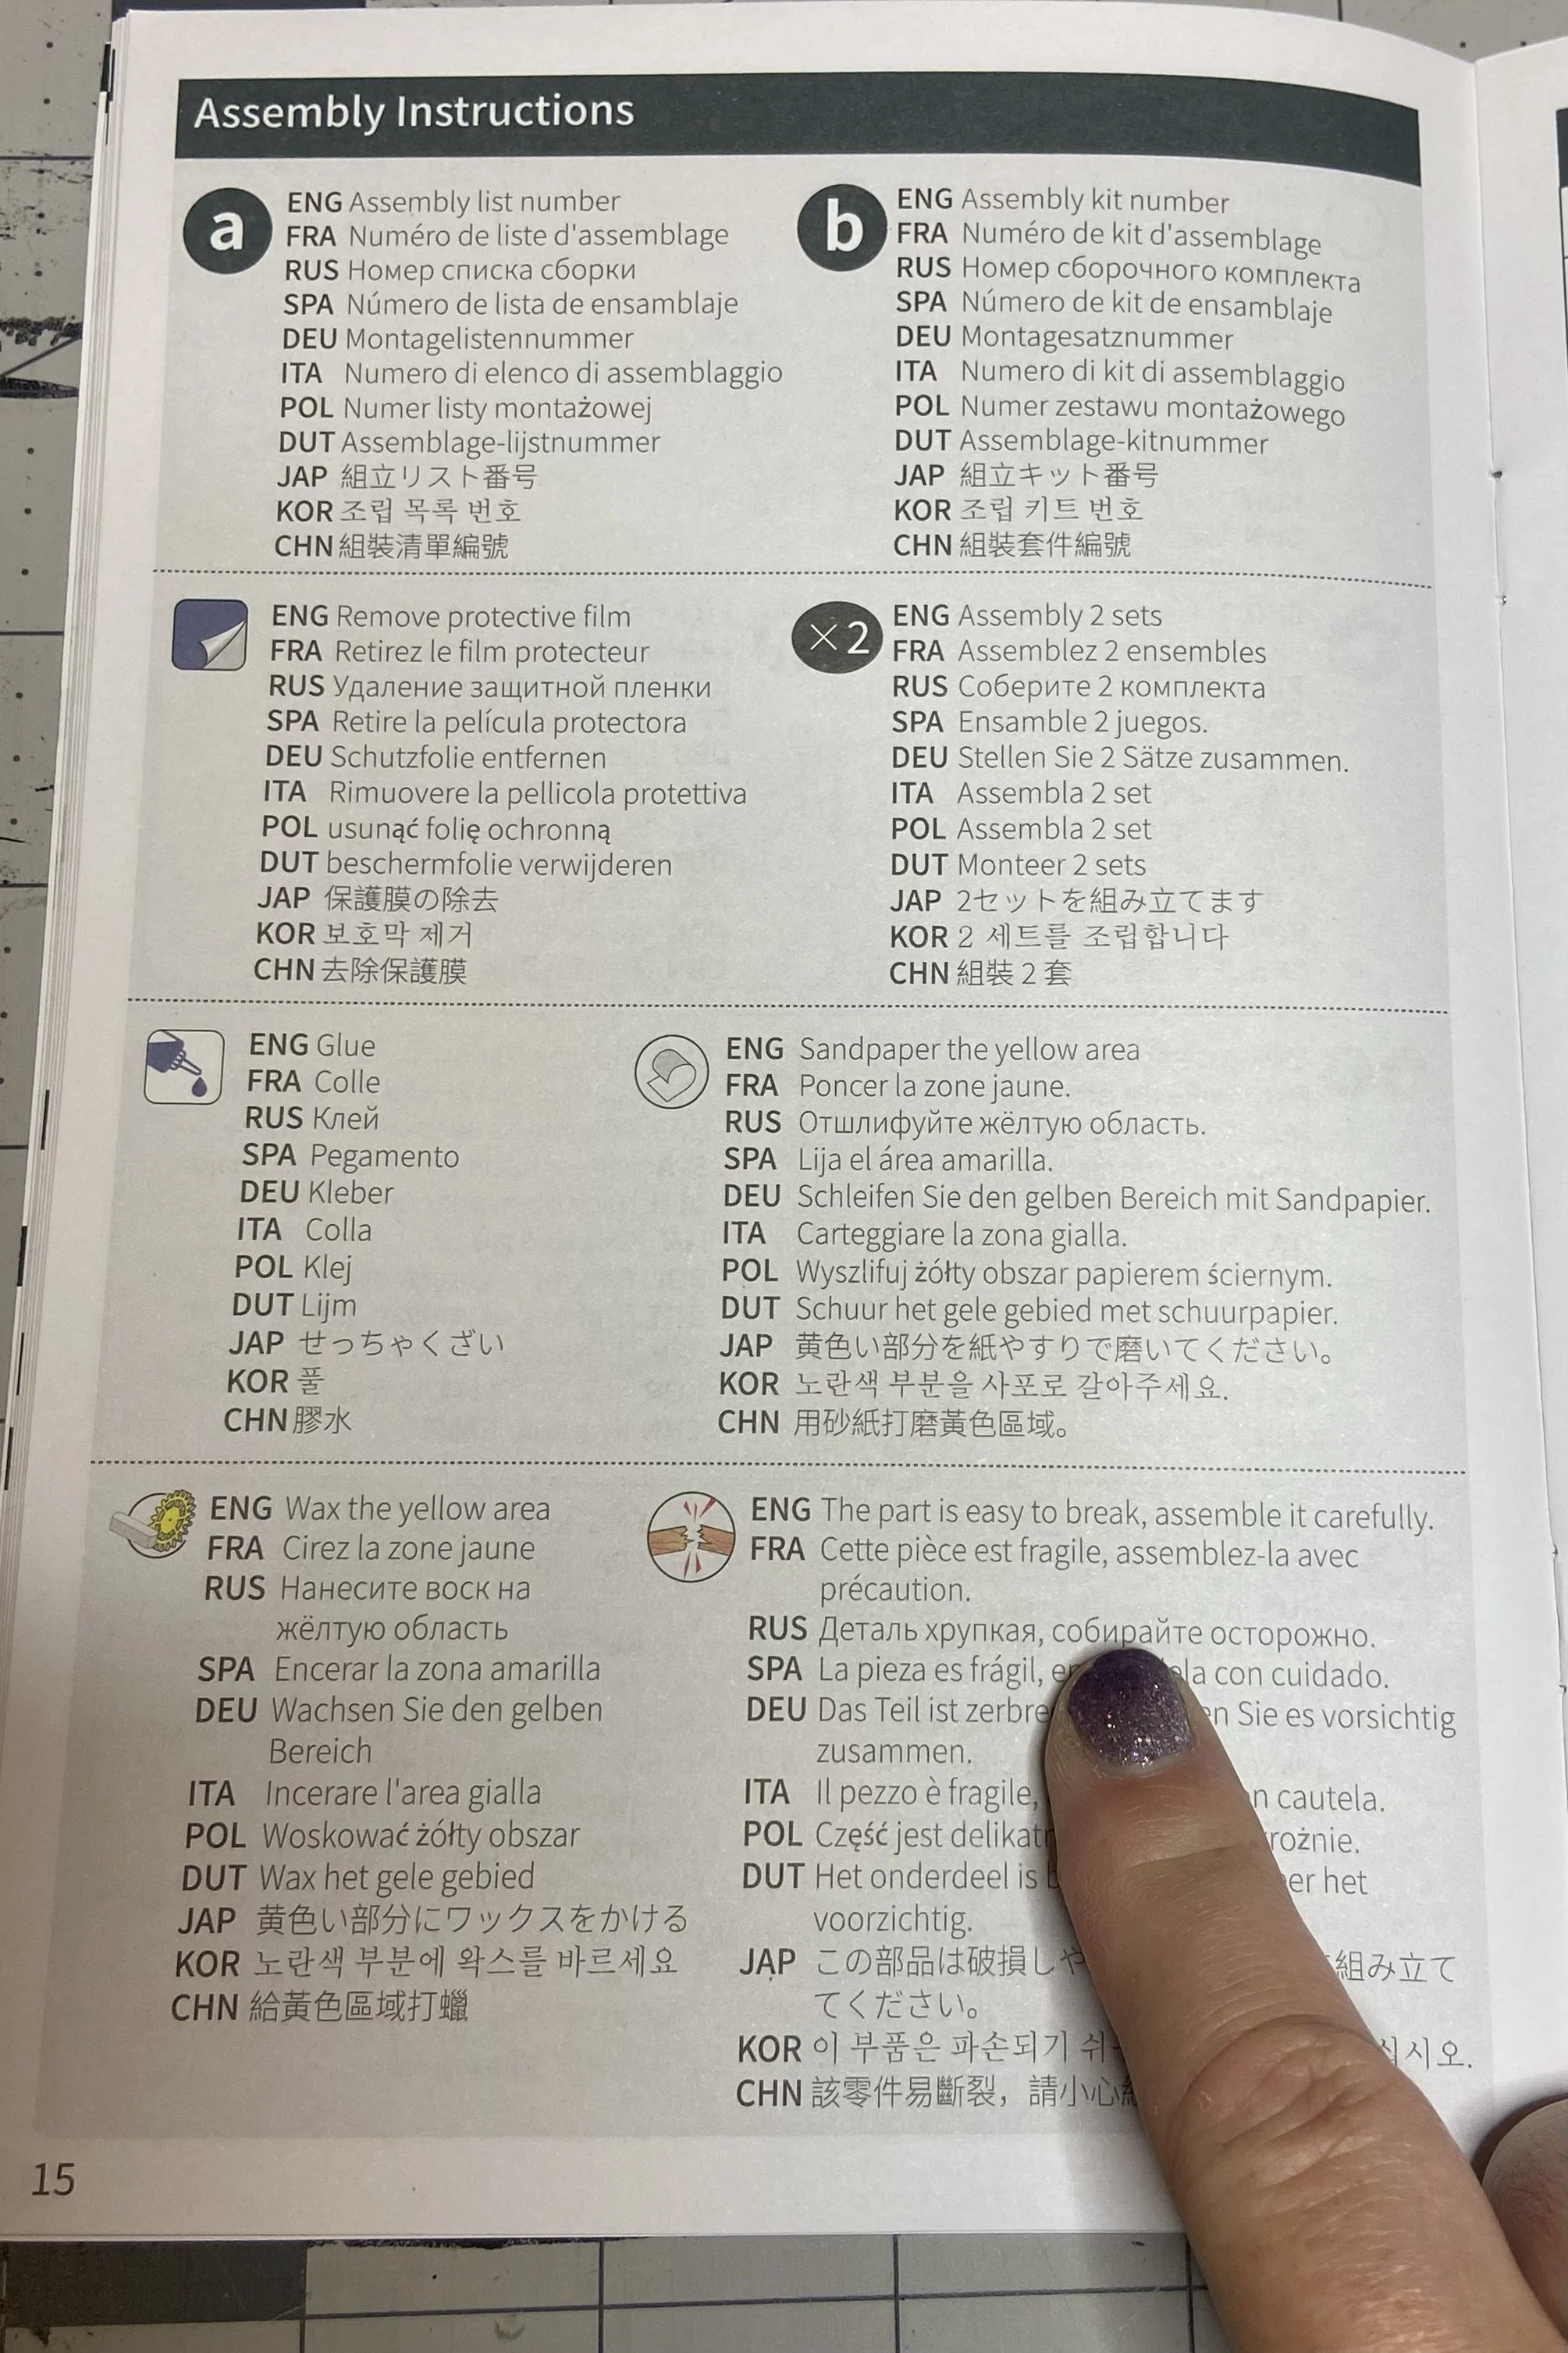
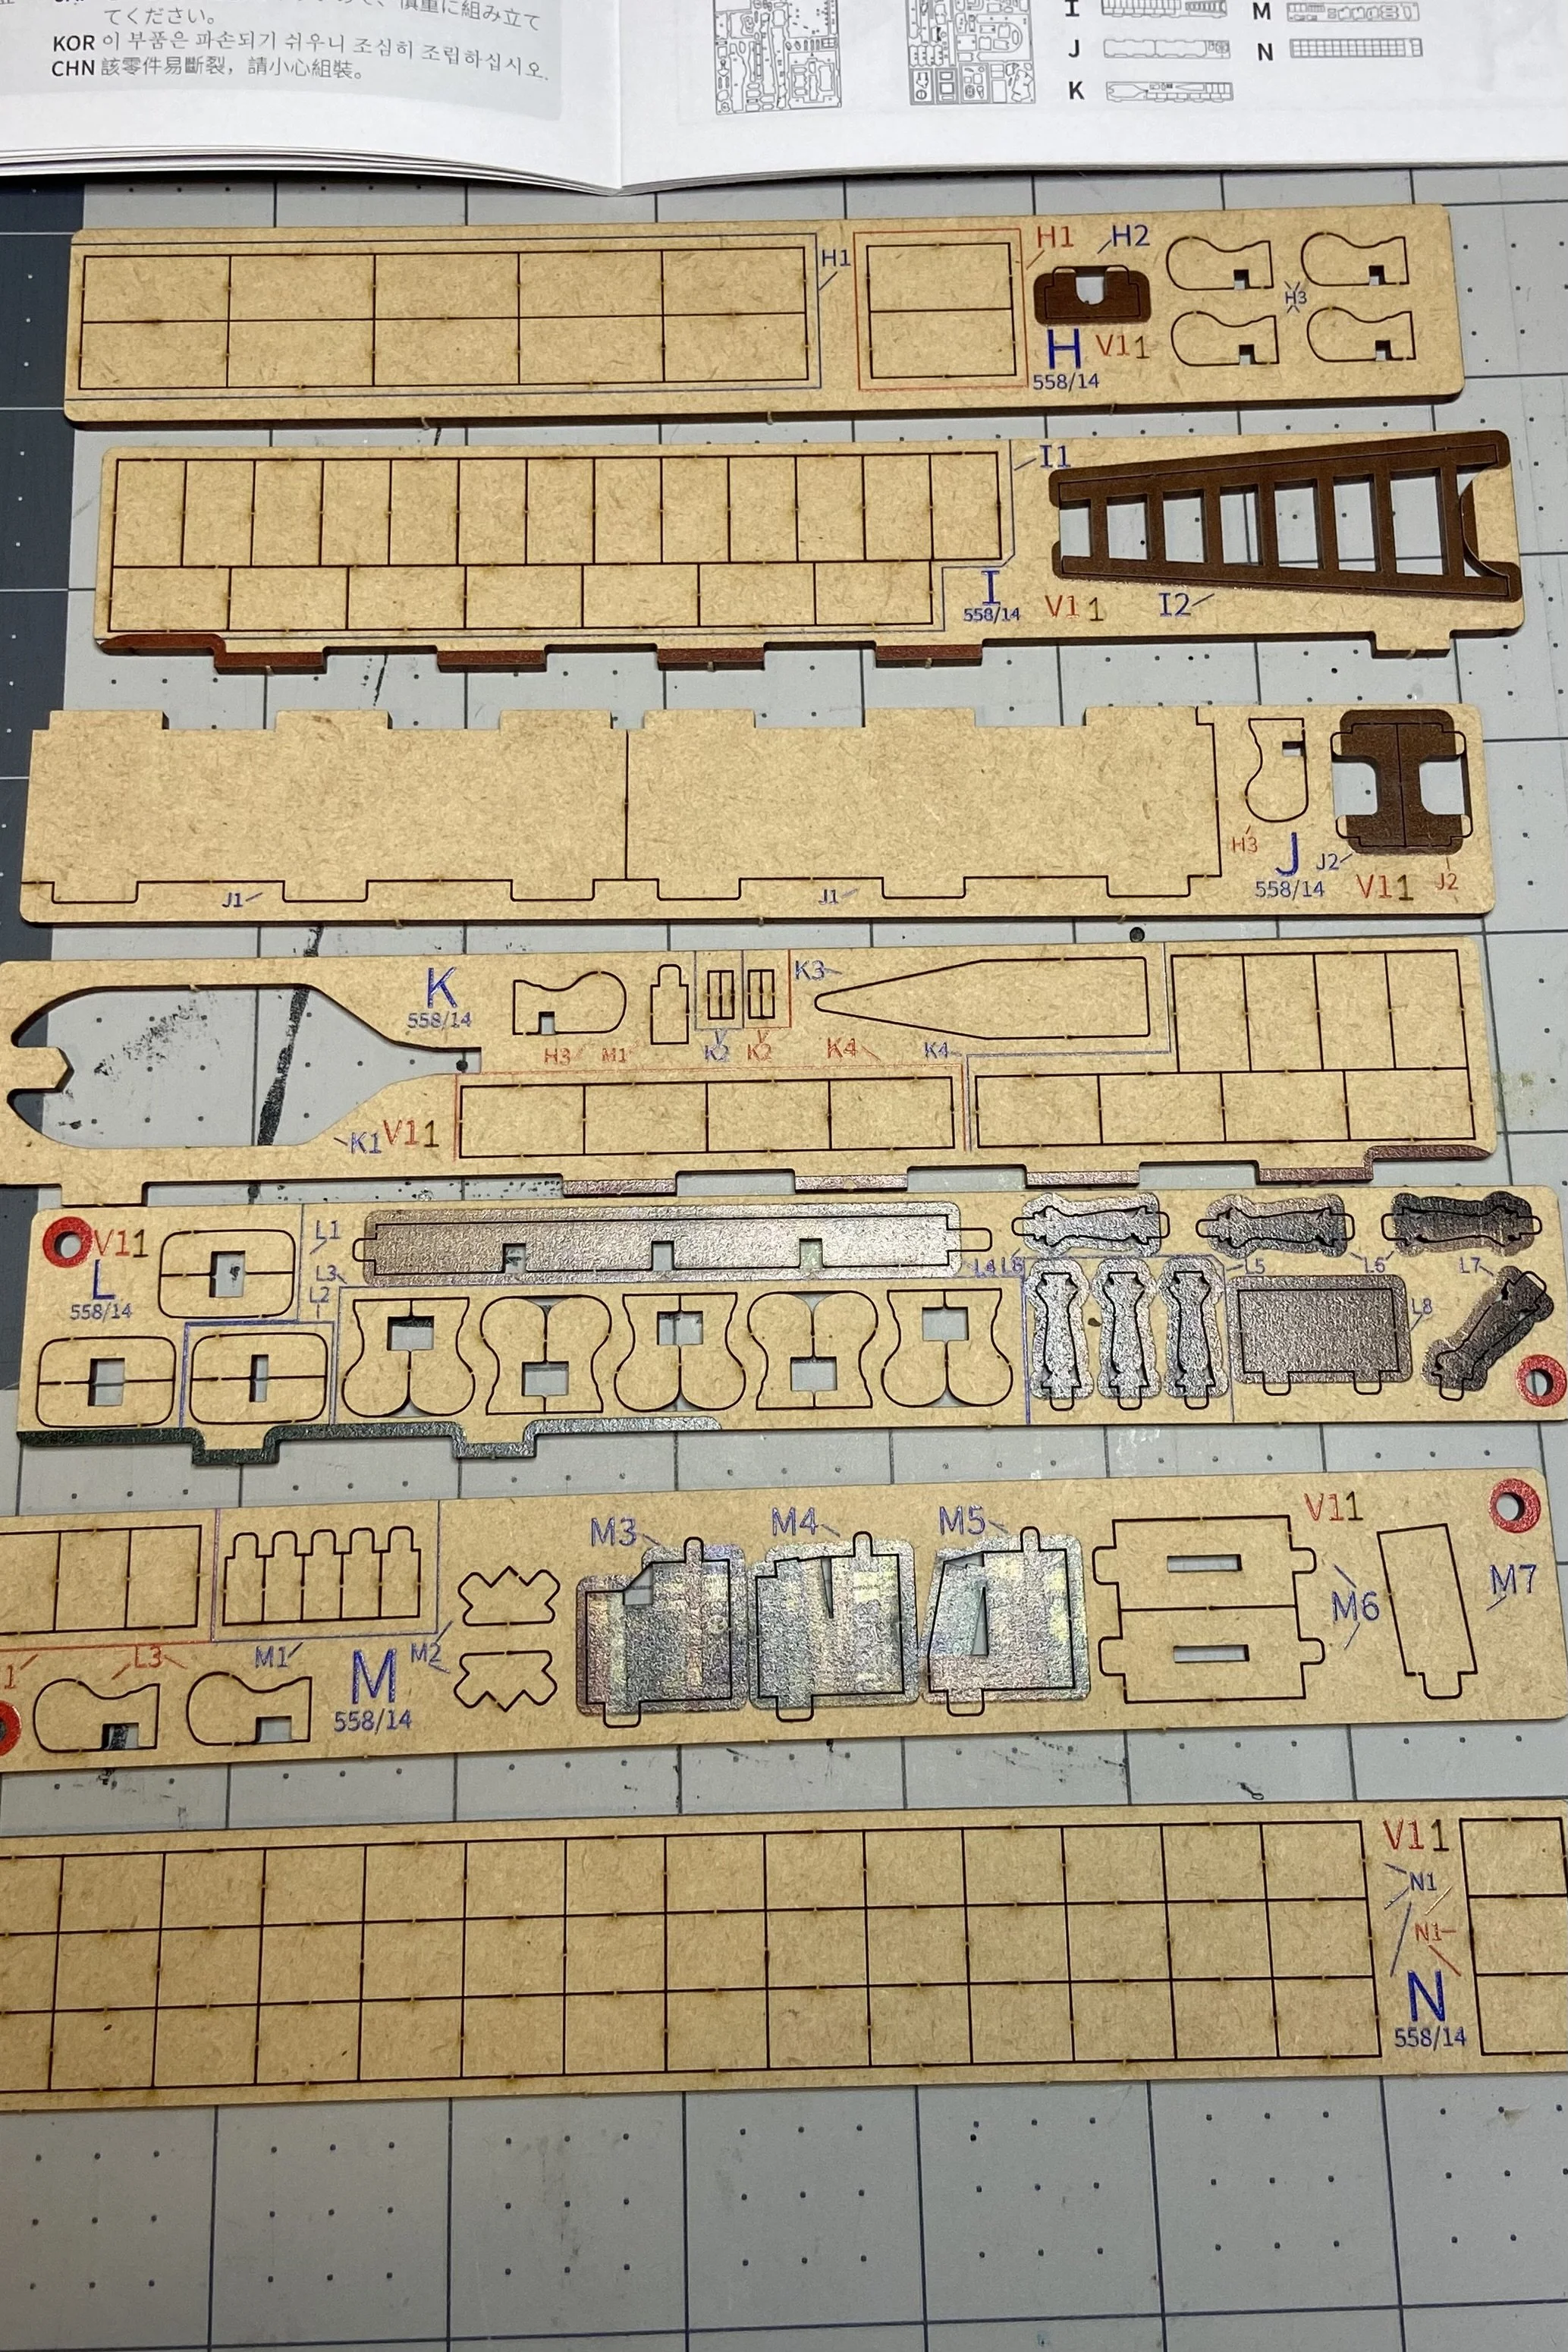
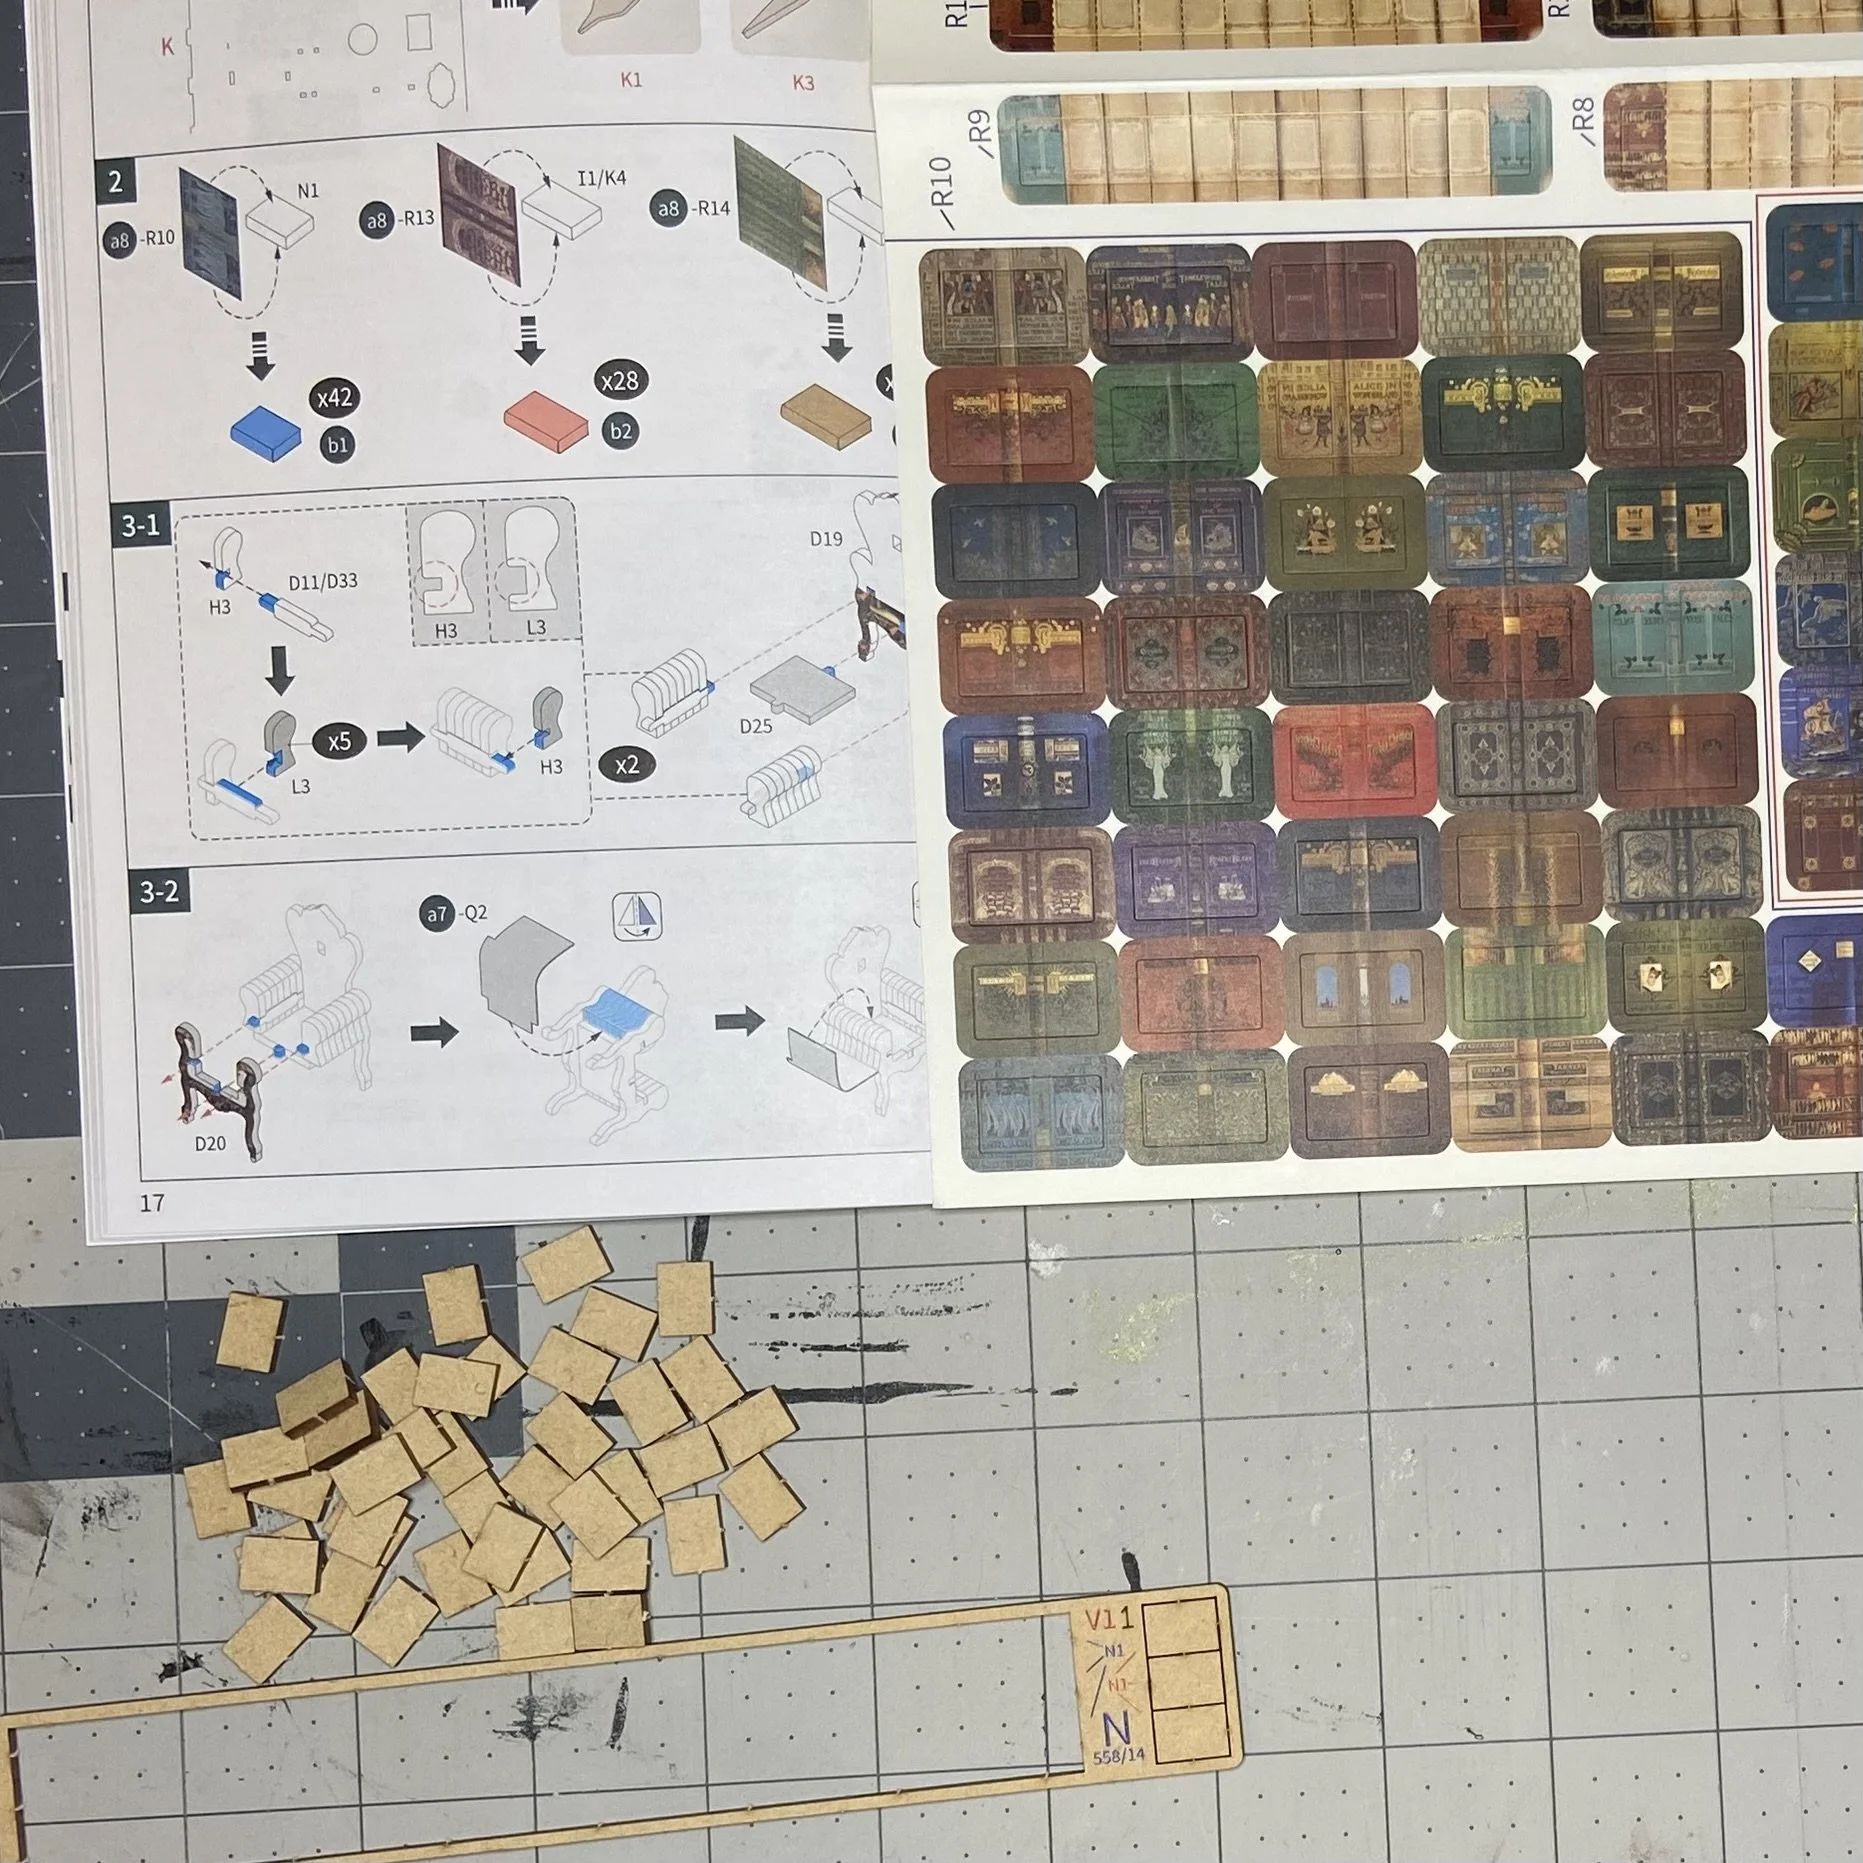
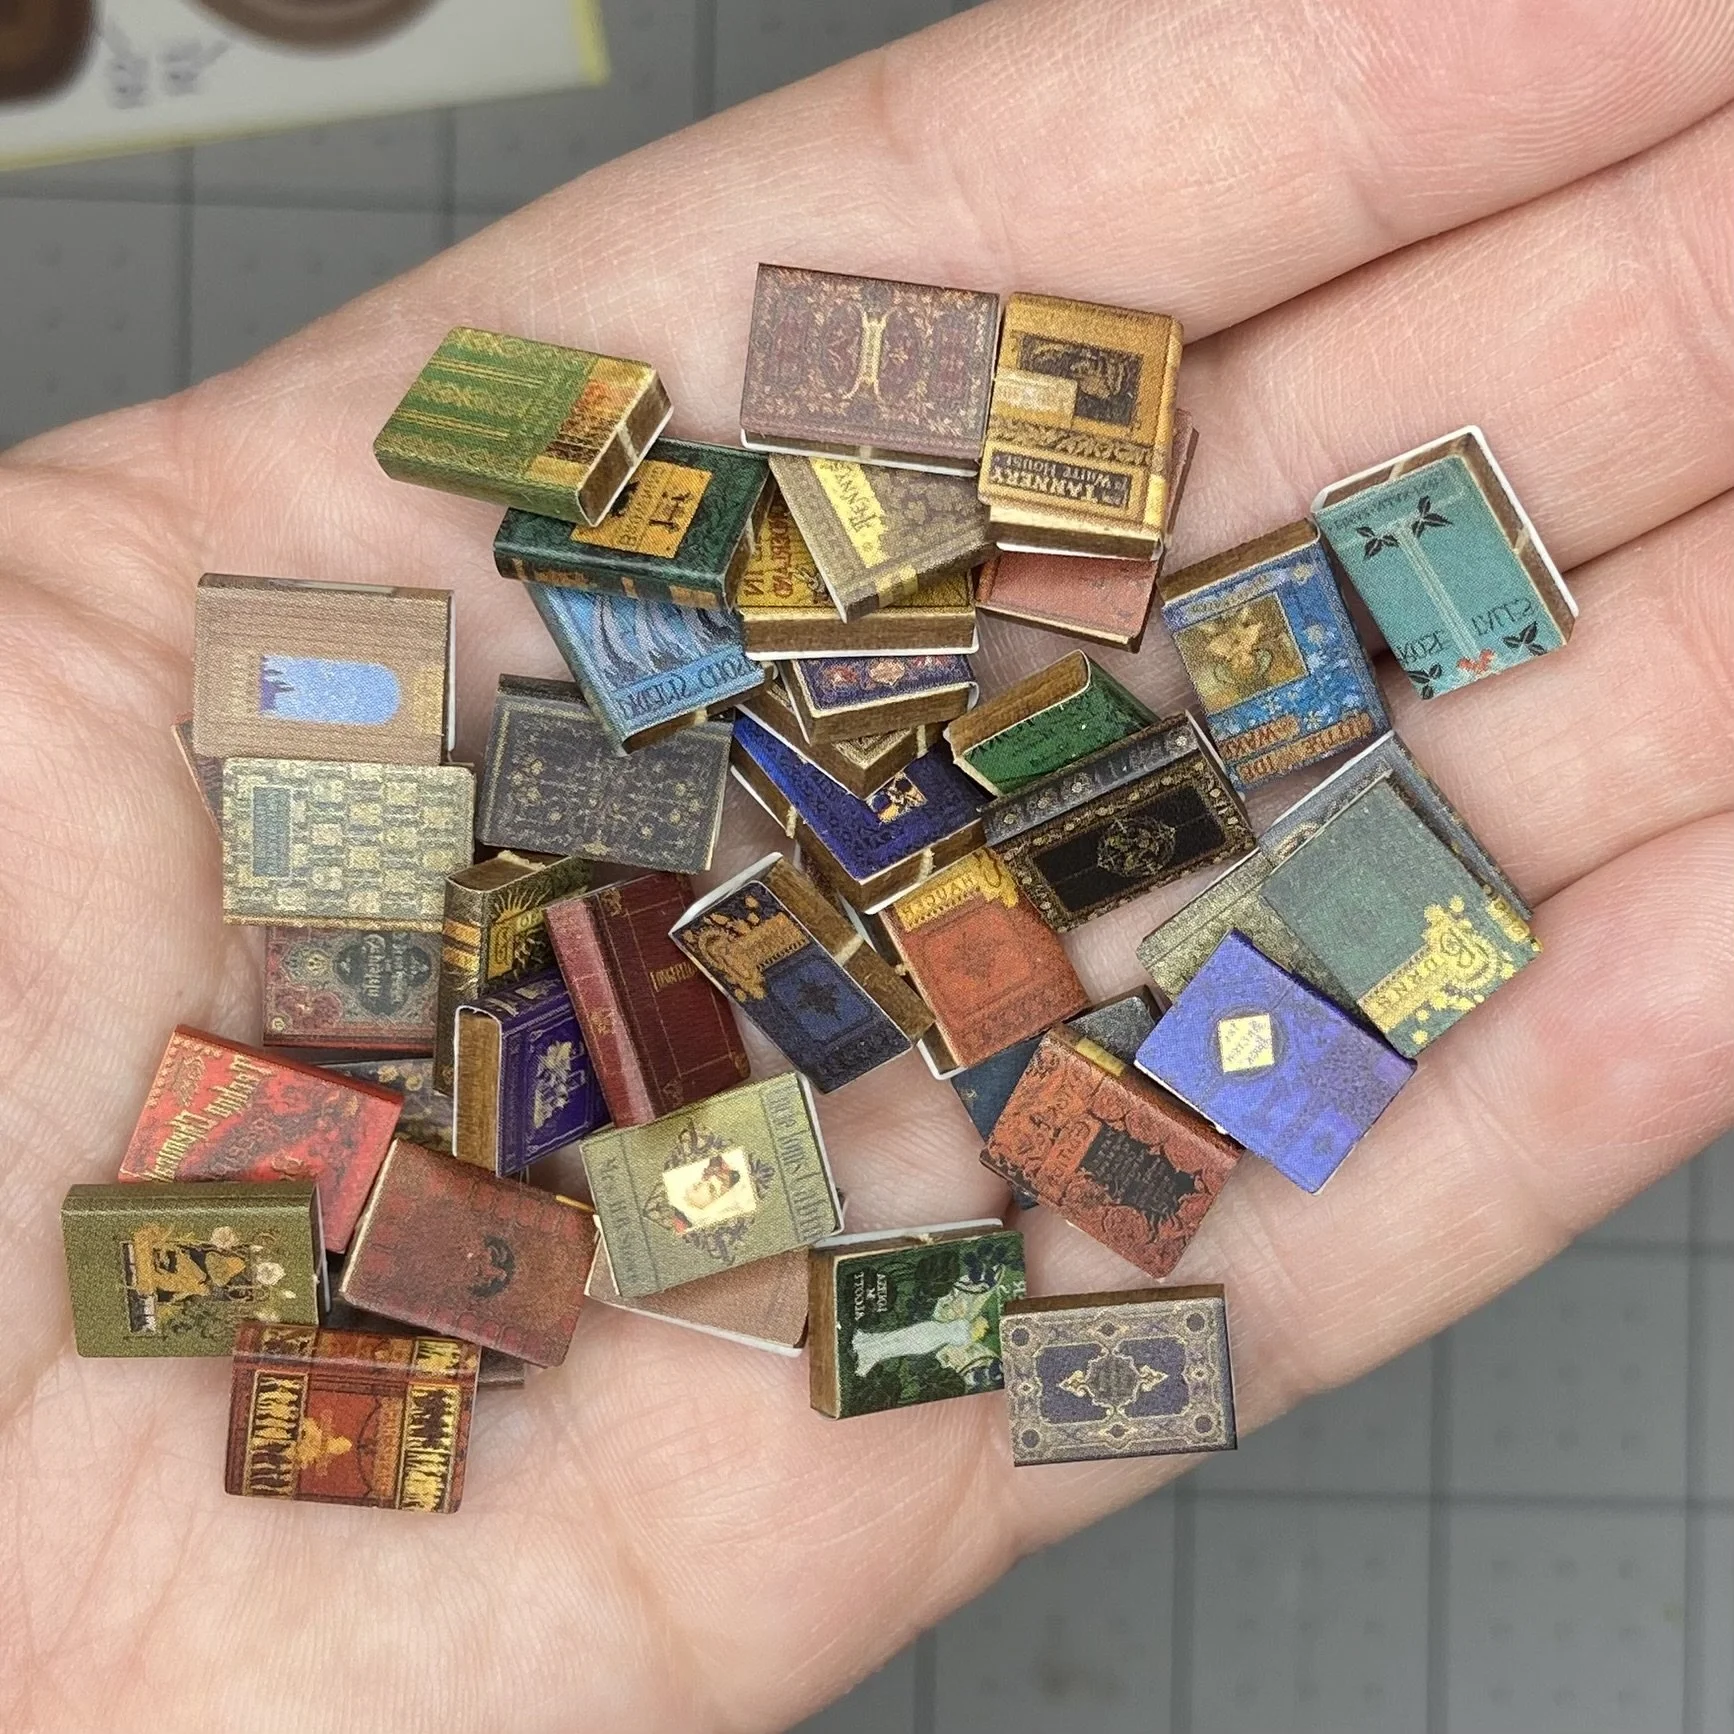
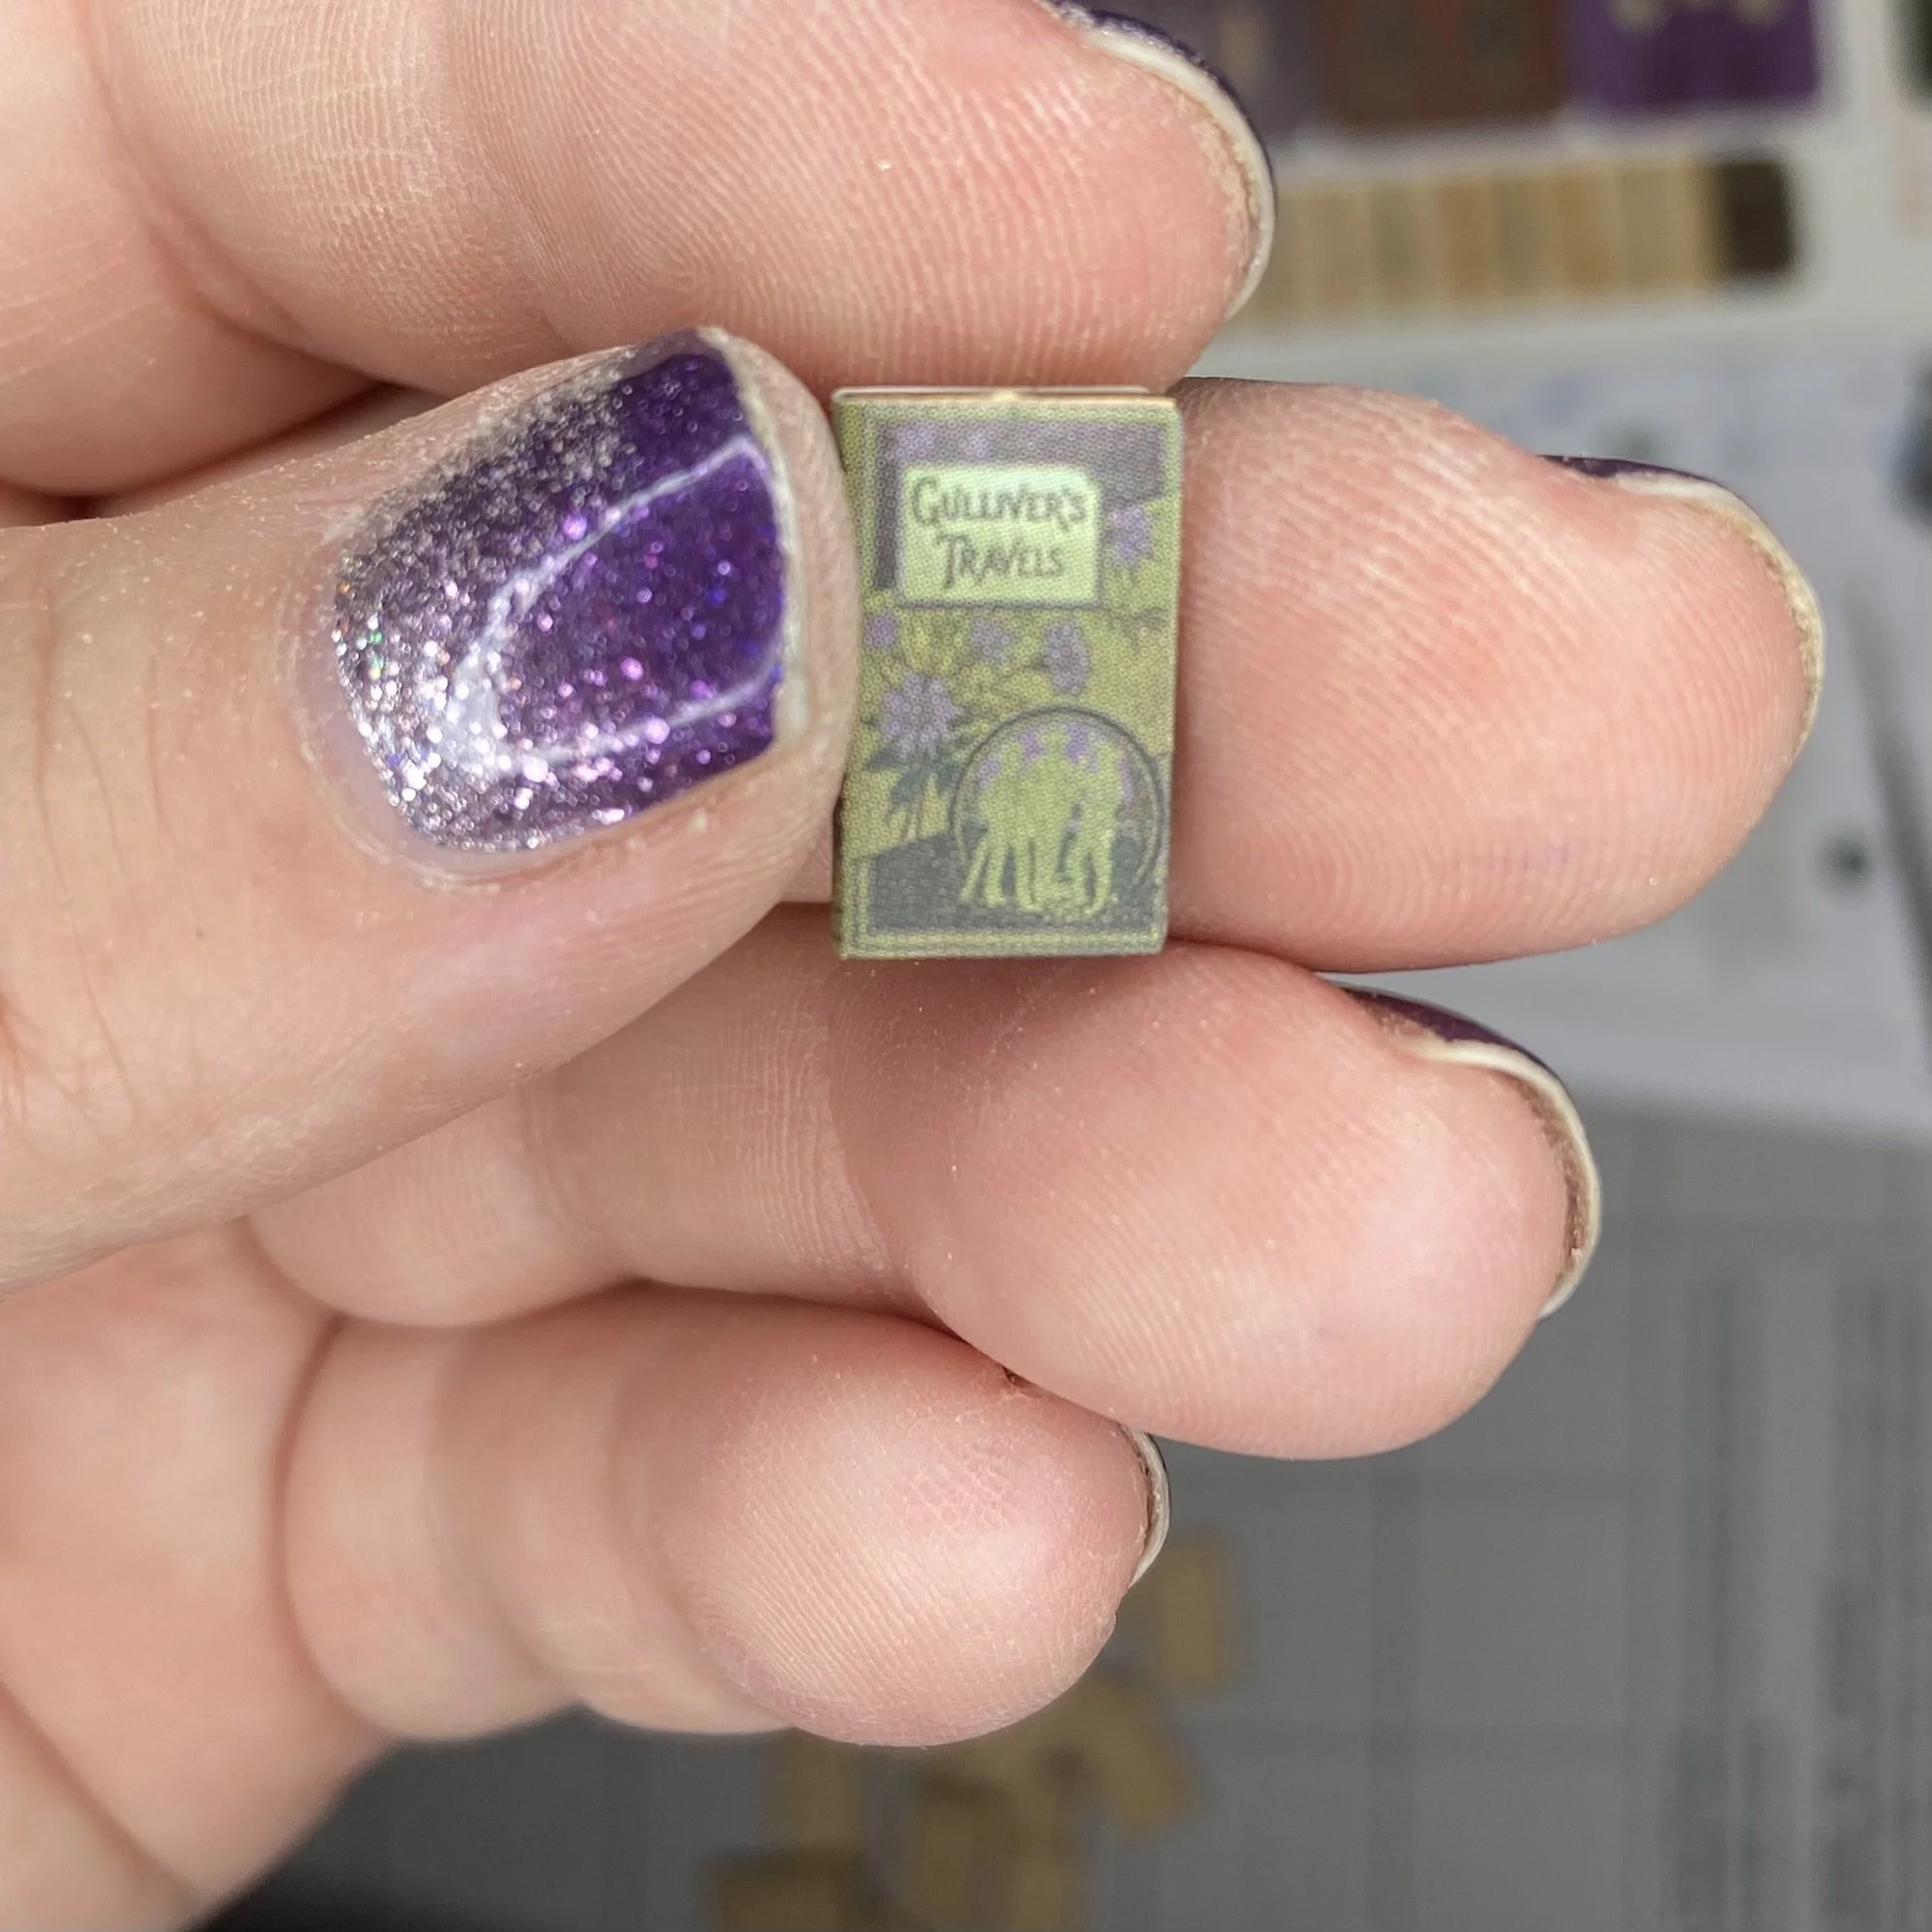
As with many of my booknook projects, this one started with assembling a whole bunch of books. This means punching out little book shapes from the wood sheets, and then glueing paper covers on them or, in this case, attaching sticker covers on the books. I was pleased to be using stickers again, as they are easier, faster, and less messy than cutting out and glueing on every paper cover. I was less pleased with the stickers a little later on, but I’ll get to that. Also, these sticker book covers had the usual blurry, nondescript covers but also multiple covers referencing actual books, like Gulliver’s Travels, for instance.
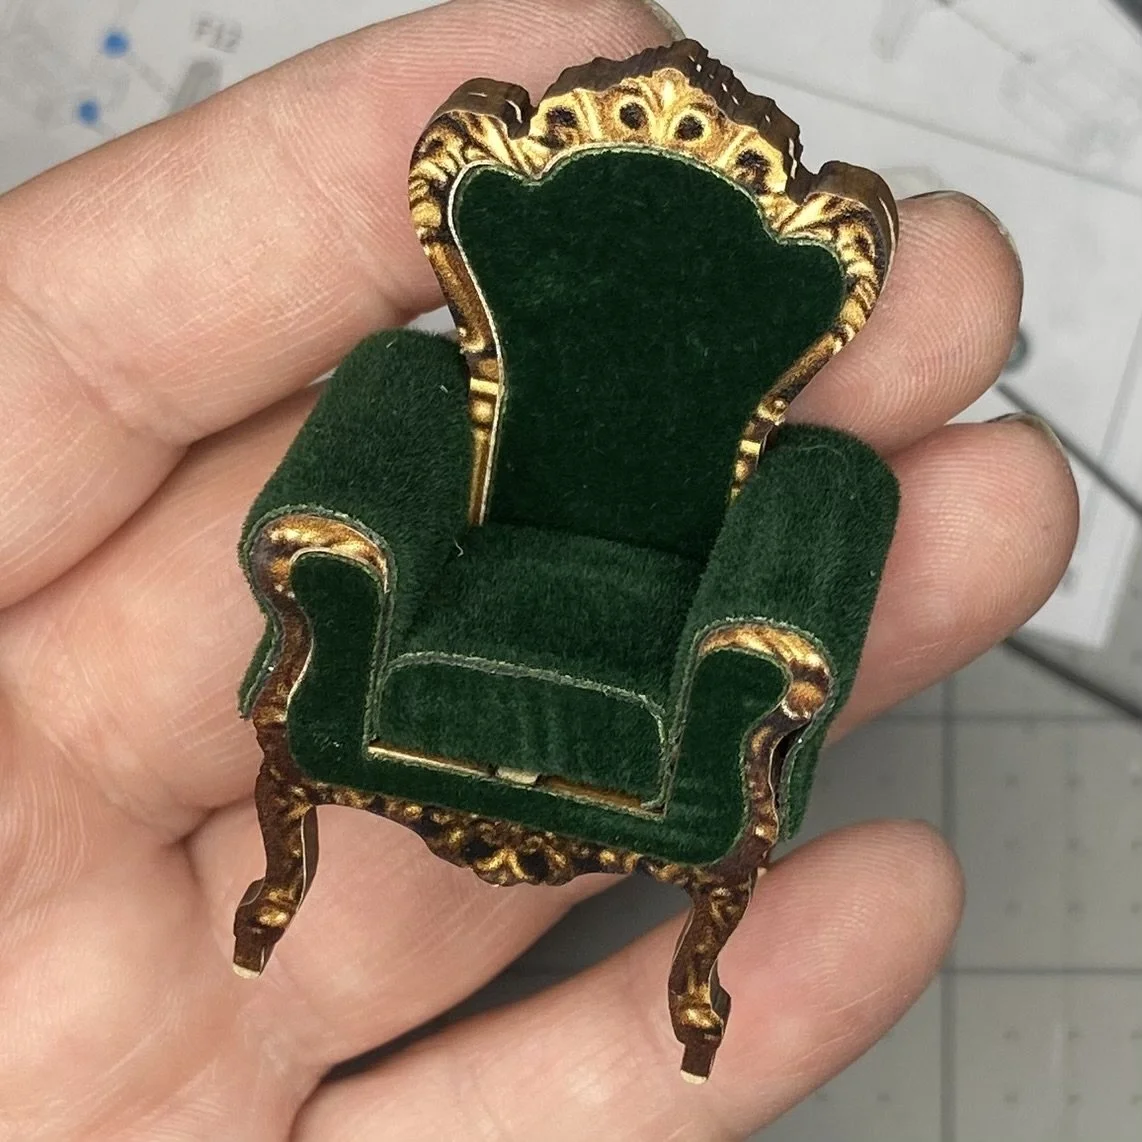
Next up was working on the various shelving units, as well as some pieces of furniture. One furniture item I particularly liked was a piece that looked like a plush velvet chair. One could imagine a customer sitting in the chair, smoking a pipe, stroking a cat, and reading a book.
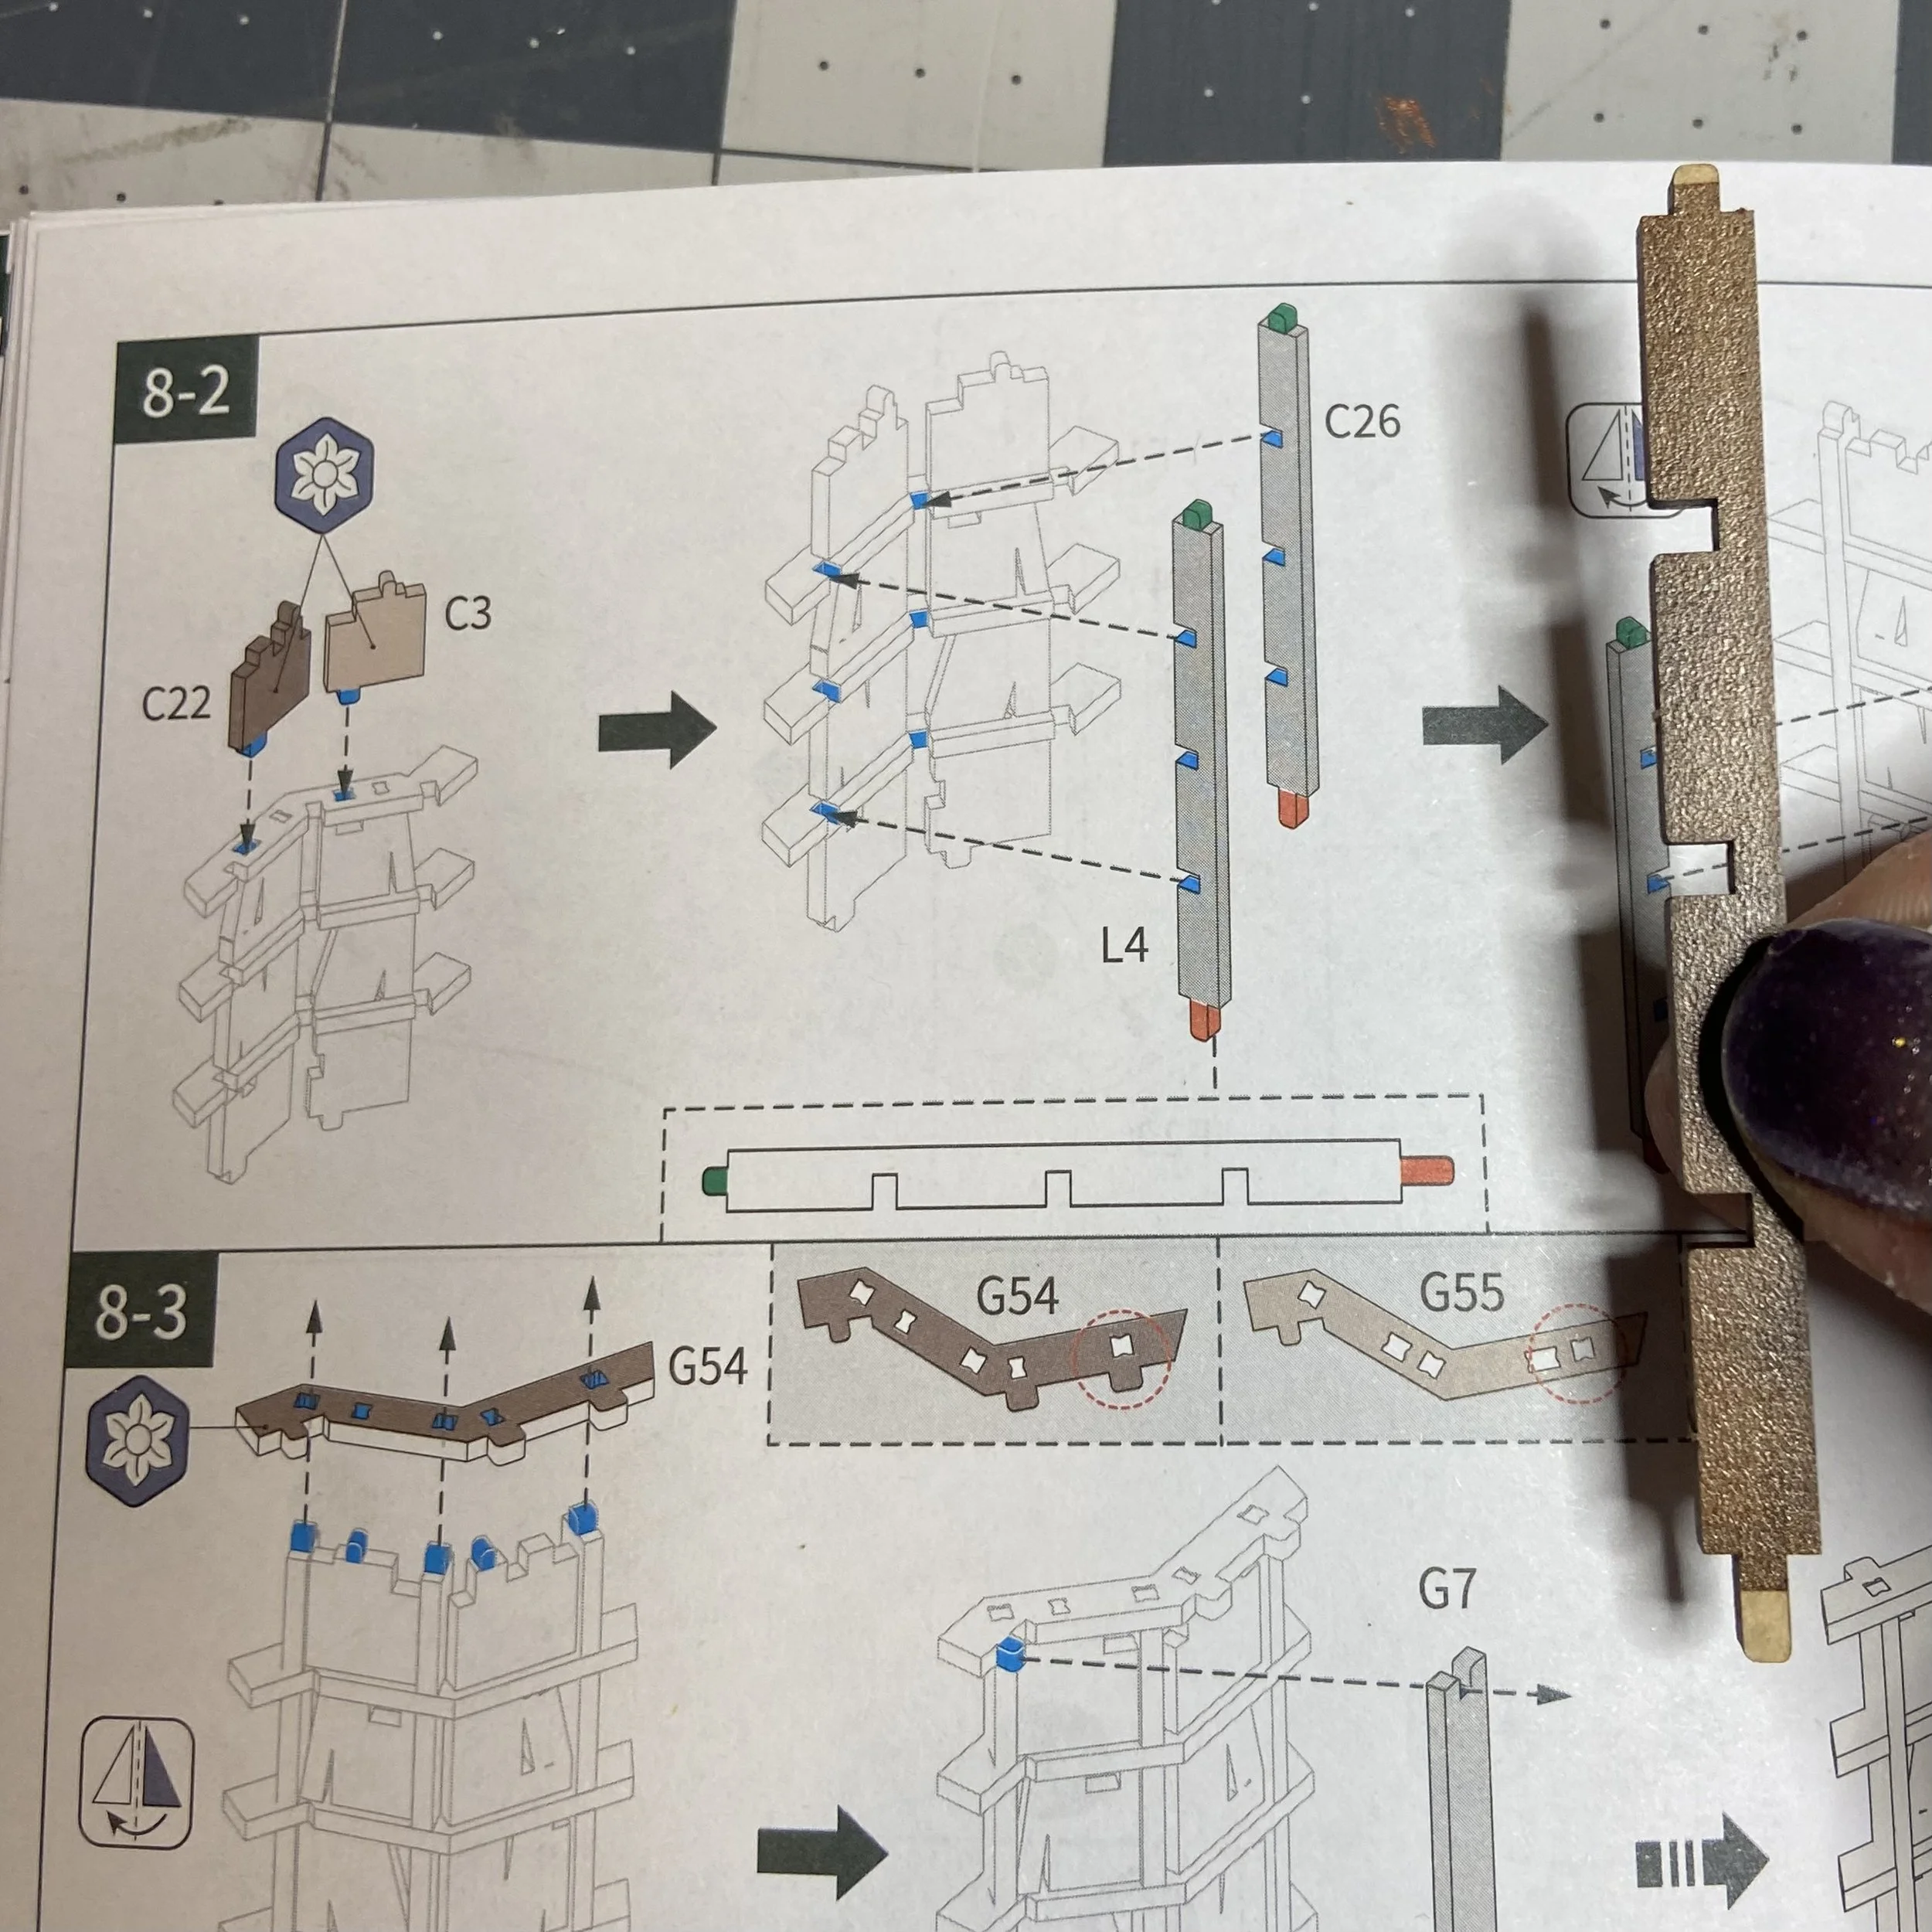
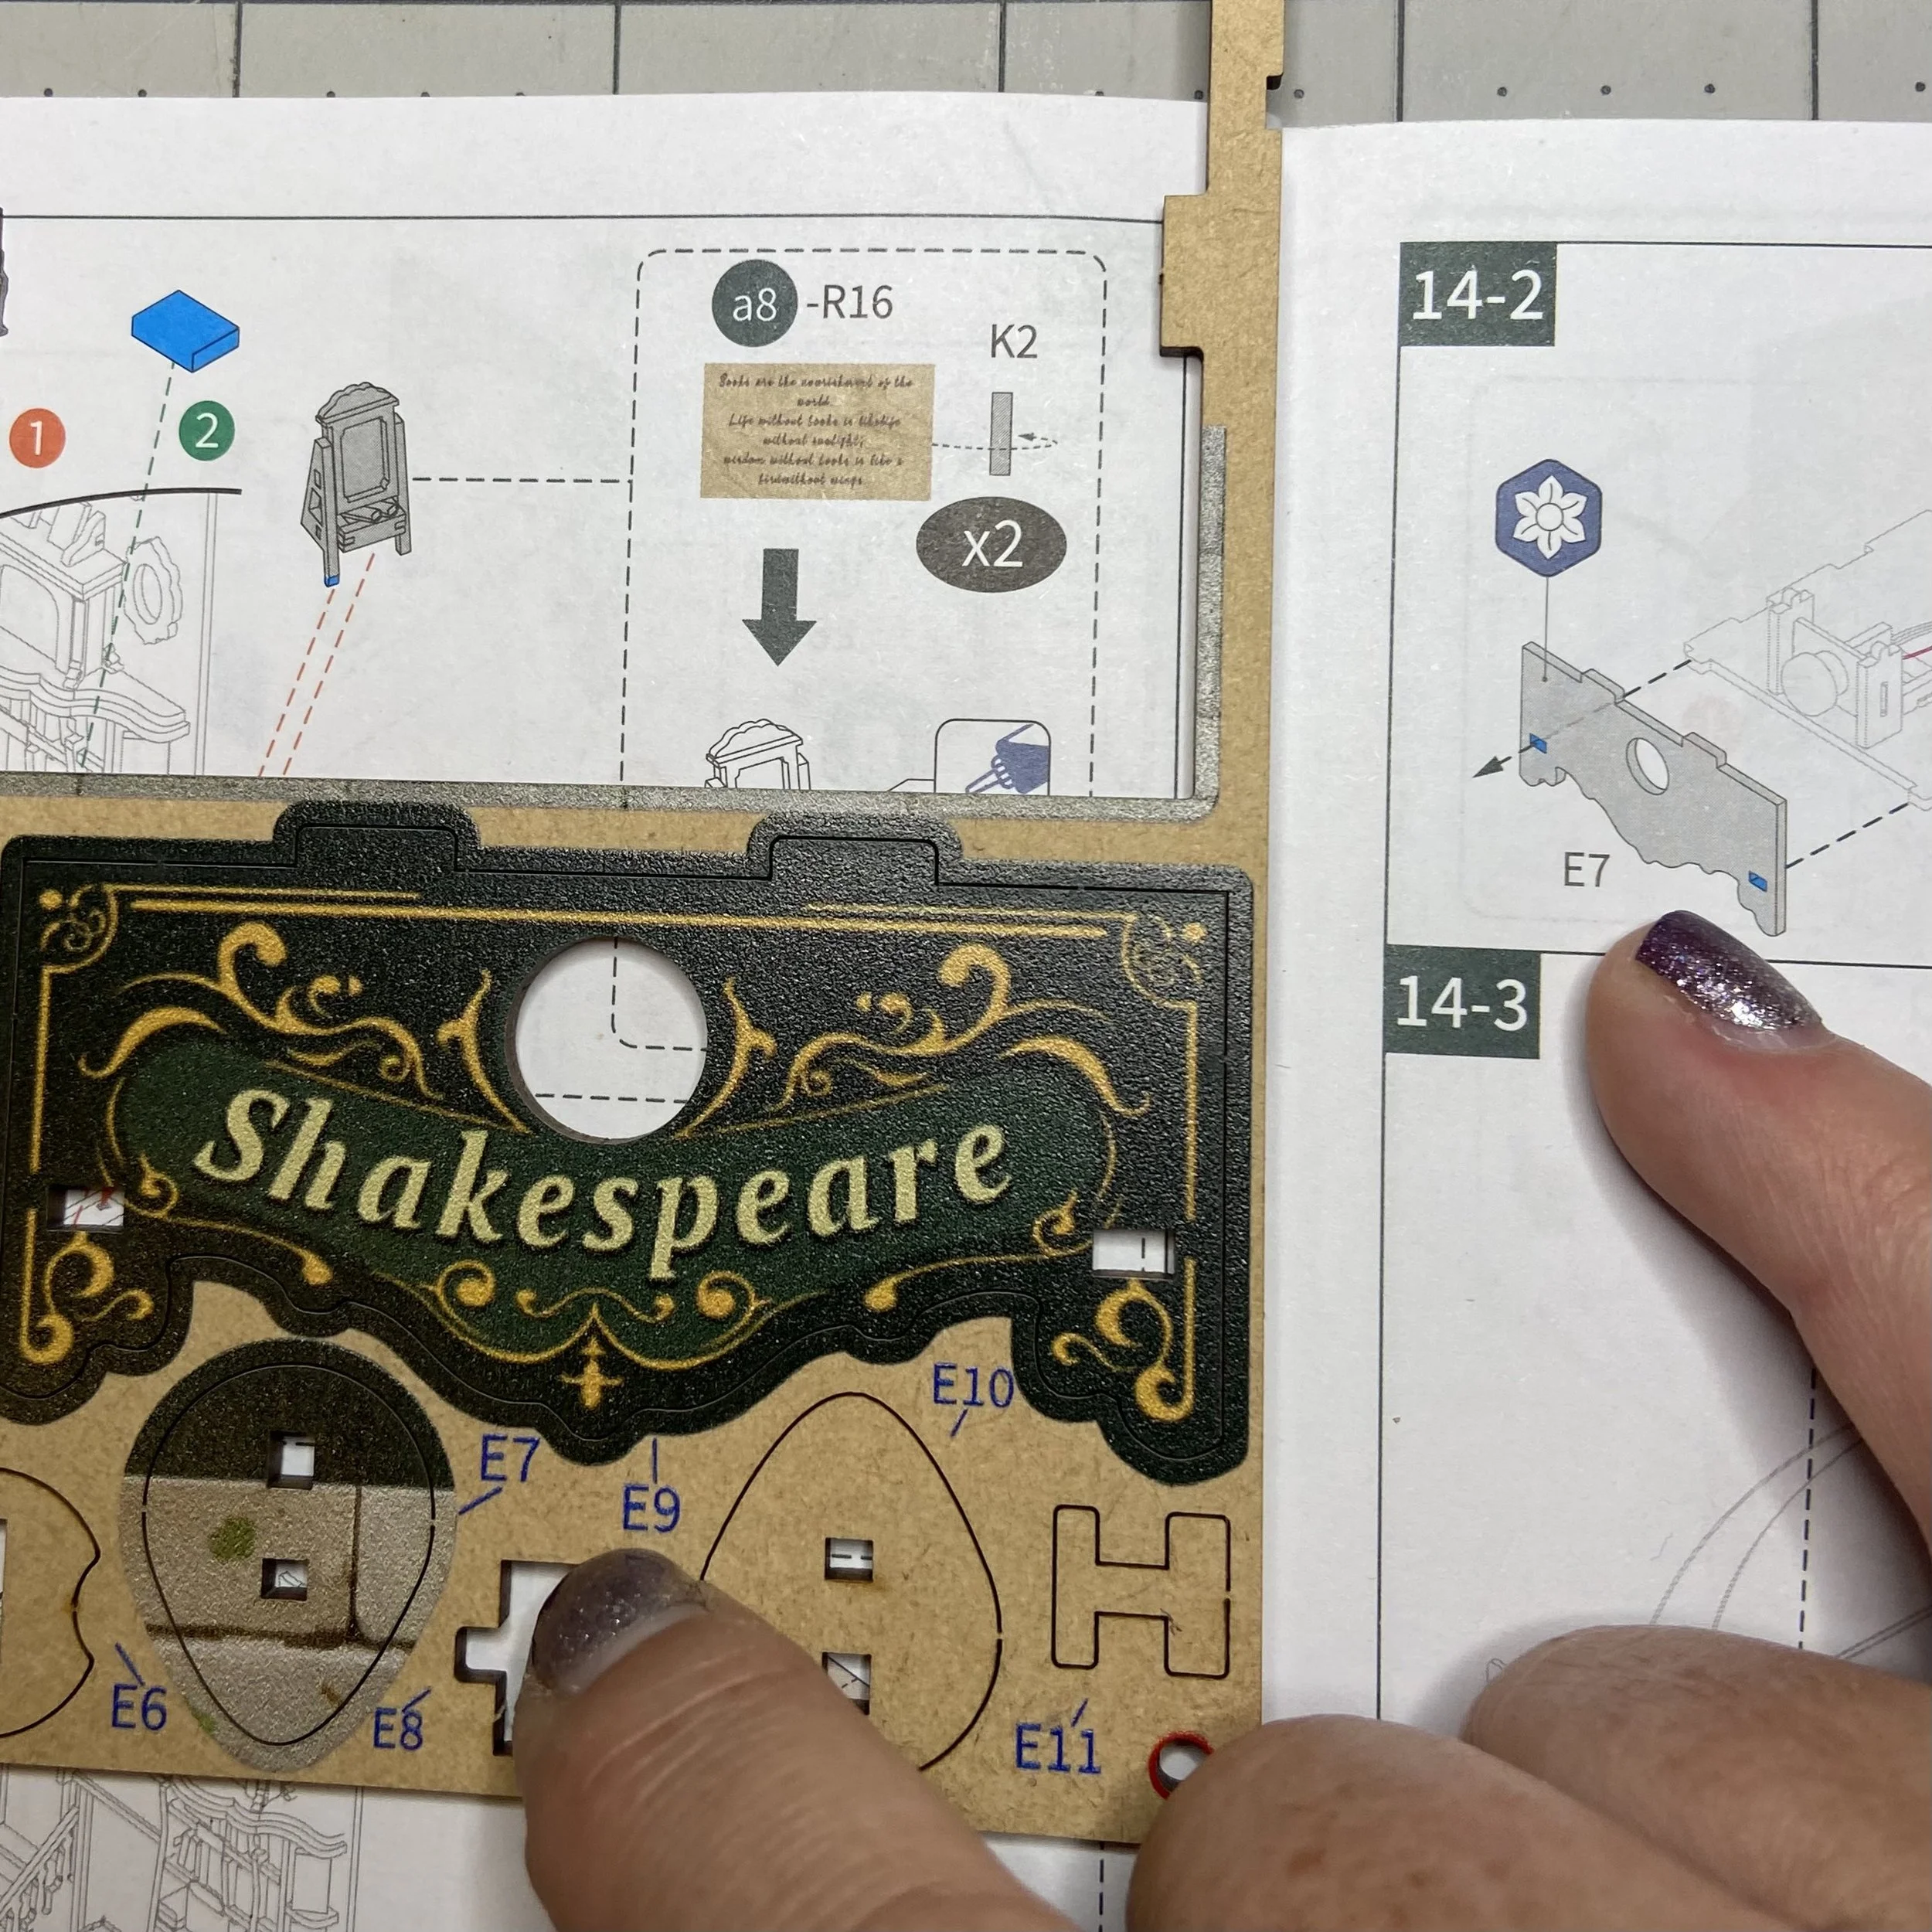
The instructions were detailed in a most helpful way. In the picture below, you can see that they’ve carefully laid out the potentially confusing piece, and color coded it in a way that makes installation obvious and easy. I cannot tell you how much more helpful this is than some more vague instructions I’ve encountered with kits by other companies. I actually managed not to break anything or put anything in the wrong place. Surprisingly, I did find a mistake in the instructions, where they gave me the wrong label indicator for a particular piece. The instructions called for piece E7 when clearly E9 was required. Fortunately for me, the piece in question was a very distinctive shape and therefore I didn’t have any trouble working around the erroneous directions. That’s the first time I’ve found a mistake in Tonecheer’s instructions.
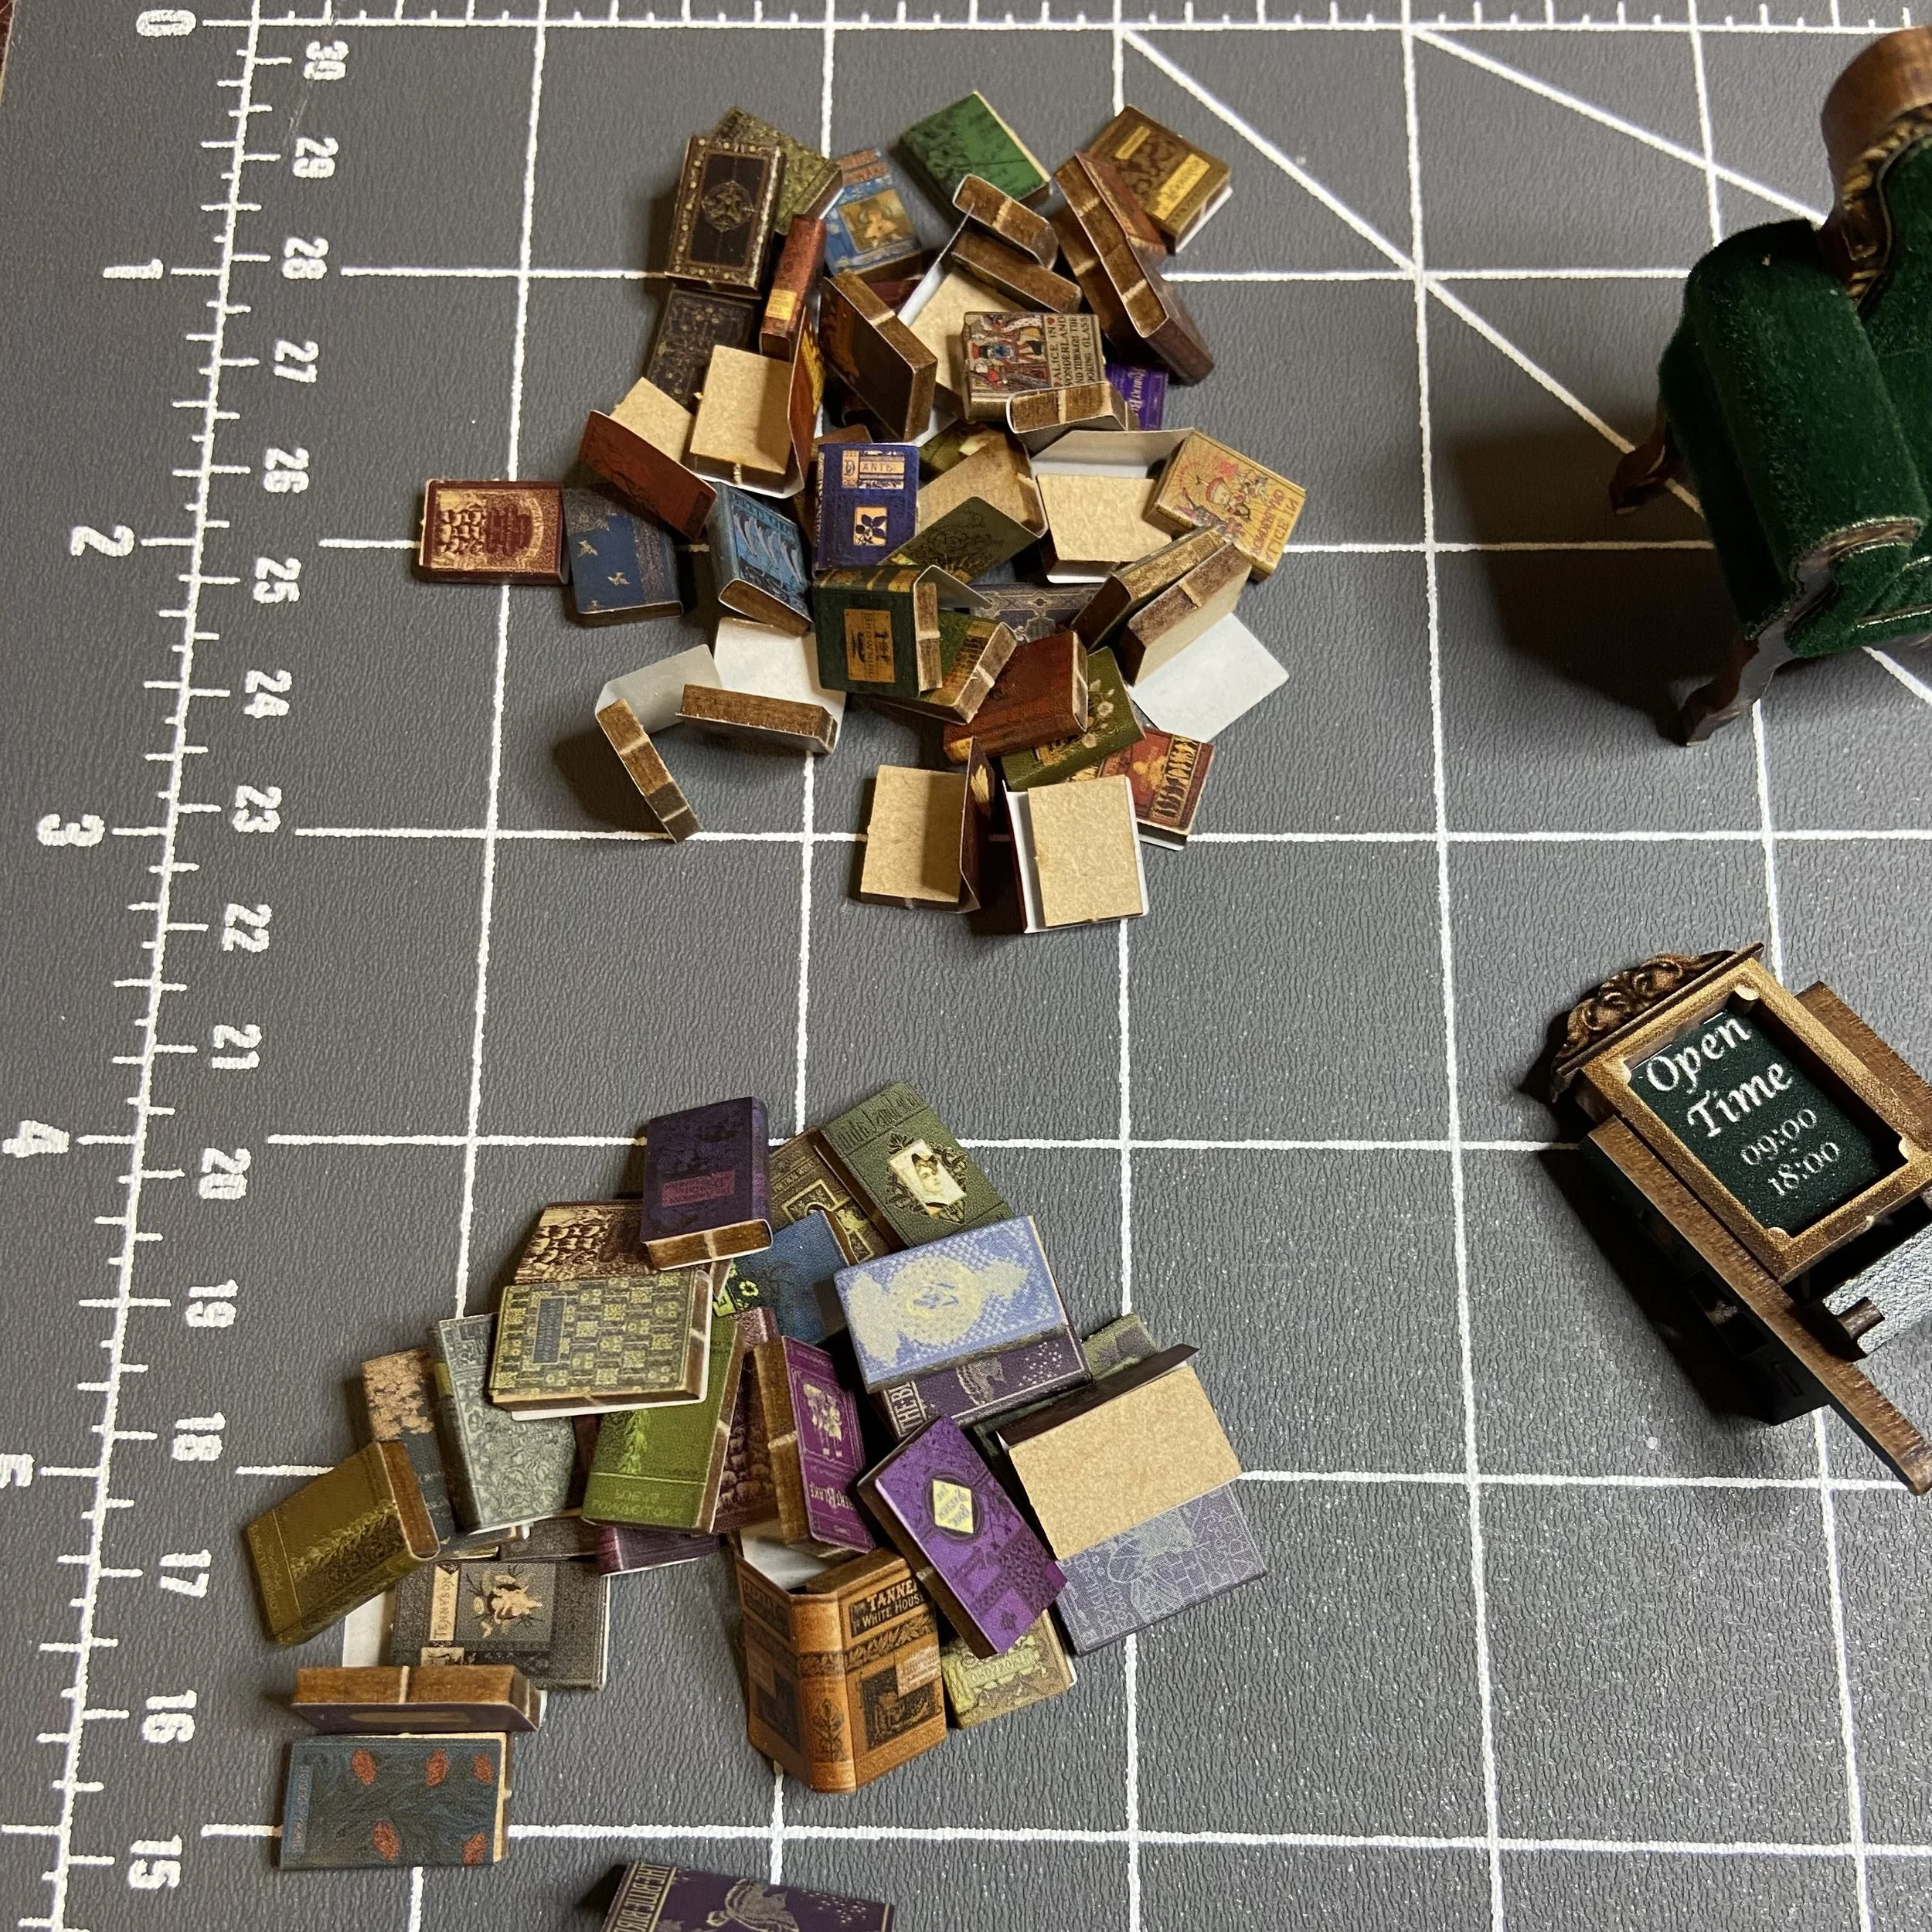
As I worked through assembling the smaller pieces before installing all of them along the walls, I was laying them out together as usual. And when I stopped to take a picture of the layout of miniatures (which always makes me happy), I was dismayed to discover that a number of the sticker book covers had come loose from their wooden book forms. This was a new and unhappy experience…I’ve never had those stickers refuse to stick before! I can only assume sabotage, related to some shadowy government agency. Conspiracy theories aside, I had to stop work and go back and use my bookmaker’s glue (in my handy applicator) to glue down all the rogue book covers, which took a little while and made a little mess. Oh well…it wasn’t actually hard.
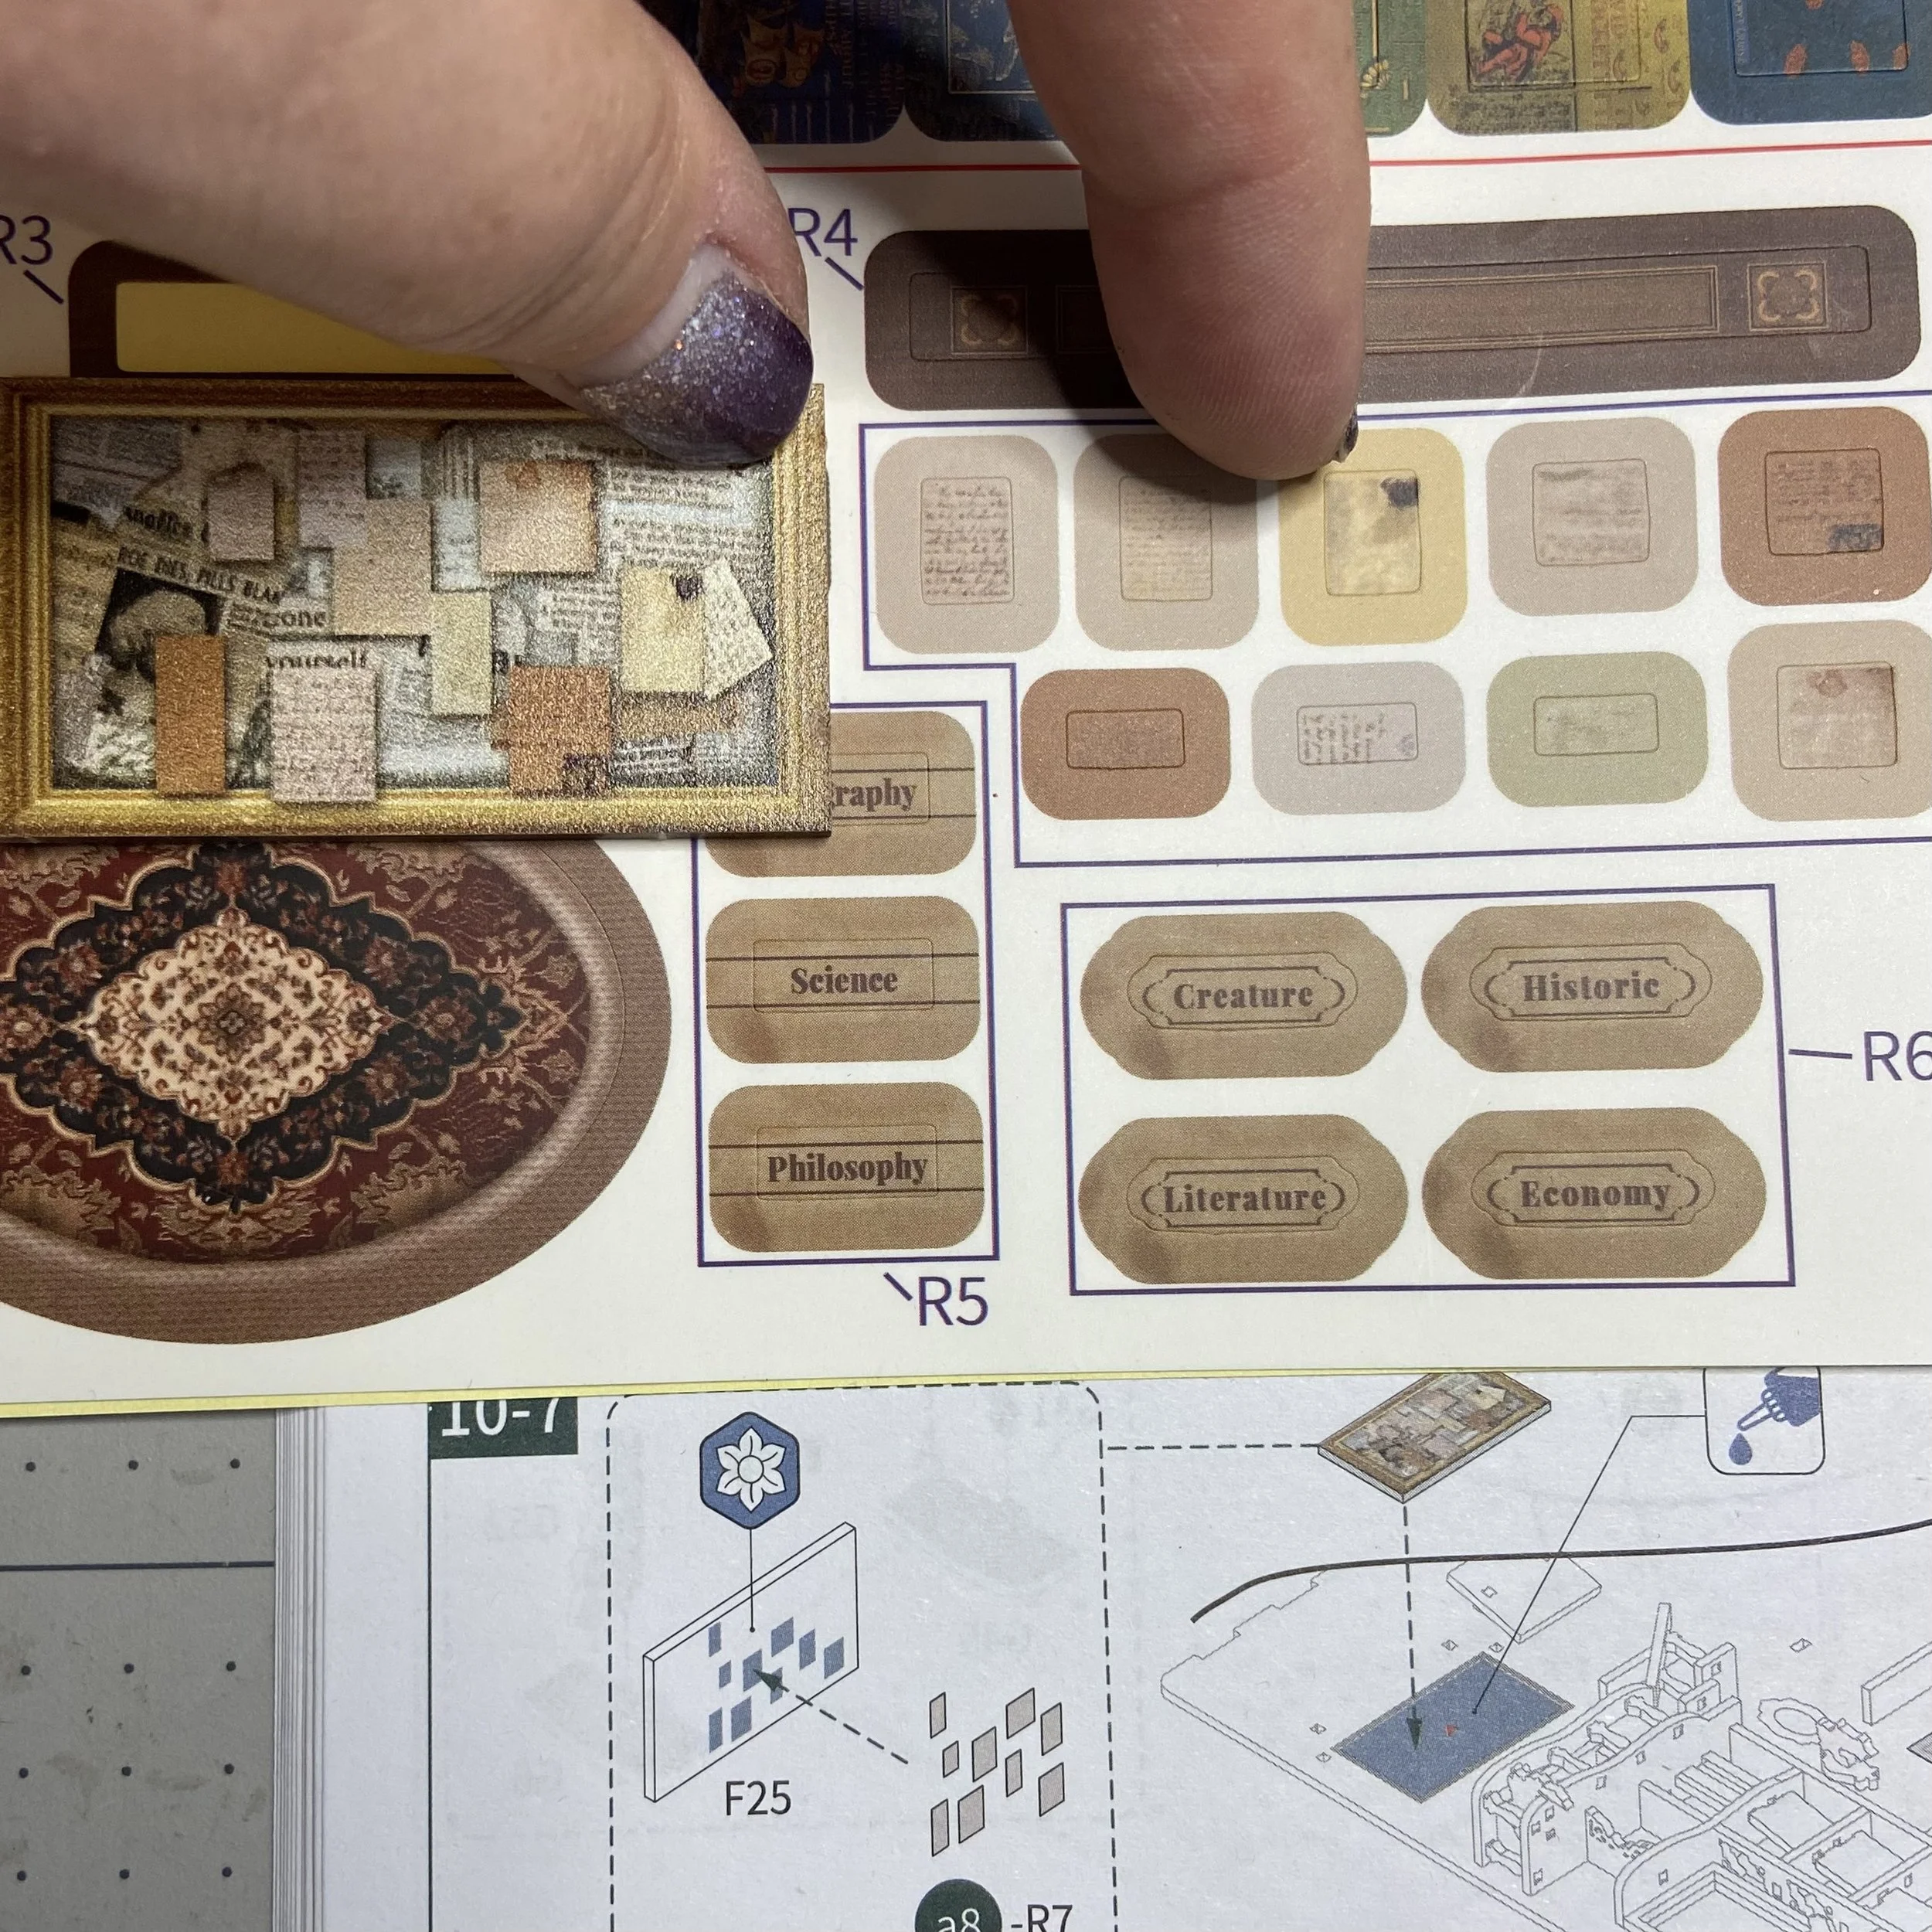
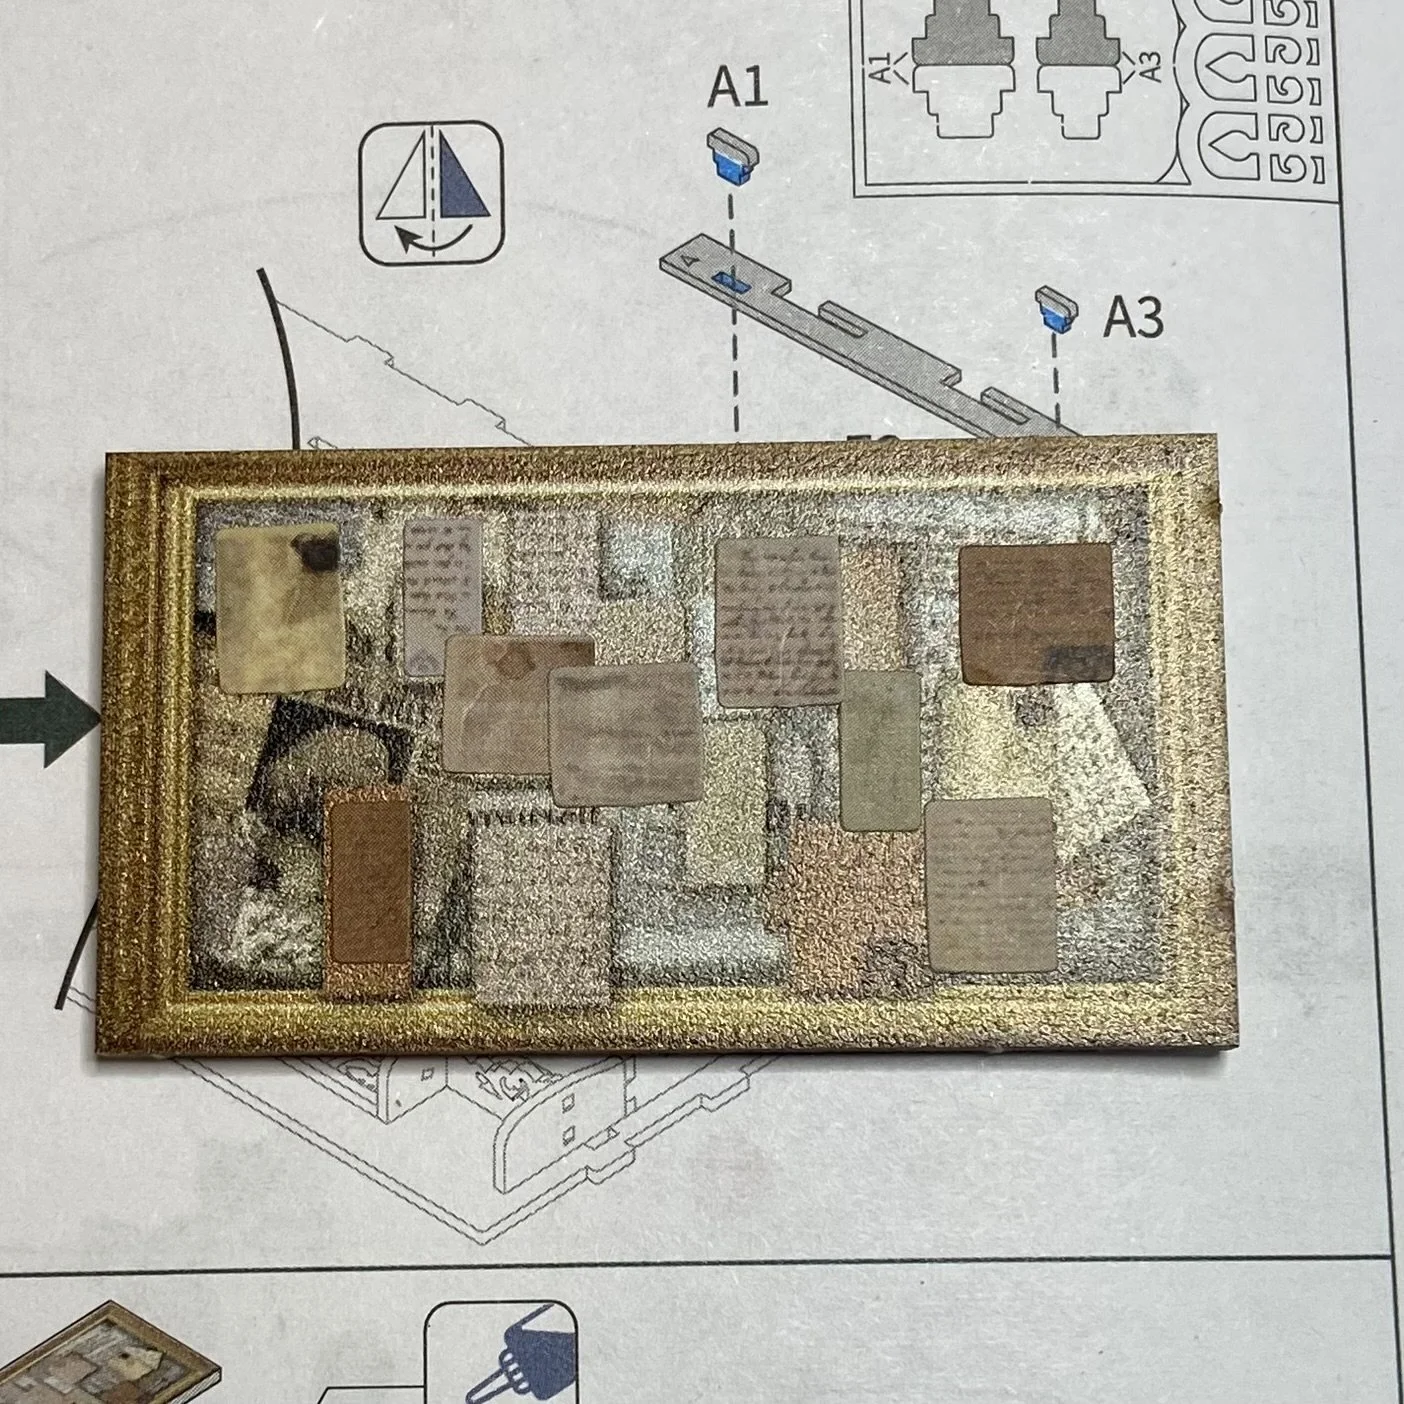
I confess, some of the instructions didn’t make much sense to me. For example, one wooden piece that was to be a wall hanging was already decorated with blurry pictures of notices, as if it were a bulletin board. The instructions called for placing a series of stickers of notices on this wooden piece. I can only assume that this was intended to give a dimensional appearance to a flat piece, but the instructions as to placement were vague, so I just stuck the stickers on however I pleased. I didn’t think the end result was worth the extra effort, but I did it anyway.
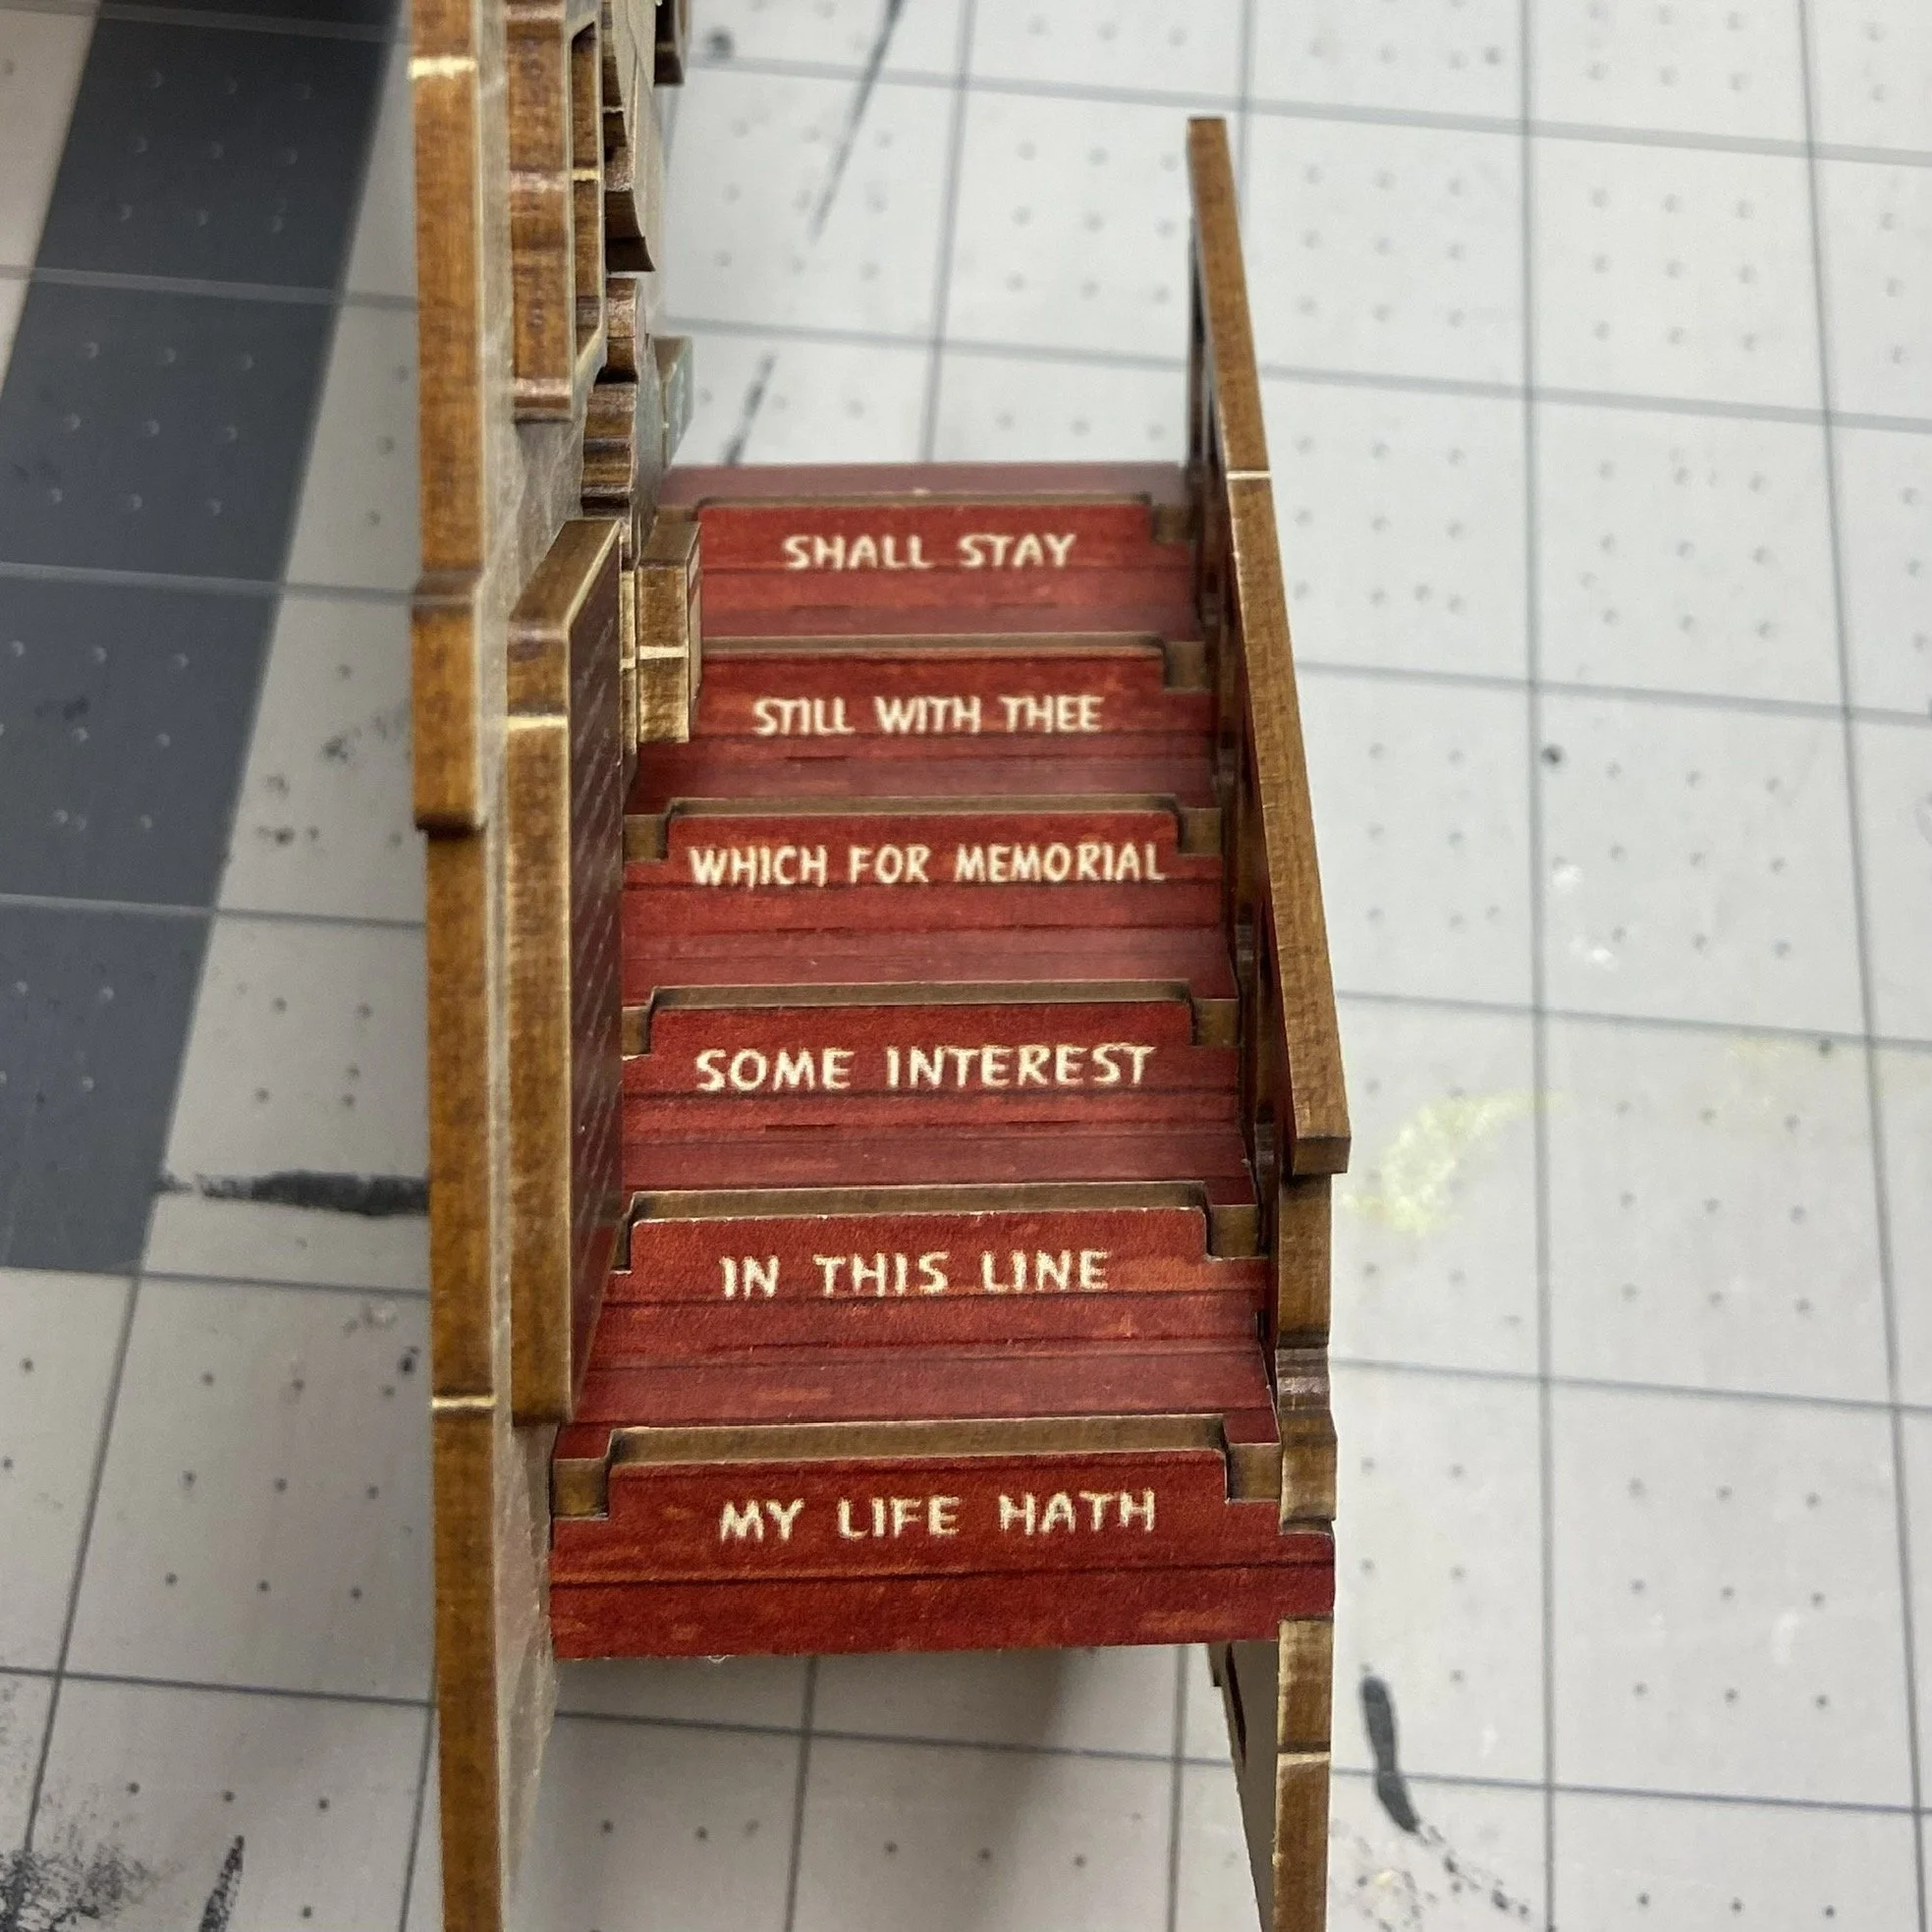
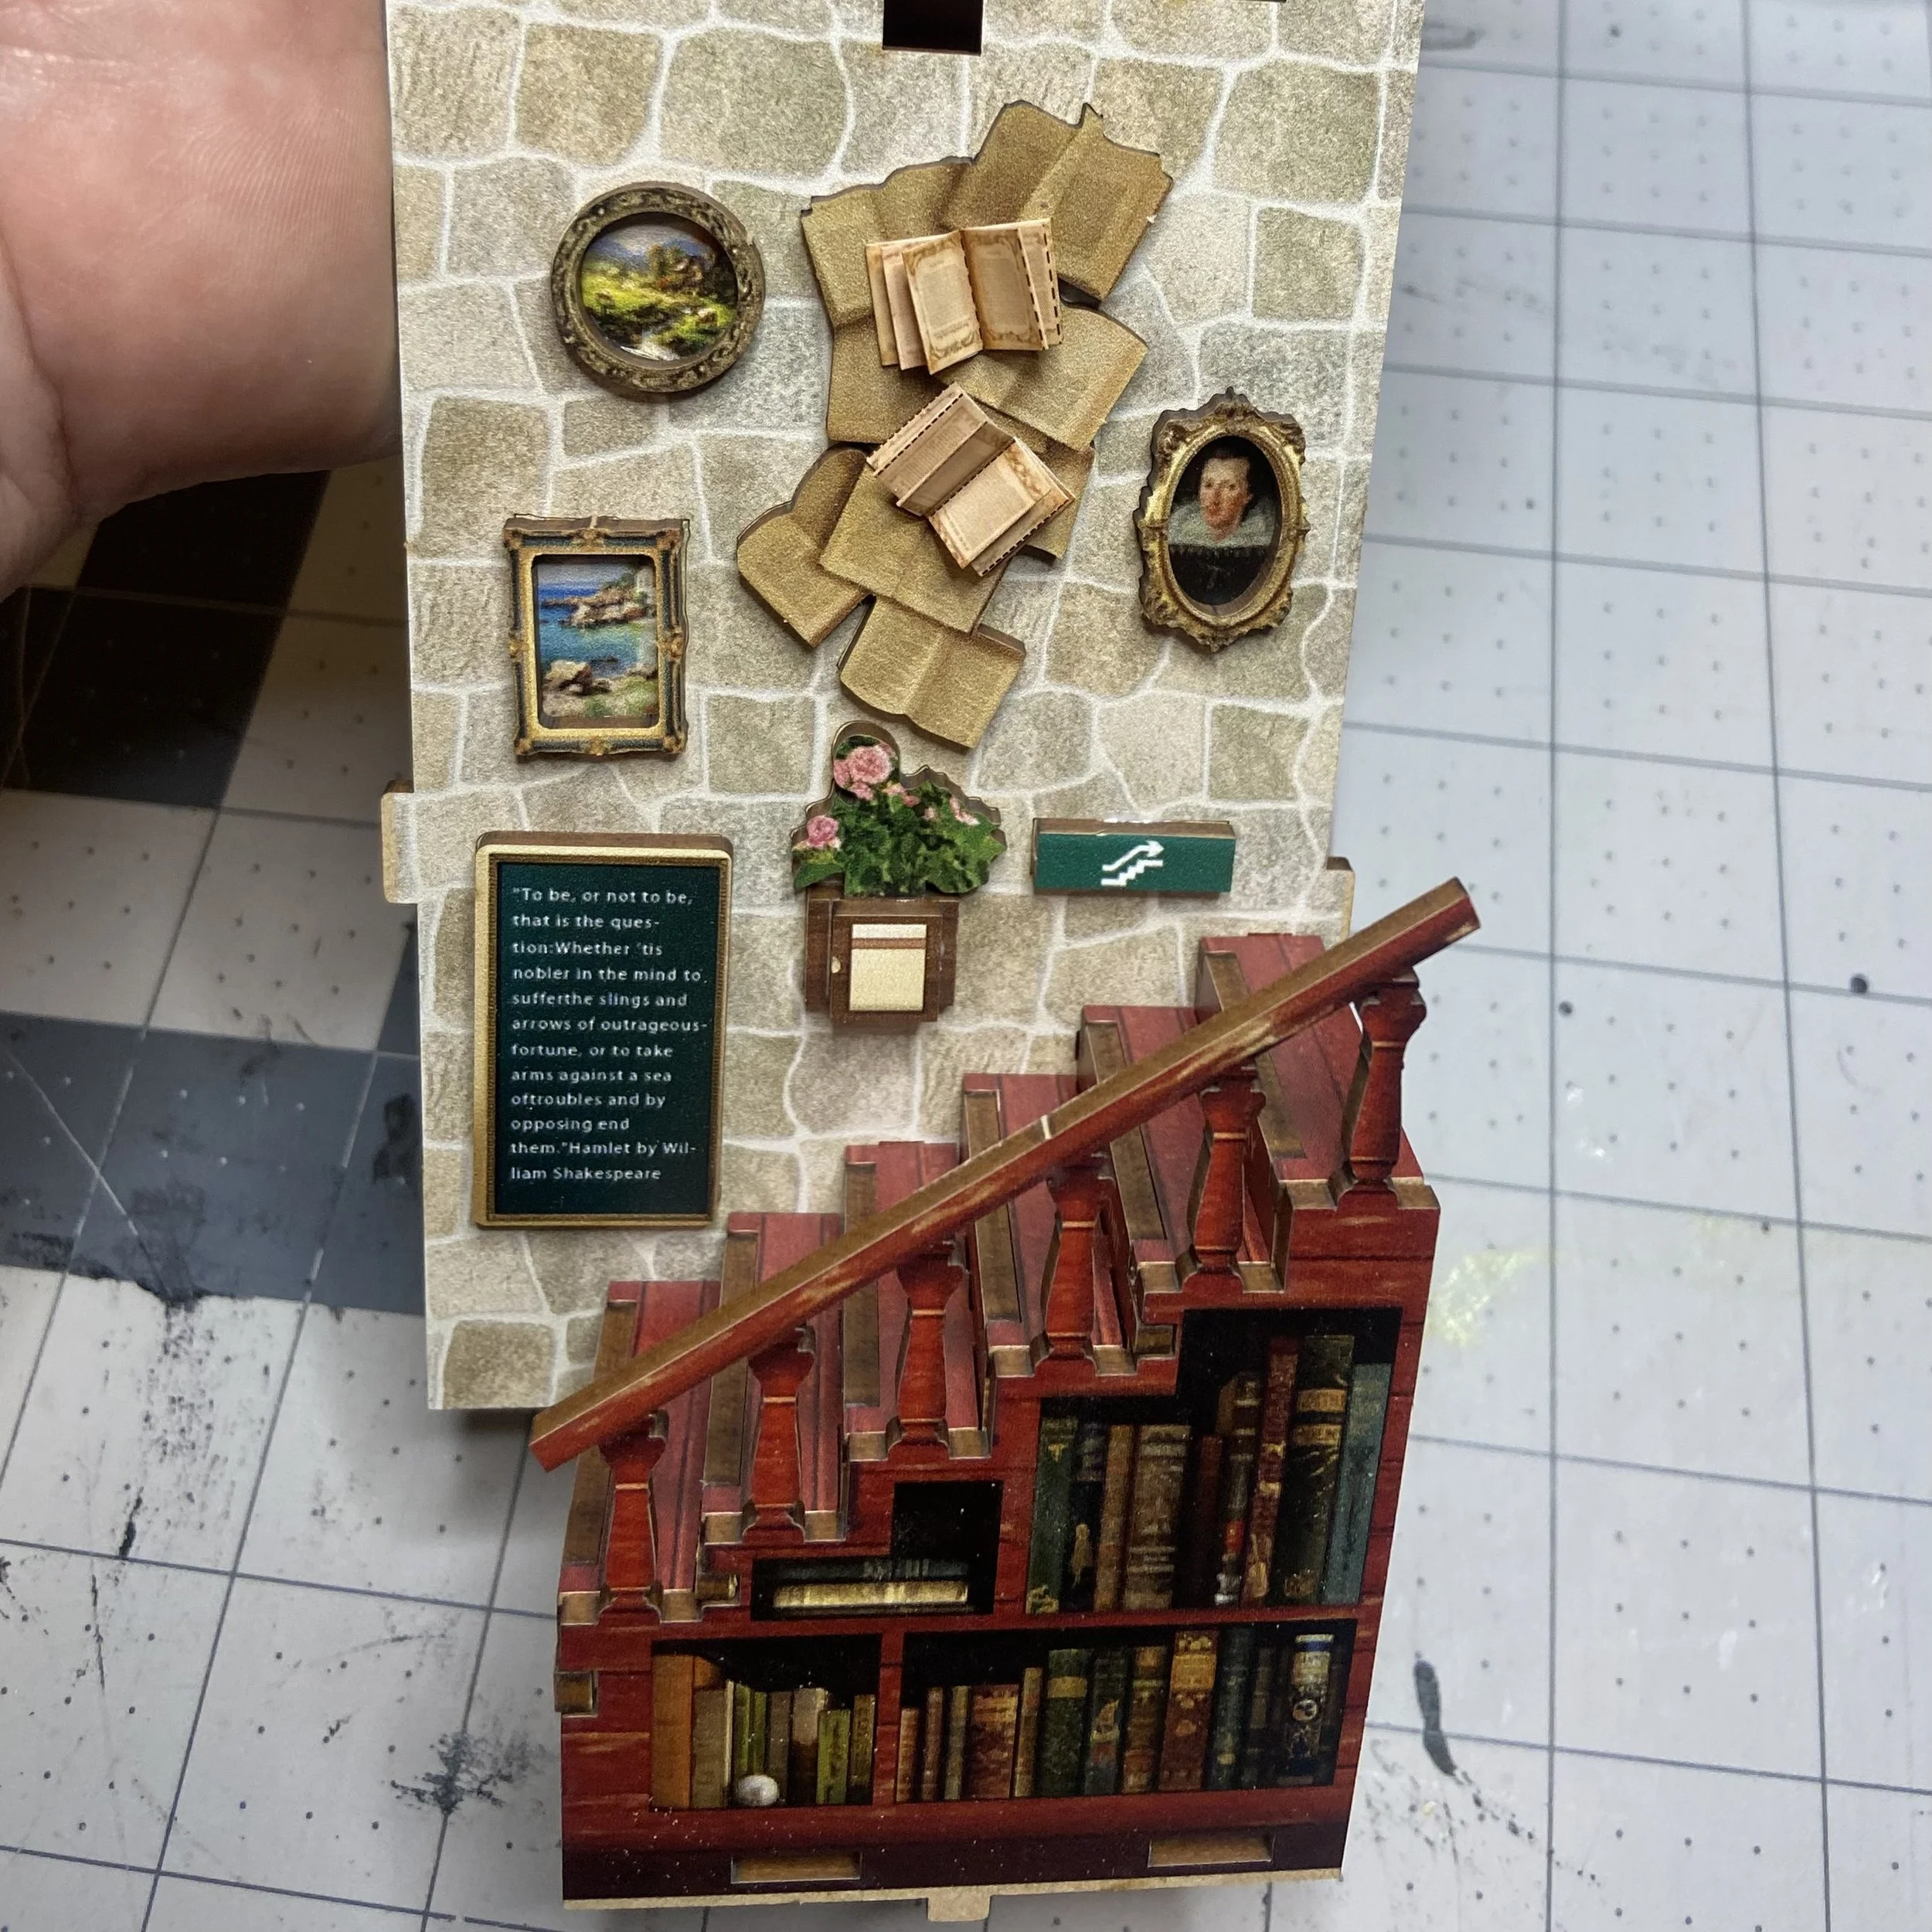
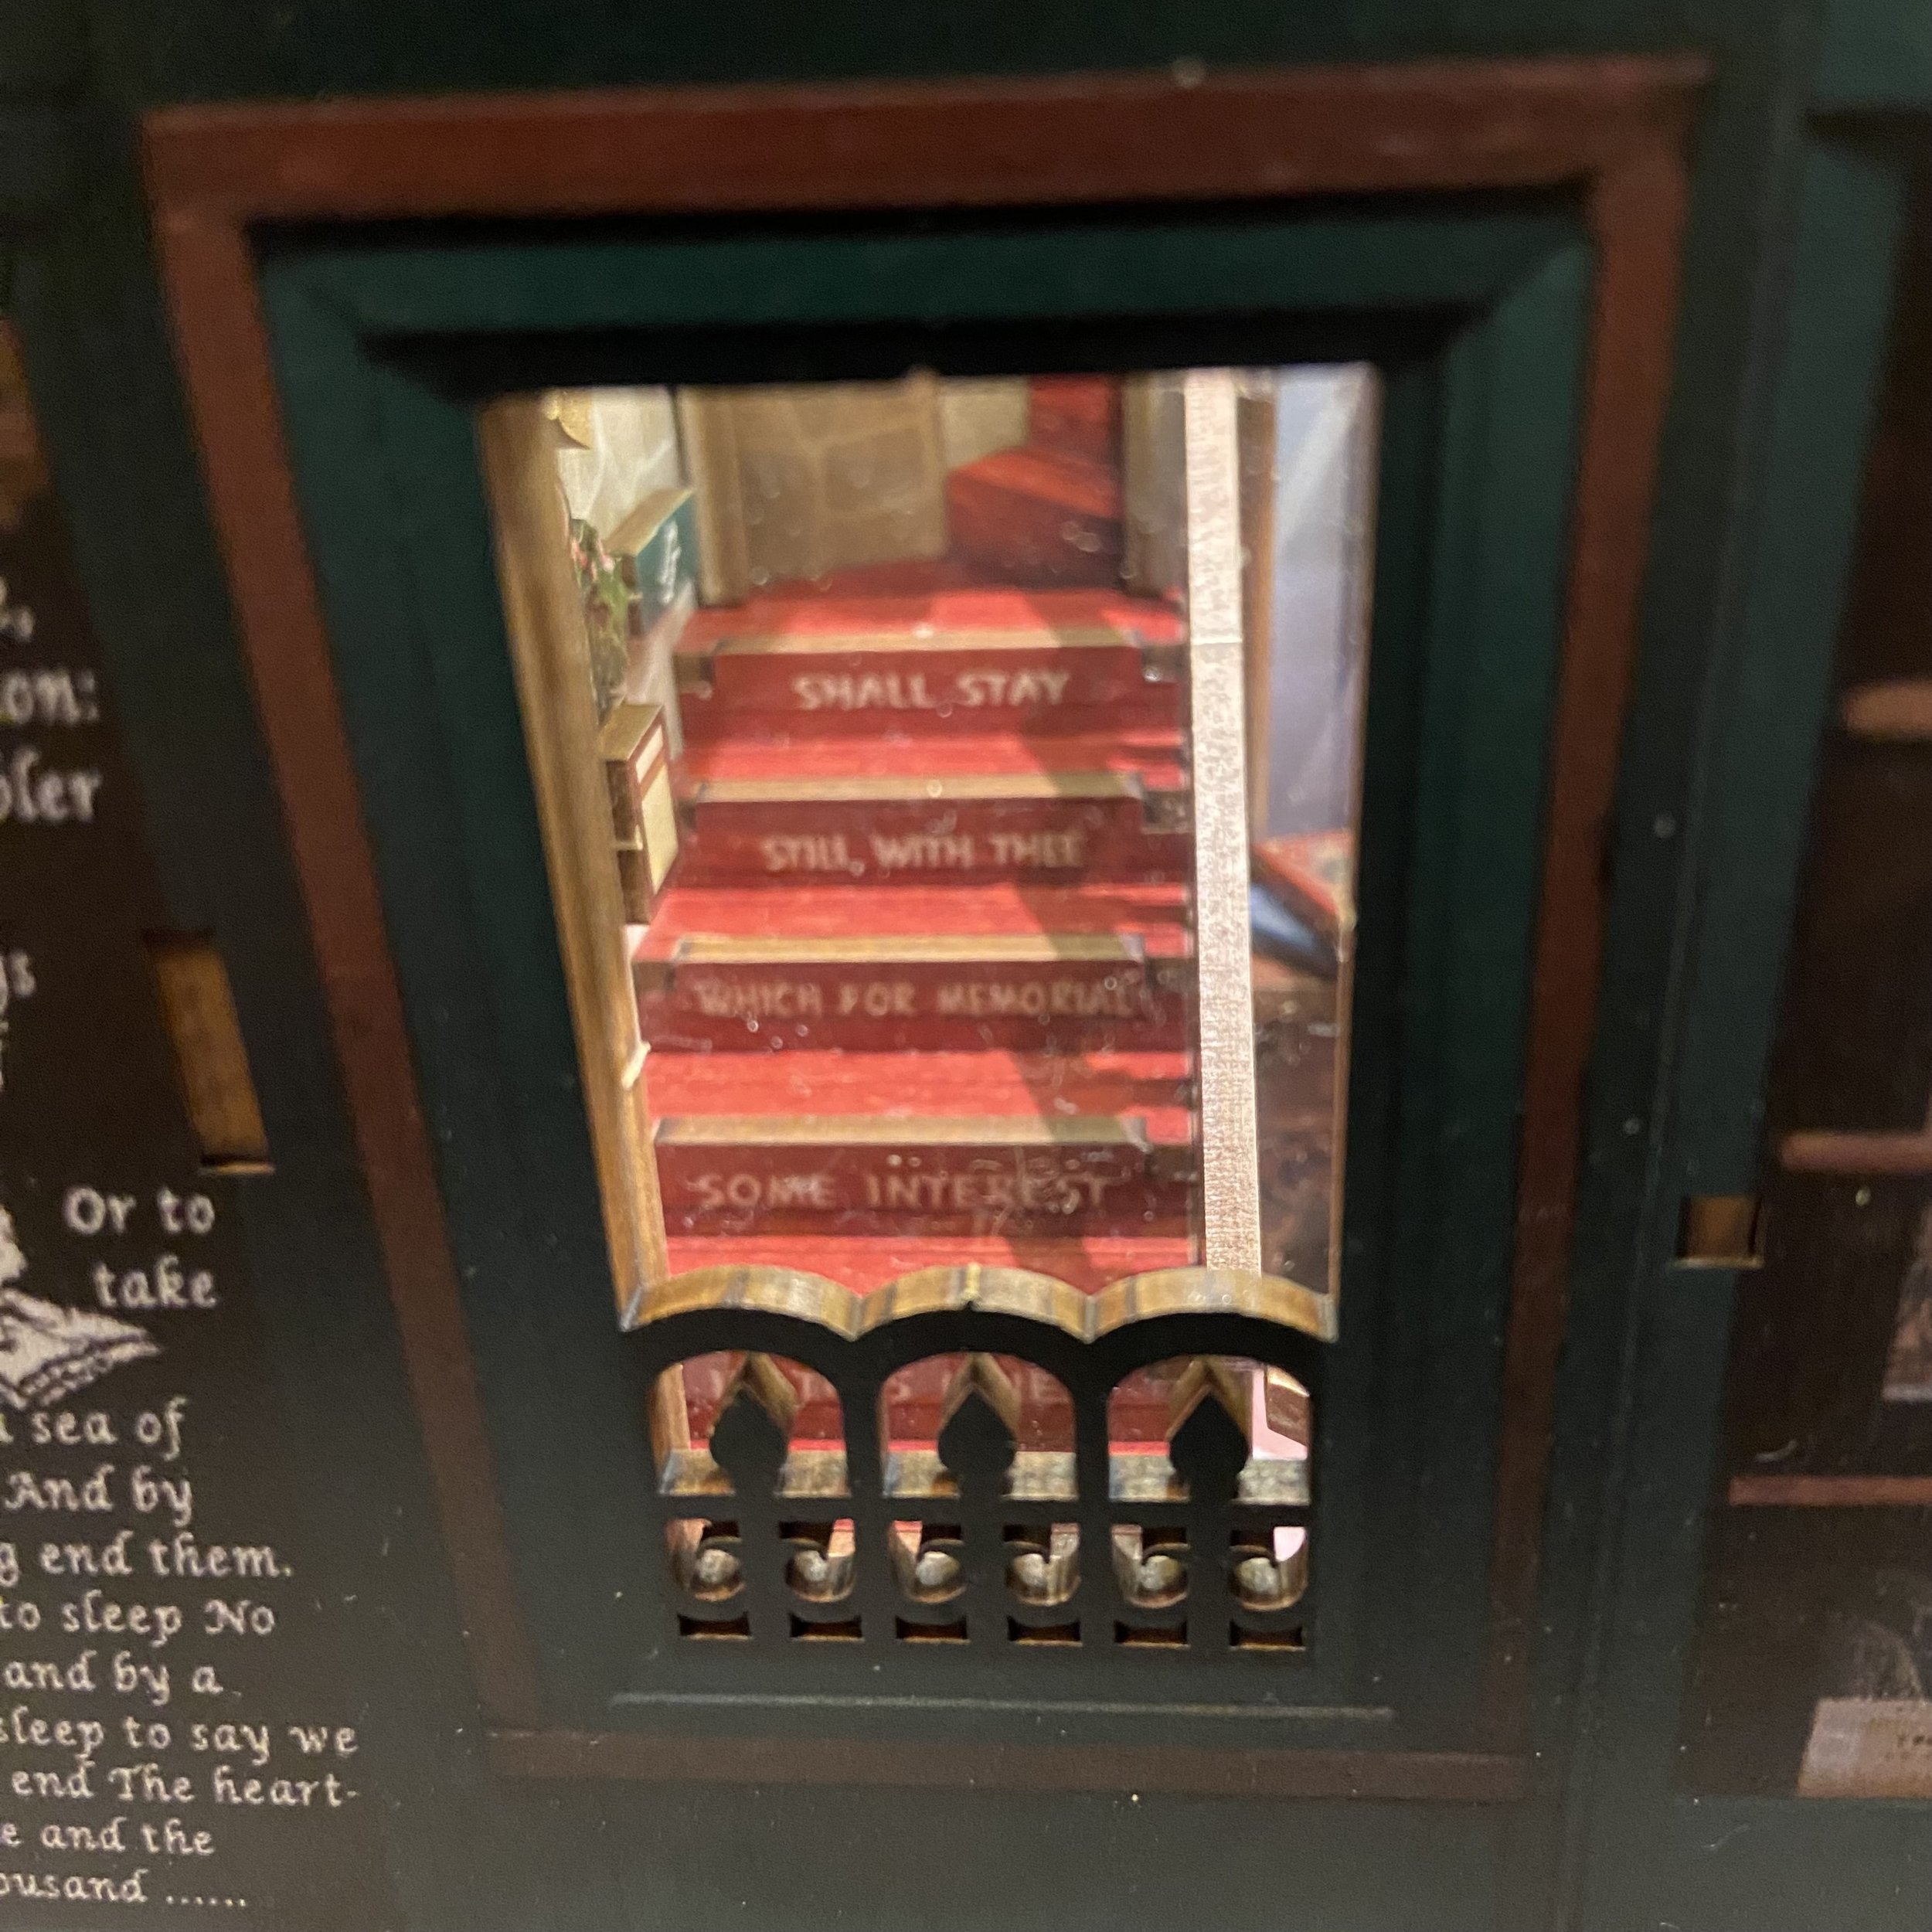
When I started assembling the stairs, it was fun to watch the poem come together. Then when the stairs were placed against the wall and the other wall decorations glued down, I enjoyed the fact that I could actually read all of Hamlet’s famous soliloquy on the wall hanging. So fun!
When the time came to start glueing in books, I was surprised (and happy) to realize that this build required the use of every single book I’d made. Unlike all the other kits I’ve done, there were absolutely no books left over. This seems sensible in a book store.
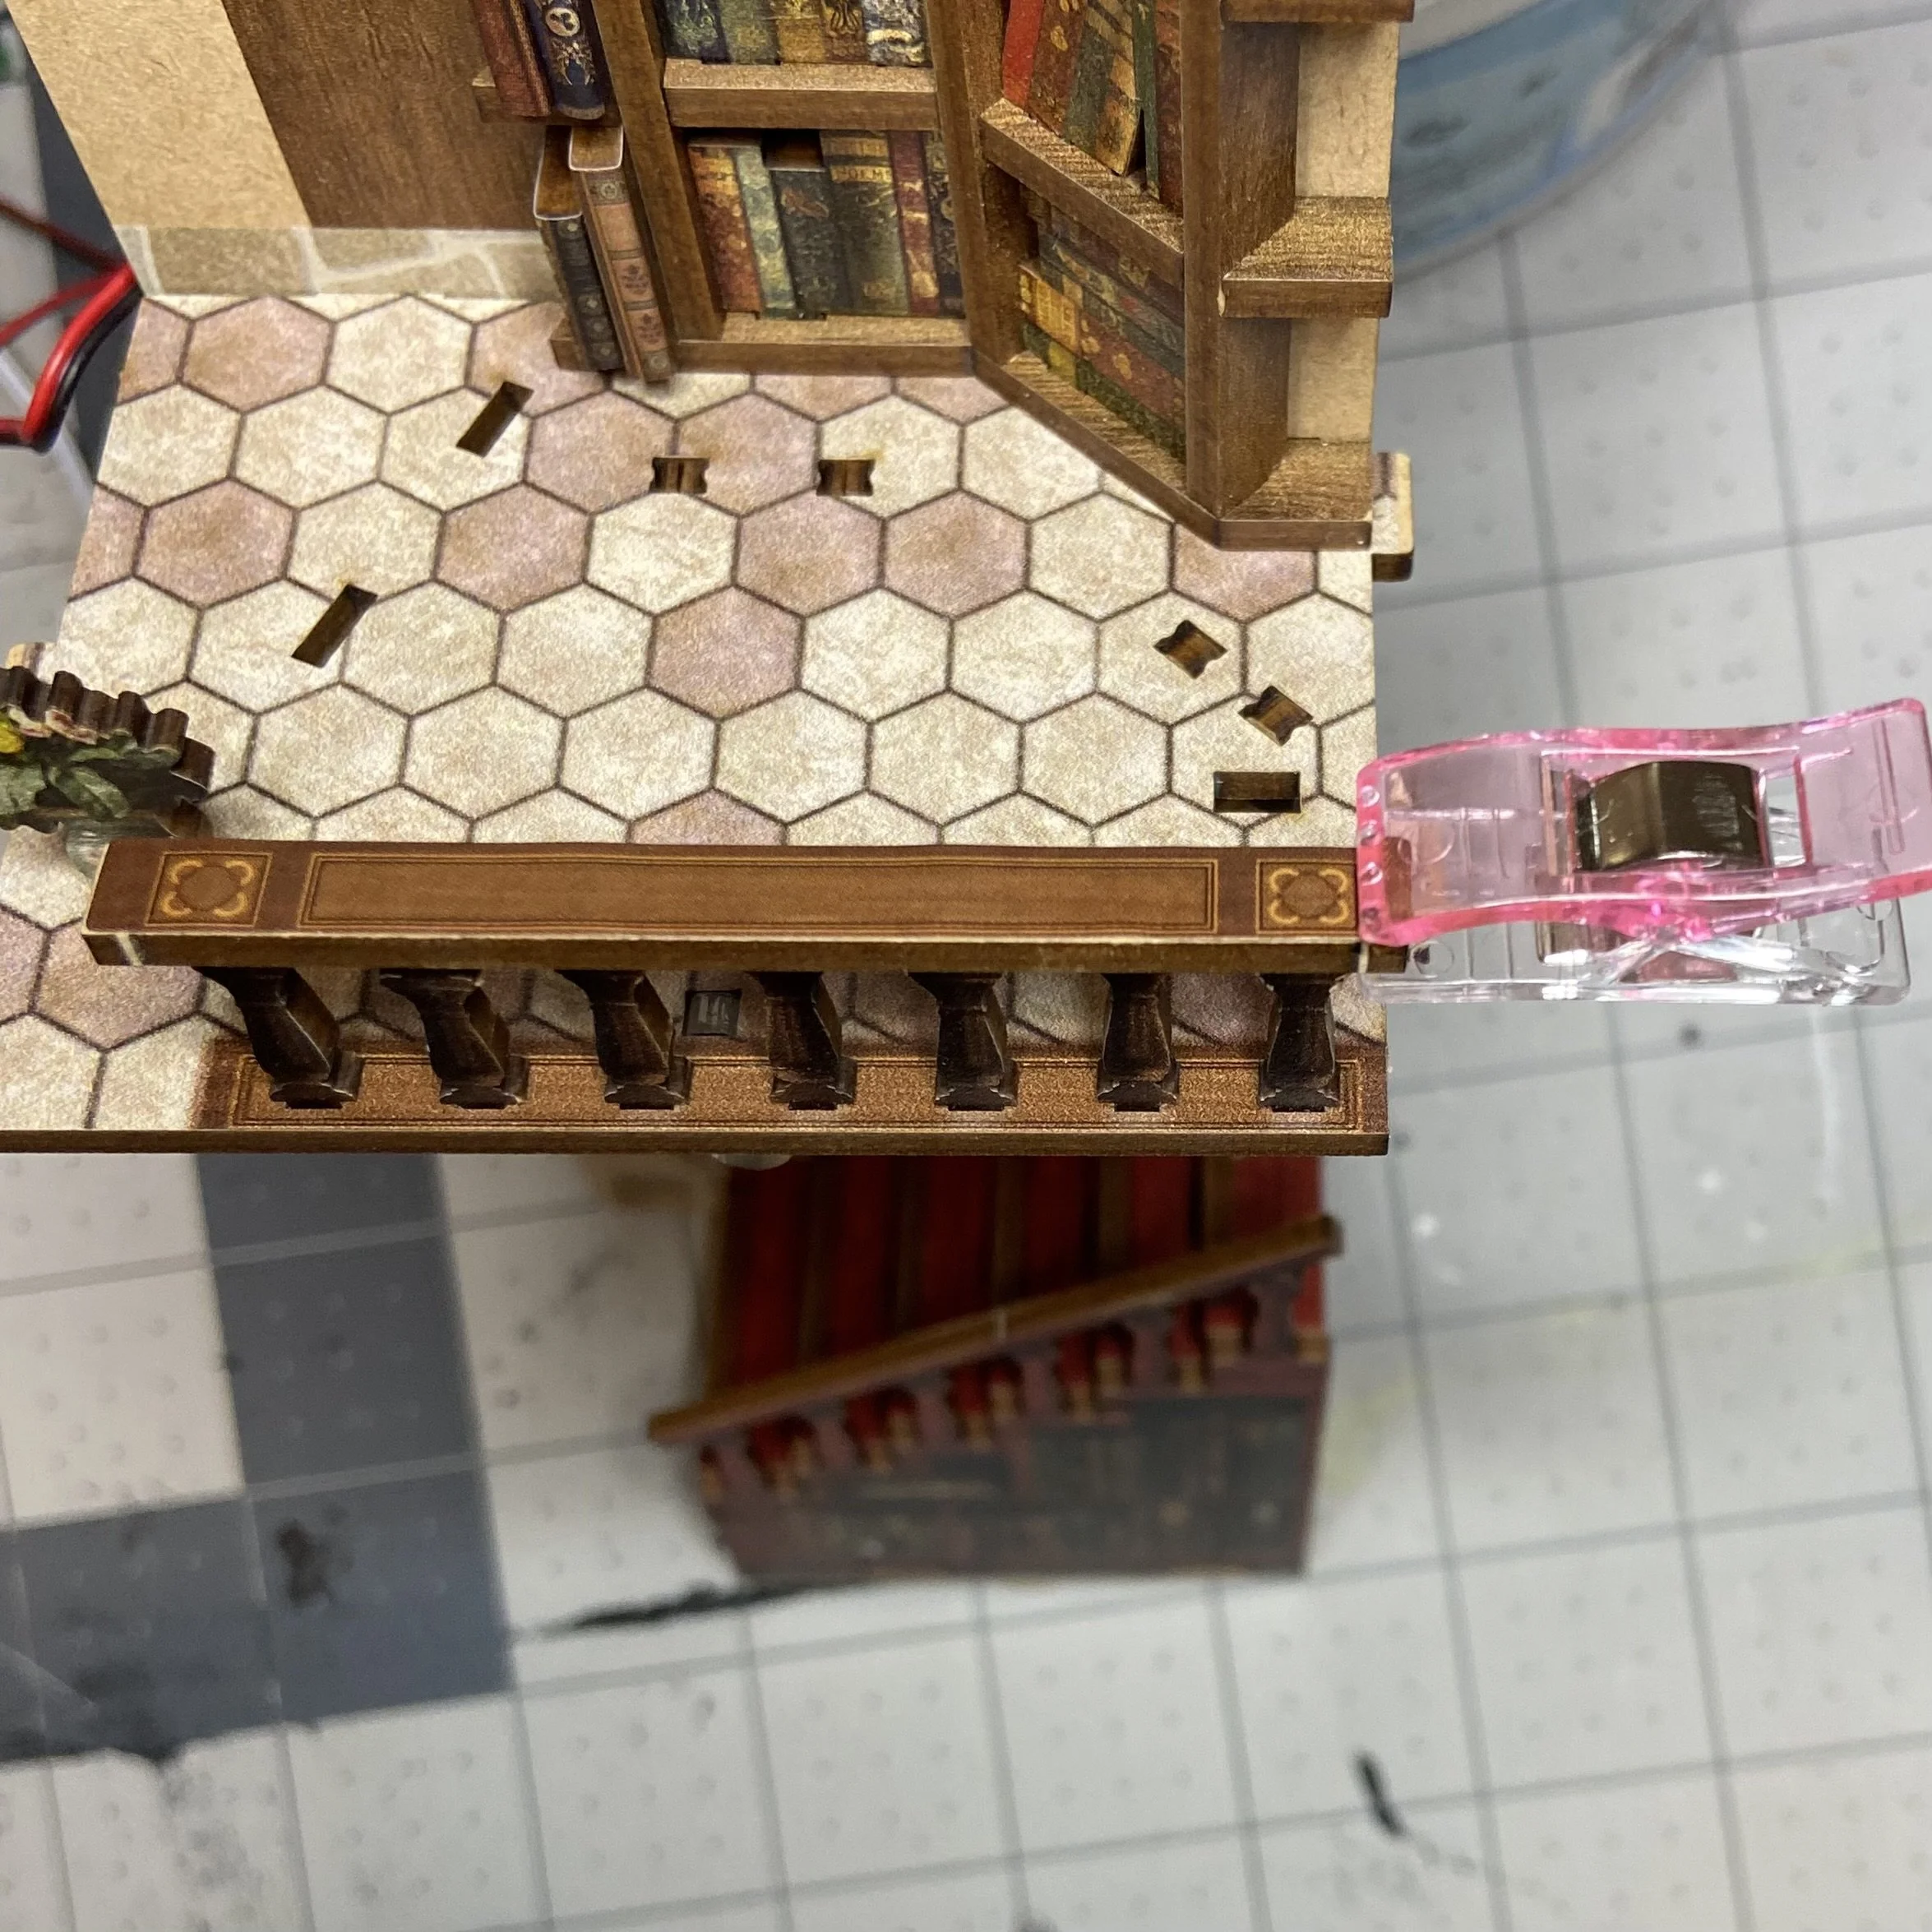
There were a few places where, after the assembly of a number of pieces resulted in a balustrade or a handrail, a wood-grain sticker was applied over the top of the rail to cover all the joins. And as with the book covers, they didn’t always want to stick. Glue to the rescue again, with one of my little sewing clips to hold the recalcitrant end in place until the glue dried.
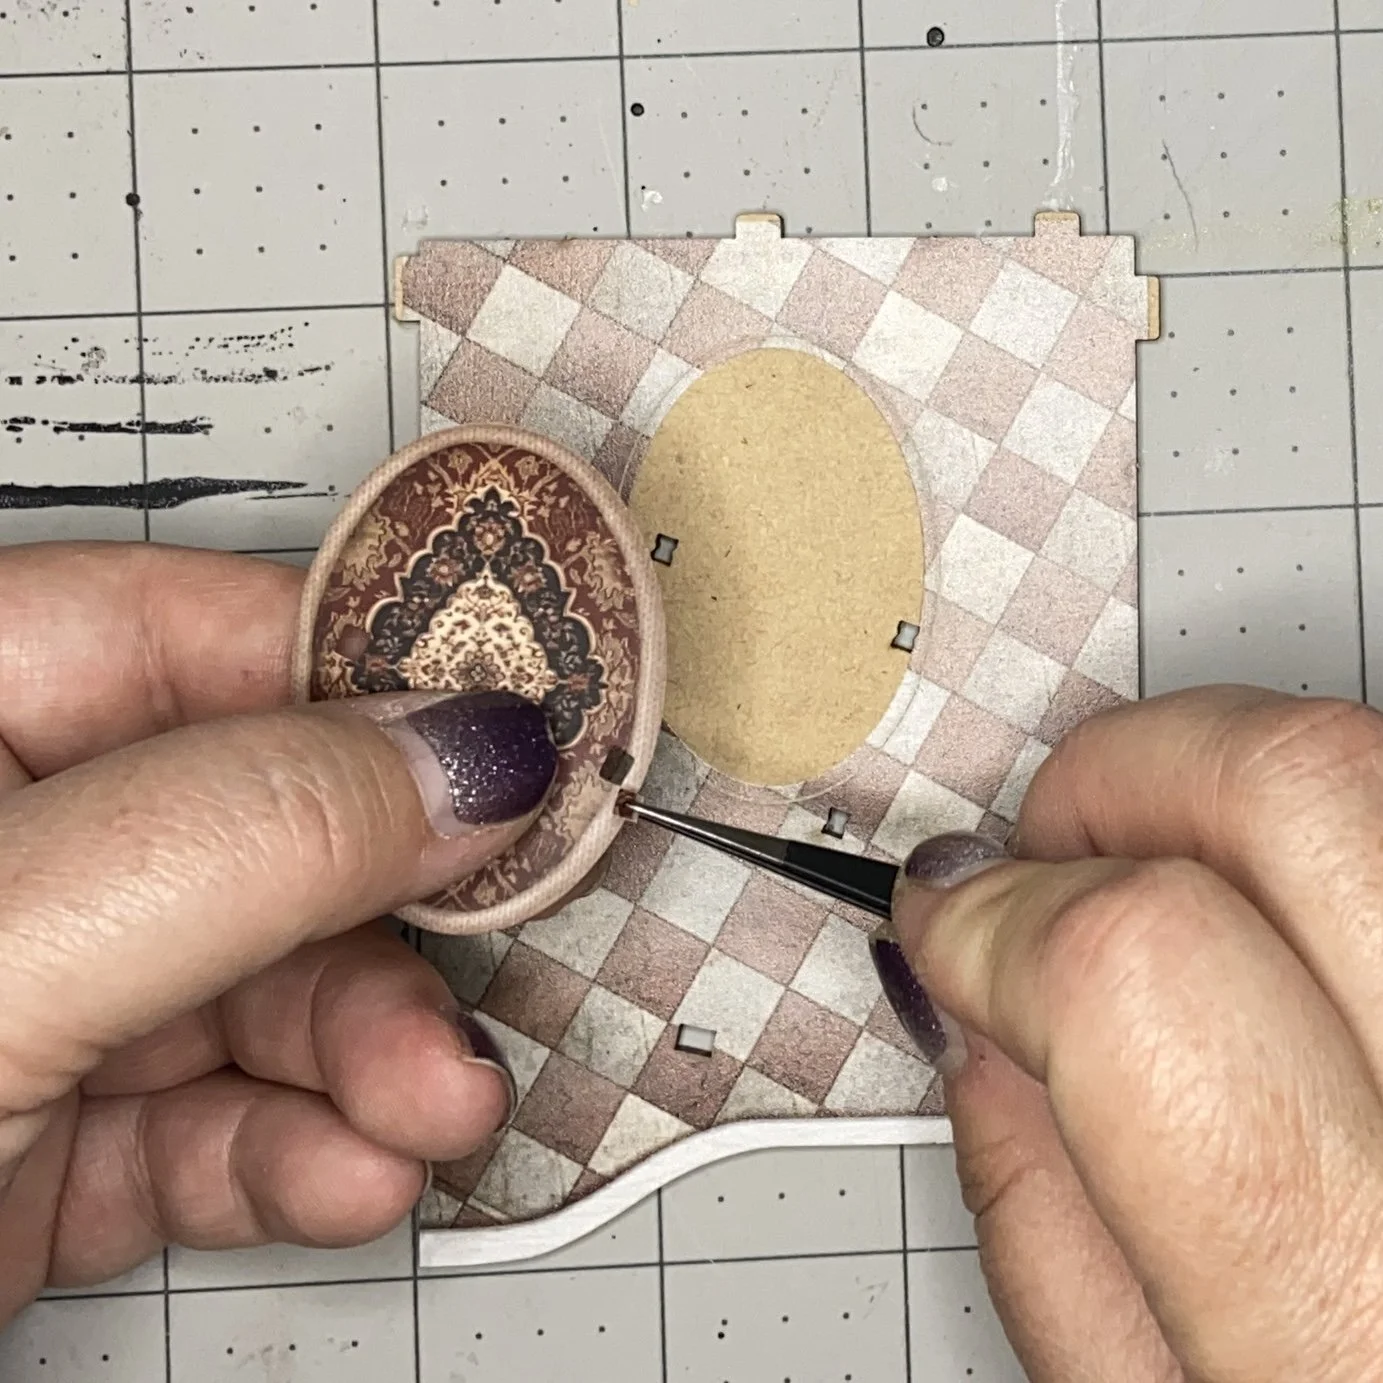
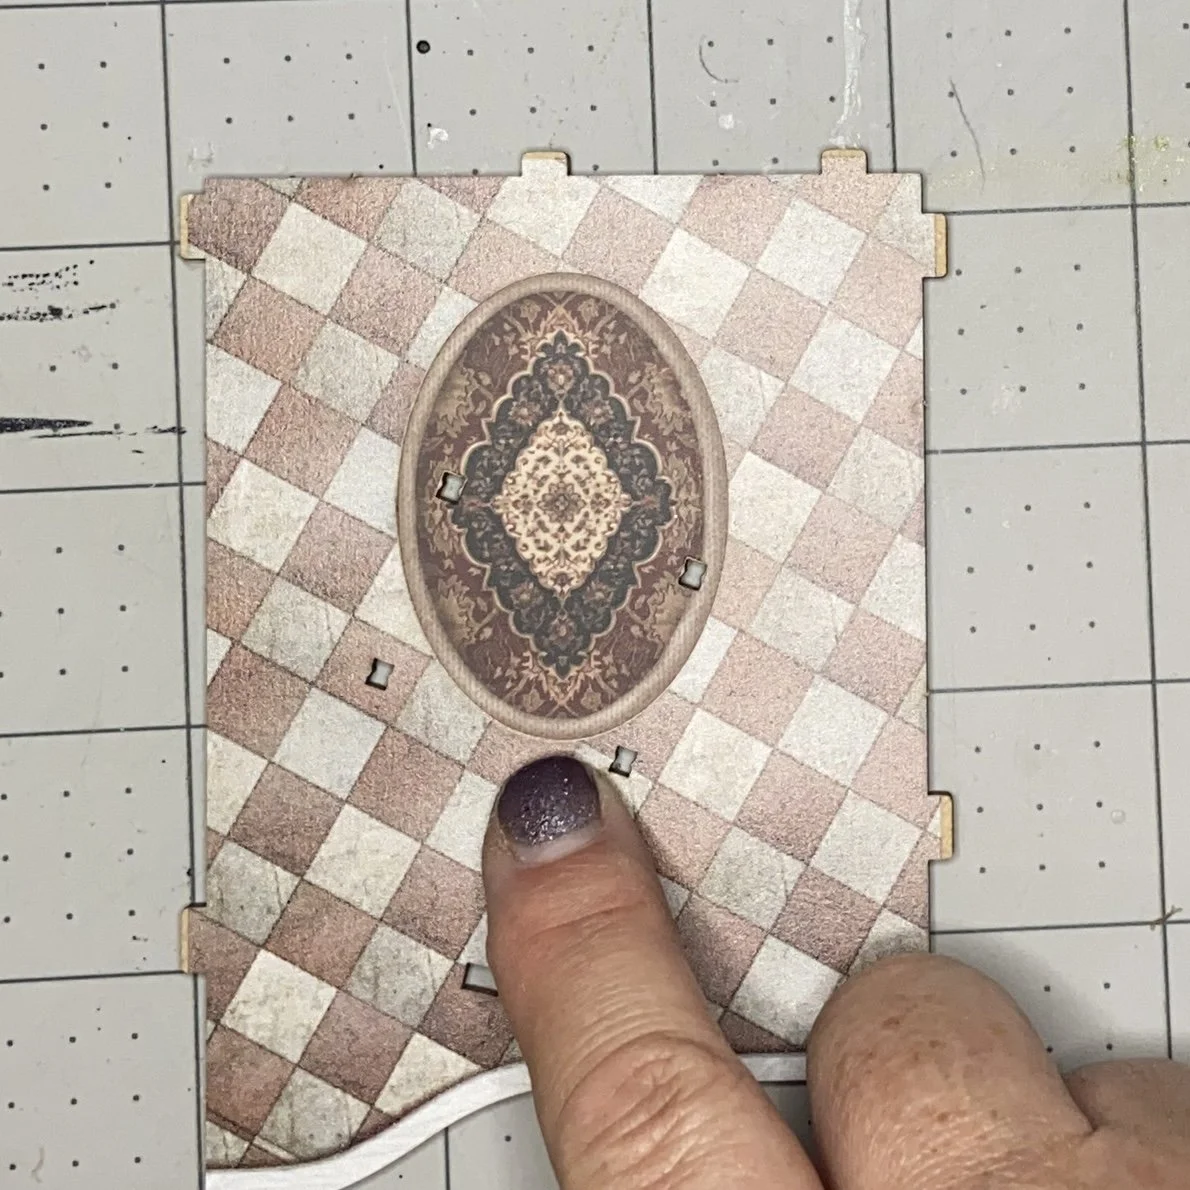
When I got to the floor of one of the upper layers, there was a sticker (that looked like a carpet) that was supposed to go over the floor, with a couple holes in the floor and sticker to allow some furniture to be inserted into the floor. Unlike with my Spacetime Museum booknook, I realized that I could see the little holes in the carpet sticker, and carefully pick away the extra sticker paper so I could line the sticker up with the holes in the floor. It lined up perfectly. See, mom? I can be taught.
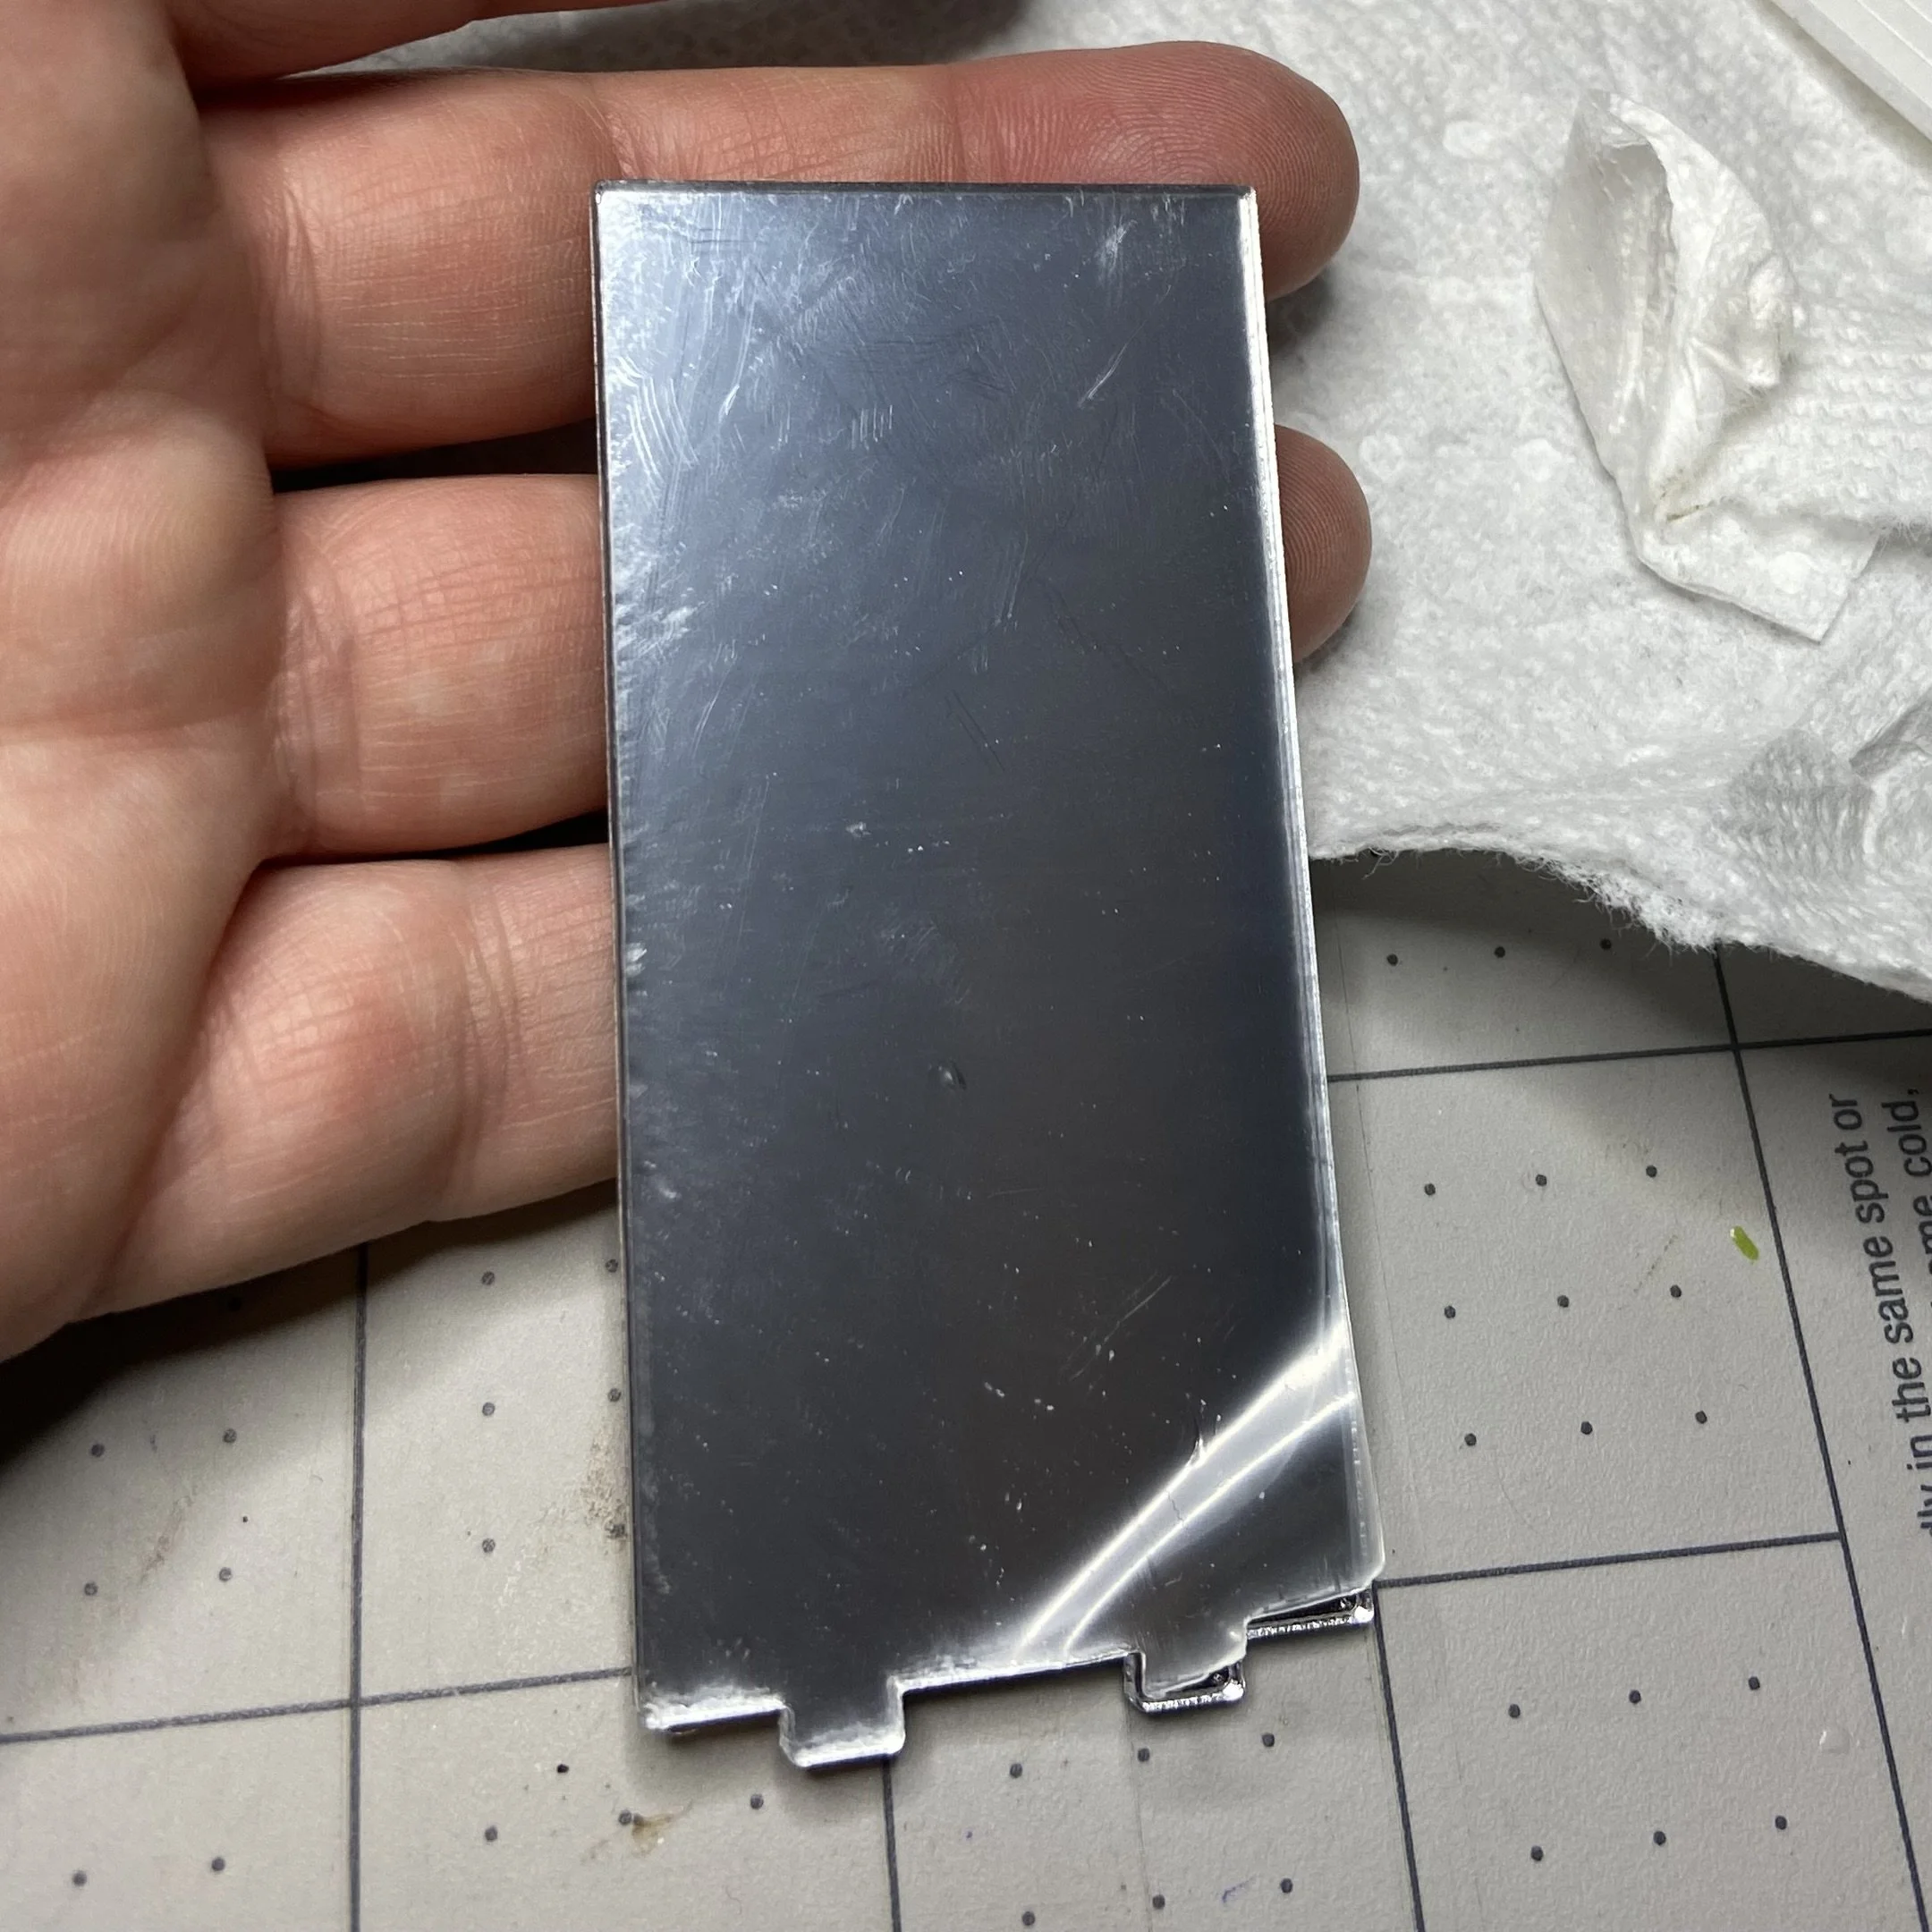
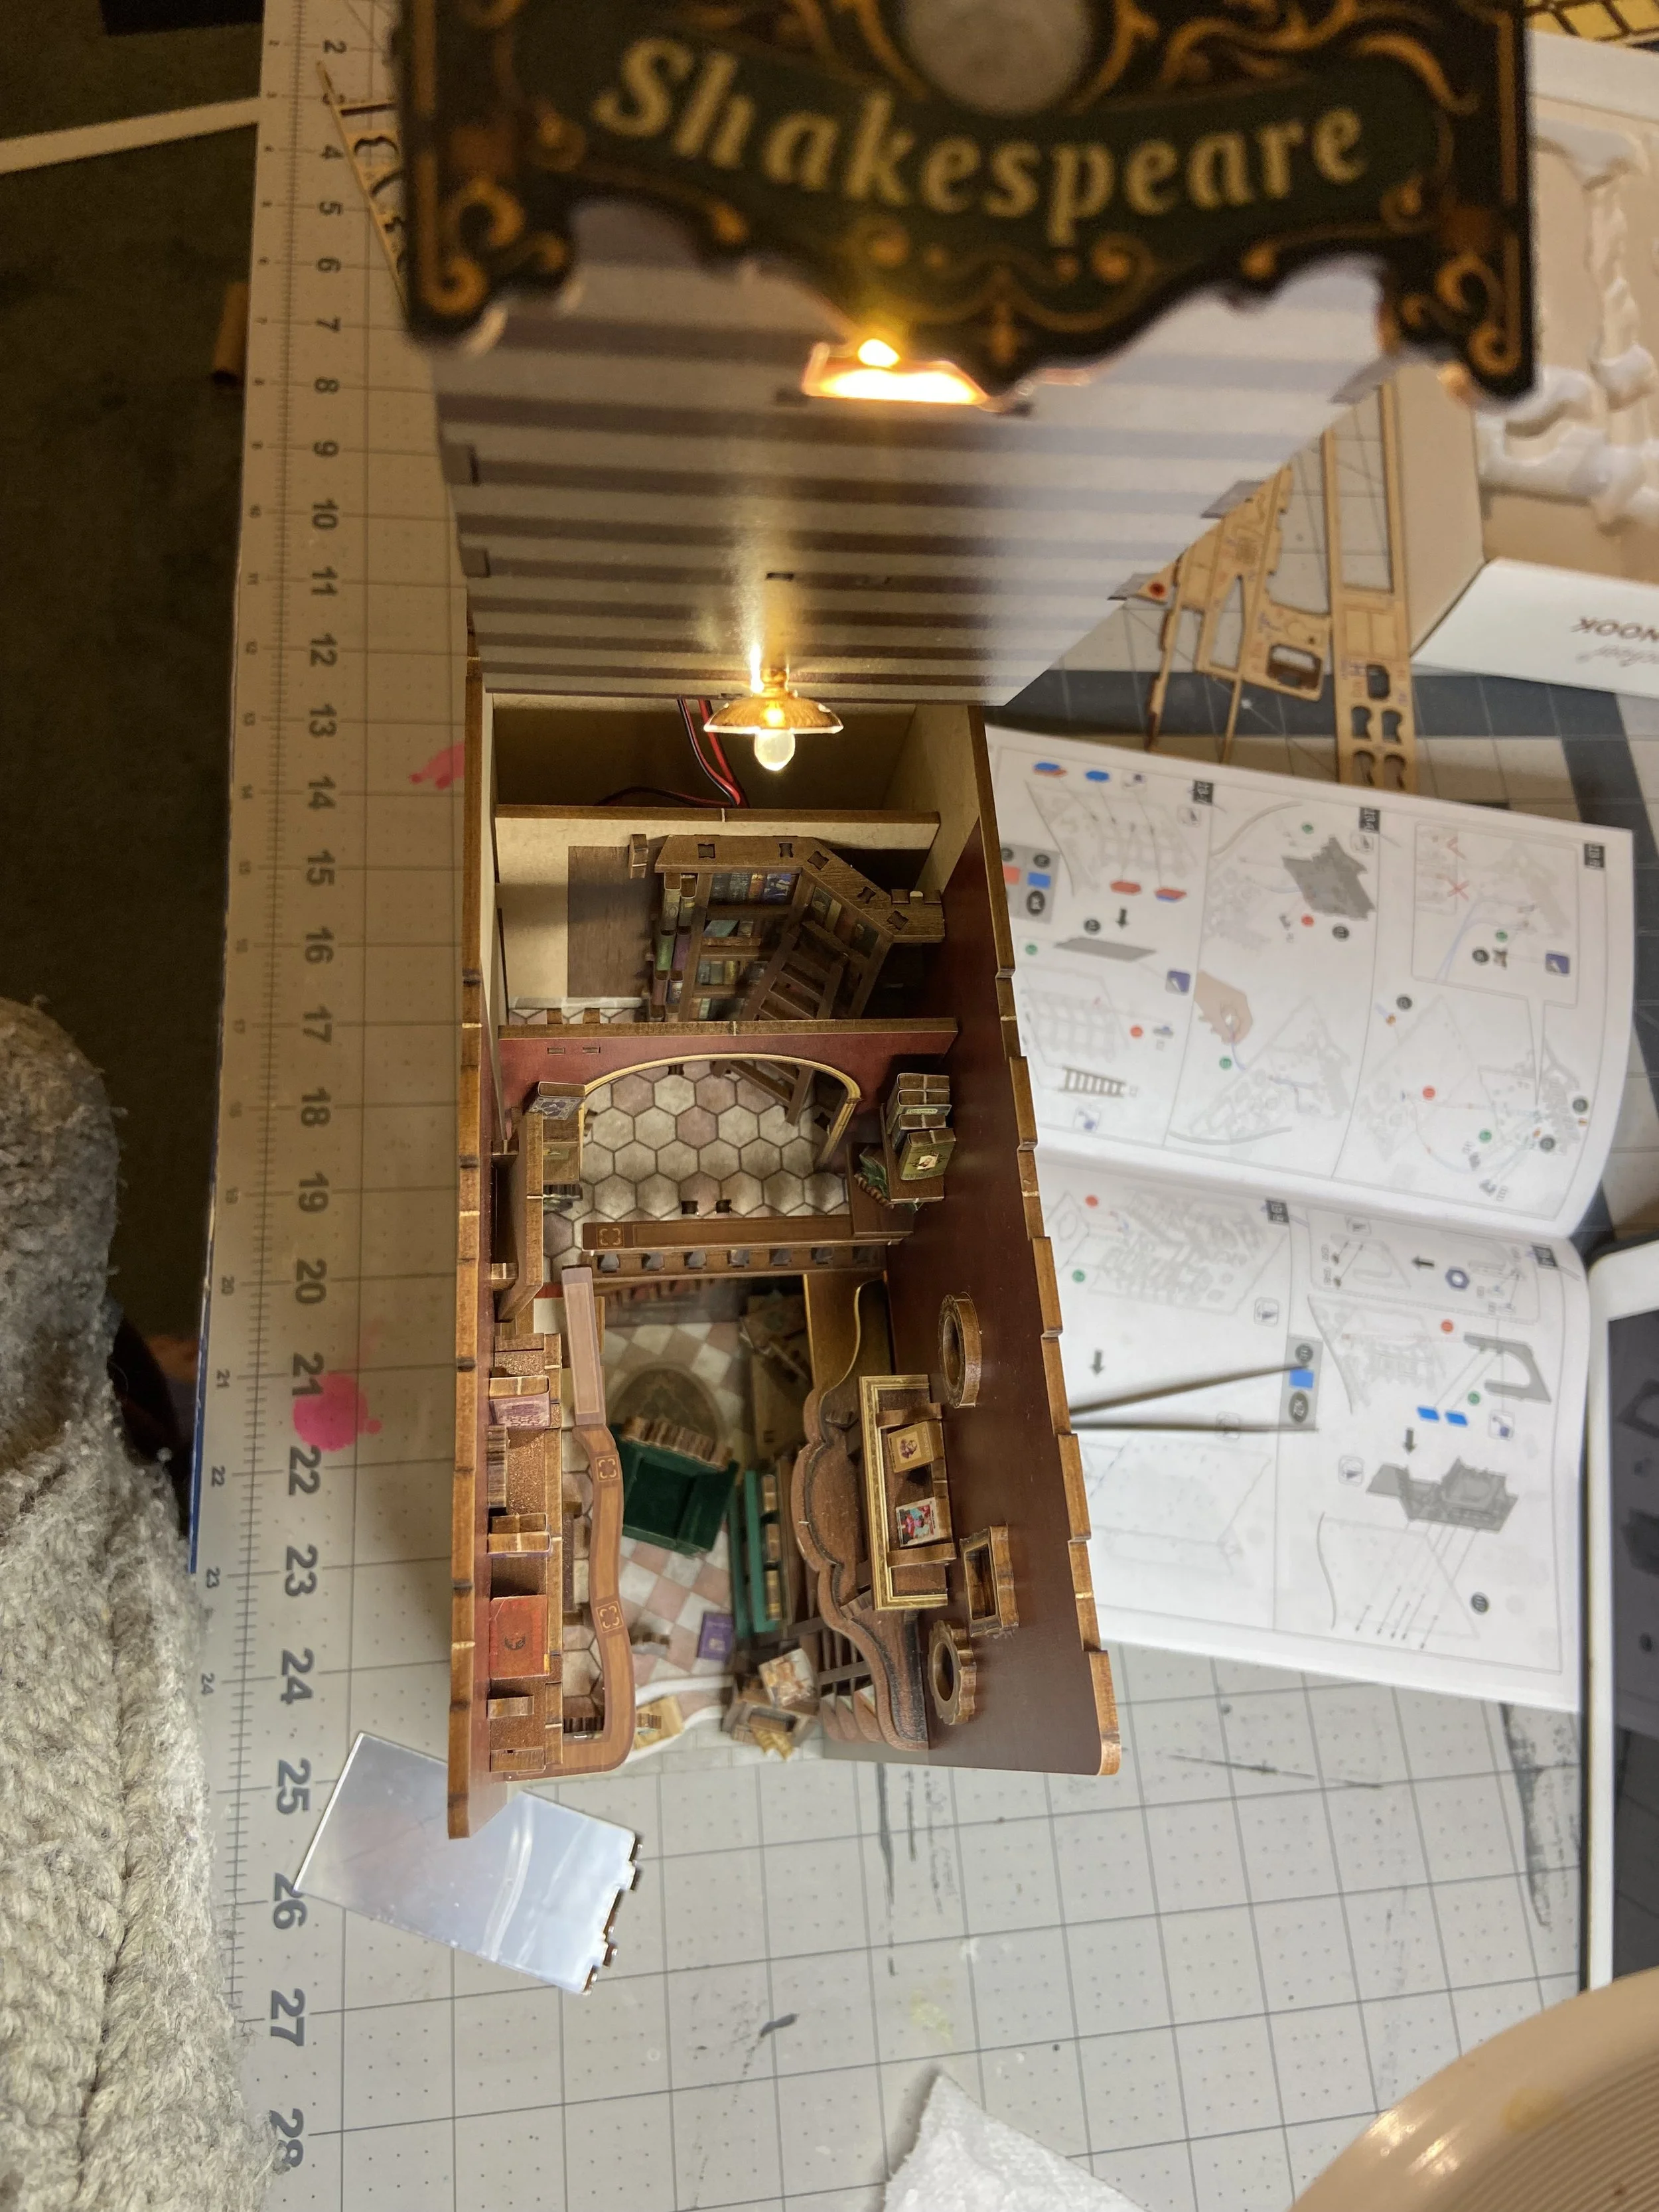
This whole build went together quite smoothly. I was honestly astonished that I hadn’t broken any pieces or forgotten anything. And while the assembly of the outer walls was tight as usual, I didn’t have any trouble getting them together. The wiring was even pretty easy! I was feeling quite smug once I’d finished until I glanced over at the box that had contained all the pieces, and realized I had a piece left over. The mirror. Well, phooey. (I might have used some stronger language.)
The box was too small for me to get my hand all the way to the back to insert the mirror piece in an upper floor. However, I didn’t have any trouble at all working the top off the nook, which allowed me to place the mirror correctly, and then put the top back on securely. Okay, now I was really done.
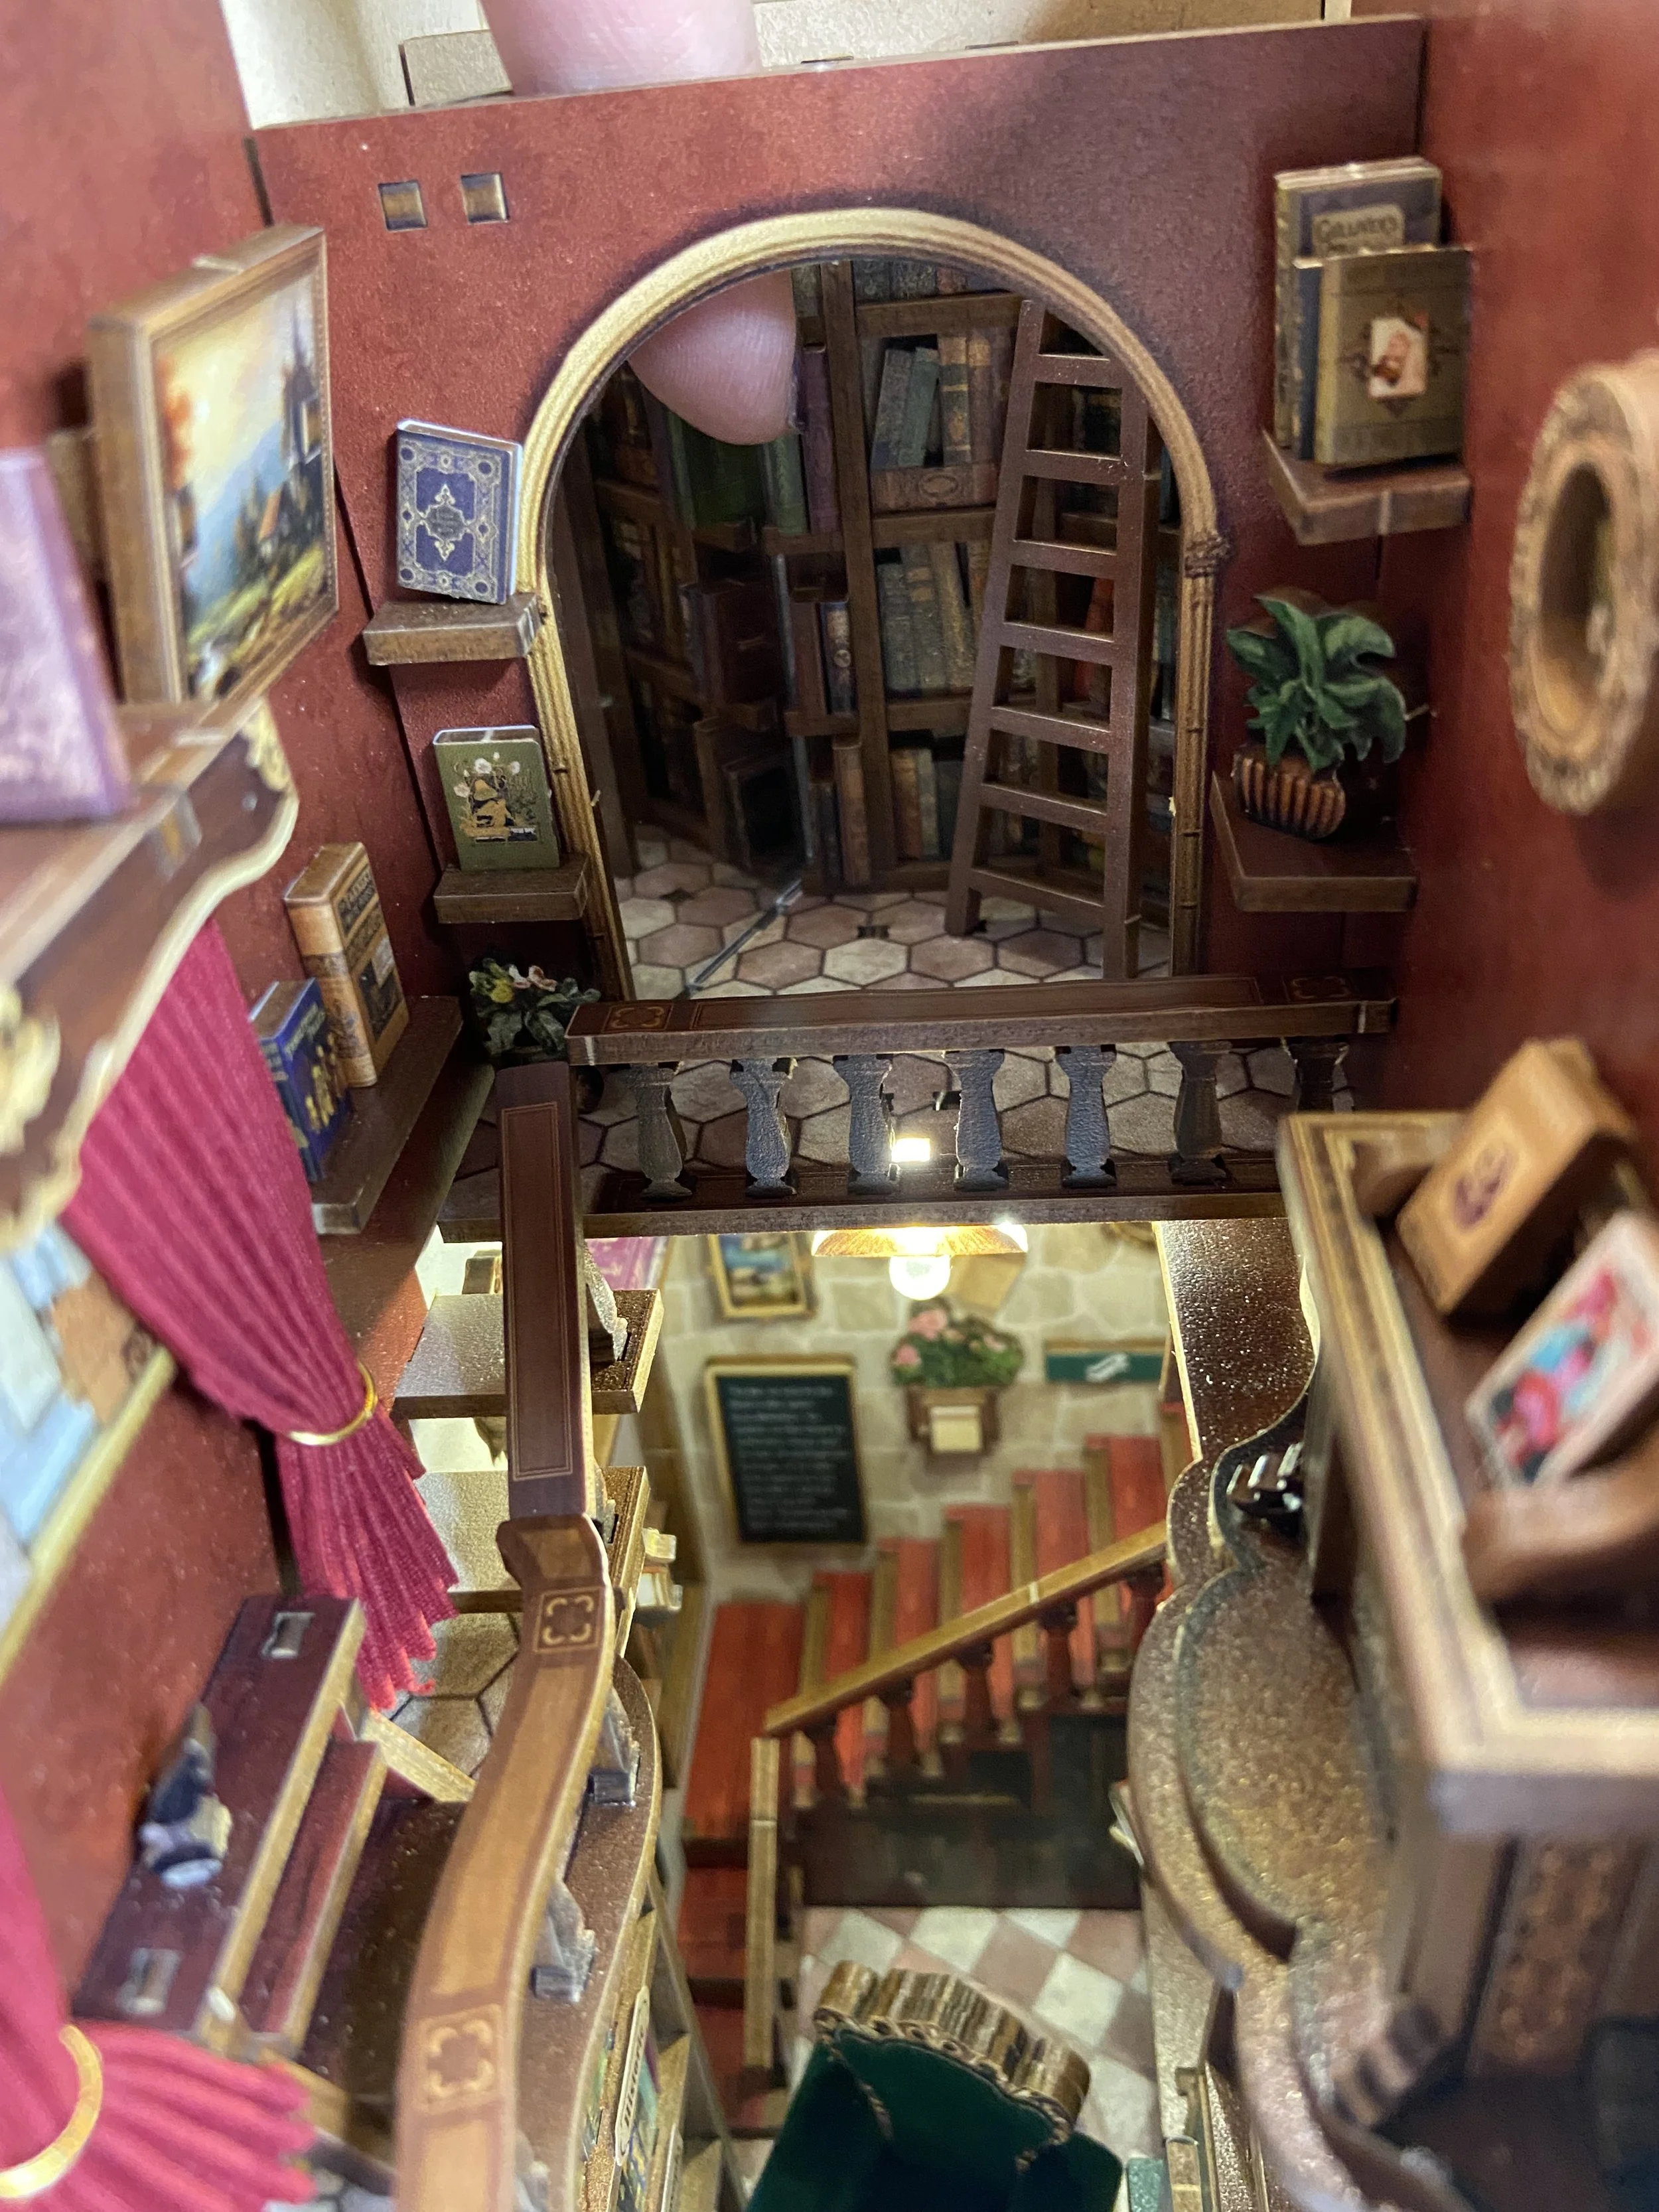
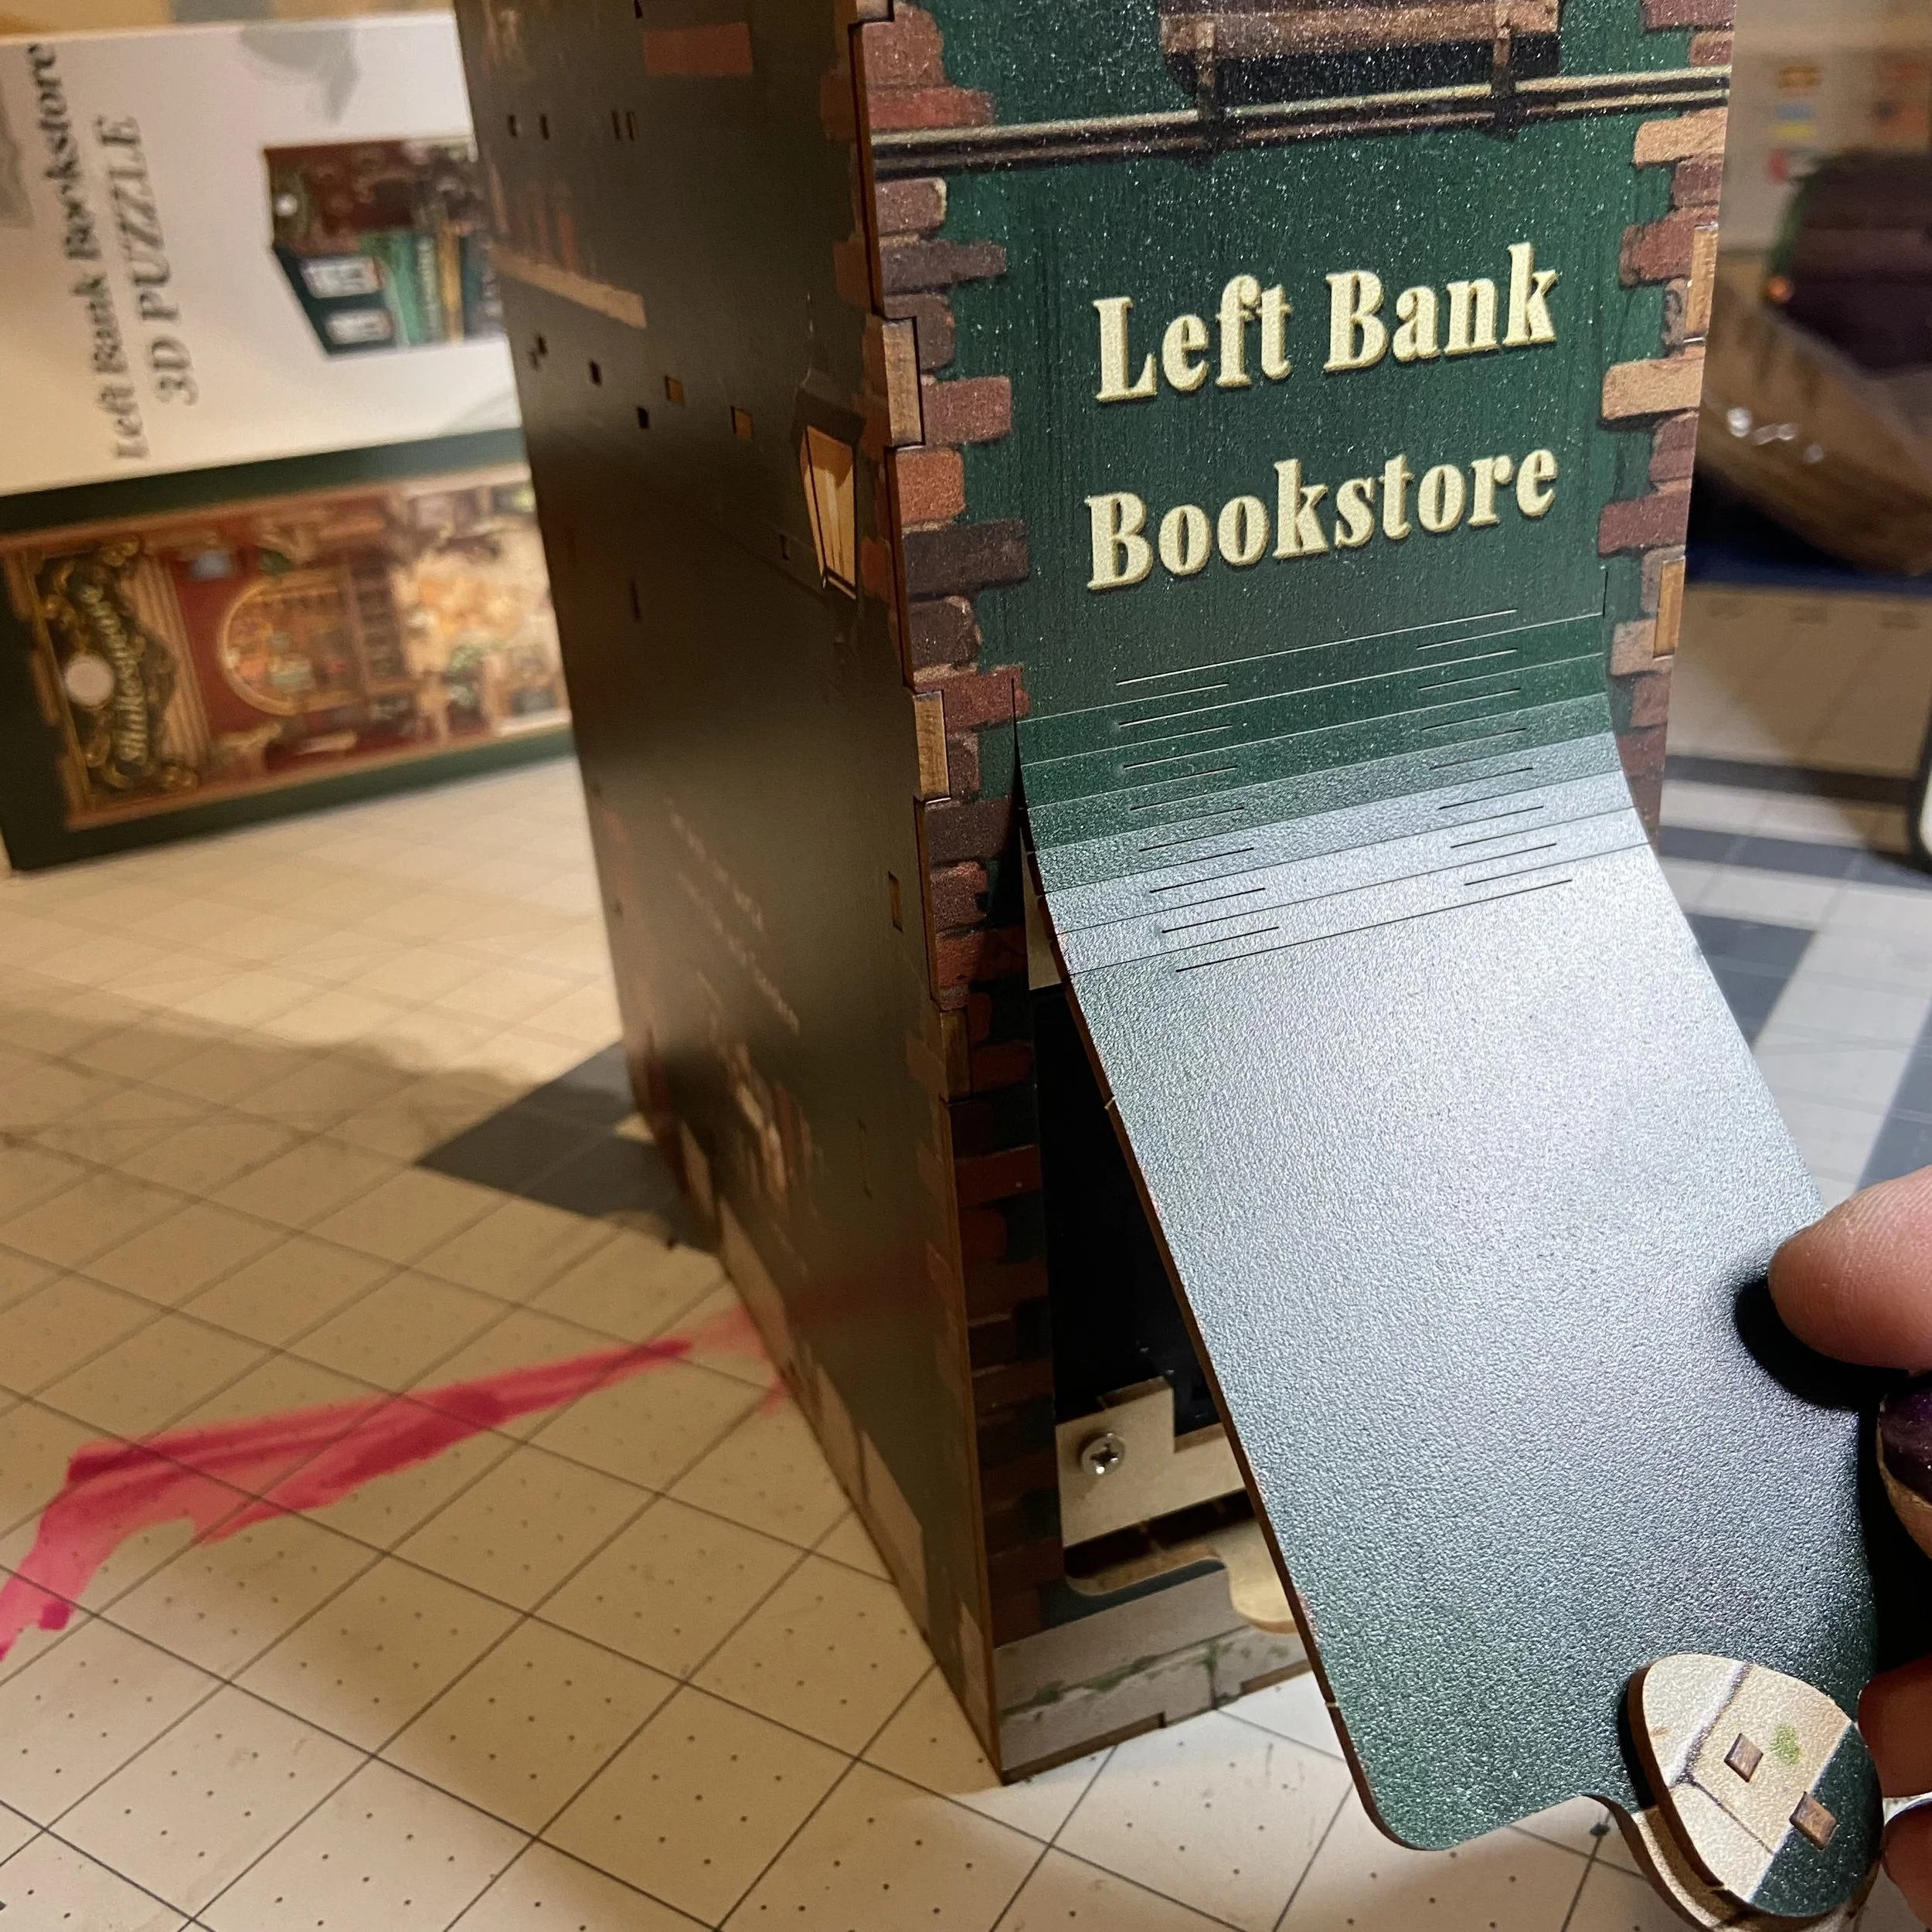
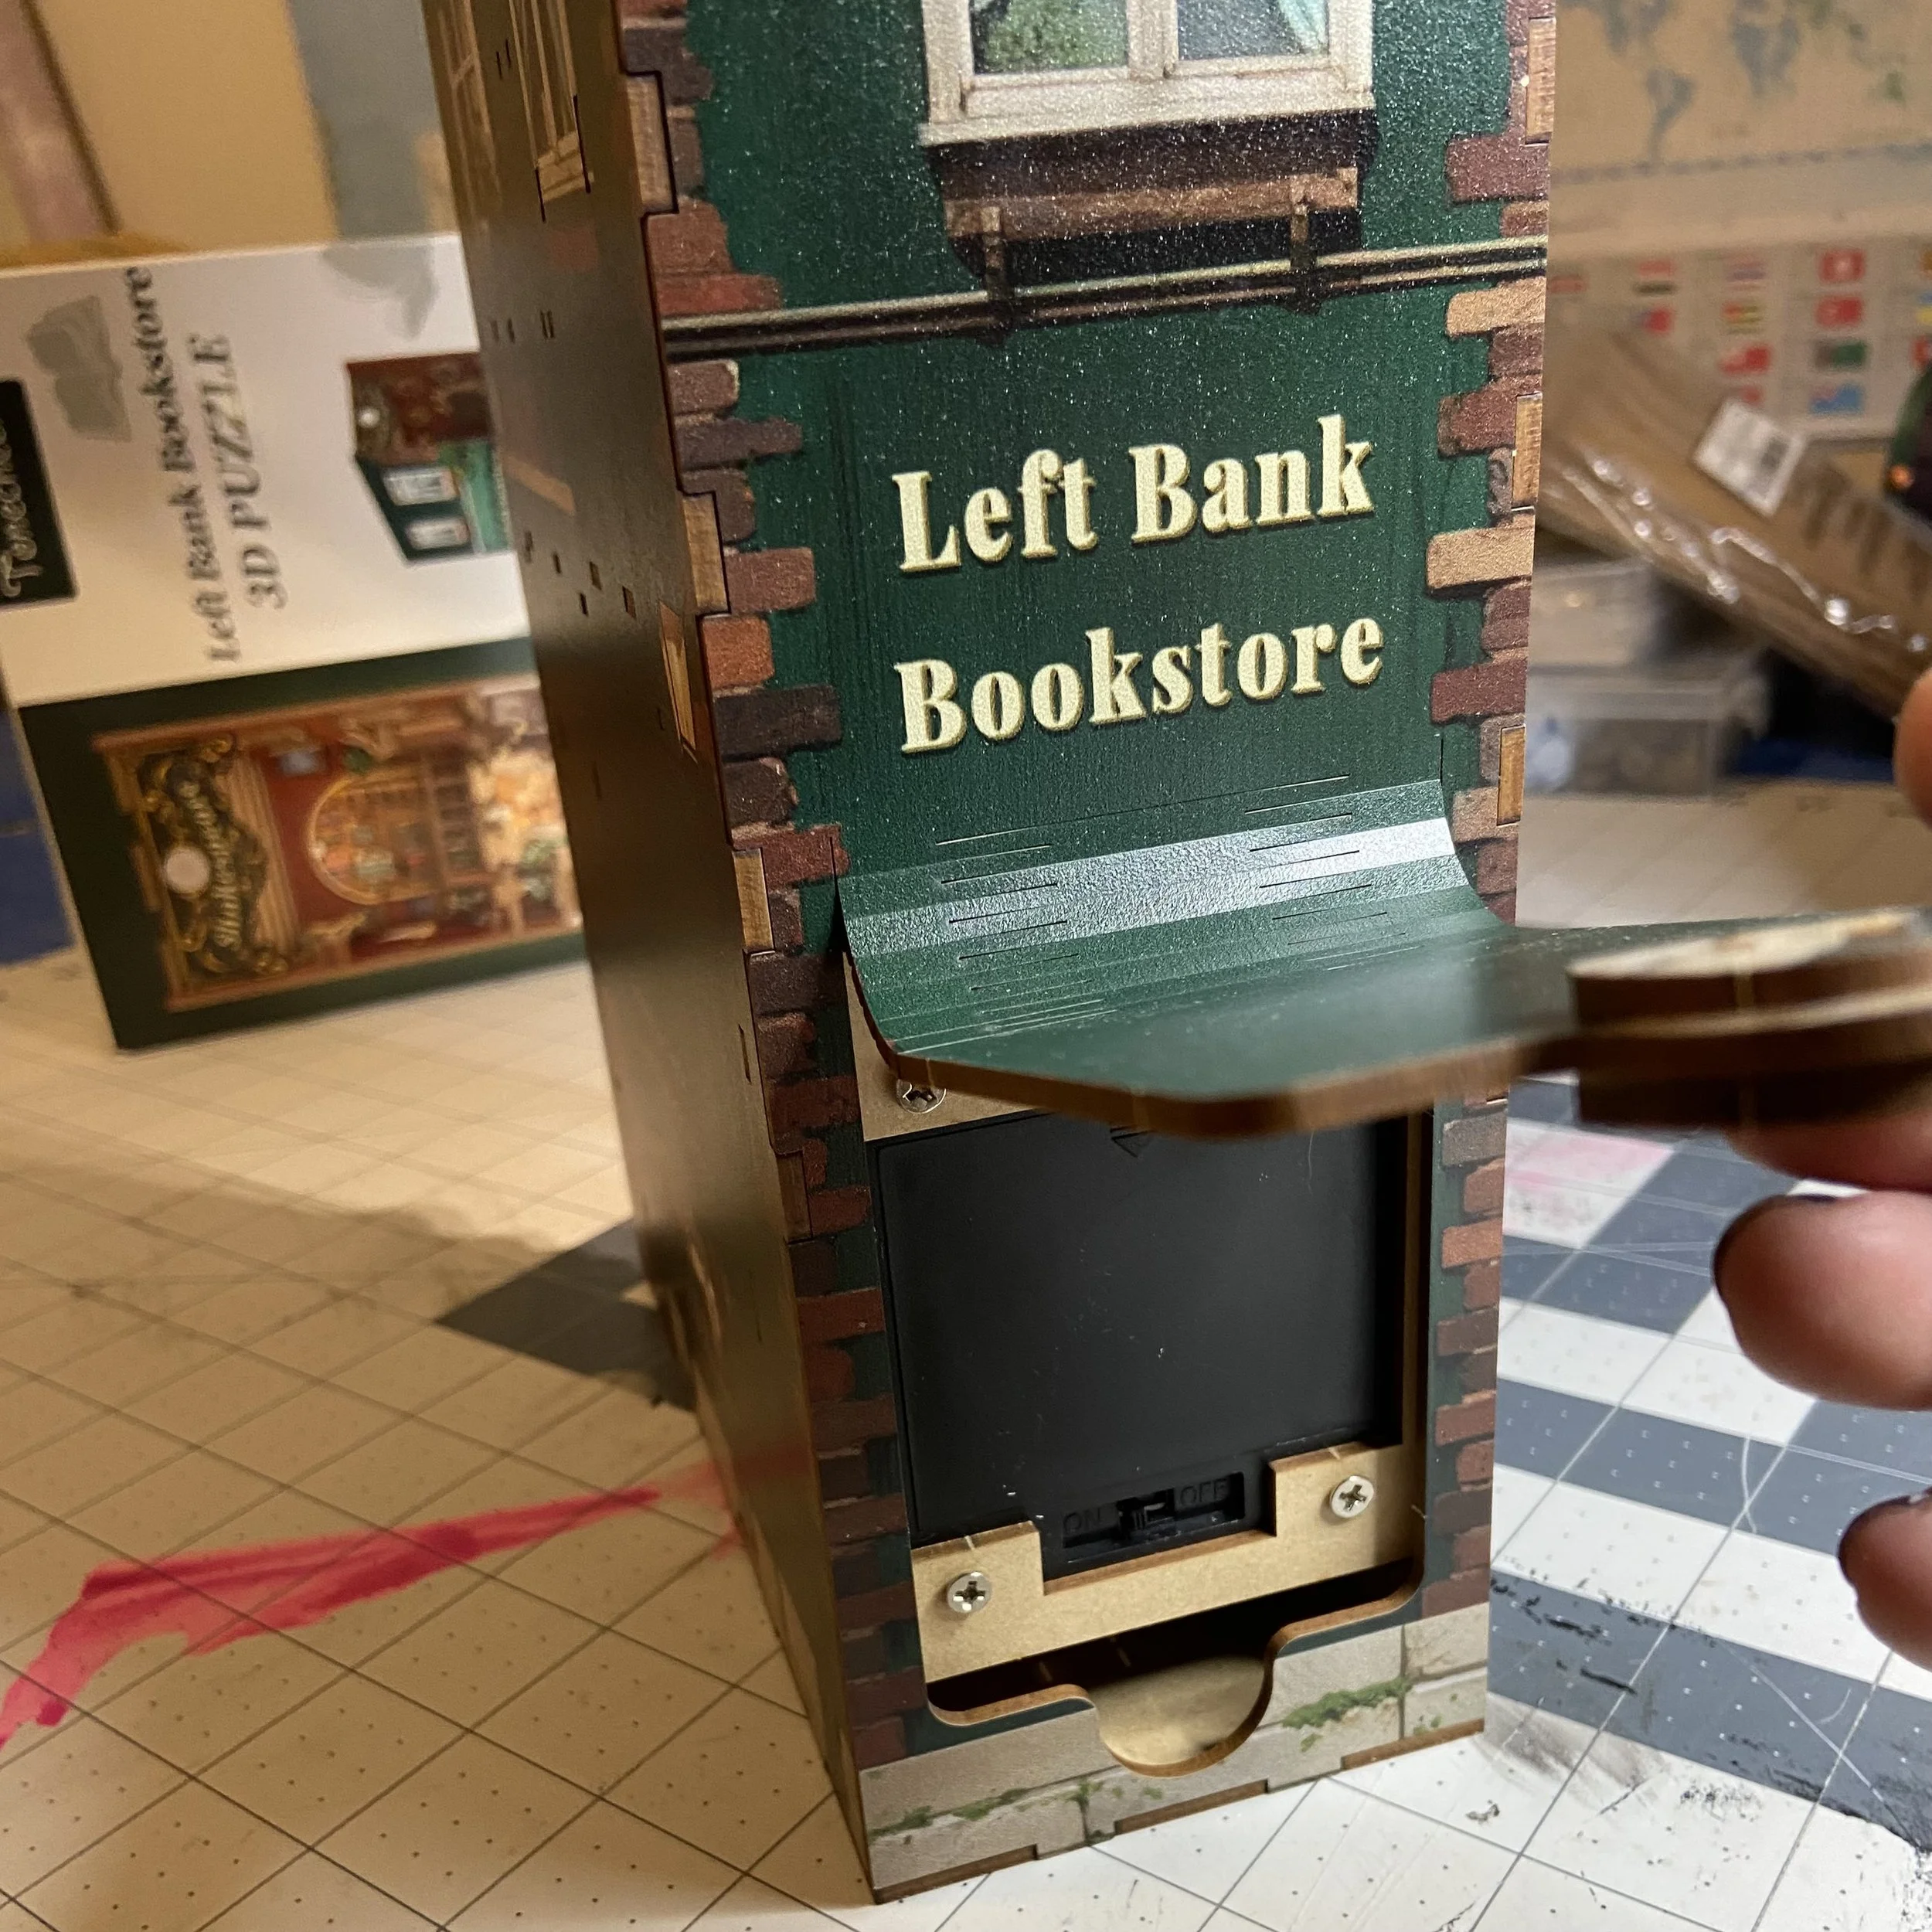
It’s really cute! When the lights are on, one can look in through the side window and clearly see the poem written on the steps, although it’s not visible from the front. And the battery box is in a clever and easy-to-access little spot in the back of the nook.
I’ve gifted this nook to my bibliophile friend Bea. If anyone could appreciate a miniature bookstore in amongst her books, it’s Bea.