Adventures In Wide Open Spaces
As an Amazon associate, I may earn a small commission if you navigate to Amazon from my site and buy something. This will not result in an extra cost to you.
Every time I see or hear or say the phrase “wide open spaces,” the Dixie Chicks’ song of the same name pops into my head. Whether you like the group or not, it’s really an excellent song. Oh, I just noticed they changed their group’s name to The Chicks. Huh.
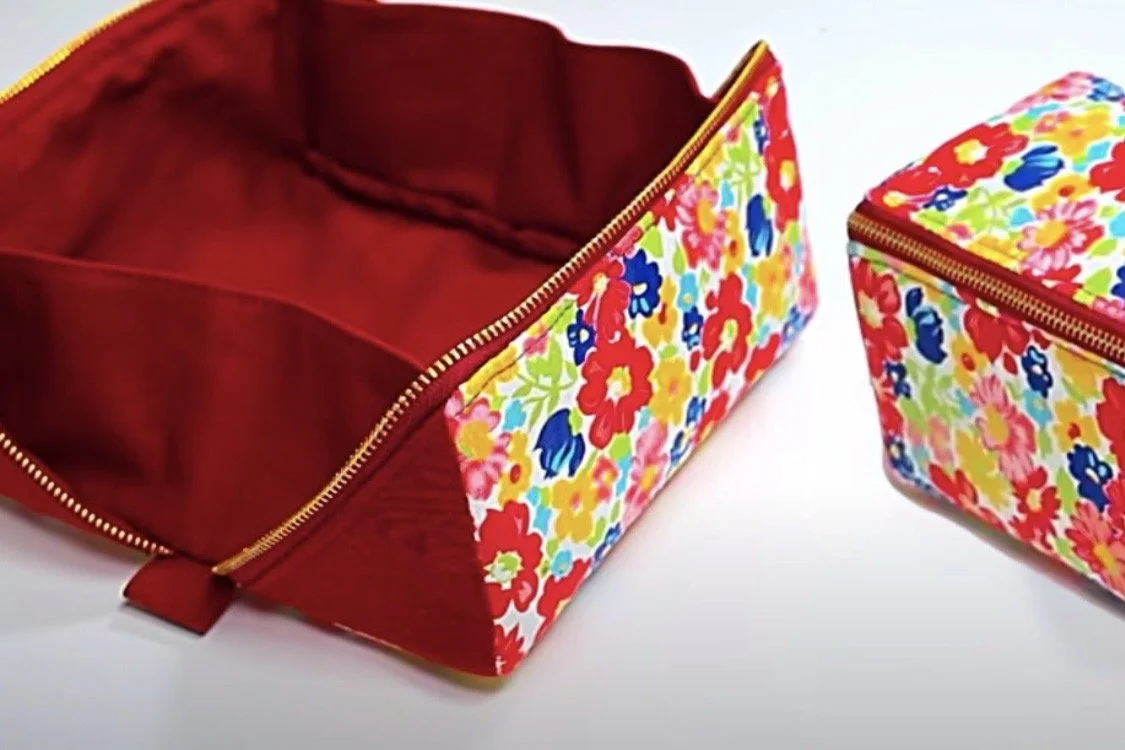
However, I’m referring to pouches and bags. I’ve made boxy pouches that I called packing cubes and I’ve made simpler flat pouches, both of which are fun to make and yield something useful. I’ve even made a little snap-closure pouch that opens wide into a sort of tray. But I’ve recently been enamored of boxy pouches that open up completely when they are unzipped, so you can make really excellent use of the space.
Using the basic pattern and method I’m going to describe, these pouches end up twice as long as they are high. By this I mean: if the pouch is 10” long, then all the short sides will be 5” tall. Making the pattern is quite easy. Start with a square that is double the size of your largest measurement, in this instance 20”. Then draw a line parallel to all four sides and half the size of the largest measurement in from the edge (in this case, 5” in from the edge). Then draw a diagonal line from end point to end point on all four of those new lines, so that all four corners of your square have a diagonal line across them.
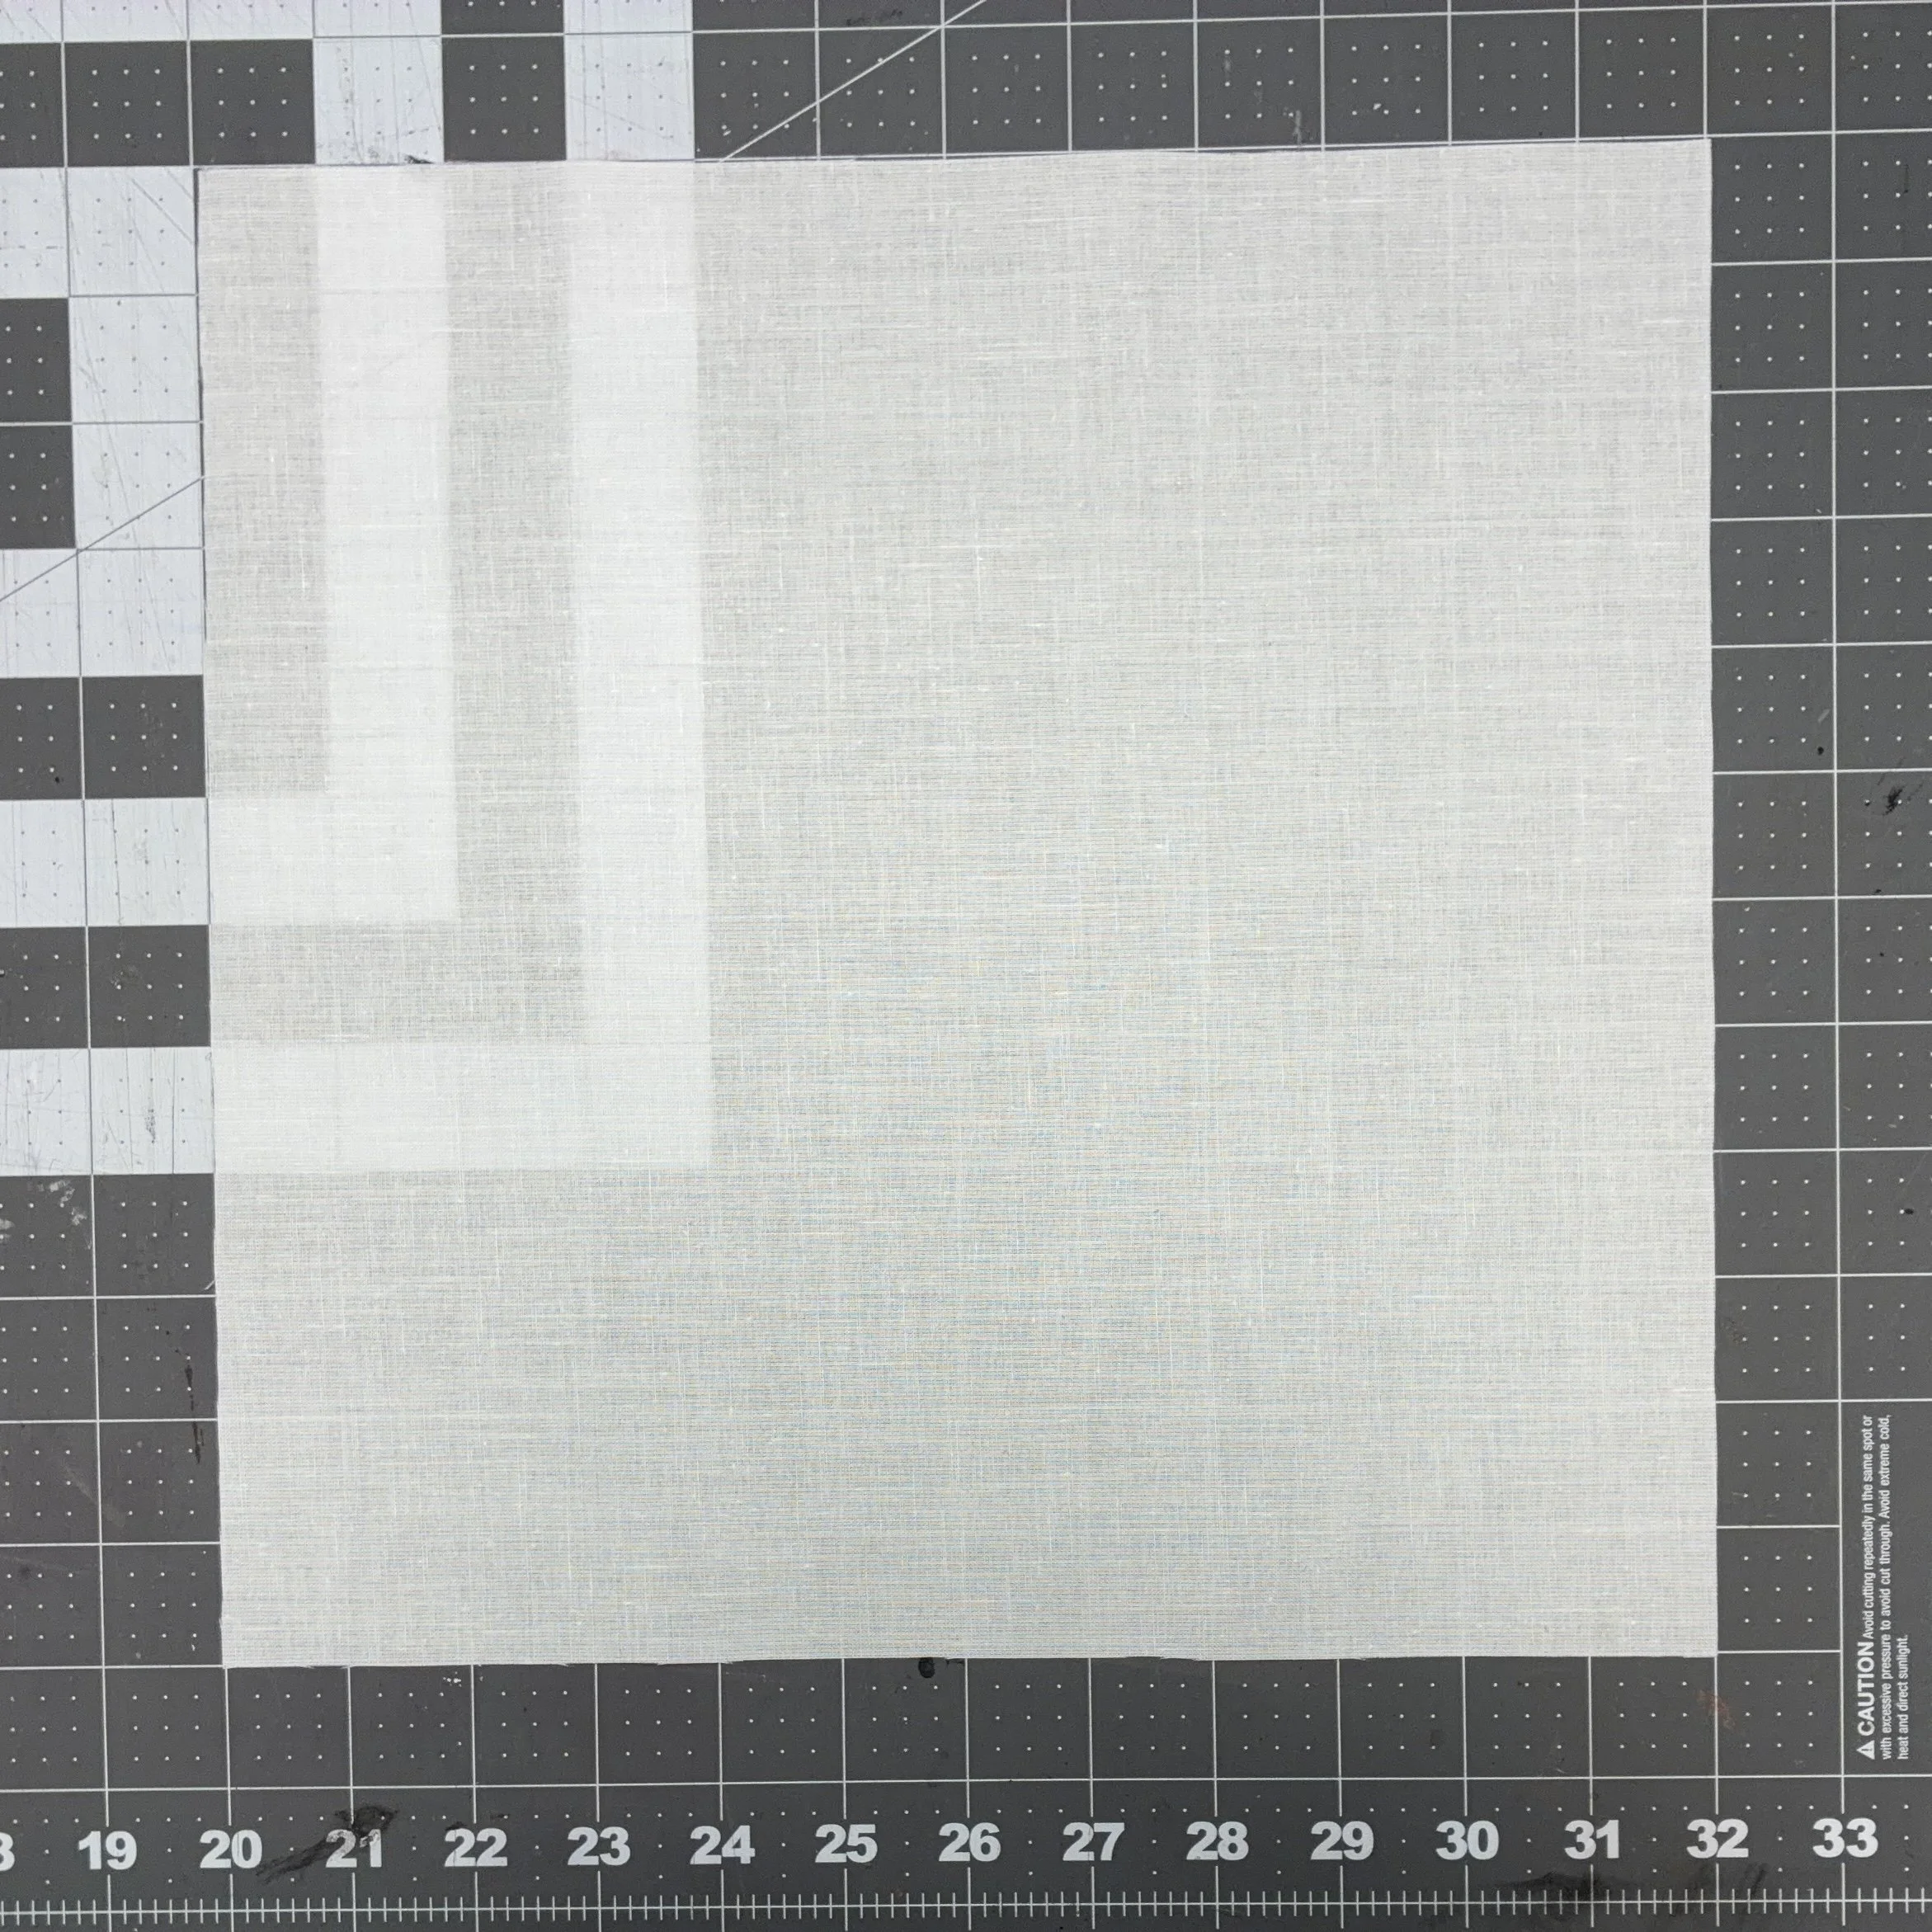
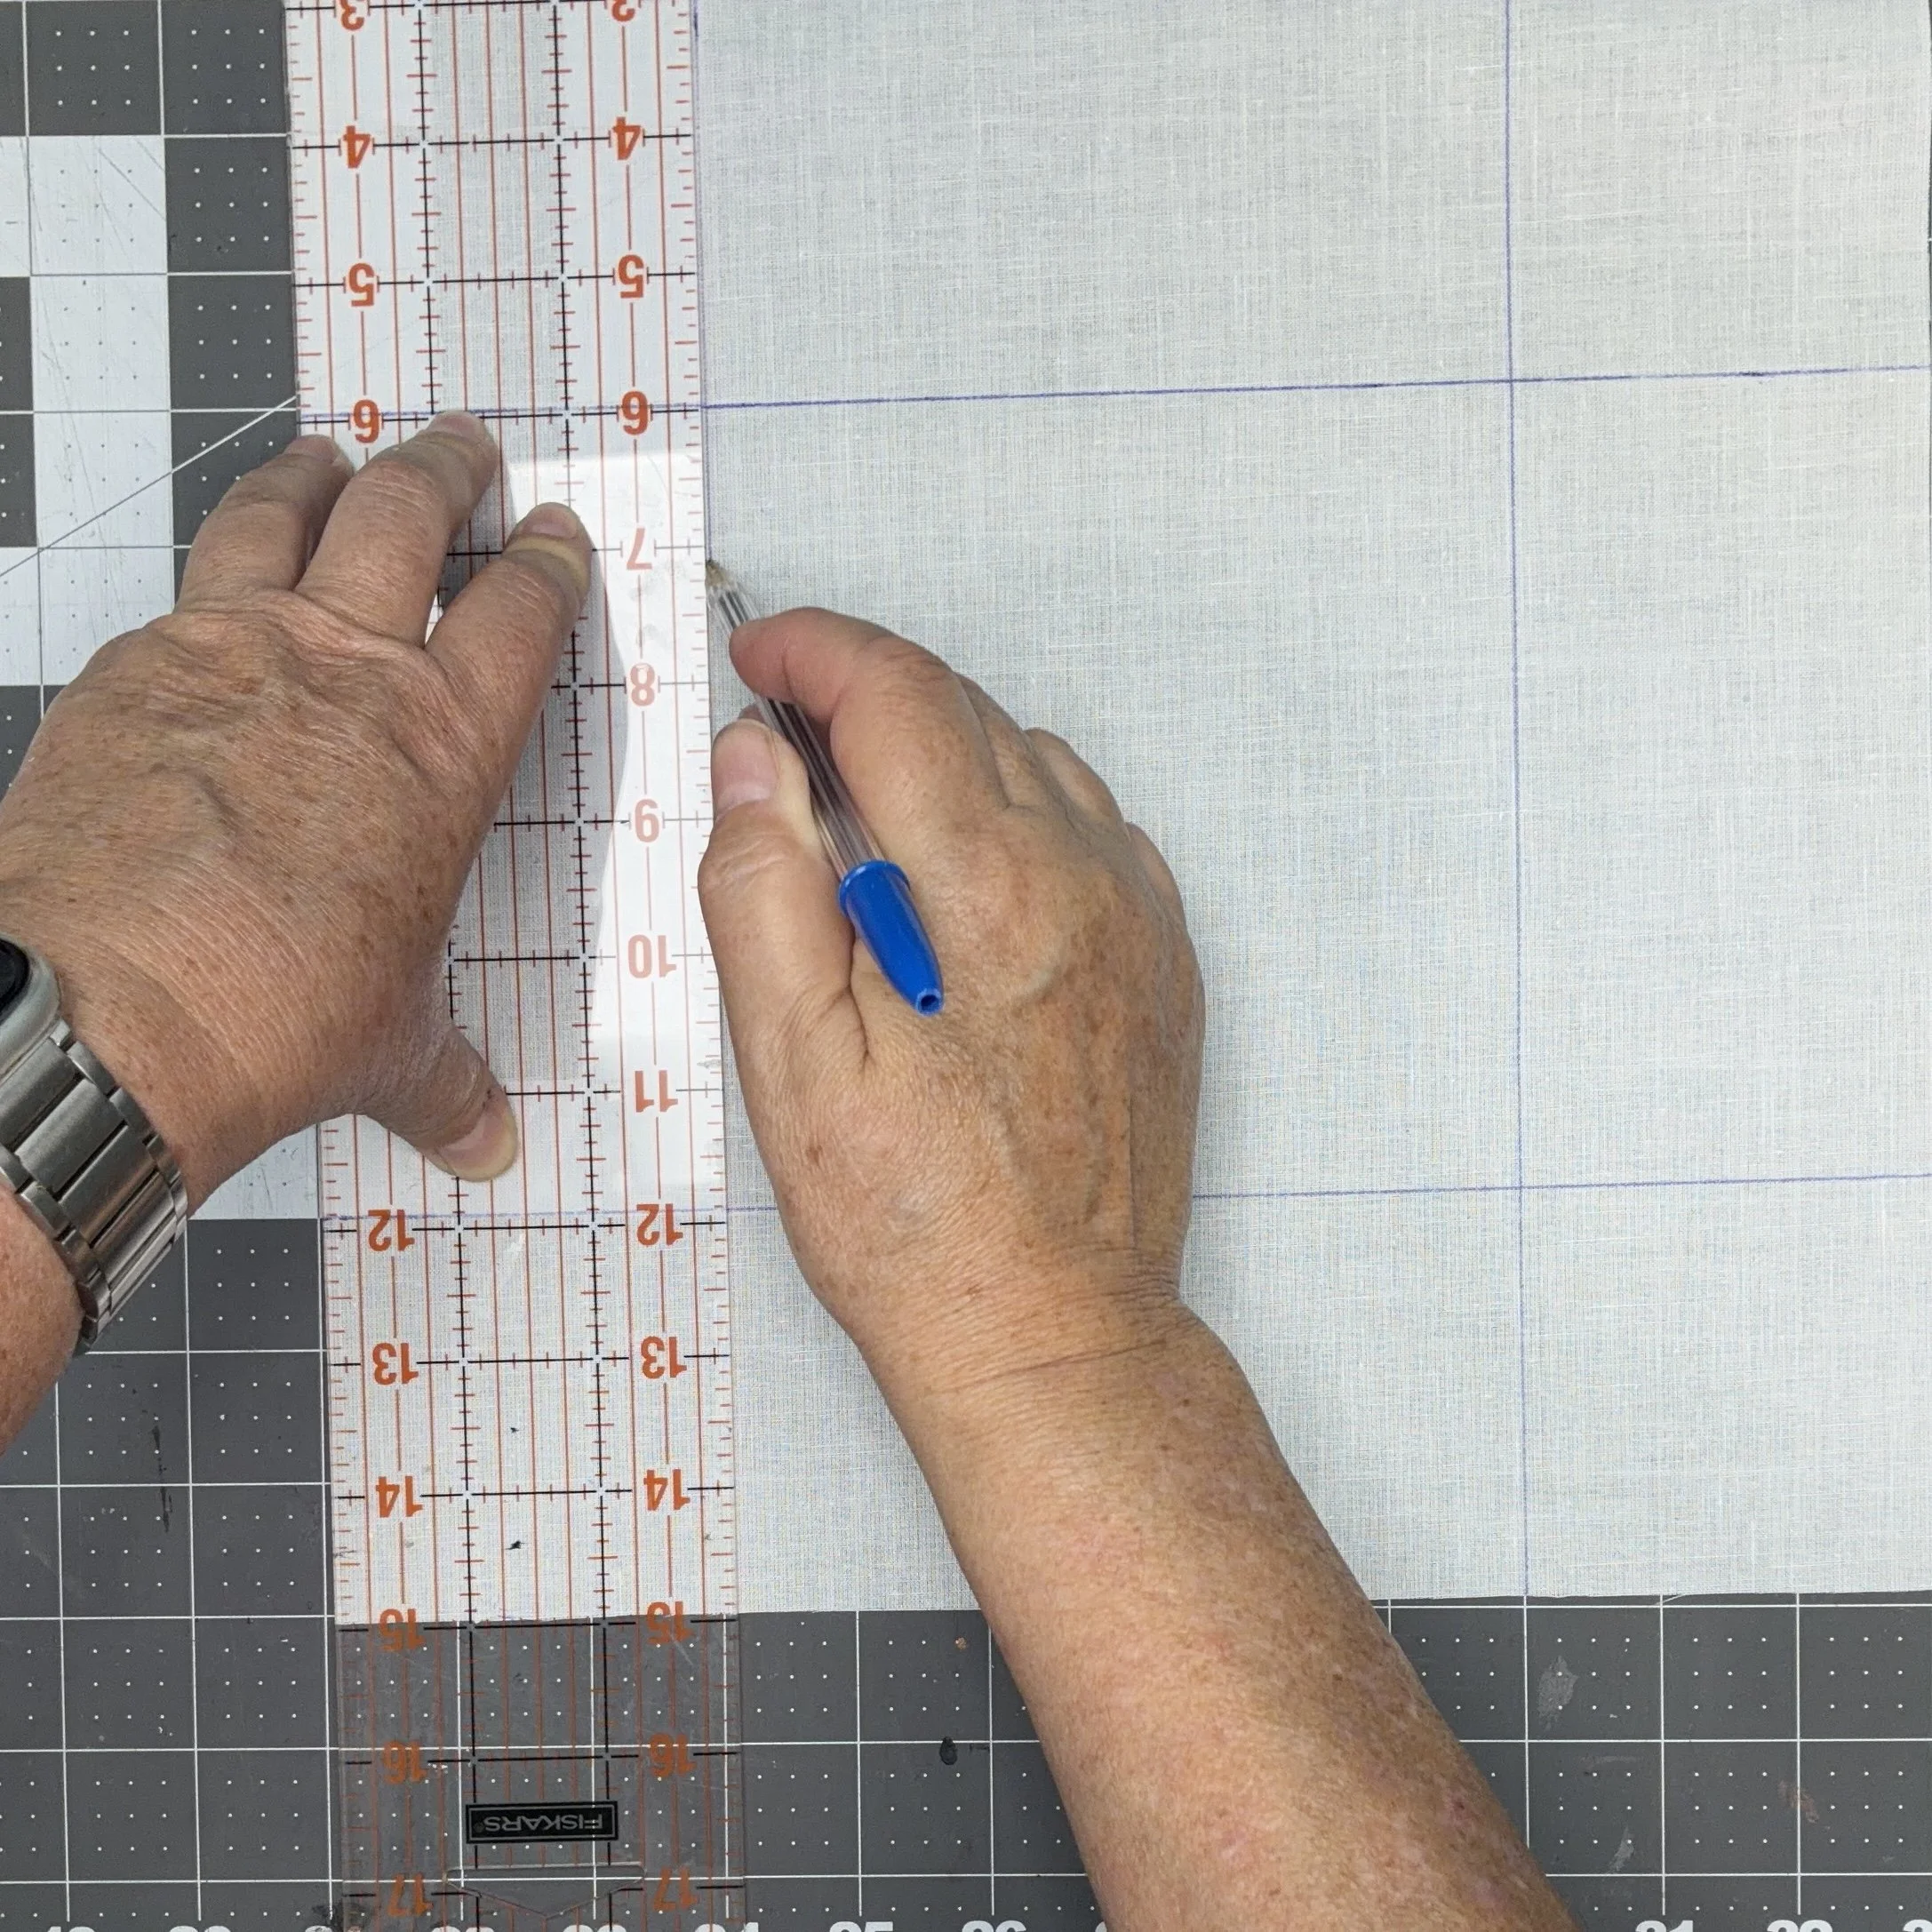
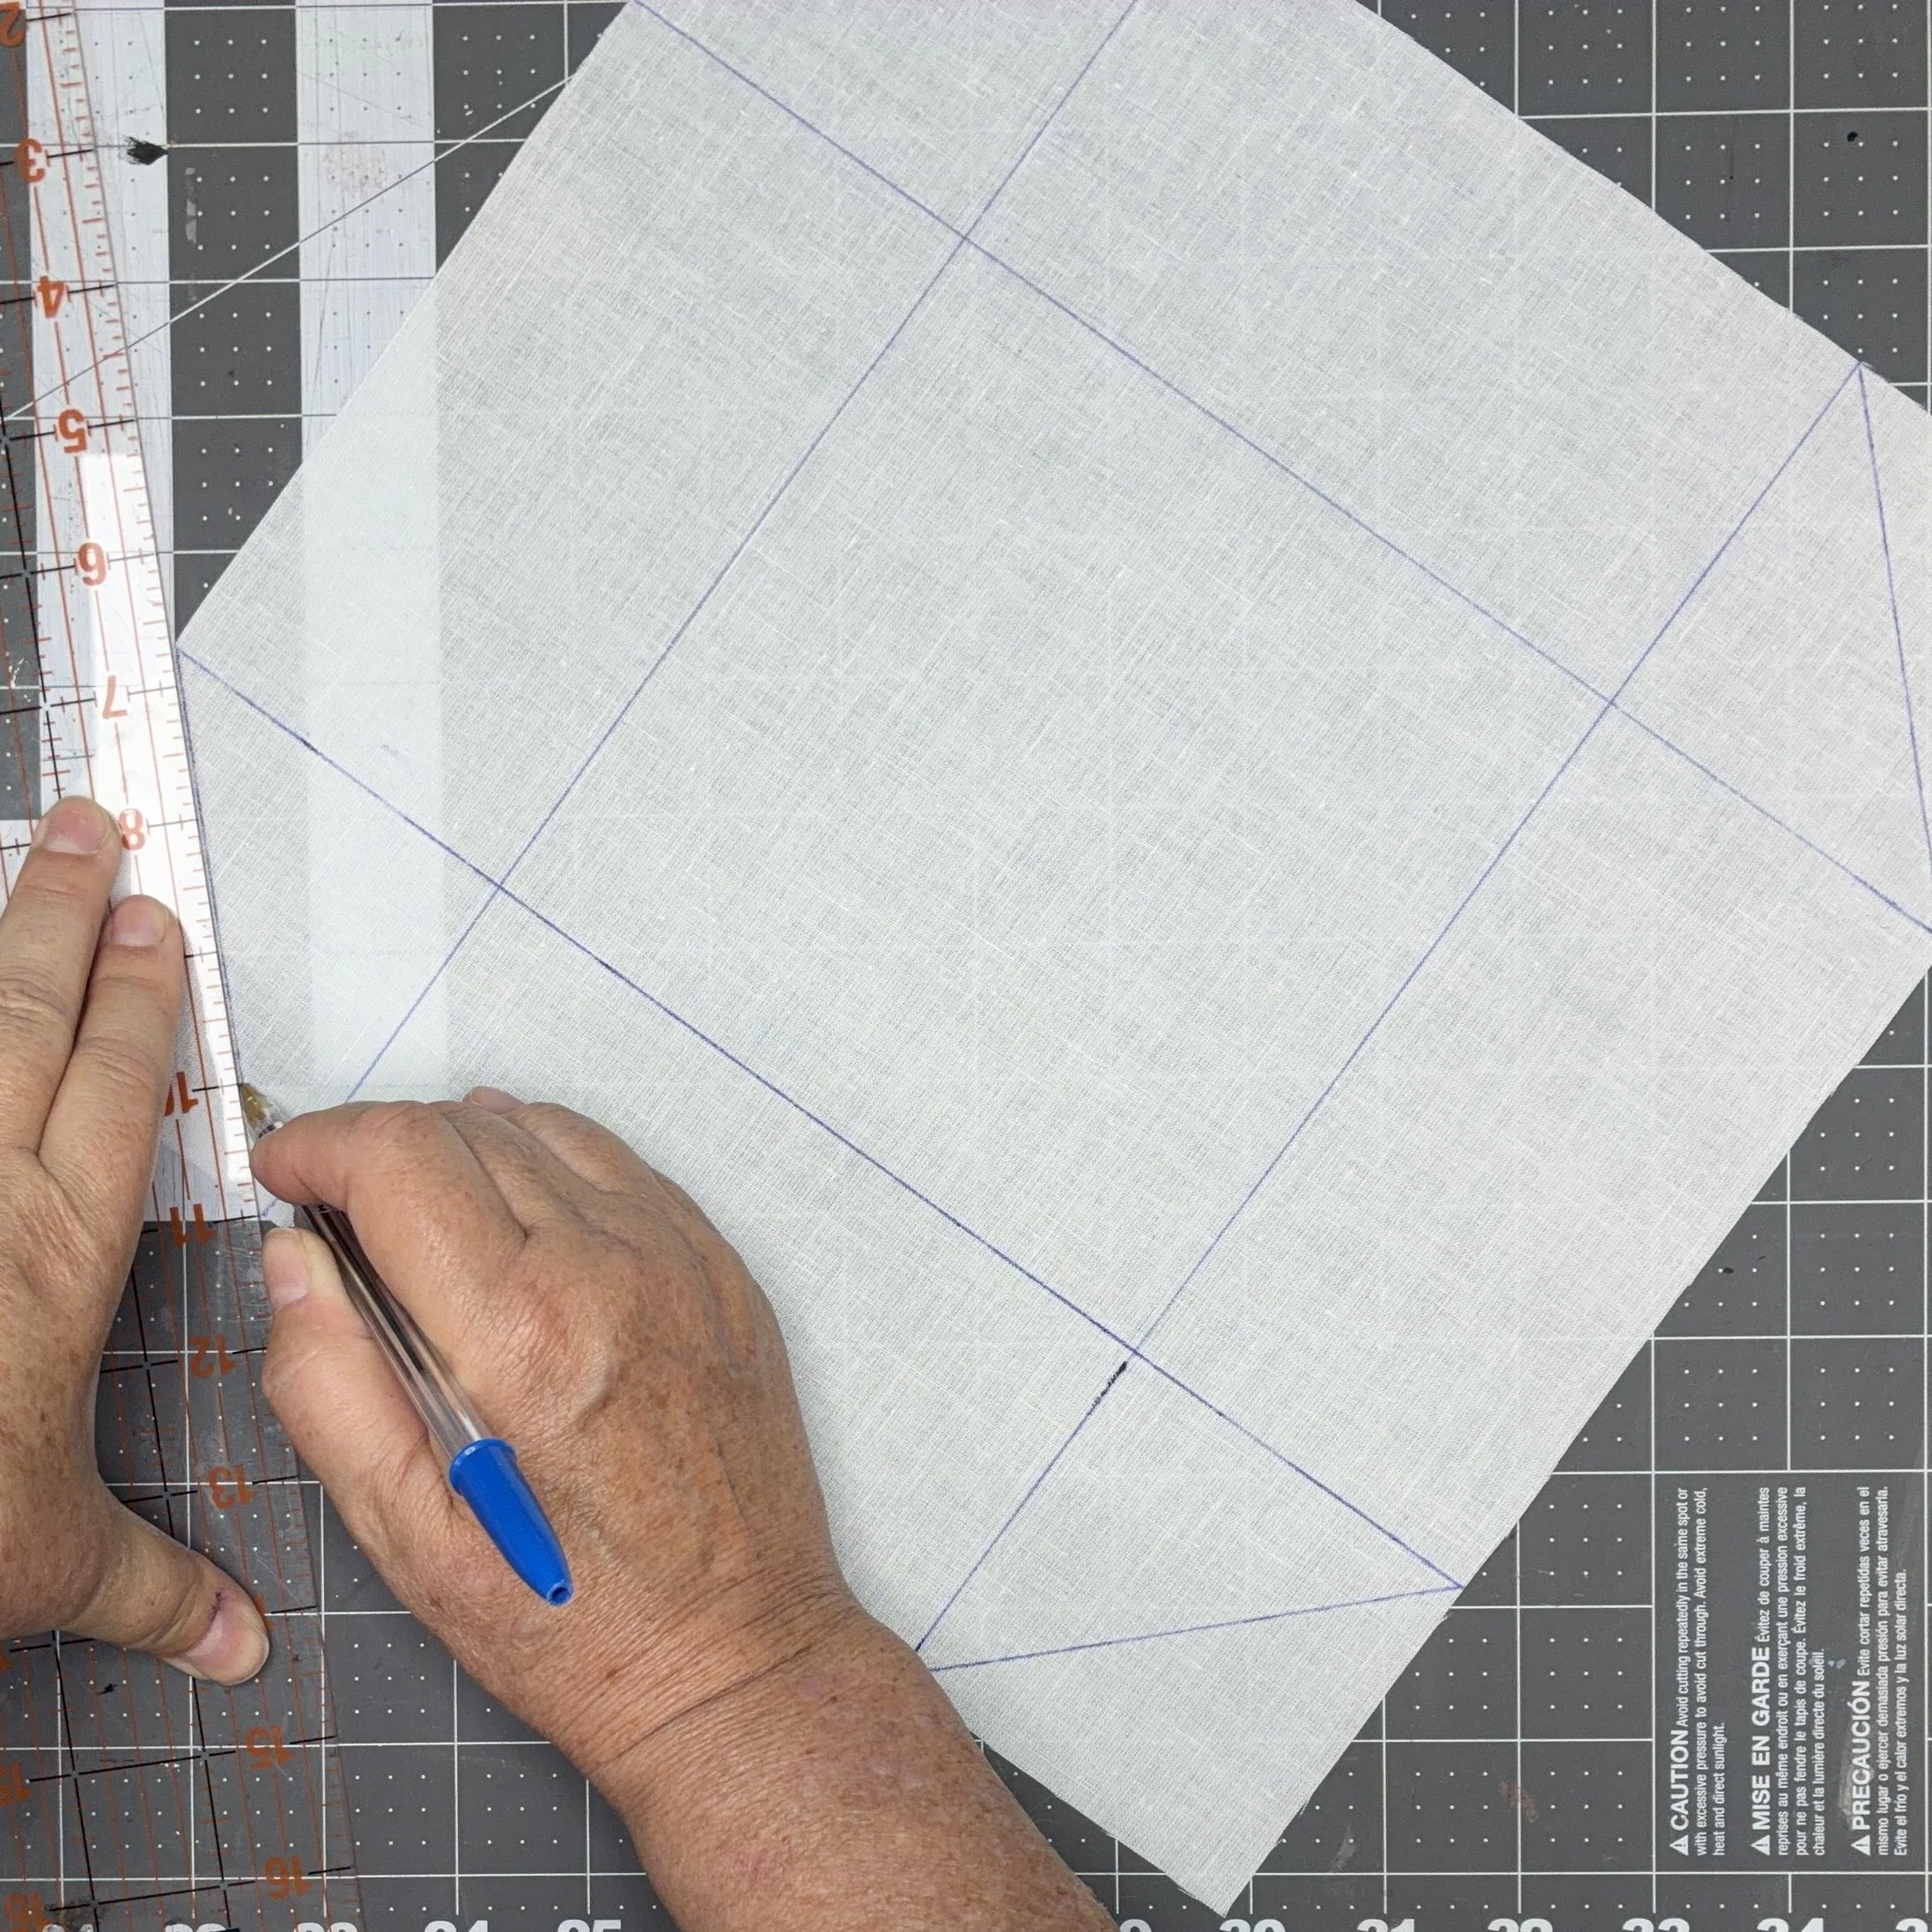
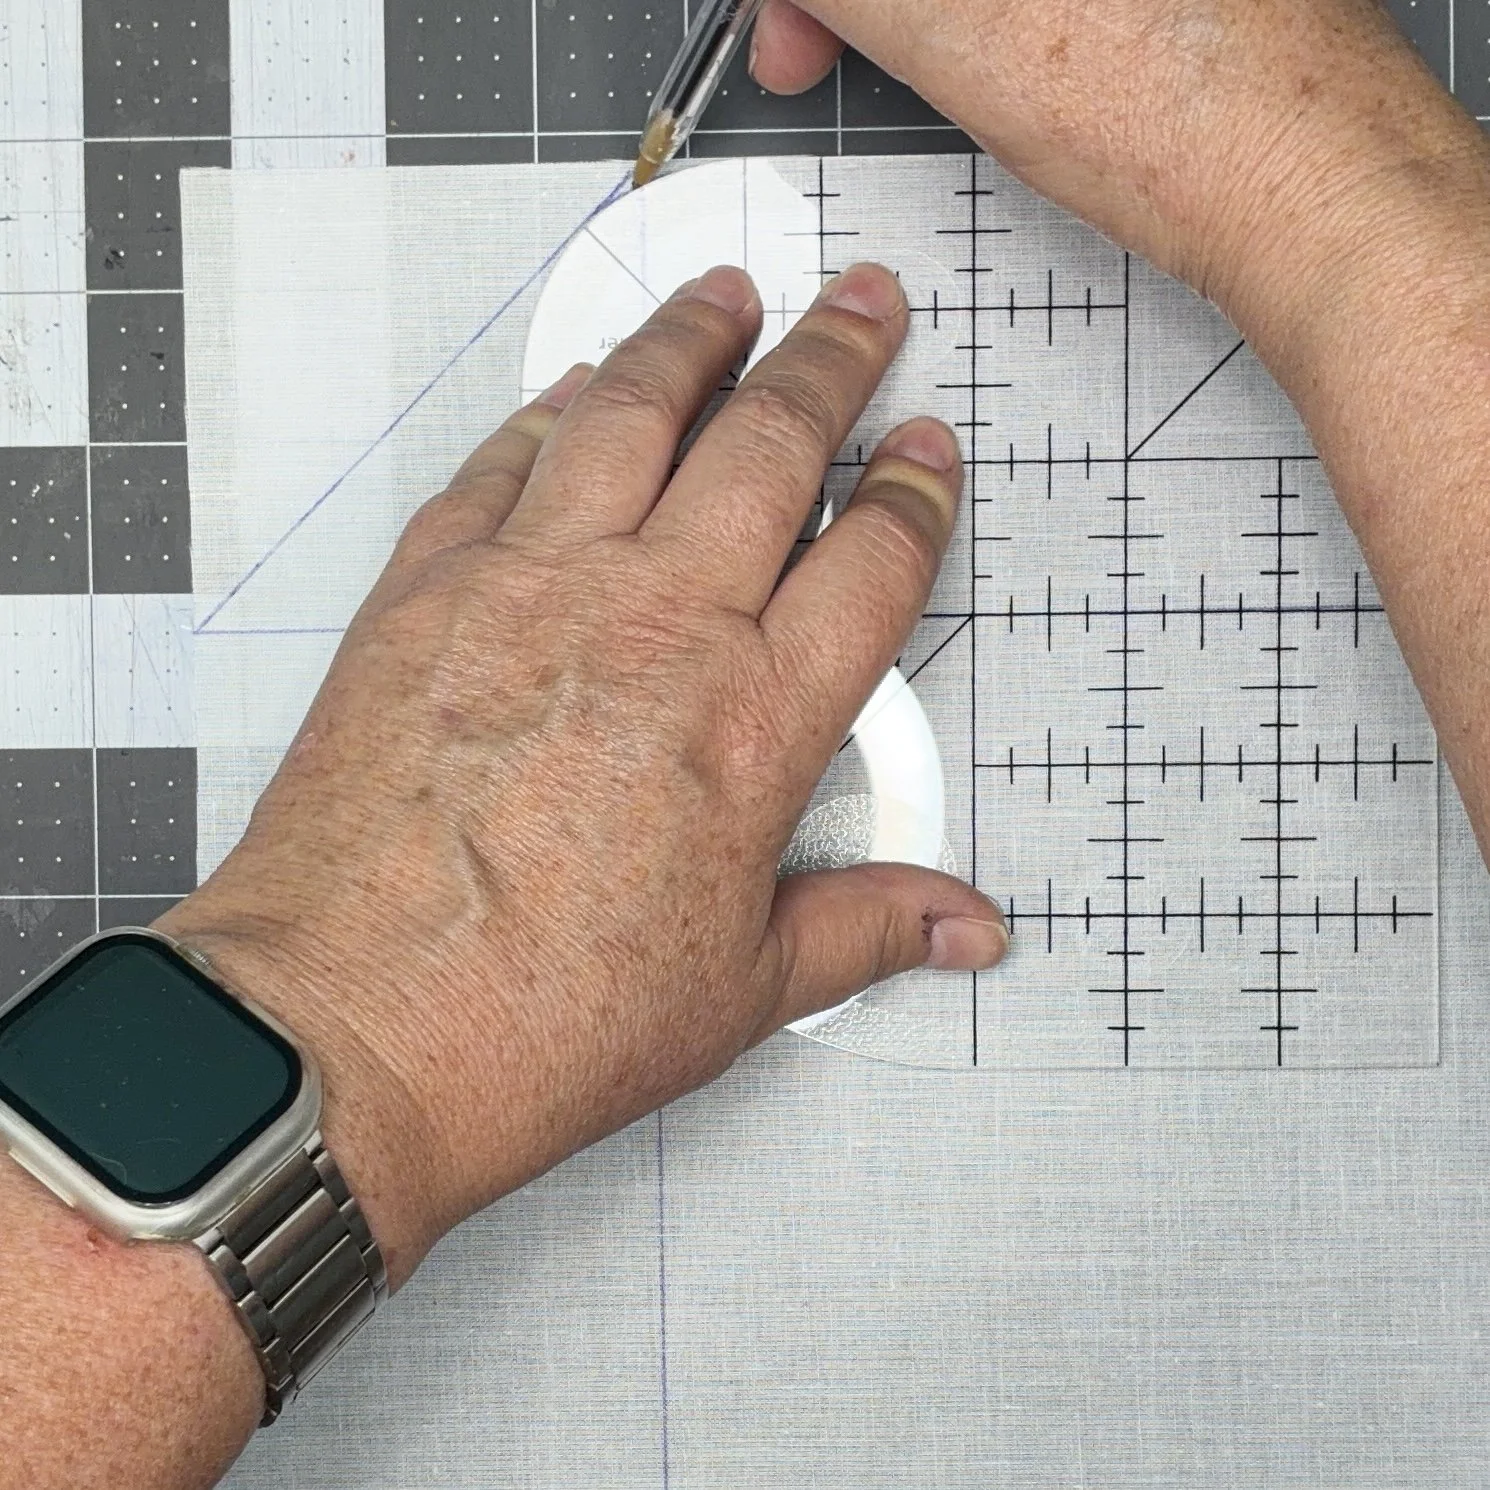
Up to this point, all sides of your square are drawn symmetrically. But now you need to choose a top/bottom. Along the top and bottom, you will round the angle of the triangles along the top edge and bottom edges; this will make installing your zipper easier later. You could use anything round to draw this curve, or even free-hand it; I chose to use my curved corner ruler, which I love with an unnatural passion. Finally, cut out your piece, discard the triangle pieces, and keep the rectangles from the sides.
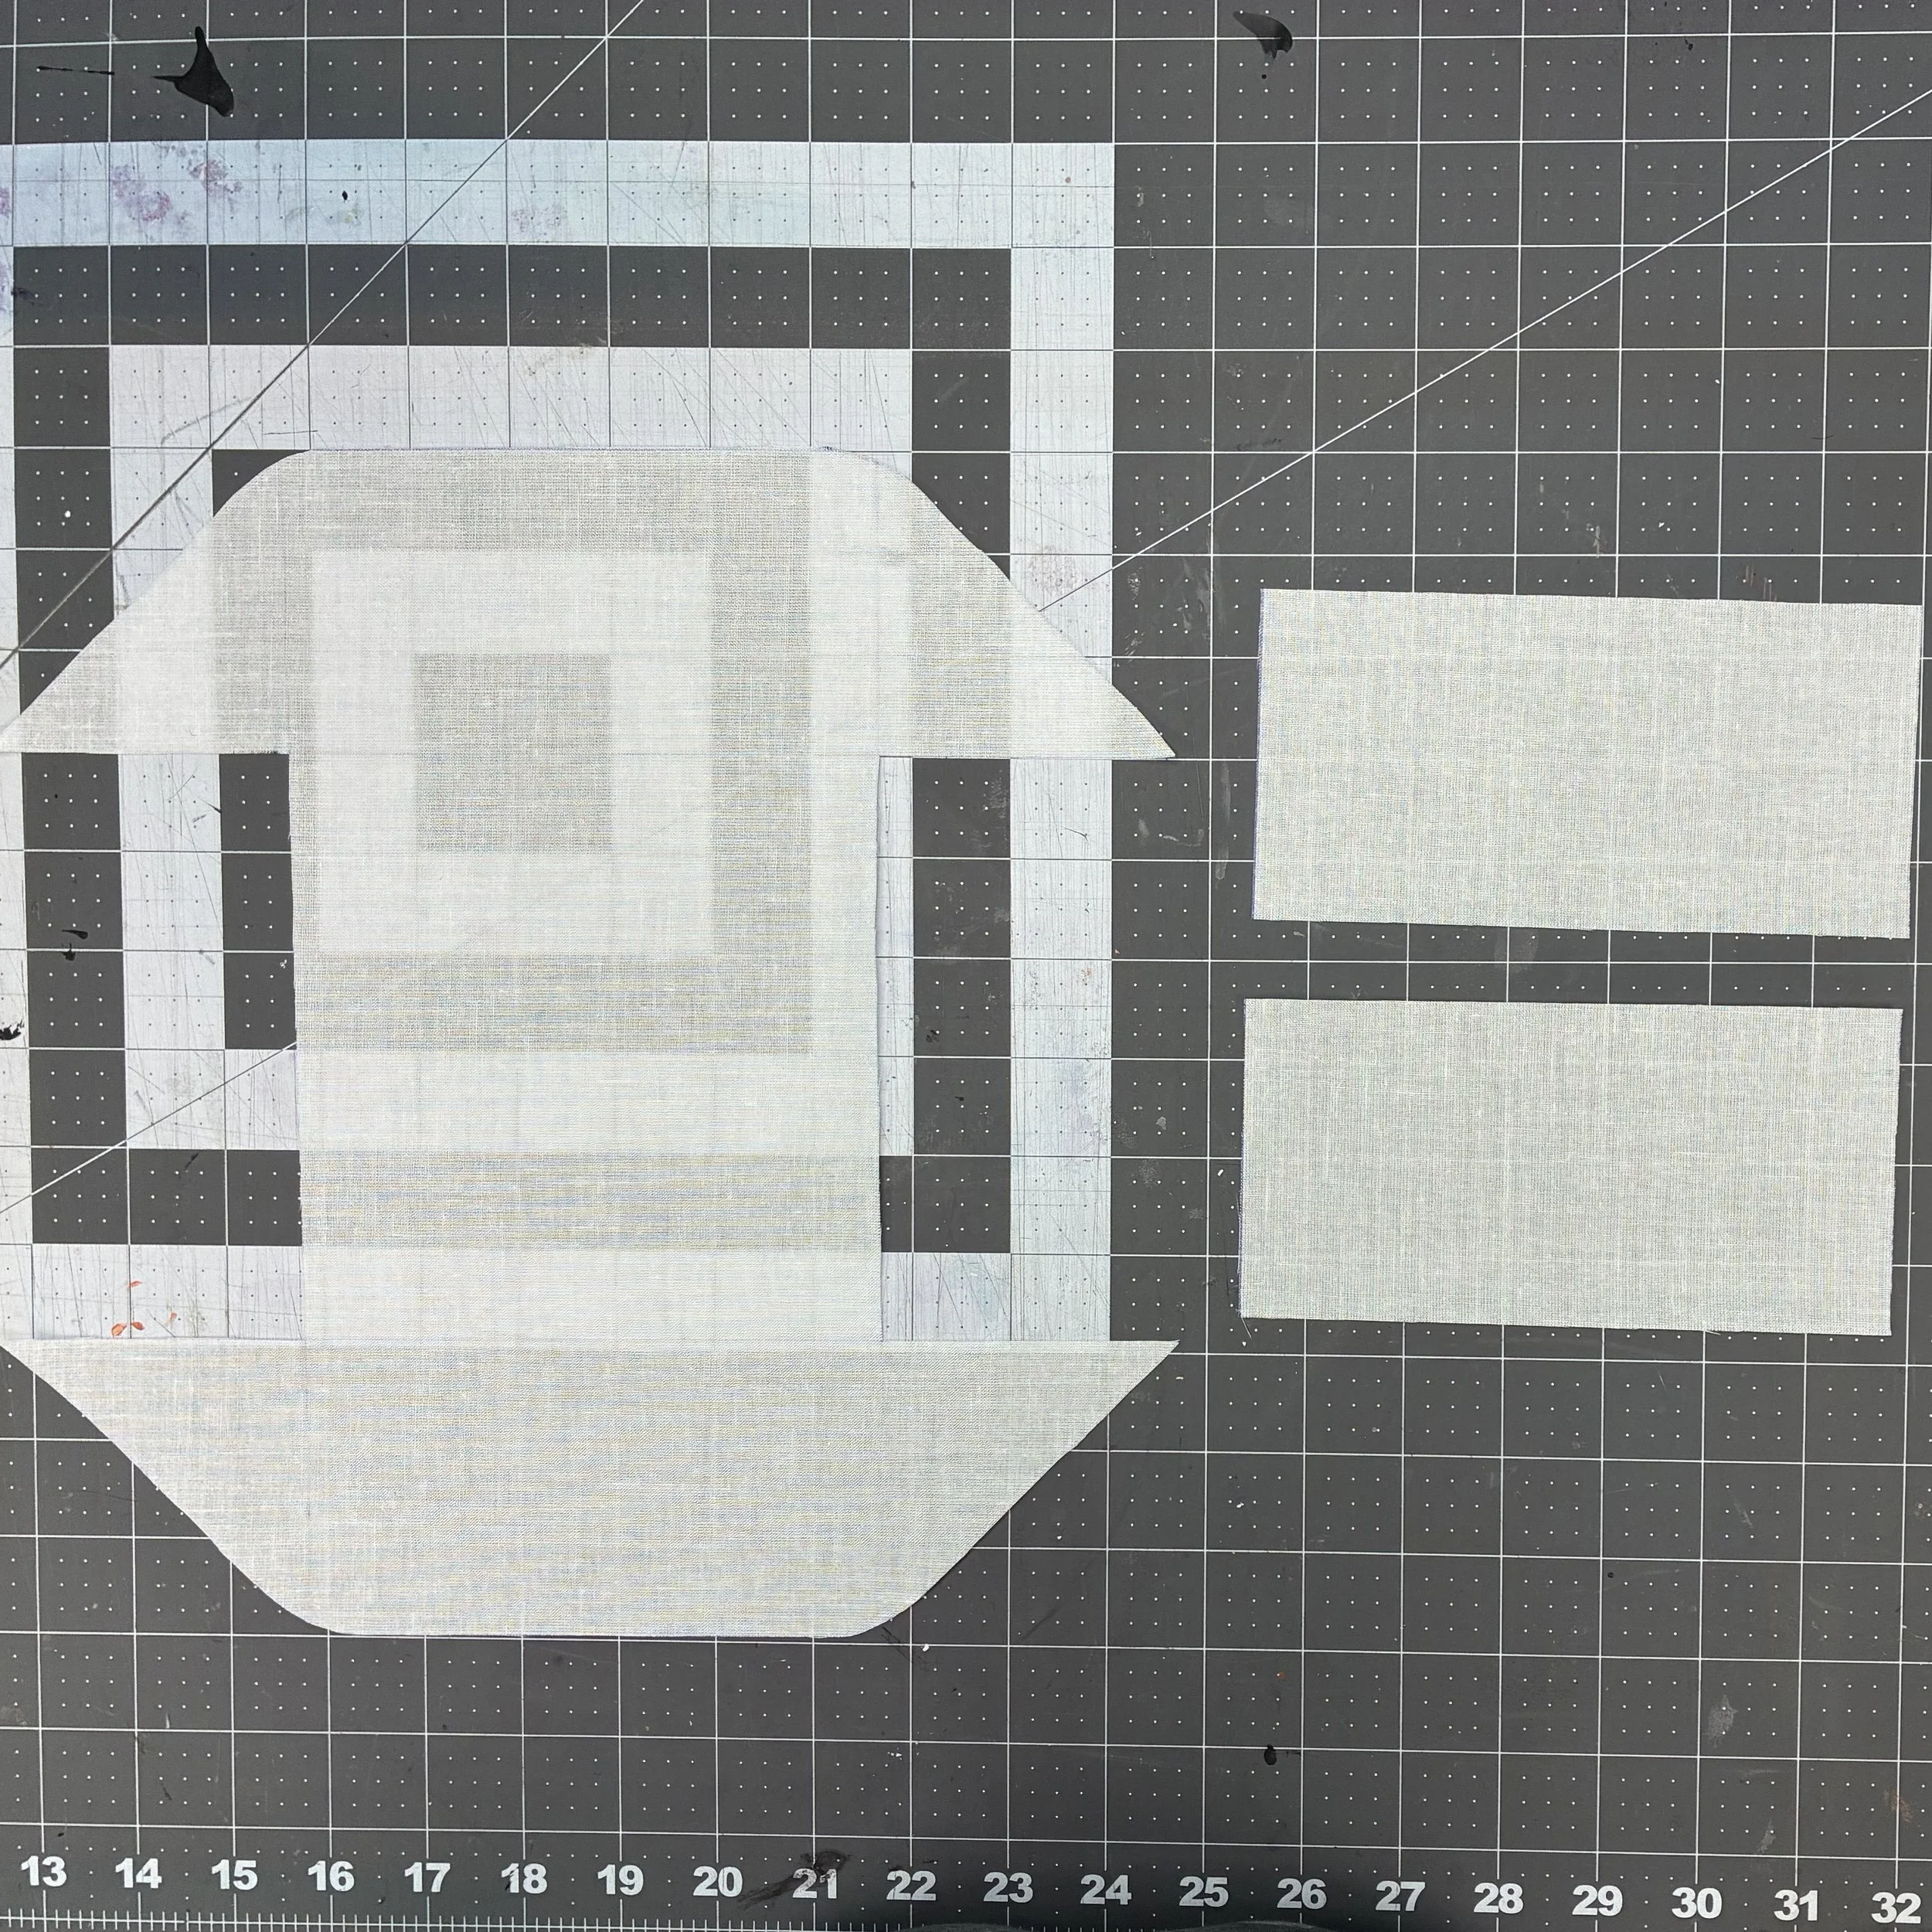
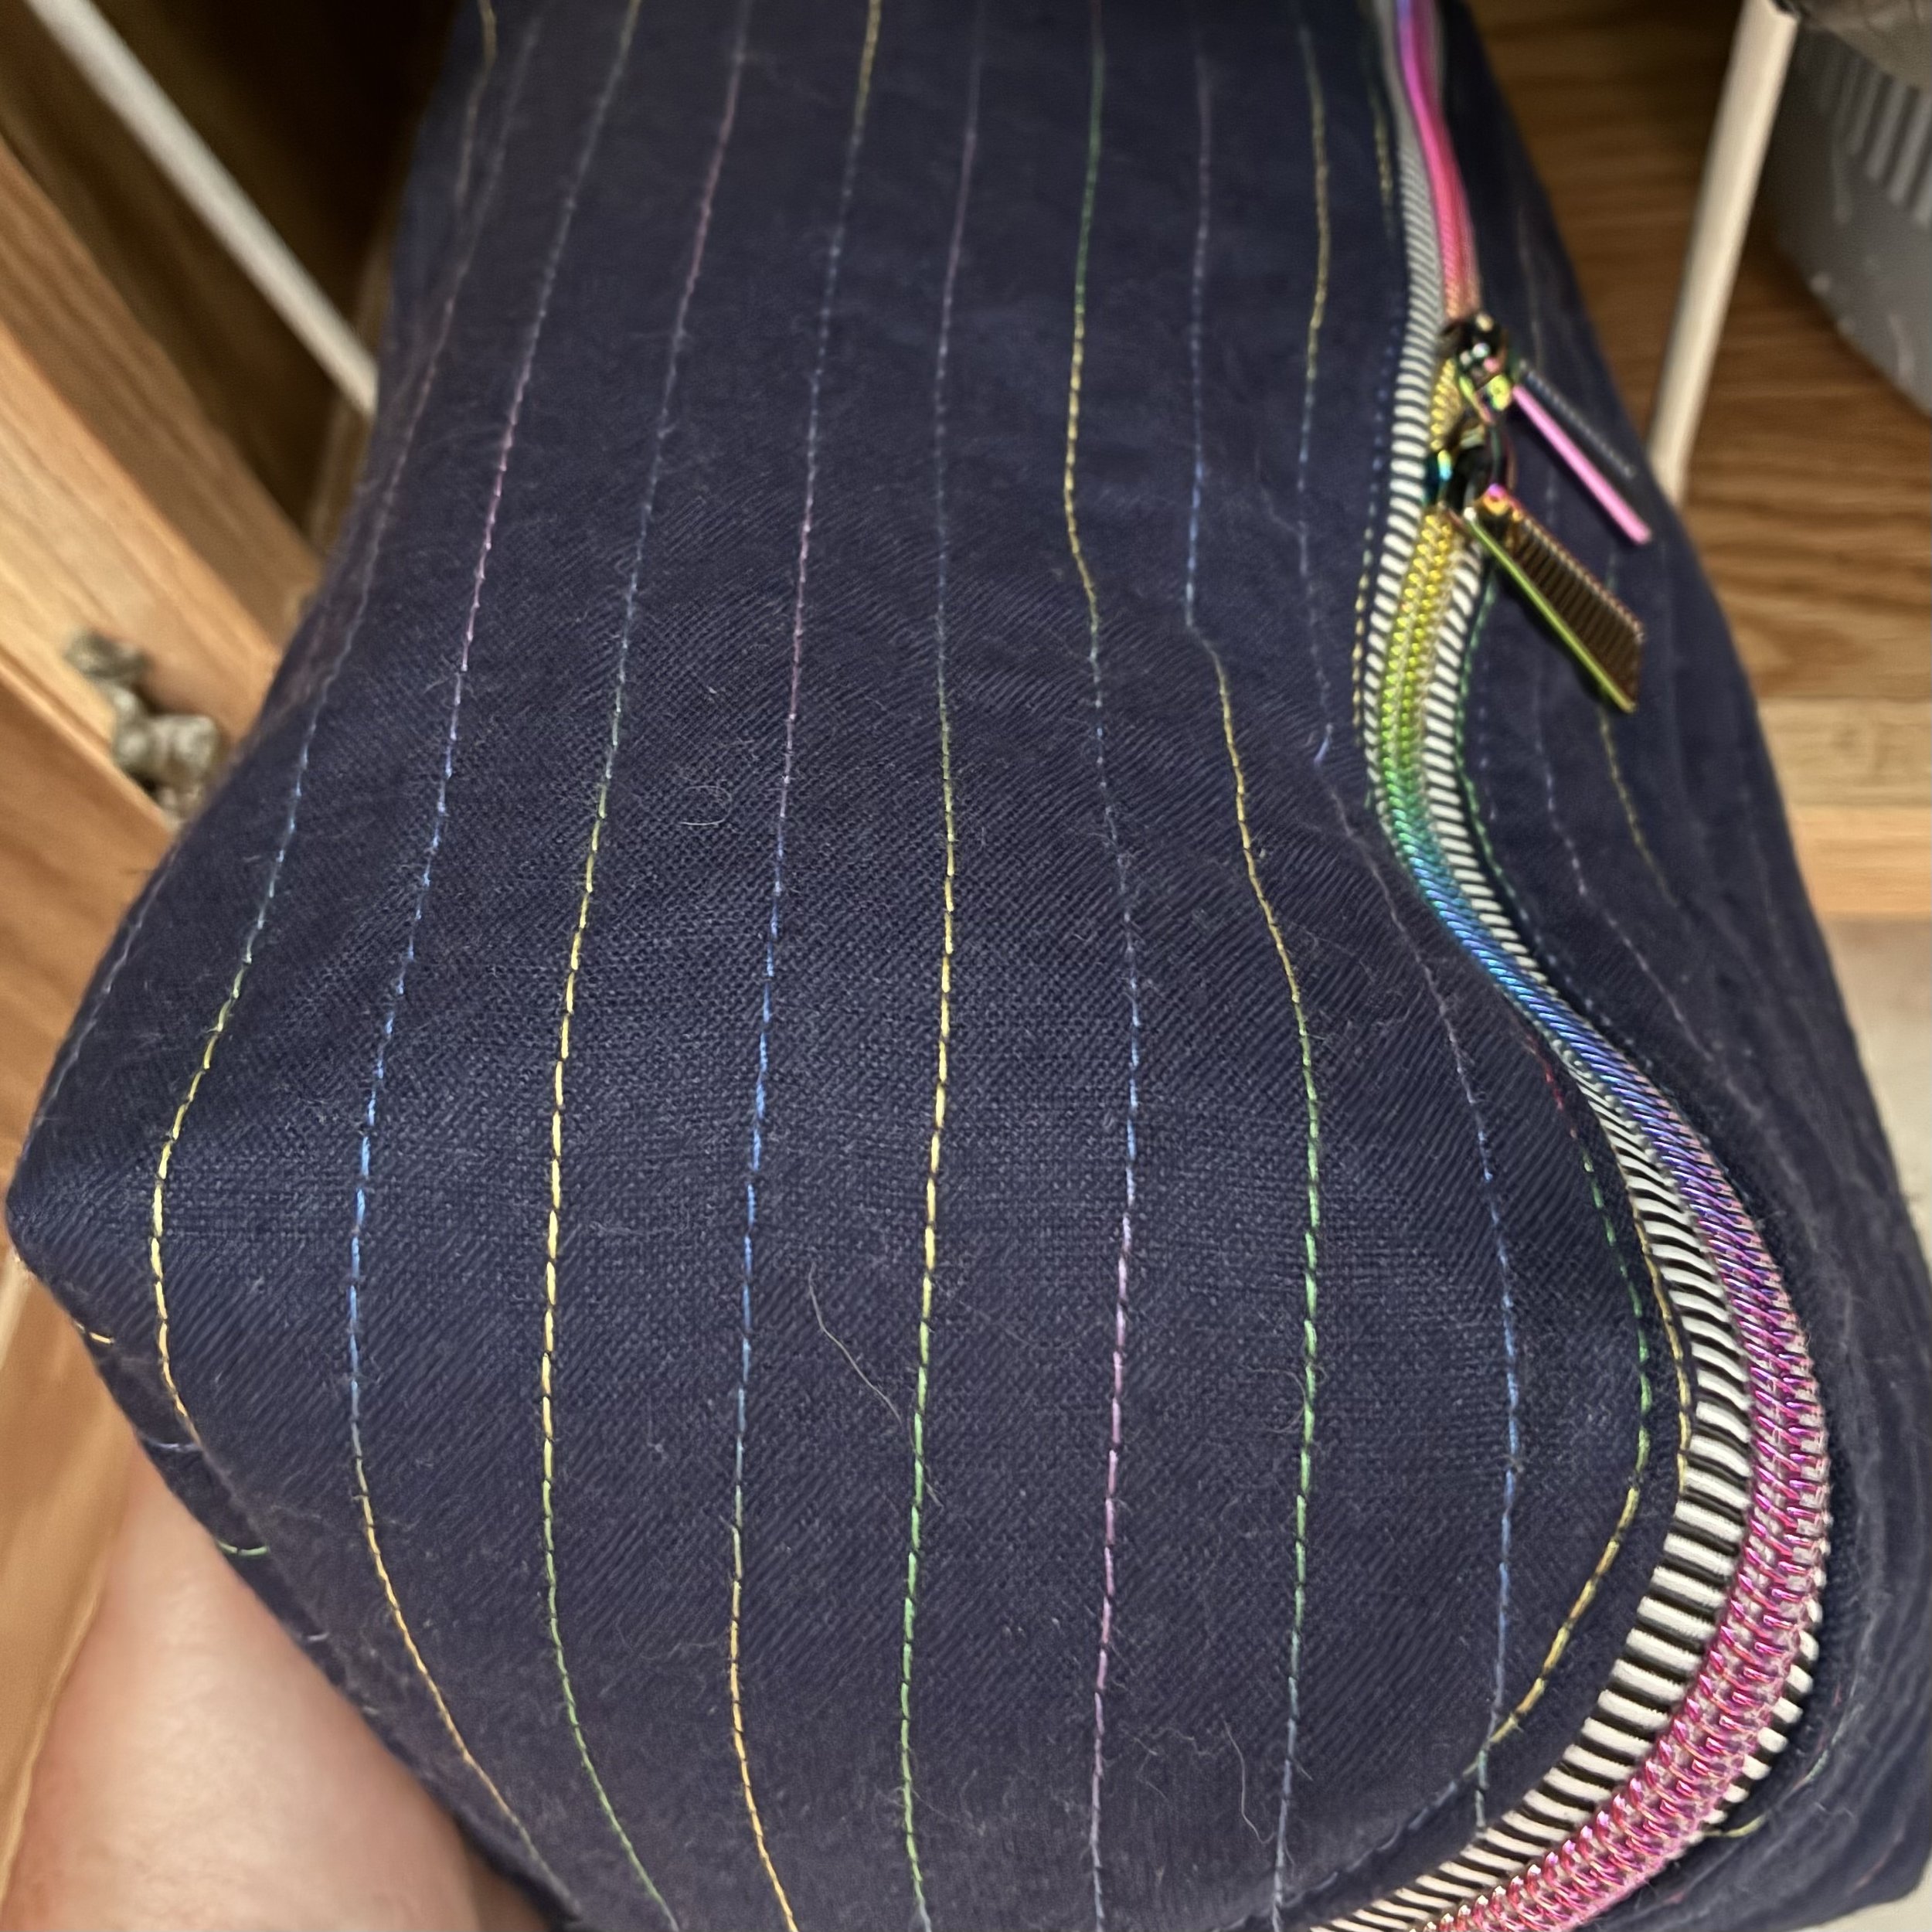
I made two open-wide pouches for this post, and I thought I’d describe the smaller one first, before I move on to the larger one and the basics of construction. I made my smaller bag from a 12” square, traced and cut out the pattern on lightweight fusible interfacing, then cut pieces of my grunge fabric from my scrap box and laid them out so as to cover the pattern pieces entirely. I fused them down with the iron, cut off the excess around the edges, and then used some gorgeous variegated thread to zigzag over all the raw edges. I really like the way it turned out. While I was at it, I cut and interfaced a piece of lining fabric using the same pattern method as for the main fabric, only without the scrappy quilting.
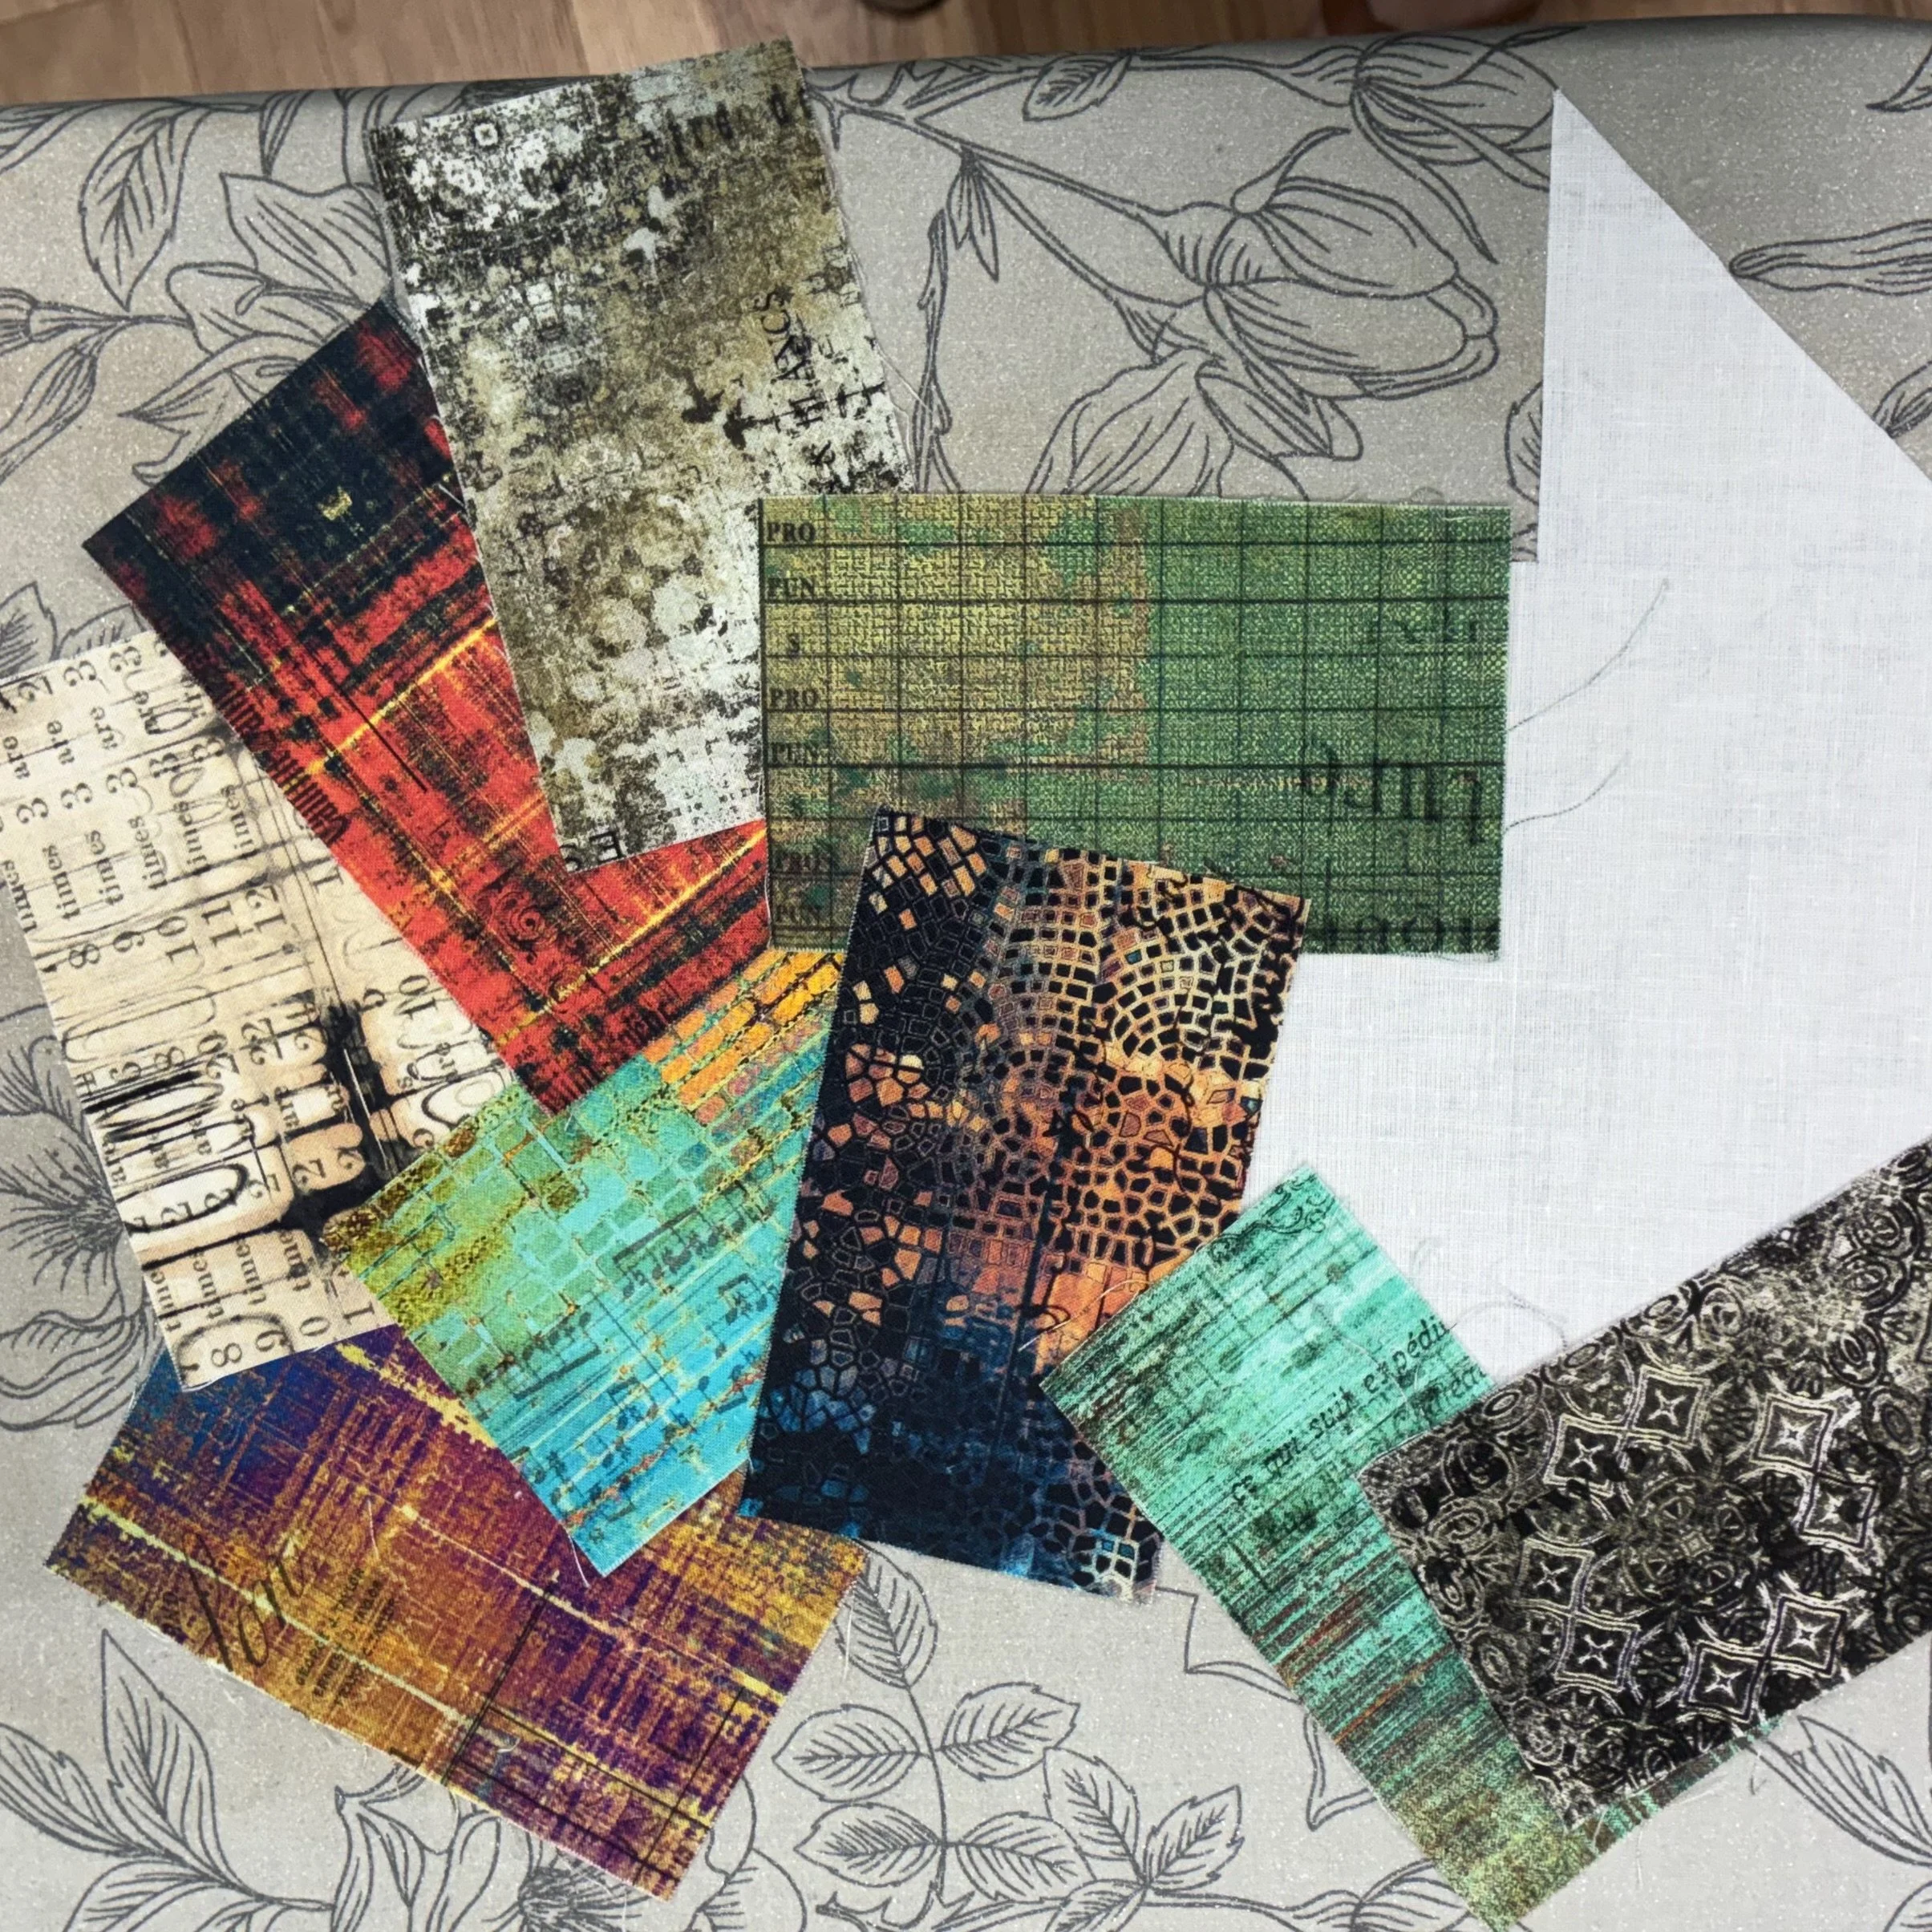
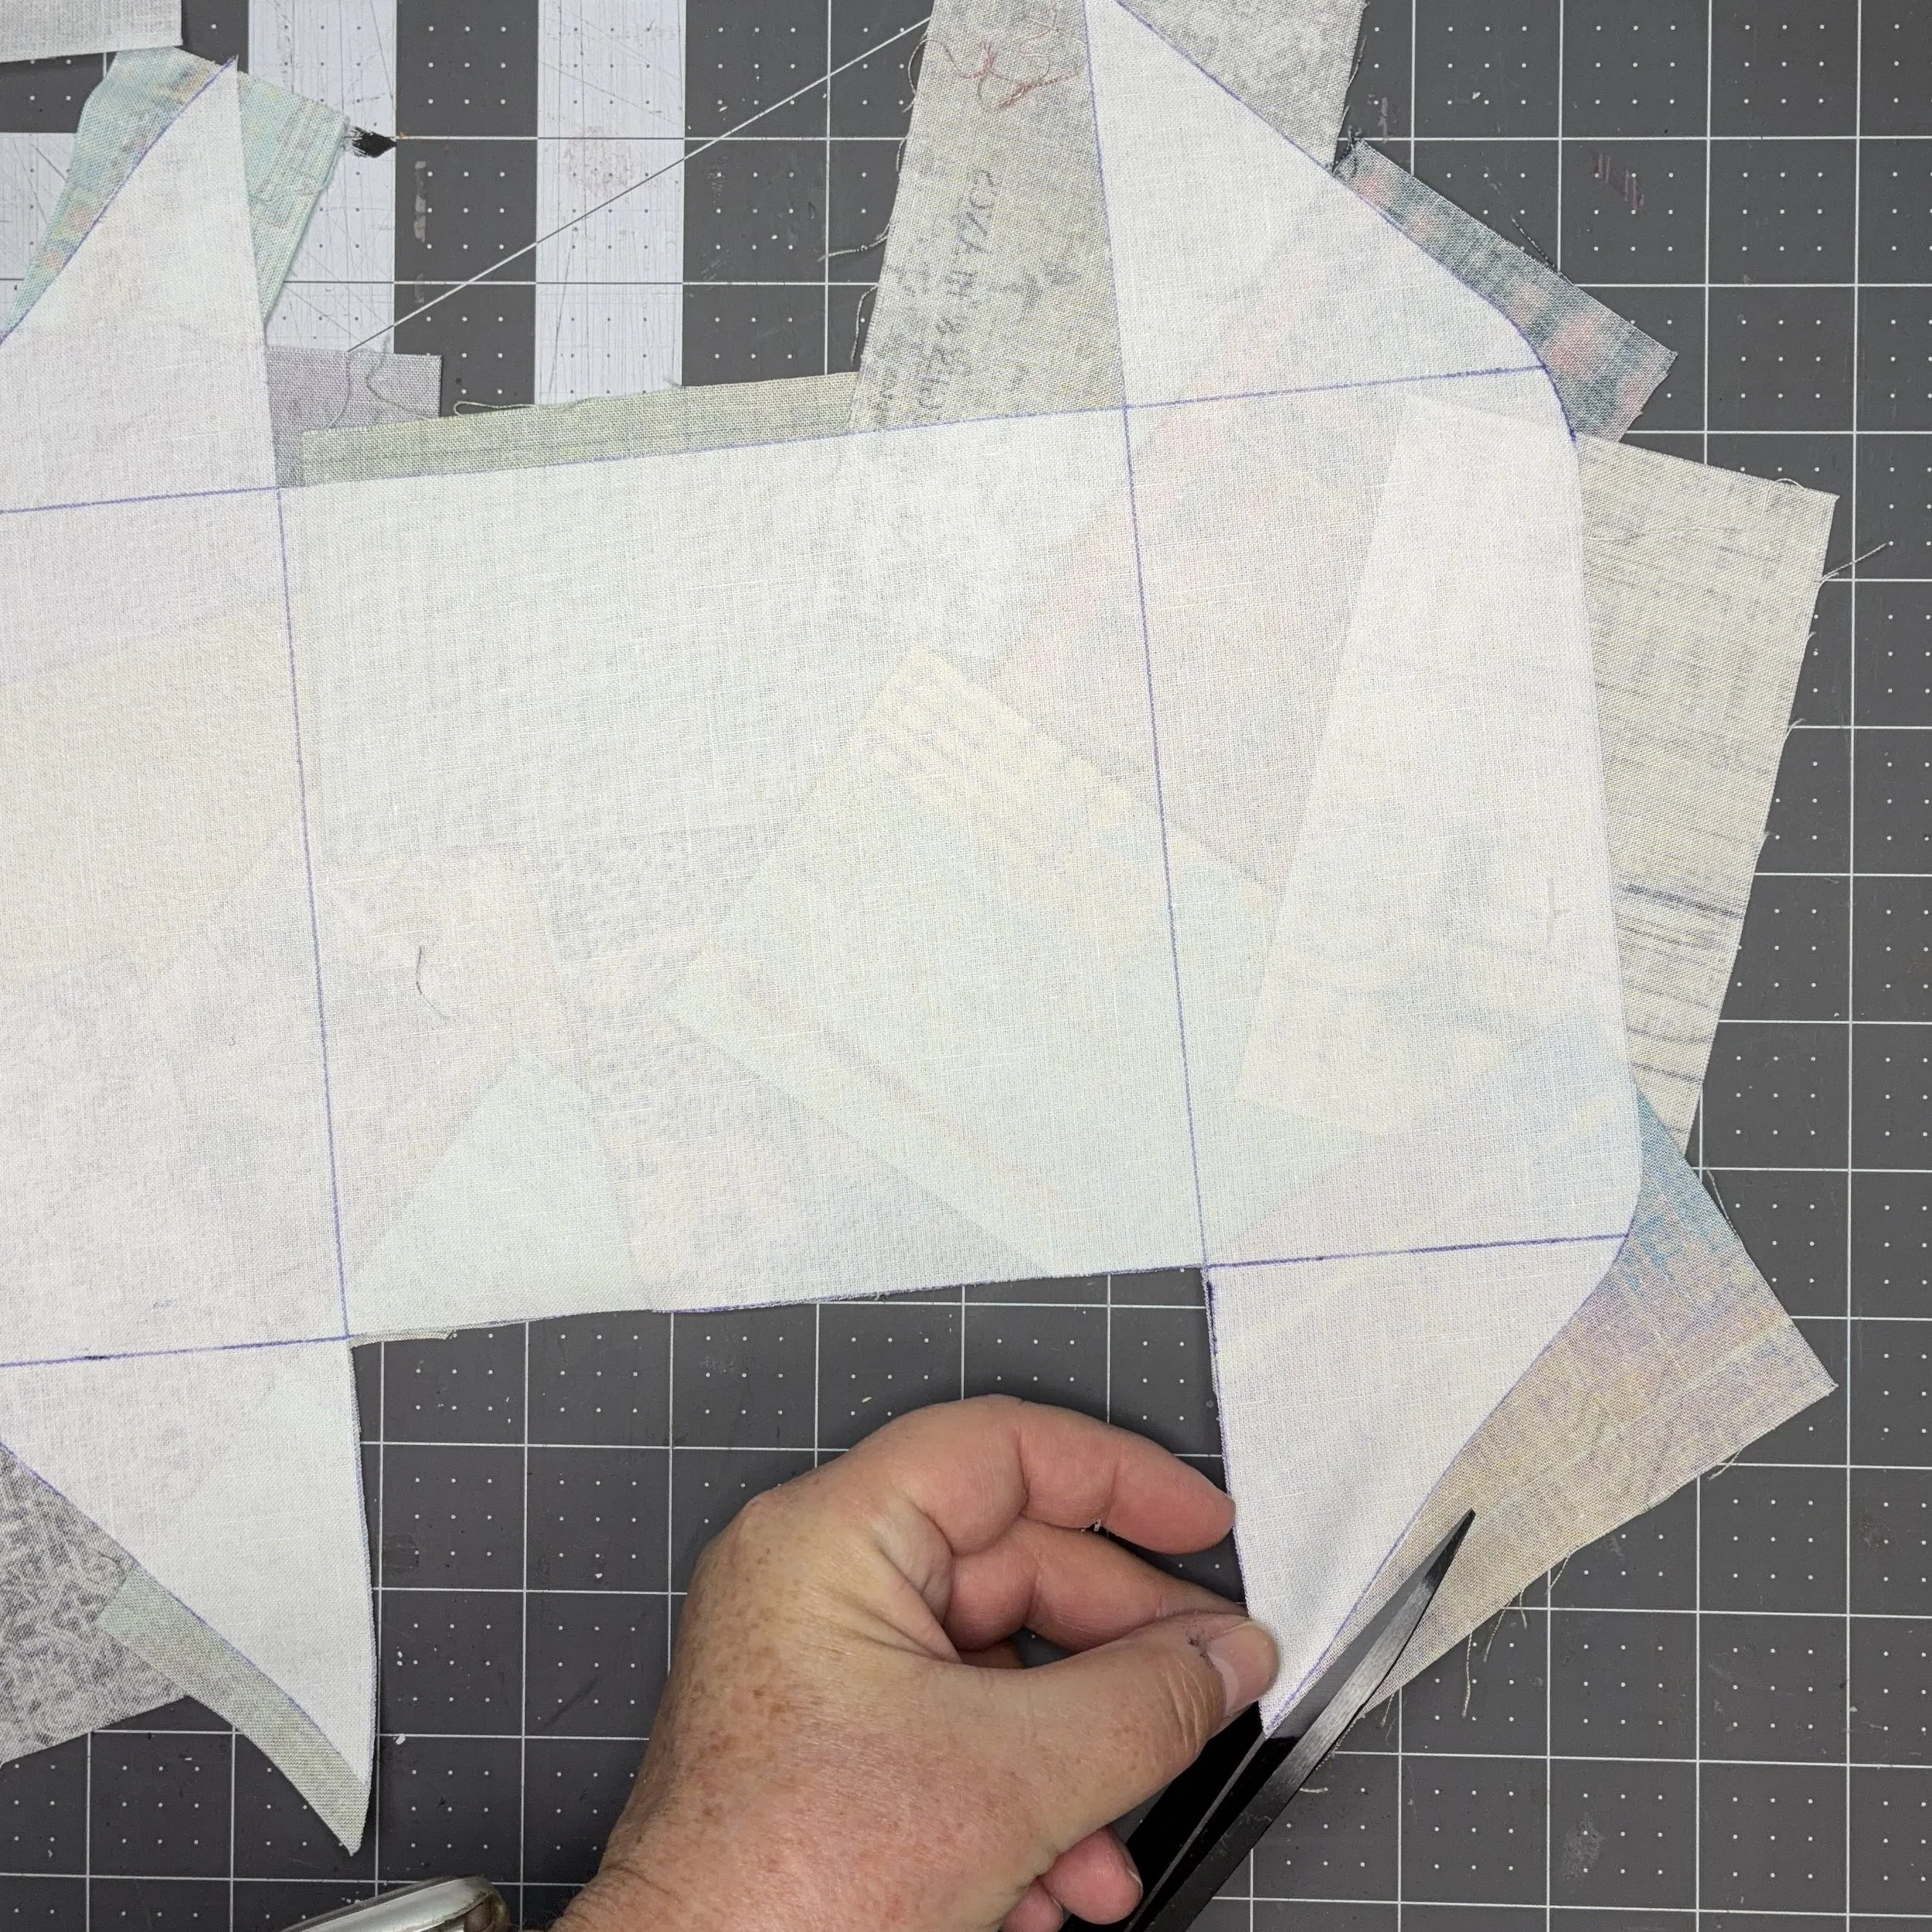
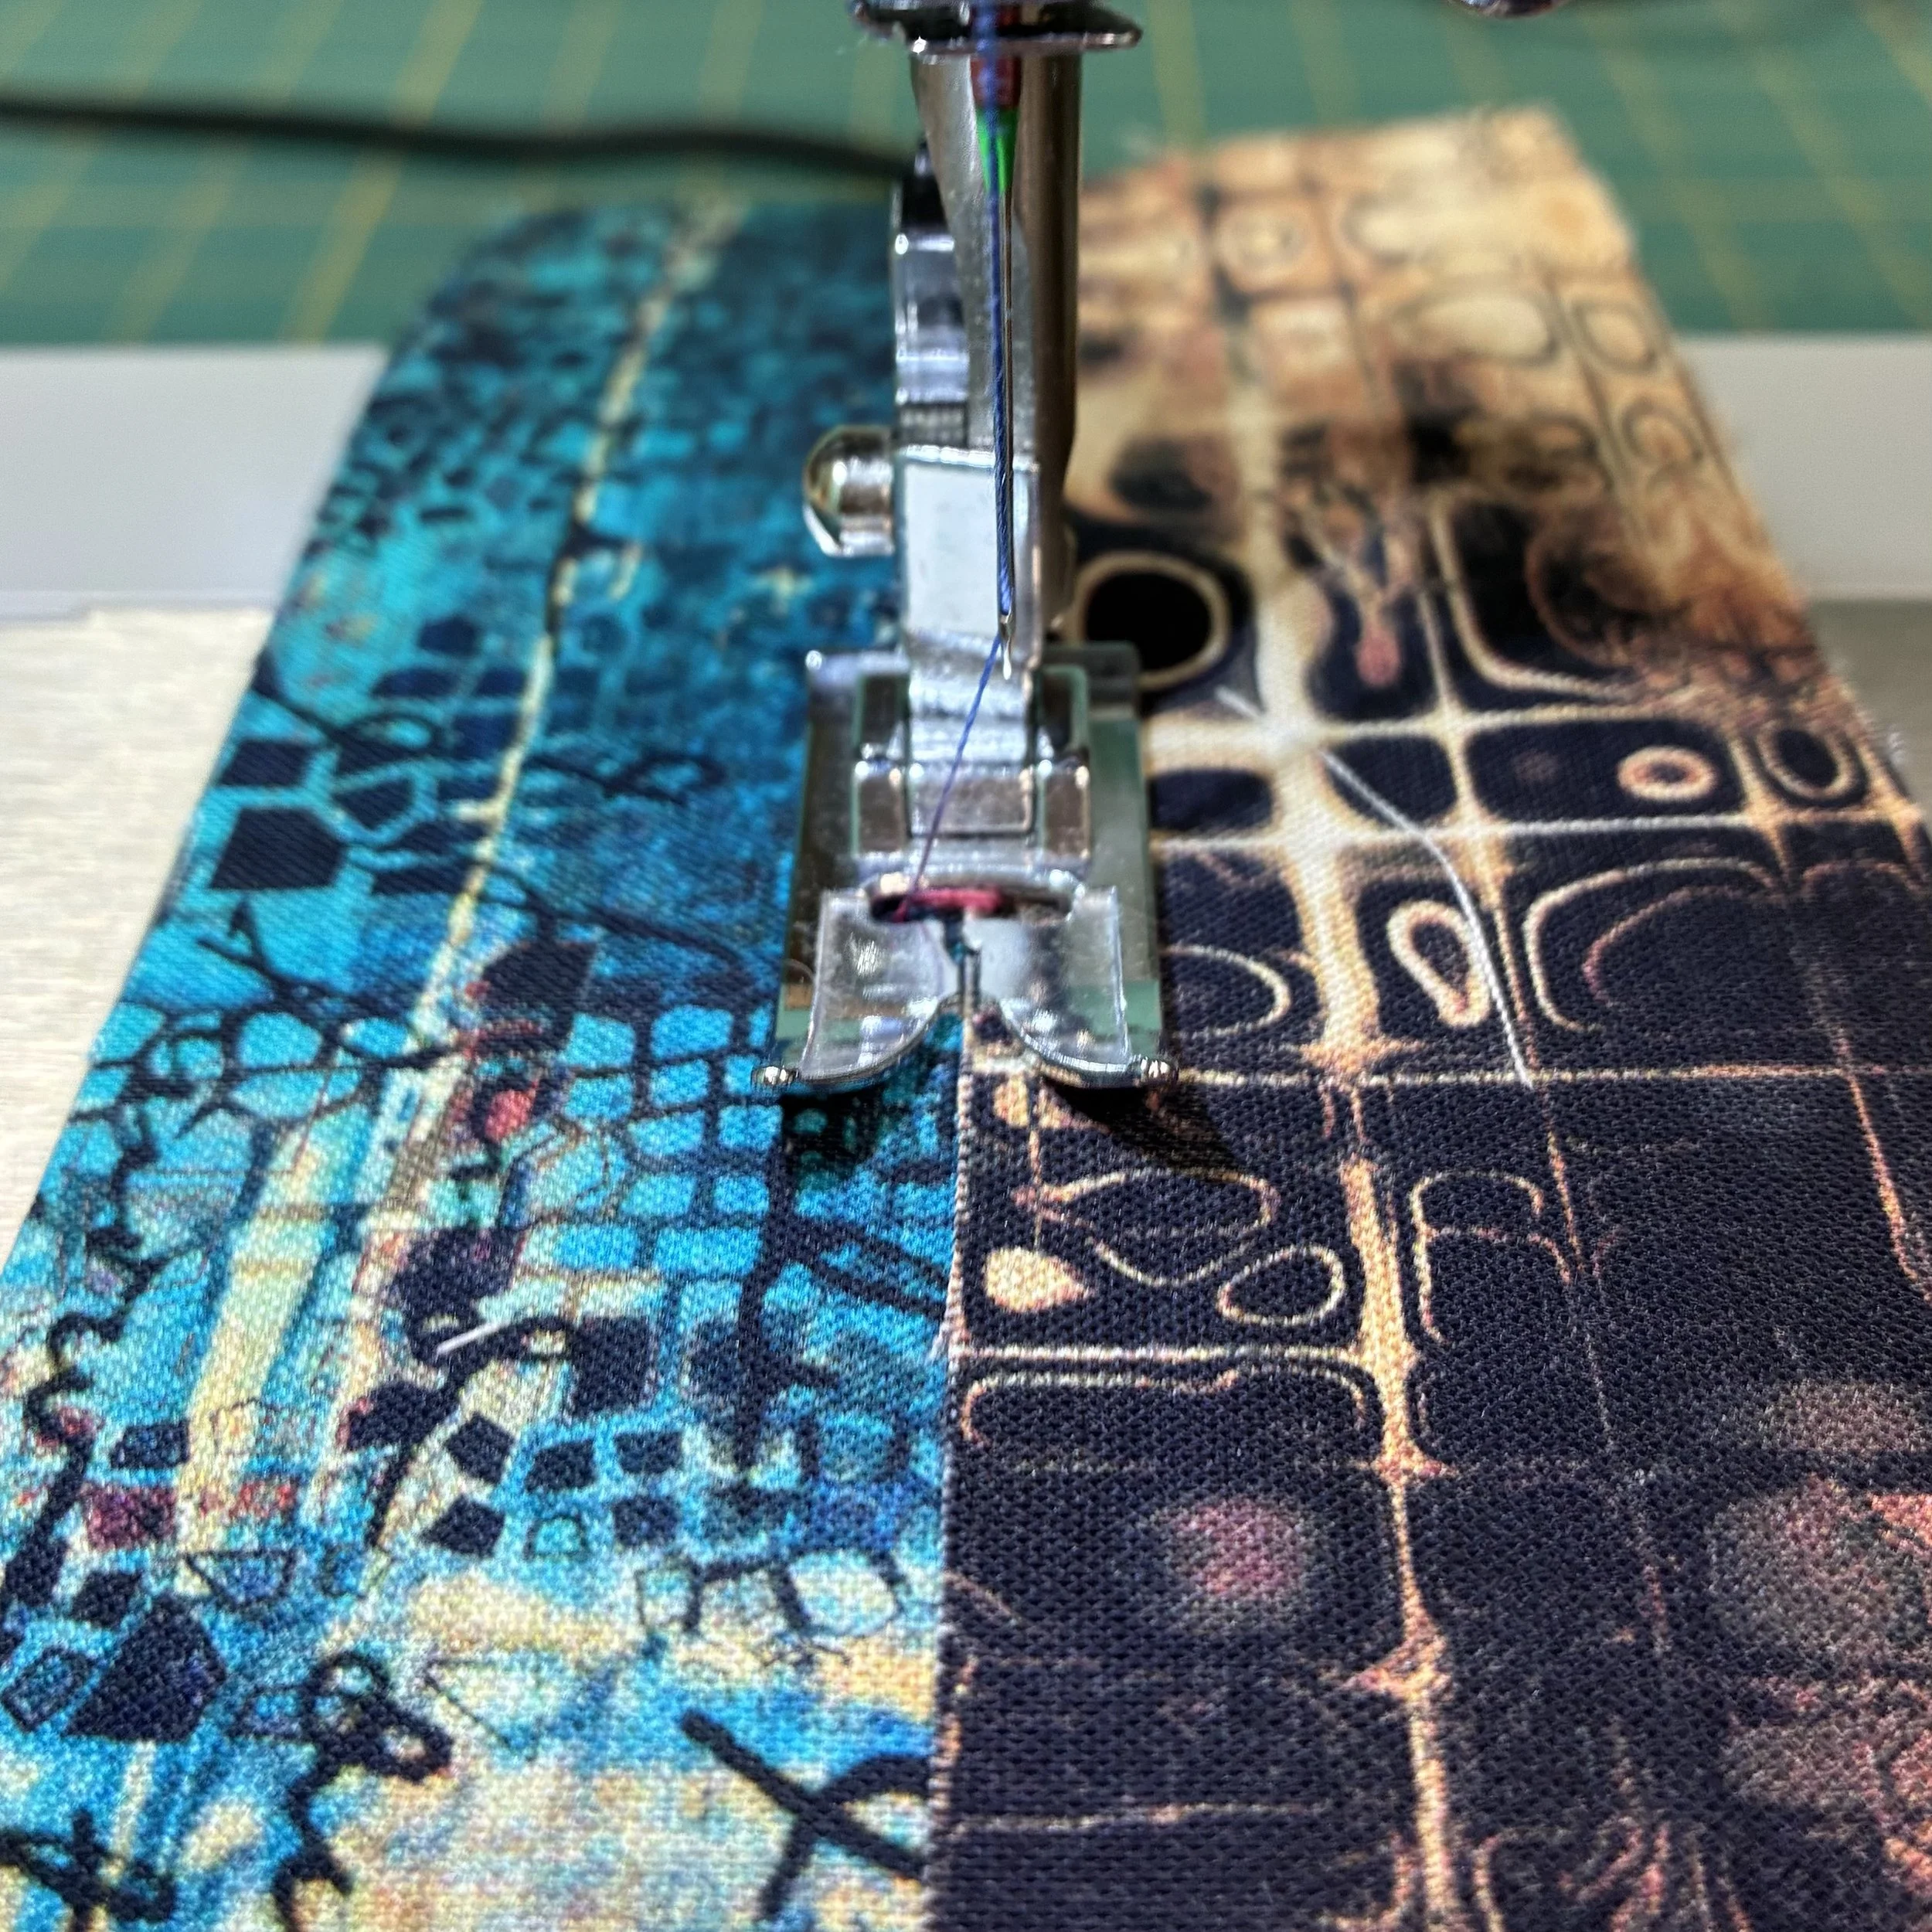
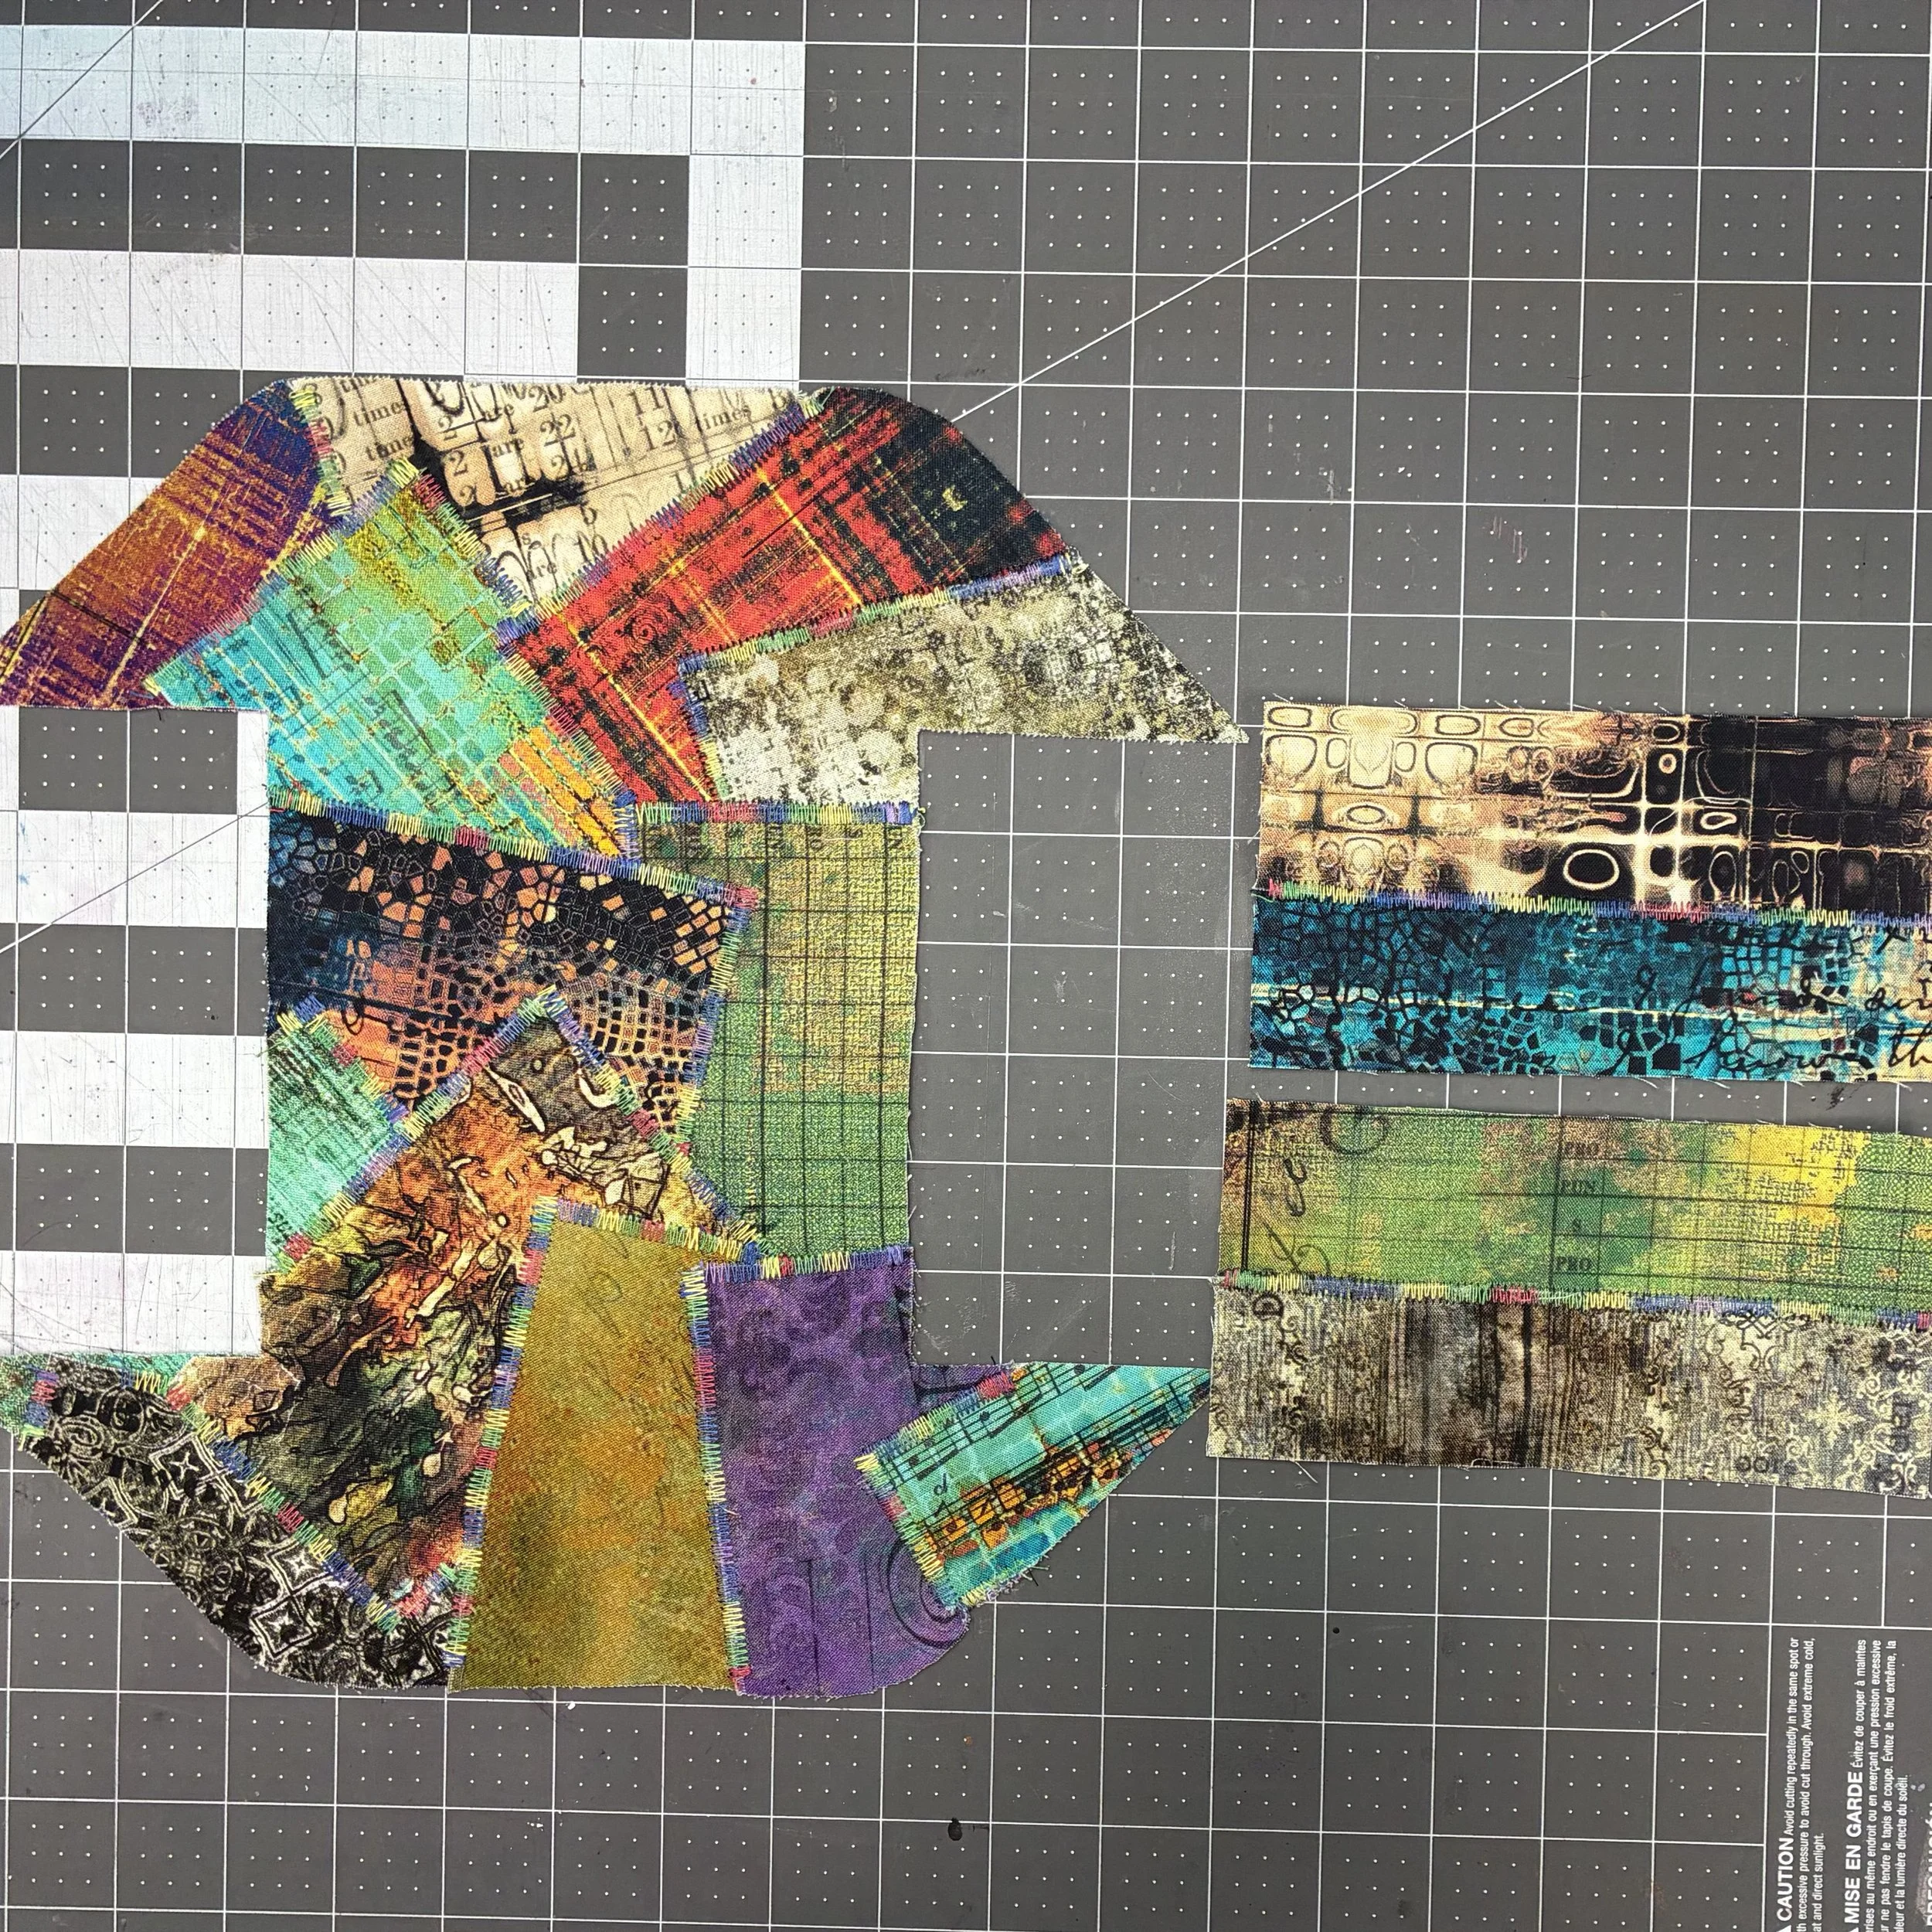
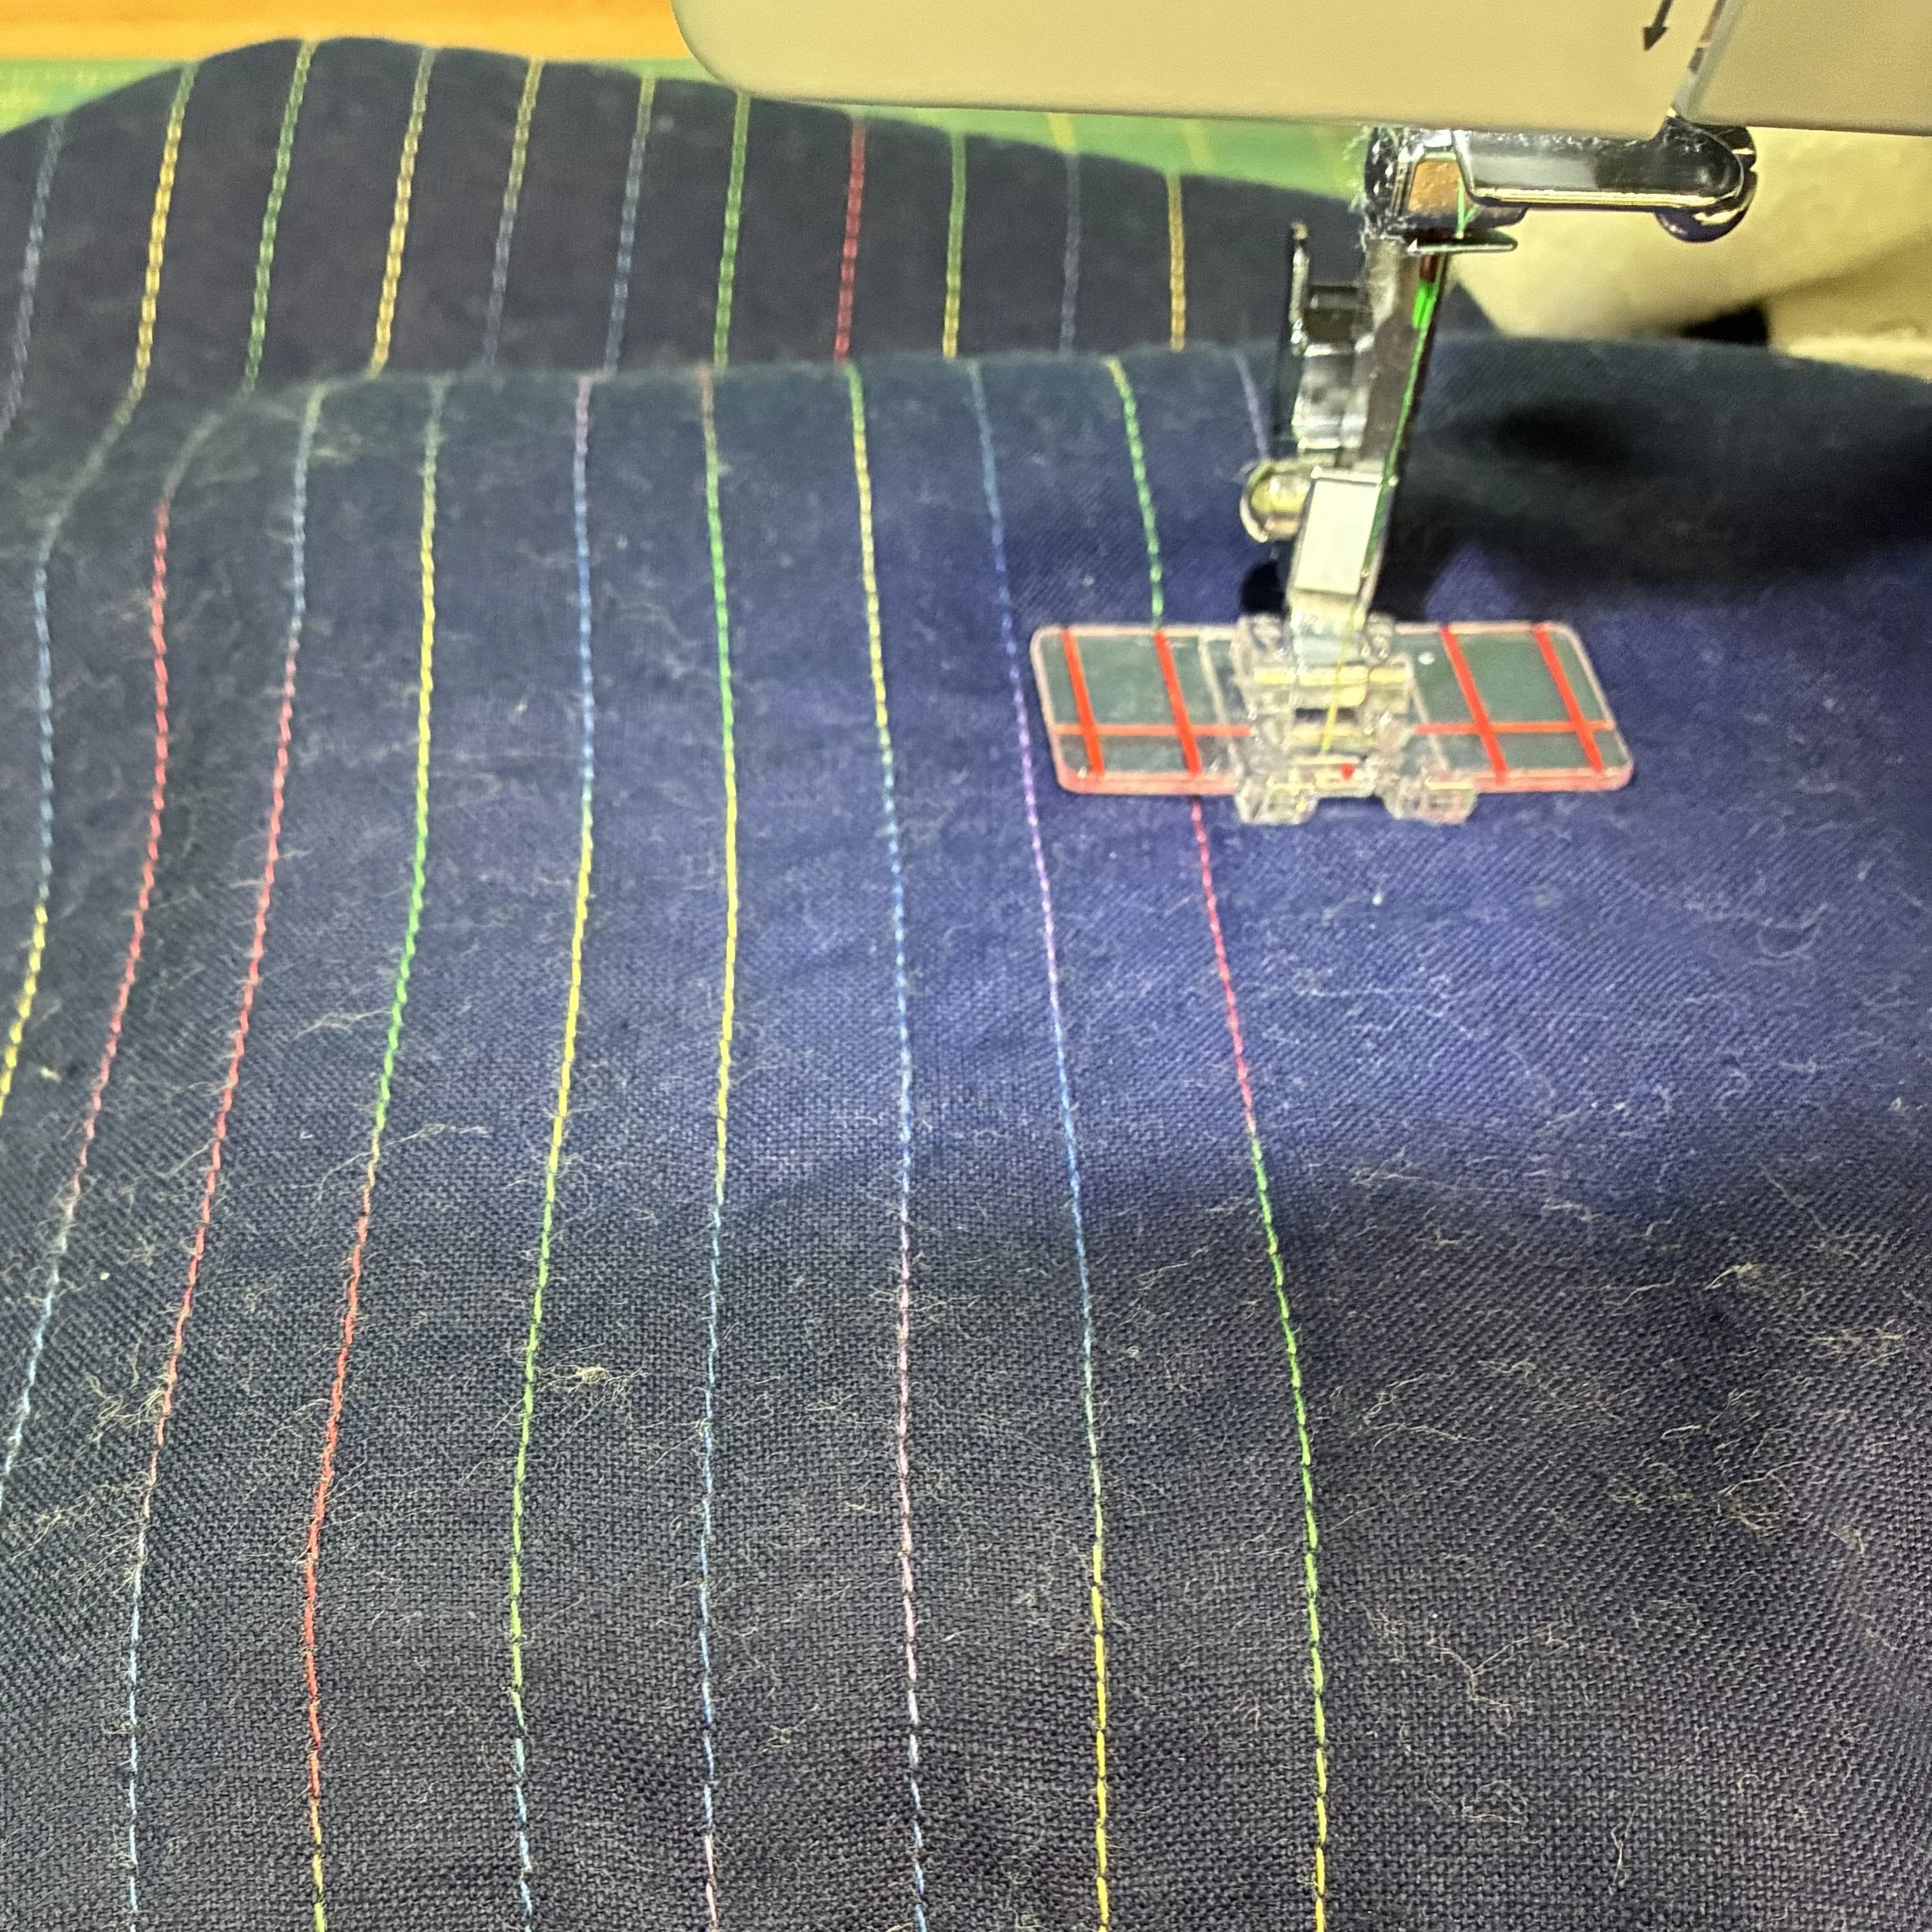
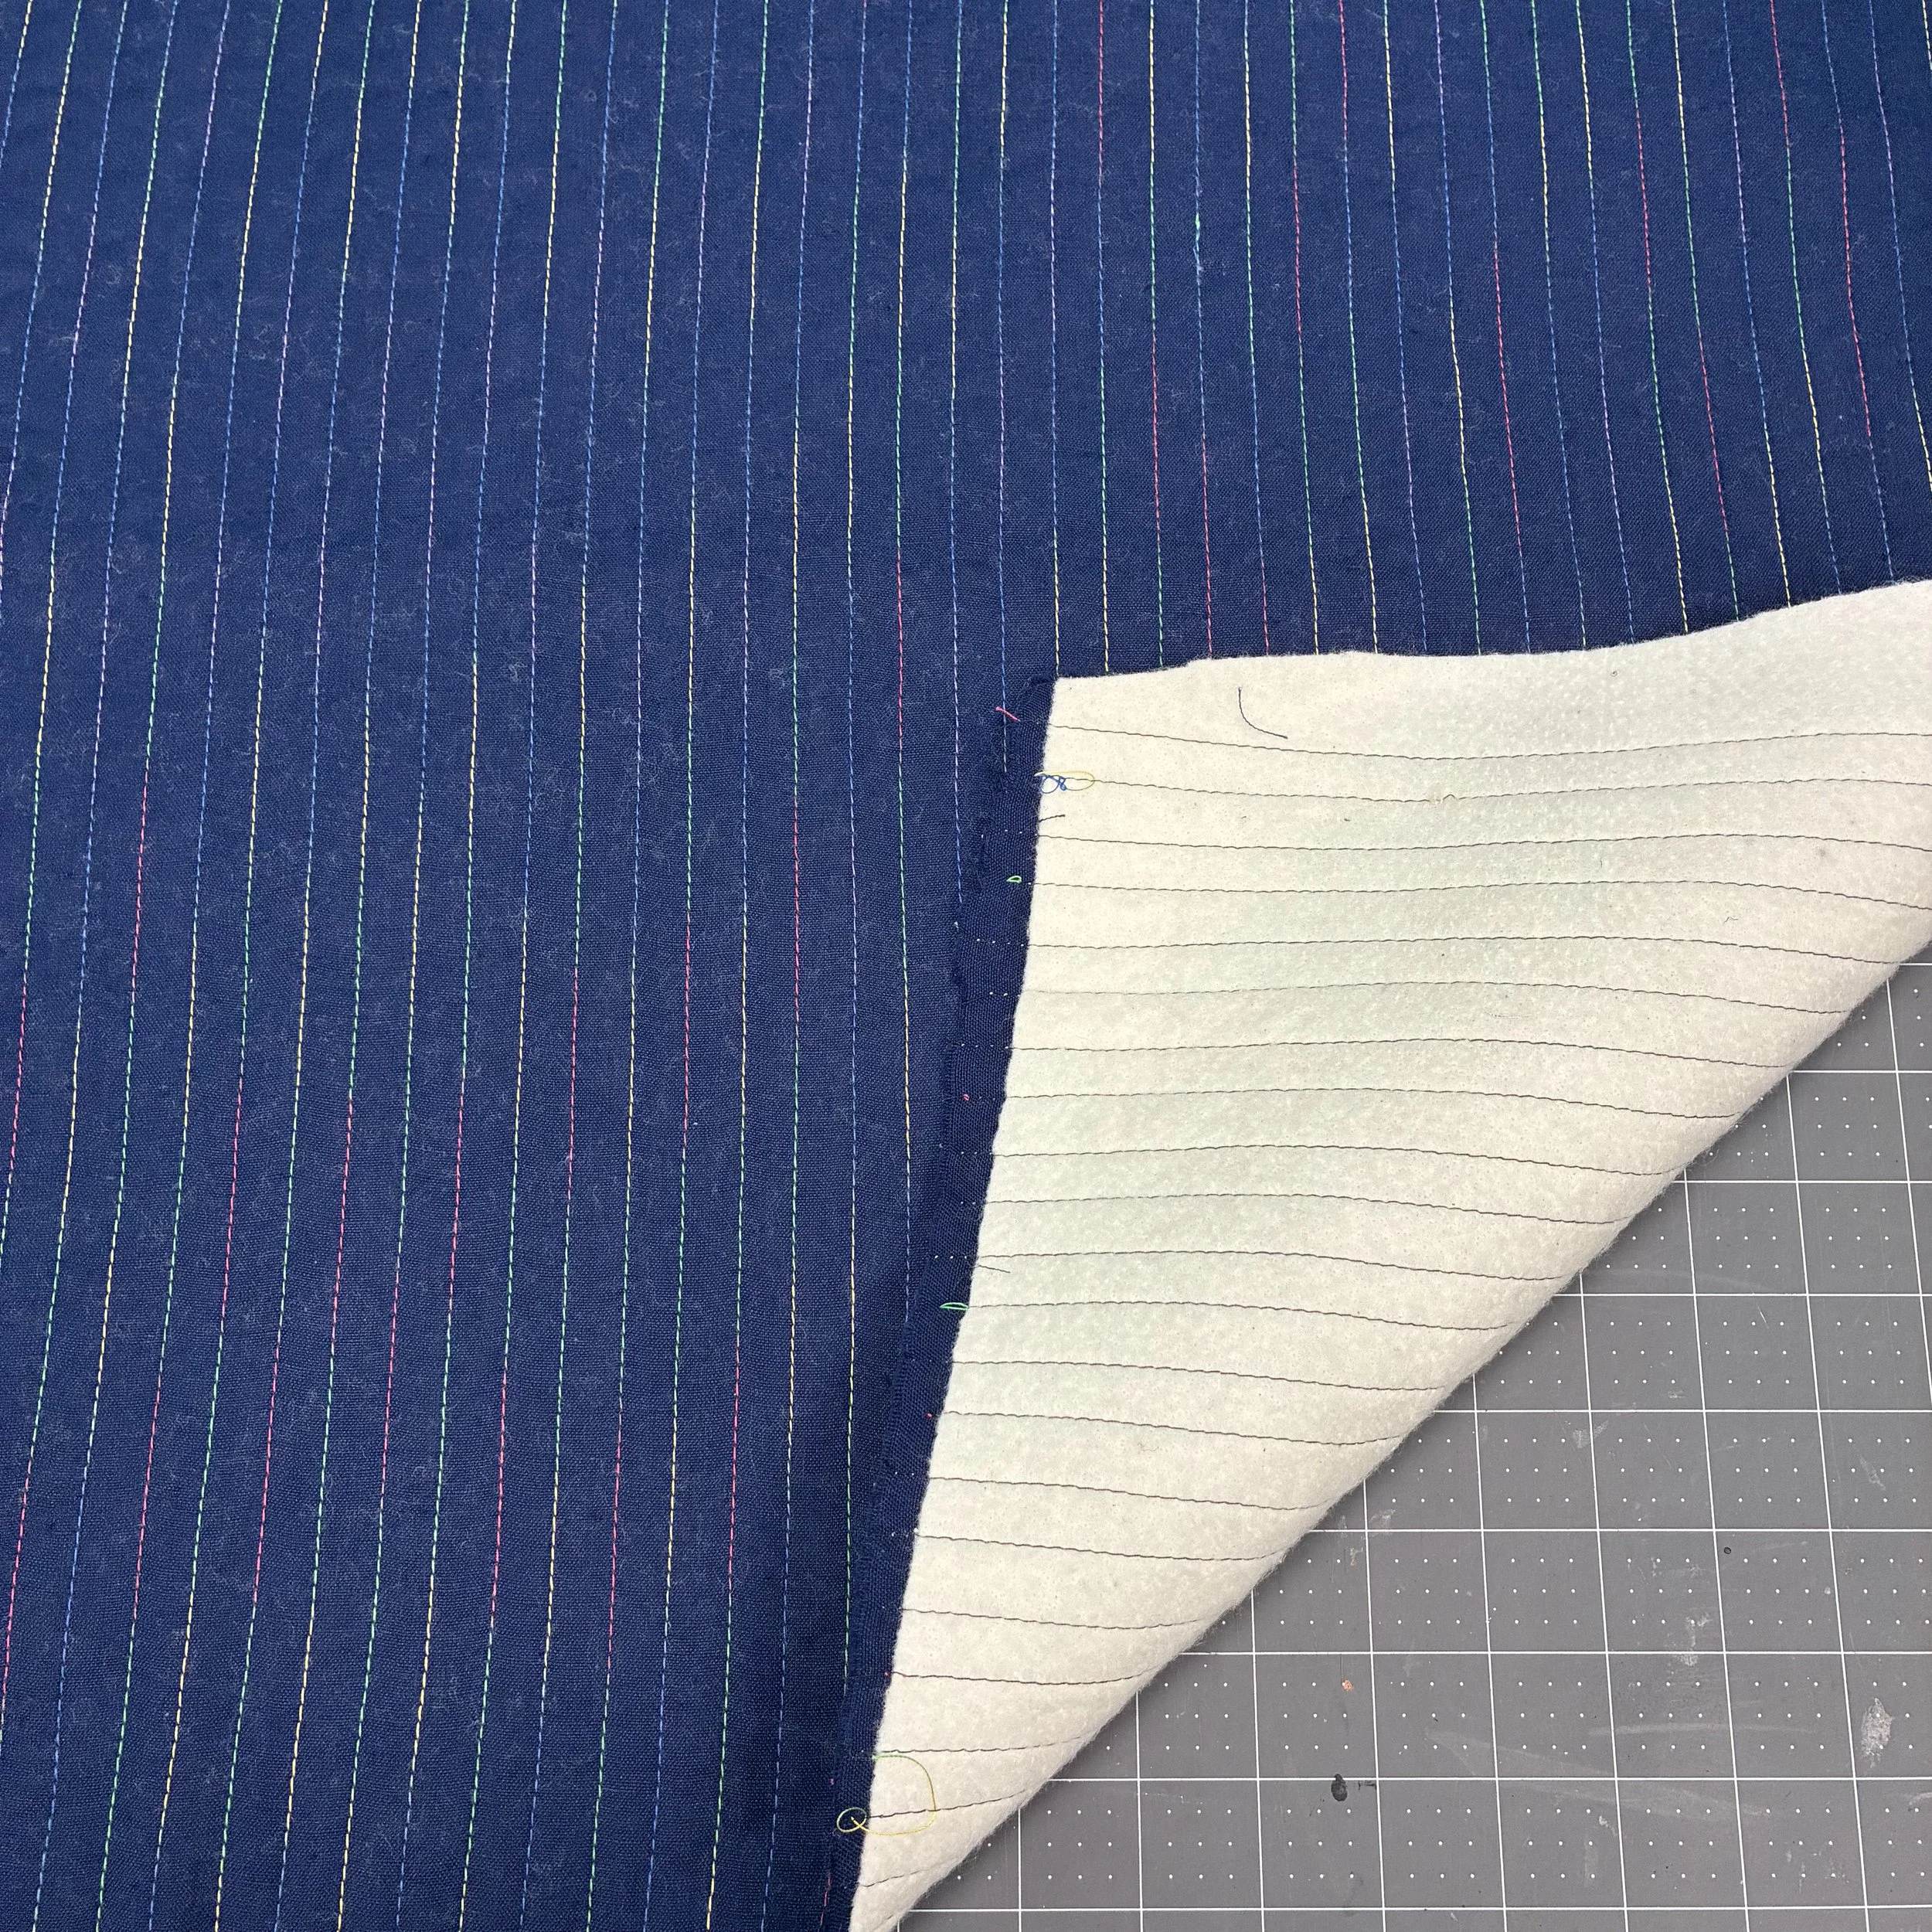
The rest of the instructions are shown using my larger fabric pieces, which I started with a fabric square a few inches larger than the 20” I would eventually need. I cut a piece of thin cotton batting the same size, and quilted my fabric to my batting using the variegated thread and an inexpensive but useful presser foot that made it super easy to sew parallel lines of stitching half an inch apart across the entire piece.
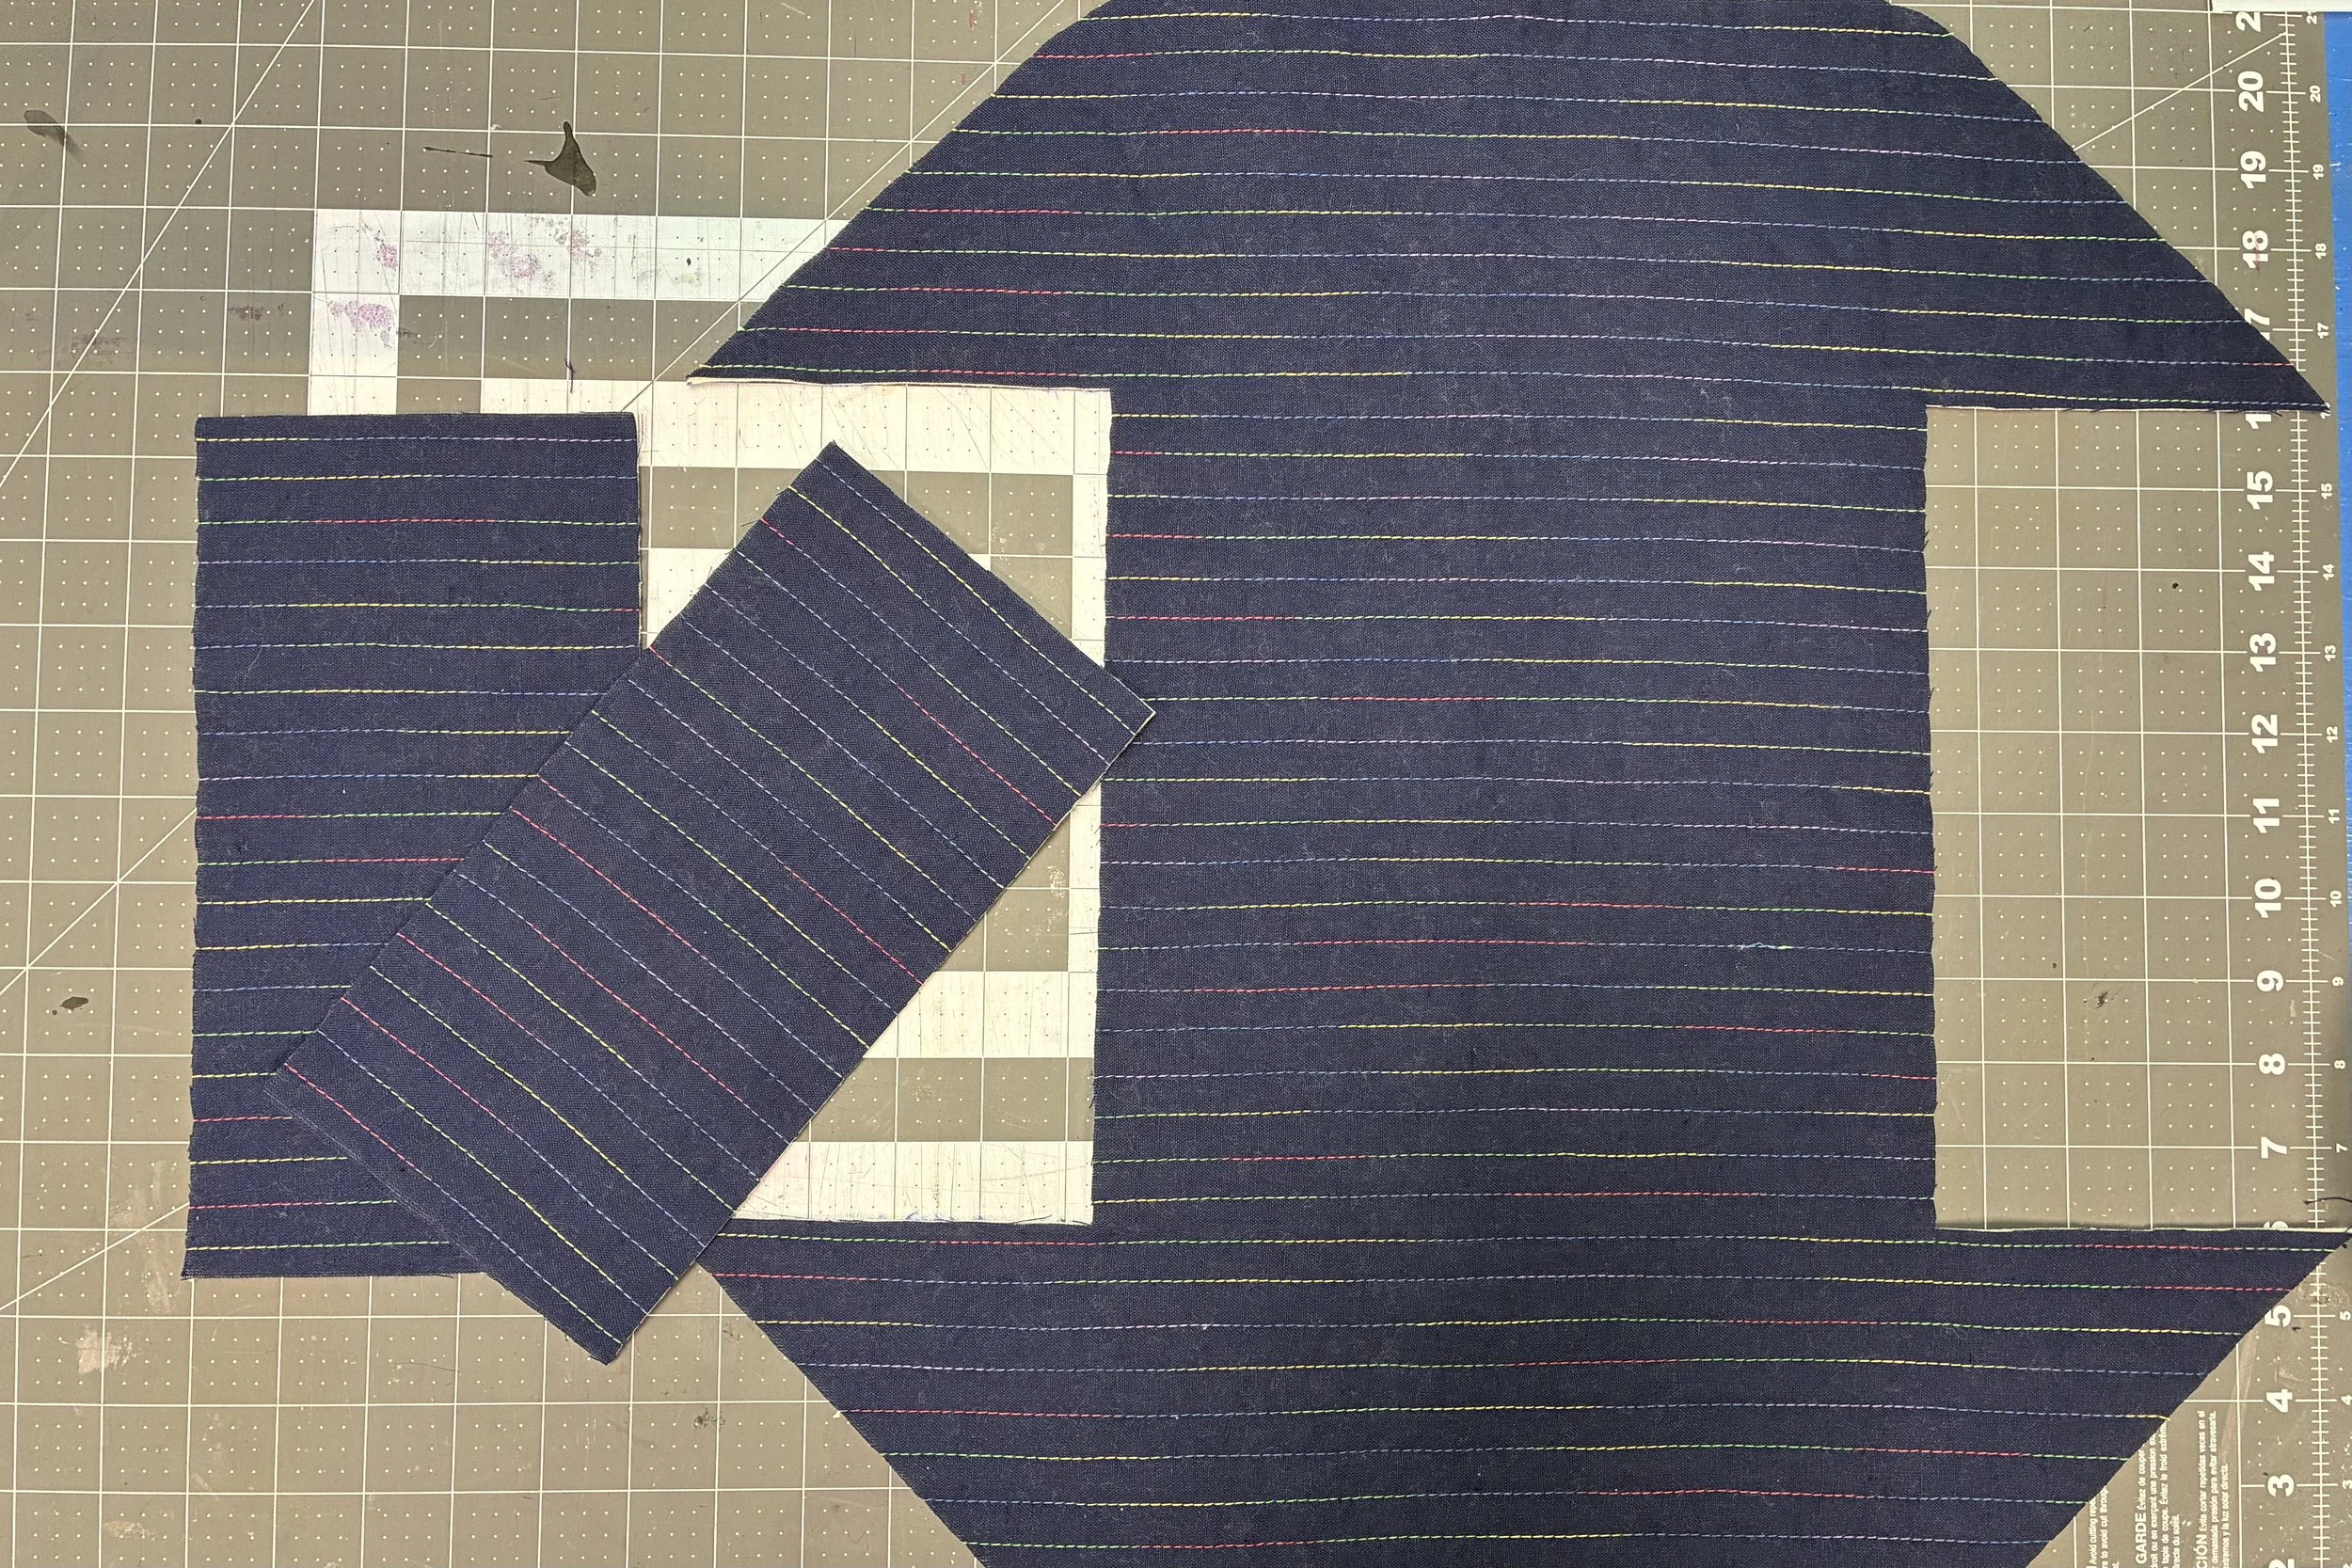
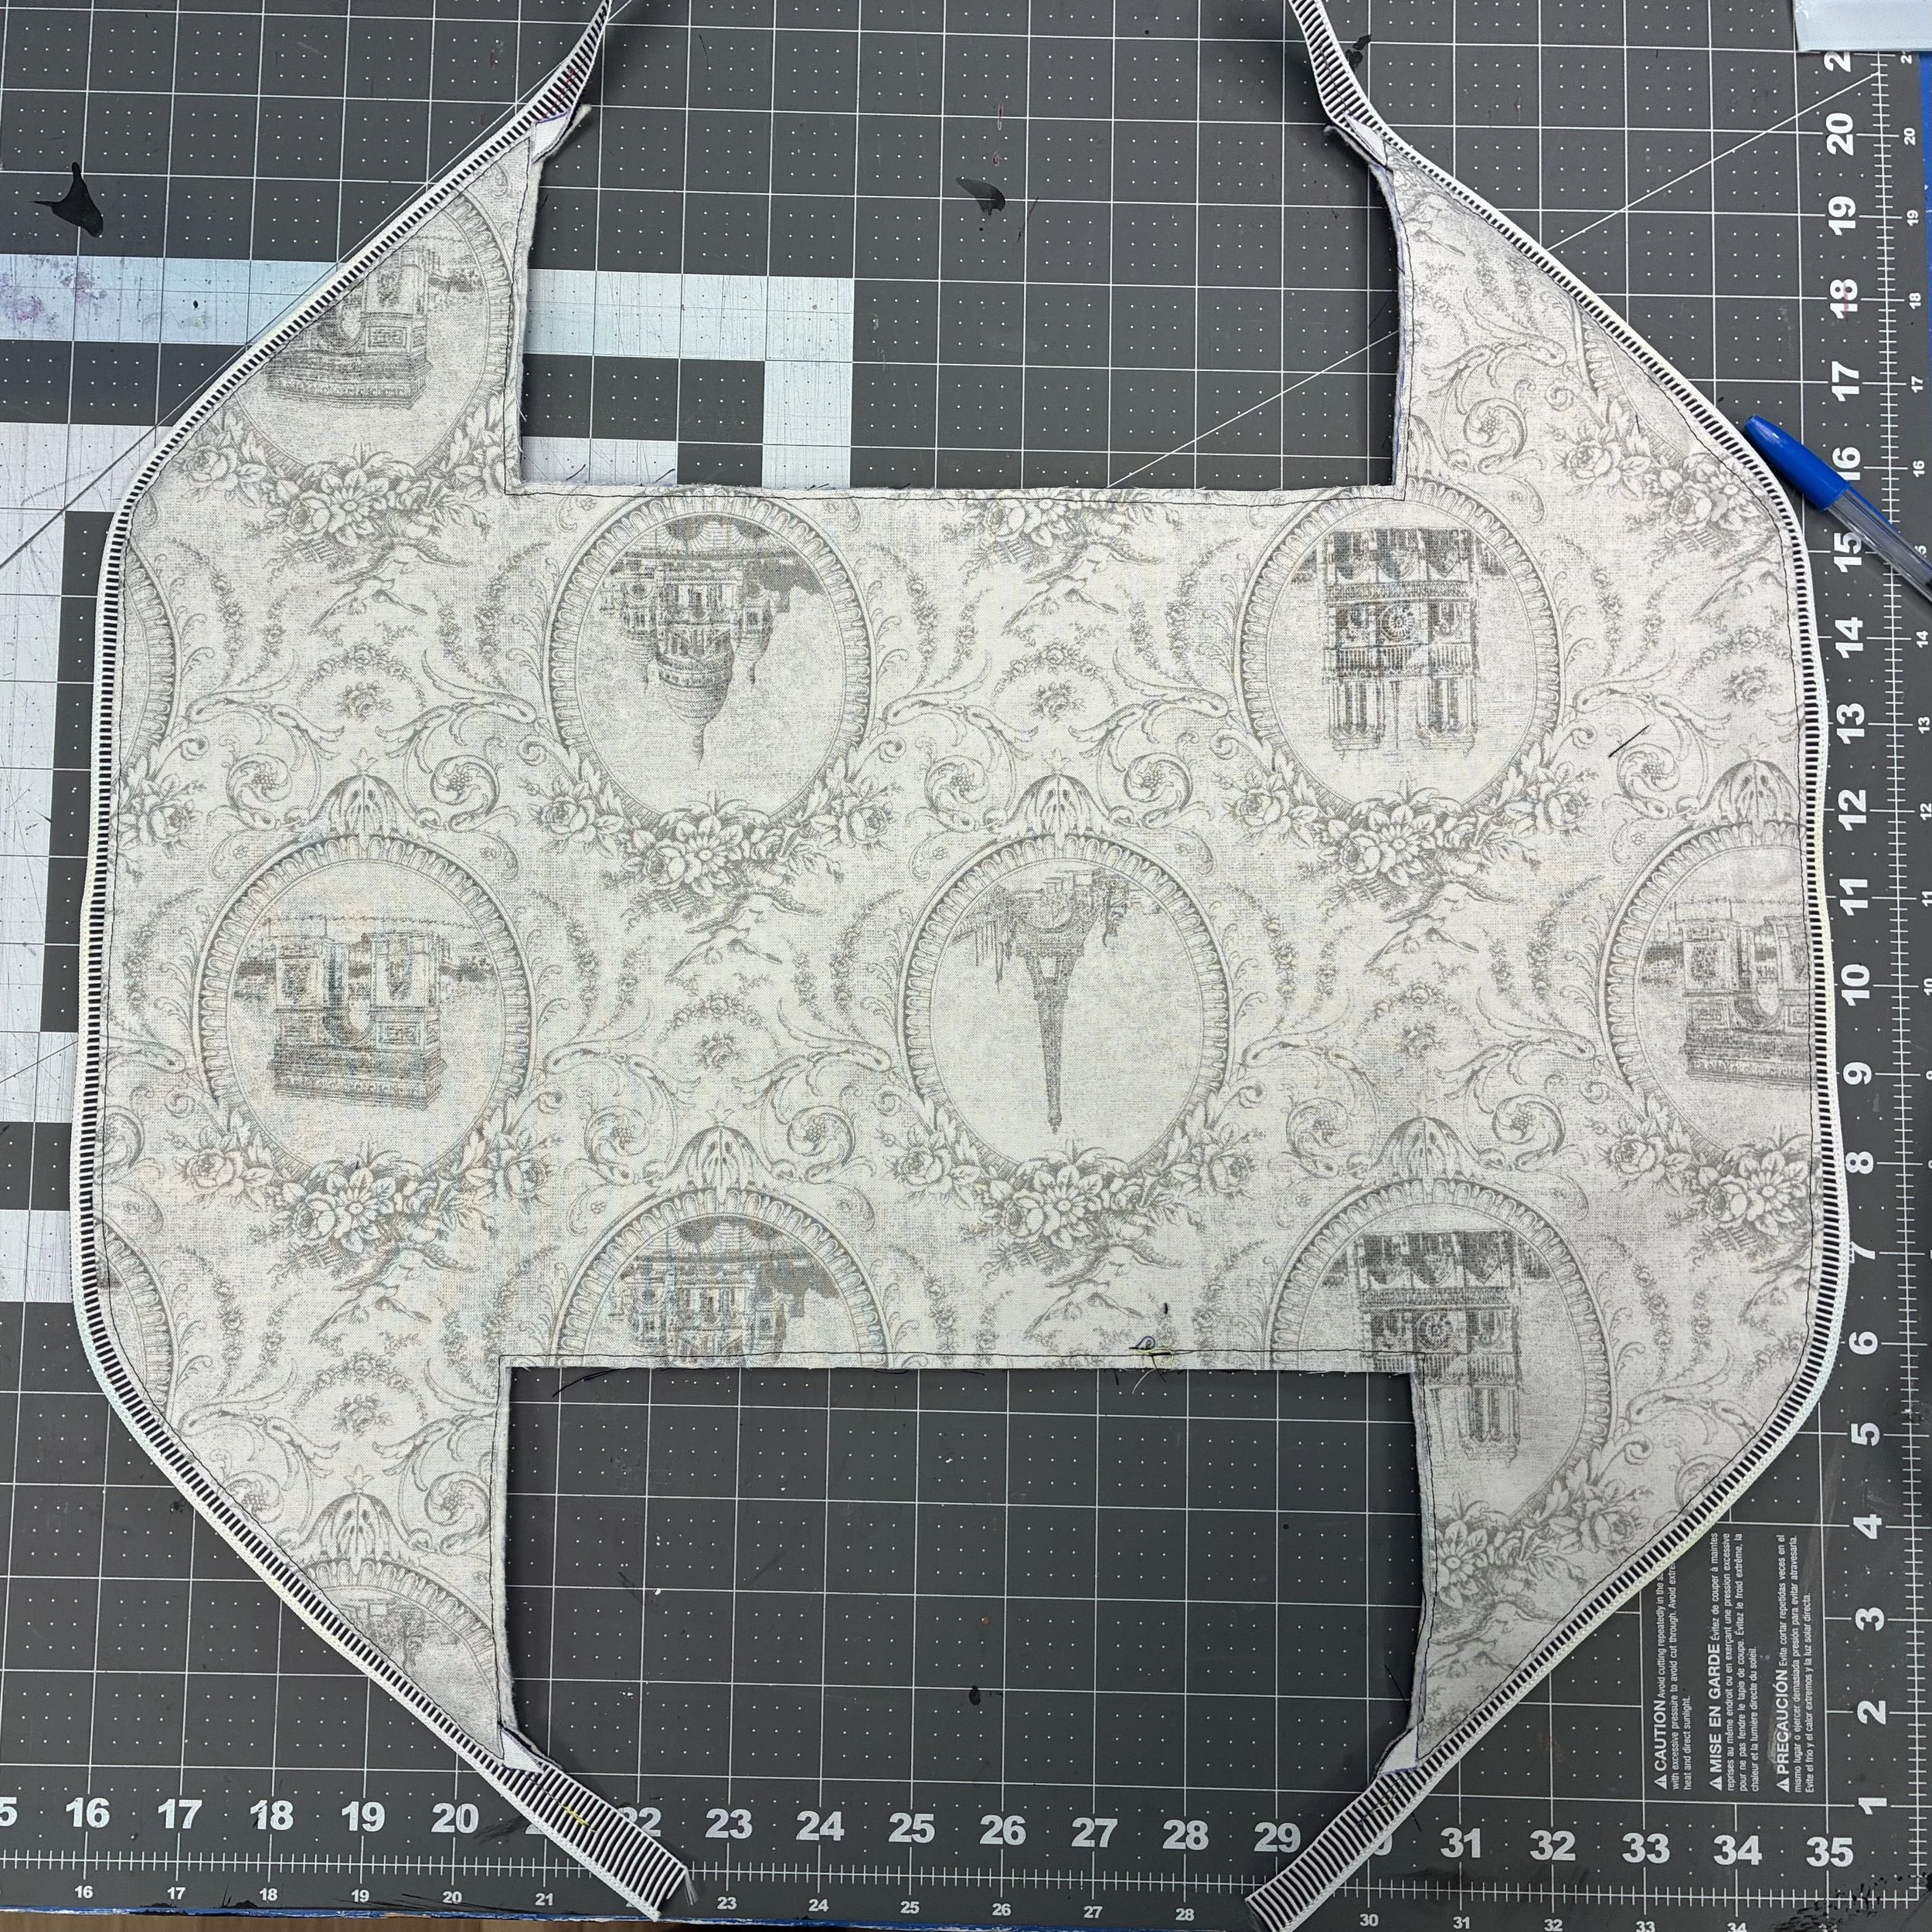
Then I cut my piece into a 20” square and cut it again into the proper shape, reserving the rectangles on the sides. I interfaced and cut a piece of lining fabric to the same dimensions.
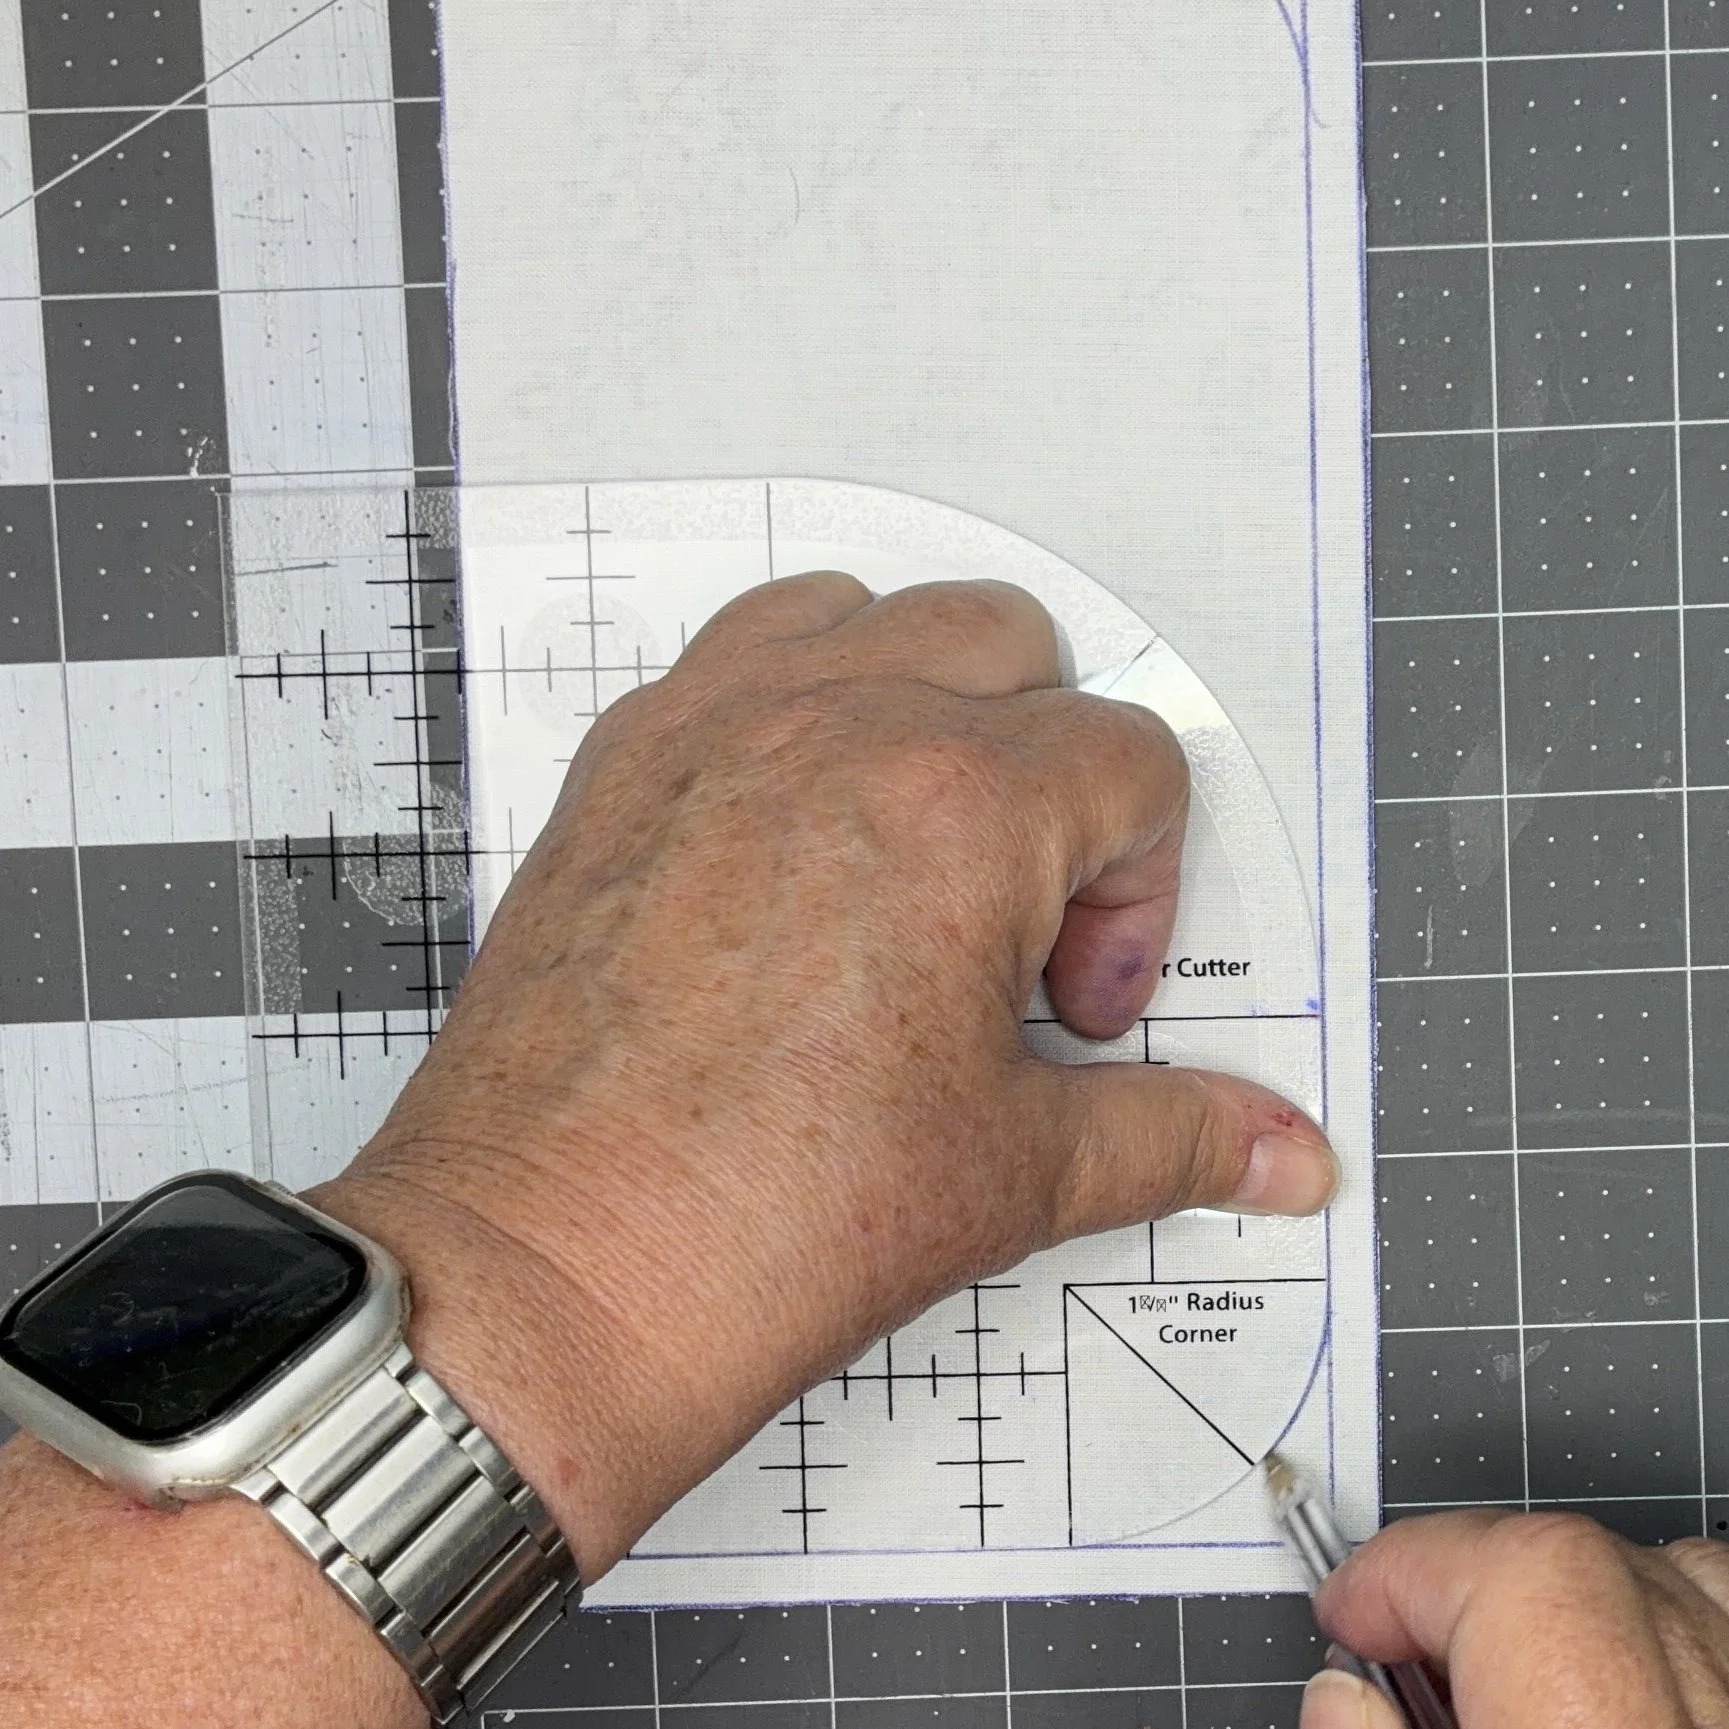
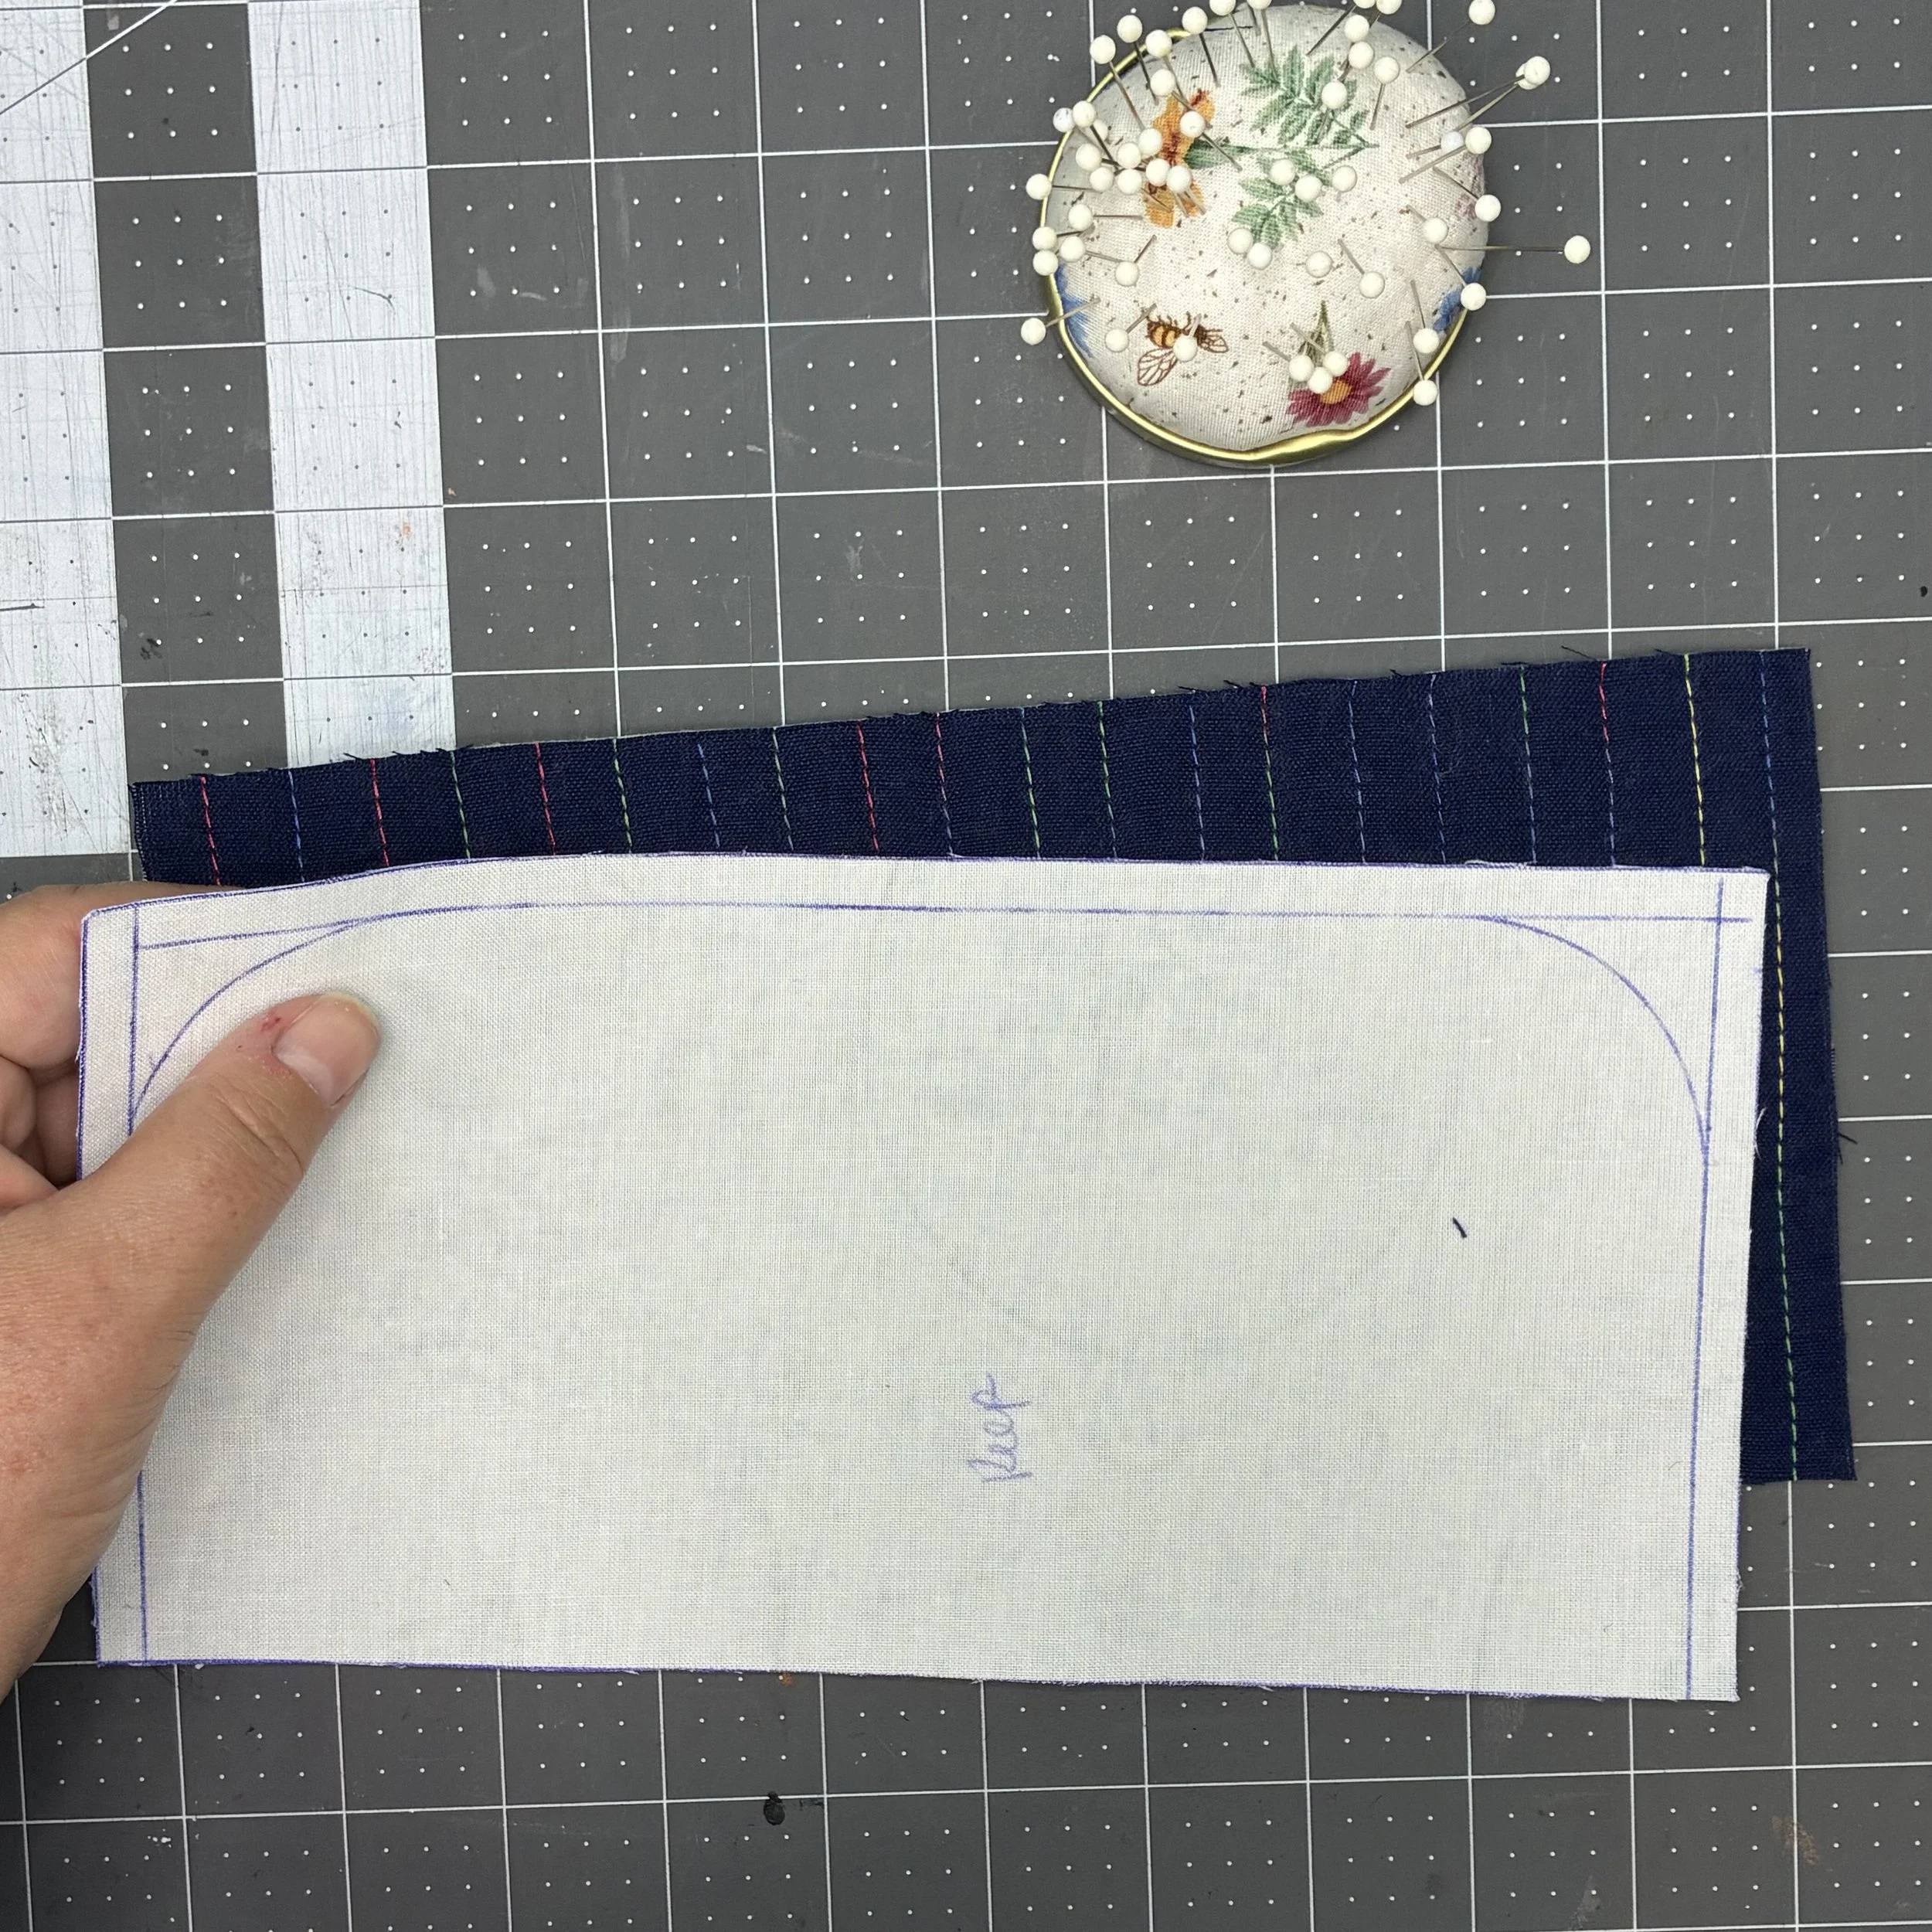
I started by working on my side flaps, those rectangular piece. Working on the wrong side of the lining fabric (because it’s easier to draw lines on interfacing than on batting!), I drew a 1/4” seam long on both short sides and one long side. Then I used my curved corner ruler to round the two seam corners. I placed the right sides together of one main piece and one lining piece, pinned them, and then stitched along the seam line I’d drawn.
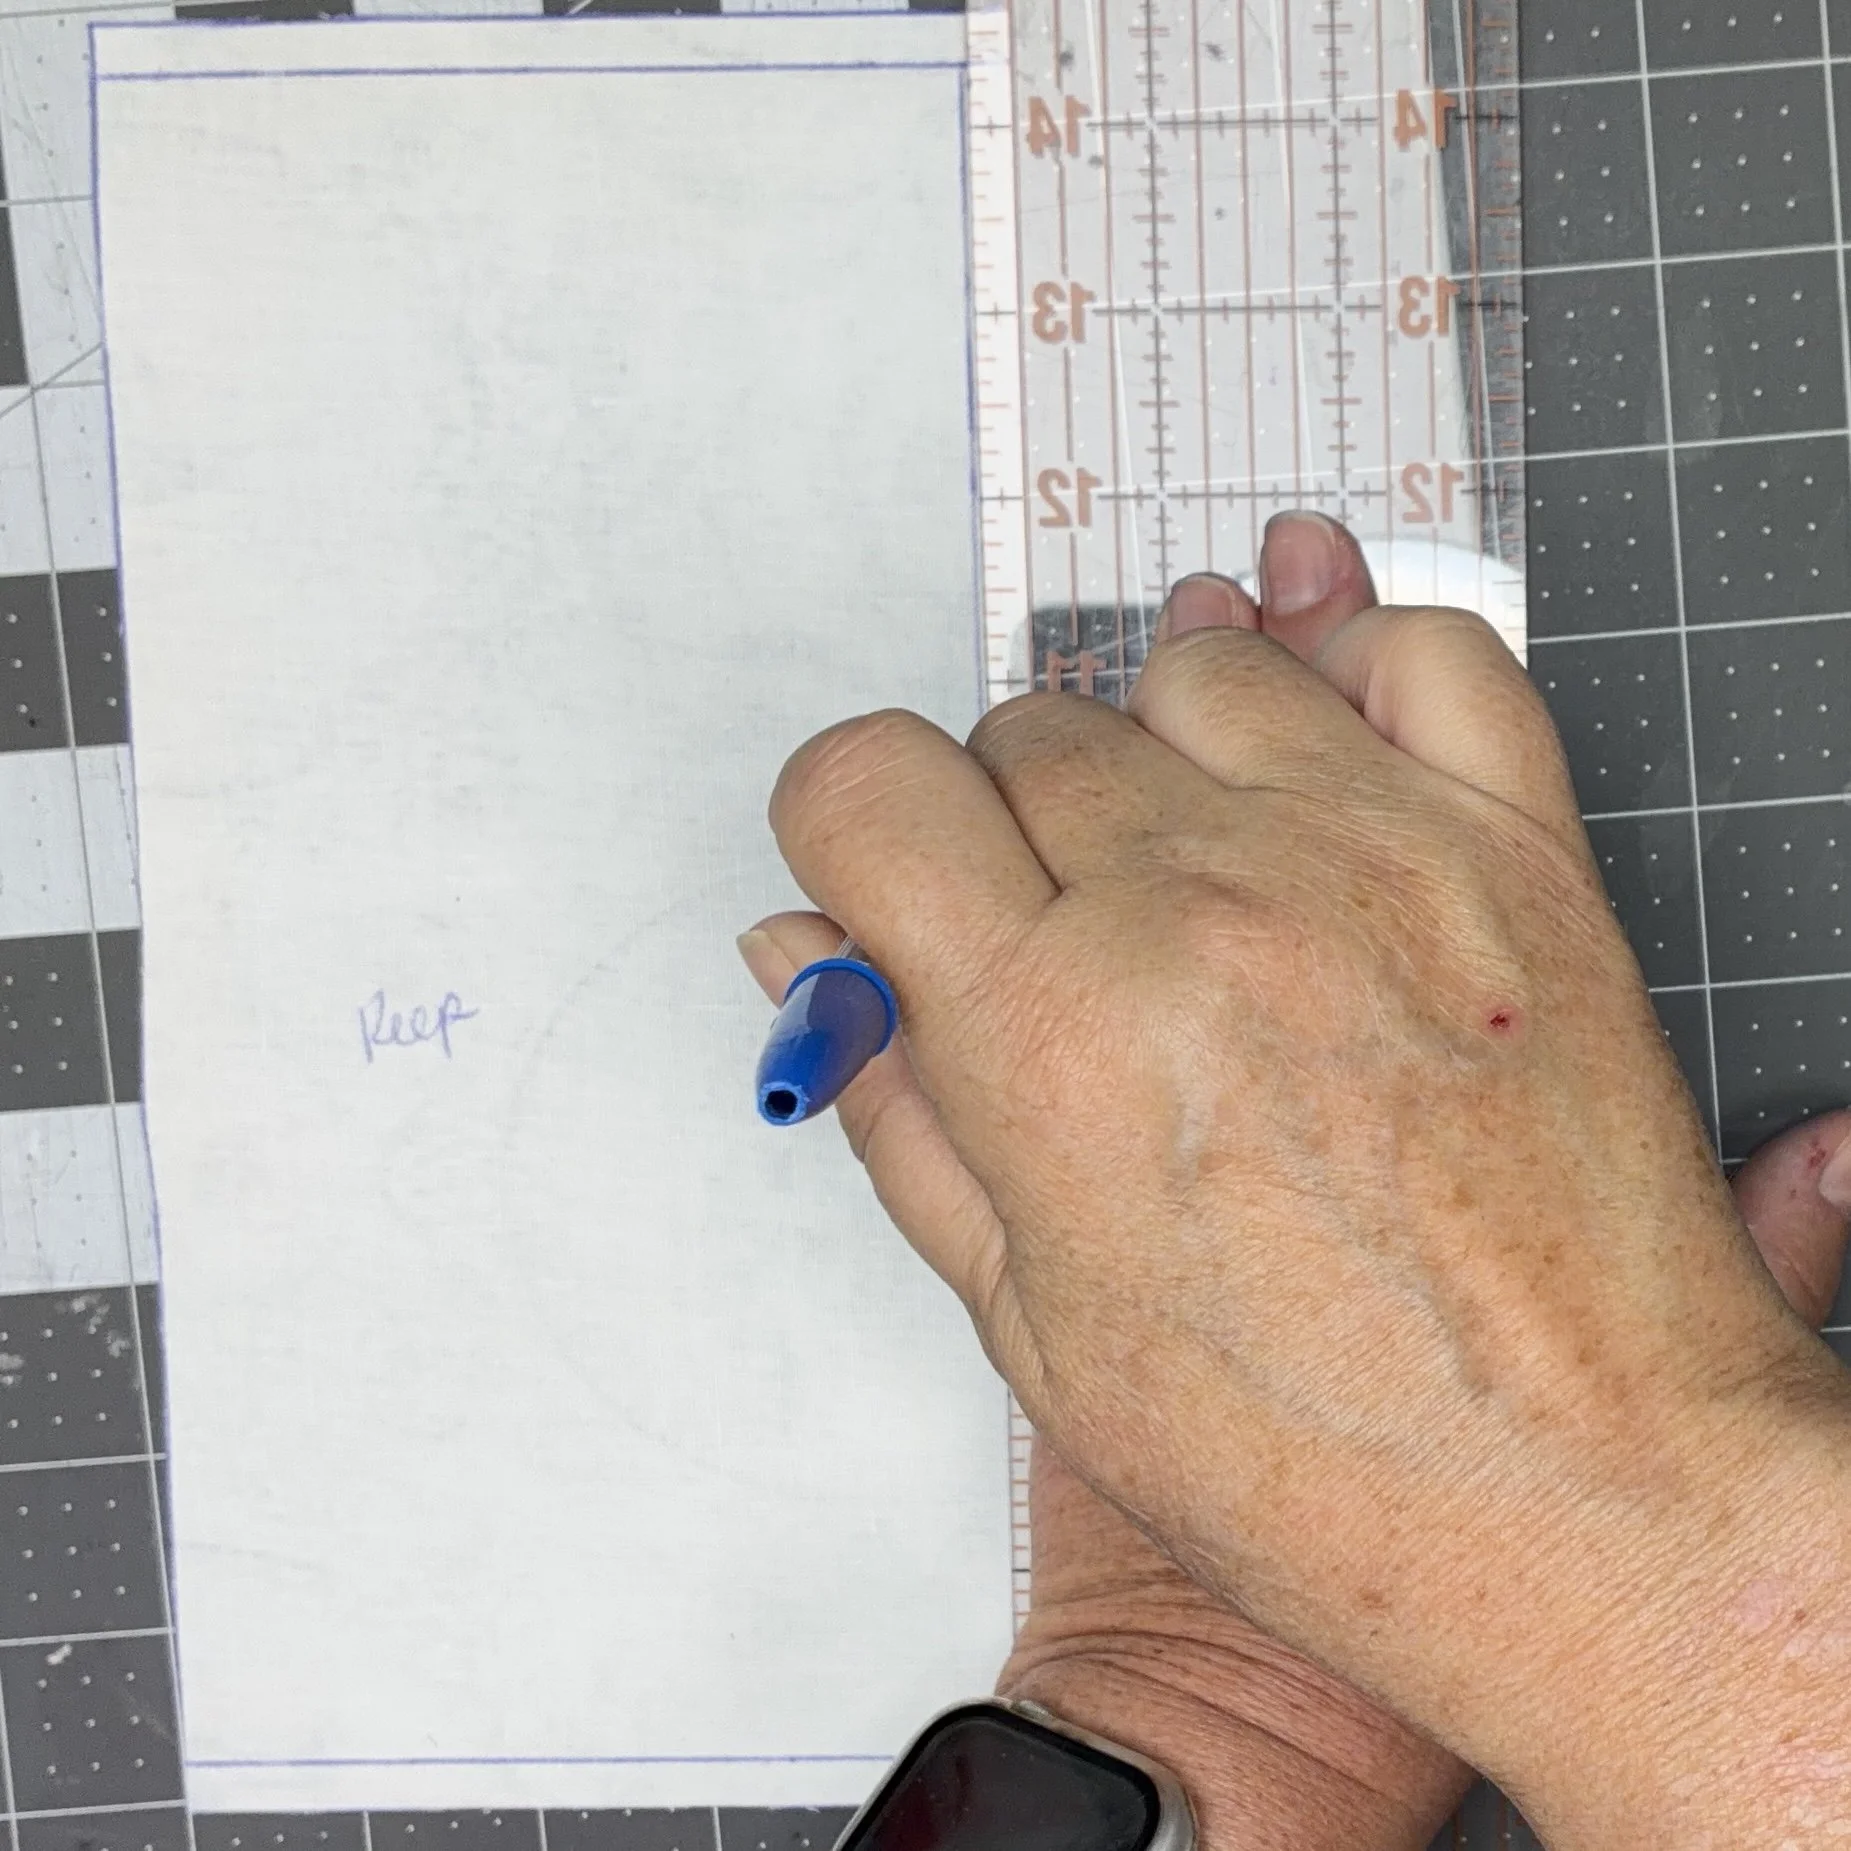
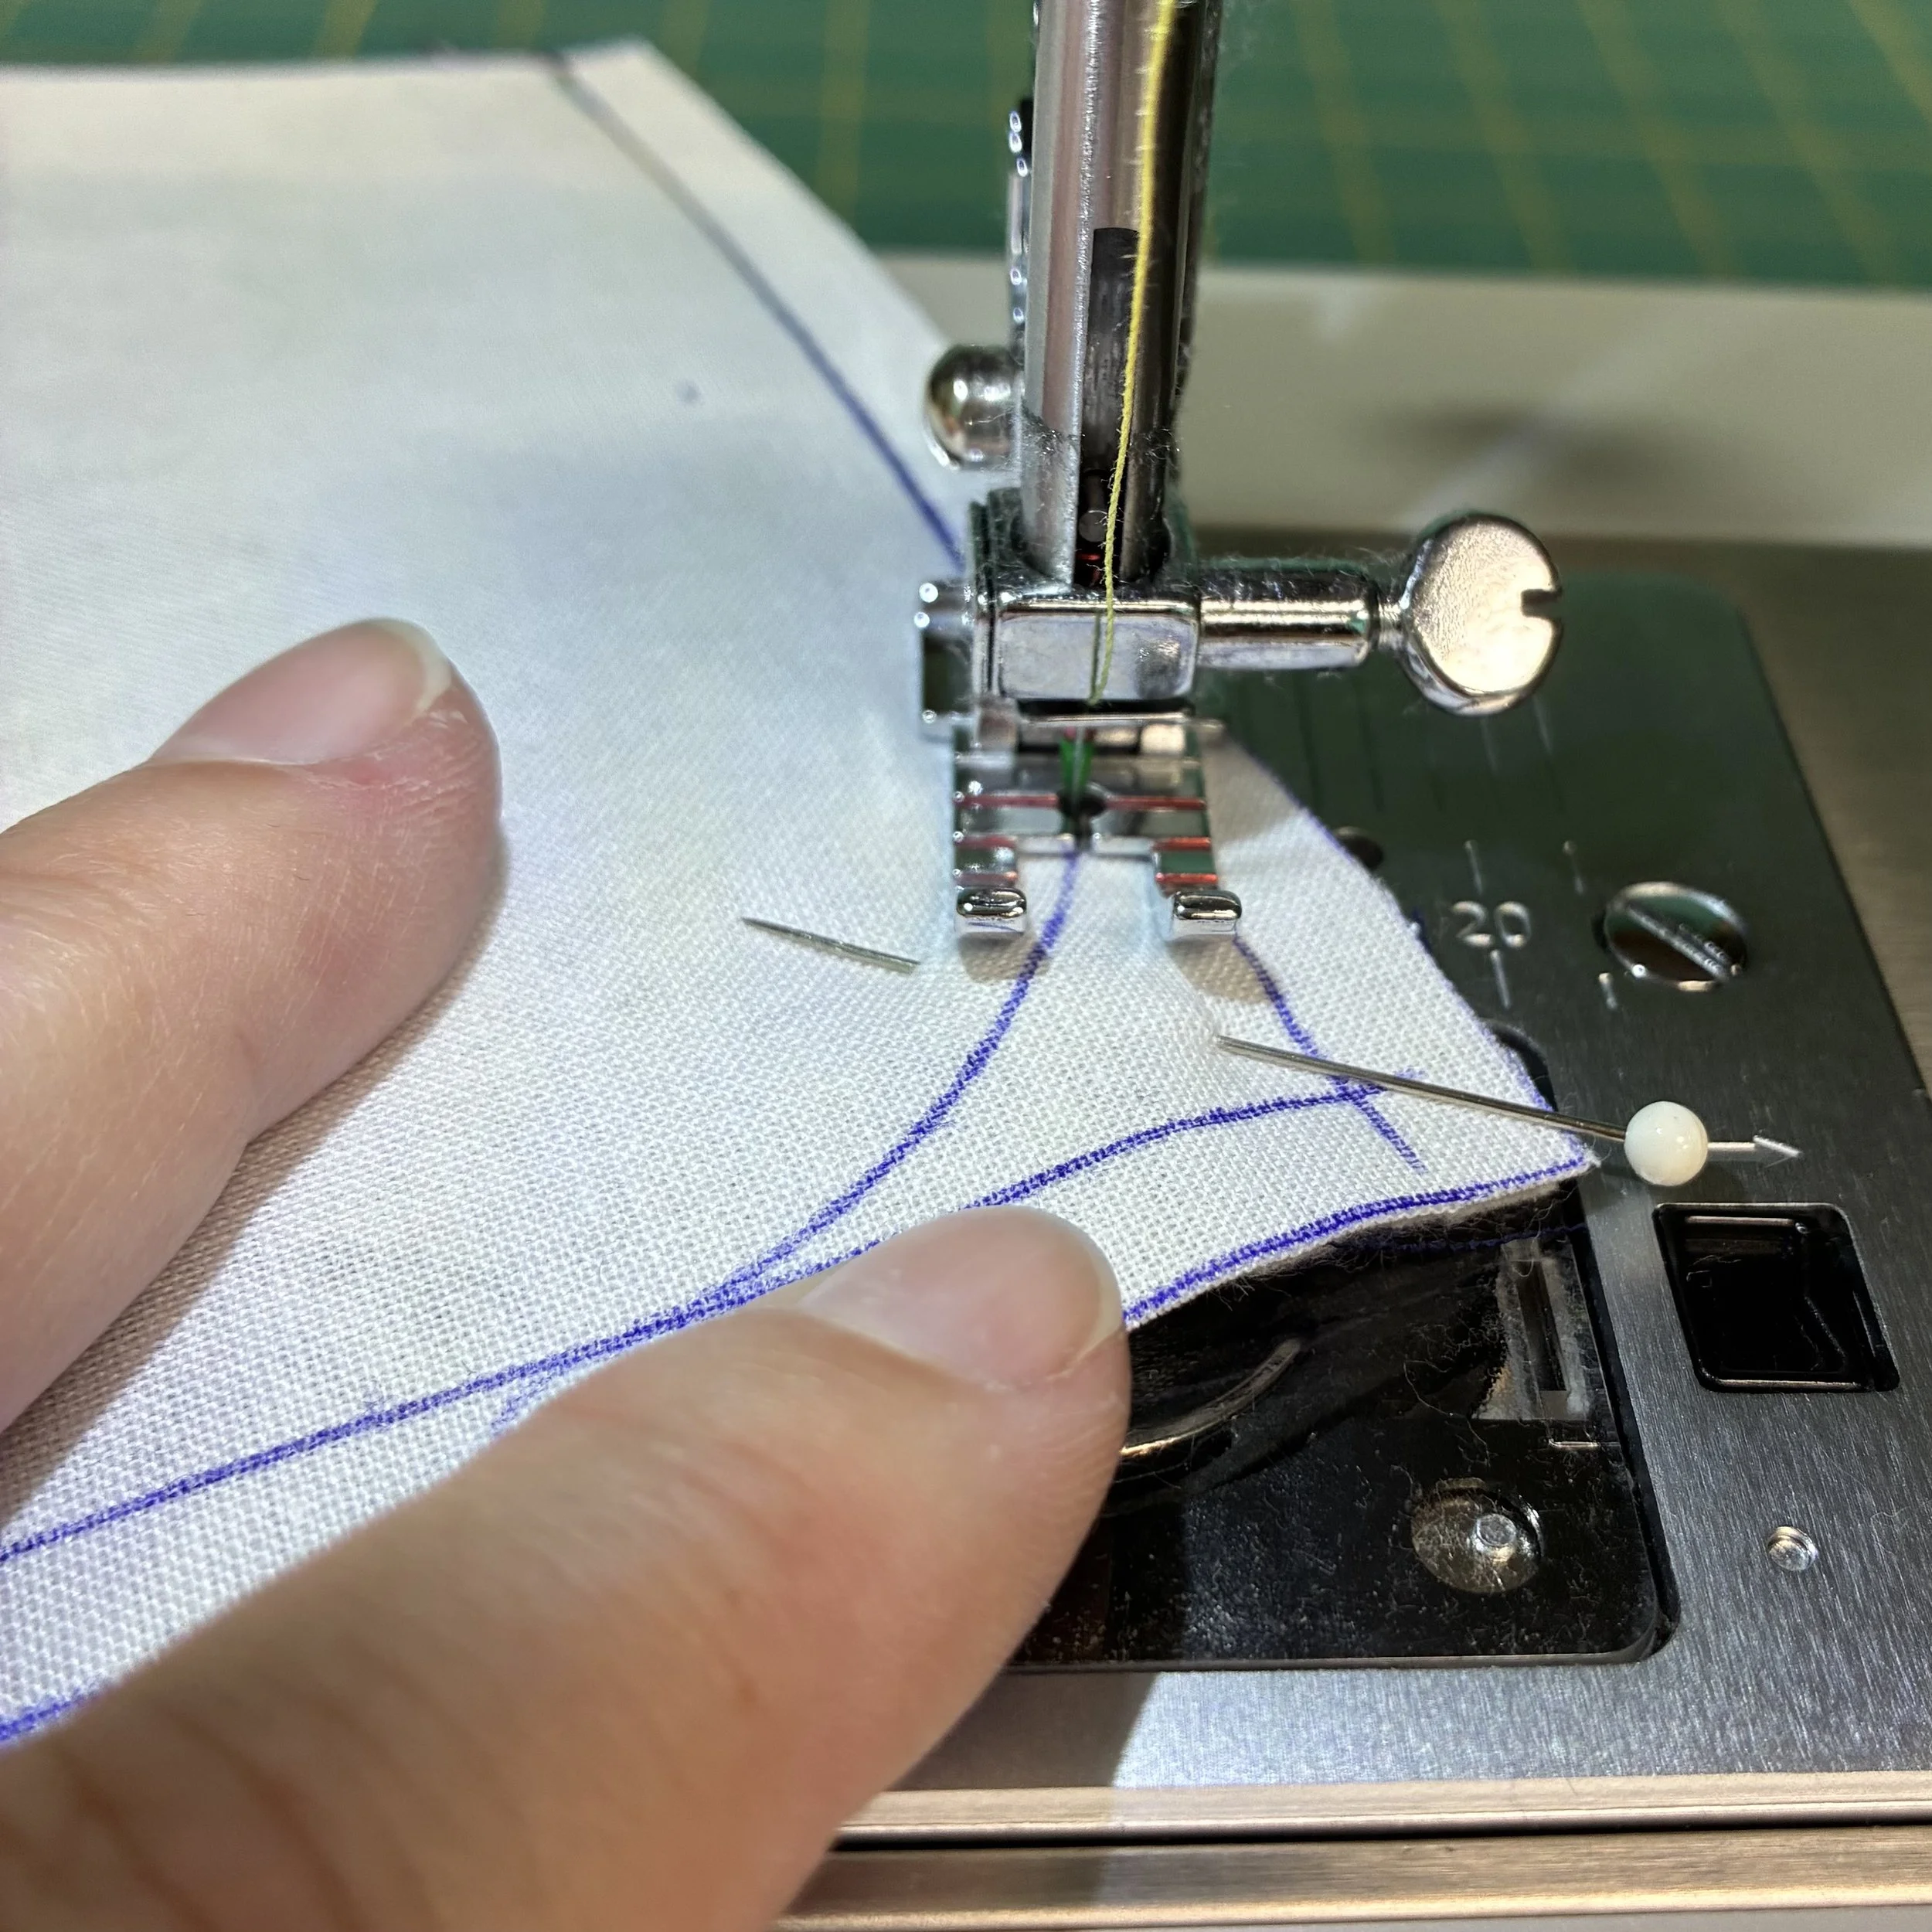
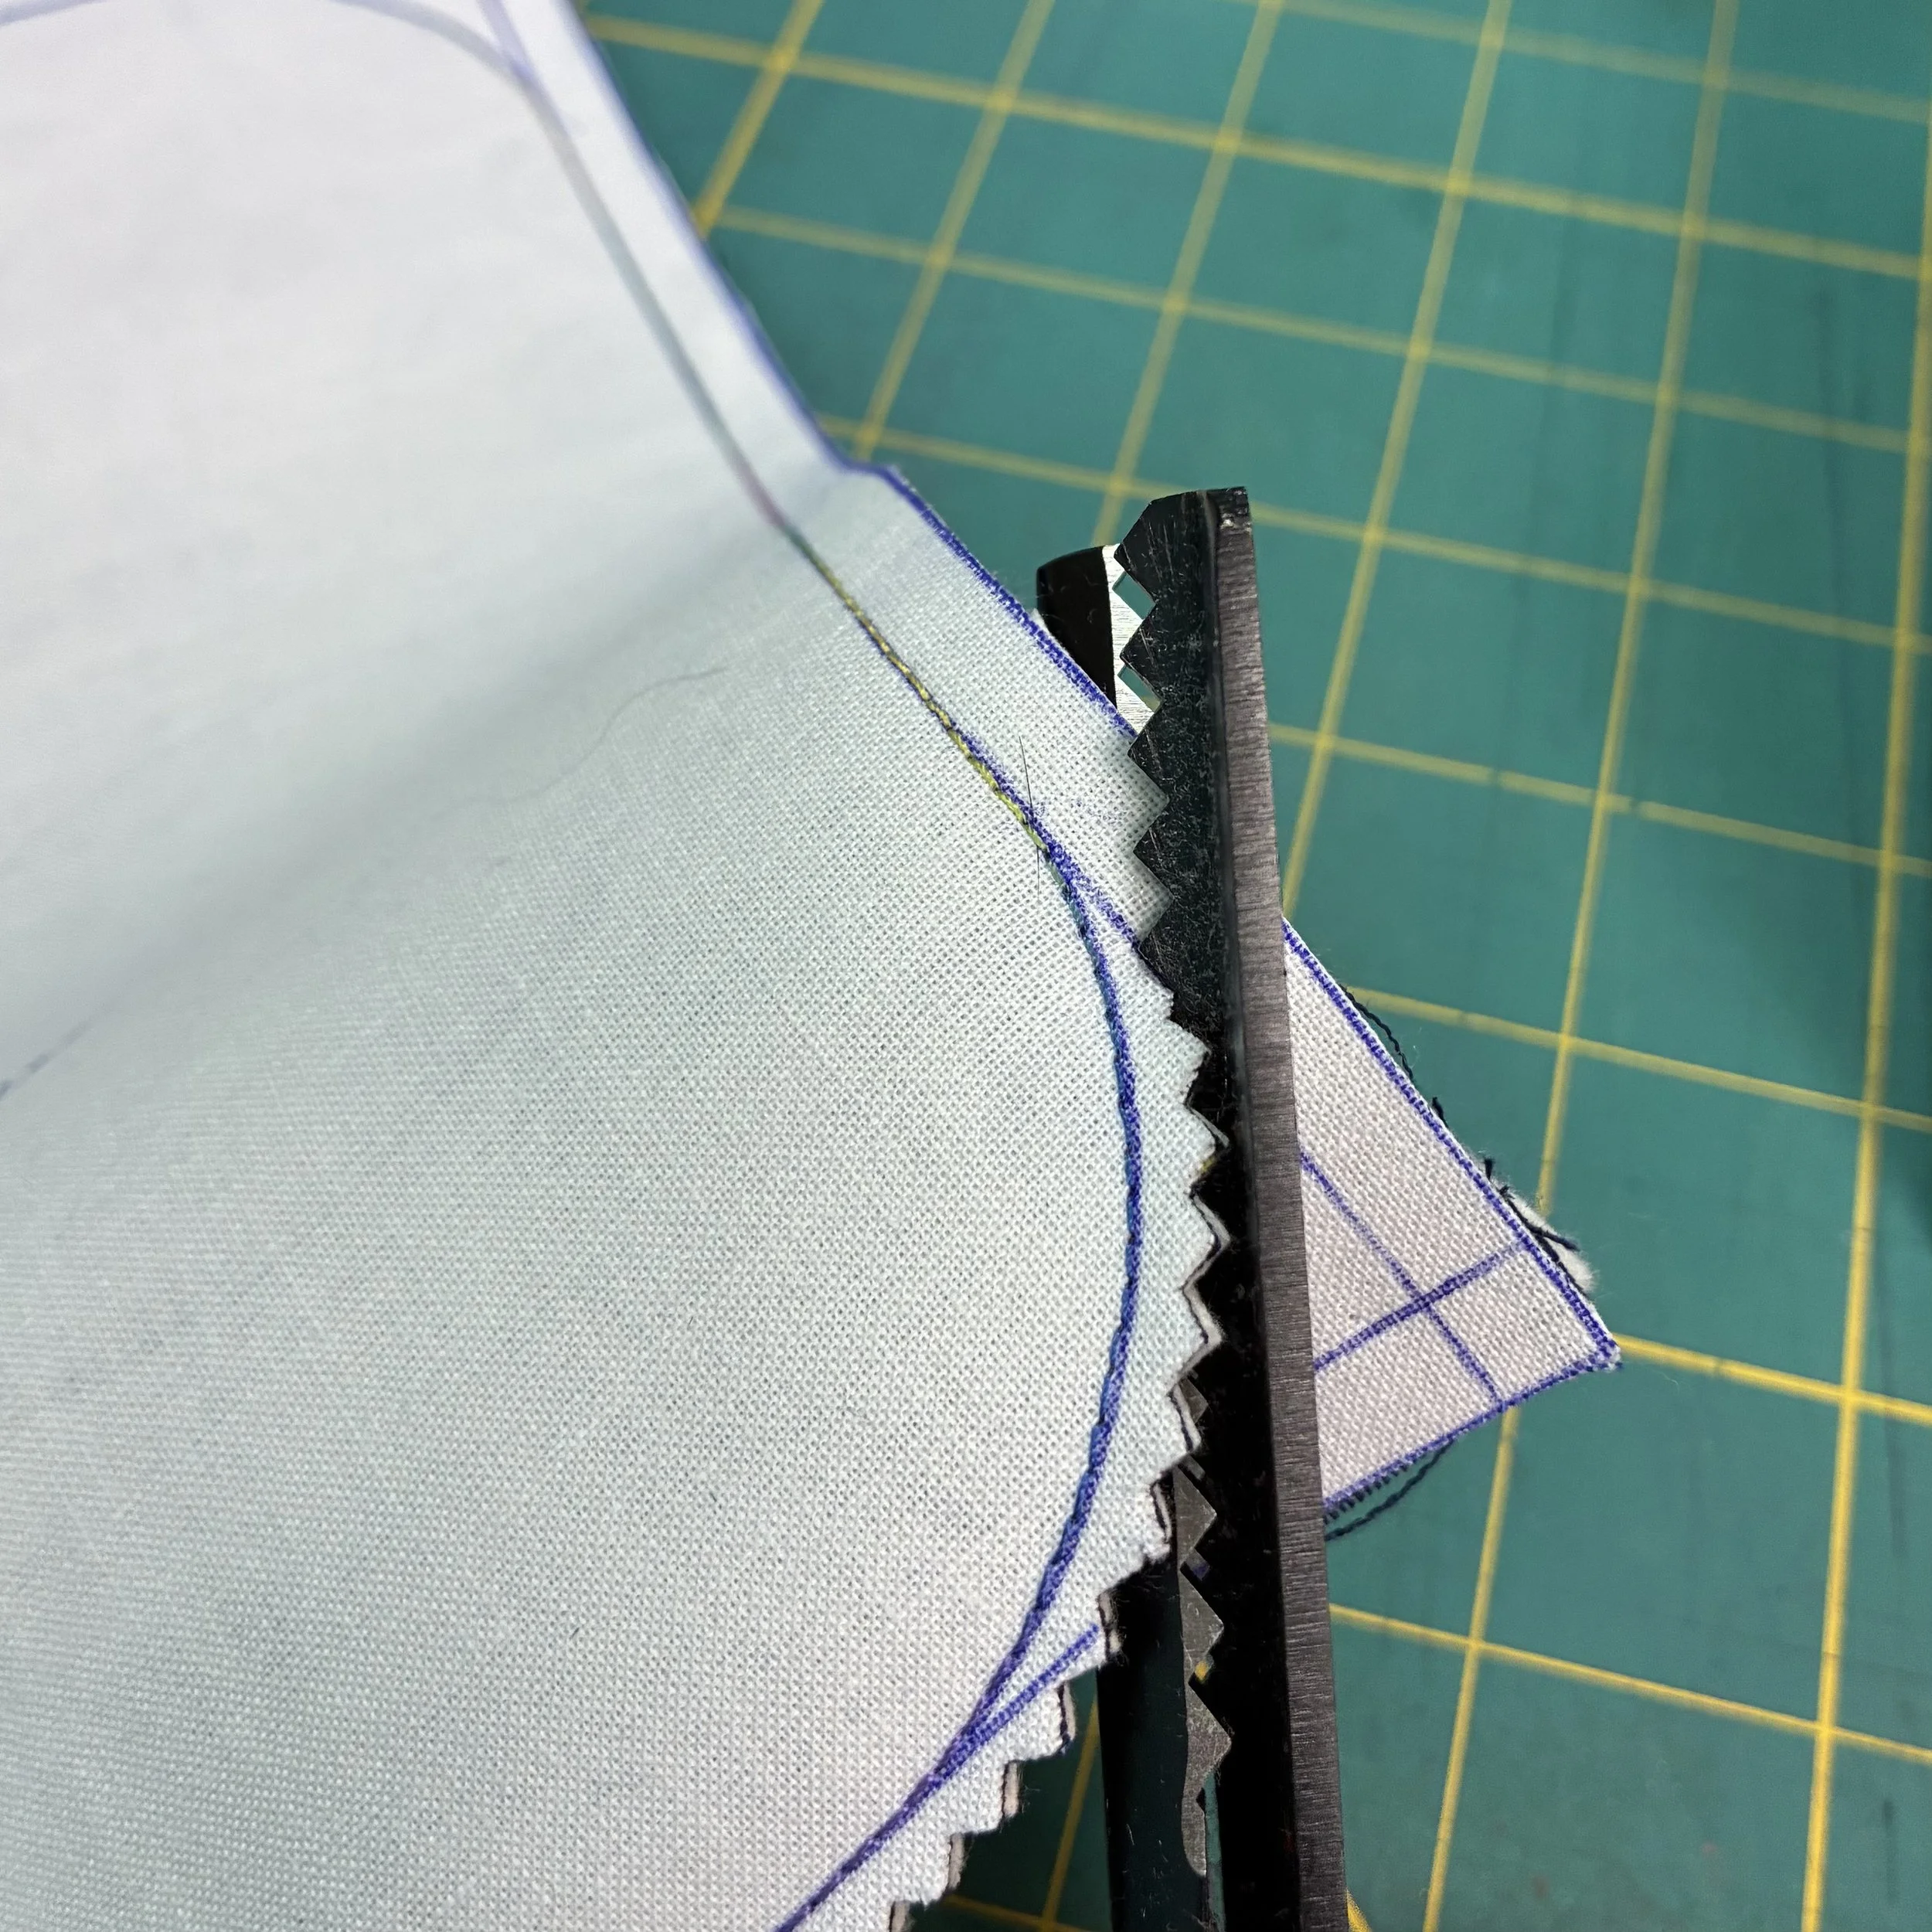
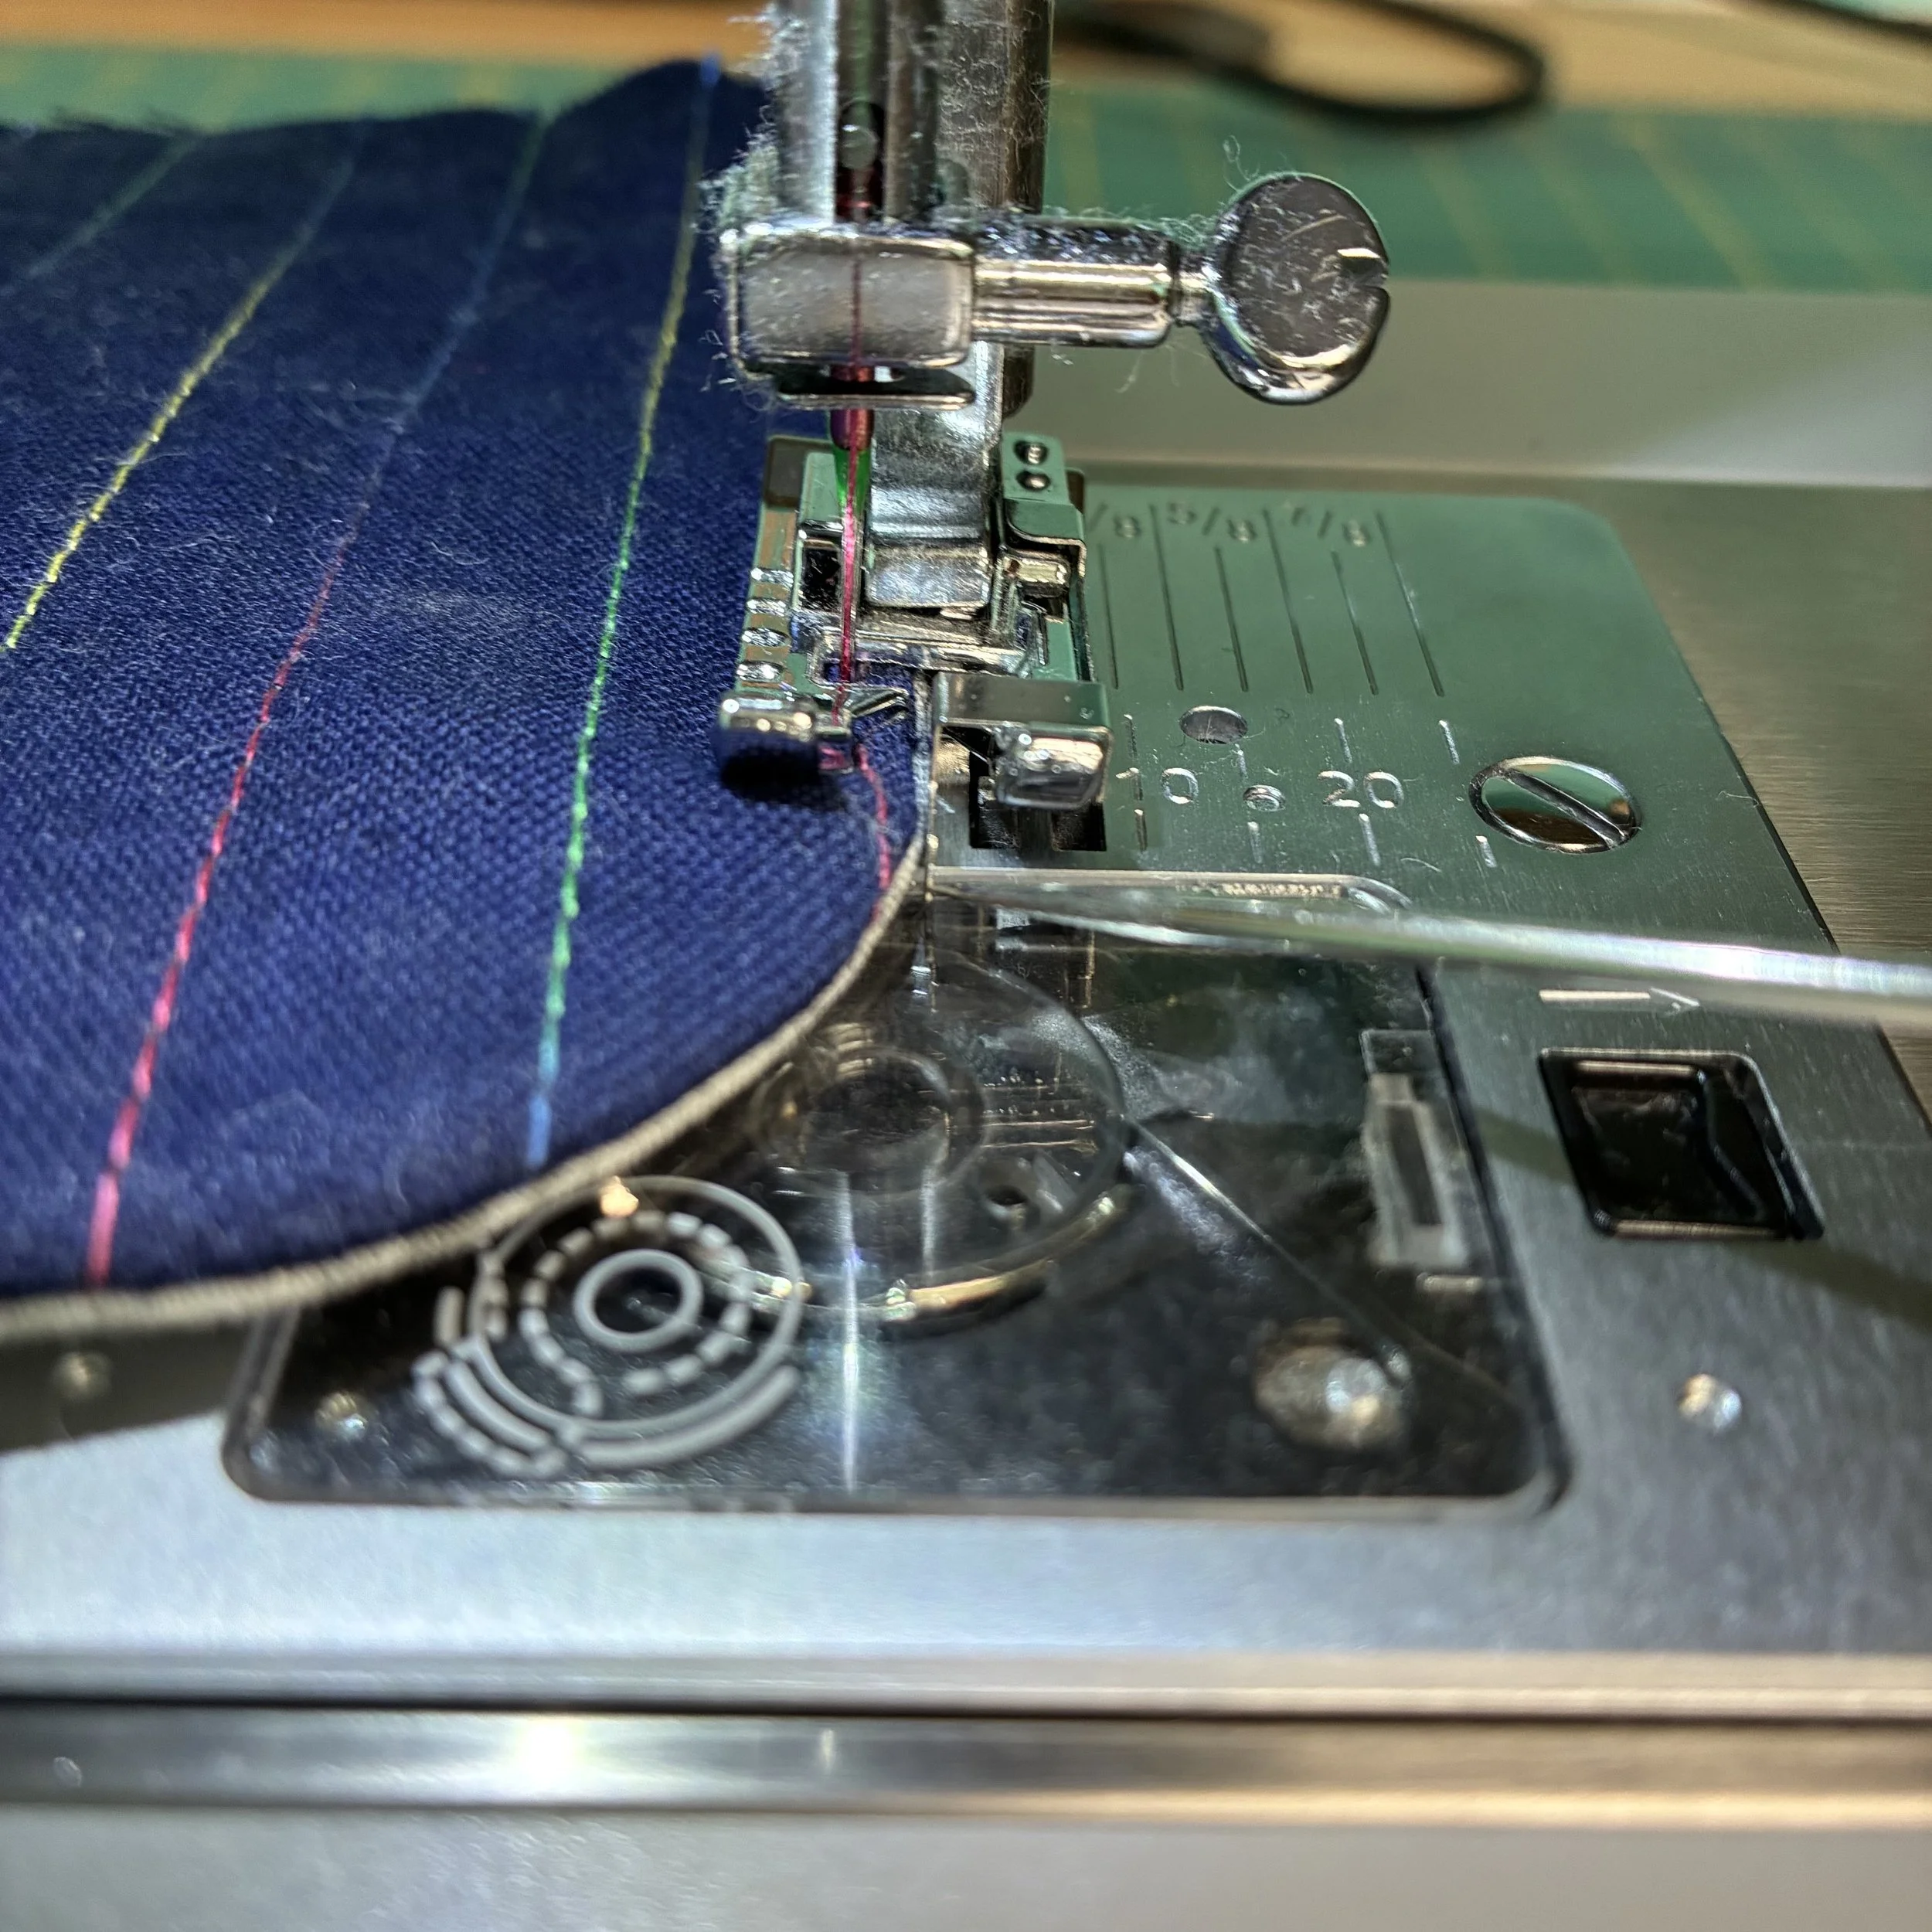
Once both pieces were stitched, I trimmed the seams with pinking shears (why clip corners when you can do the same job and reduce bulk at the same time with pinking shears?), turned the pieces right side out, and pressed. Then I stuck on my stitch-in-the-ditch presser foot, set the needle to just left of center, and topstitched a perfectly straight seam very close to the edge. In the picture, I’m using my little awl to point to the presser foot’s guide, which is the magic of the process. Love that foot…
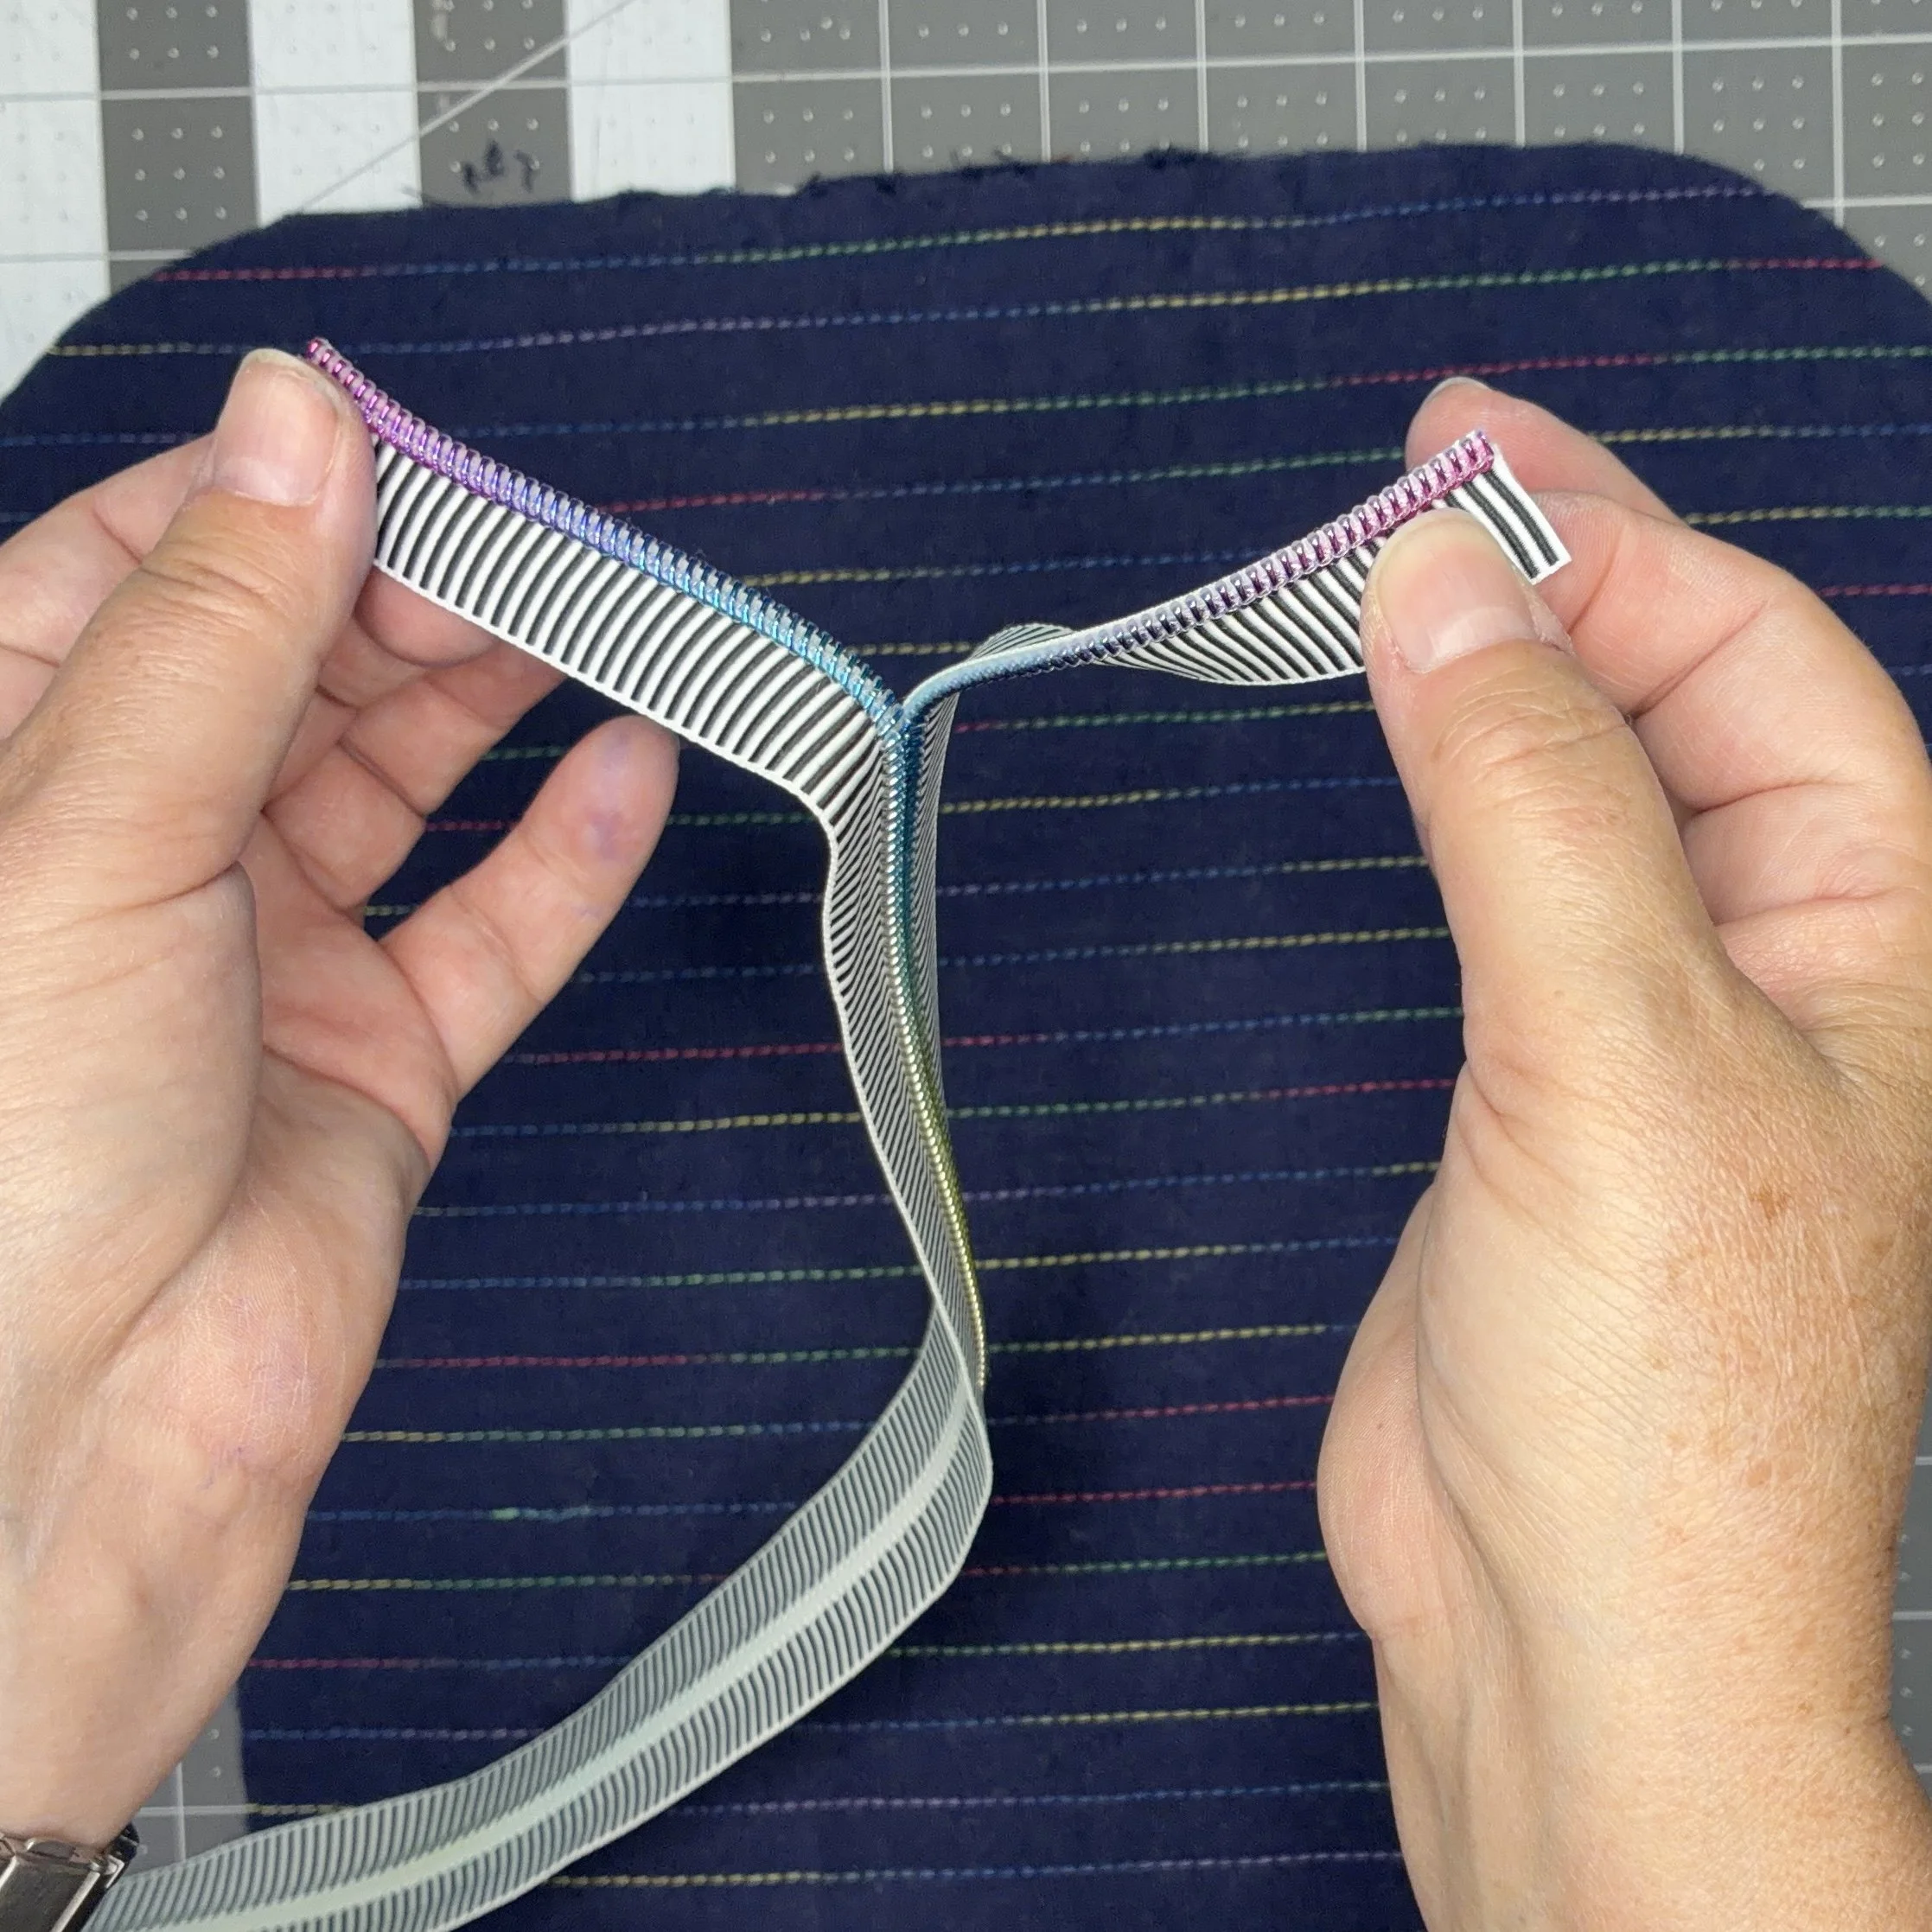
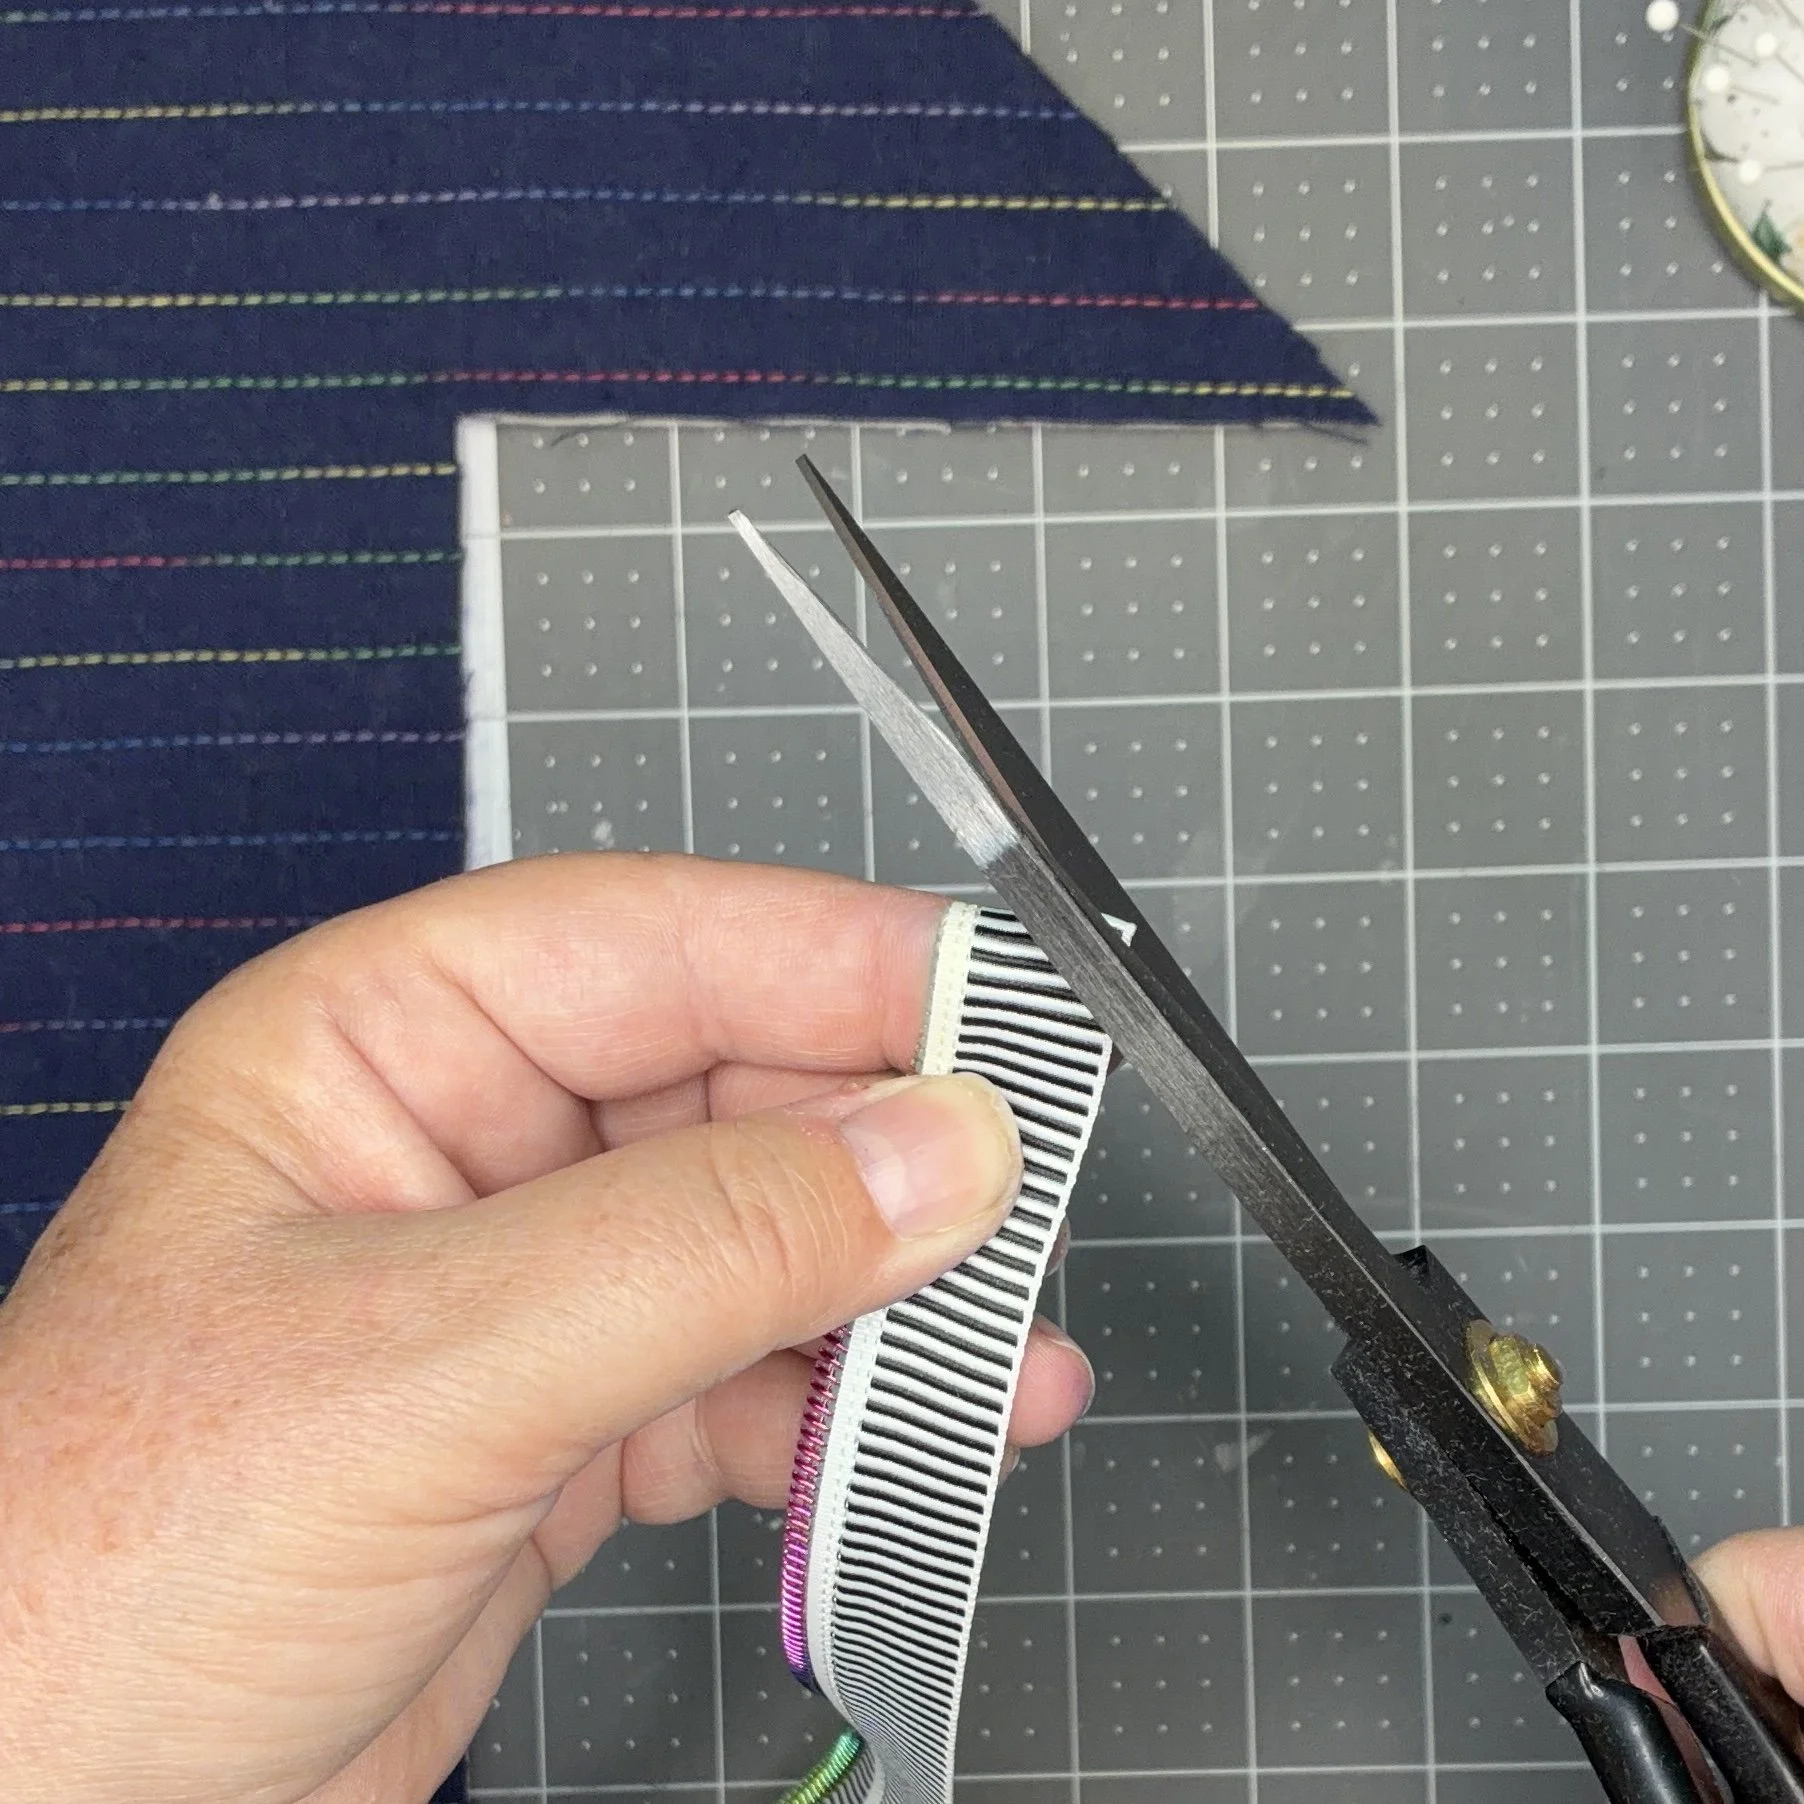
Next up was attaching the zipper. I used multi-colored zipper tape with fancy iridescent zipper pulls that I found on Etsy, thinking they’d go nicely with my multi-colored thread. And indeed they do. I cut a piece of the tape long enough to go over the curved edge of the fabric, with a couple inches overhanging on each side, and then pulled the zipper tape apart. I folded each piece in half and cut a small notch to mark the center, and then did the same for the curved edges of the fabric on both the outer and inner layers.
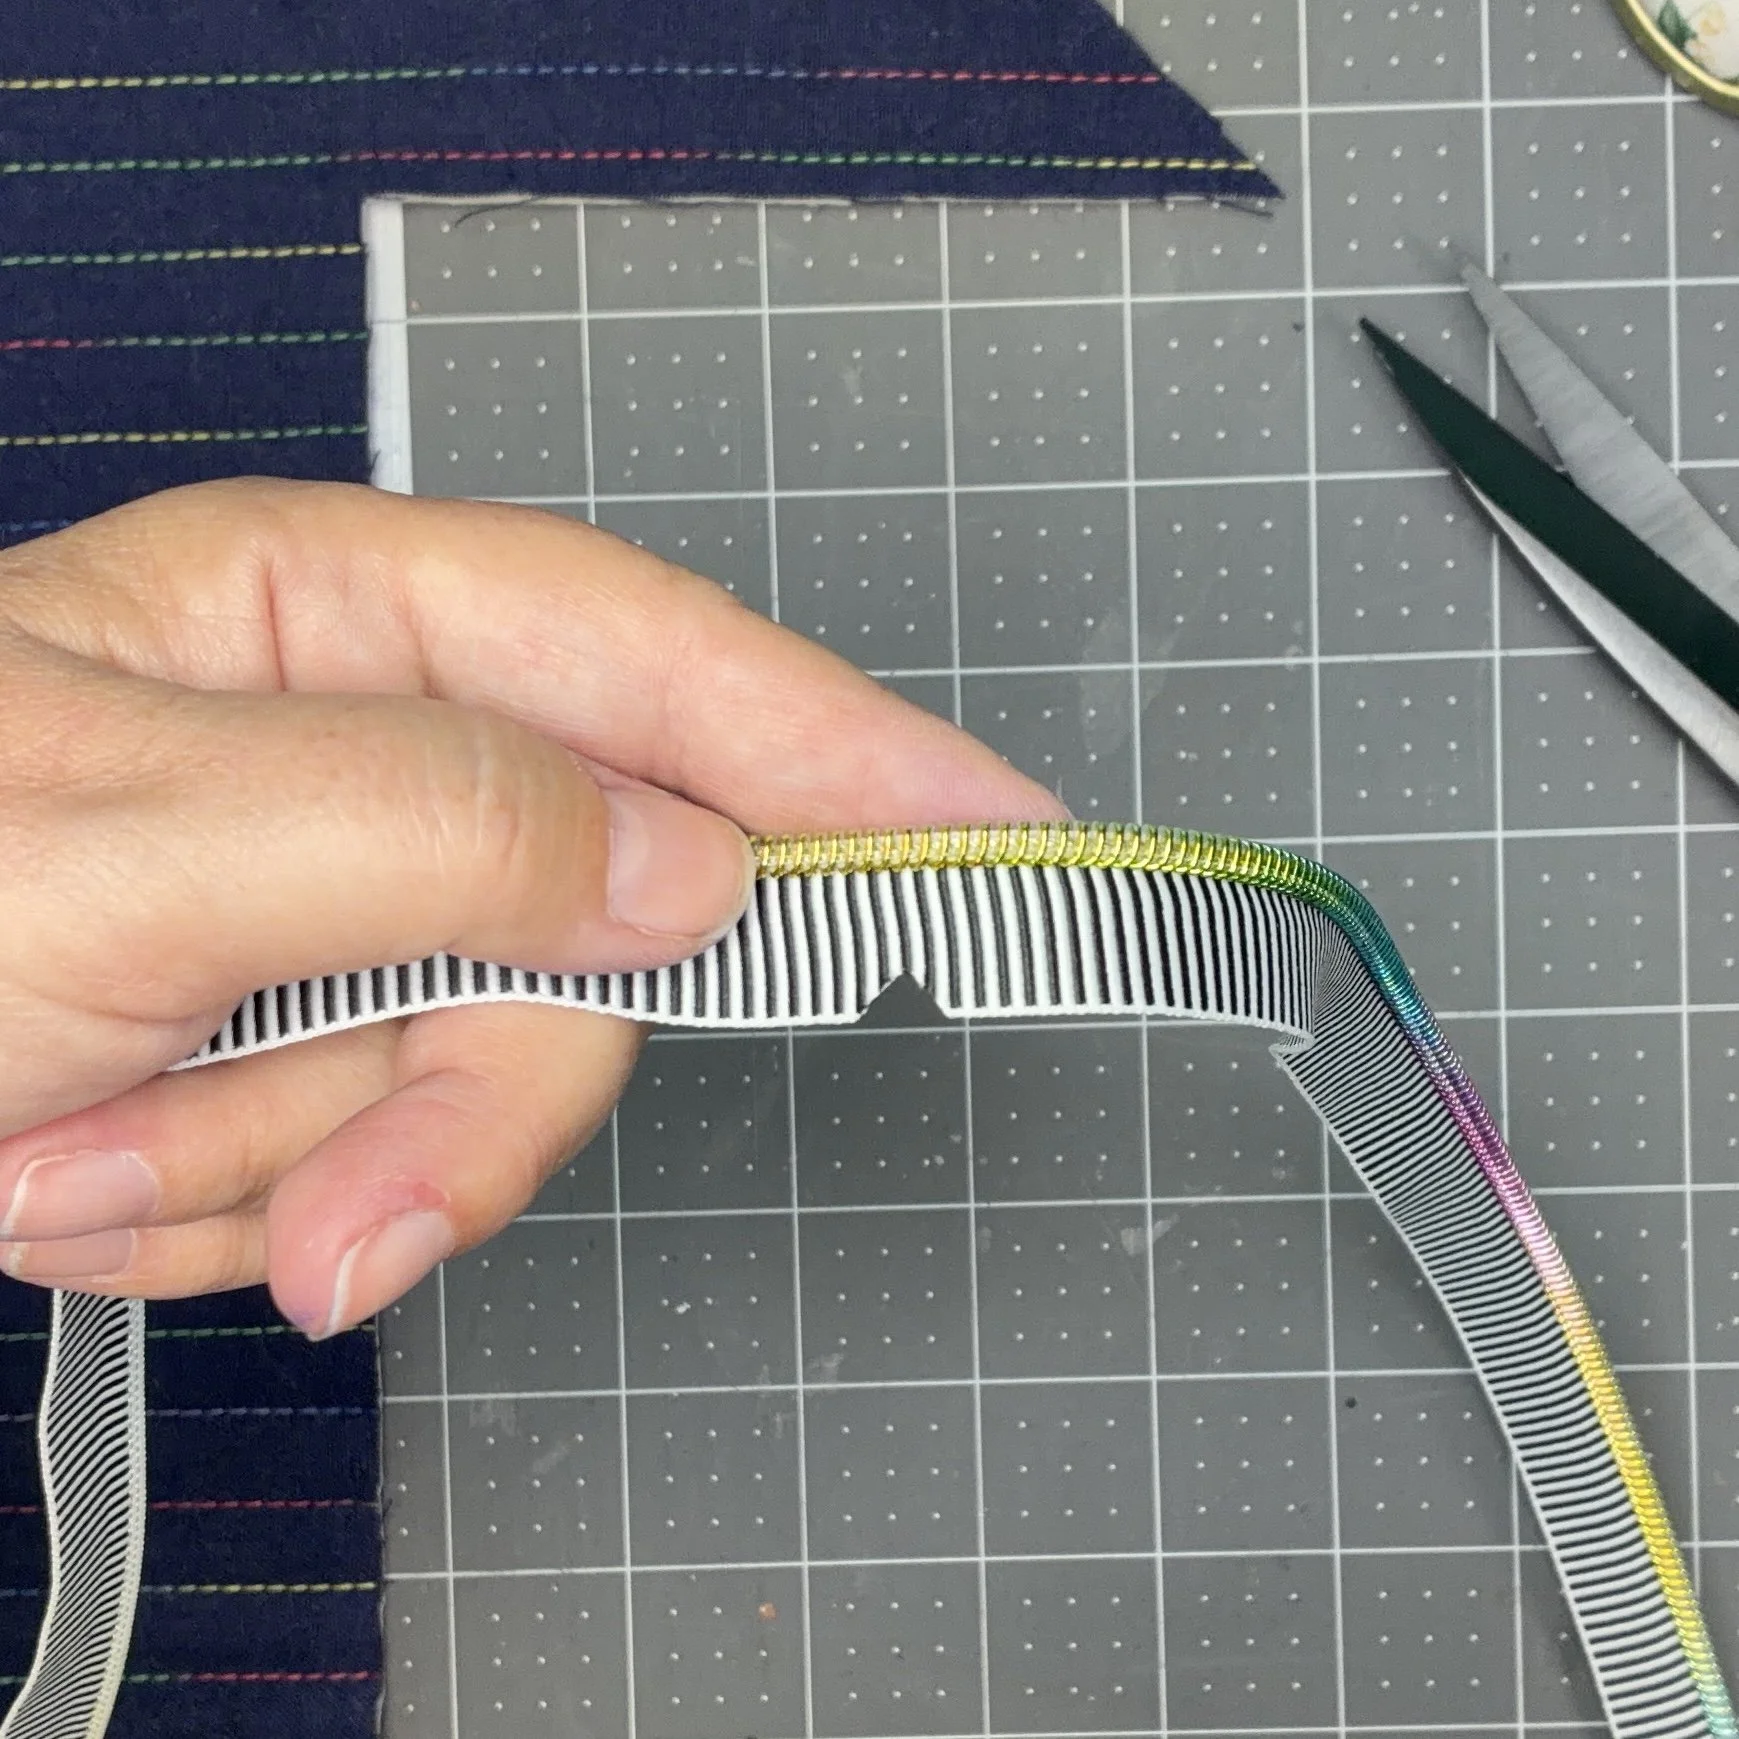
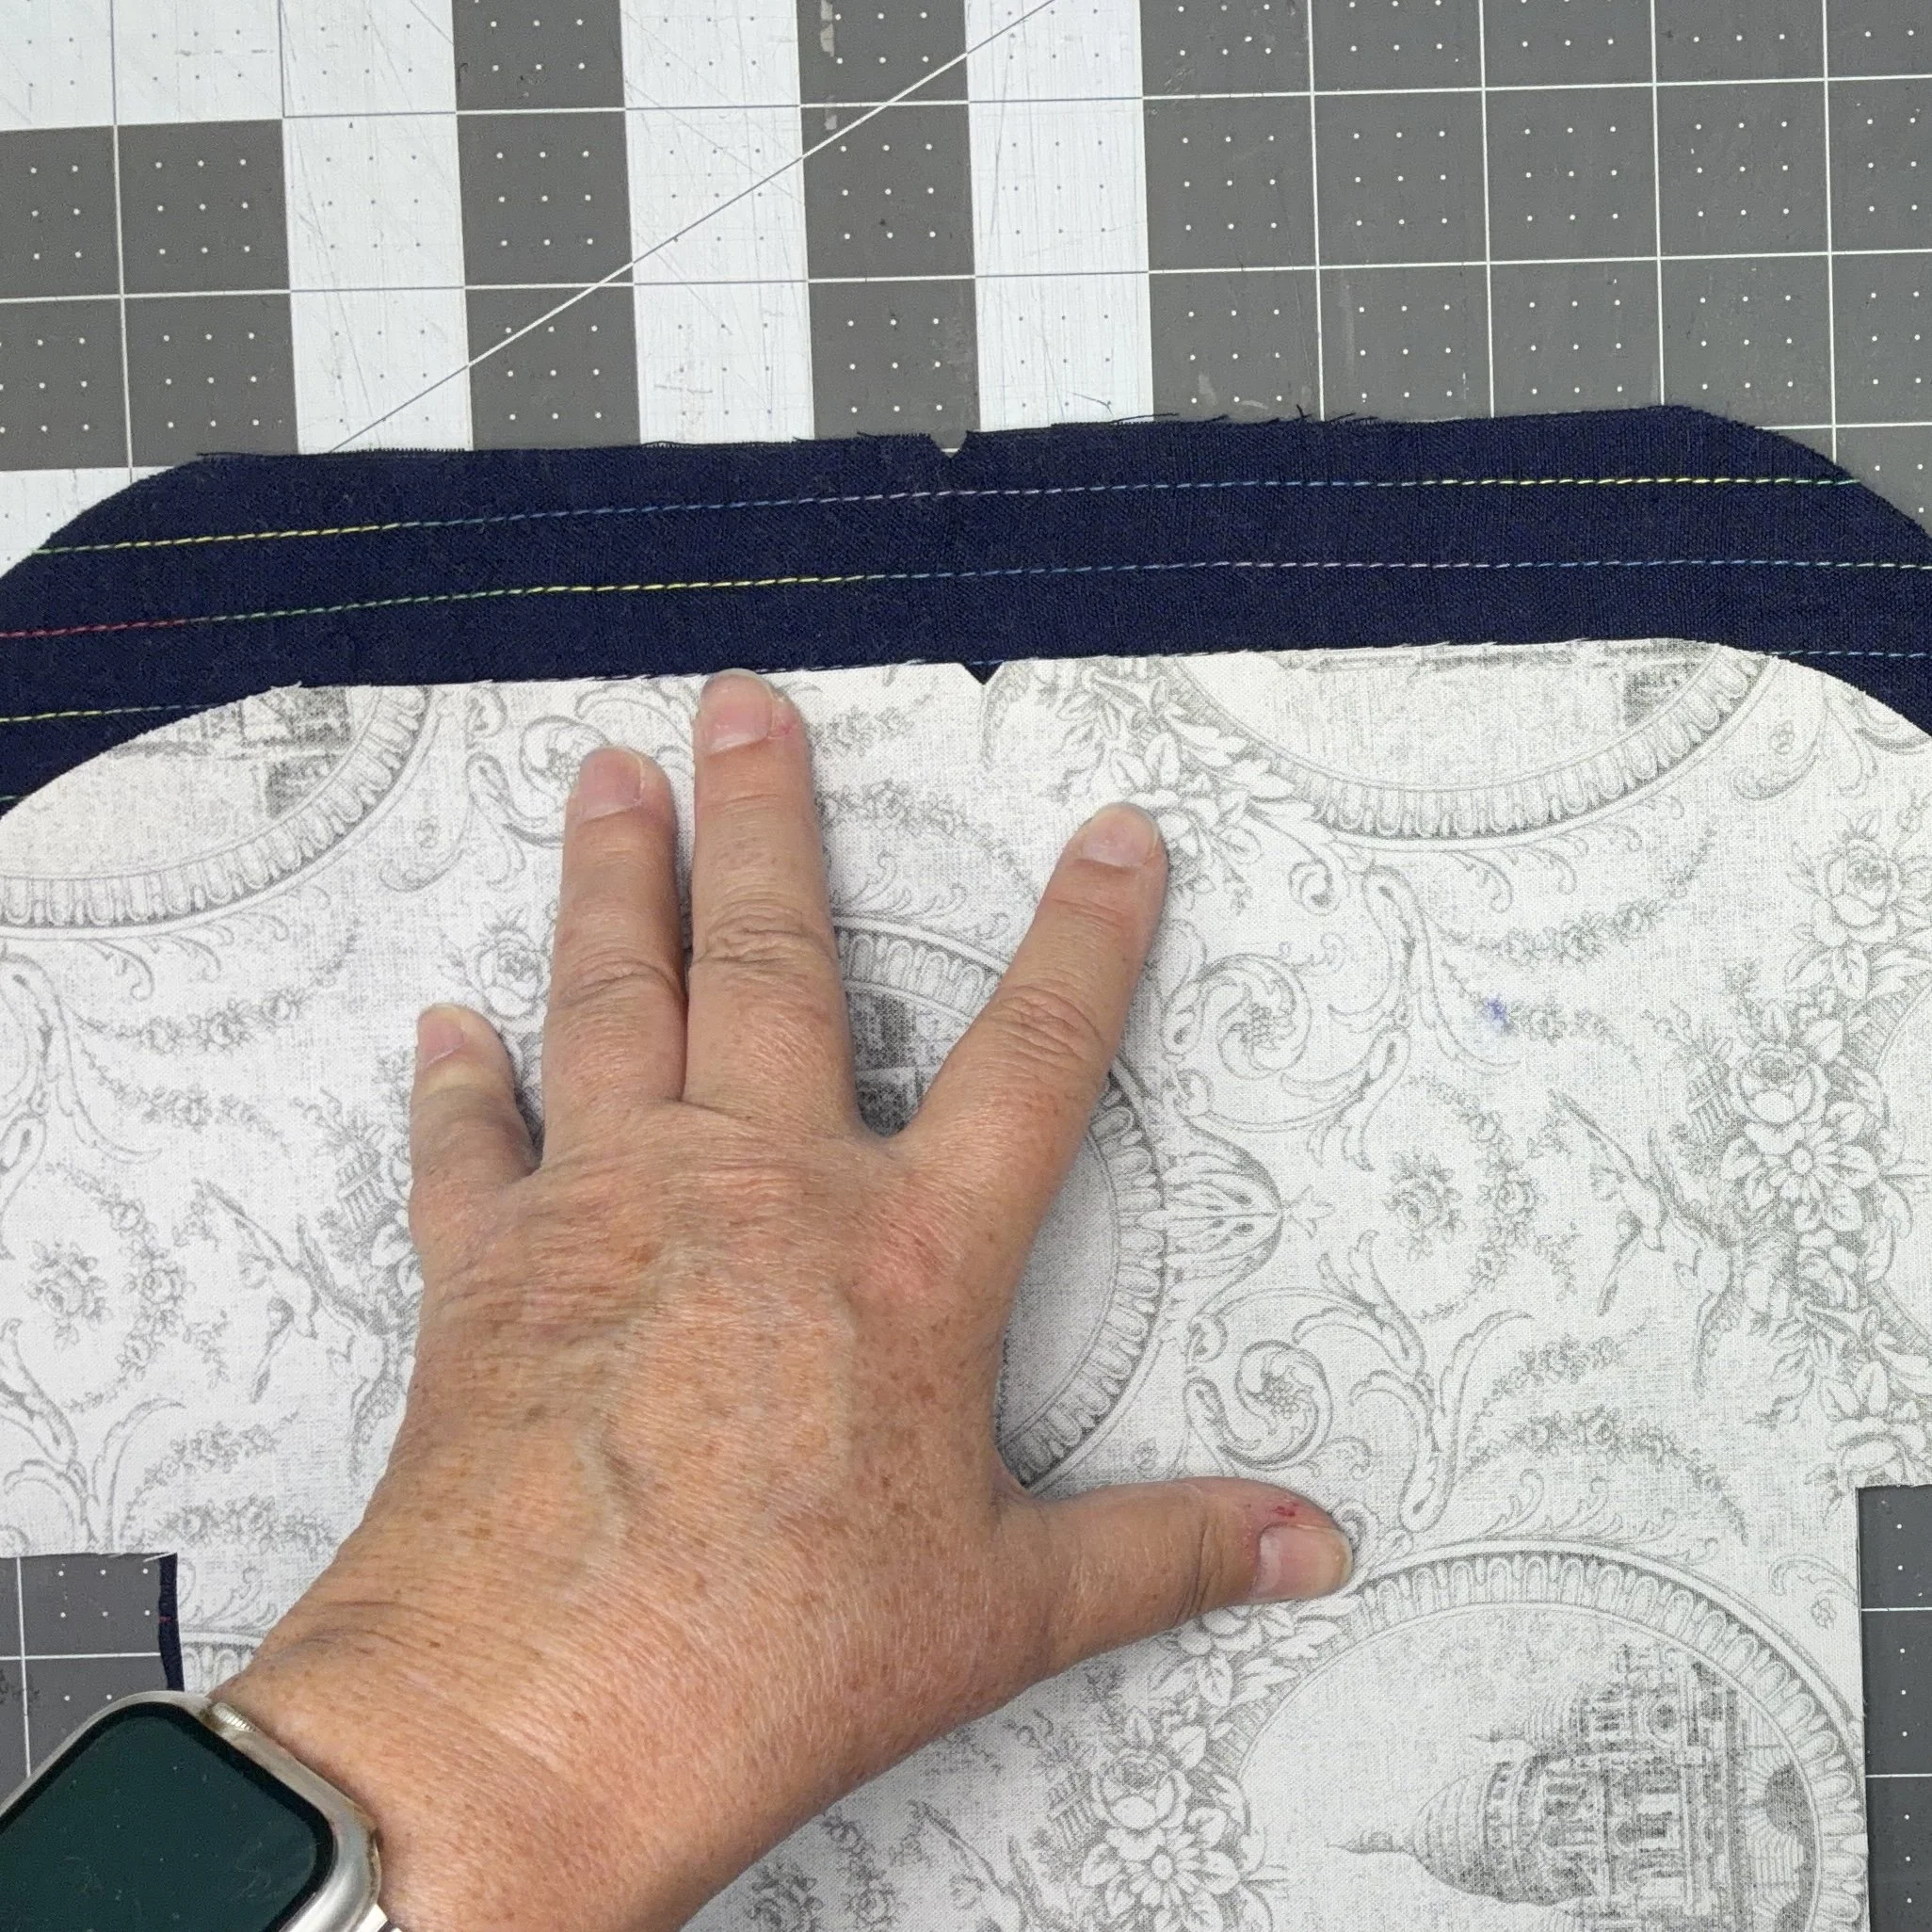
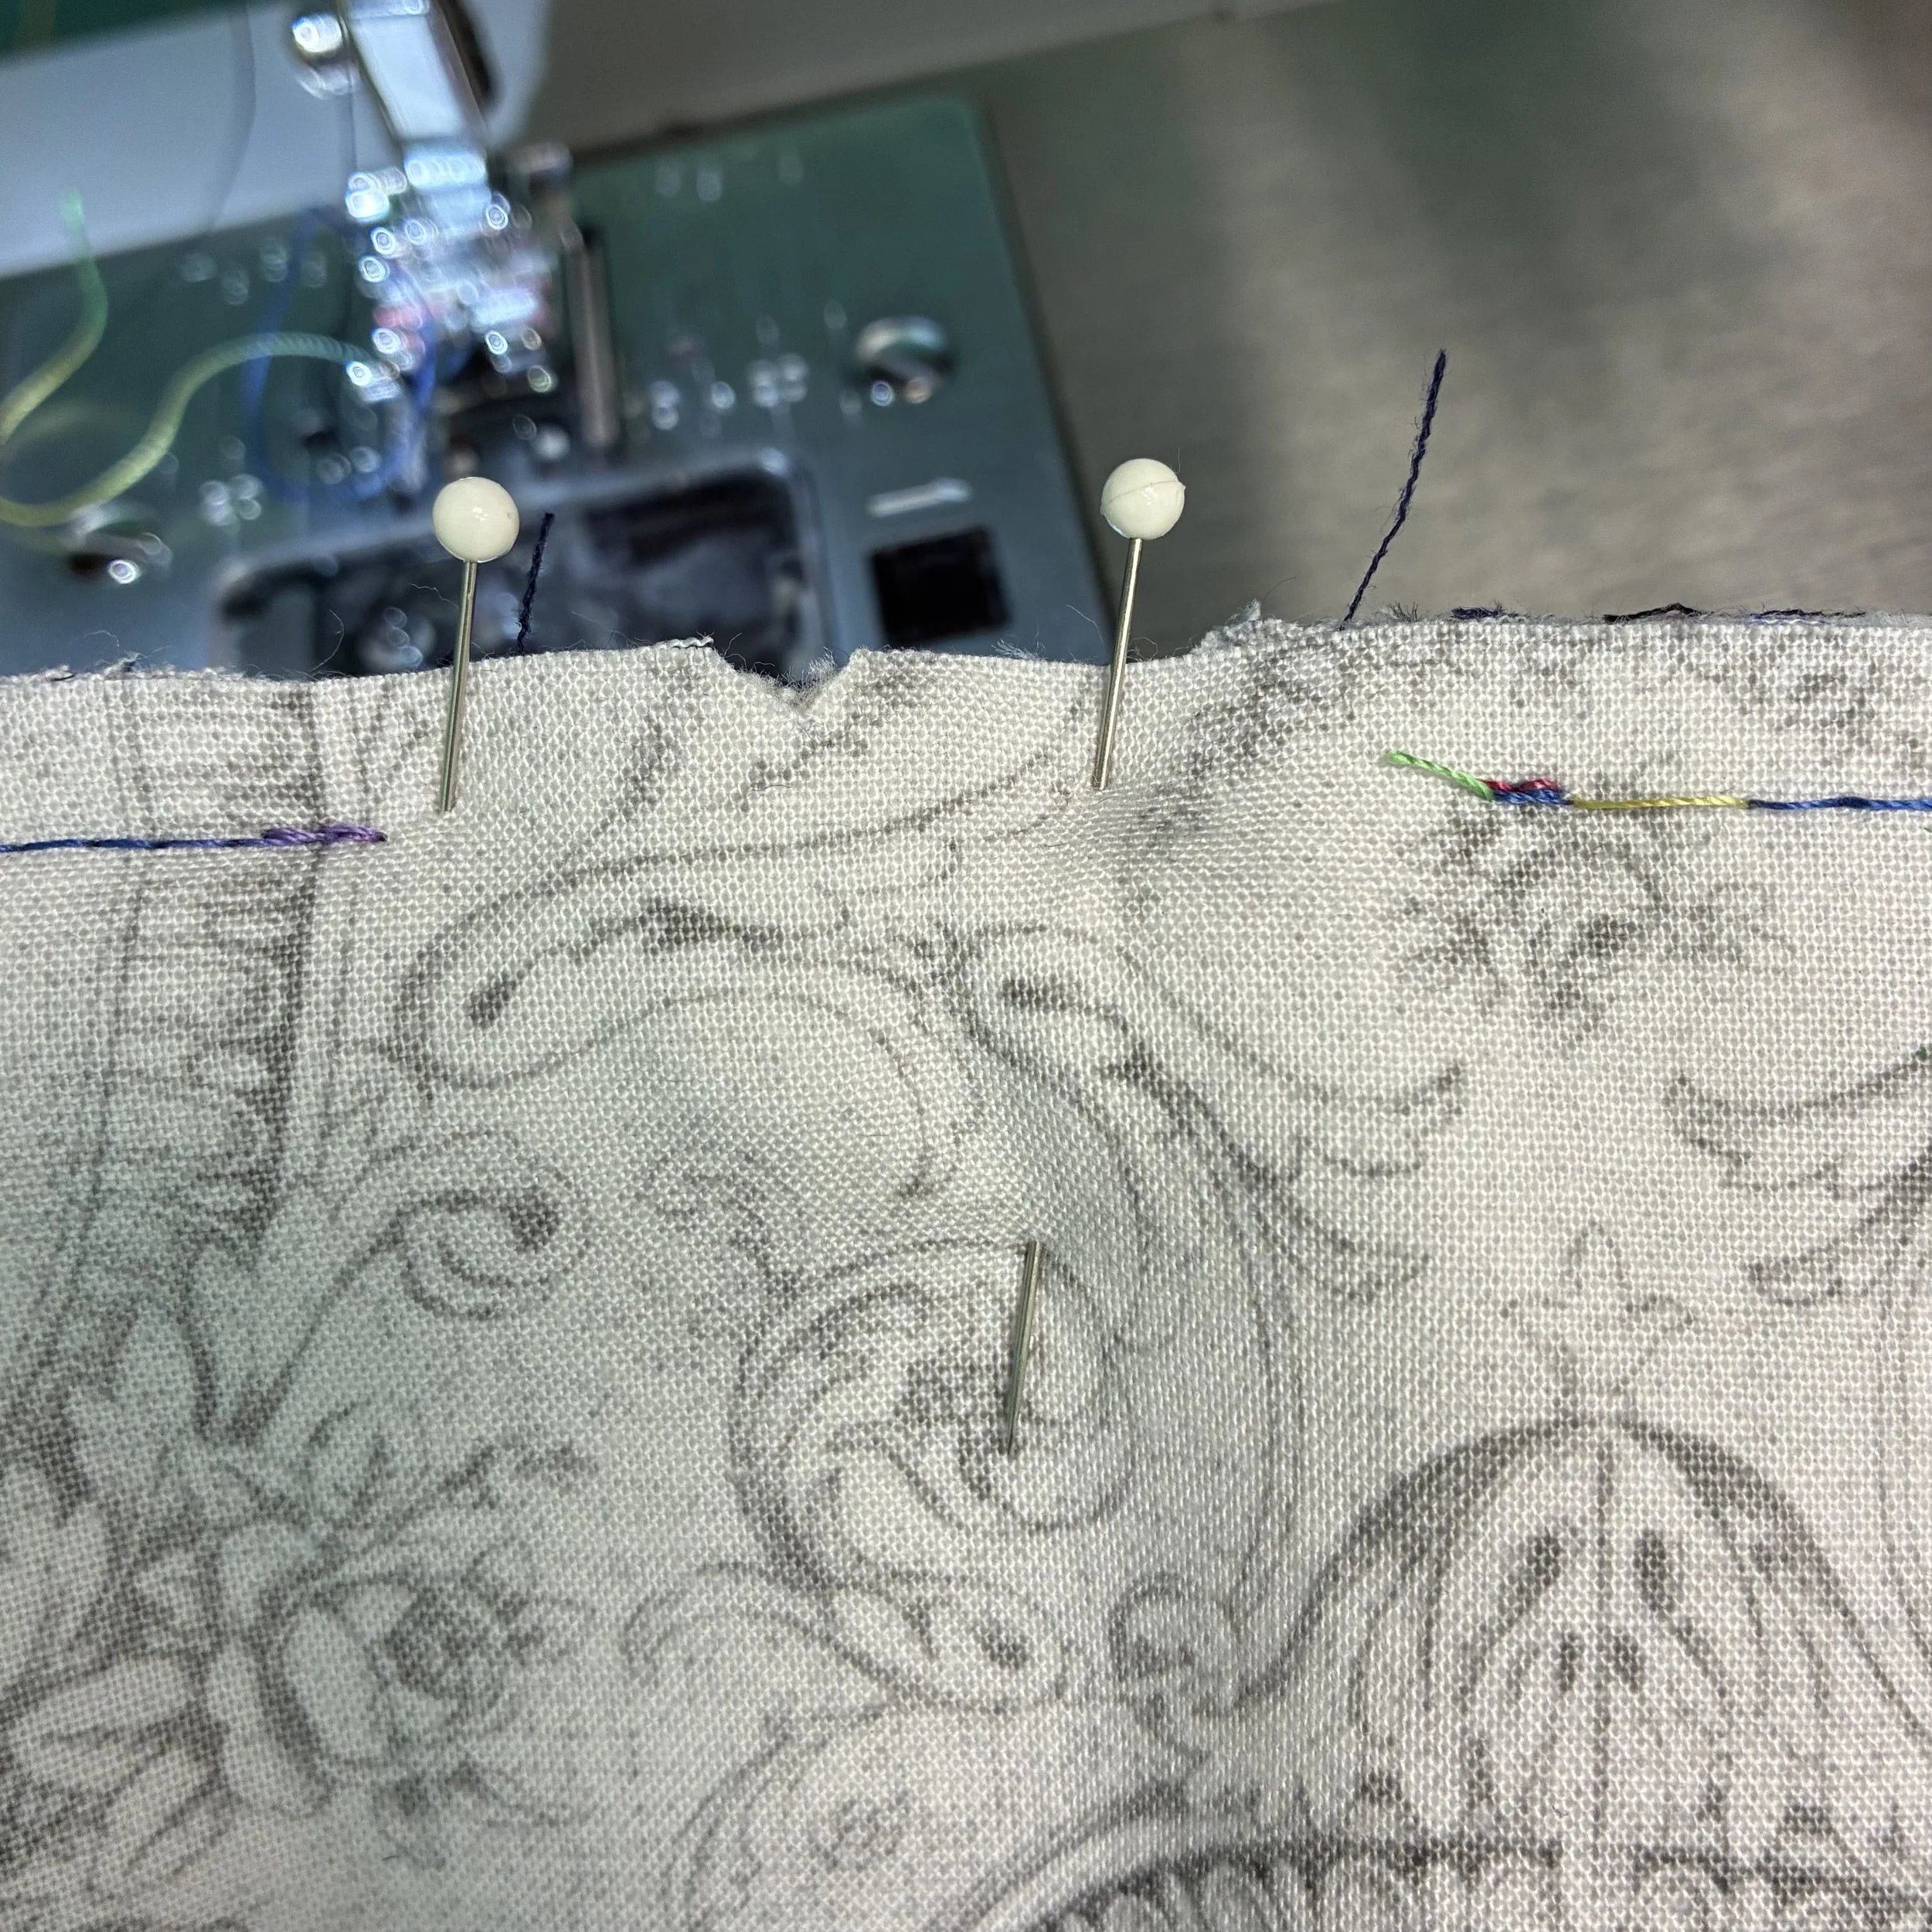
I lined up the zipper tape right side down against the right side of the outer fabric, matching up that center-point notch, and started pinning. When I got to the curved sections, I clipped into the zipper tape just enough to allow it to follow the curve. I used quite a lot of pins to hold everything firmly in place.
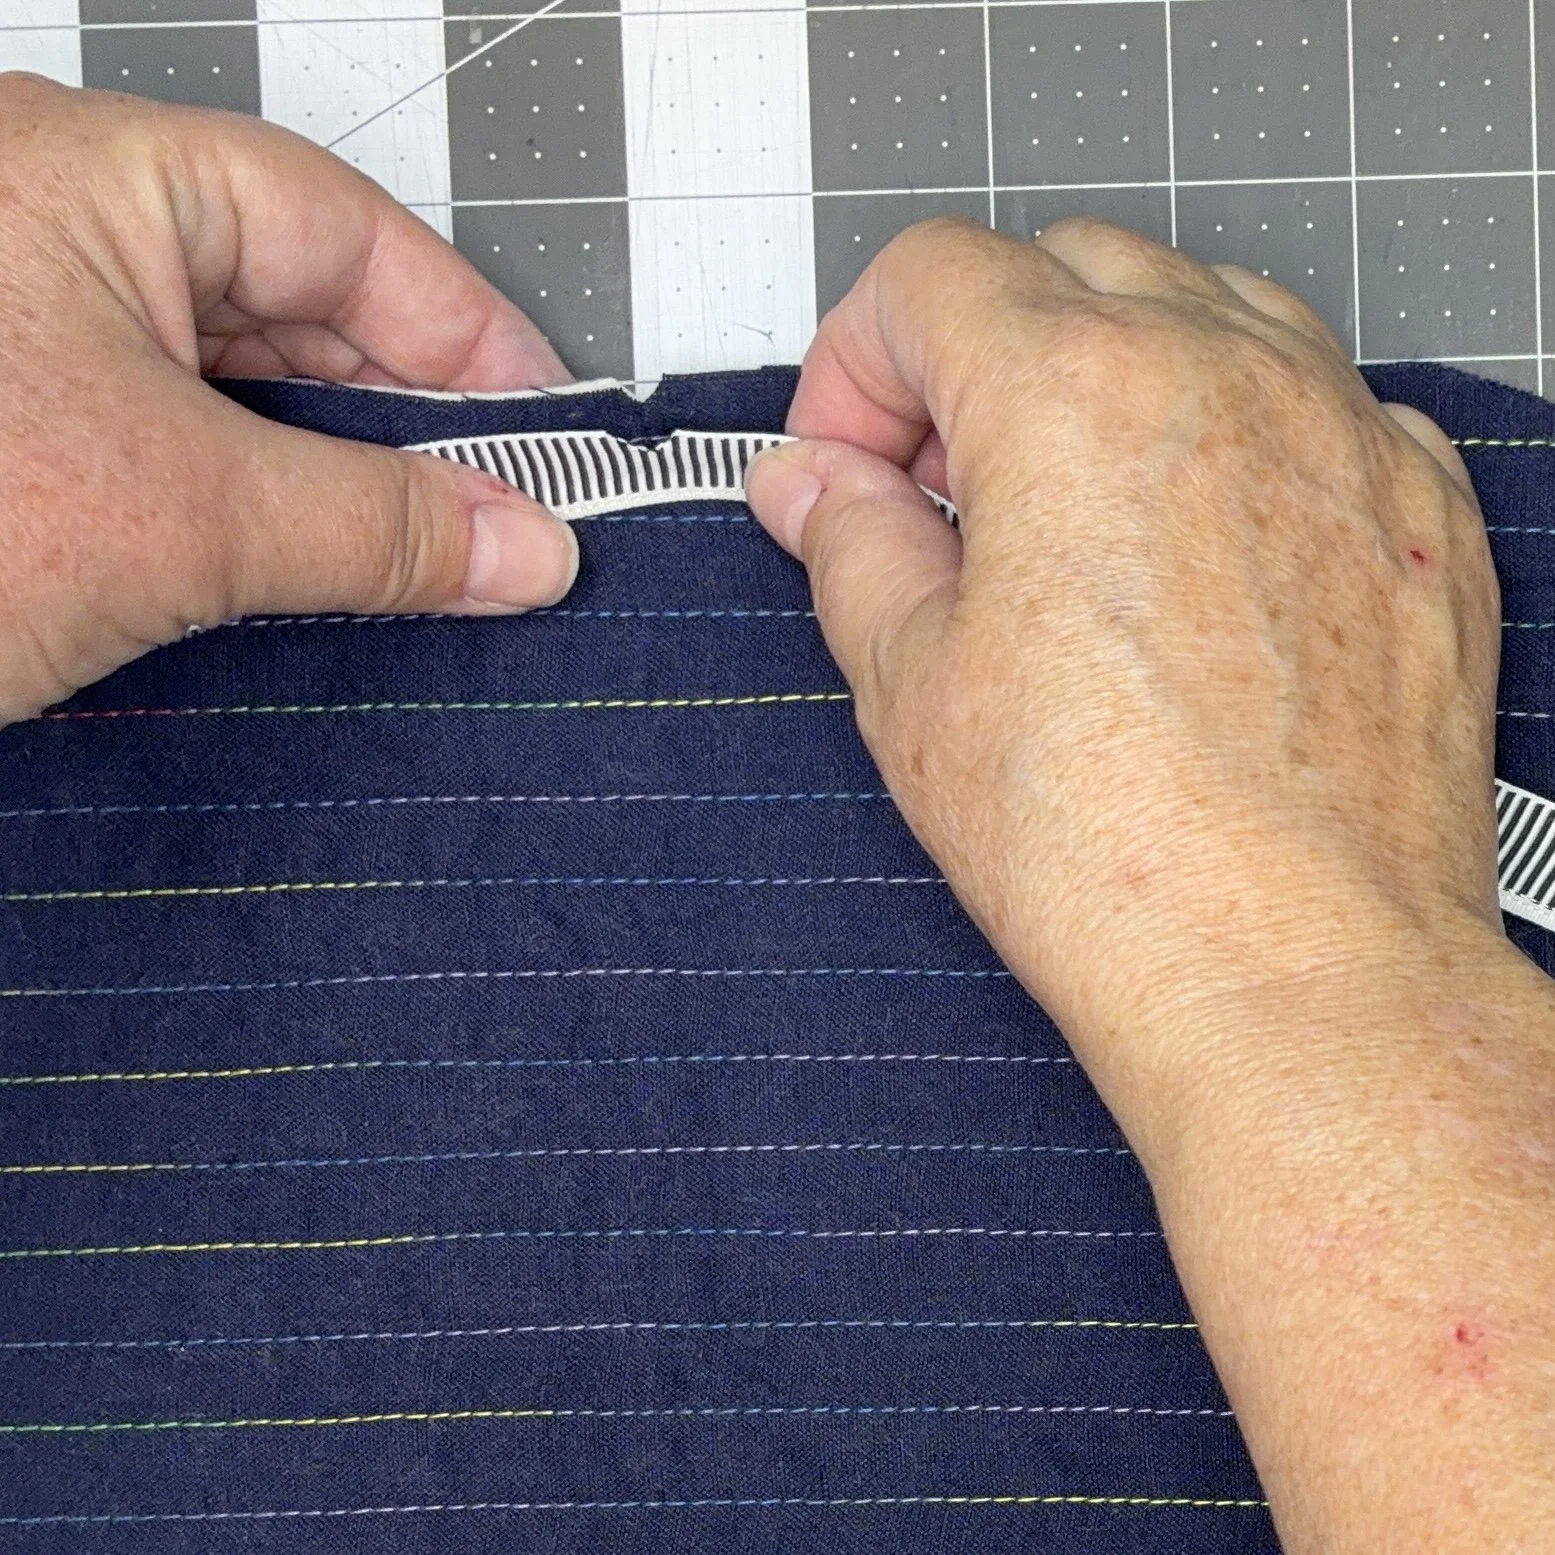
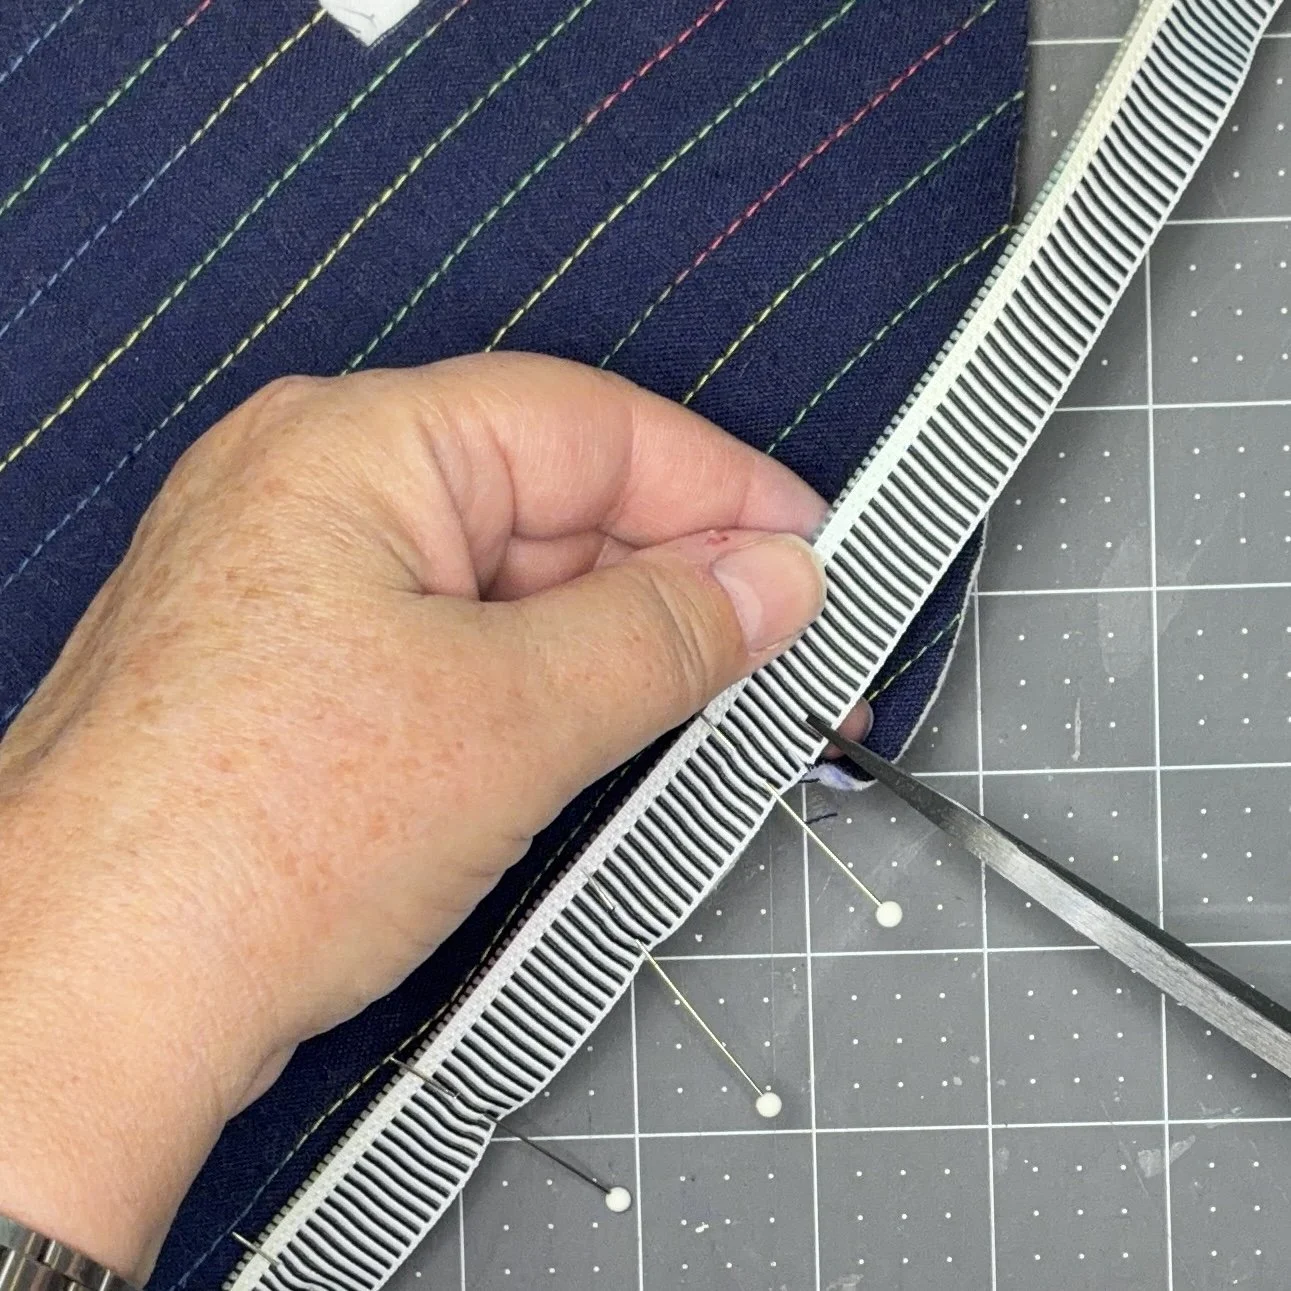
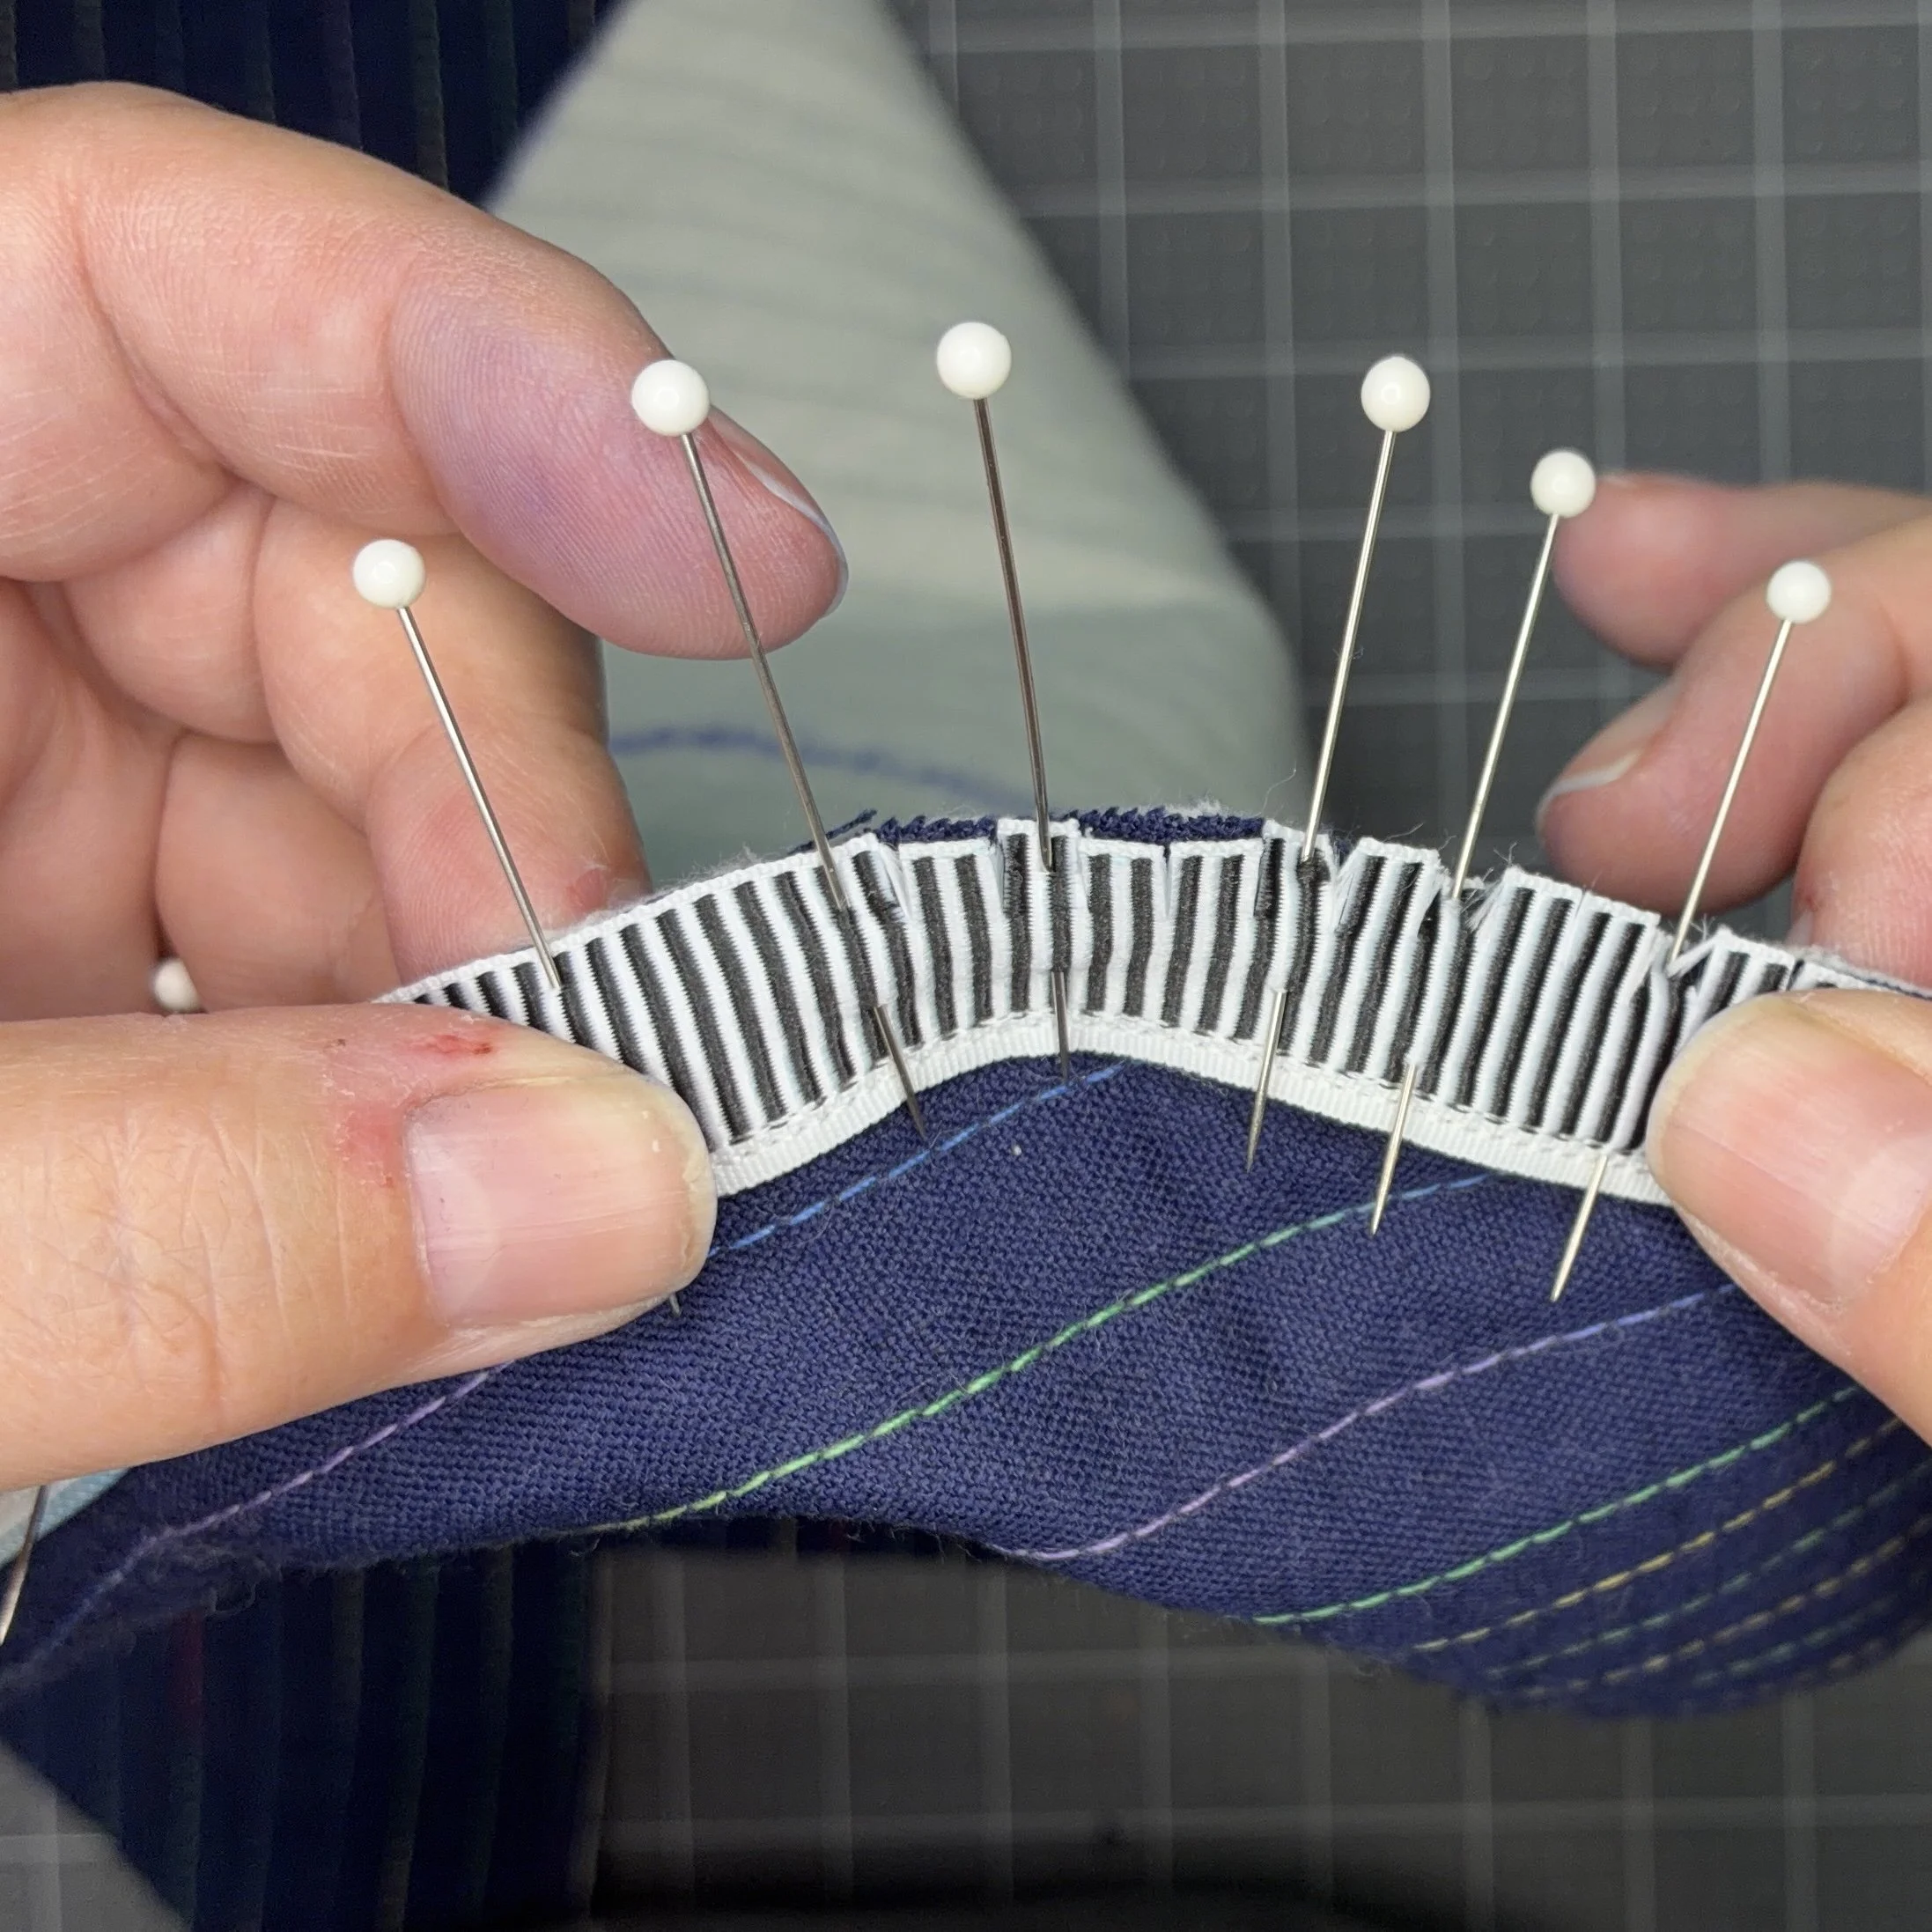
Then I stitched the zipper tape down along both curved edges, using my zipper presser foot. I was careful to sew relatively close to the edge of the fabric, rather than trying to get very close to the zipper teeth. Since I was going to sew the lining fabric in place next, I aimed to essentially just baste the zipper tape to the outer fabric.
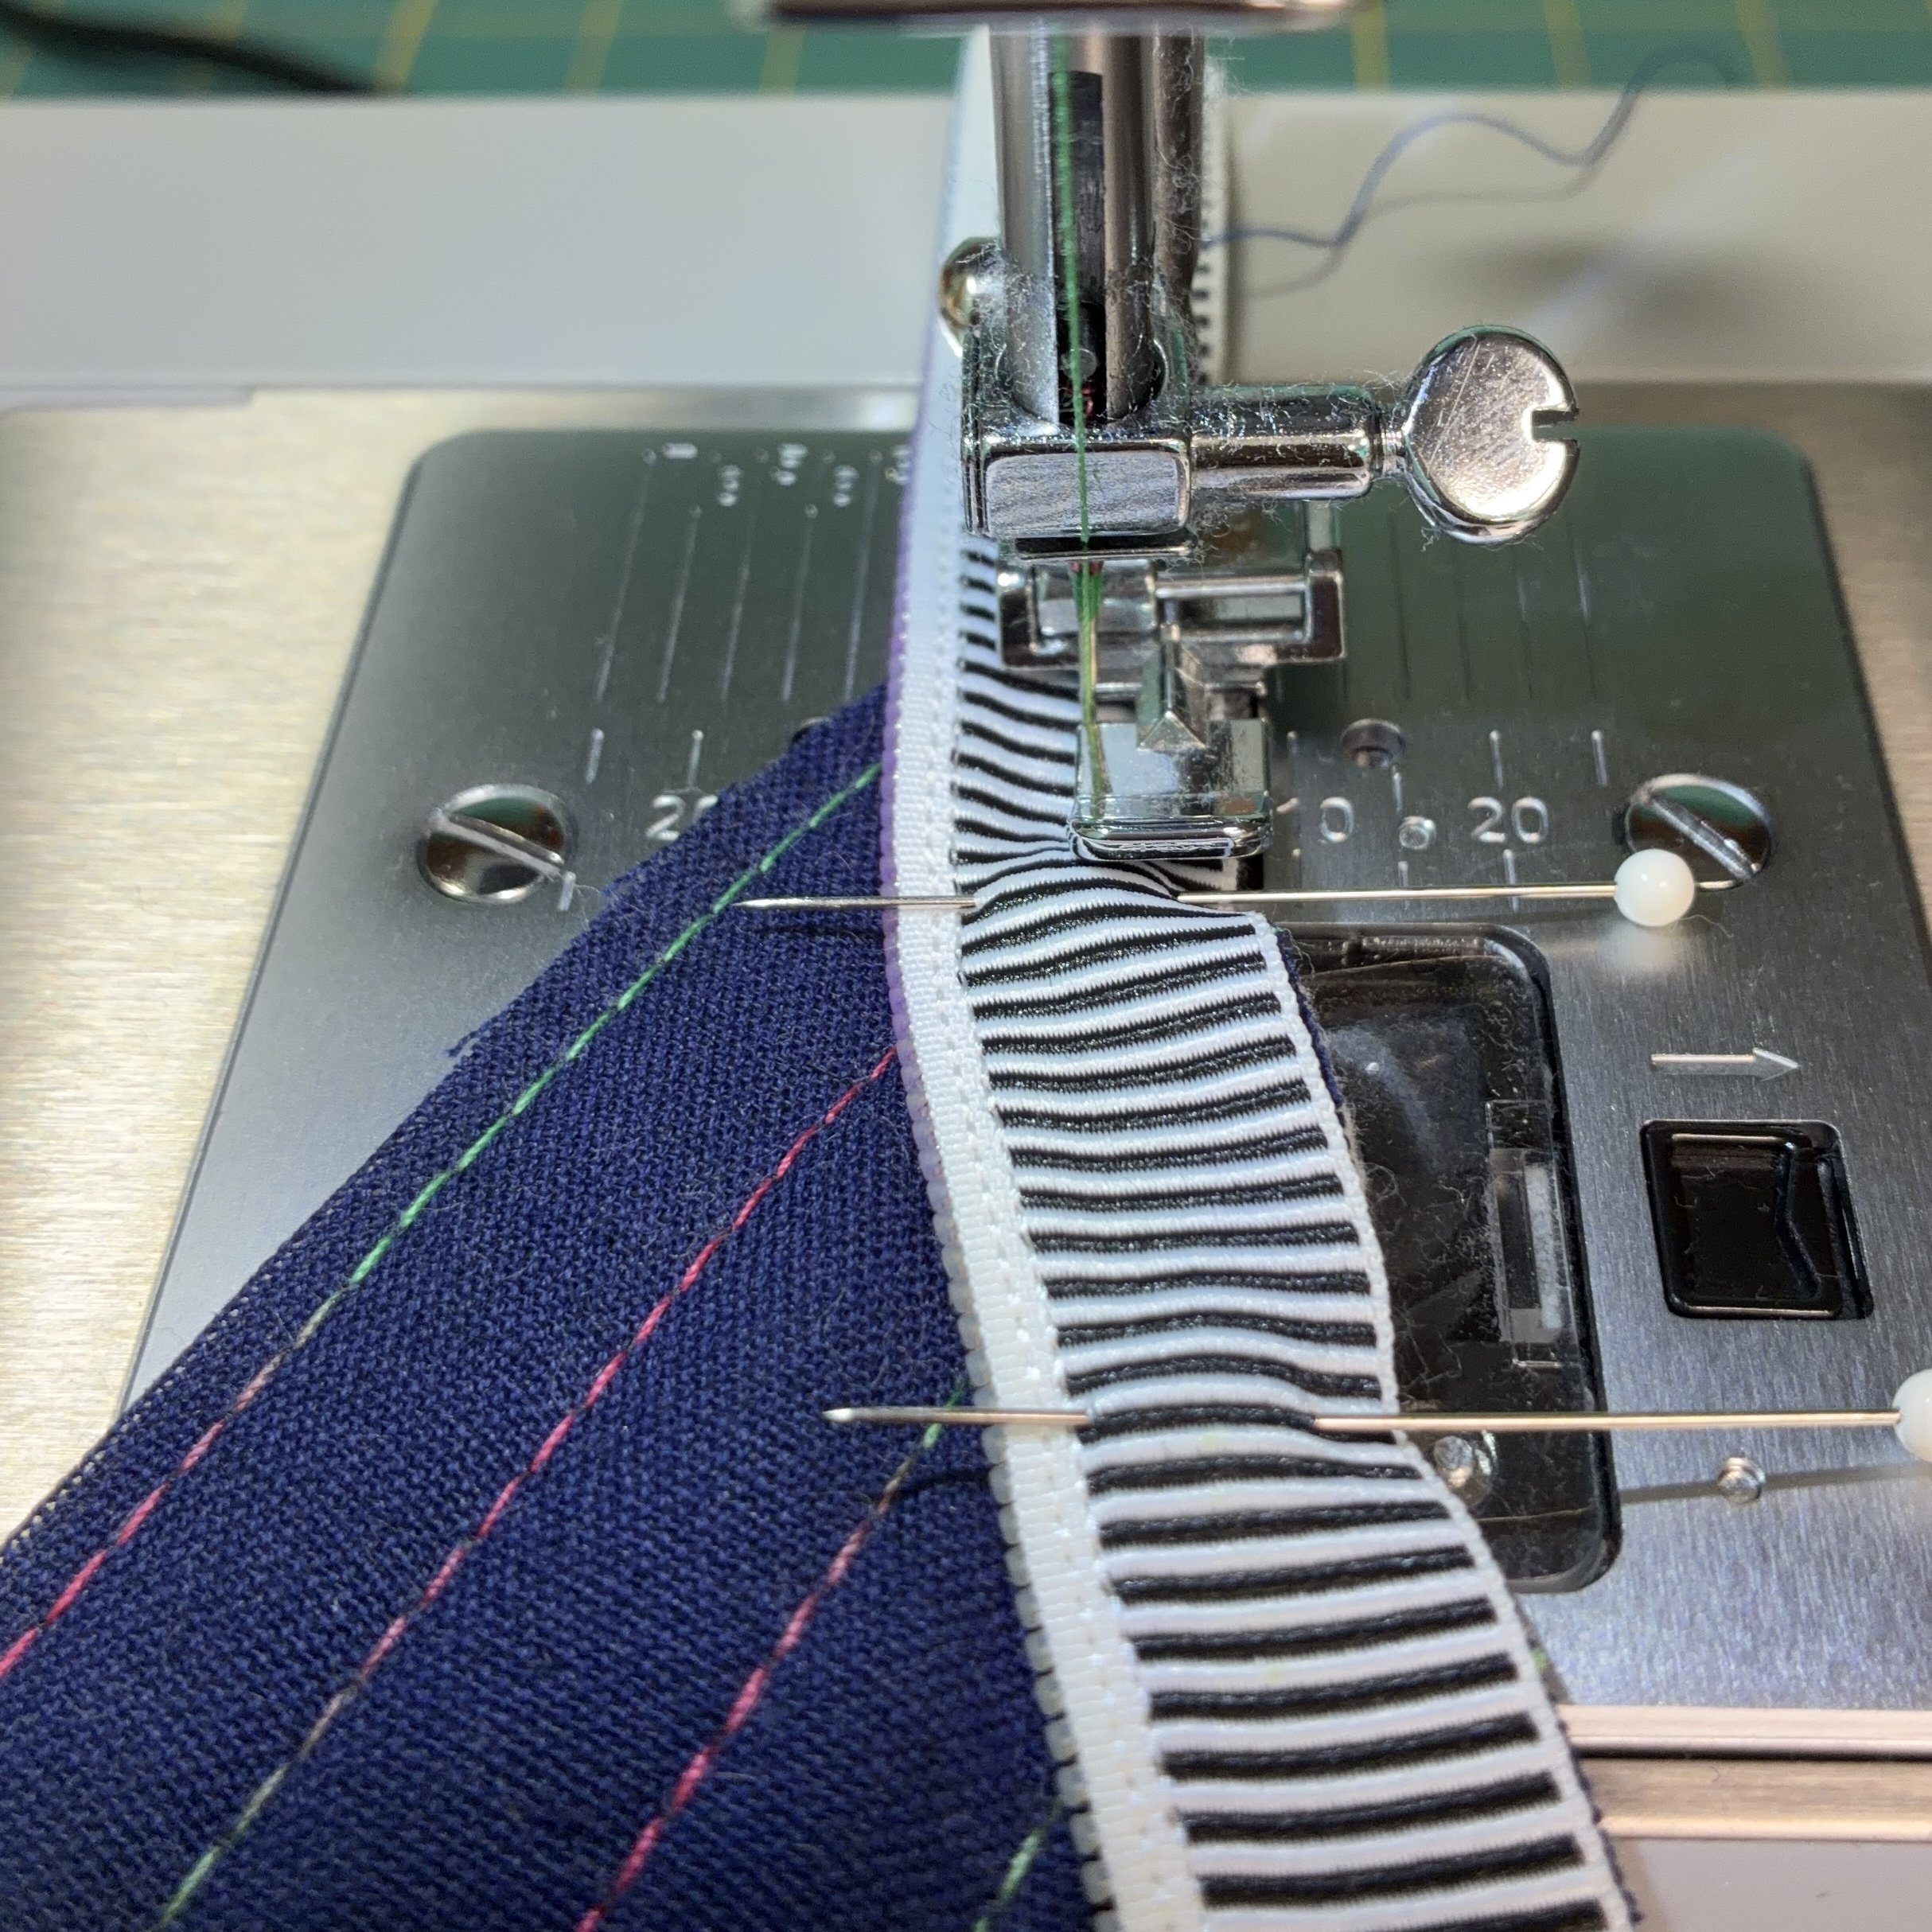
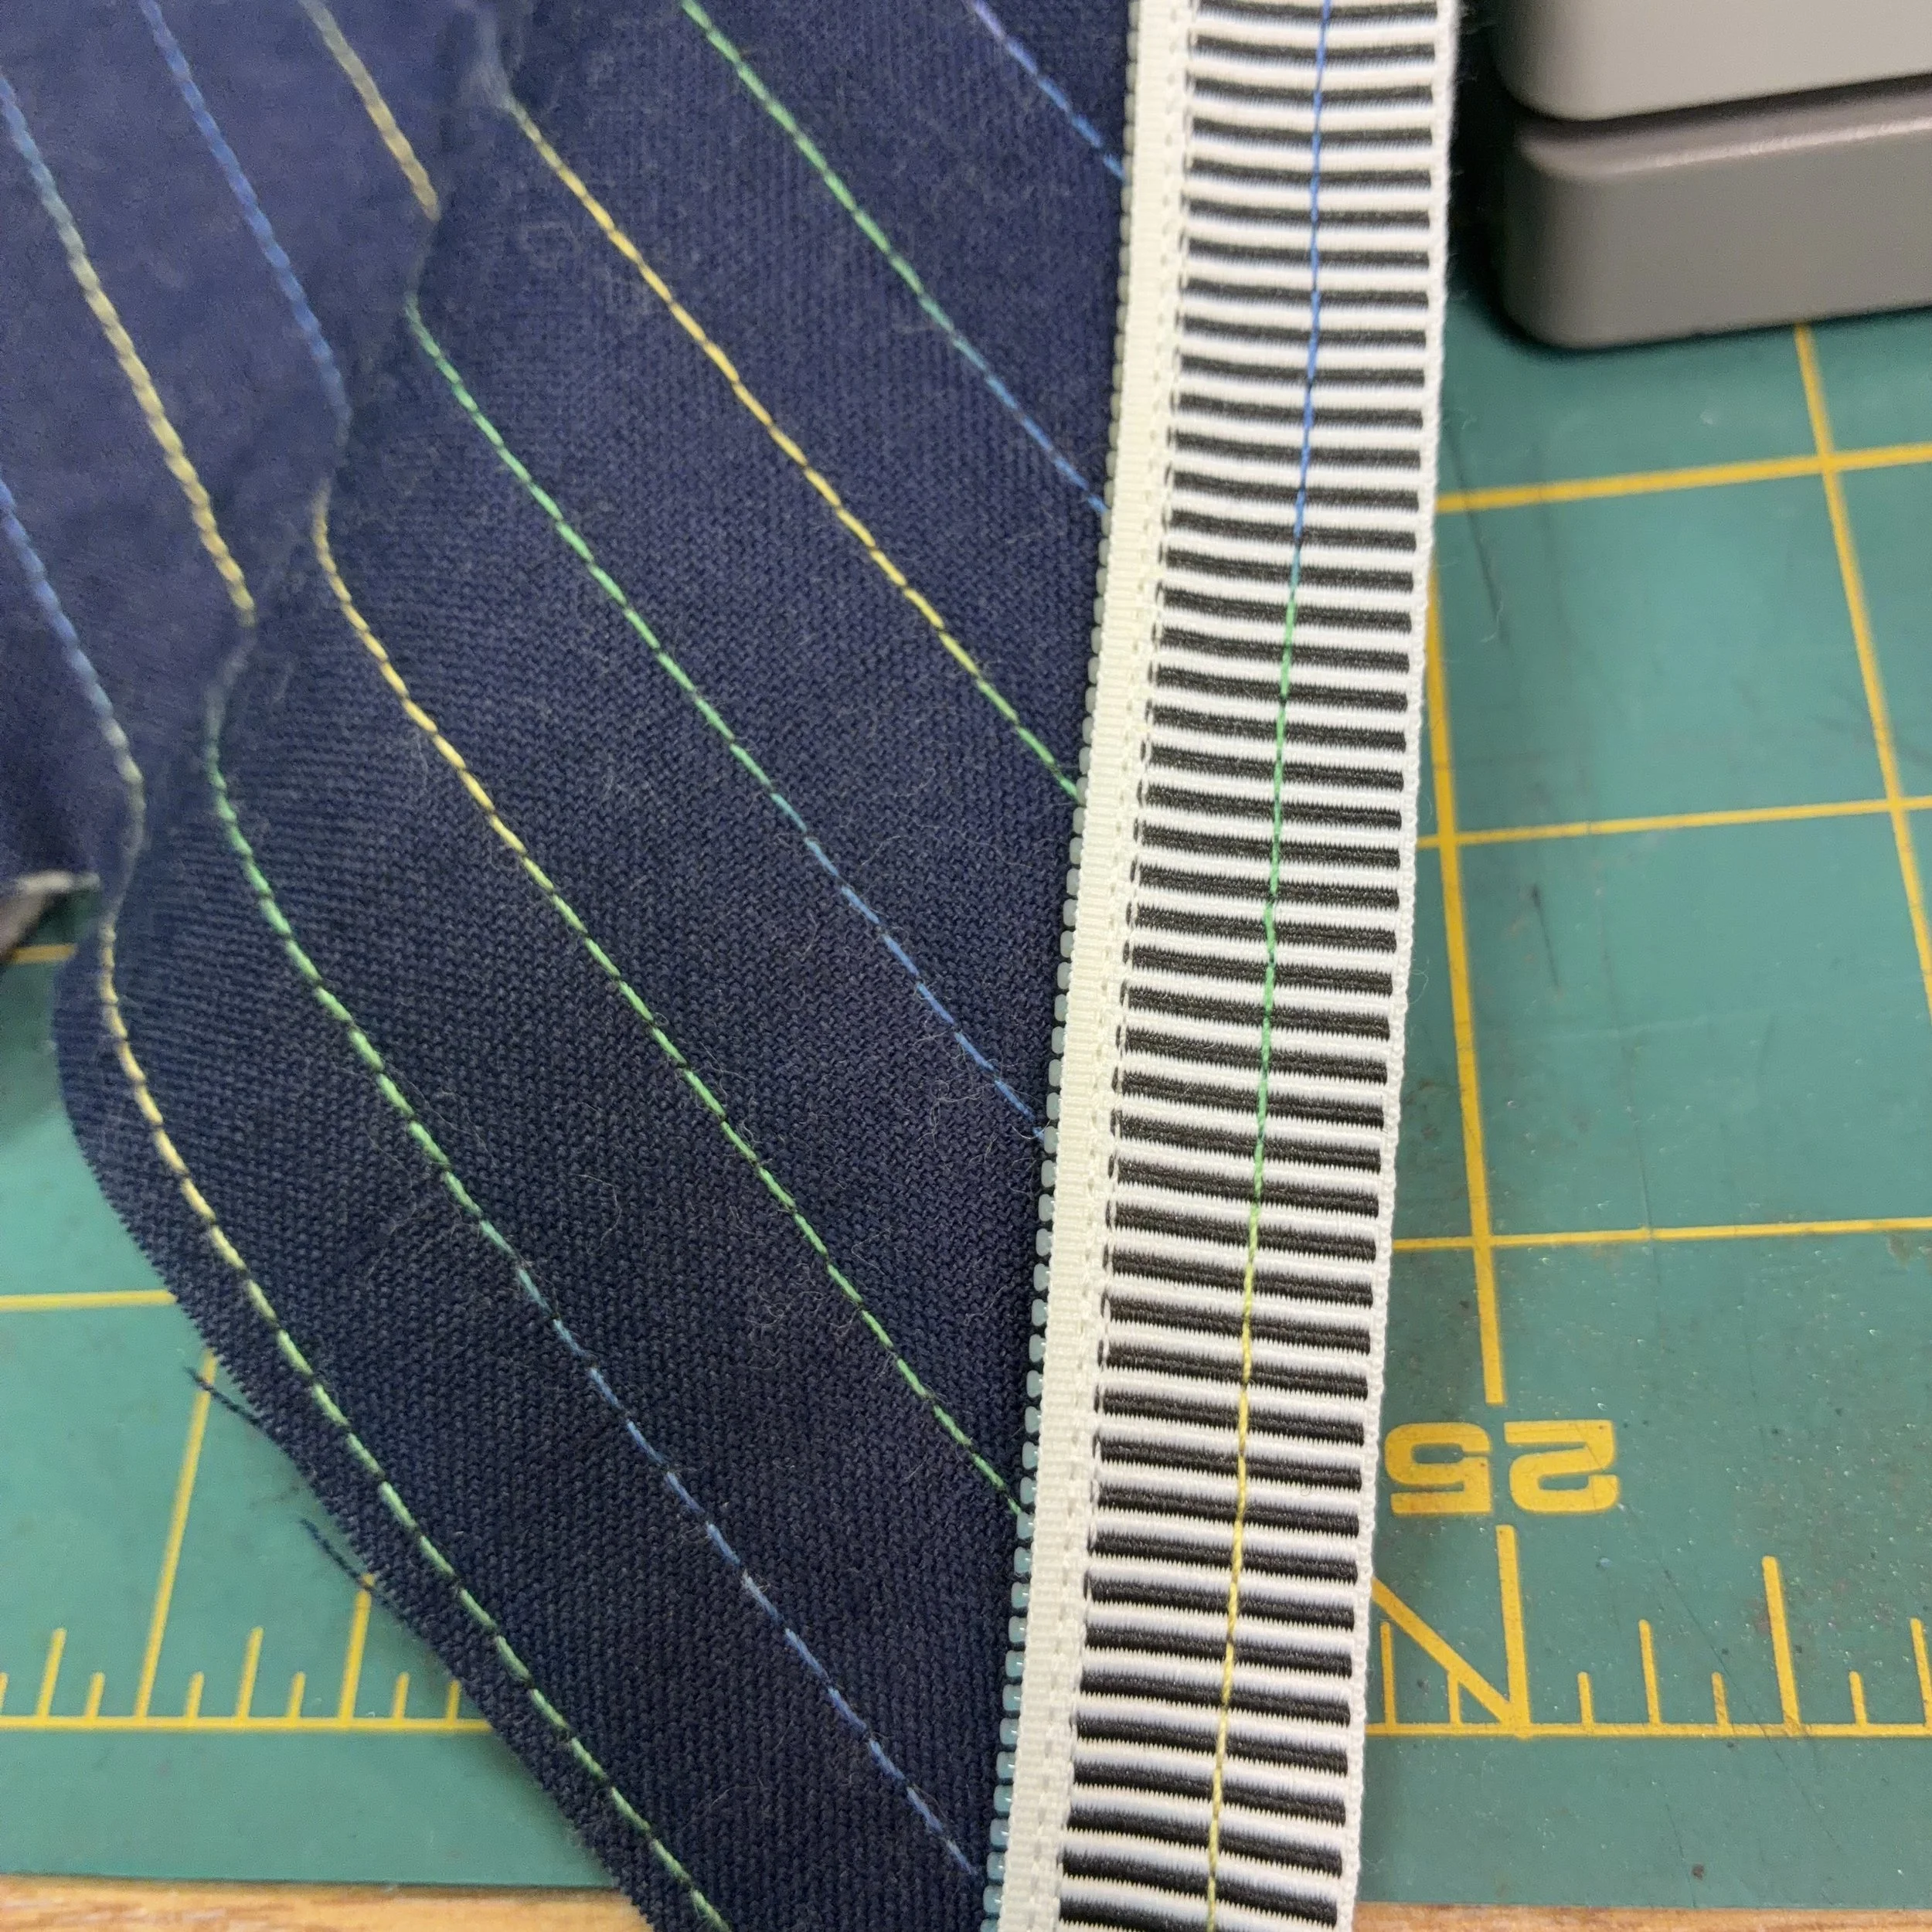
I placed the lining fabric right sides together with the outer fabric, lining up those center-point notches. I pinned it in place, and then sewed it down with the zipper foot, making sure that this second seam was closer to the zipper teeth than my first (basting) seam.
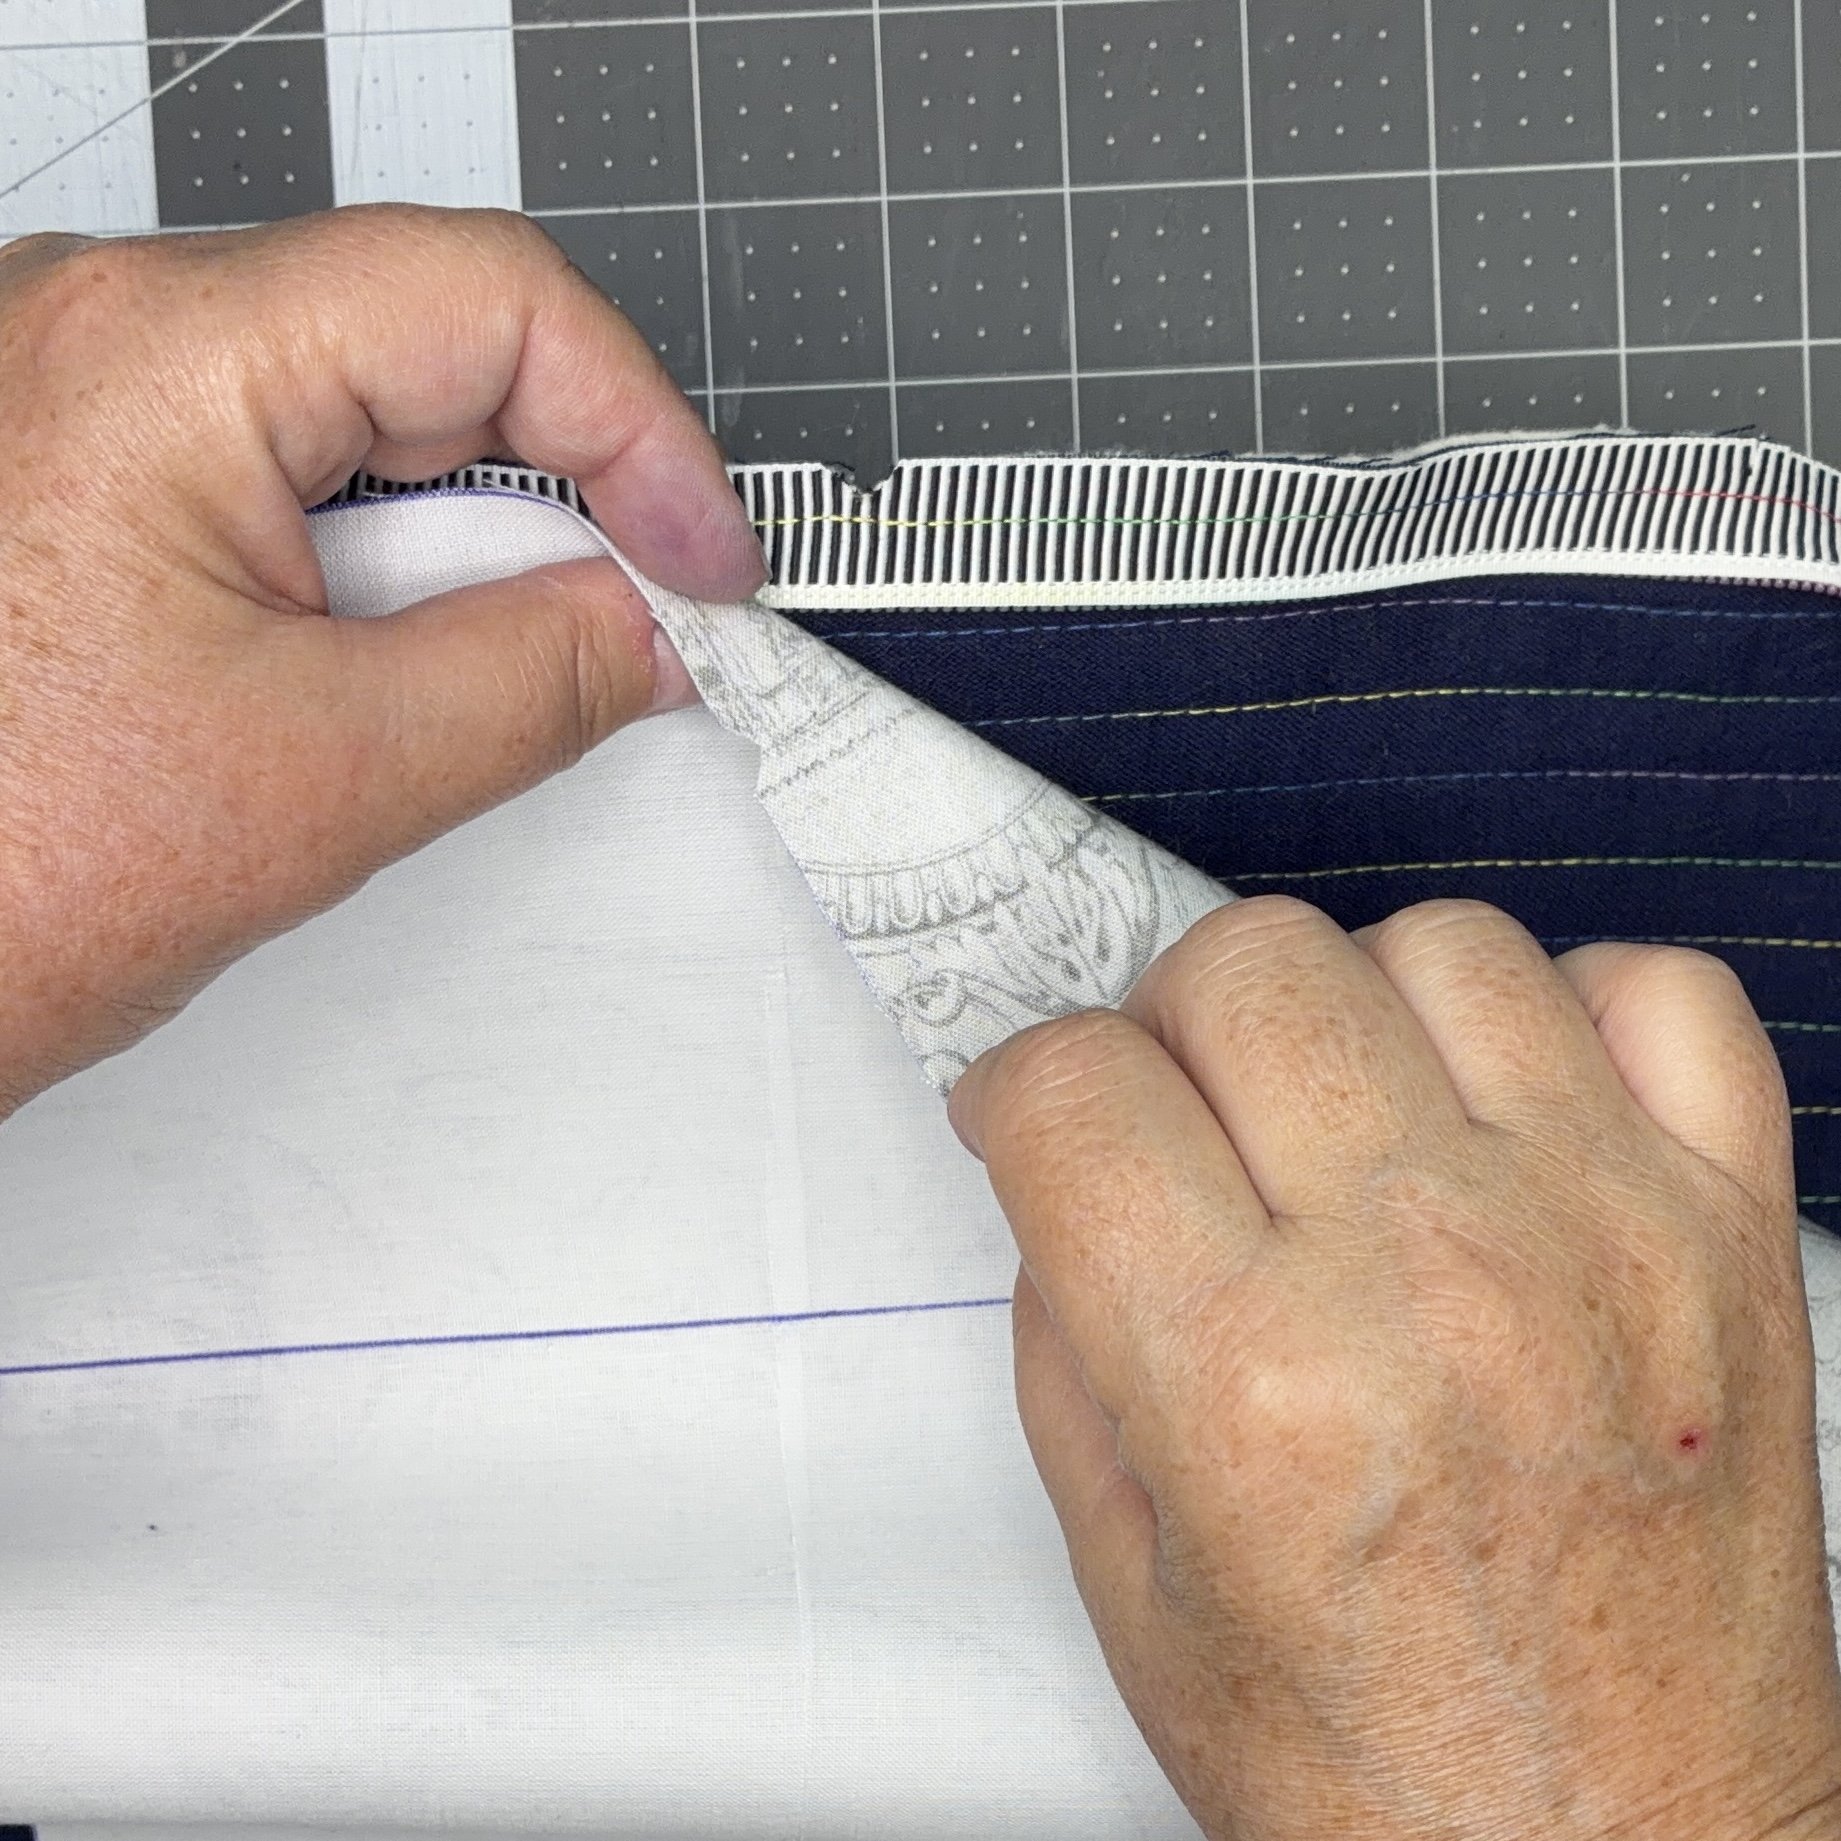
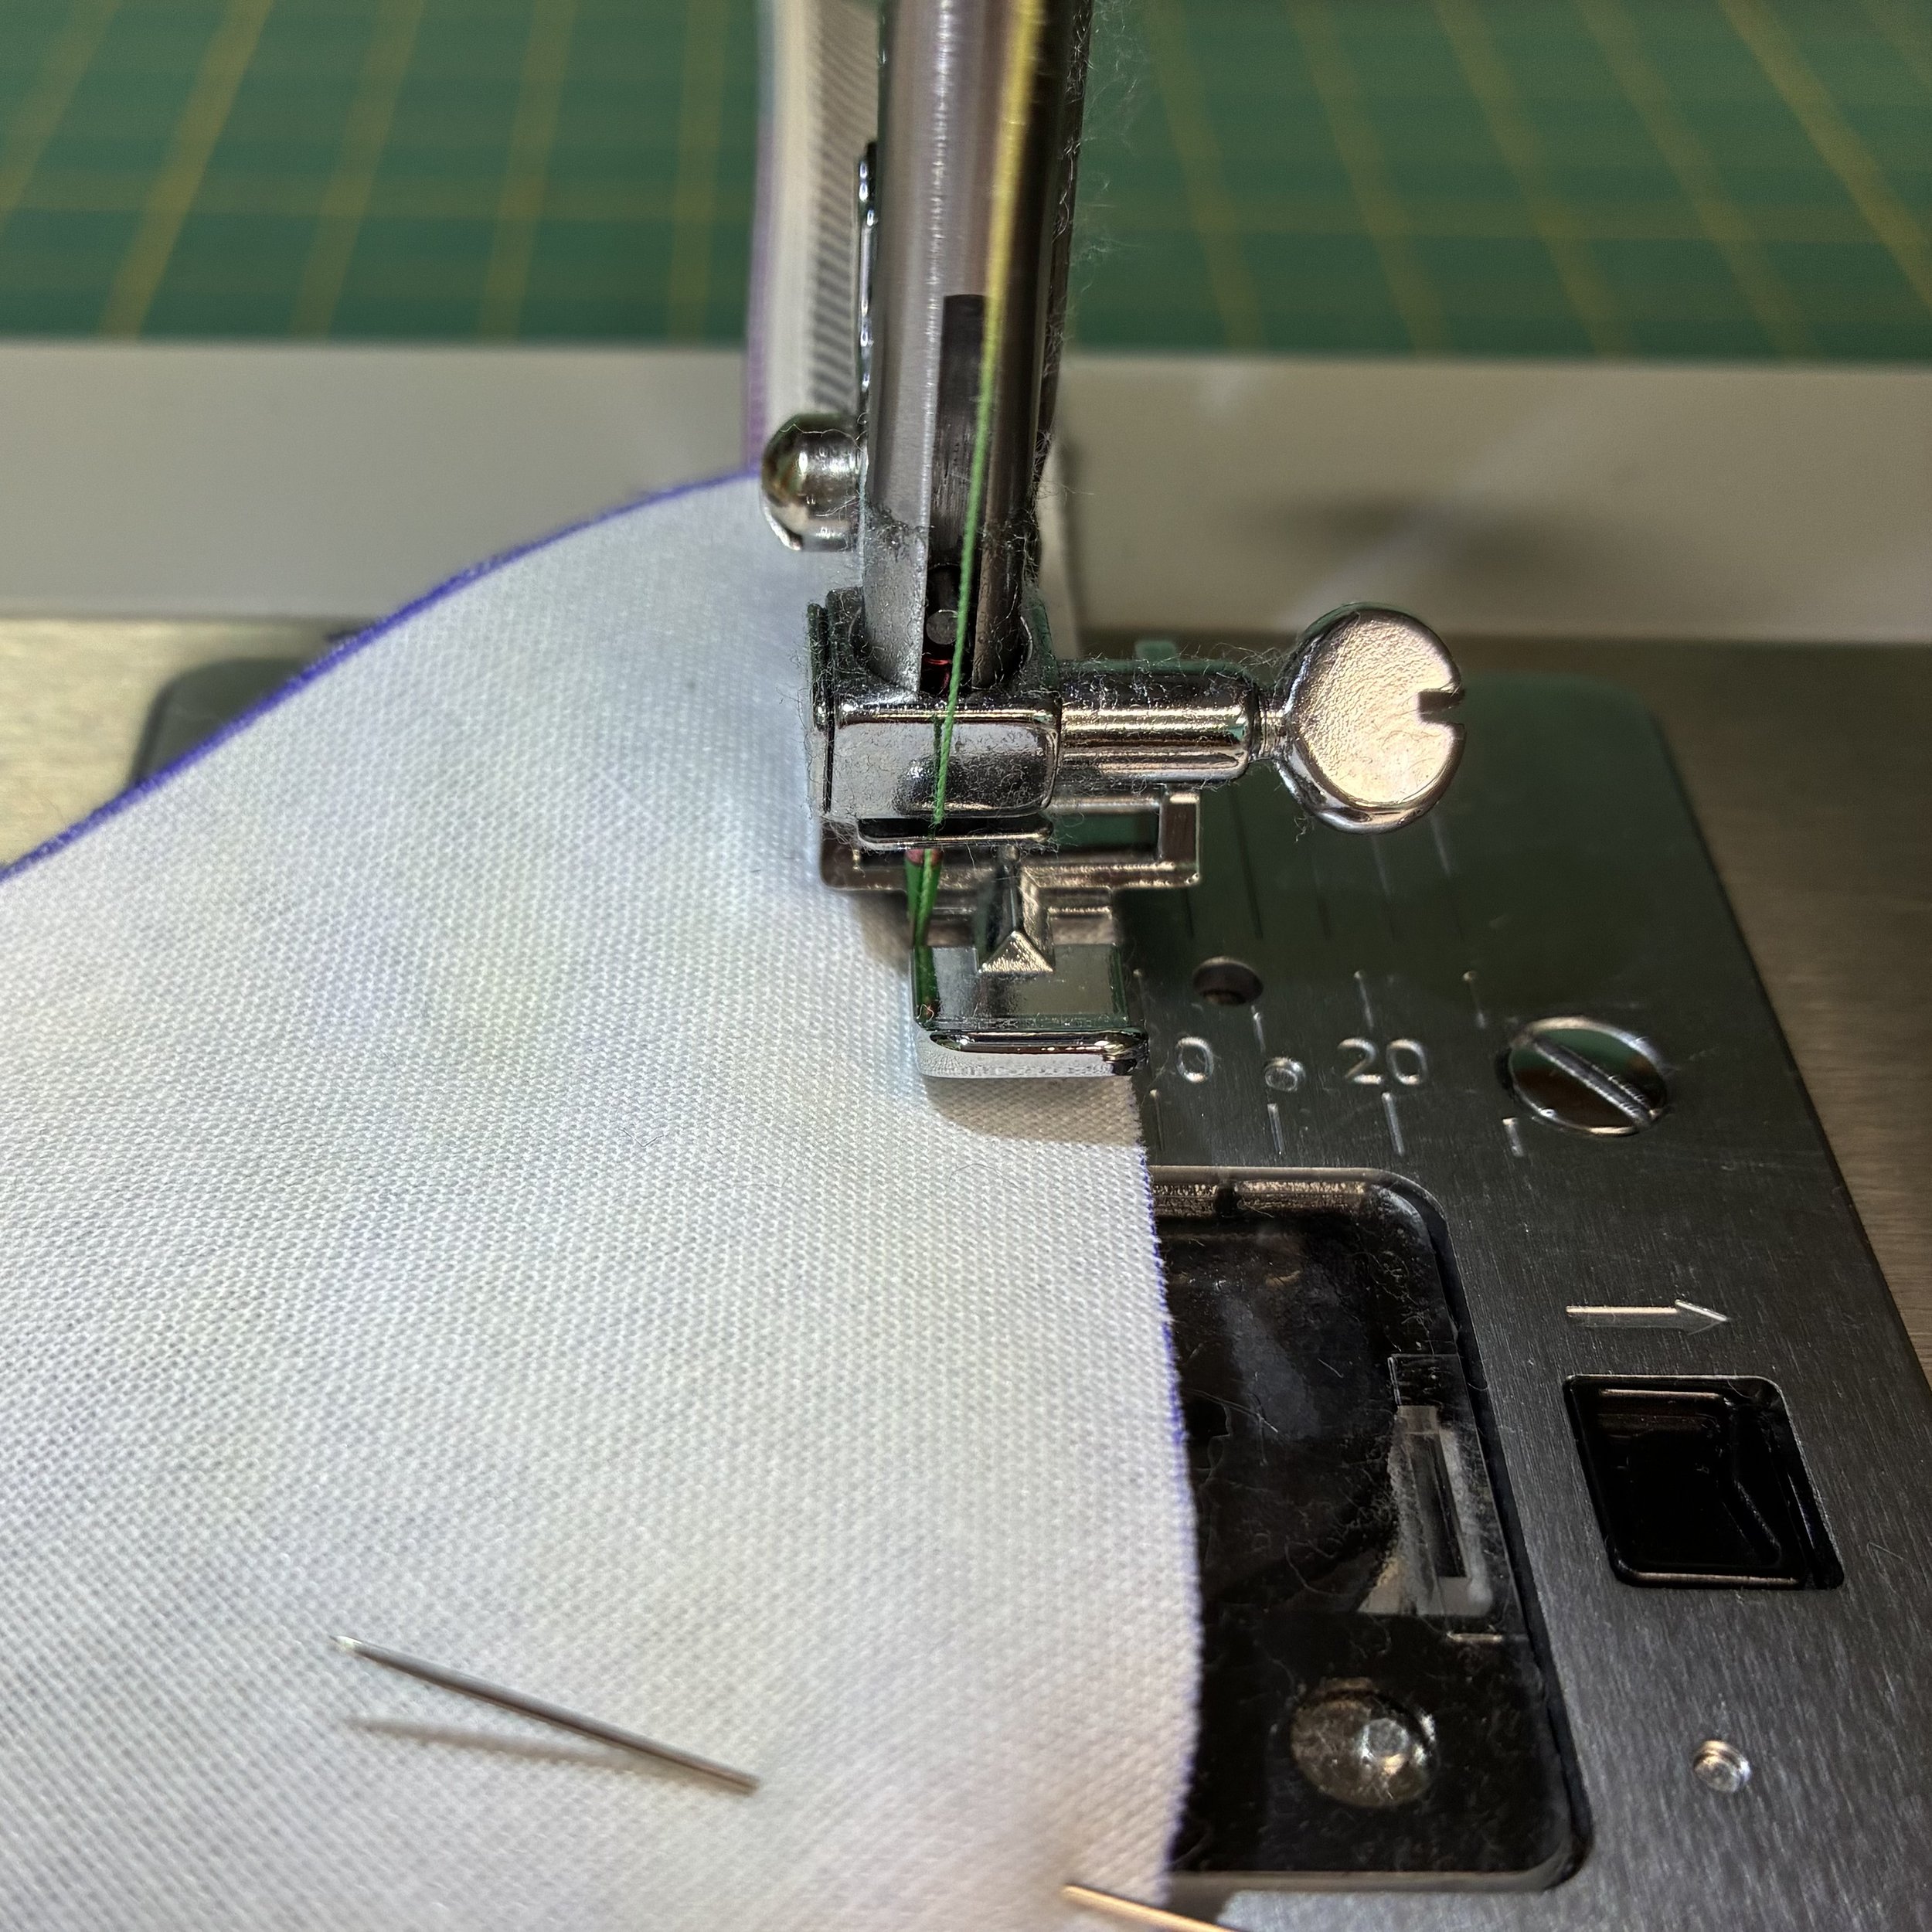
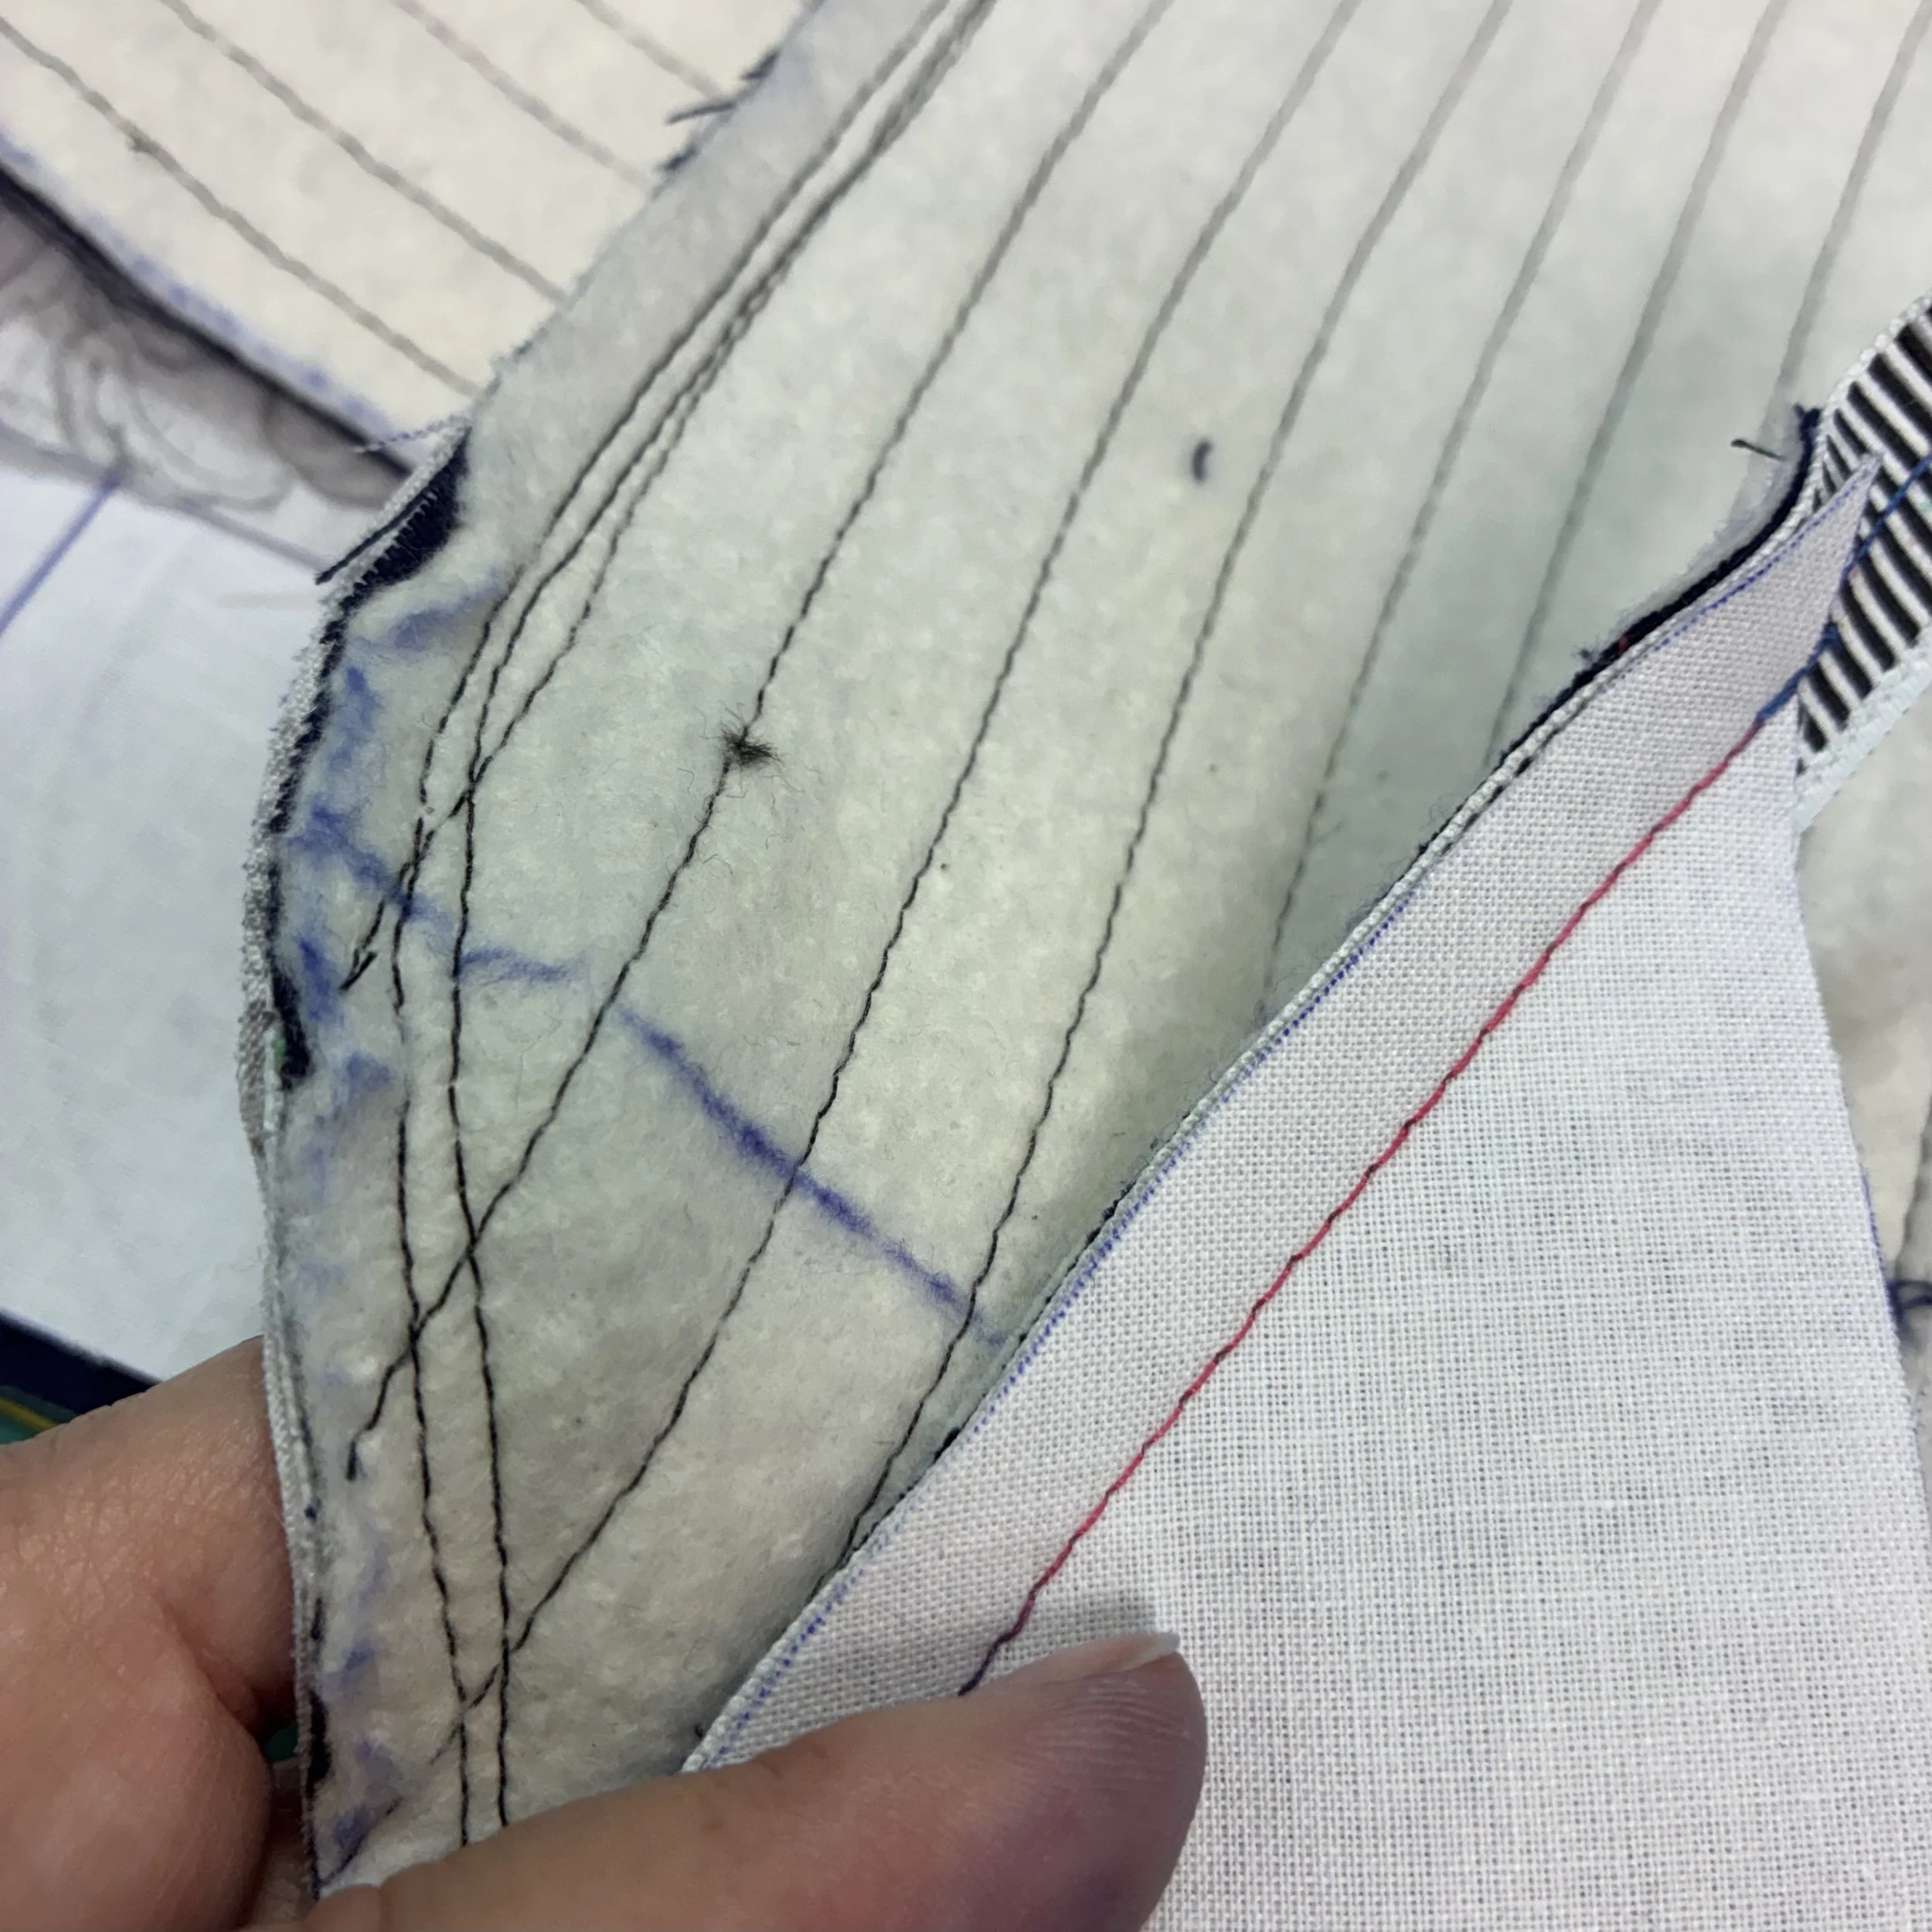
I turned the piece right side out, gave it a careful press, and then top stitched all the way around the perimeter. The top stitching along the zipper edges was going to be visible, so I was quite careful with that. The stitching along the raw edges was very close to the edge of the fabric and was mostly basting, so that the layers would stay in place when I was doing some of the fiddly stuff later.
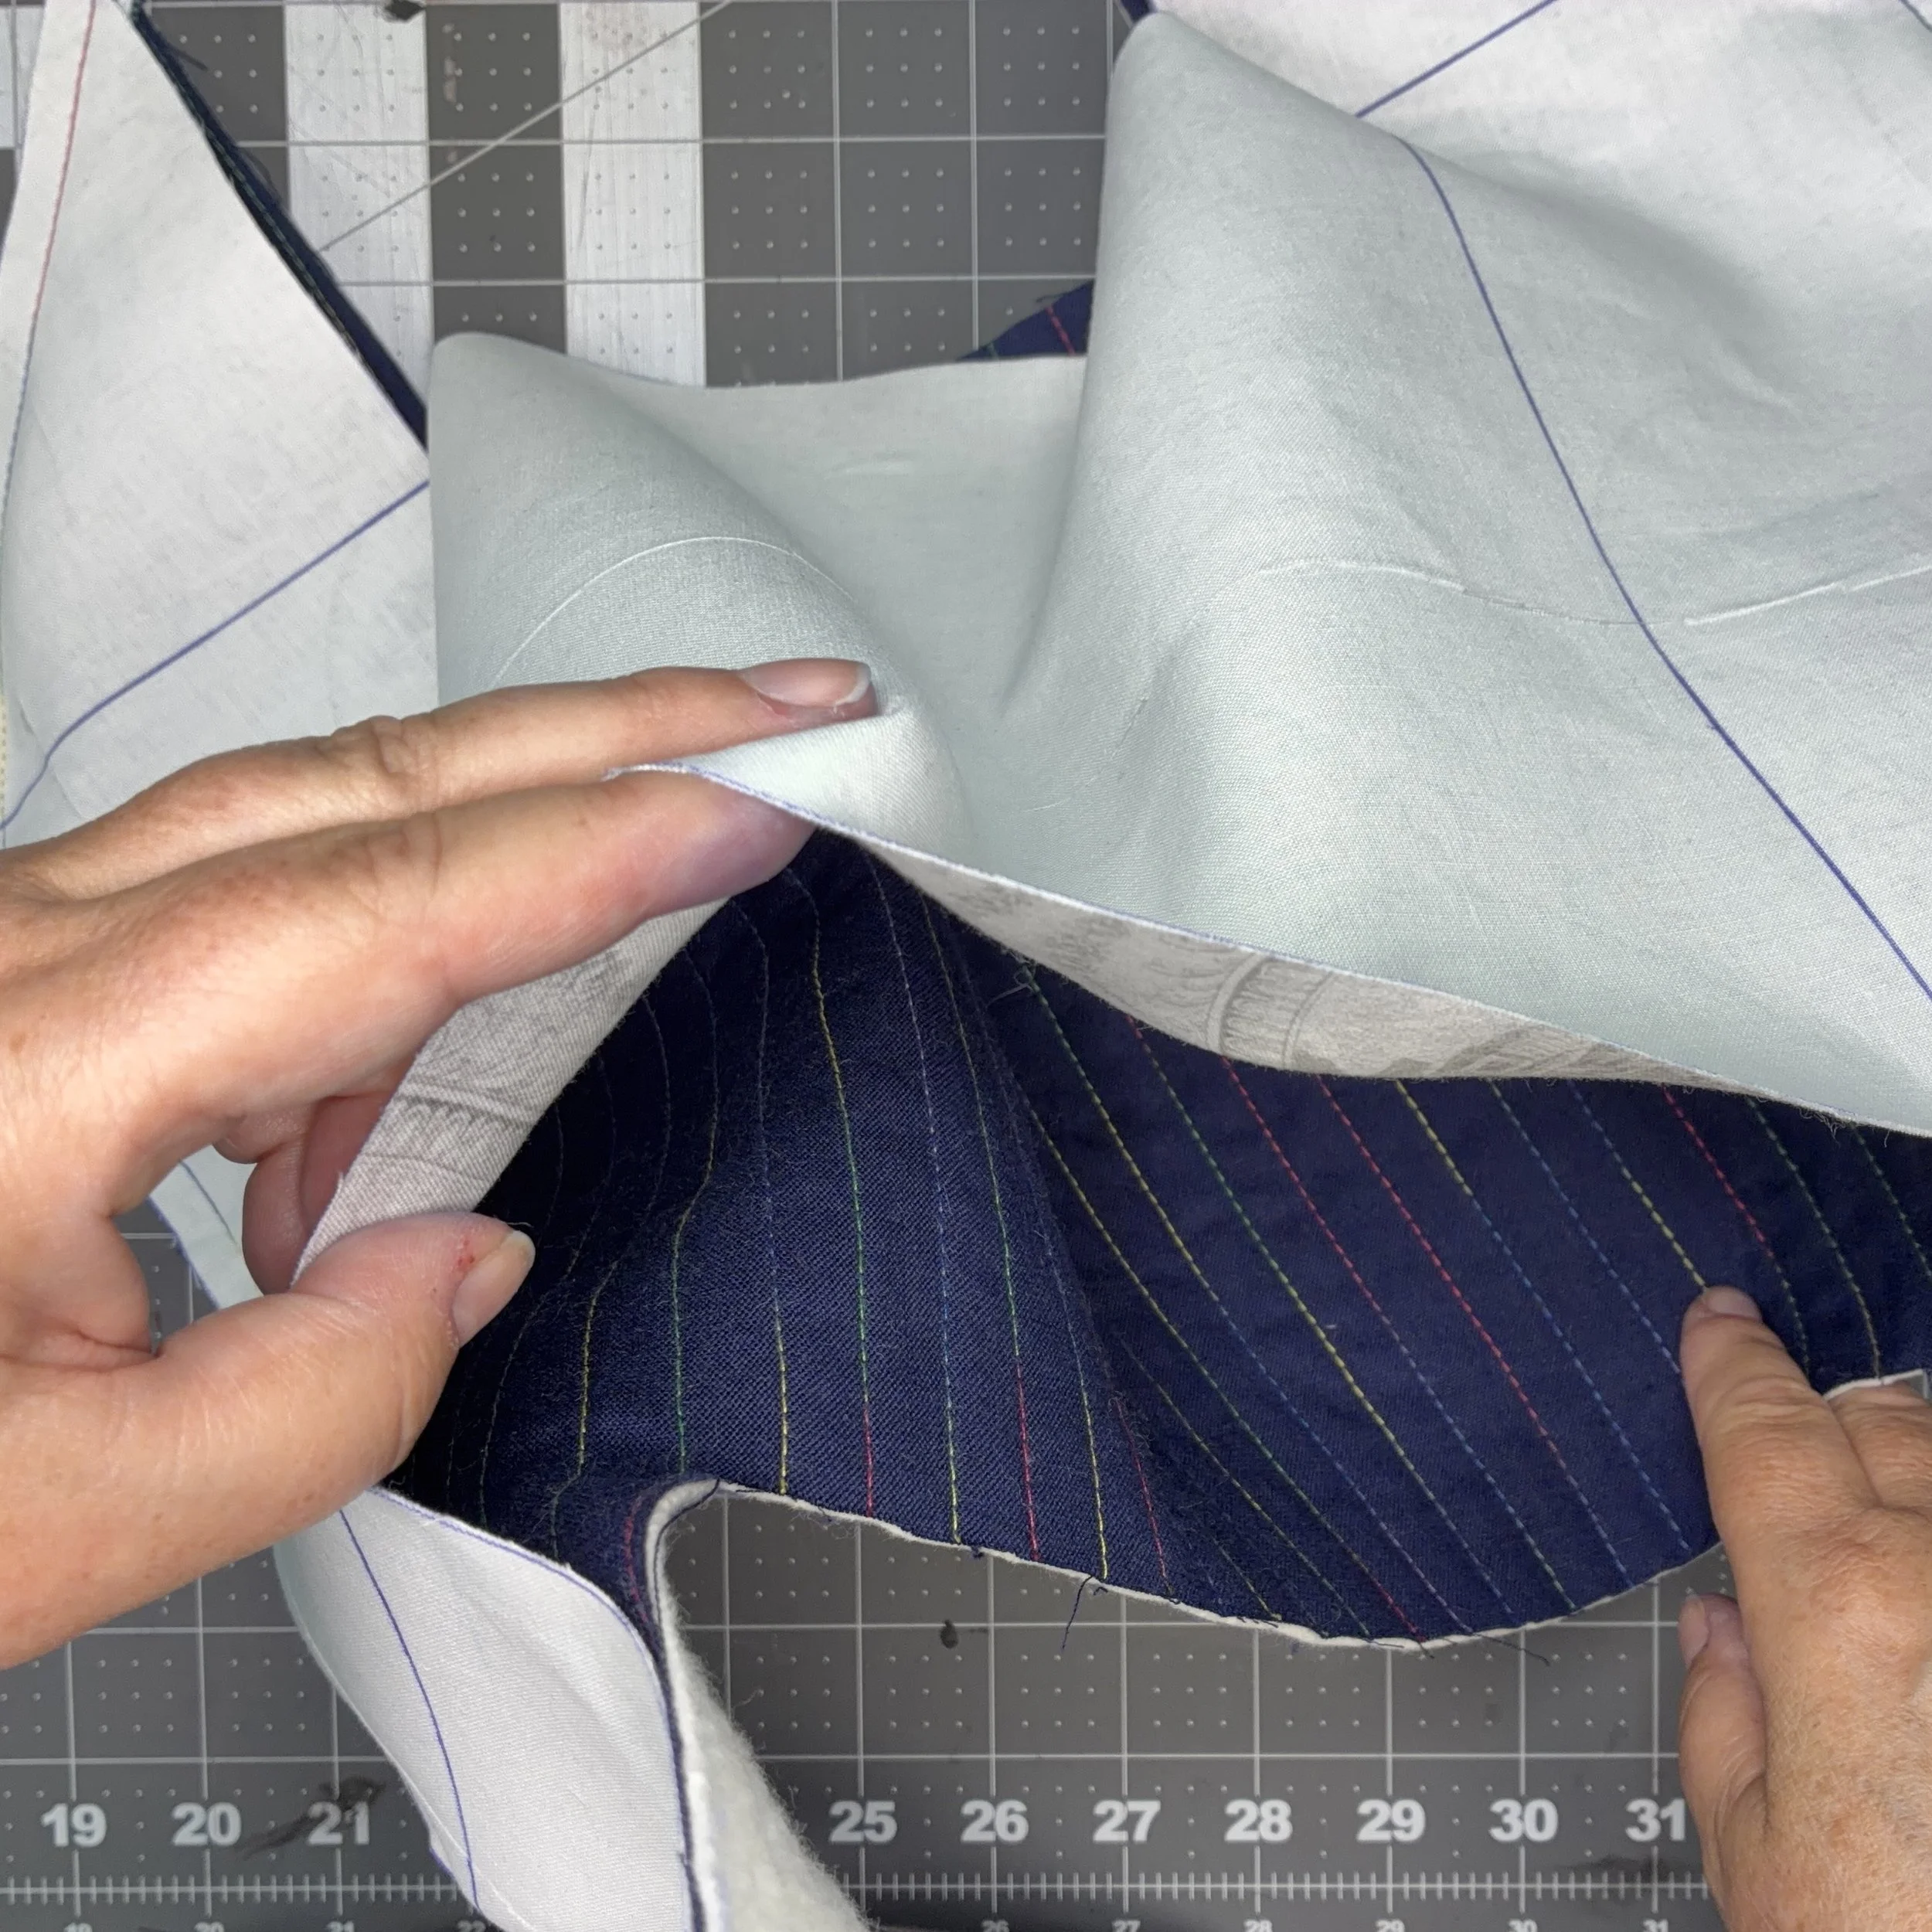
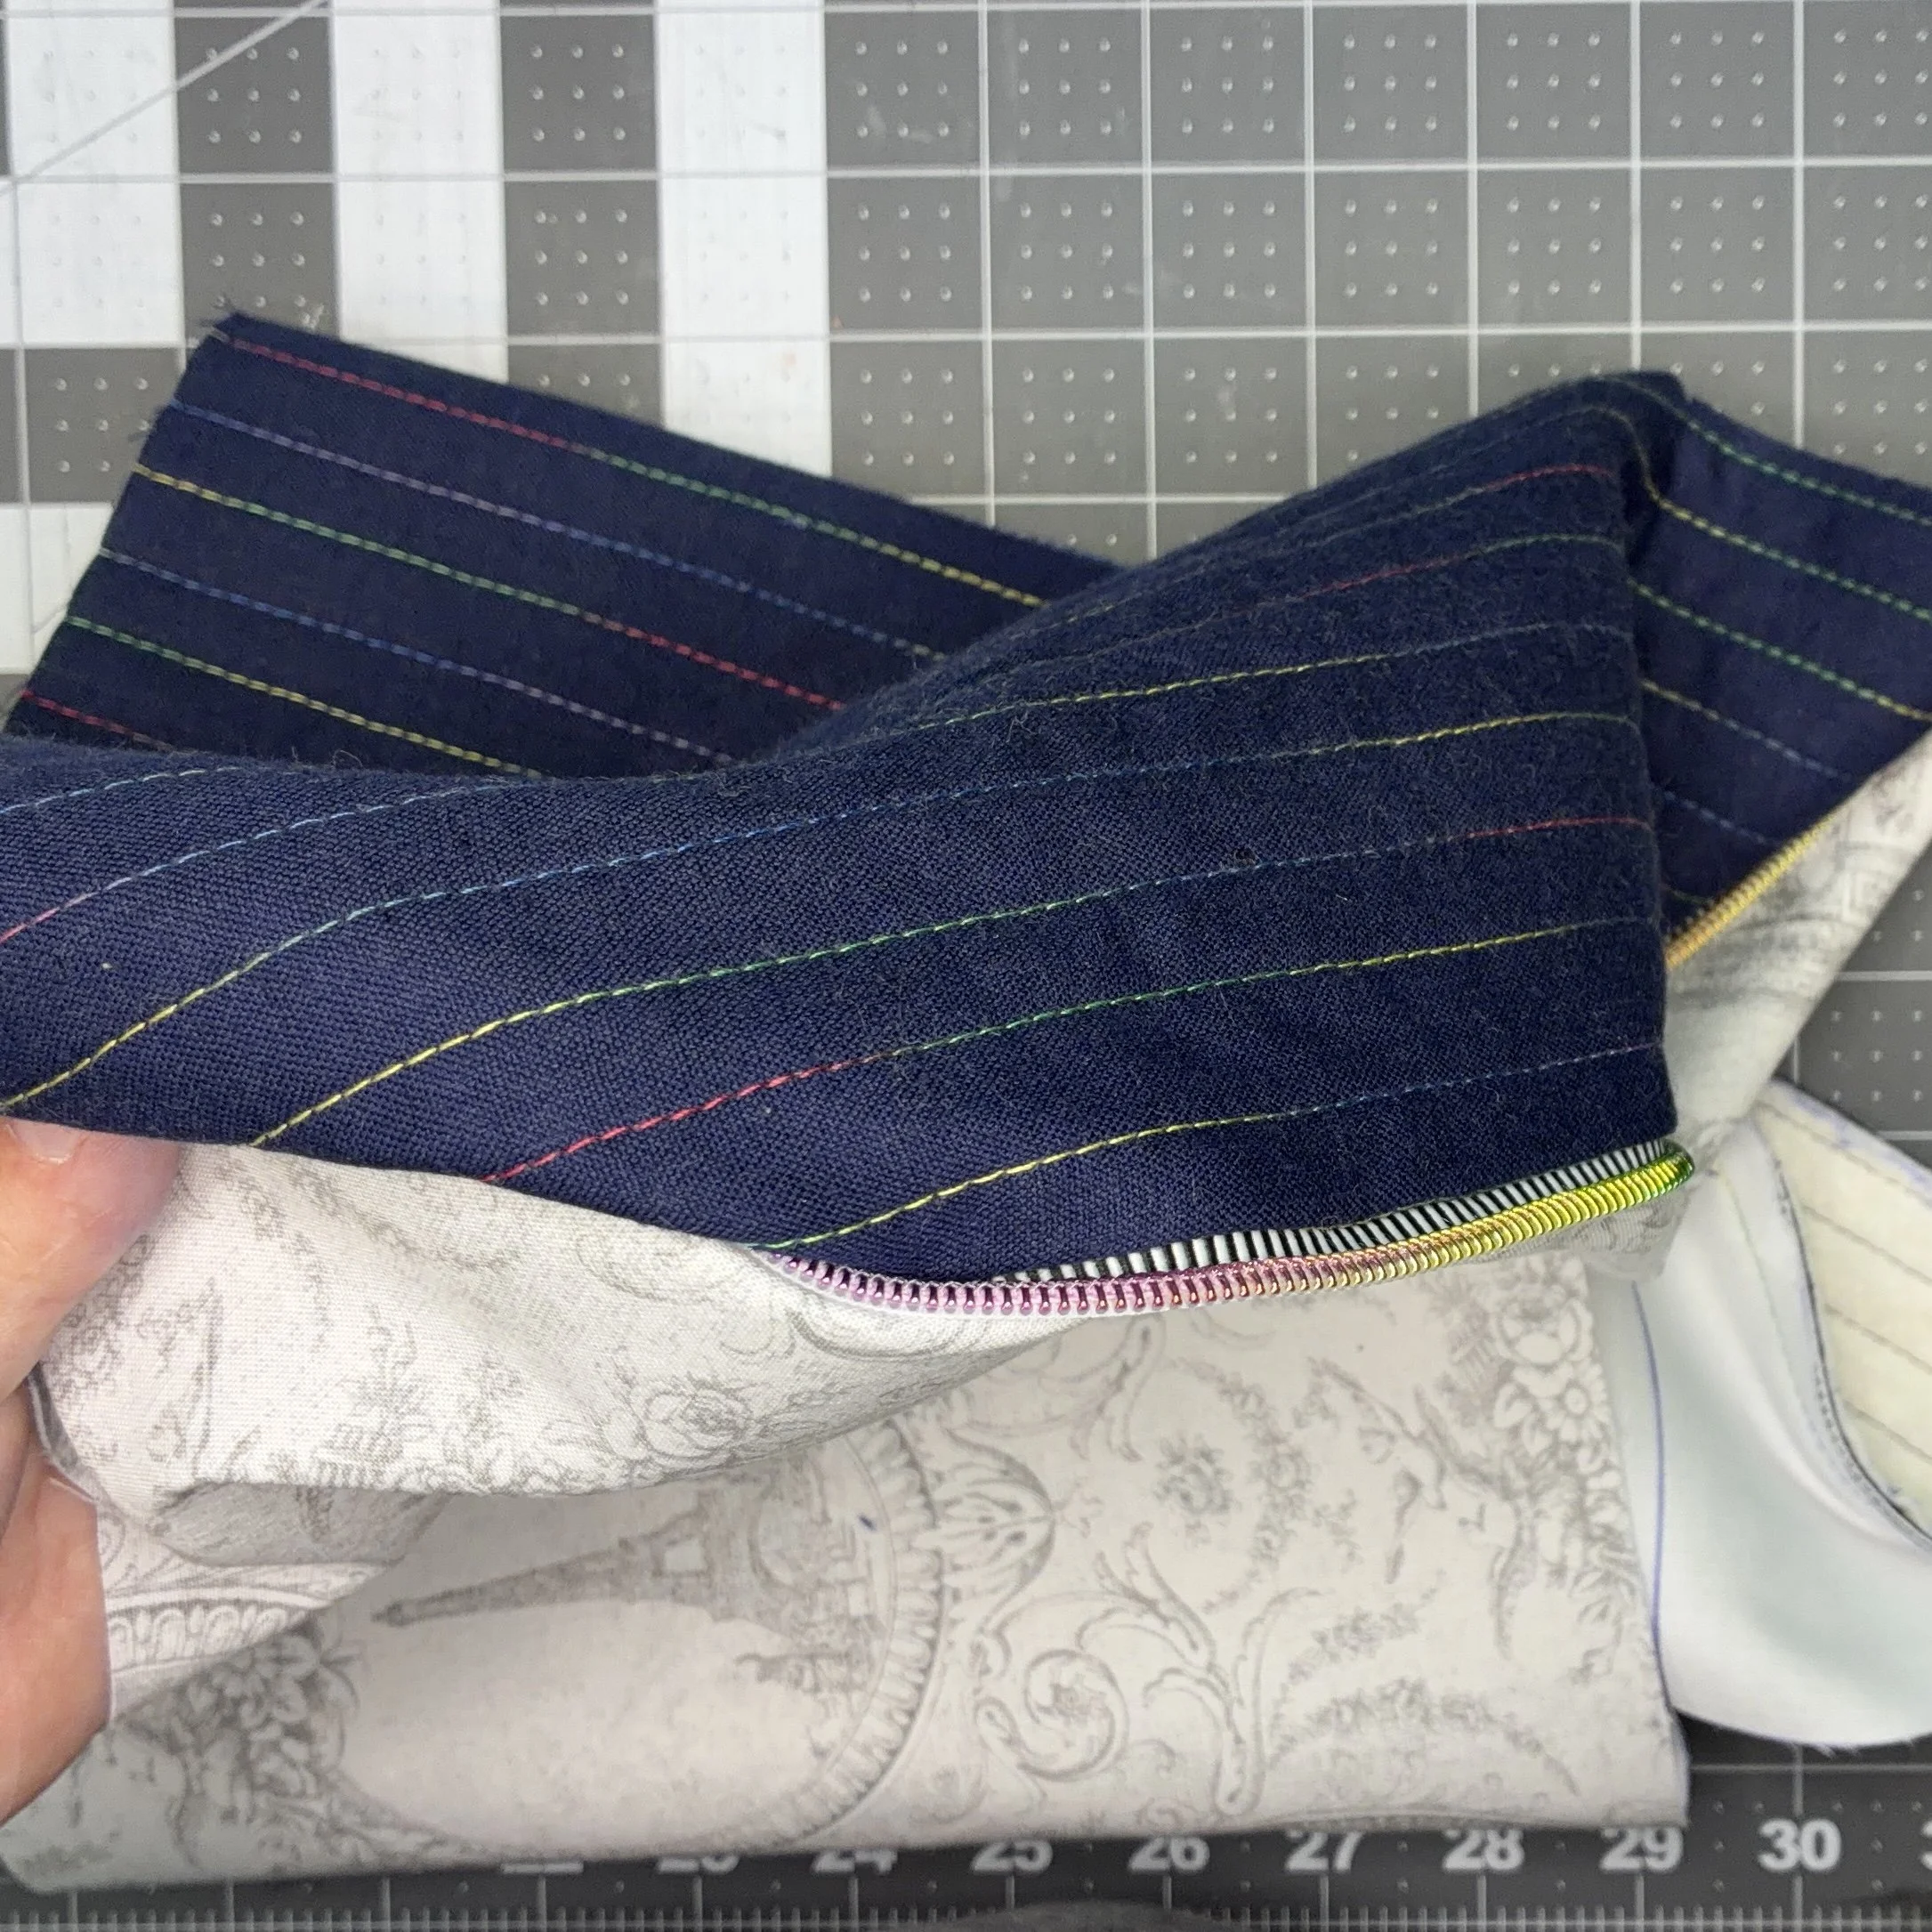
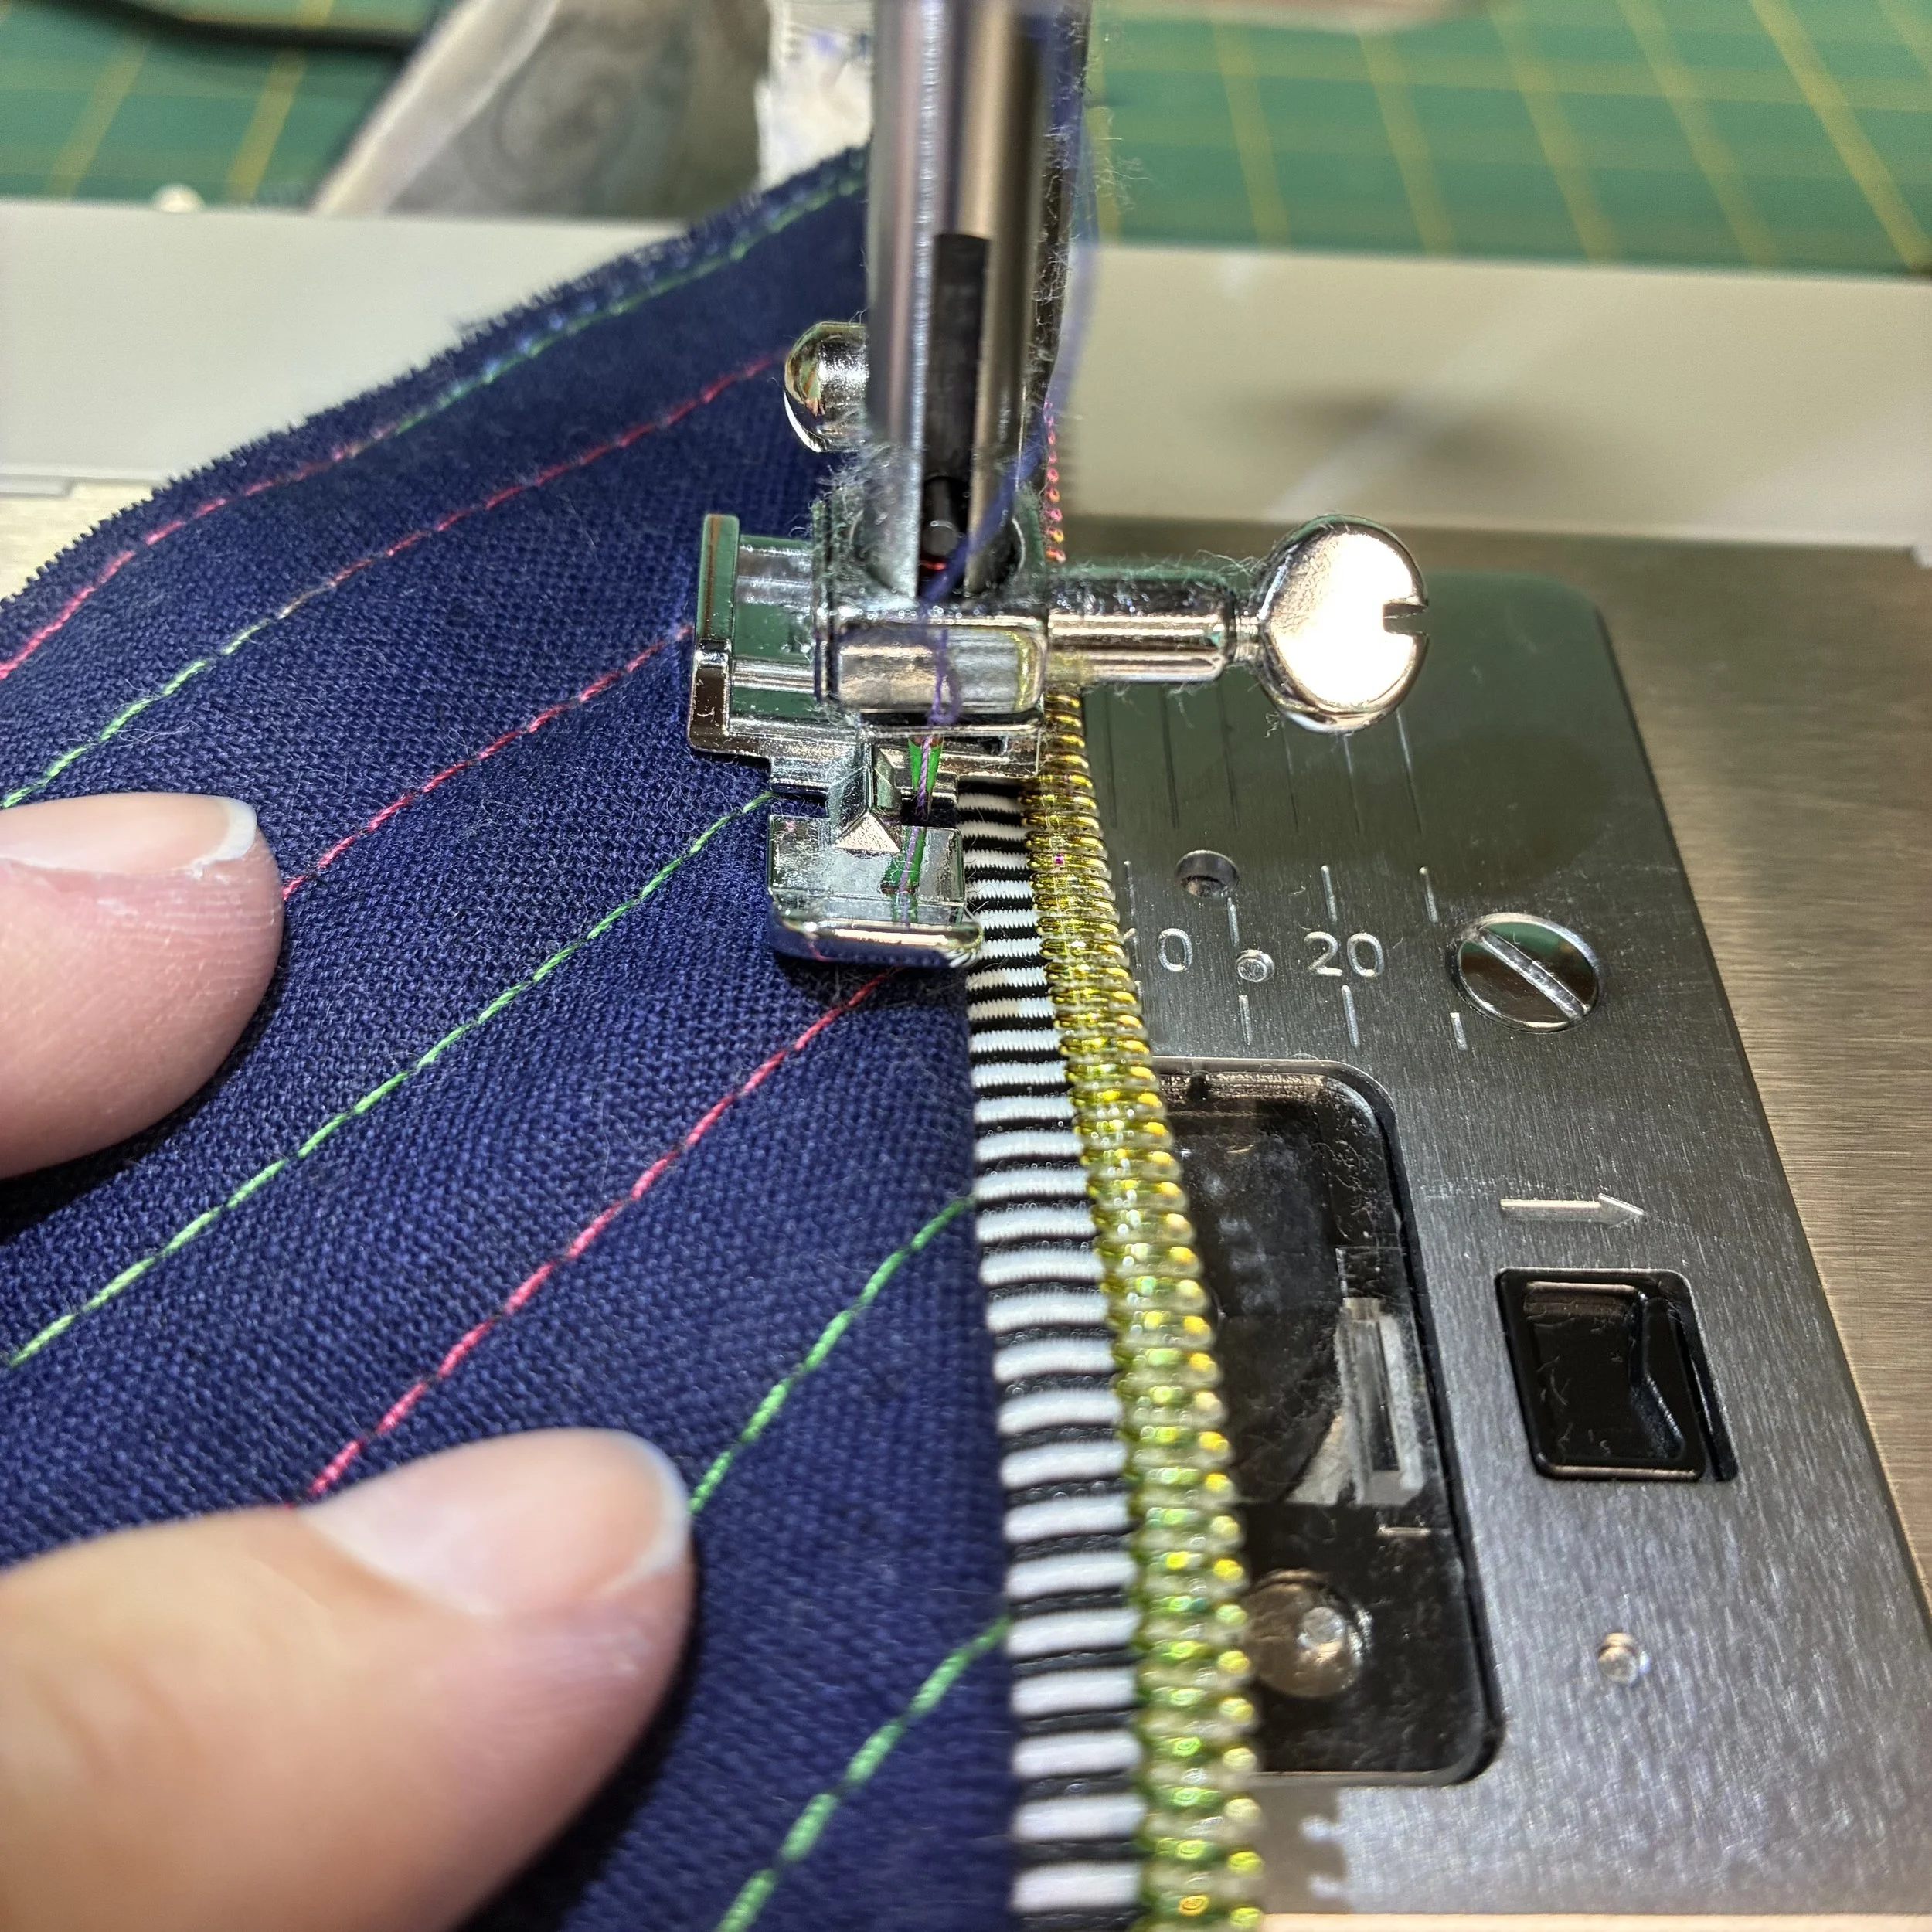
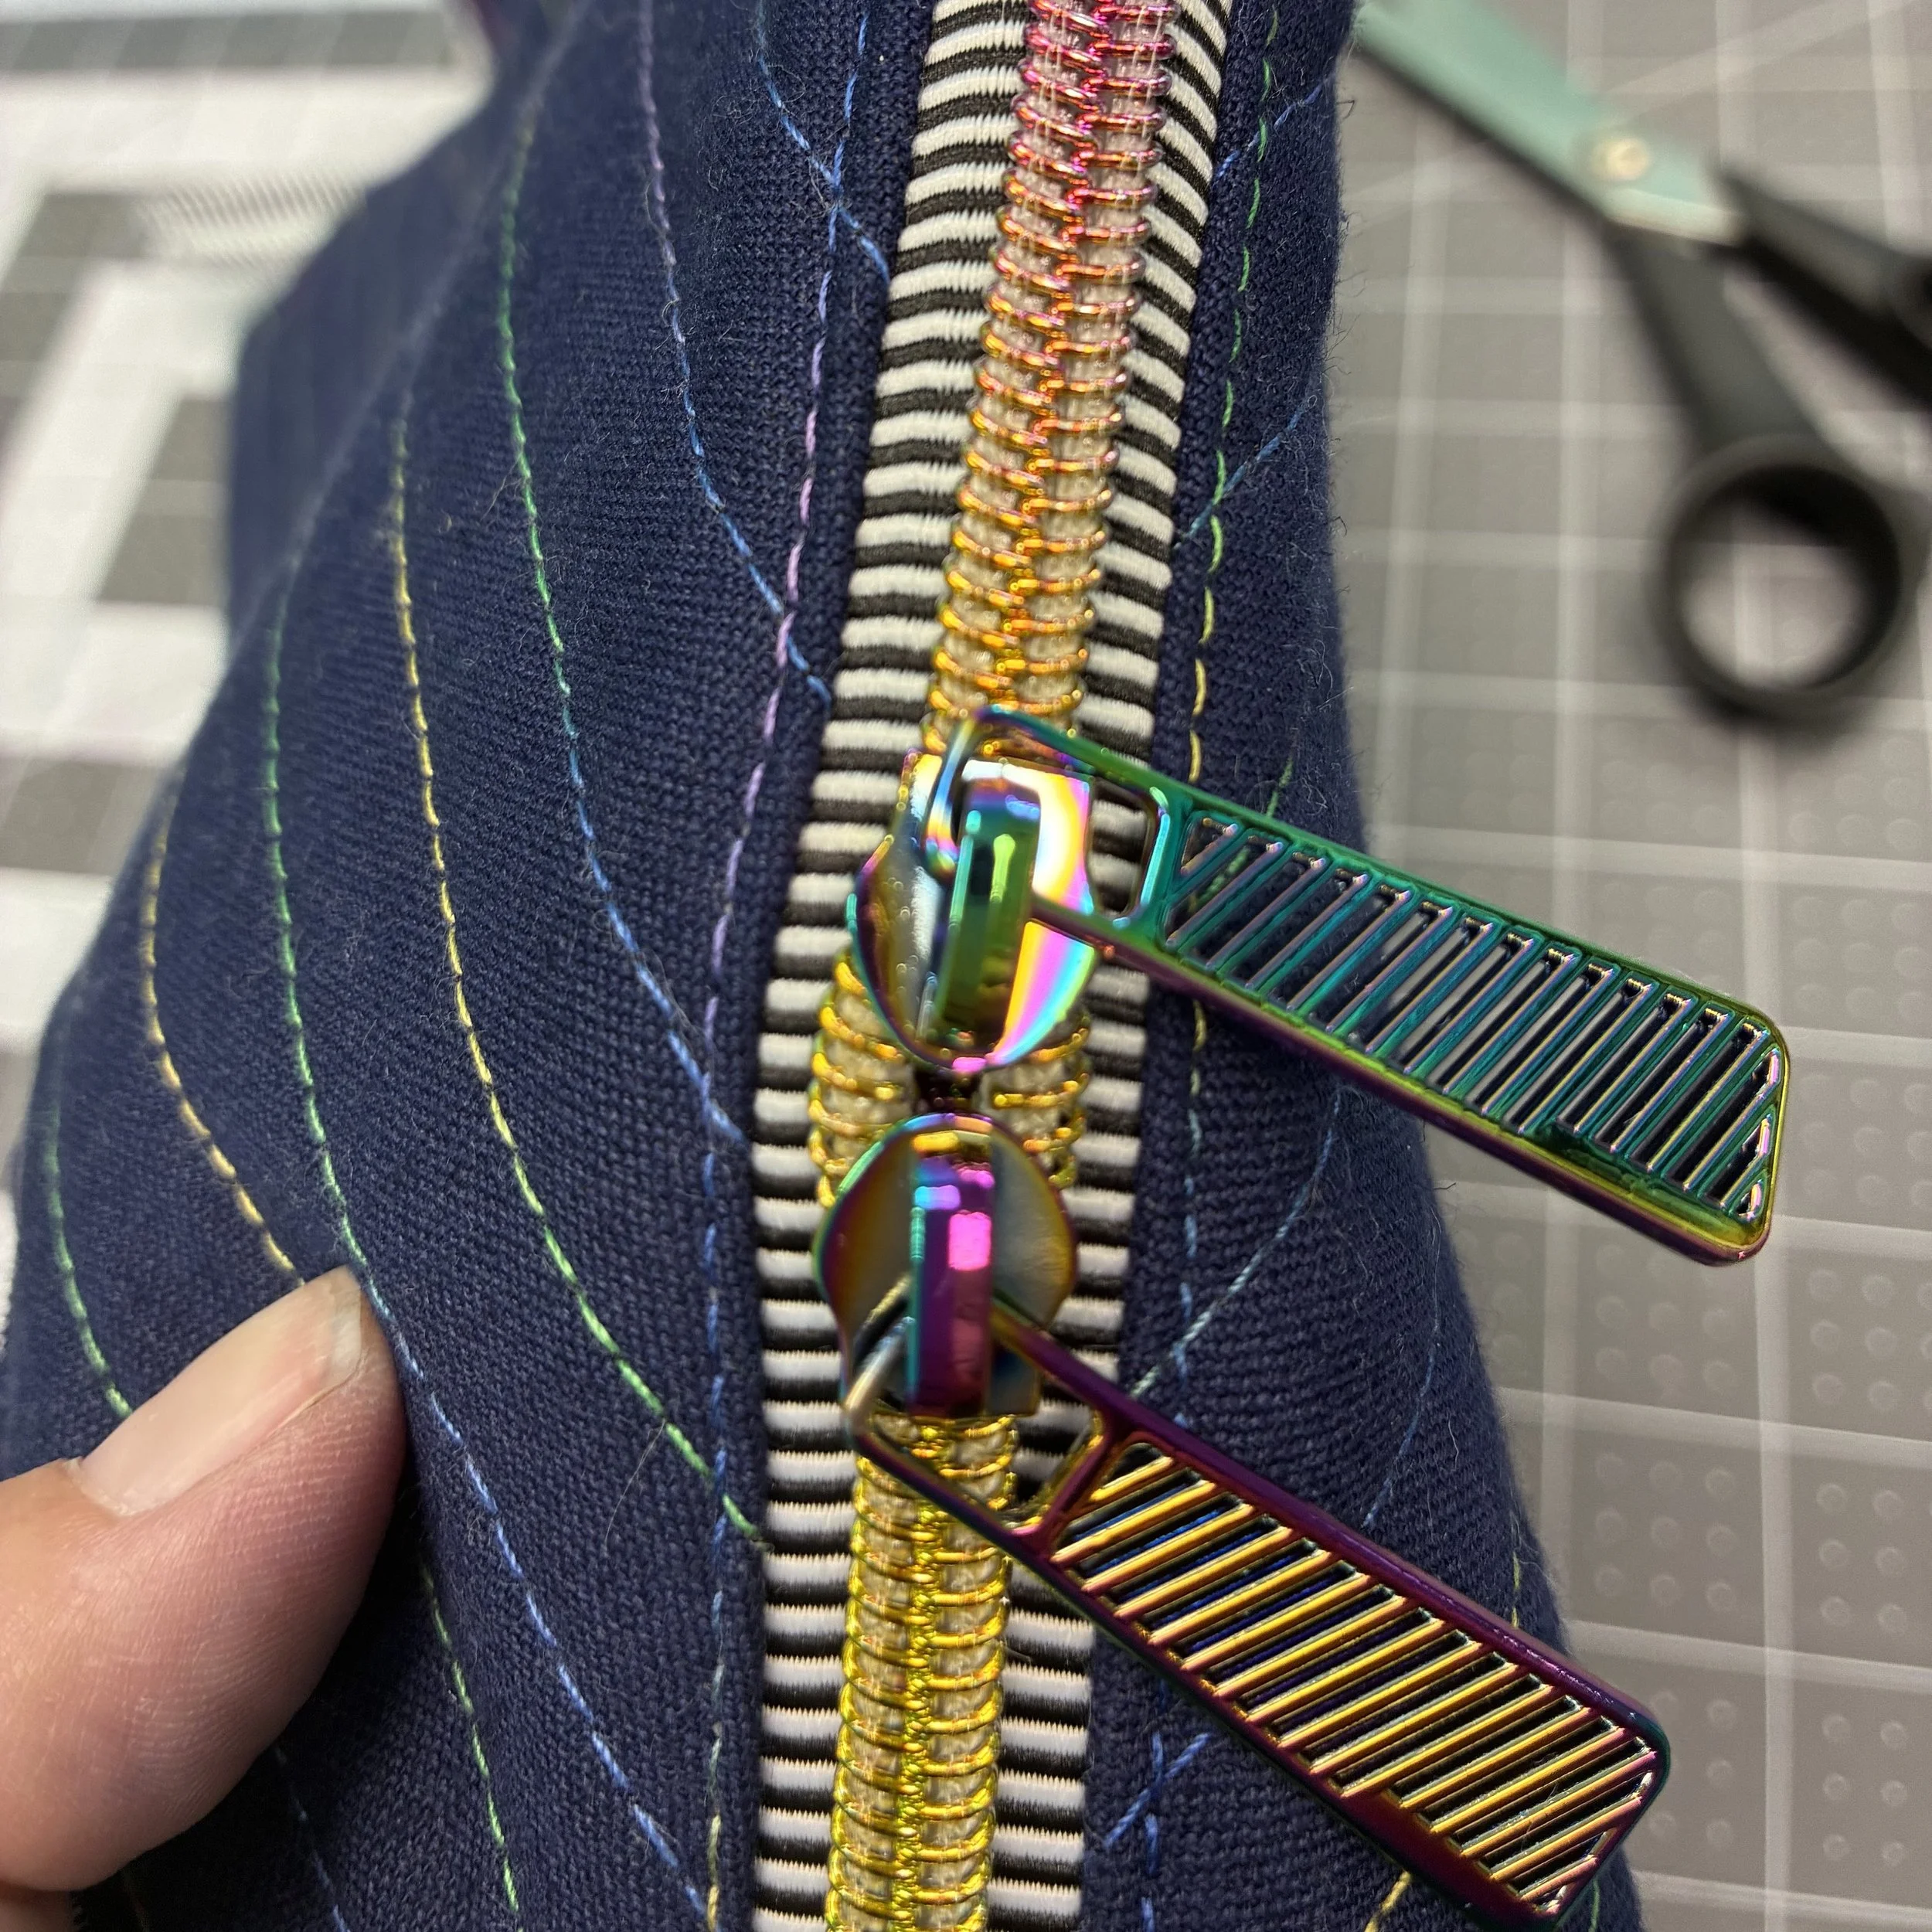
And then it was time to add the zipper pulls, one from each end. I can’t say that this was super-easy, especially since it was my first time trying this. But it got done without too much strong language. Only after I’d done it did I think to consult YouTube, which showed me that this is a much easier process with an extra hand. Or with some little tool in place of an extra hand, which will hold the zipper pull in place while one tries to wrestle both side of the zipper tape into the pull at the same time.
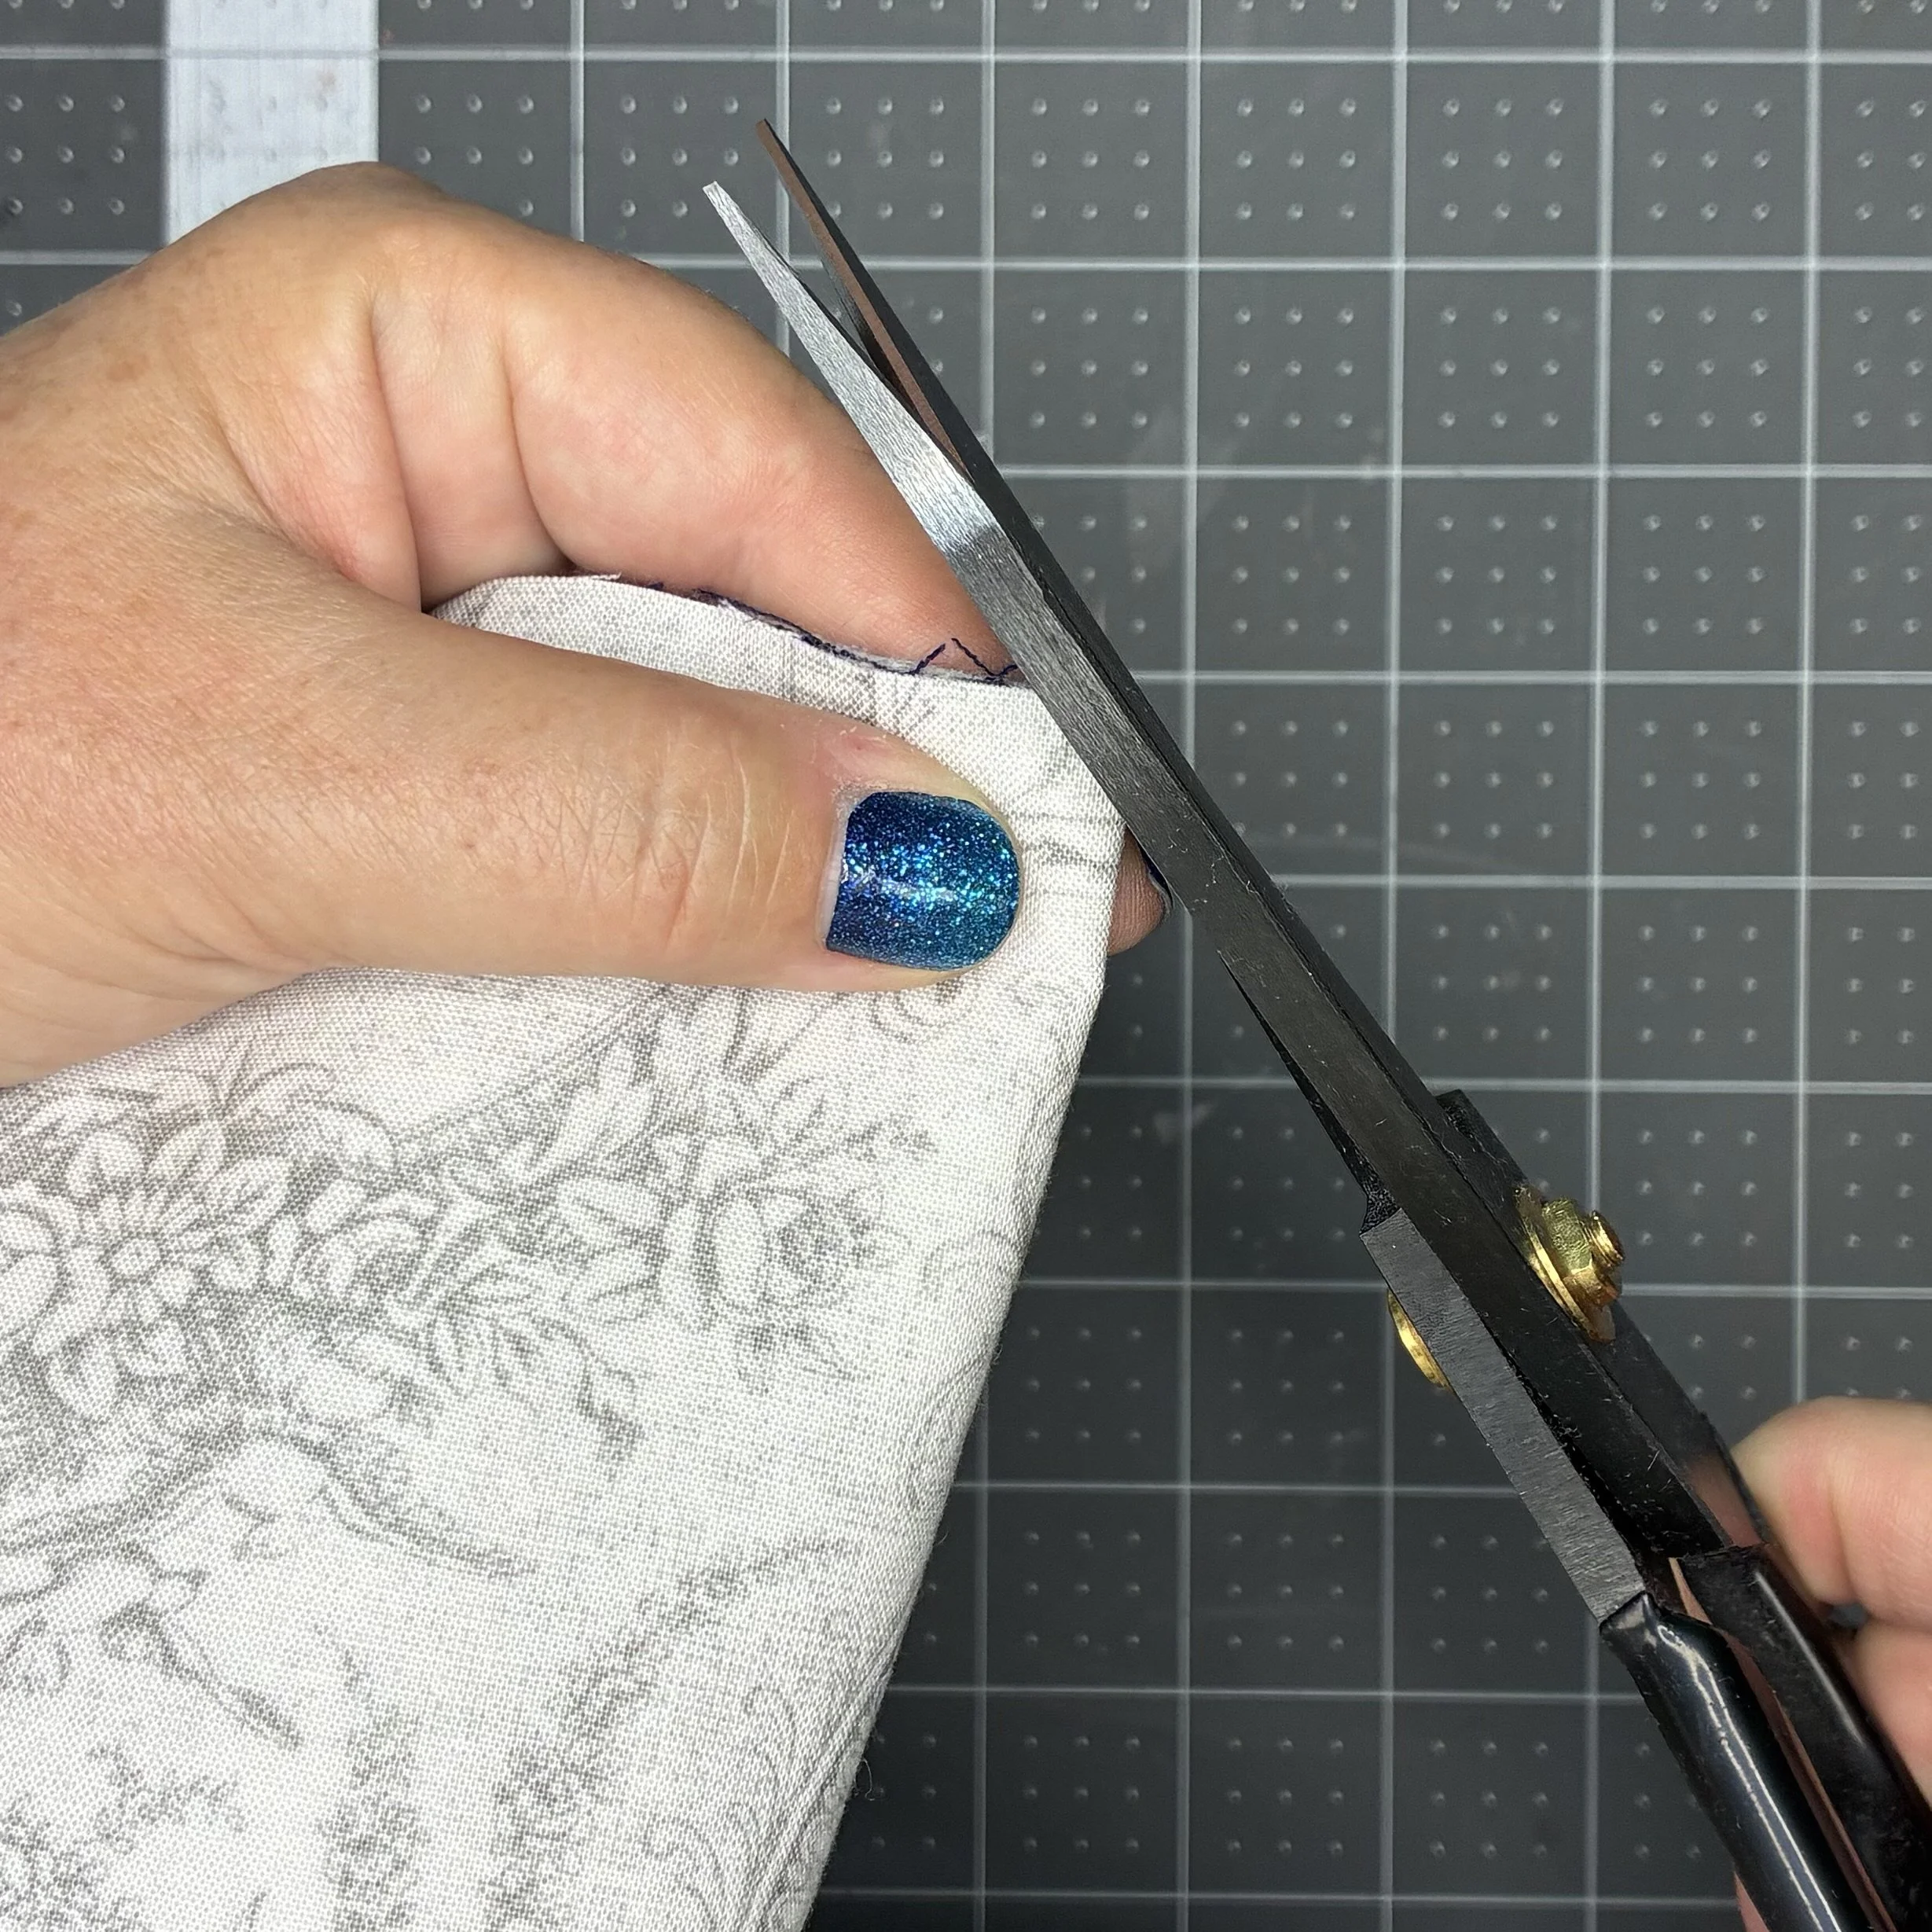
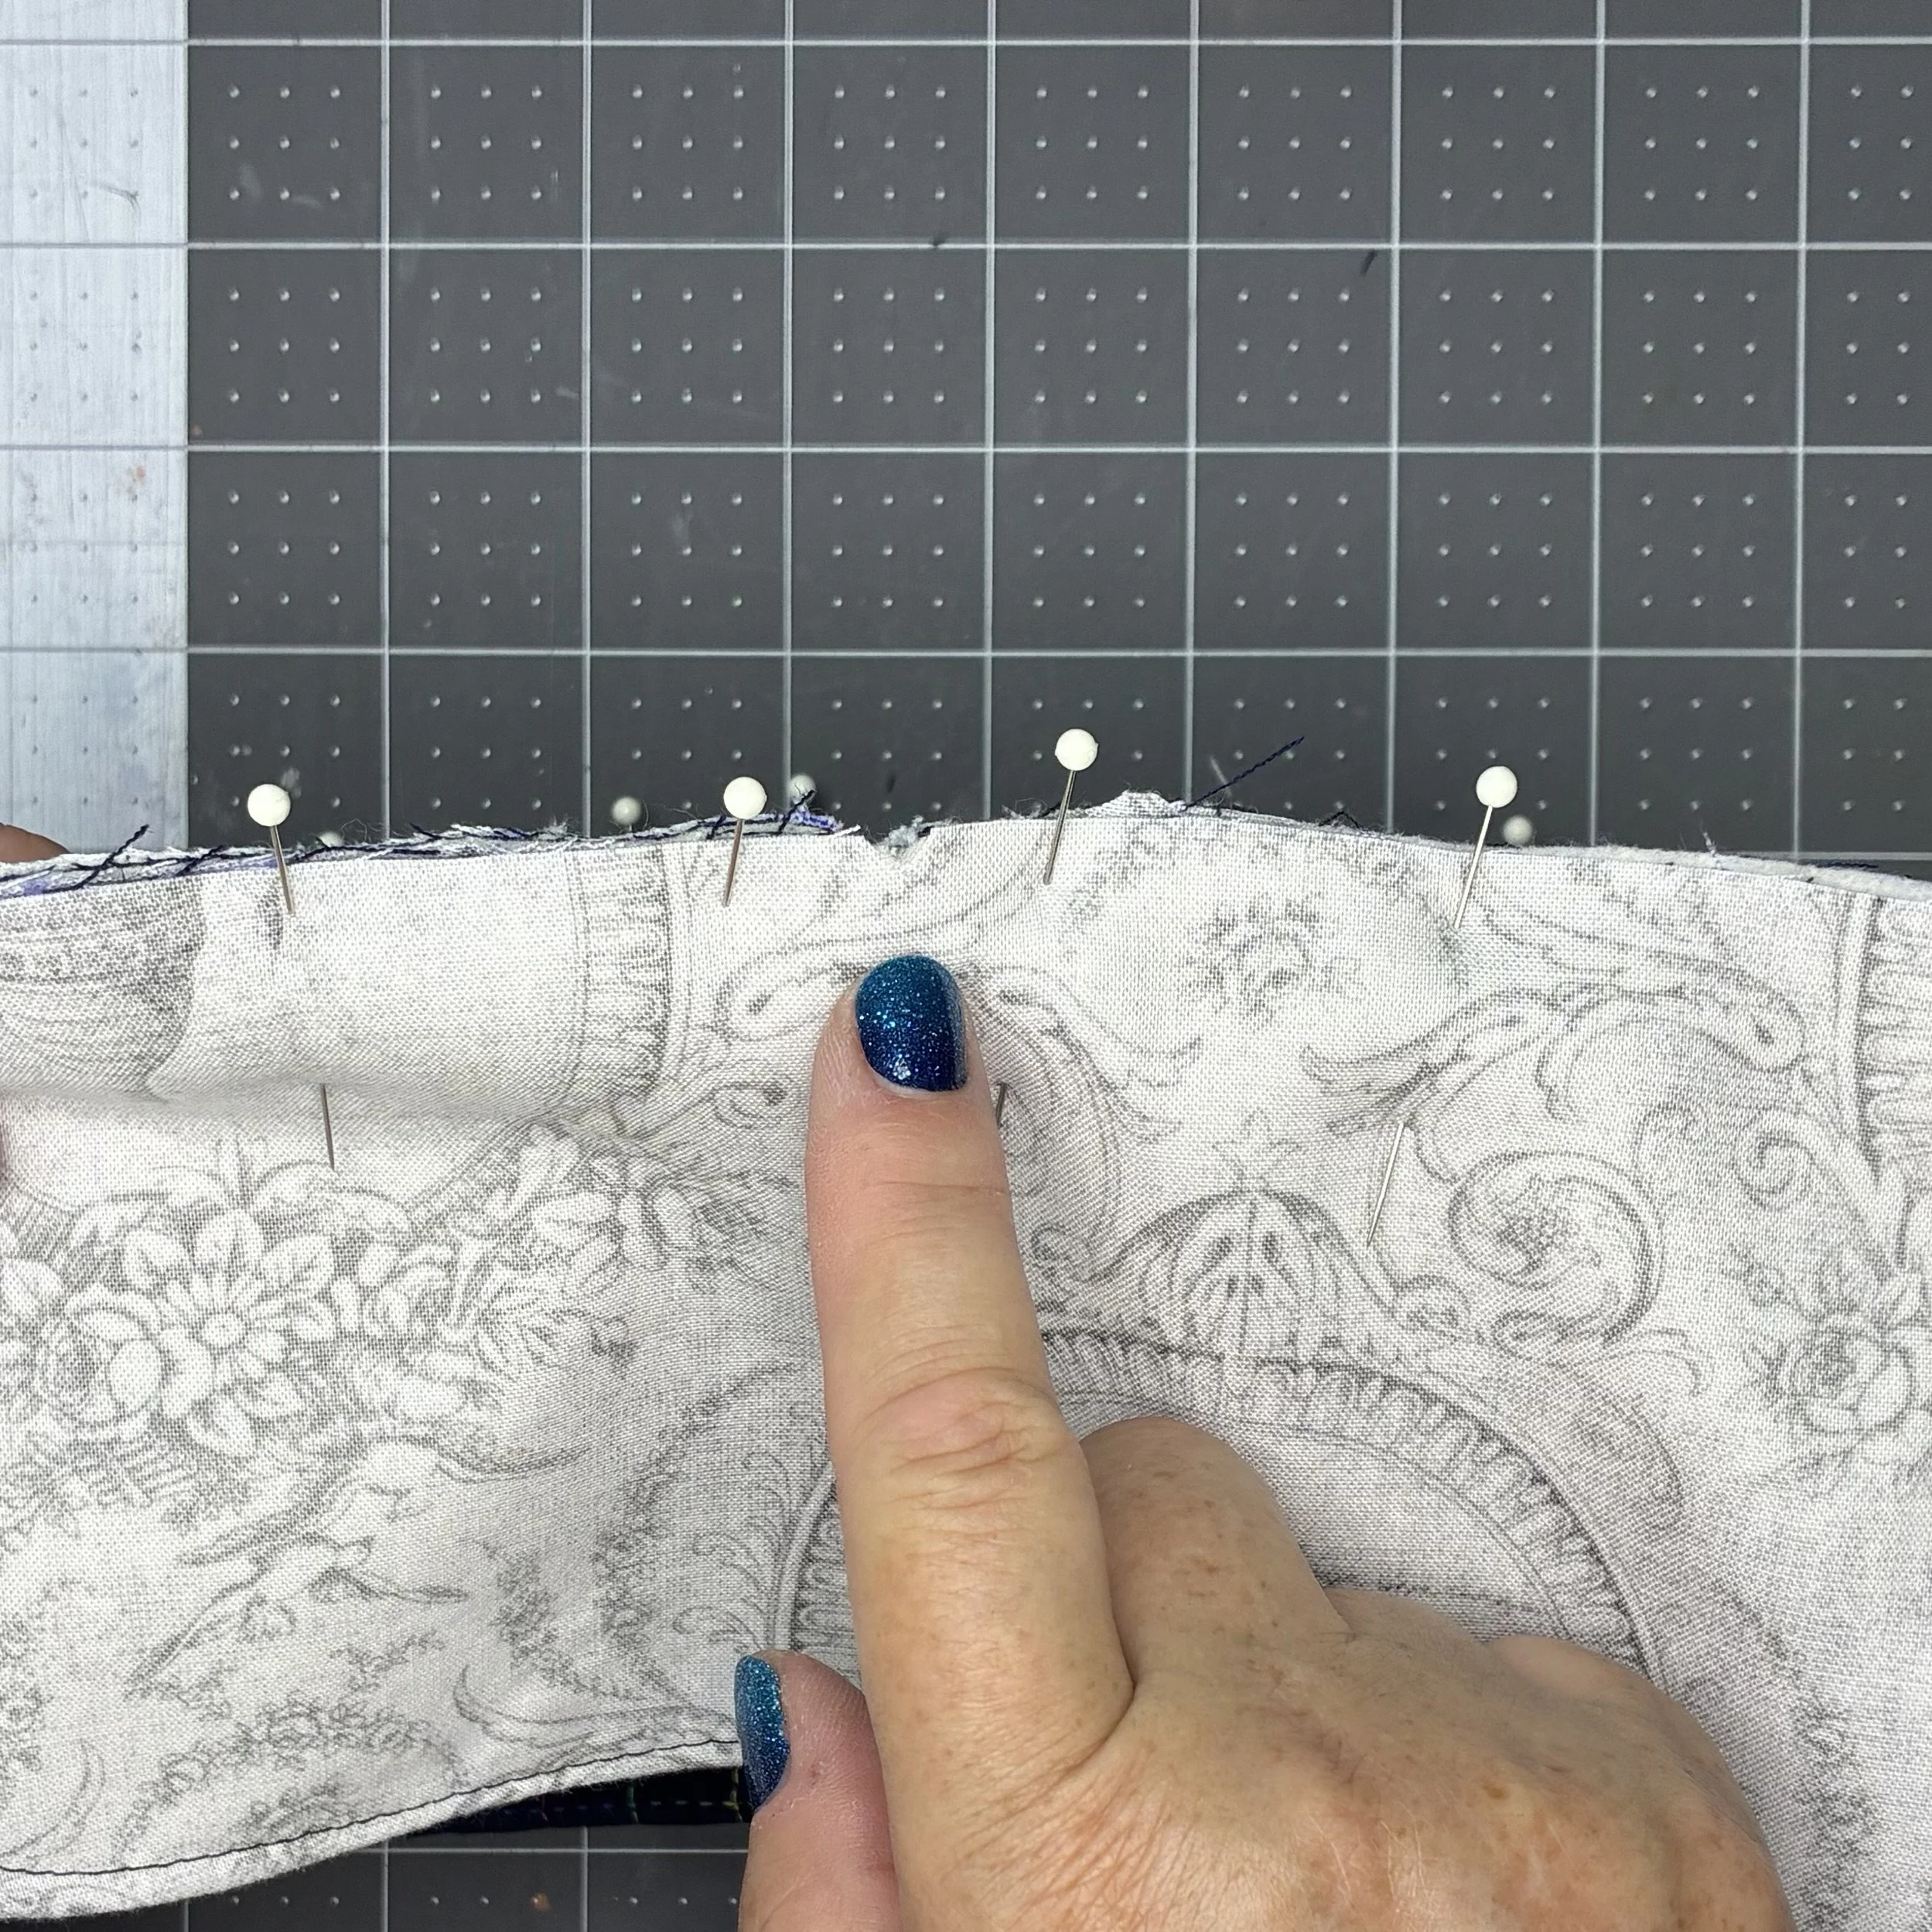
On to closing the pouch. I started by snipping a center-point notch into the sides of the piece, then turned it inside out again. The notches were matched up to the zipper line and pinned in place. There is no way to make this line up perfectly…the three-dimensional shape just doesn’t allow it. So I did the best I could, which meant that the side piece didn’t reach quite to the edge of the point where the zipper/fabric ended. And also, those sides won’t line up perfectly. Then I stitched a 1/4” seam along that edge from the zipper side. I initially tried it from the fabric side, with the result that I ended up with very visible pleating on the zipper side. As can be seen in the picture, my seam ran up against the bottom of my center-point notch and didn’t quite catch the fabric at that one point. But since I was going to be sewing additional seams over the same area, I didn’t worry about it.
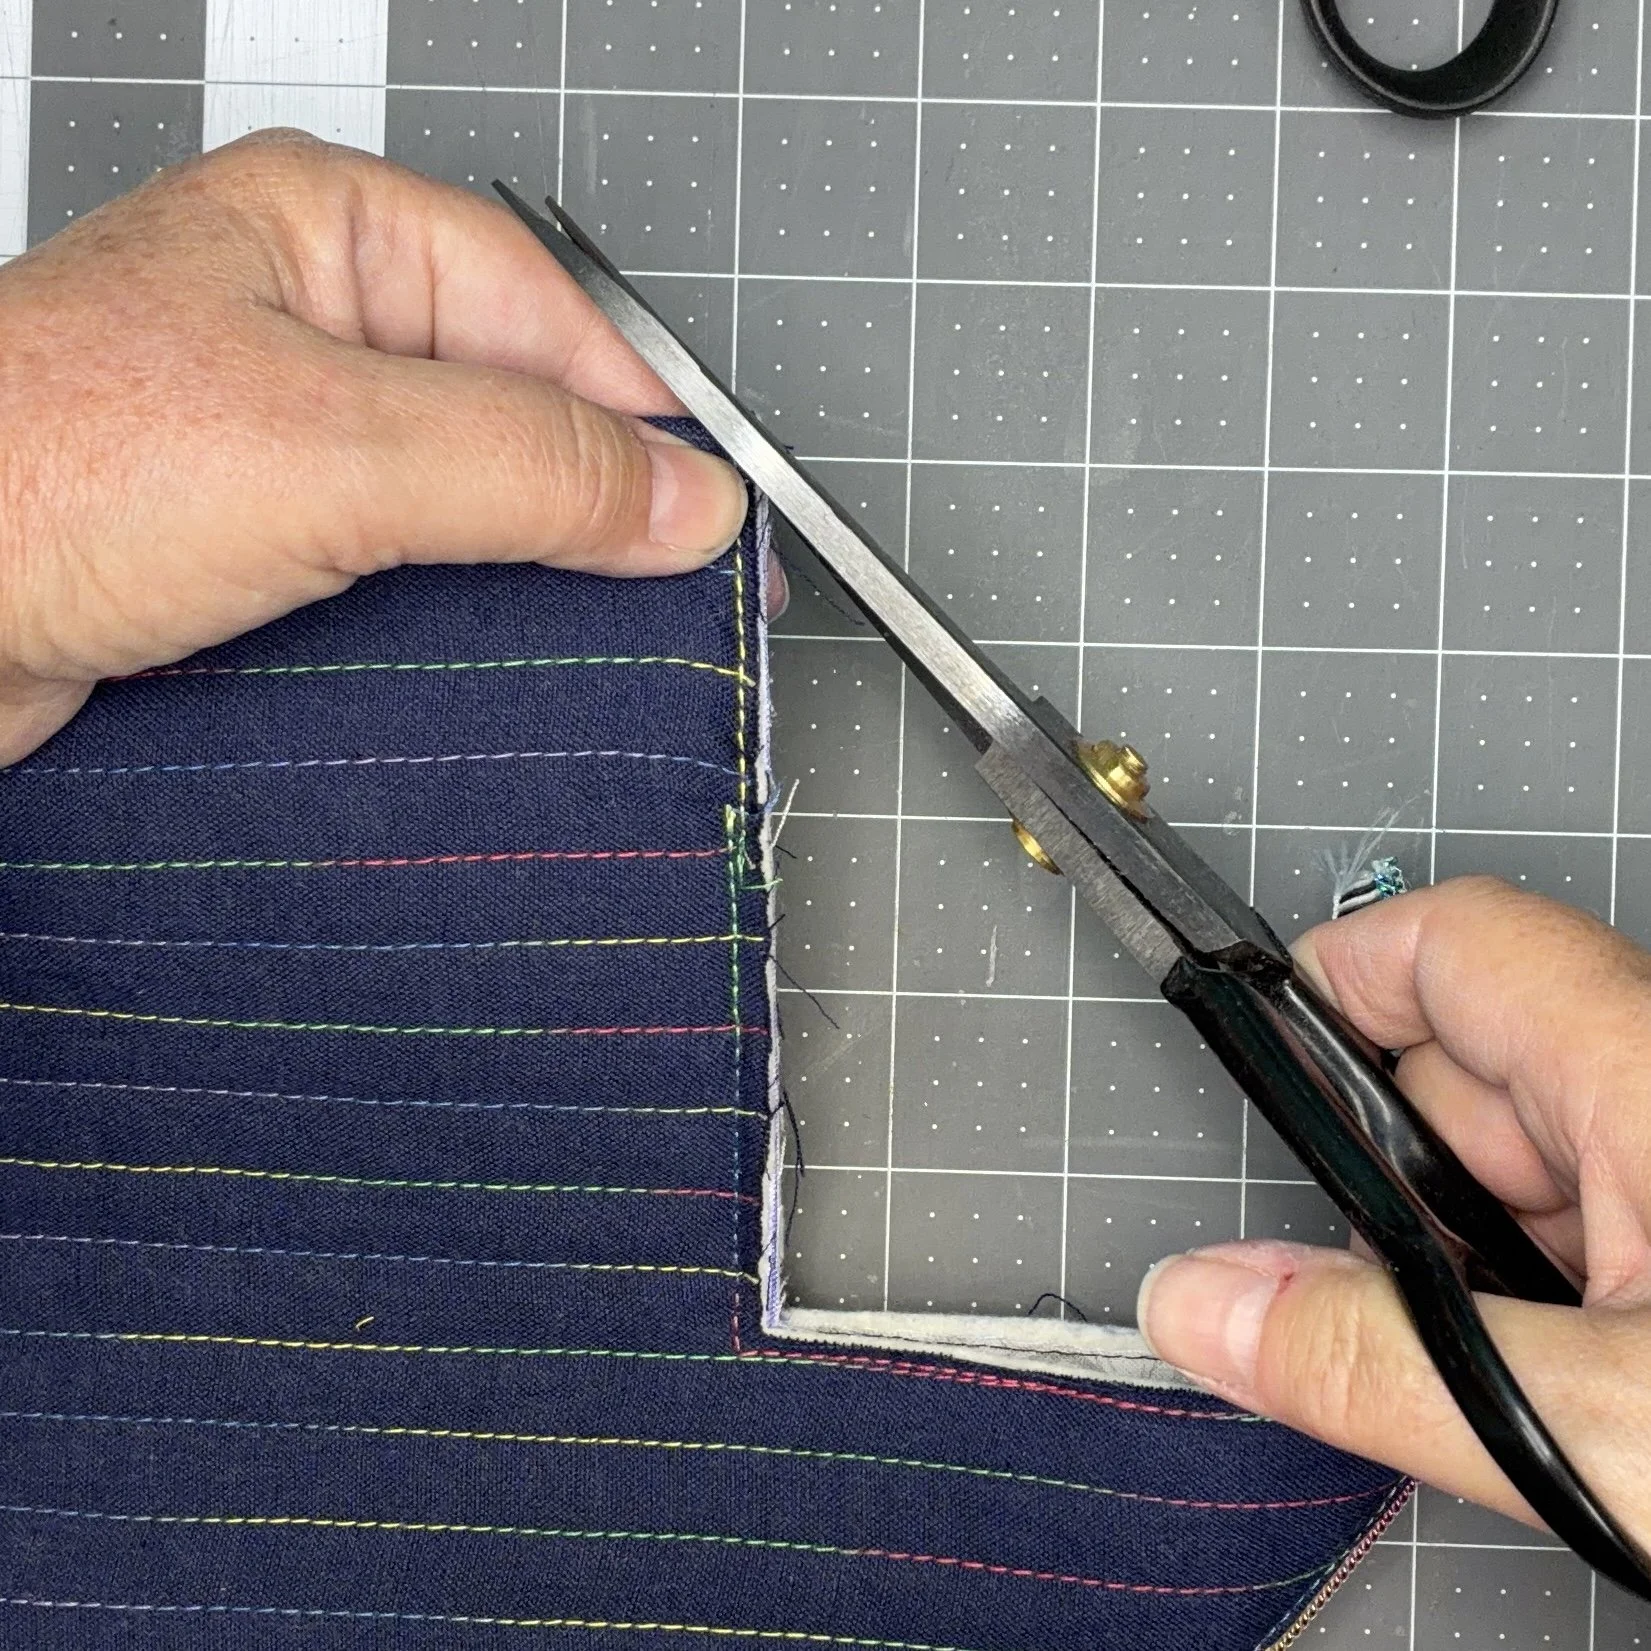
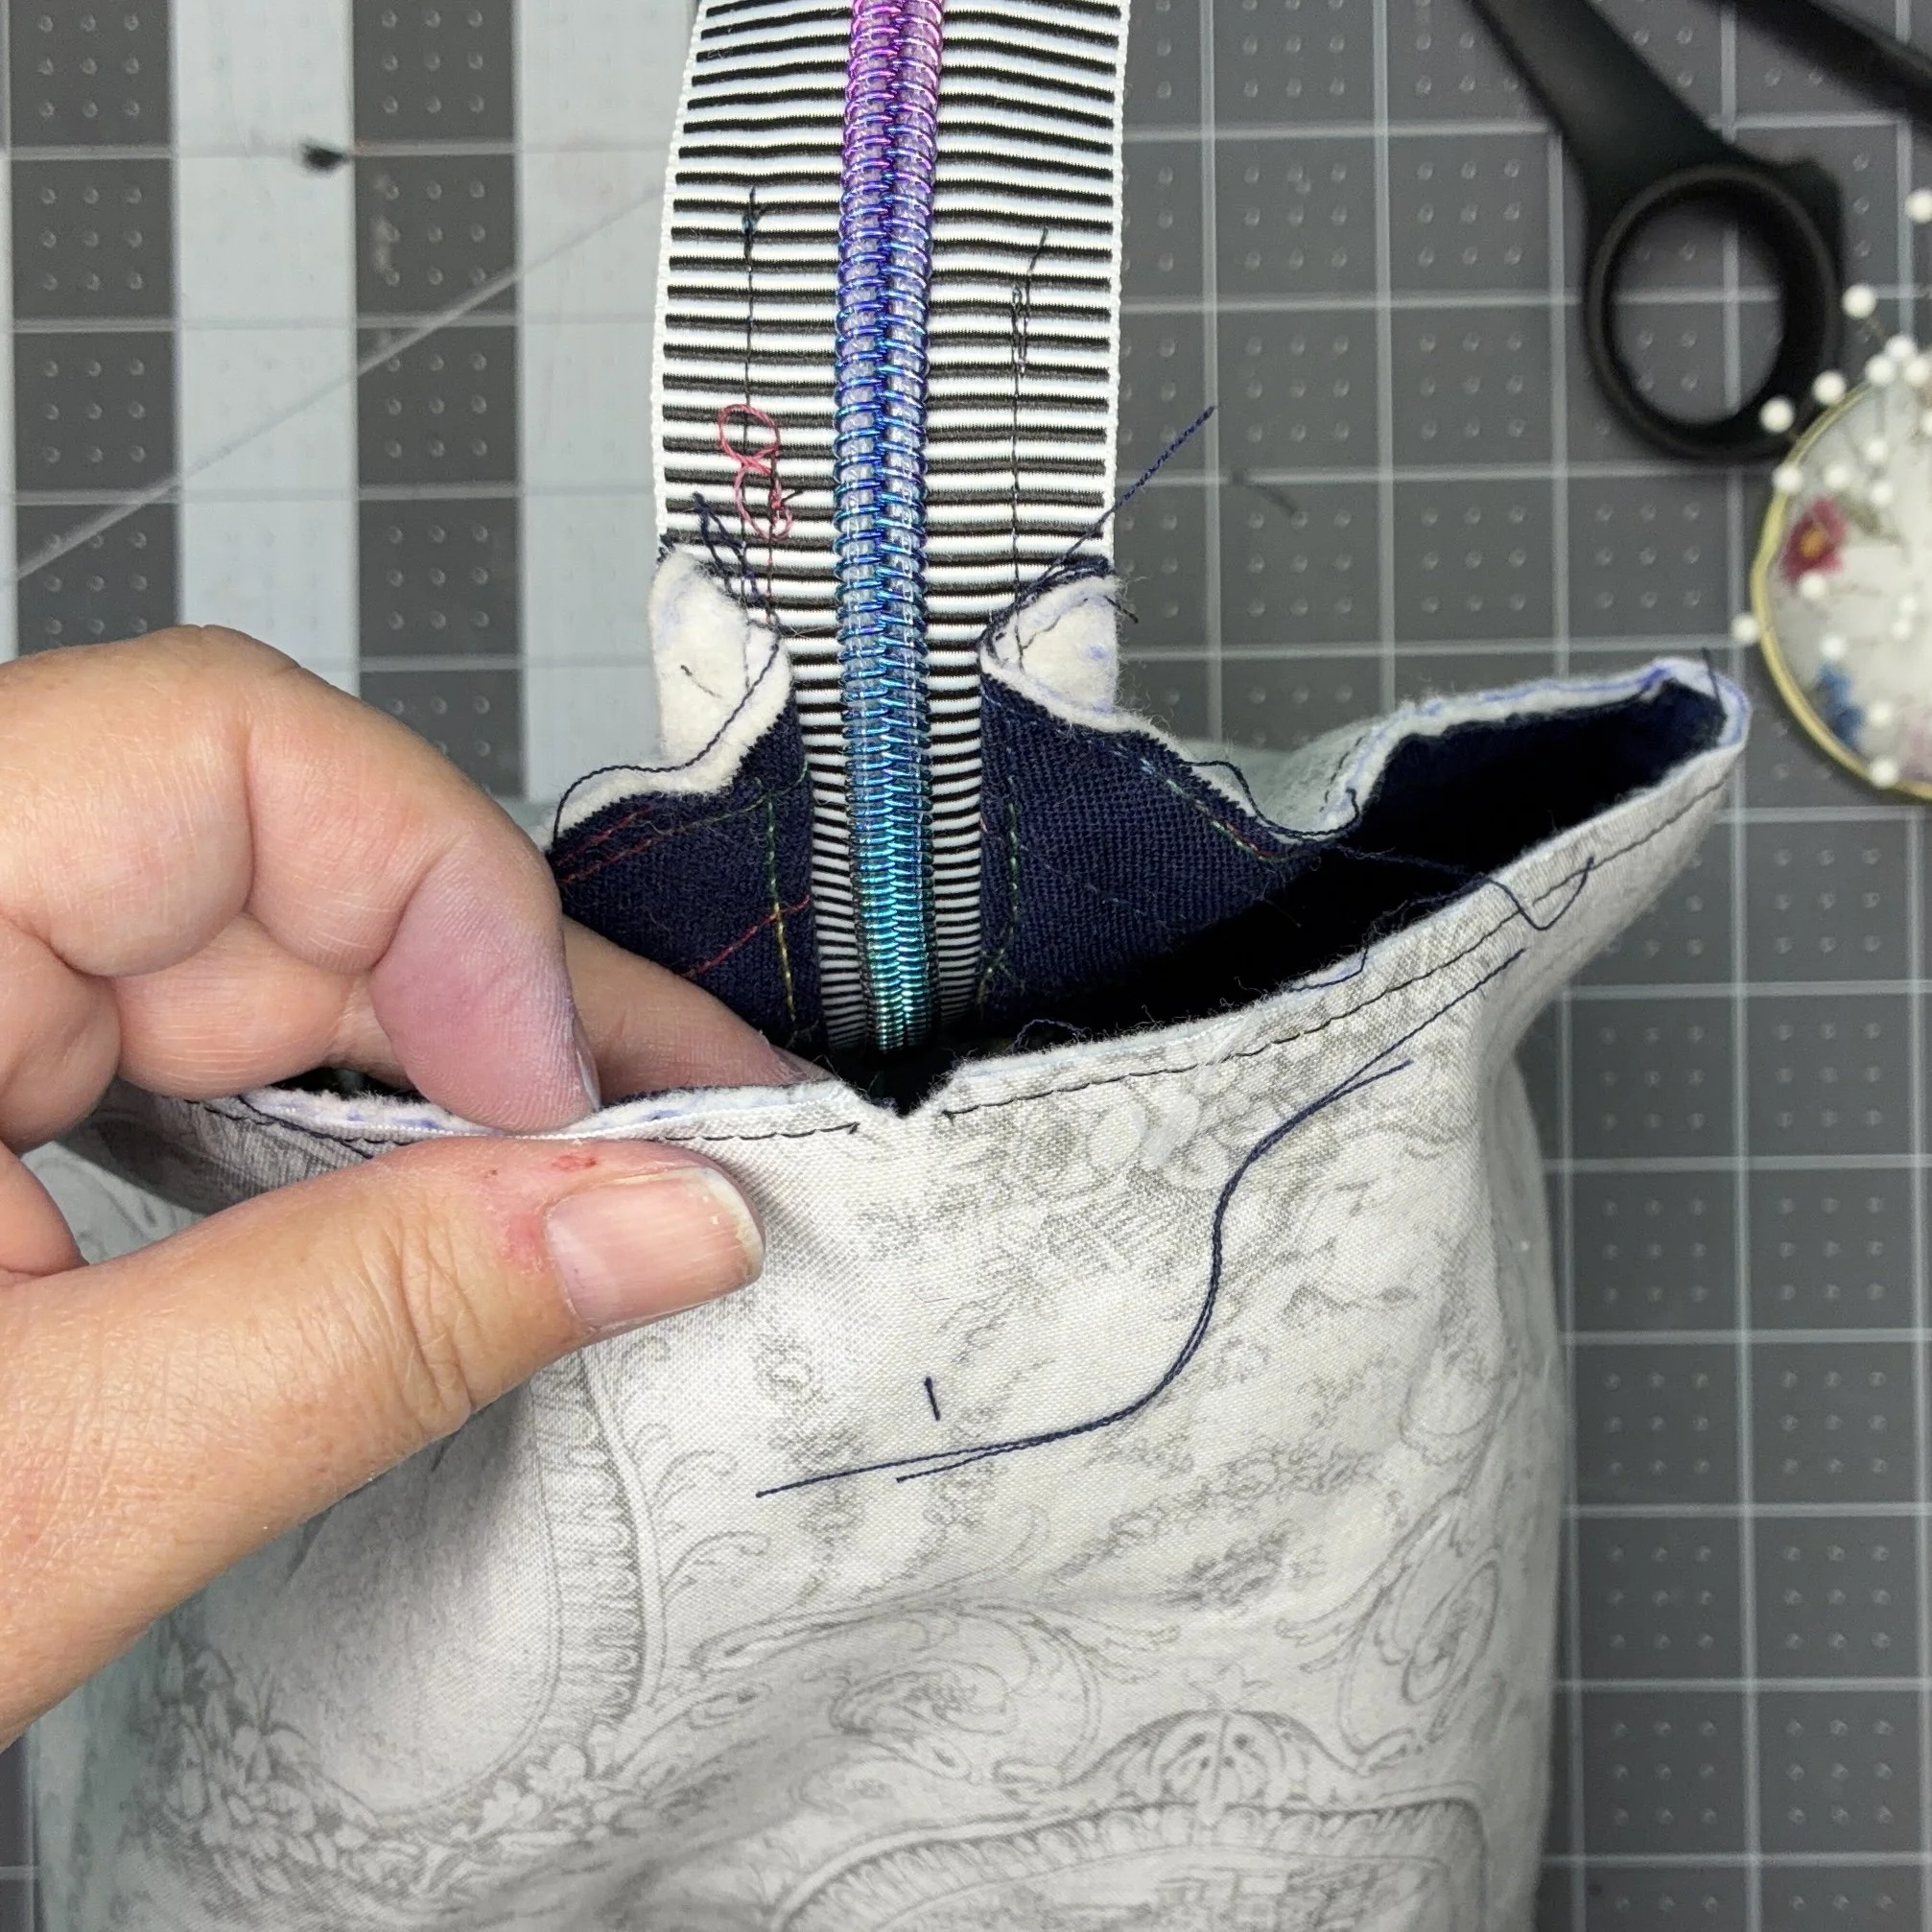
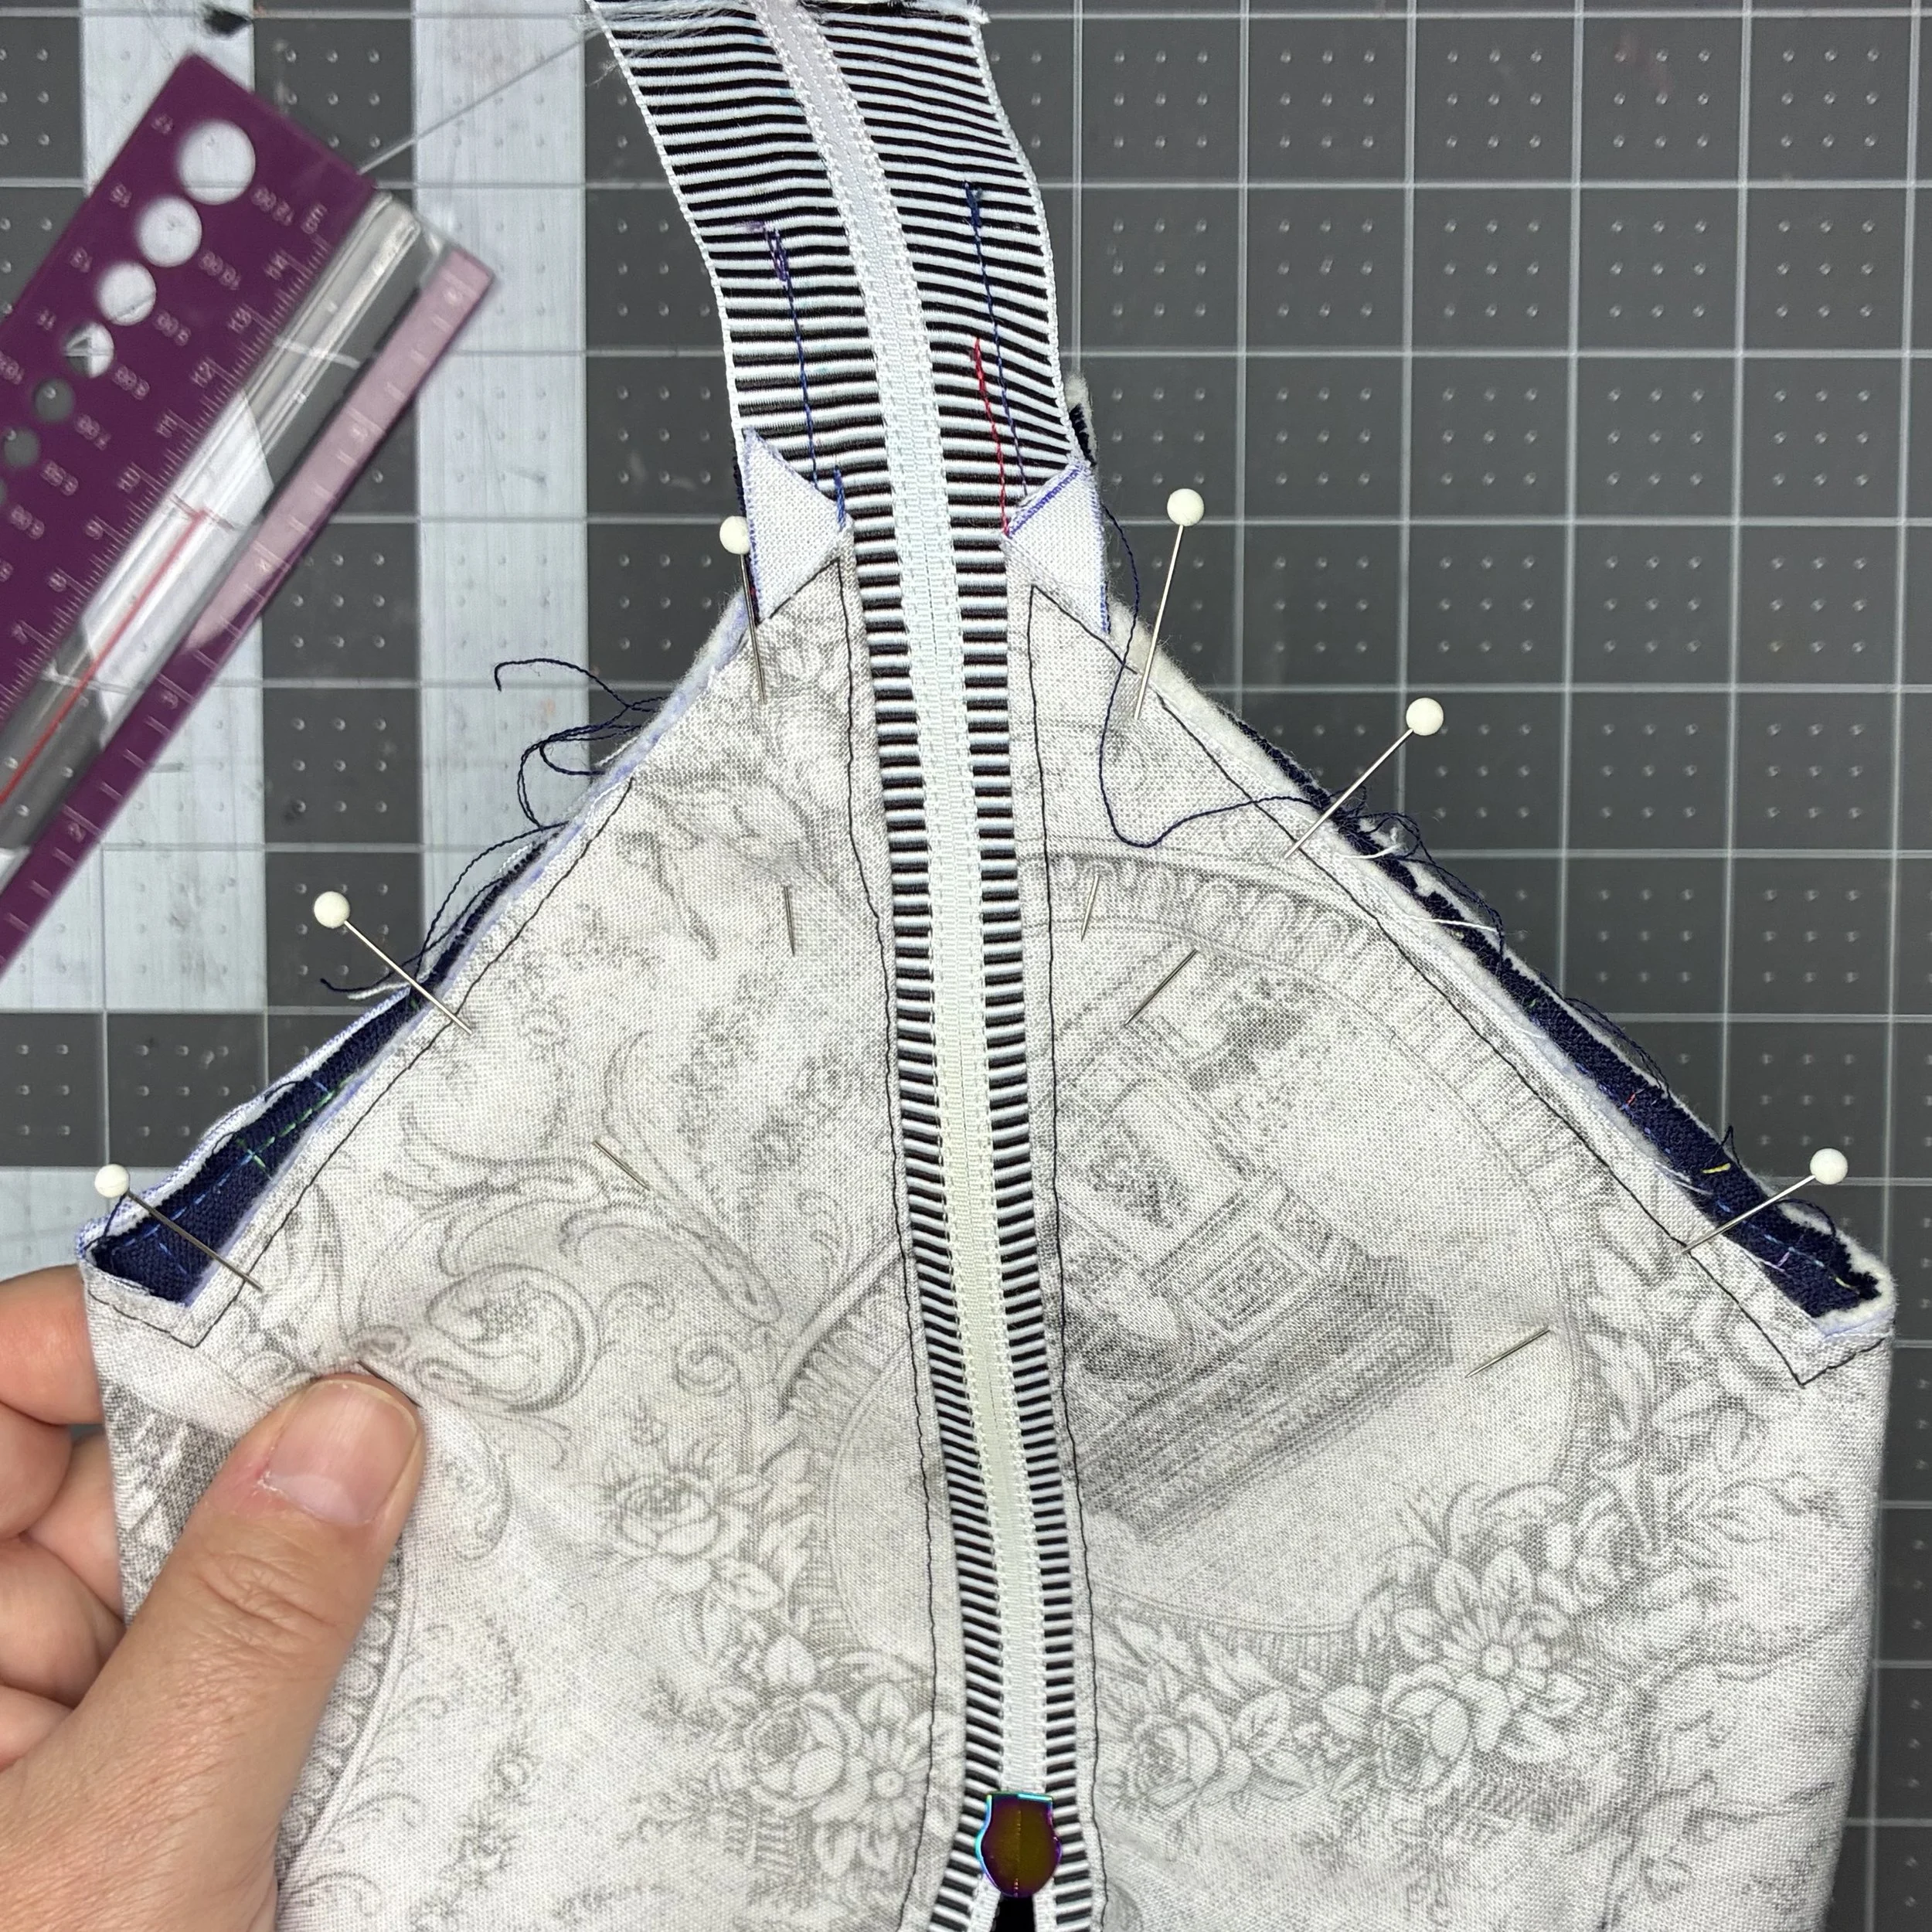
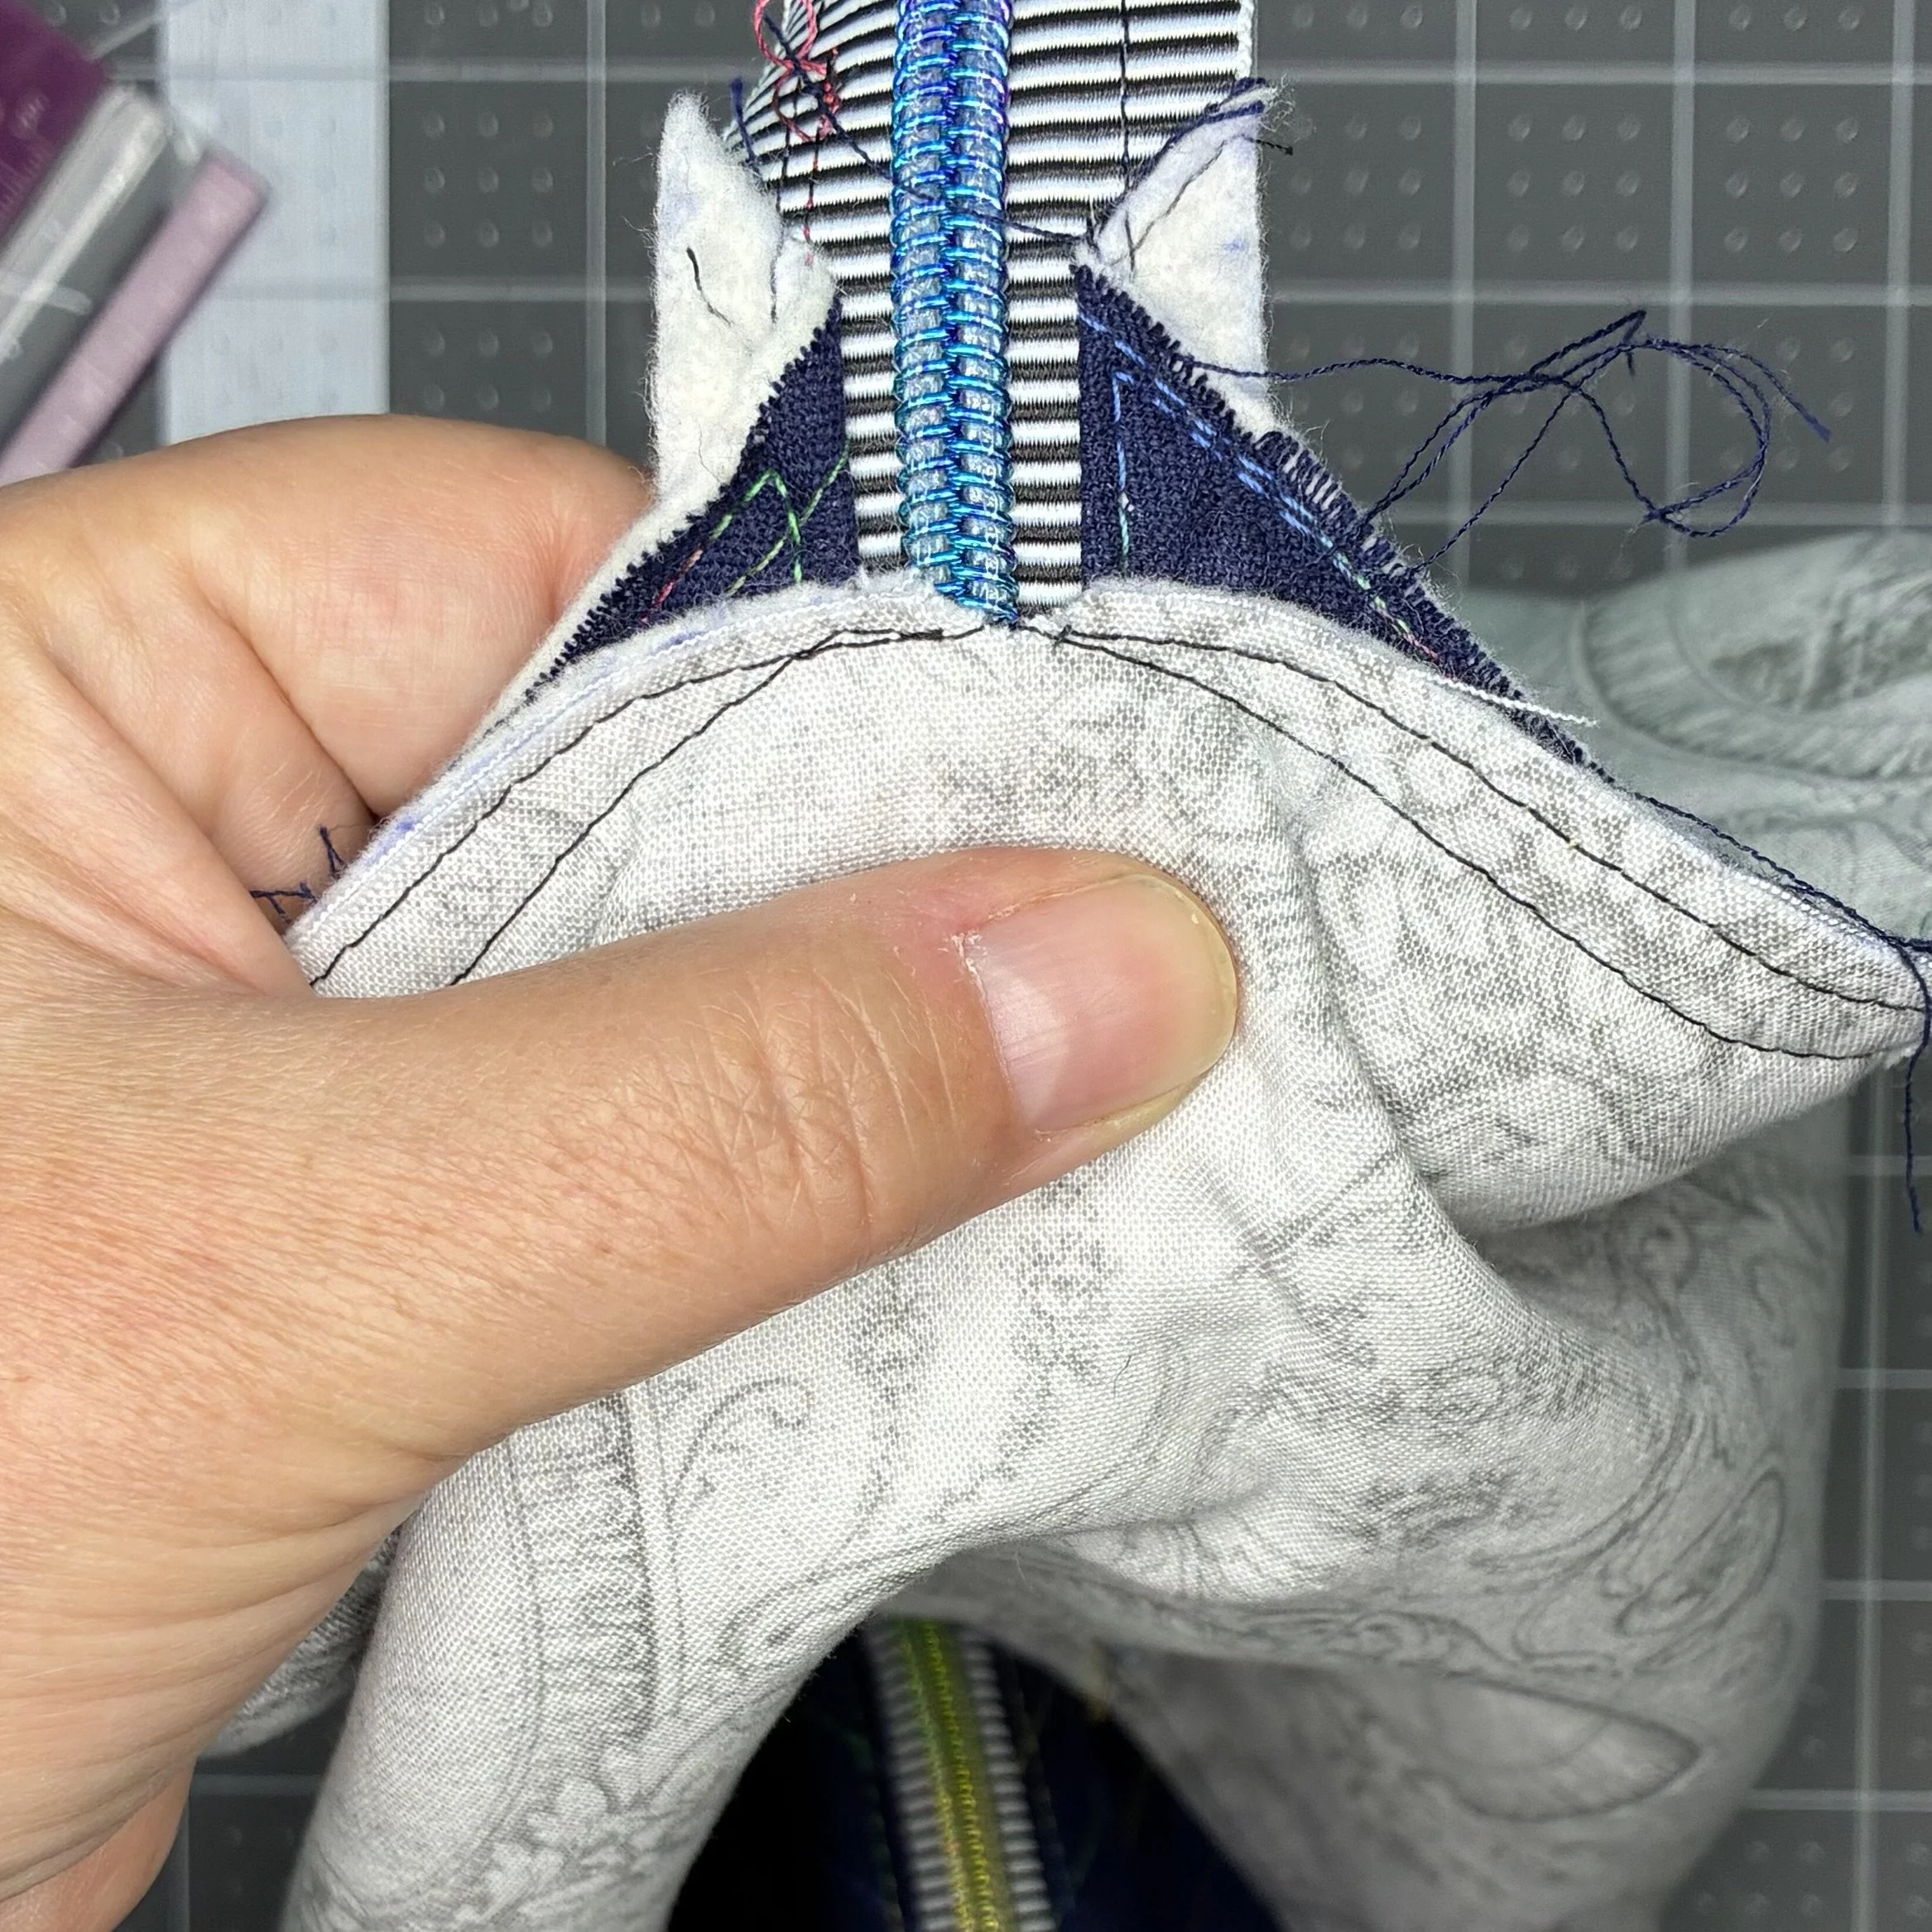
I trimmed the whole seam down to about 1/8”.
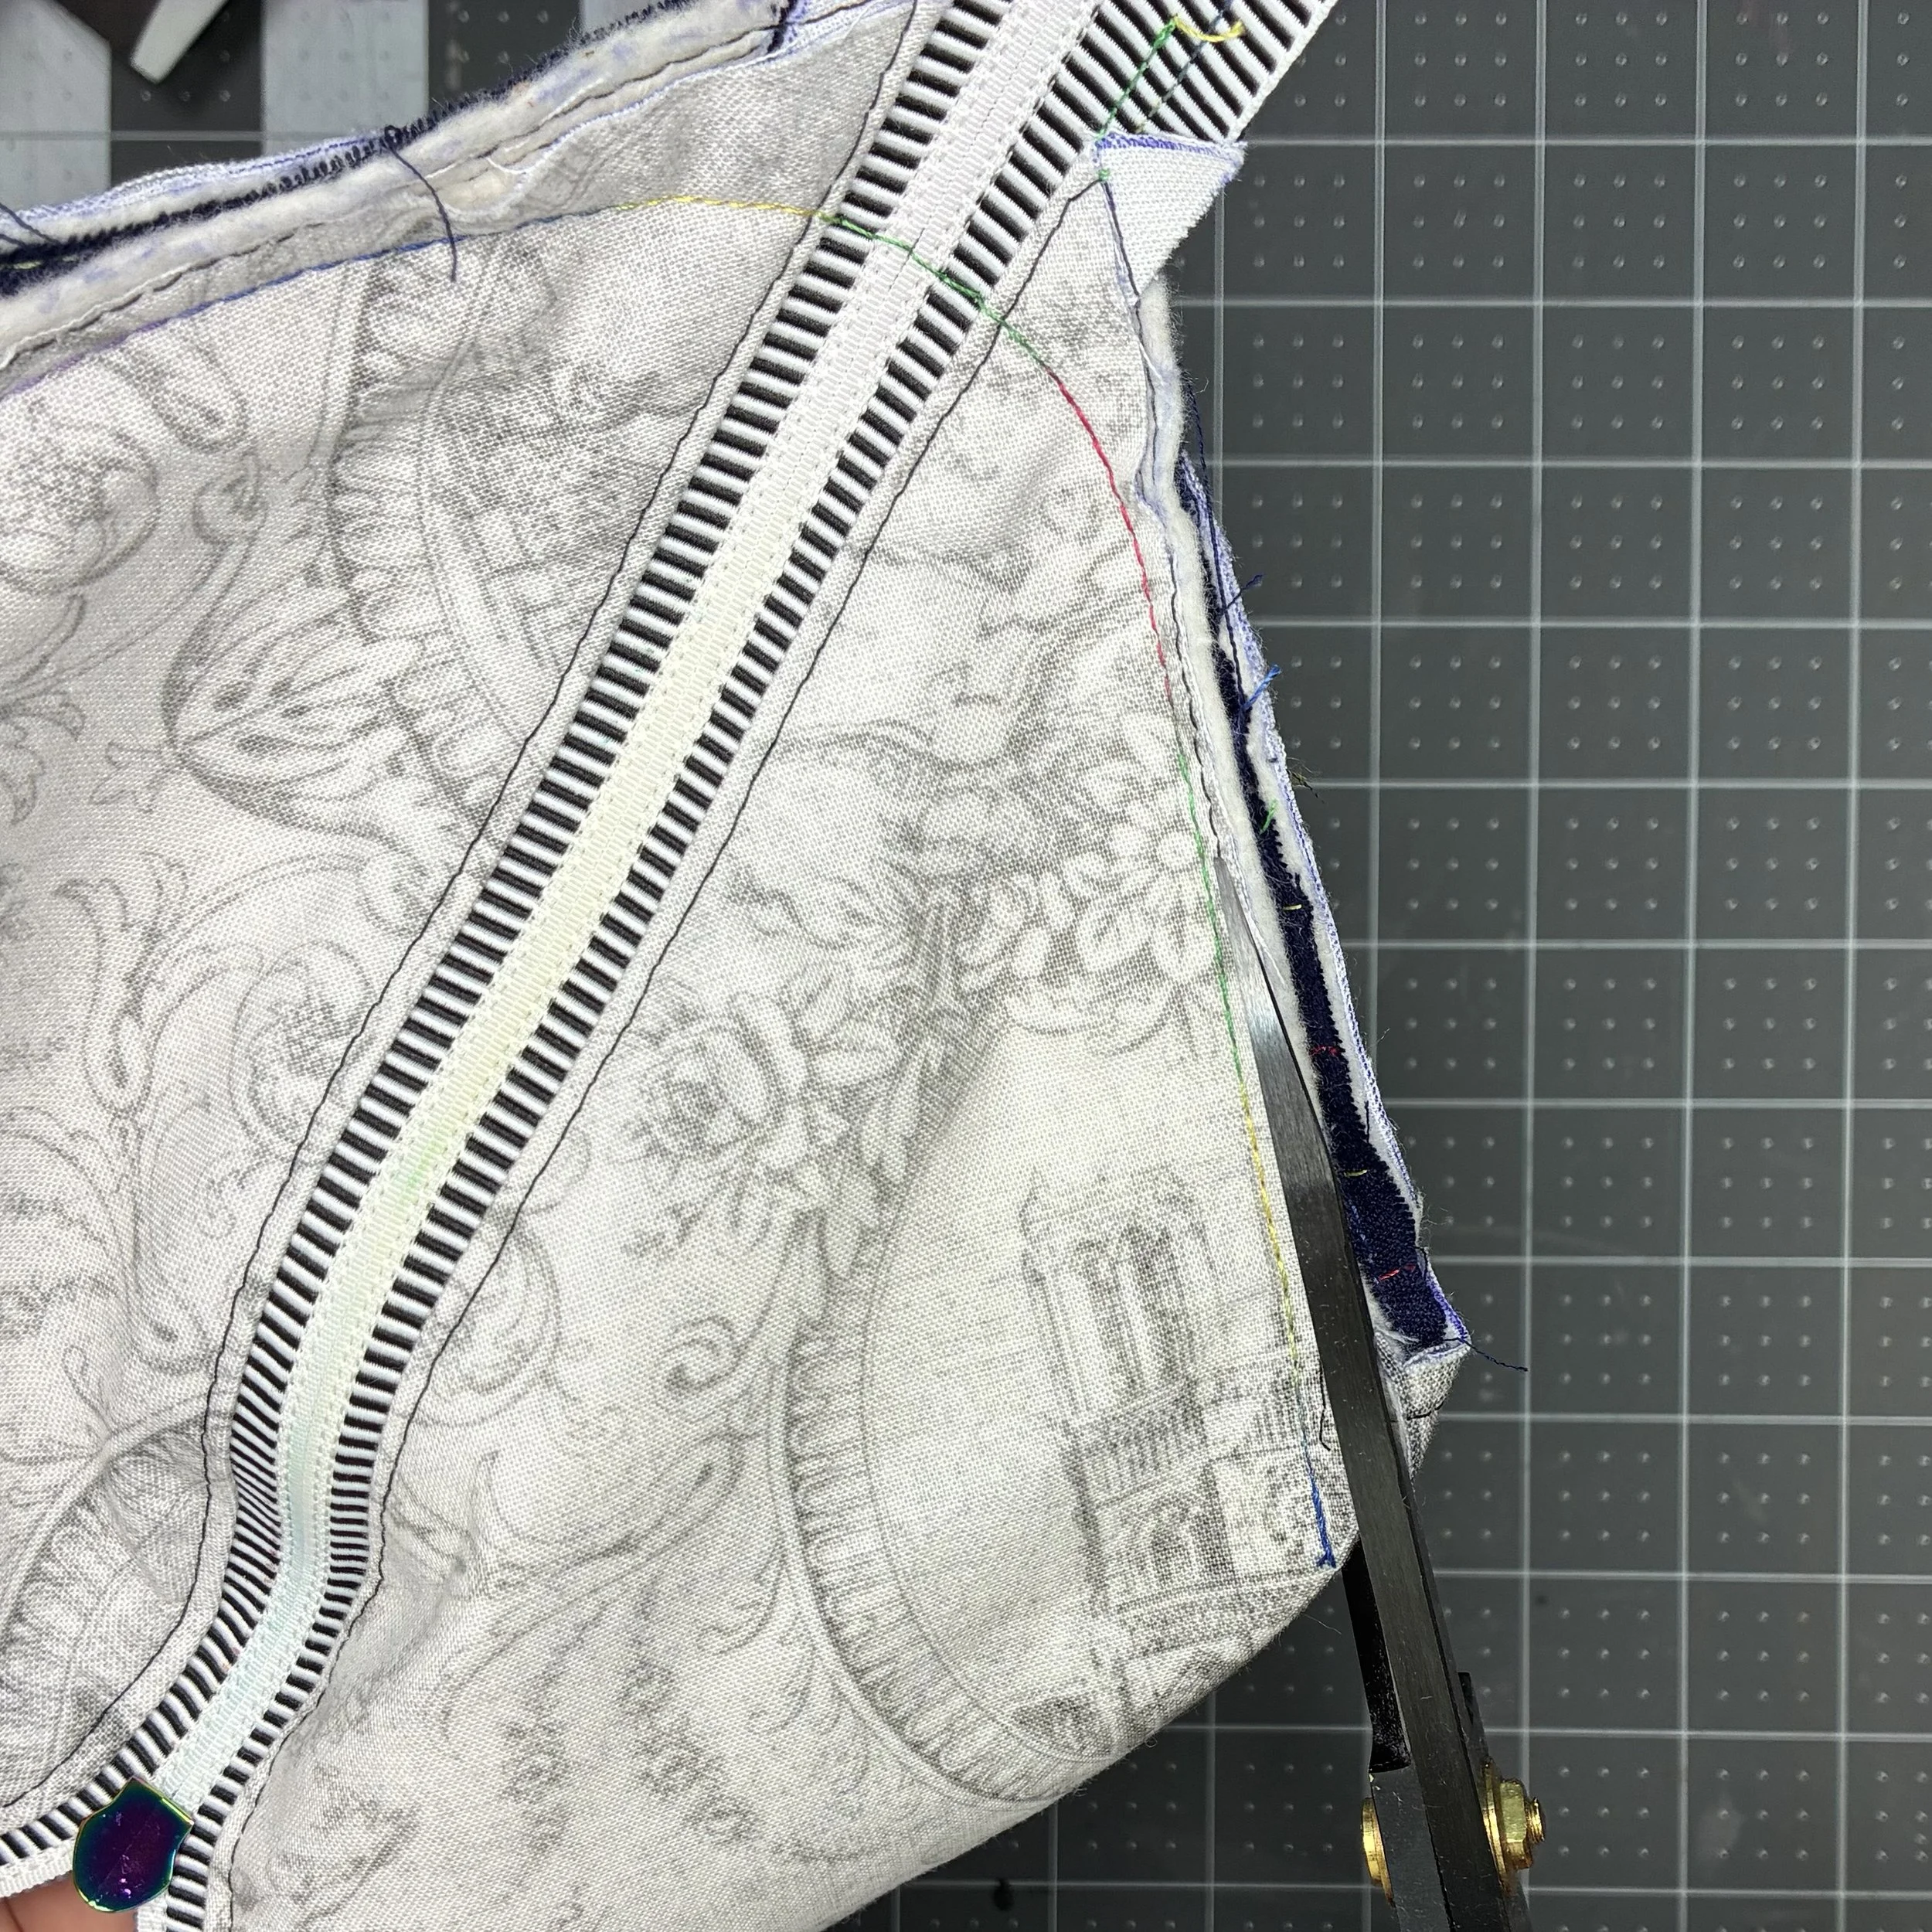
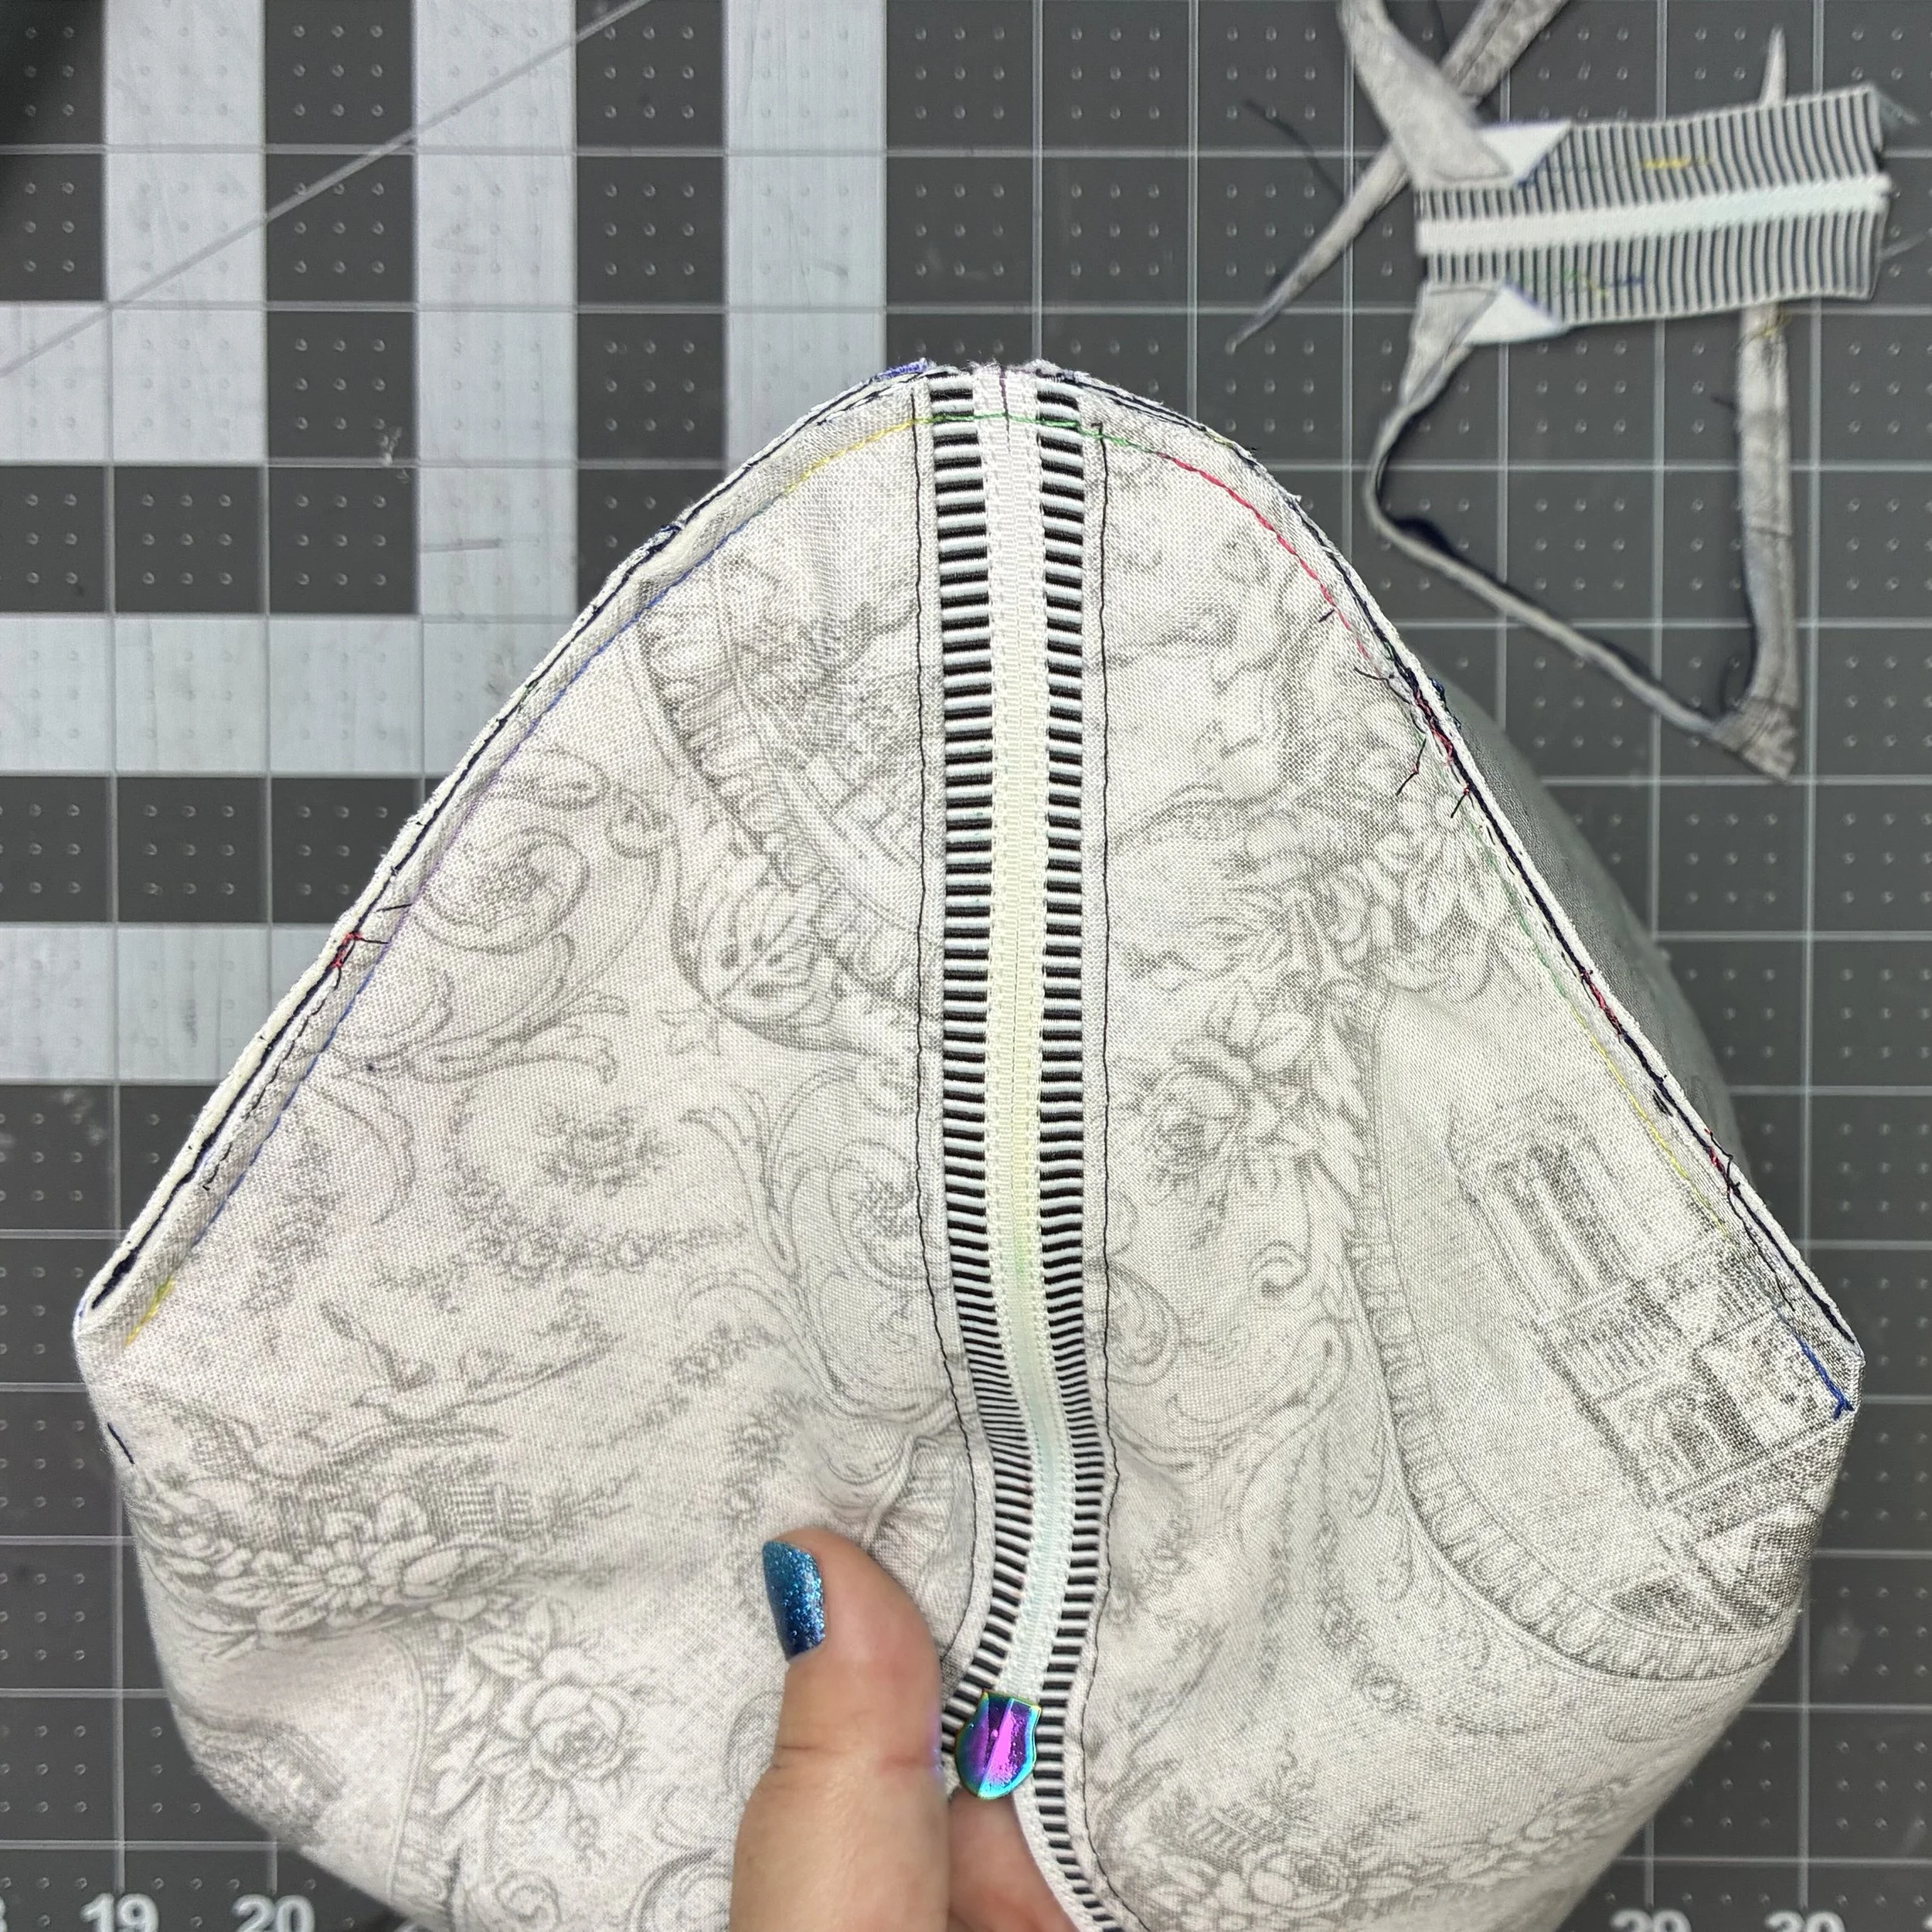
Having closed both sides of the pouch, it was time to attach the interior panels. I started by clipping a center-point notch on the raw edge of both pieces, then lining that notch up with the zipper line. This is most easily done when the zipper is fully open on the pouch, since that allows the side seam to lay flat. When pinning the side panel in place, keep in mind that it’s going to be on the inside of the bag, and when viewed from the outside, you will want to see the outer fabric. This means that you end up with the unusual orientation of the right side of the side panel sitting against the wrong side (lining side) of the pouch. Stated another way, this means that when the panel is pinned in place, you should be looking at both the wrong side of the panel and the wrong side of the pouch.
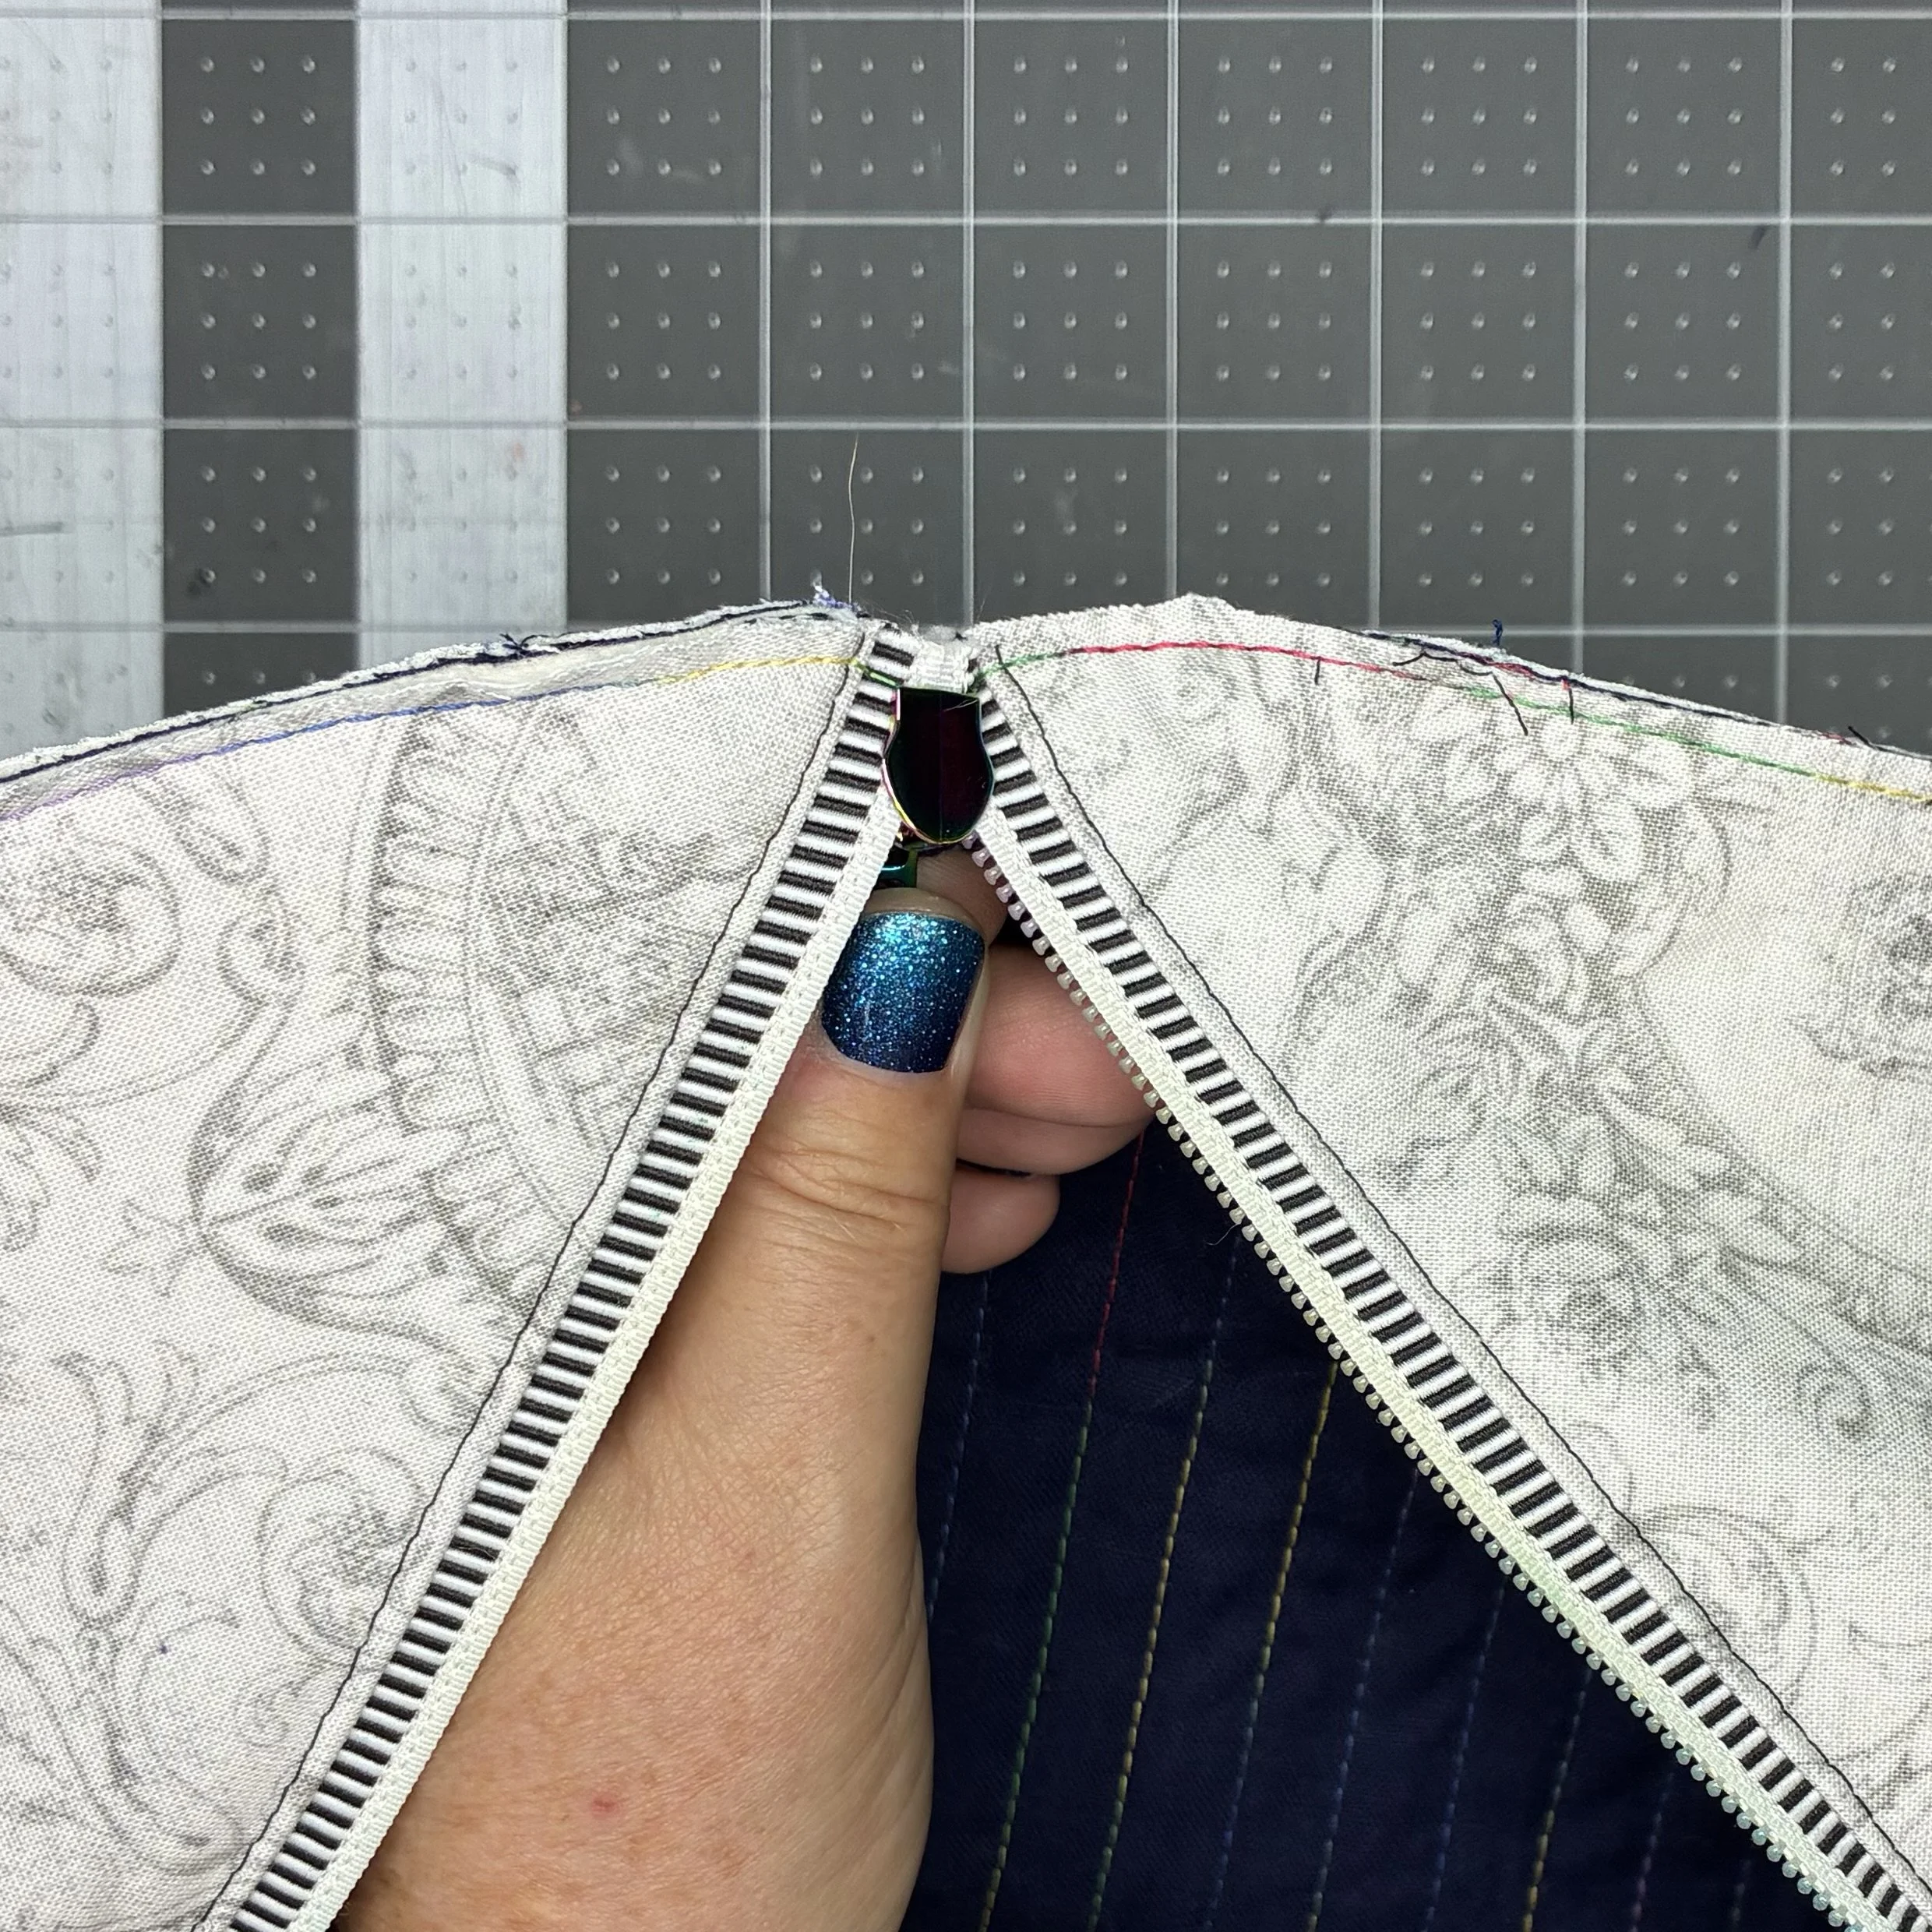
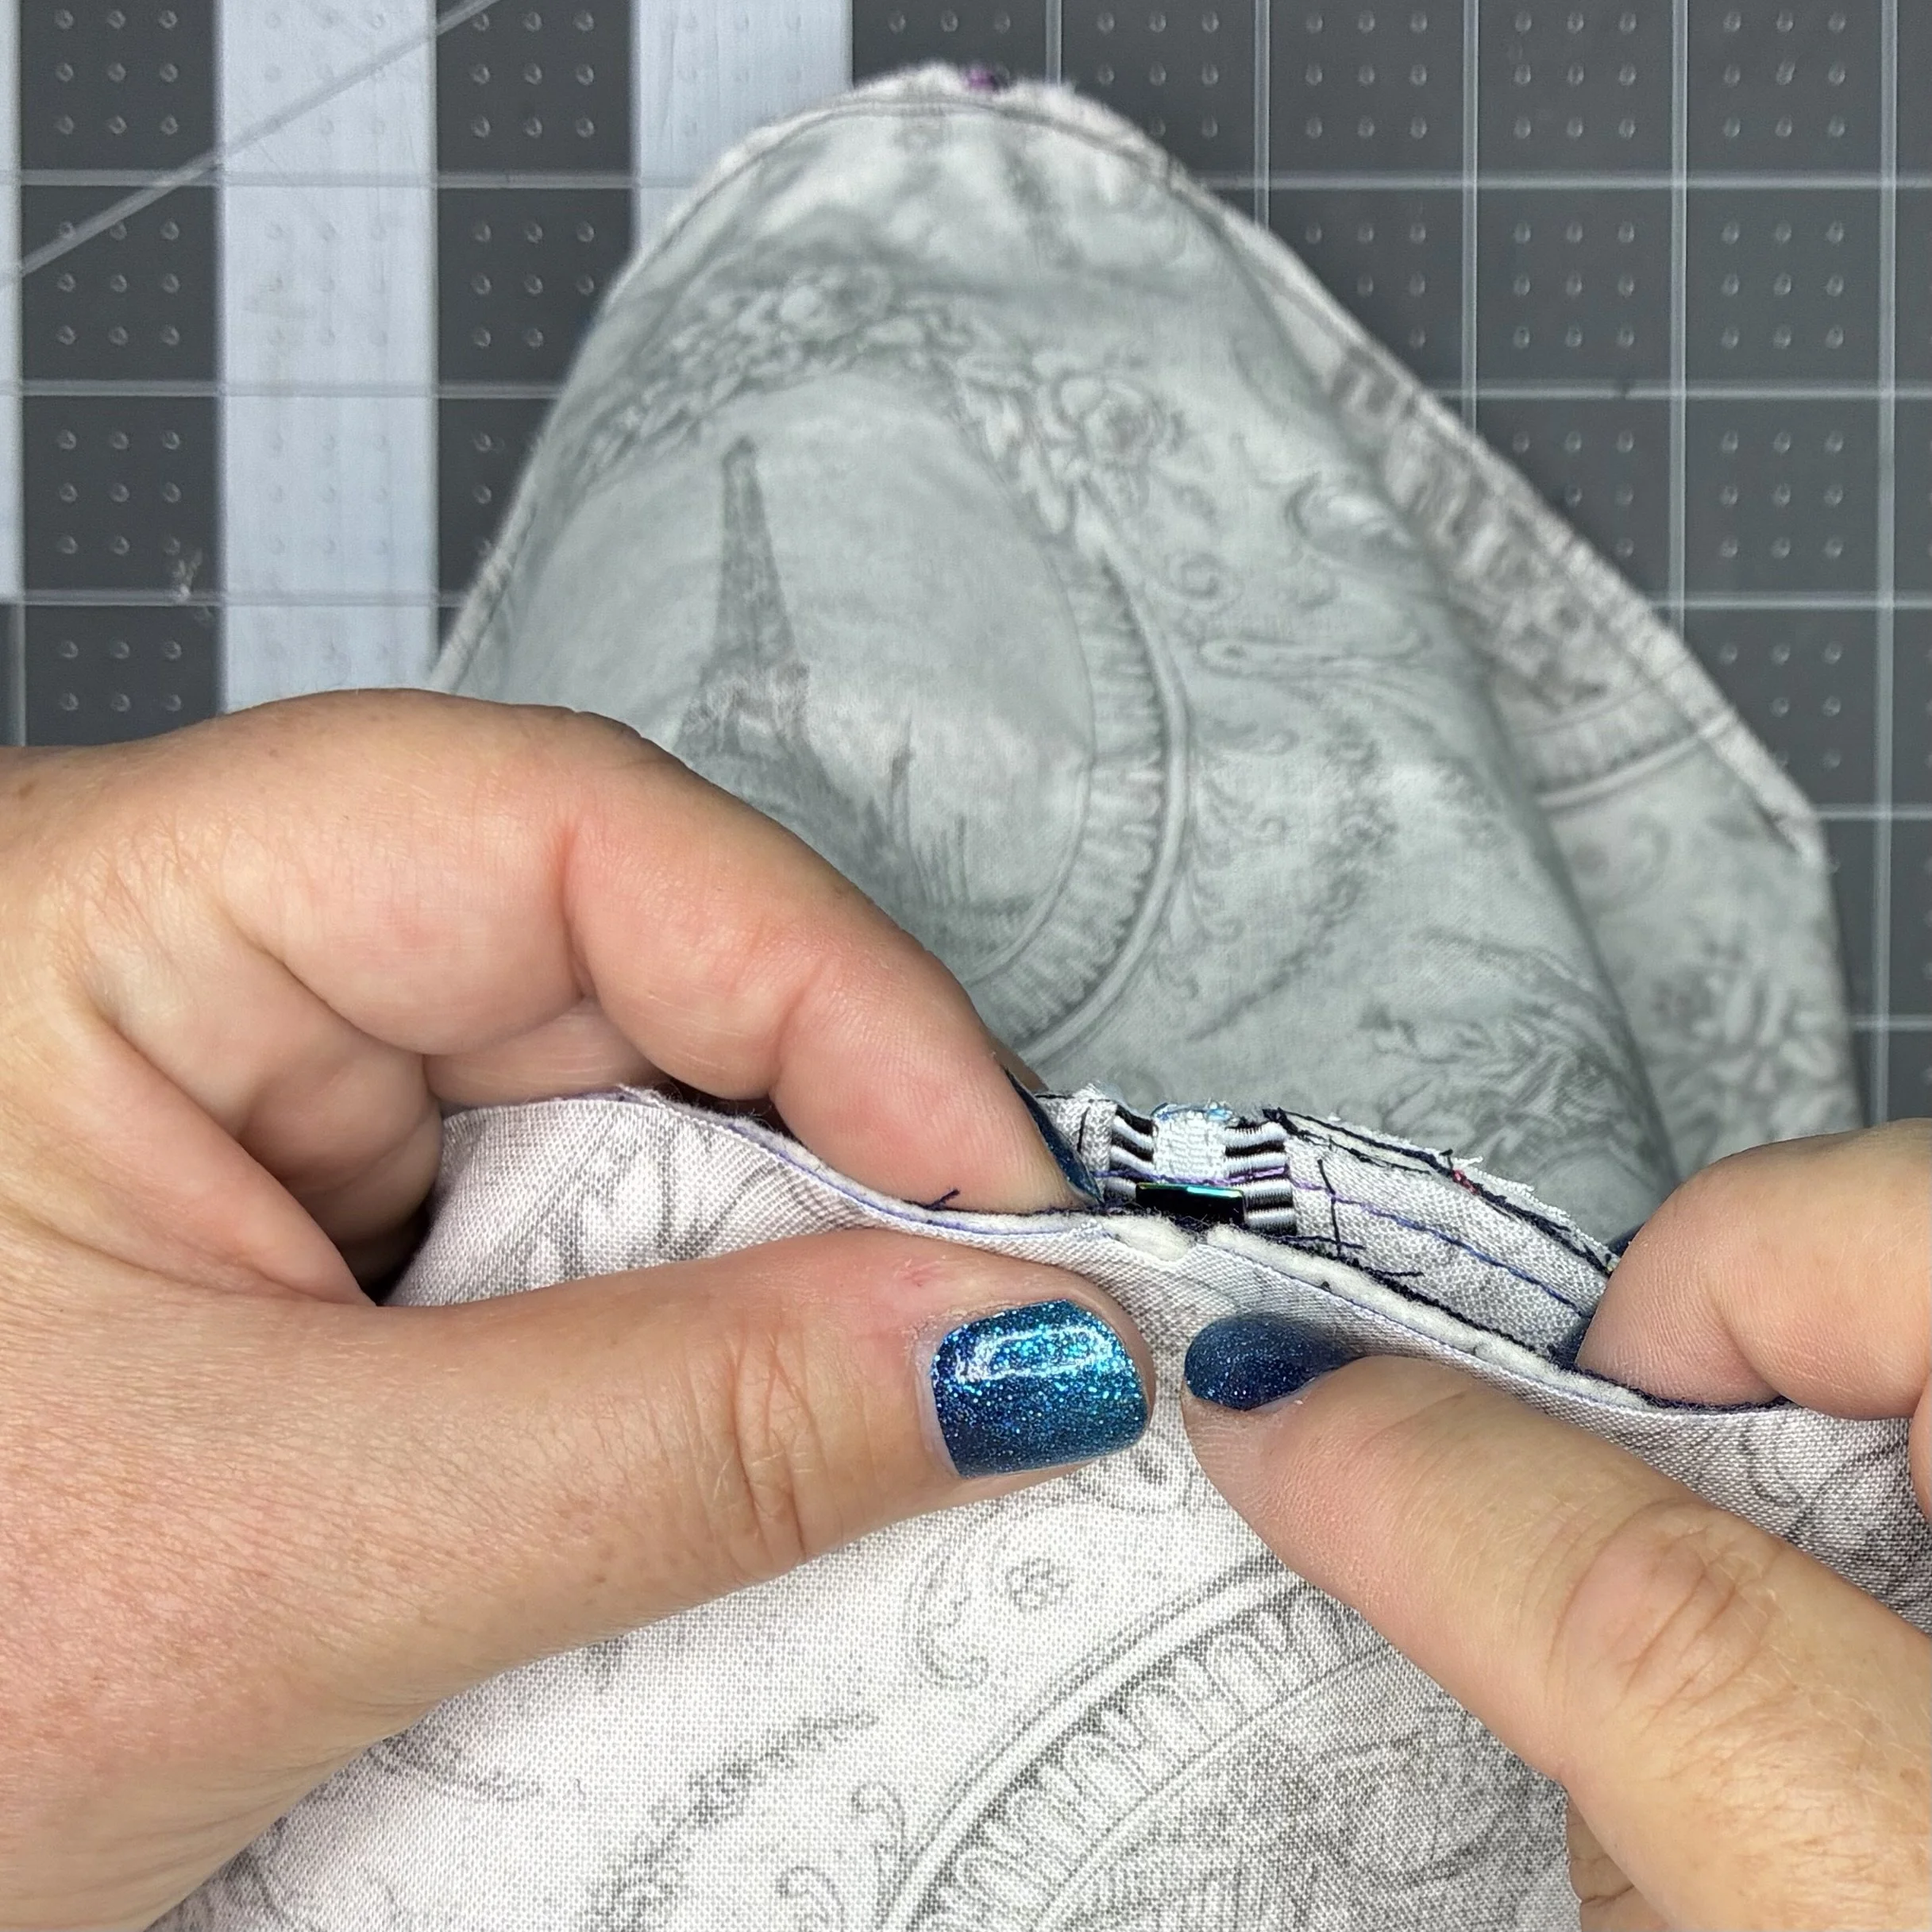
I stitched a 1/4” seam along the pinned line but left the center (over the zipper tape) unsewn, because I could not get past the zipper pull. Once that seam was (mostly) finished, I pulled the zipper pull away from the seam just far enough that I could sew around it to finish the stitching line. If you try this project, you will realize that as soon as the zipper pull is no longer completely open, that edge curves, making it harder to sew. This is part of the design, so it’s just a little bit fiddly to sew.
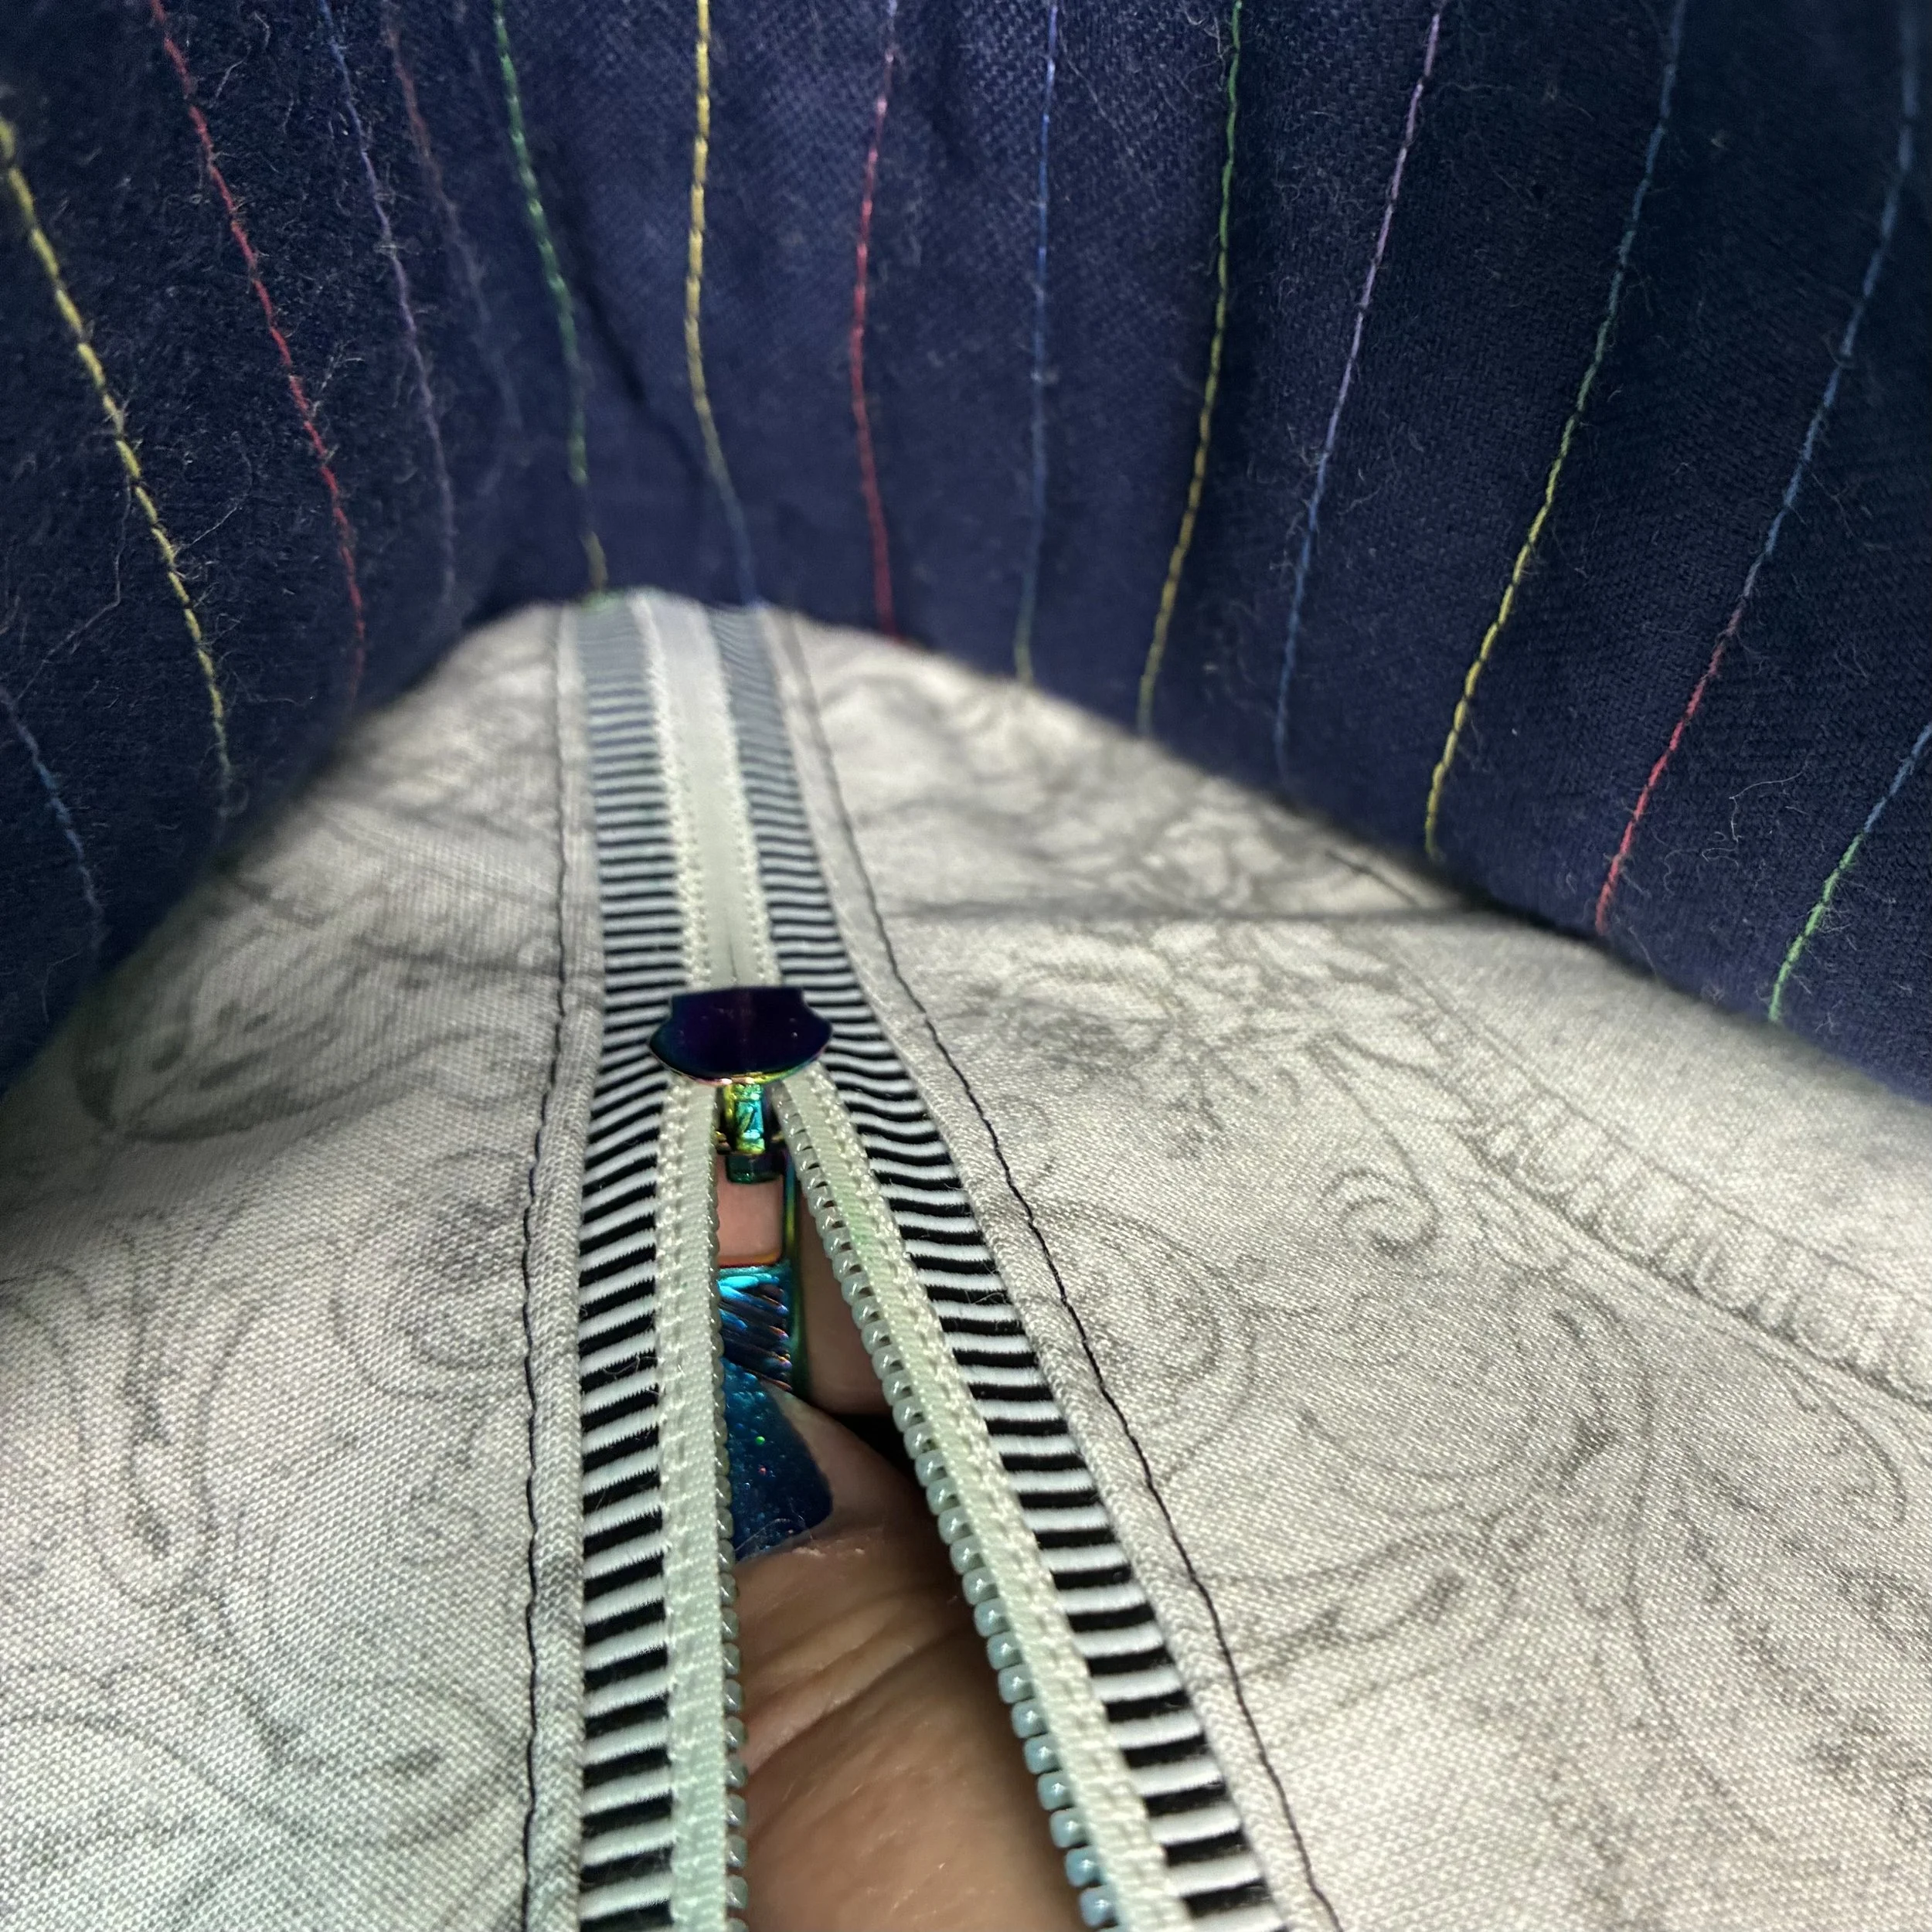
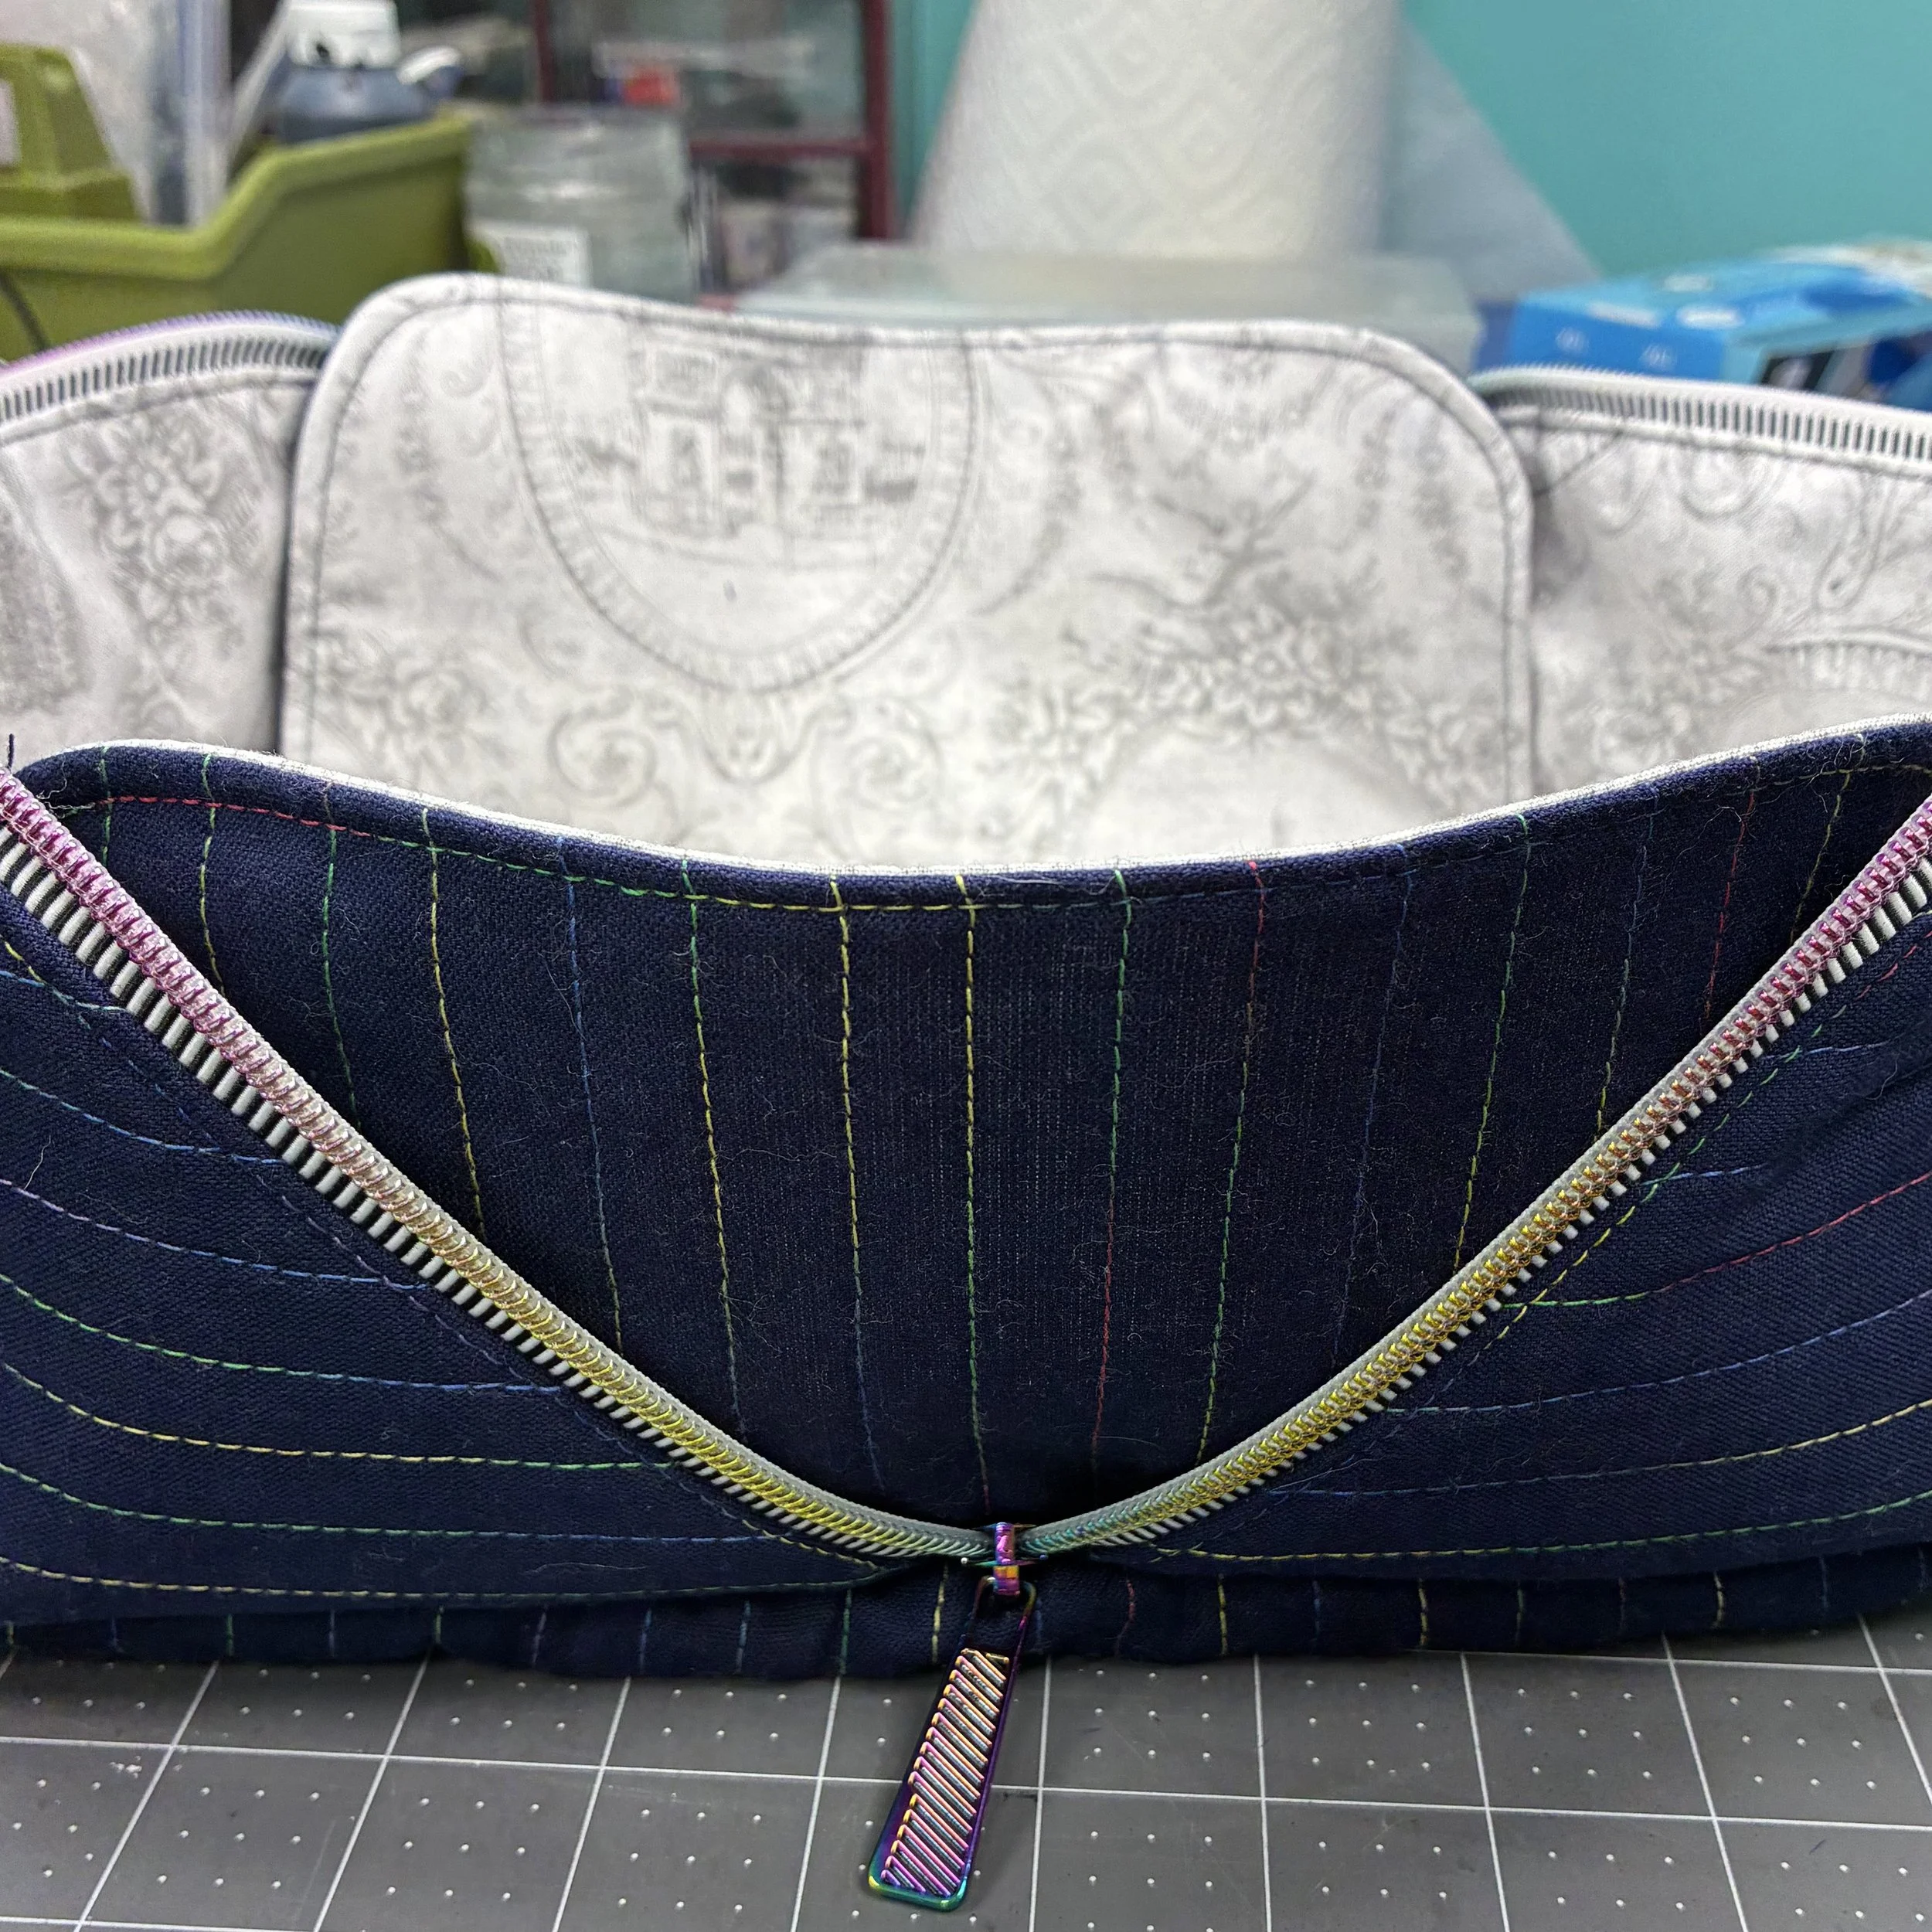
With the pouch turned right side out, you can see that those side panels just sit politely in place and keep anything inside the pouch from falling out when it’s completely open. Turned inside out (for finishing work), you can also see the line where the side panel sits is unattached to the pouch. It can be attached with a little hand sewing, if desired. I did not desire, and so I did not do it, with the full understanding that at any time it turned out to be necessary, I could go back and stitch that spot. So far, it hasn’t been necessary.
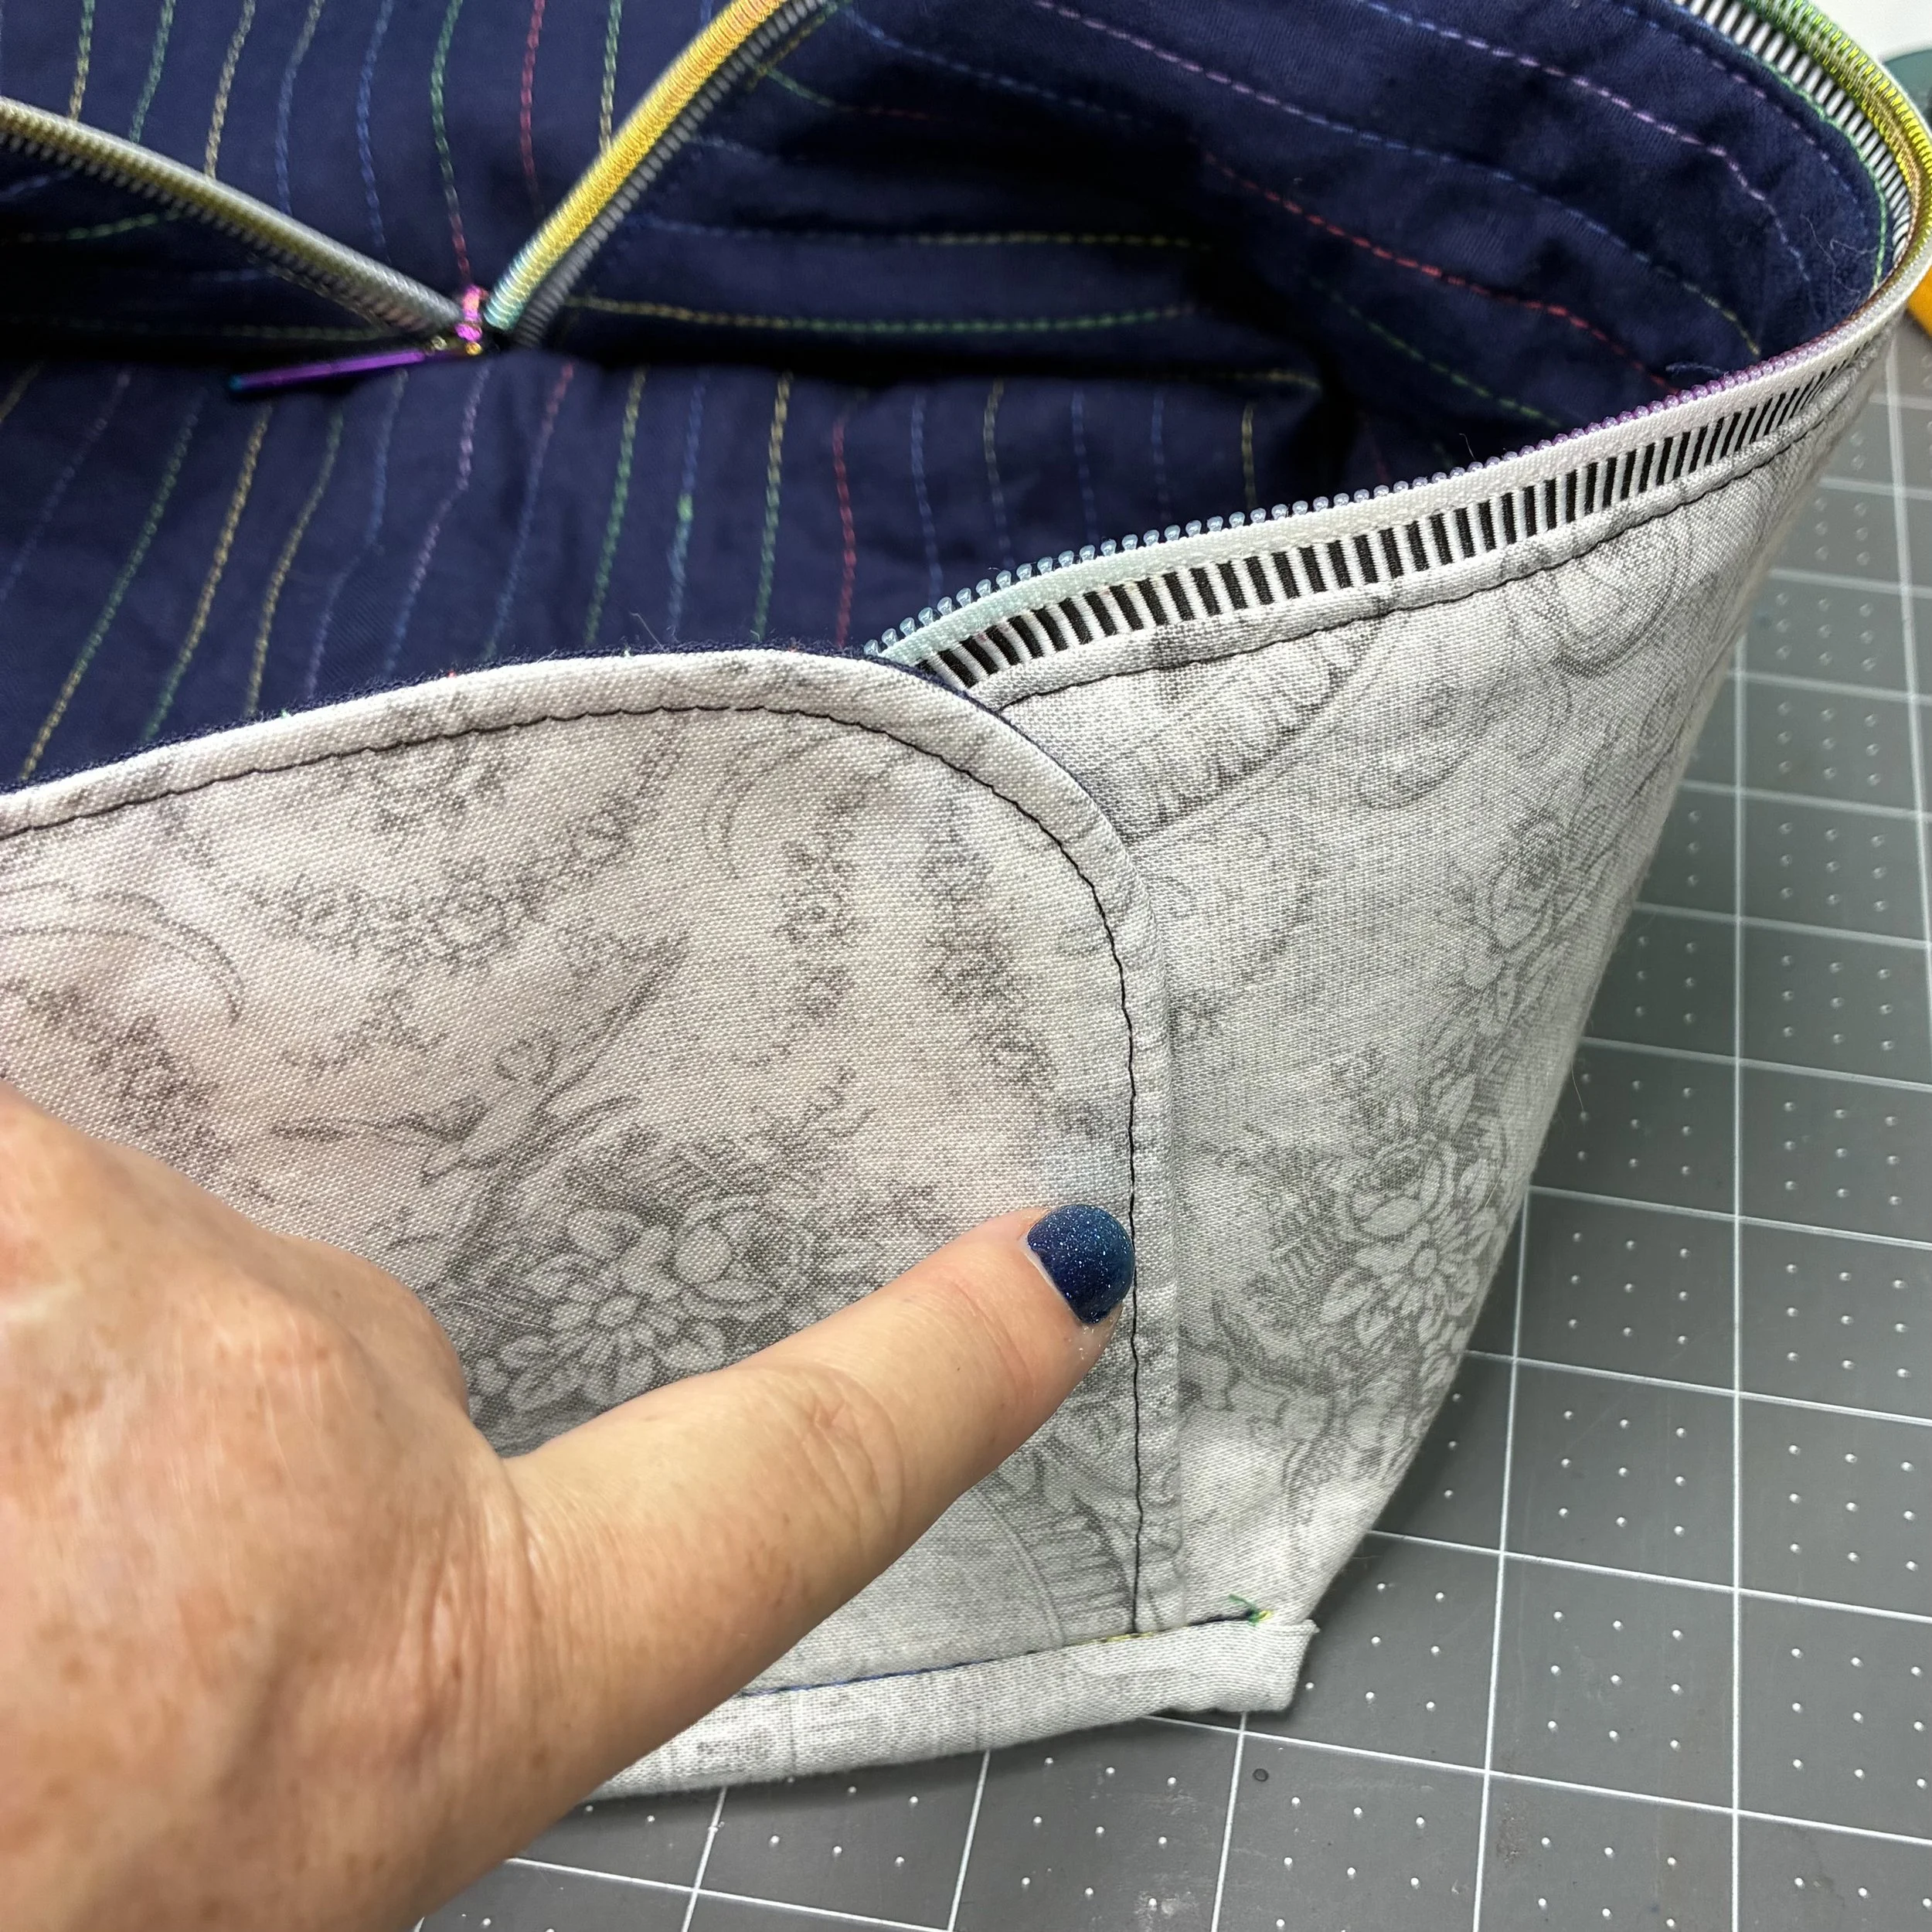
The only thing left to do was finish the raw side seam still visible inside the bag. I did not get any good pictures of this, because it’s hard to hold the camera, hold the fabric, and sew, all at the same time. I’m good but not that good.
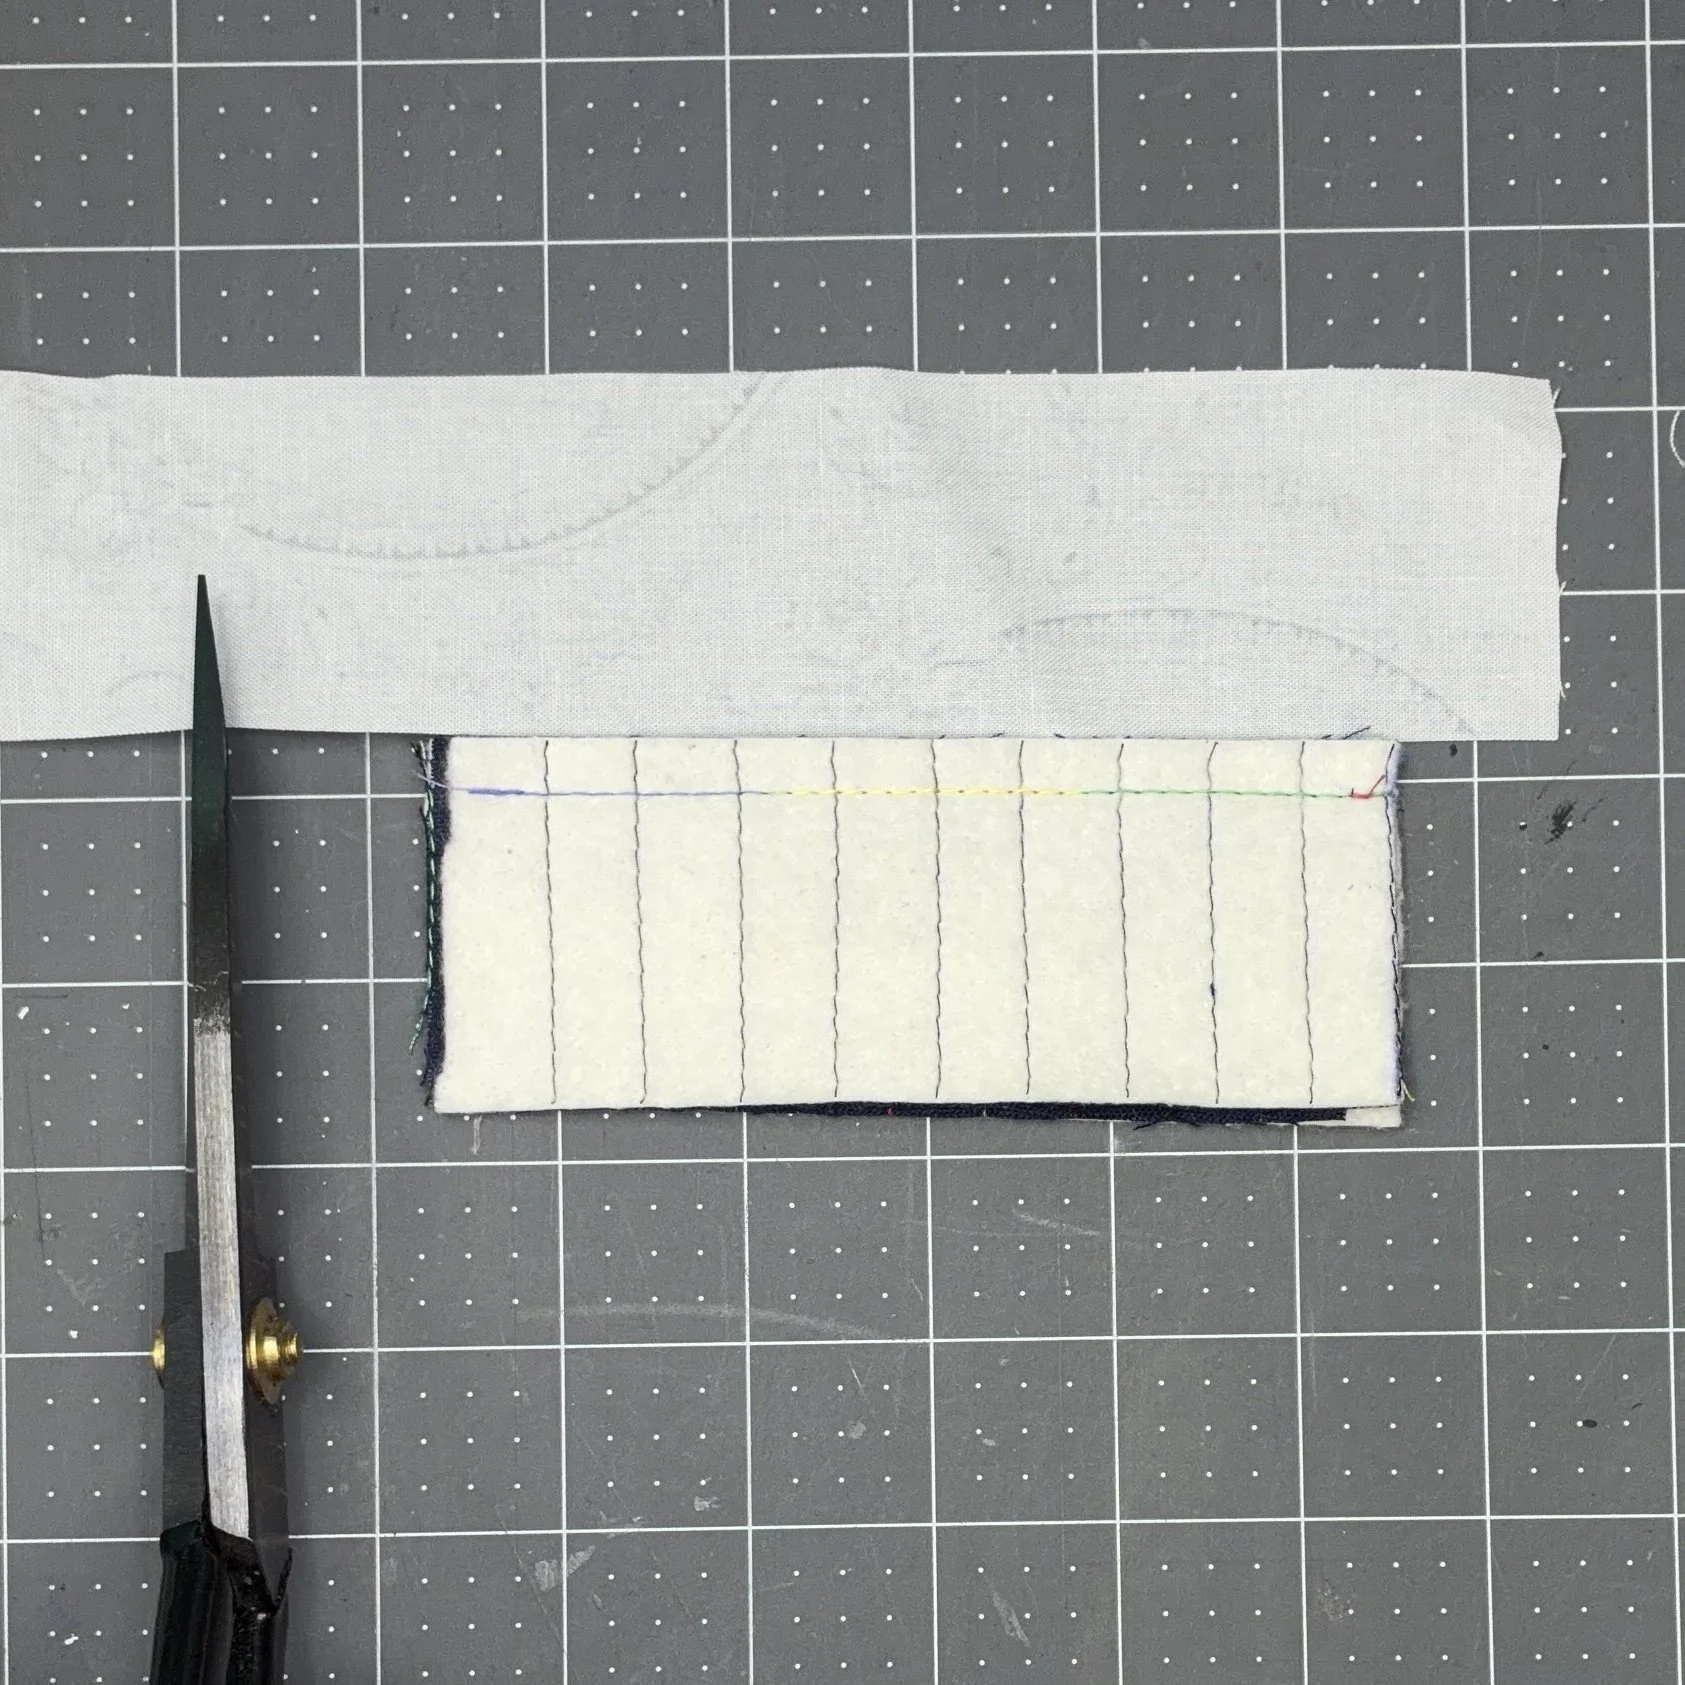
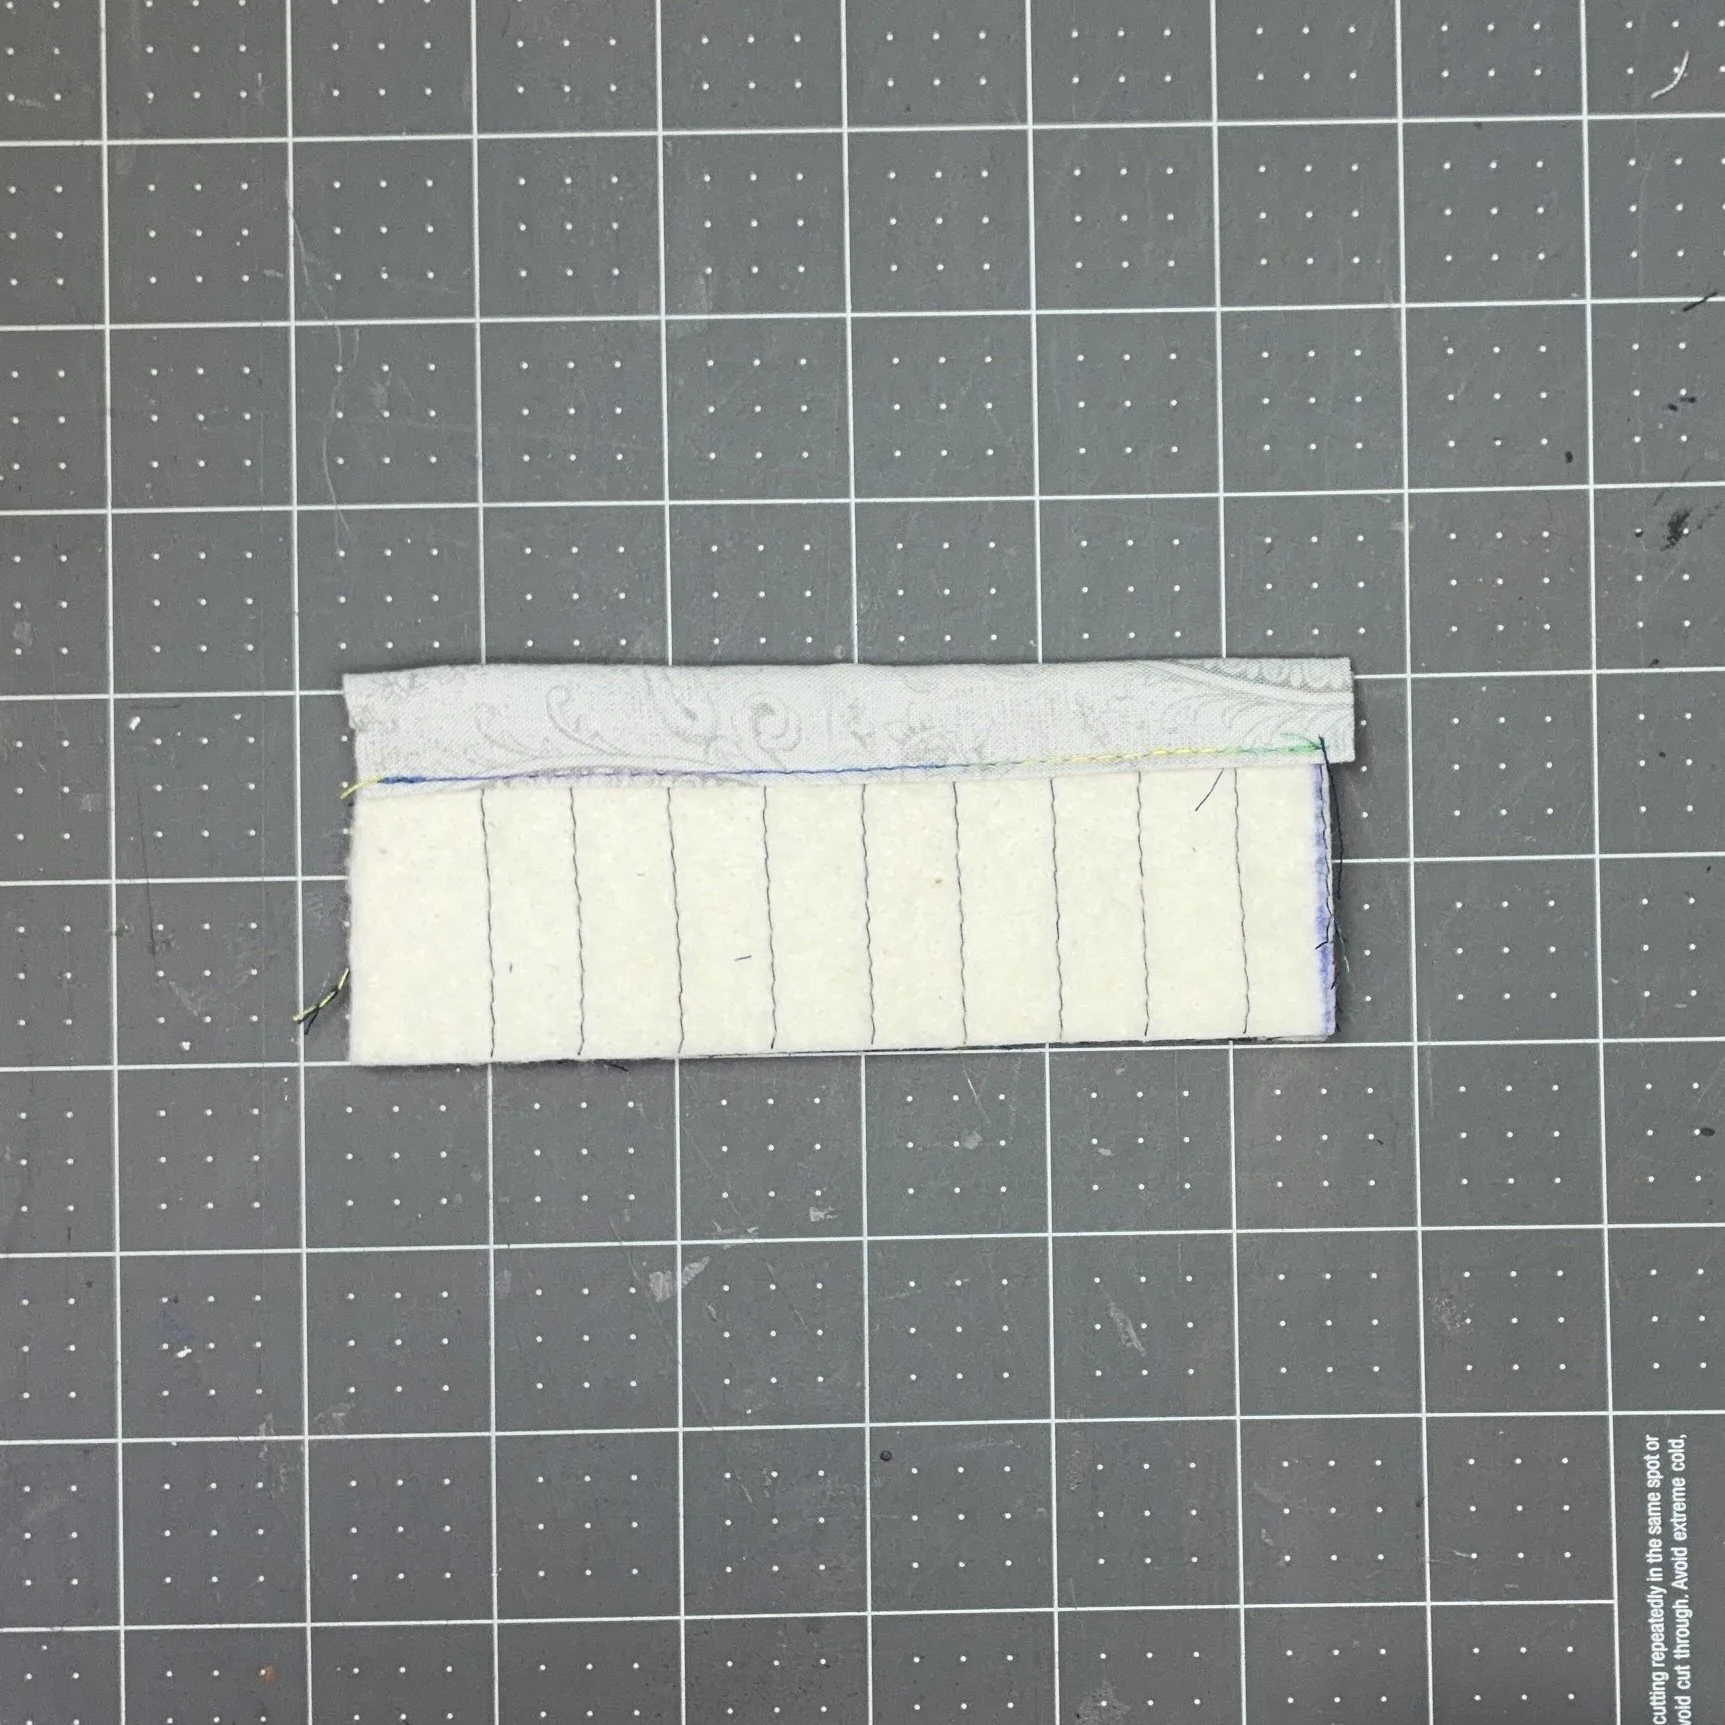
Instead, I made a little example piece and took pictures of that. So, as you can see, I cut a 2” wide strip of fabric long enough to cover the raw edge of the seam plus about an inch of overhang on either end. I pinned the binding fabric with the wrong side facing up, matching the raw edge with the raw edge of the piece I was finishing.
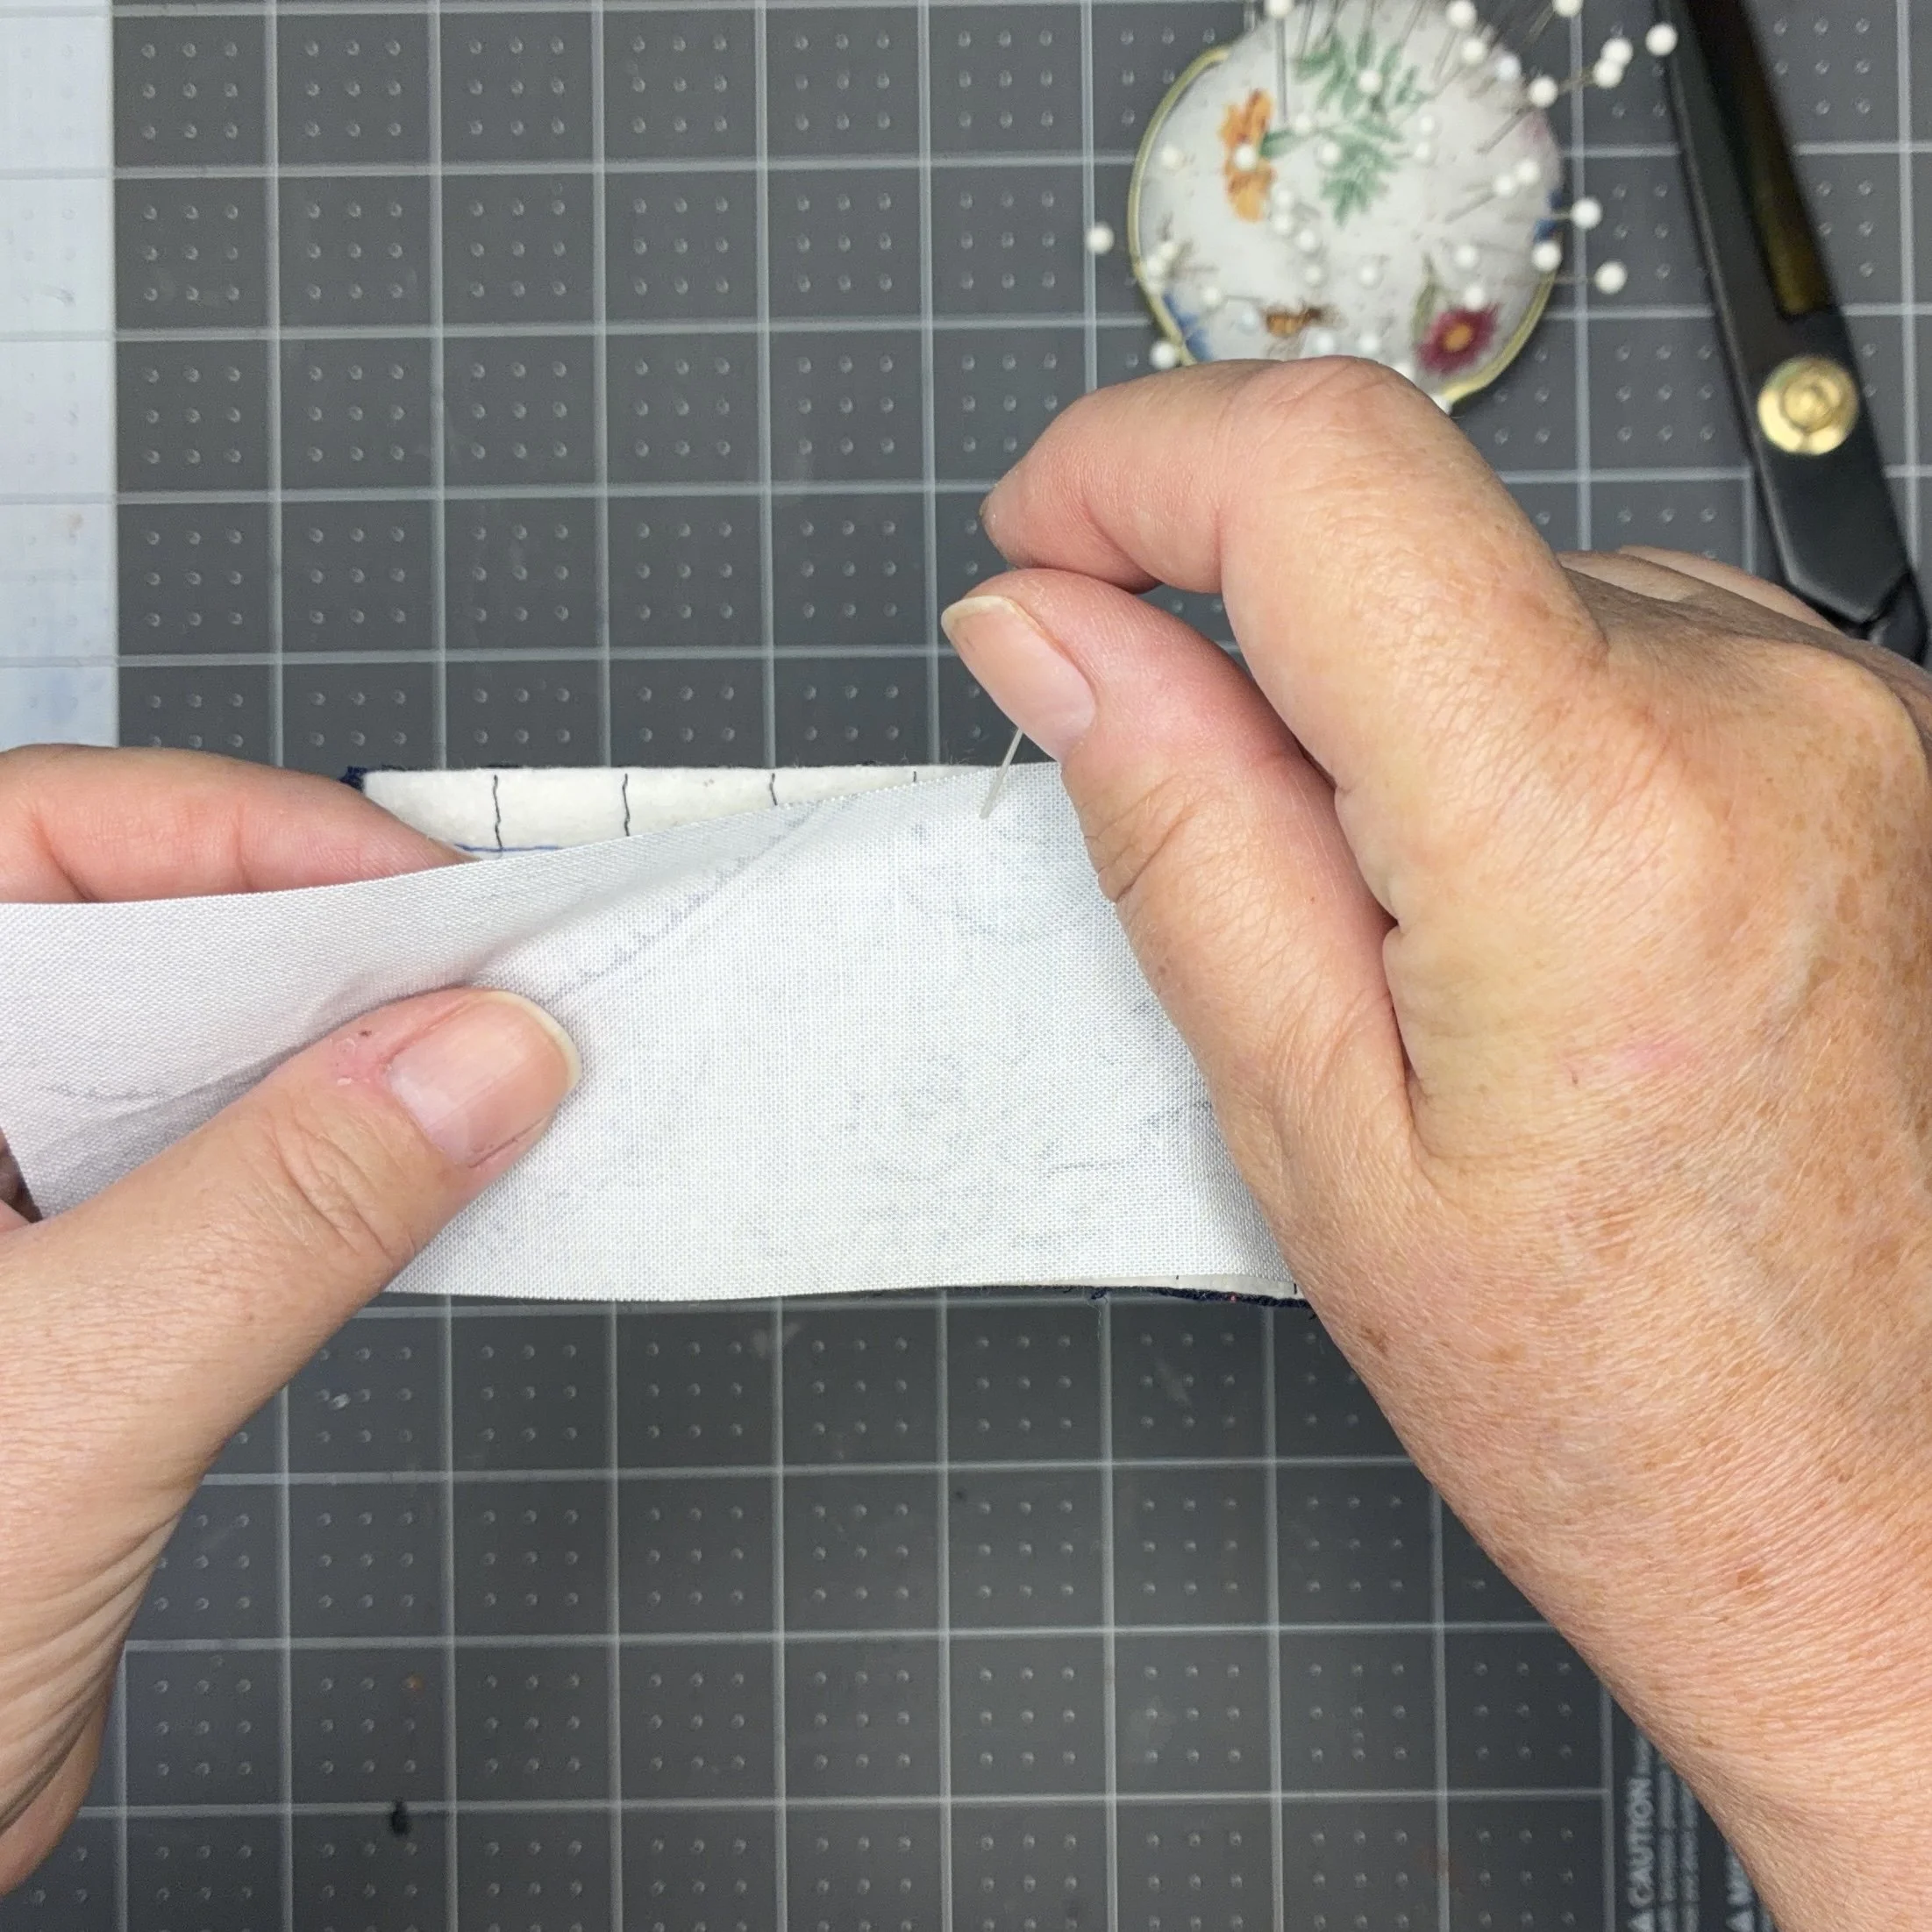
I wrapped that overhang around the end of my fabric, pinning it in place.
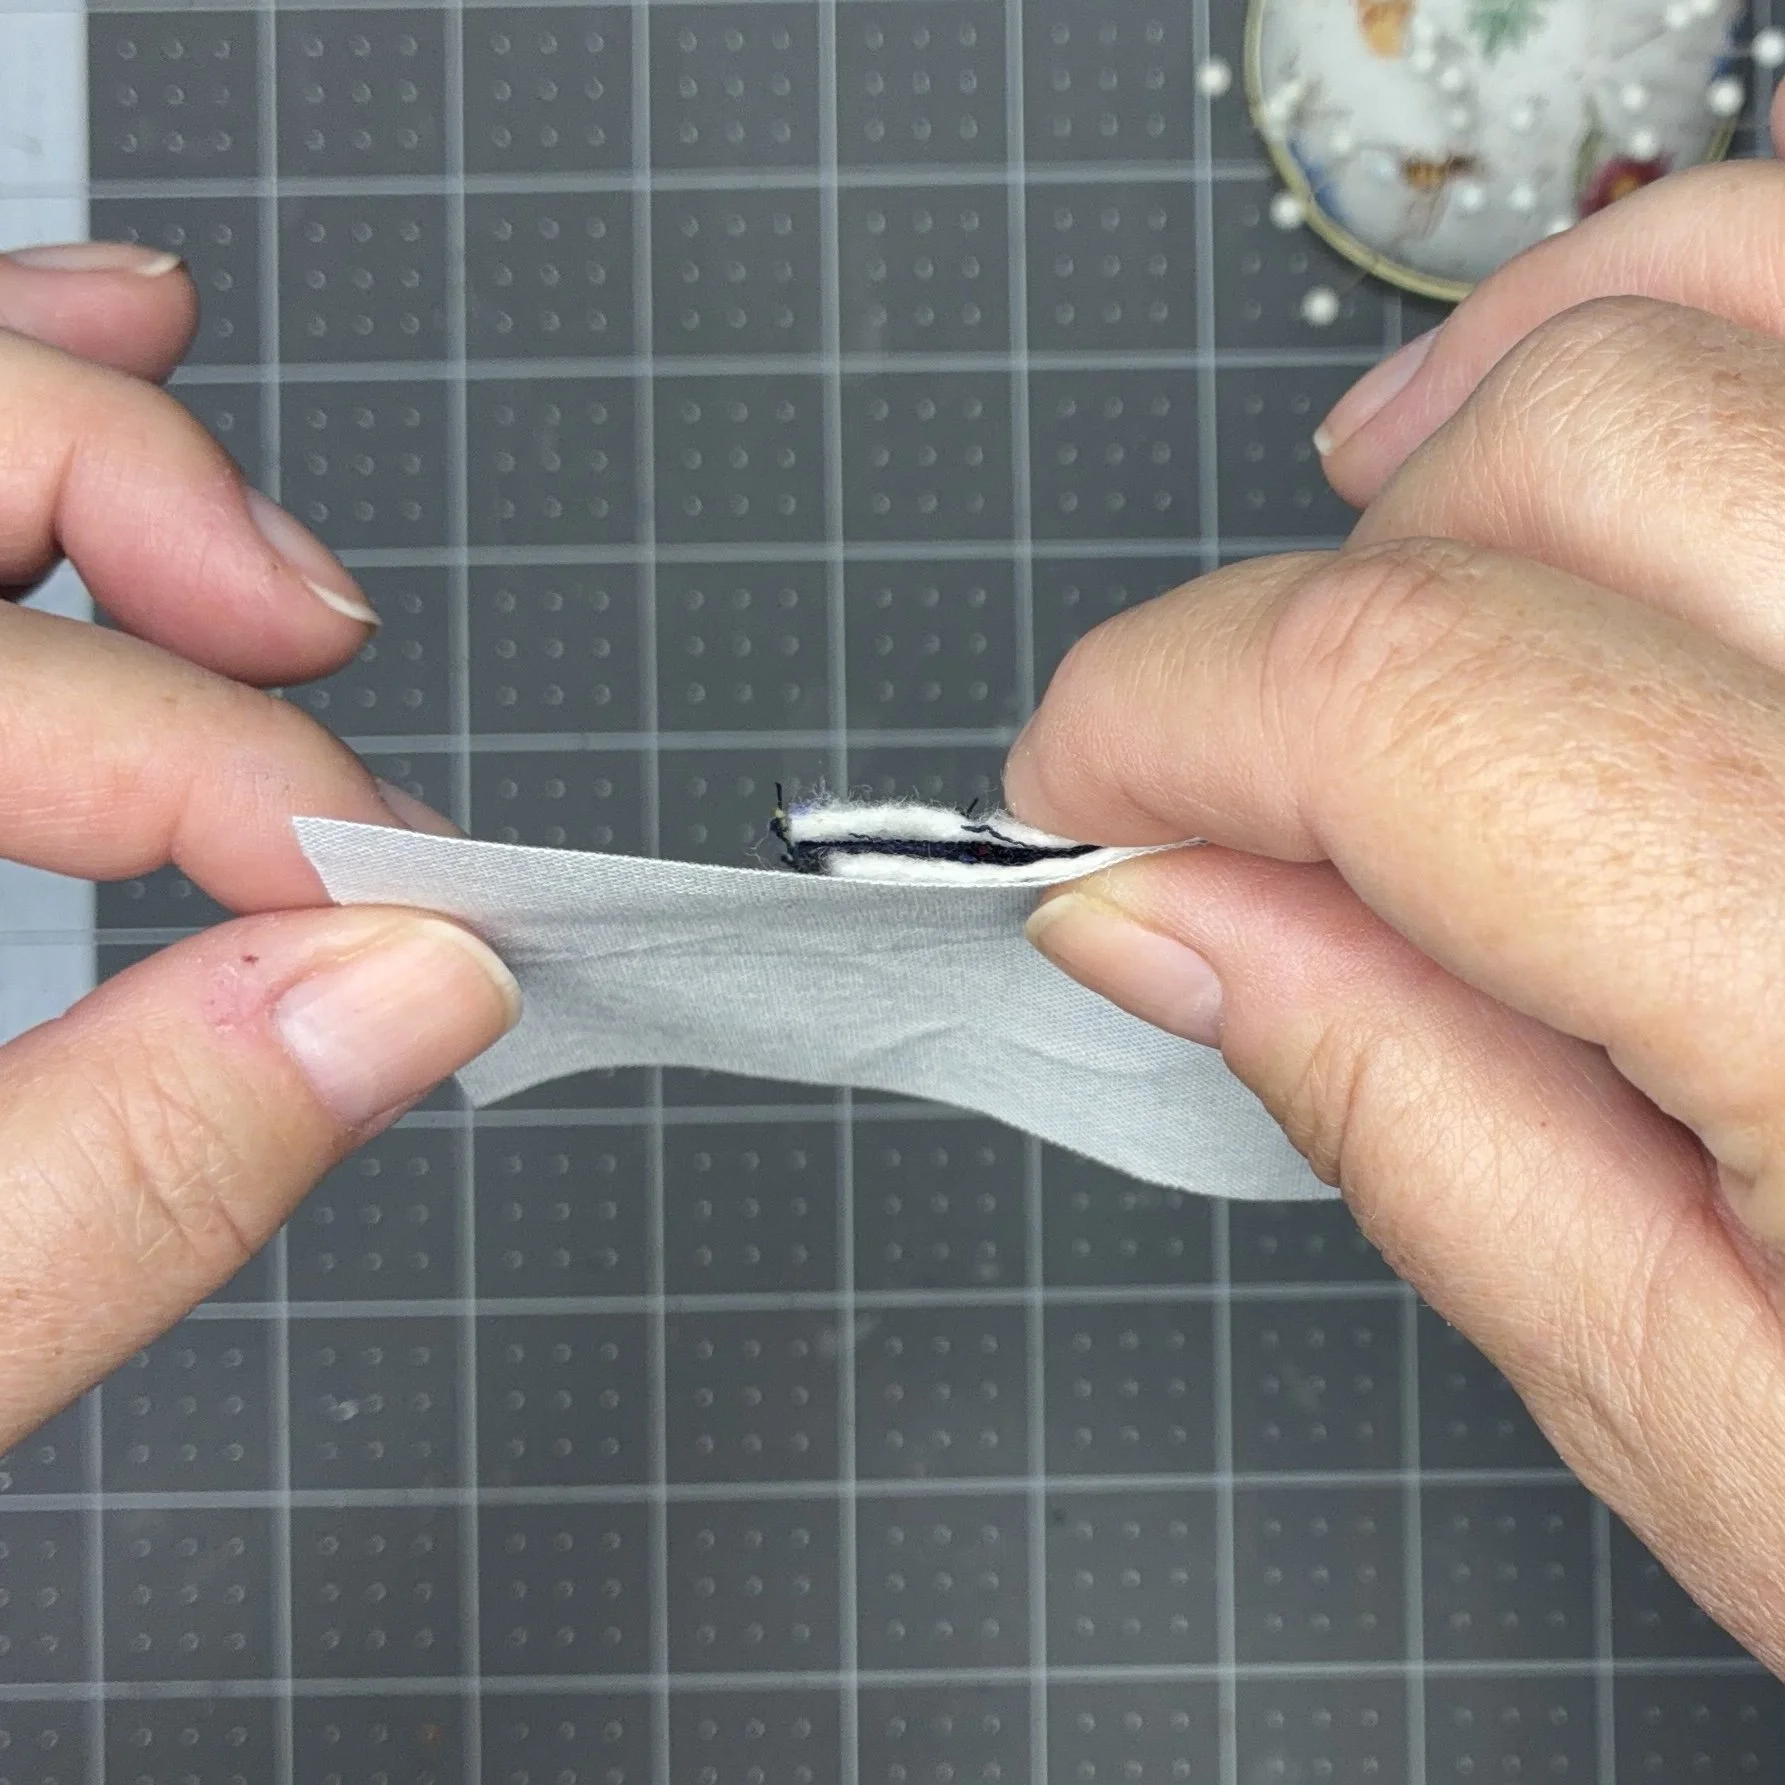
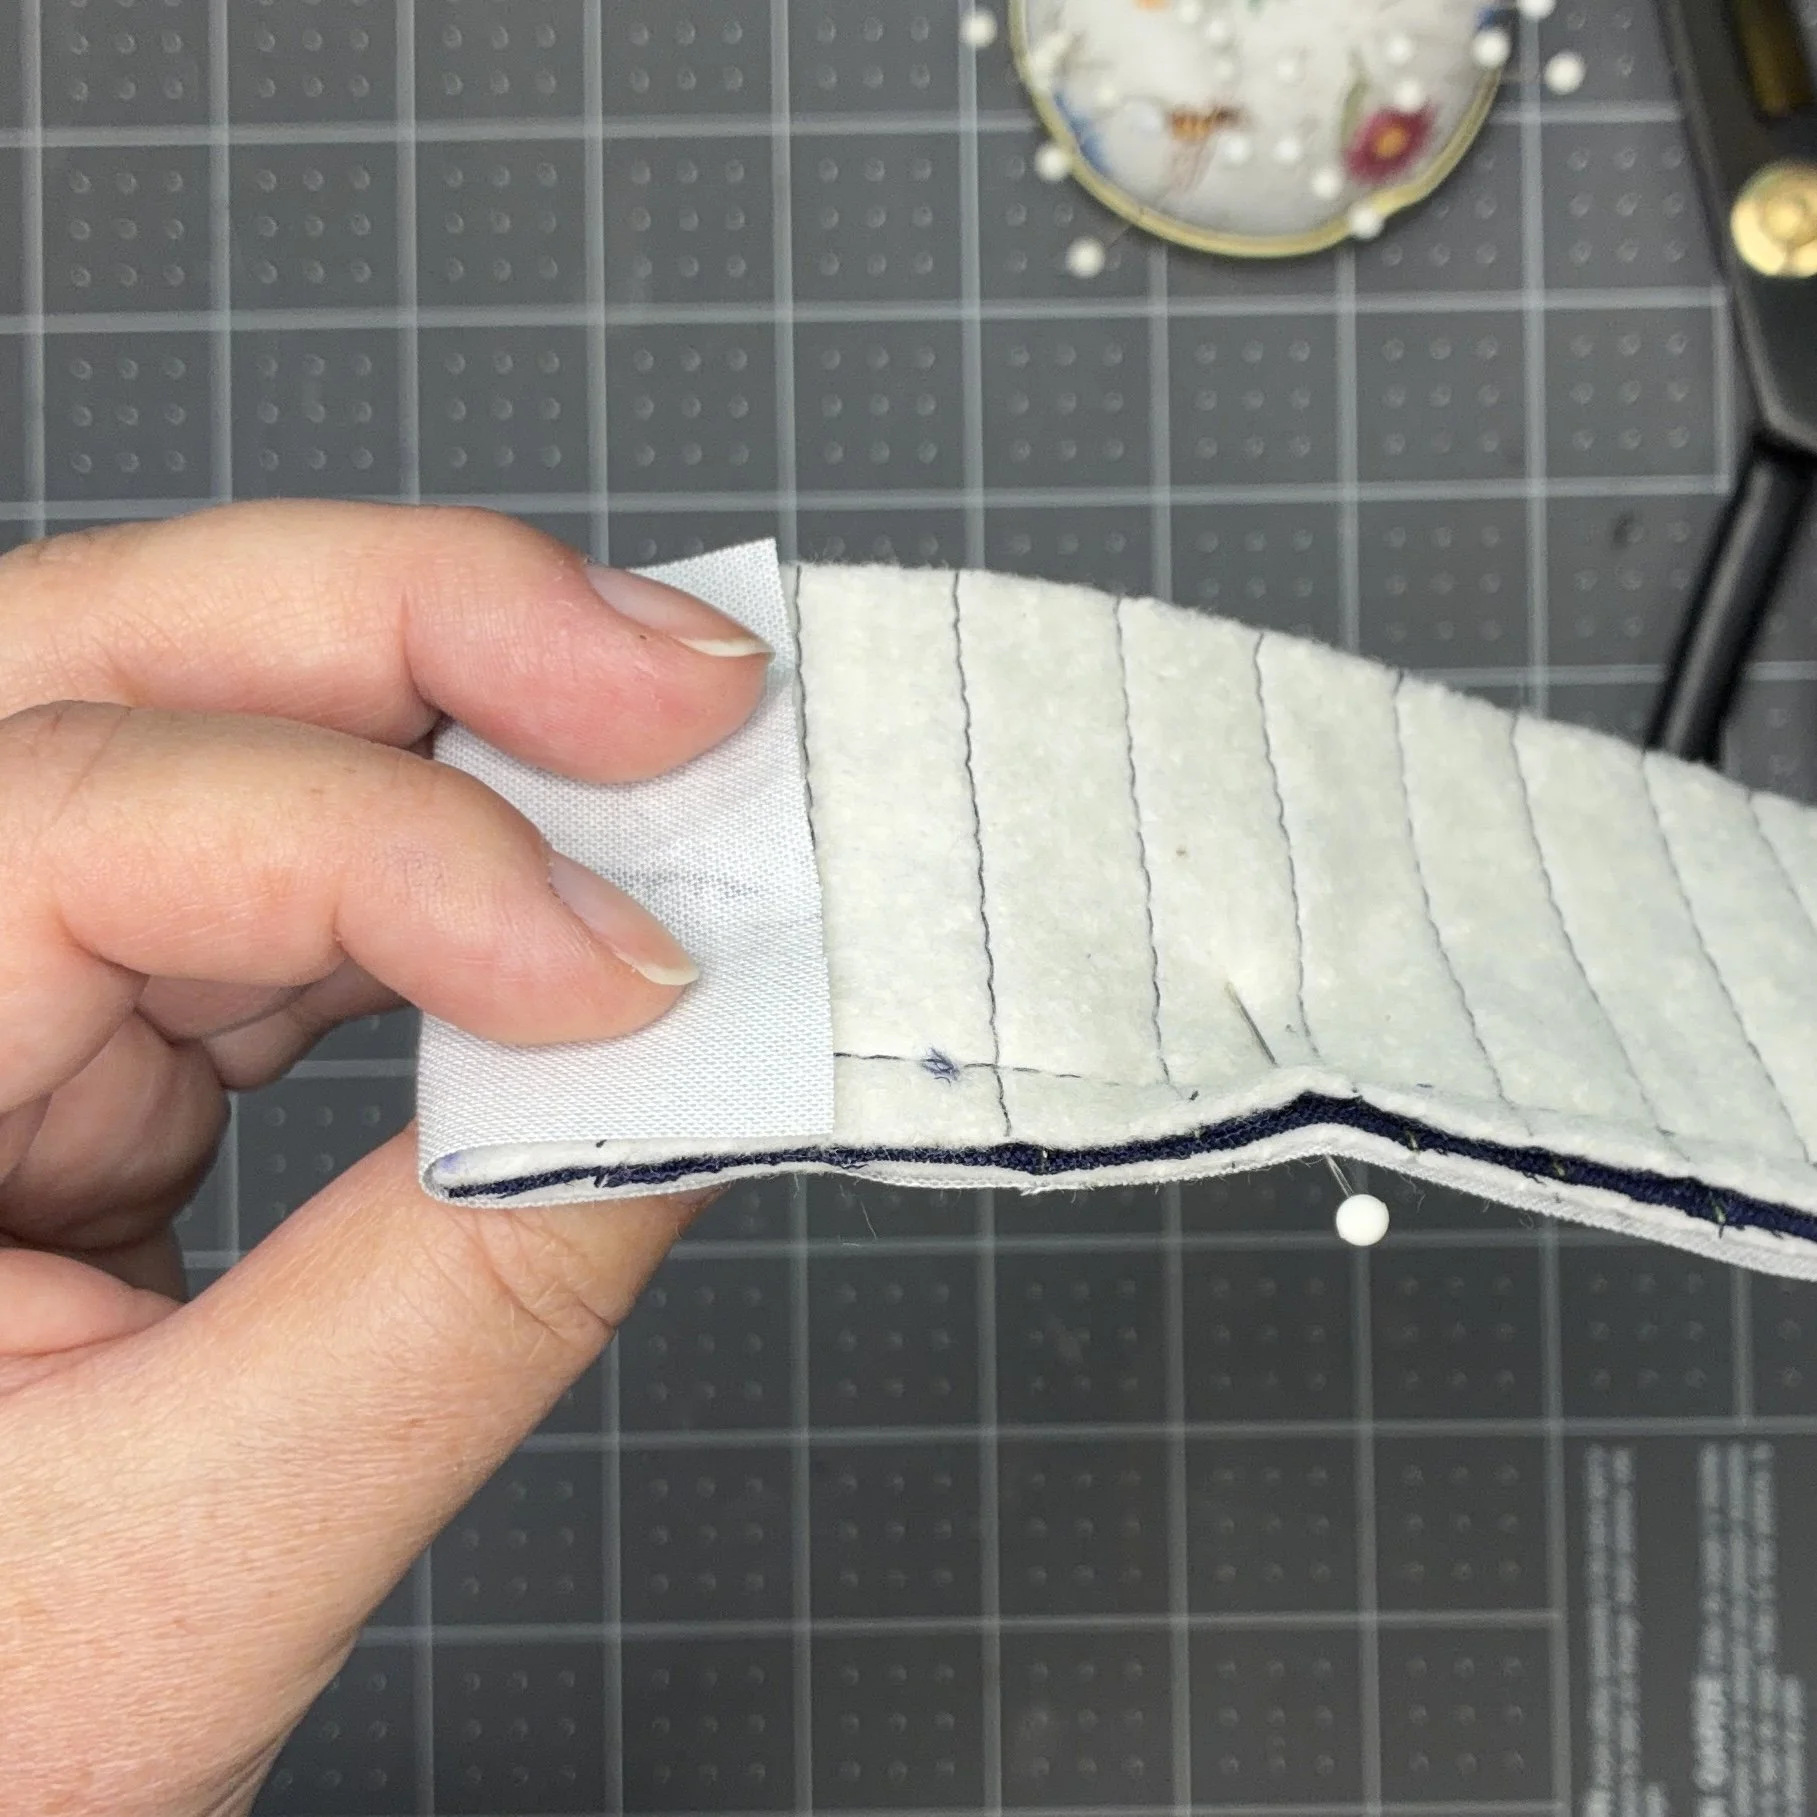
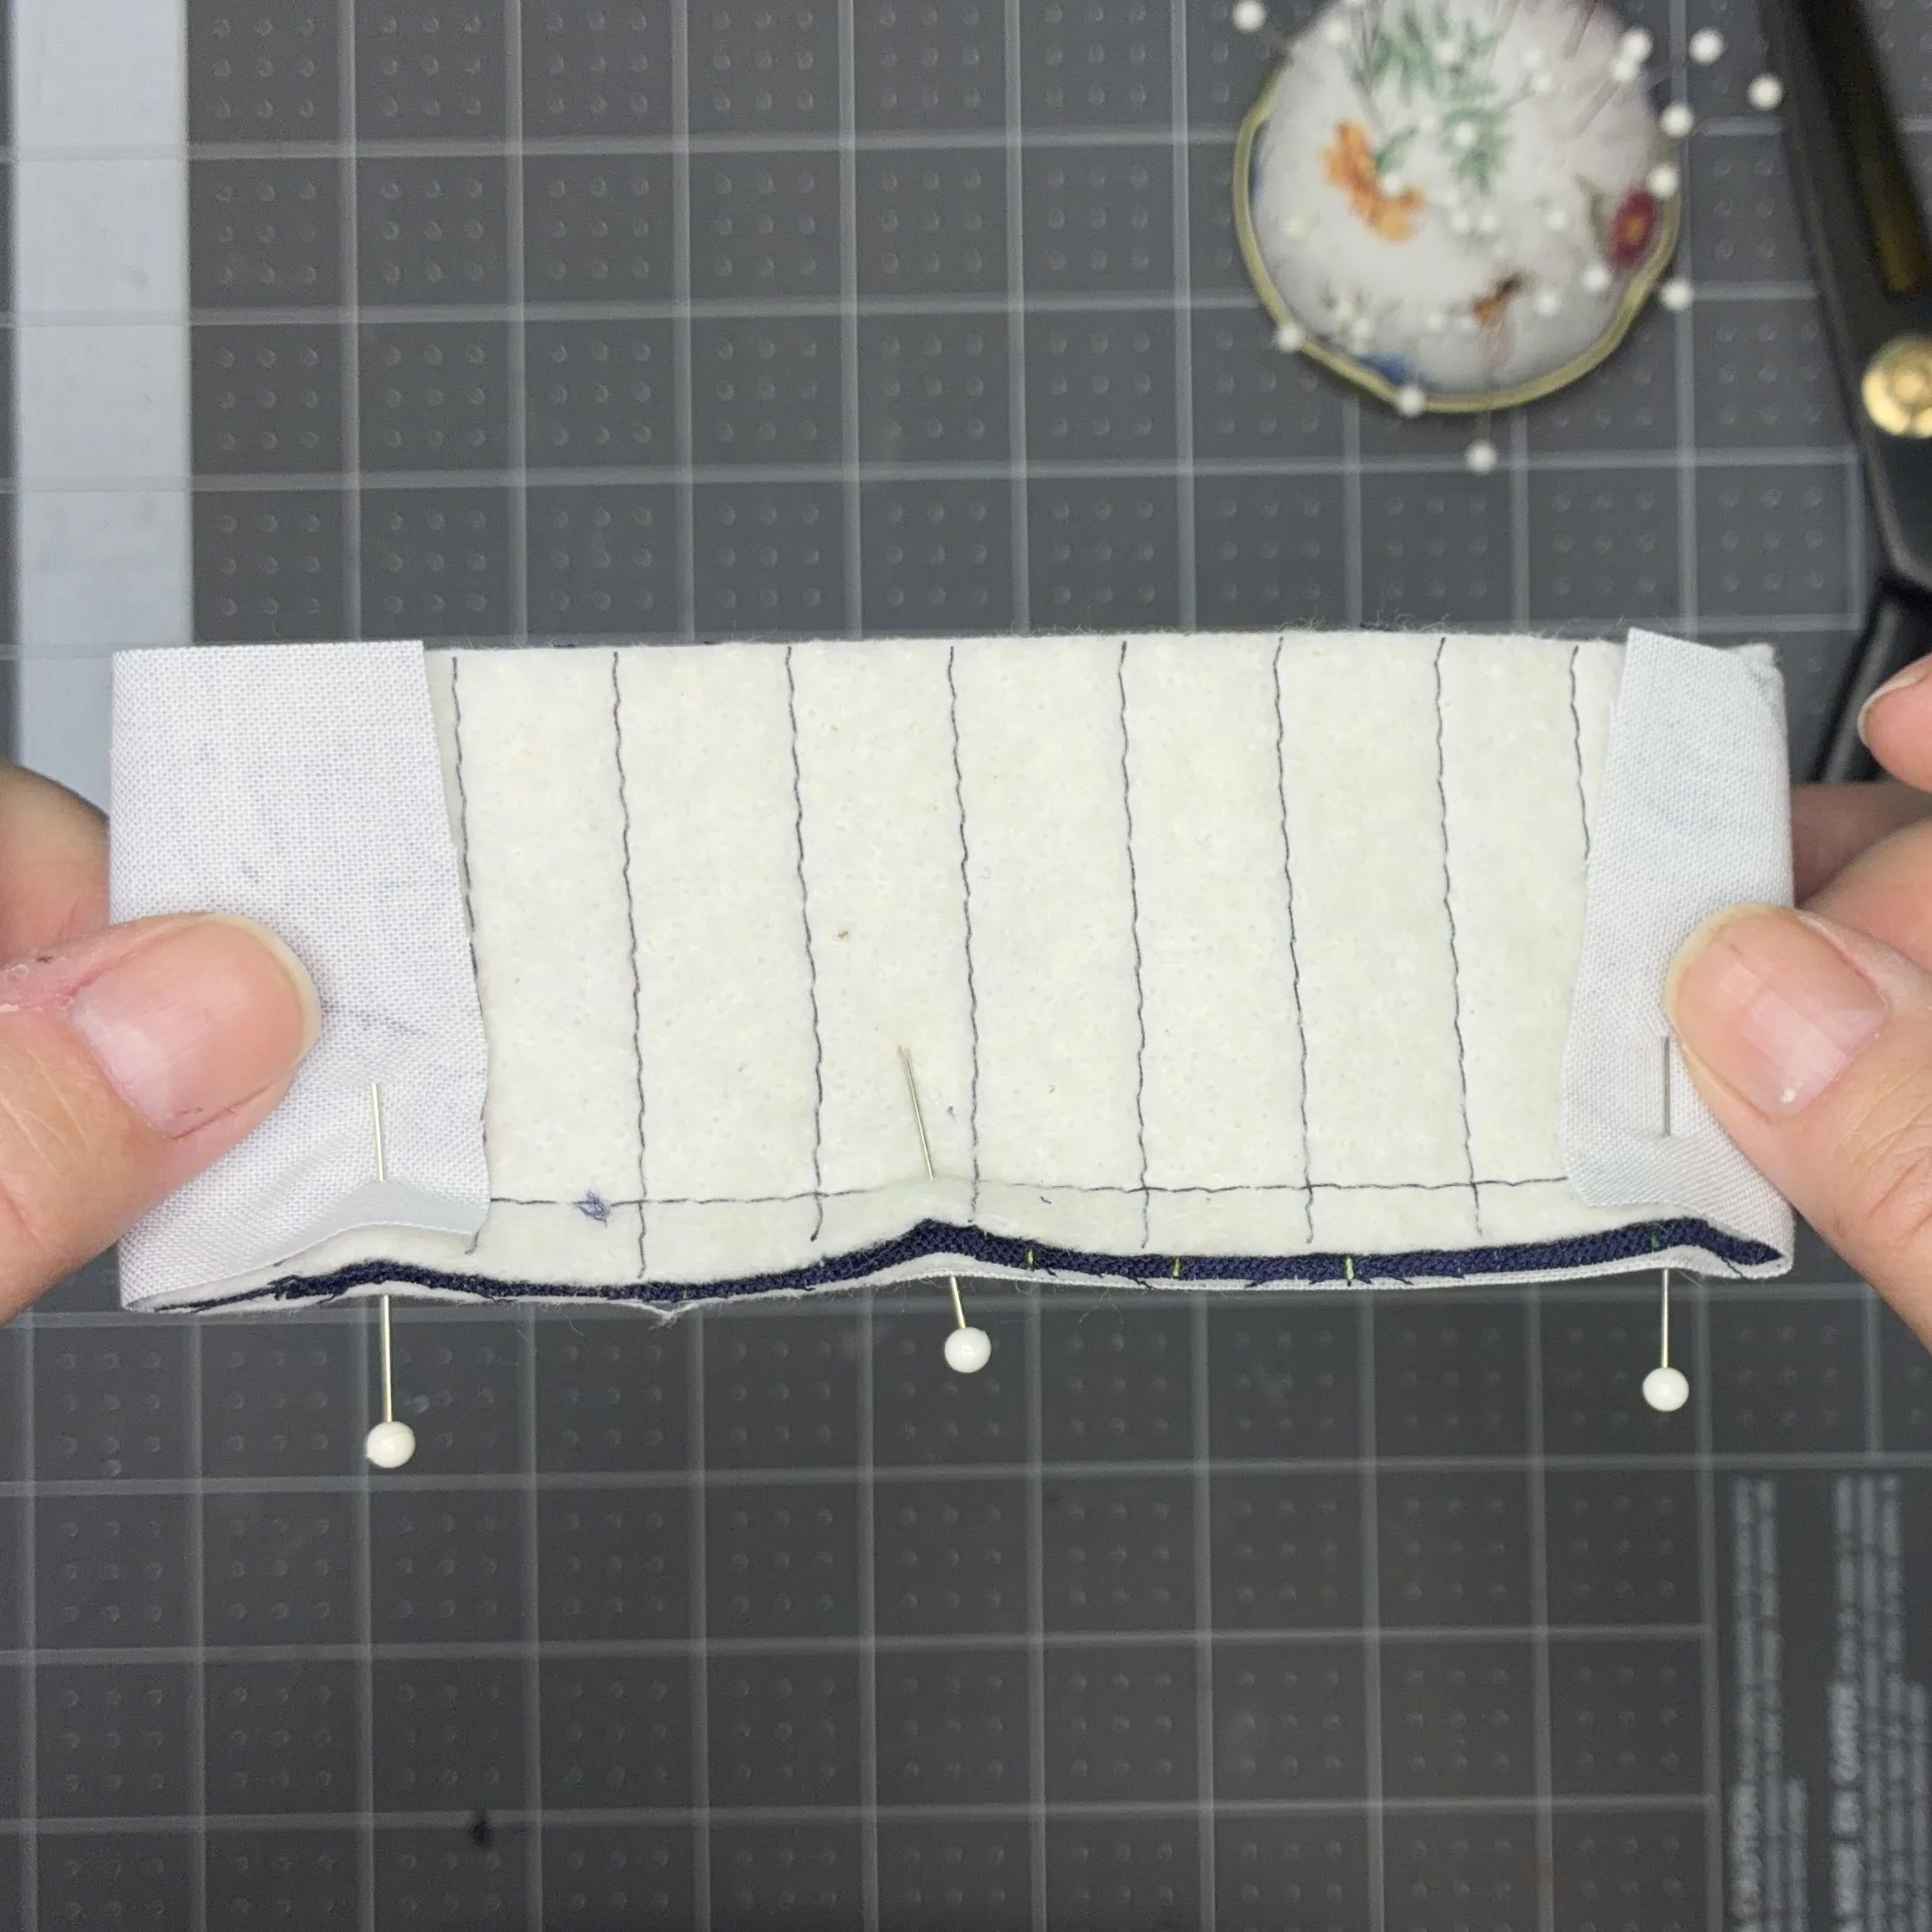
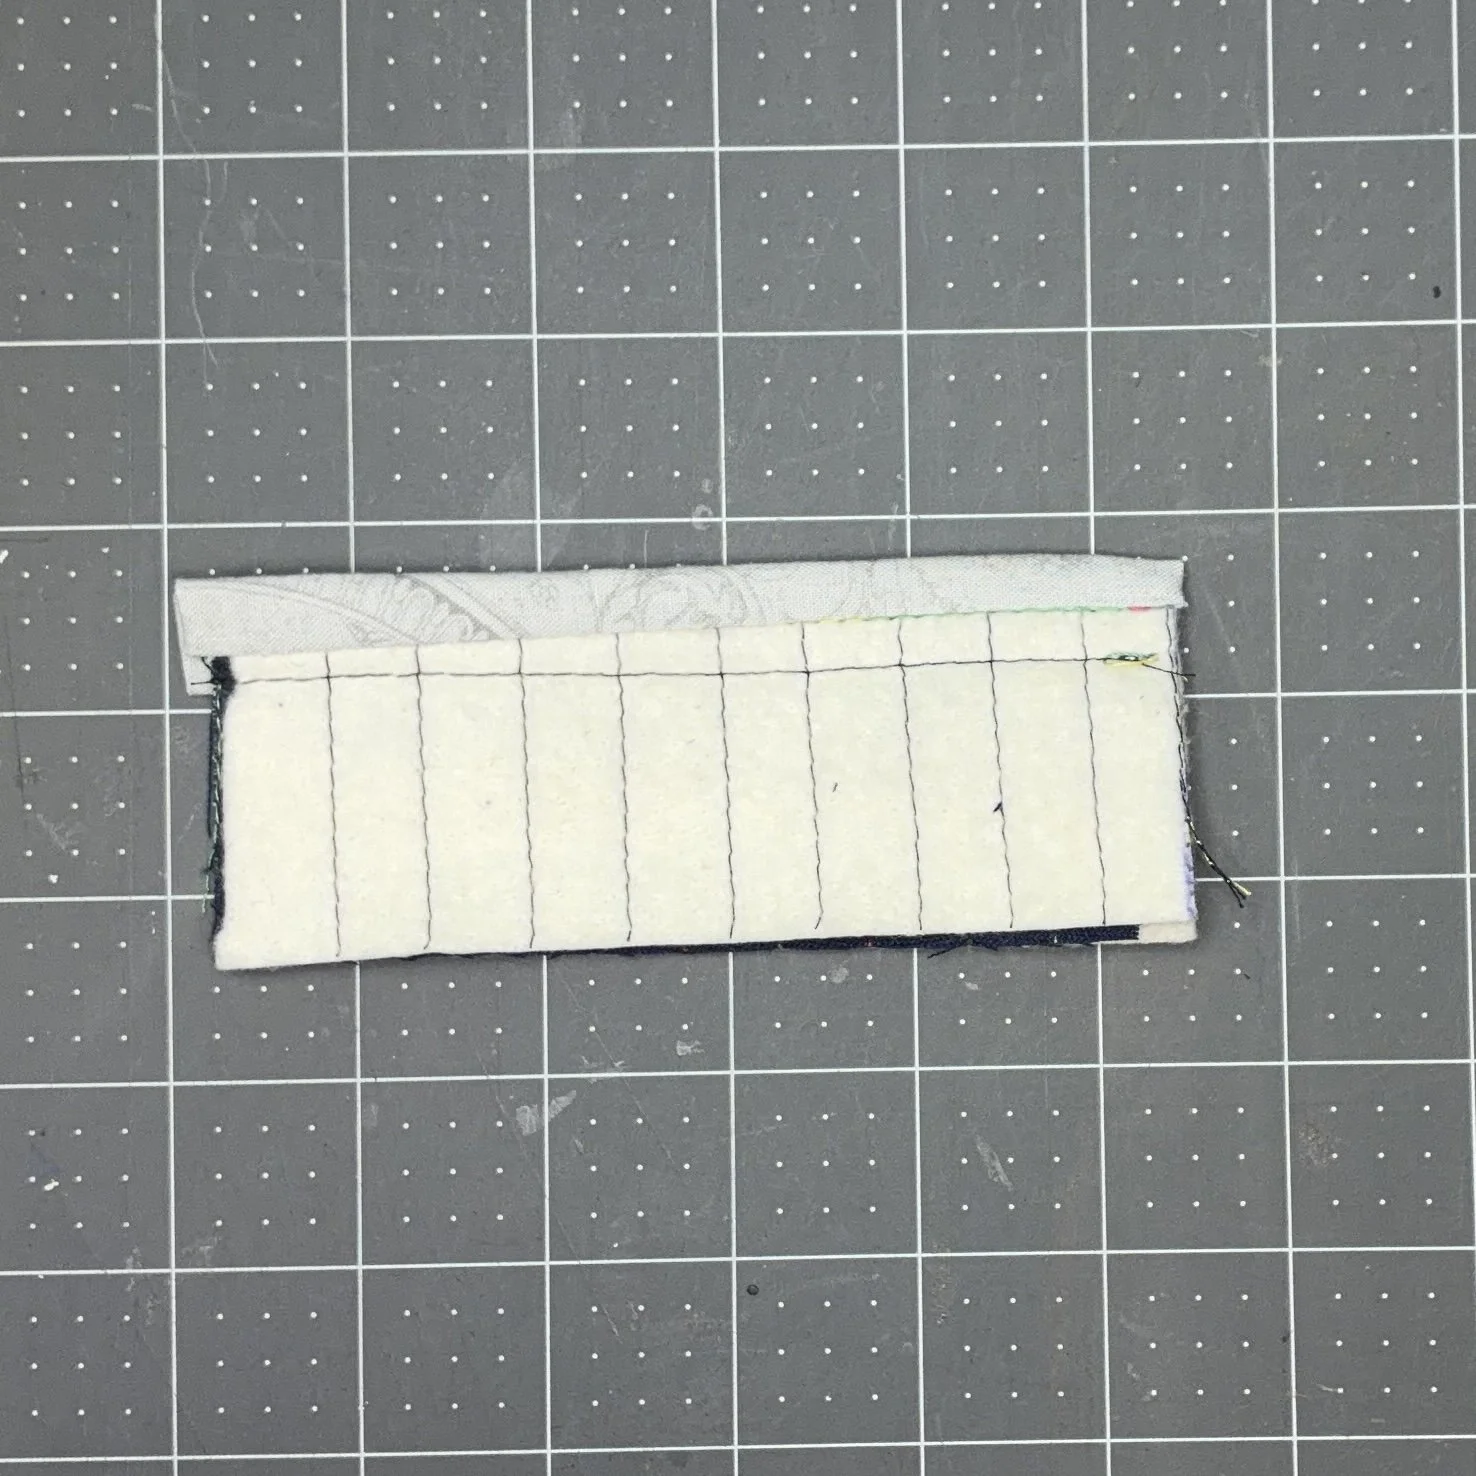
I stitched the binding down with a 1/4” seam, and trimmed the corners. Then I lifted the binding up away from the seam and turned my fabric over.
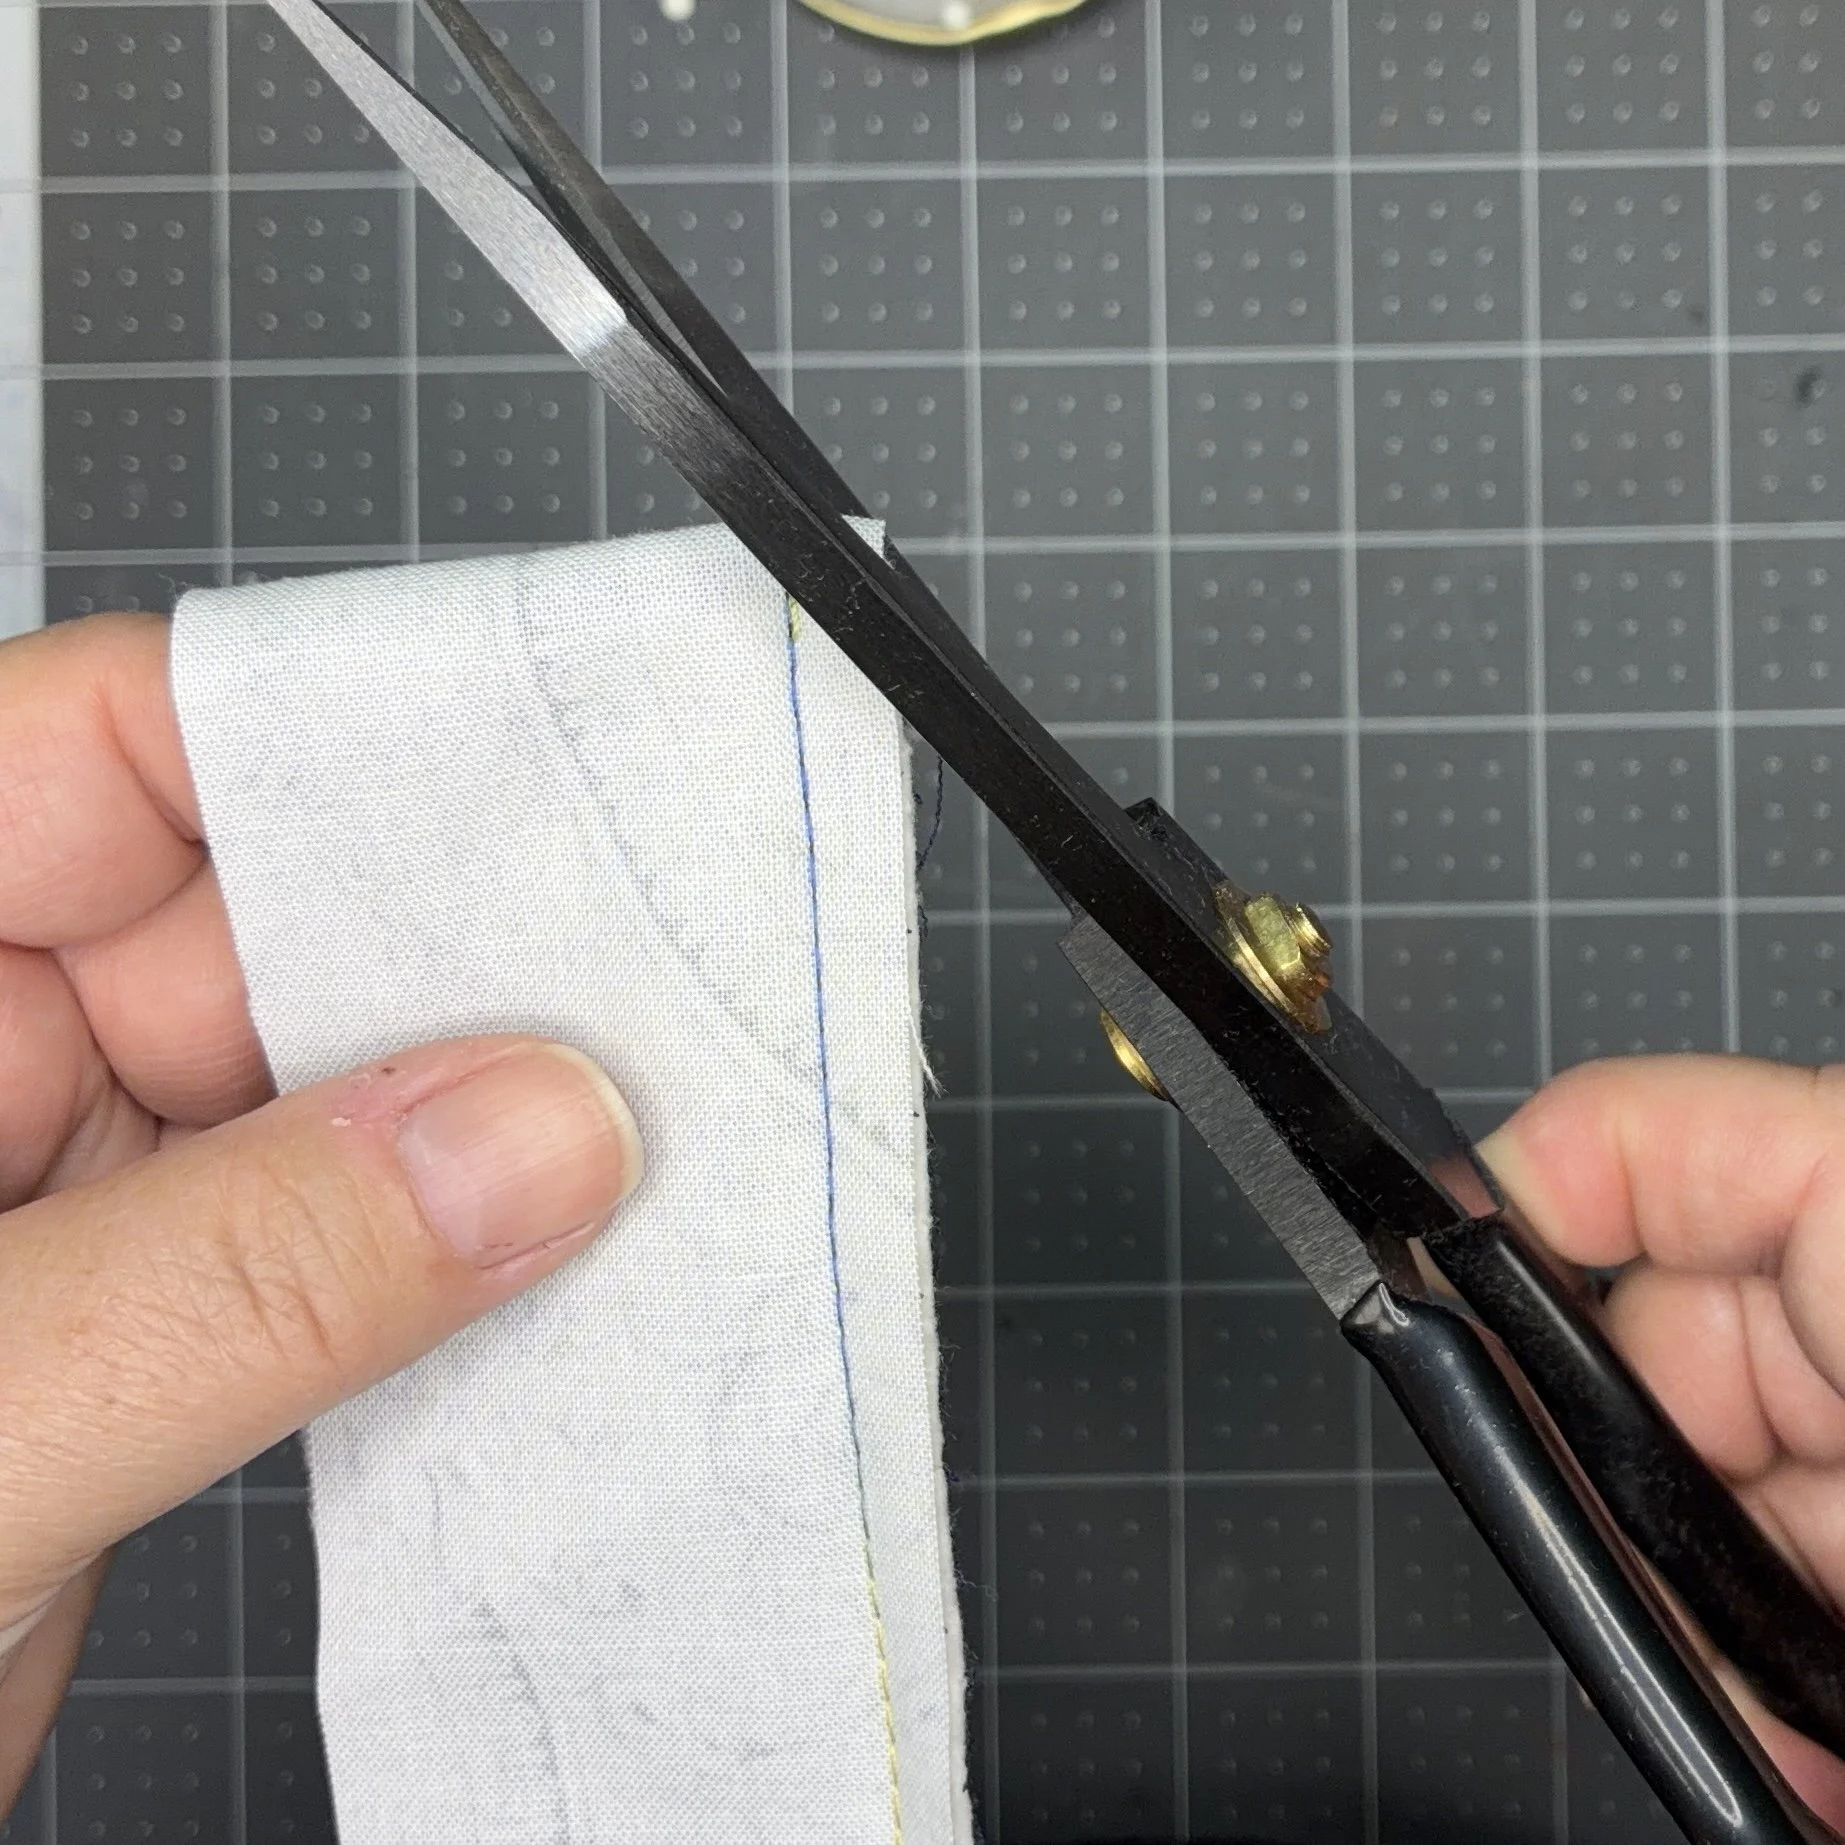
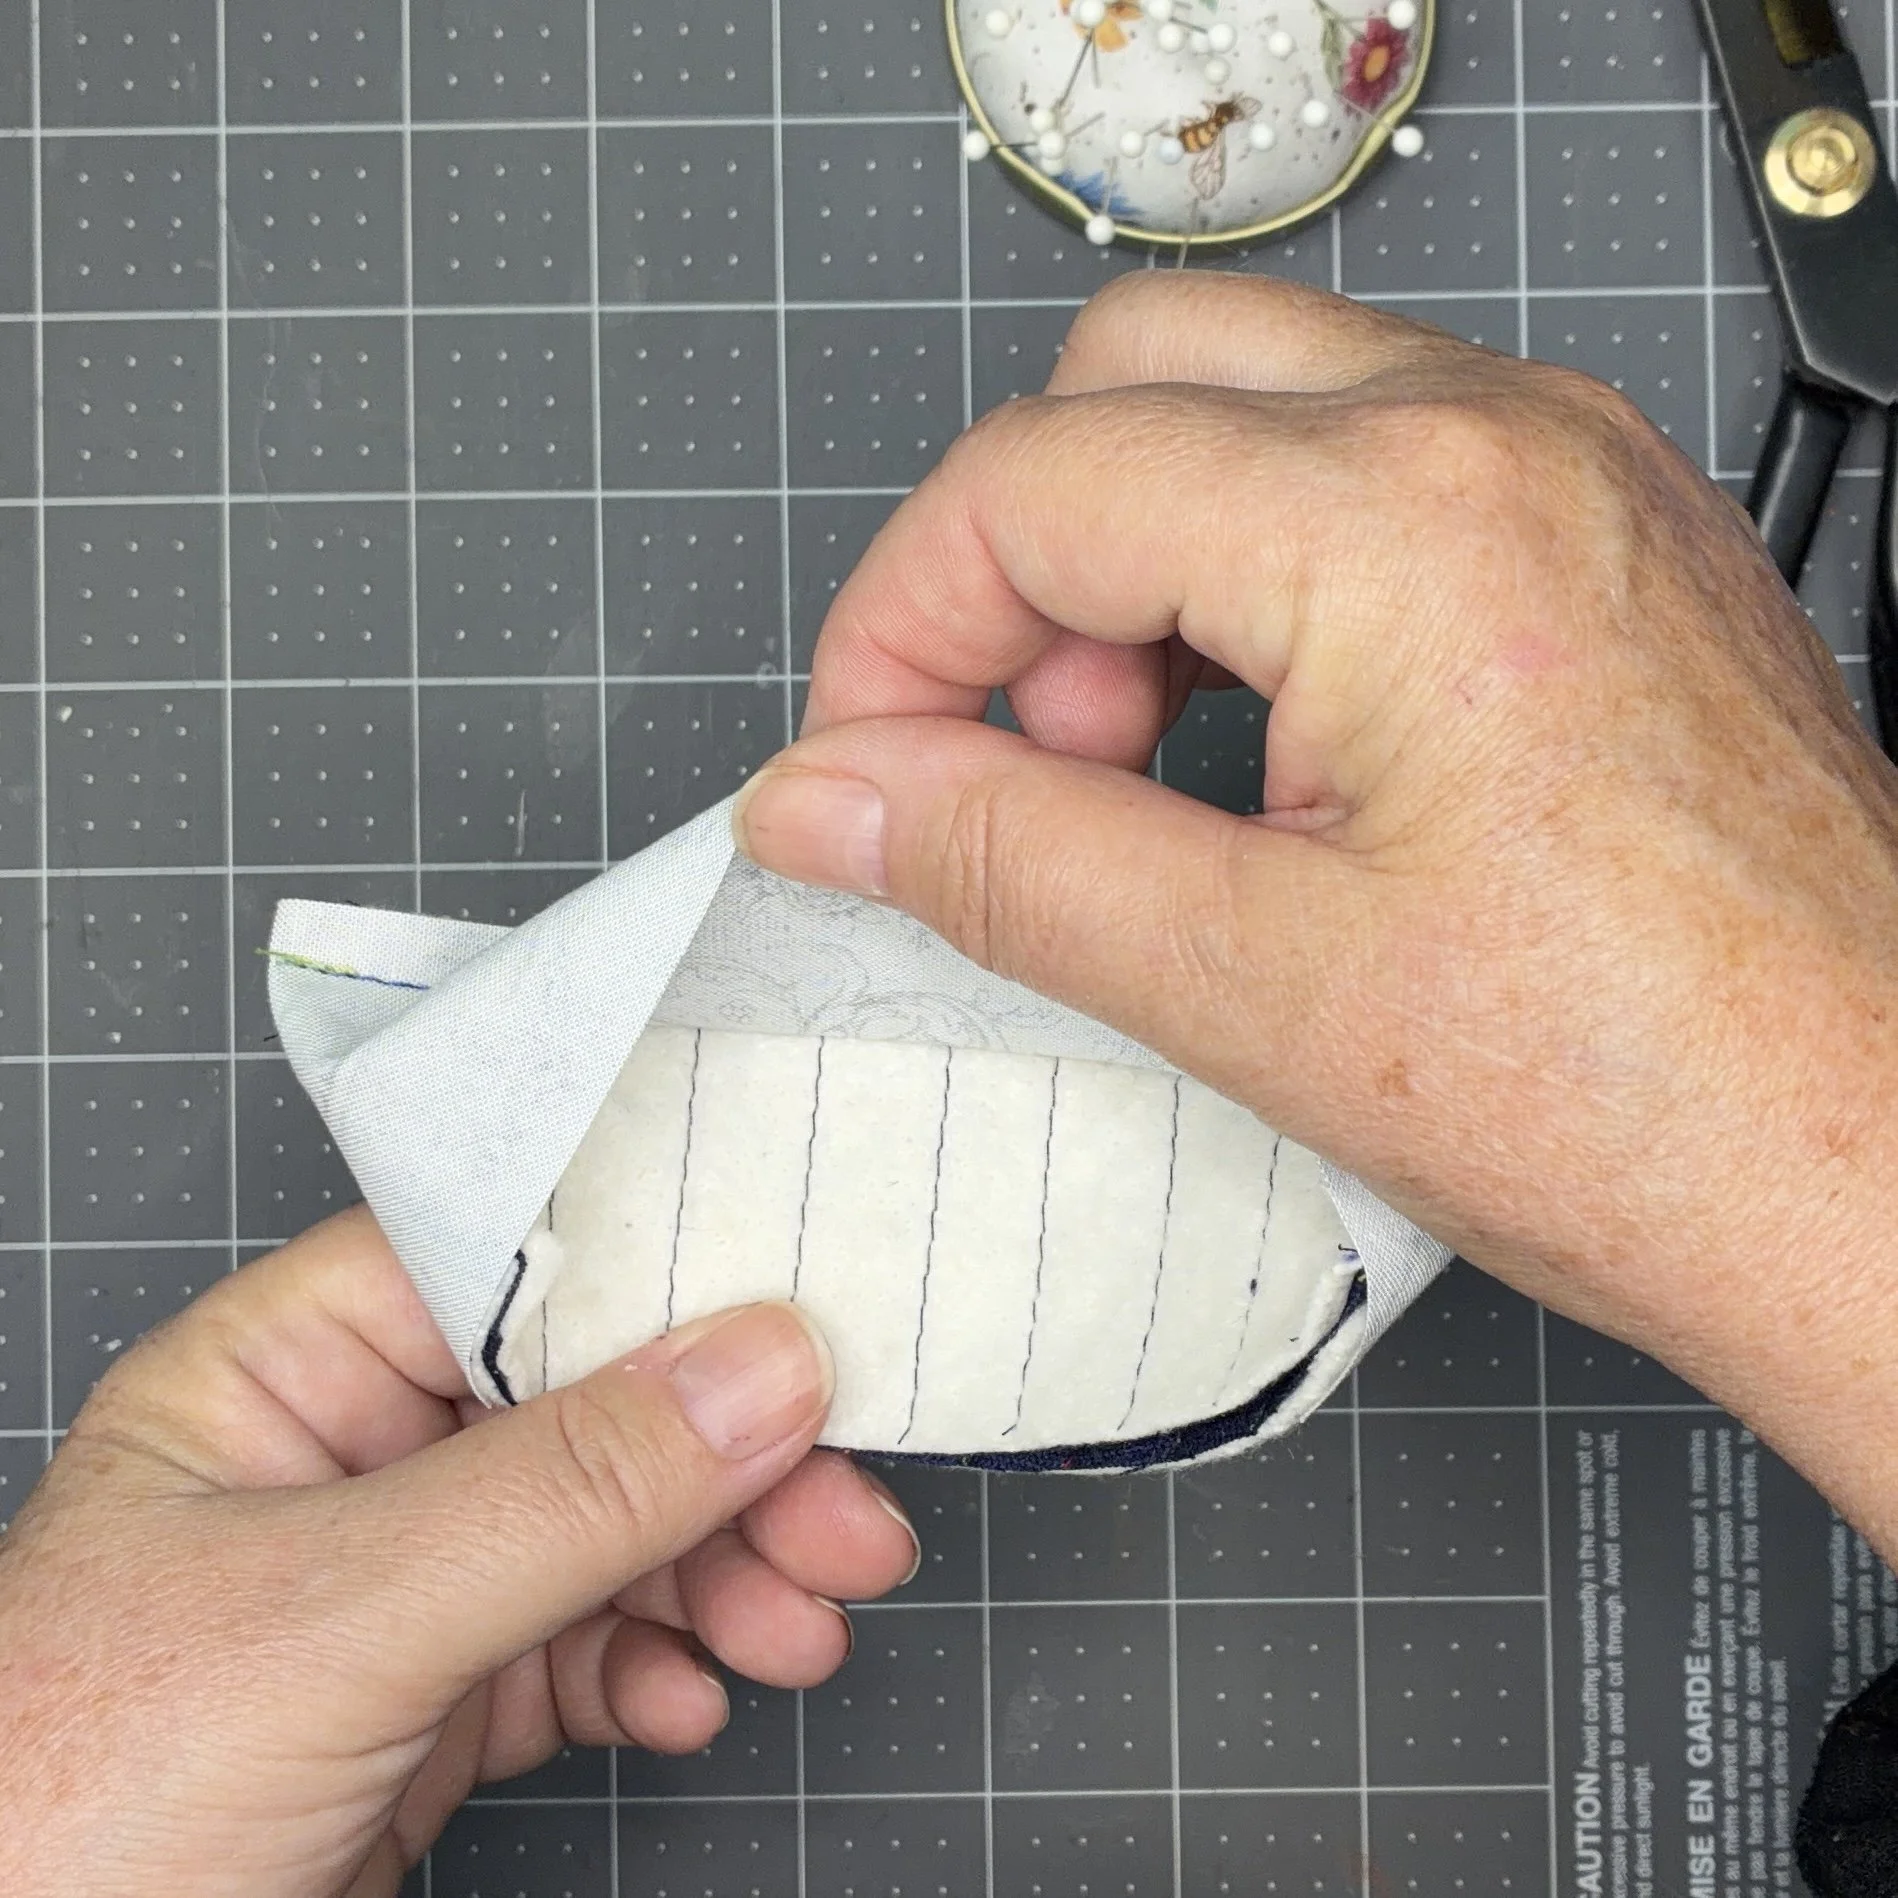
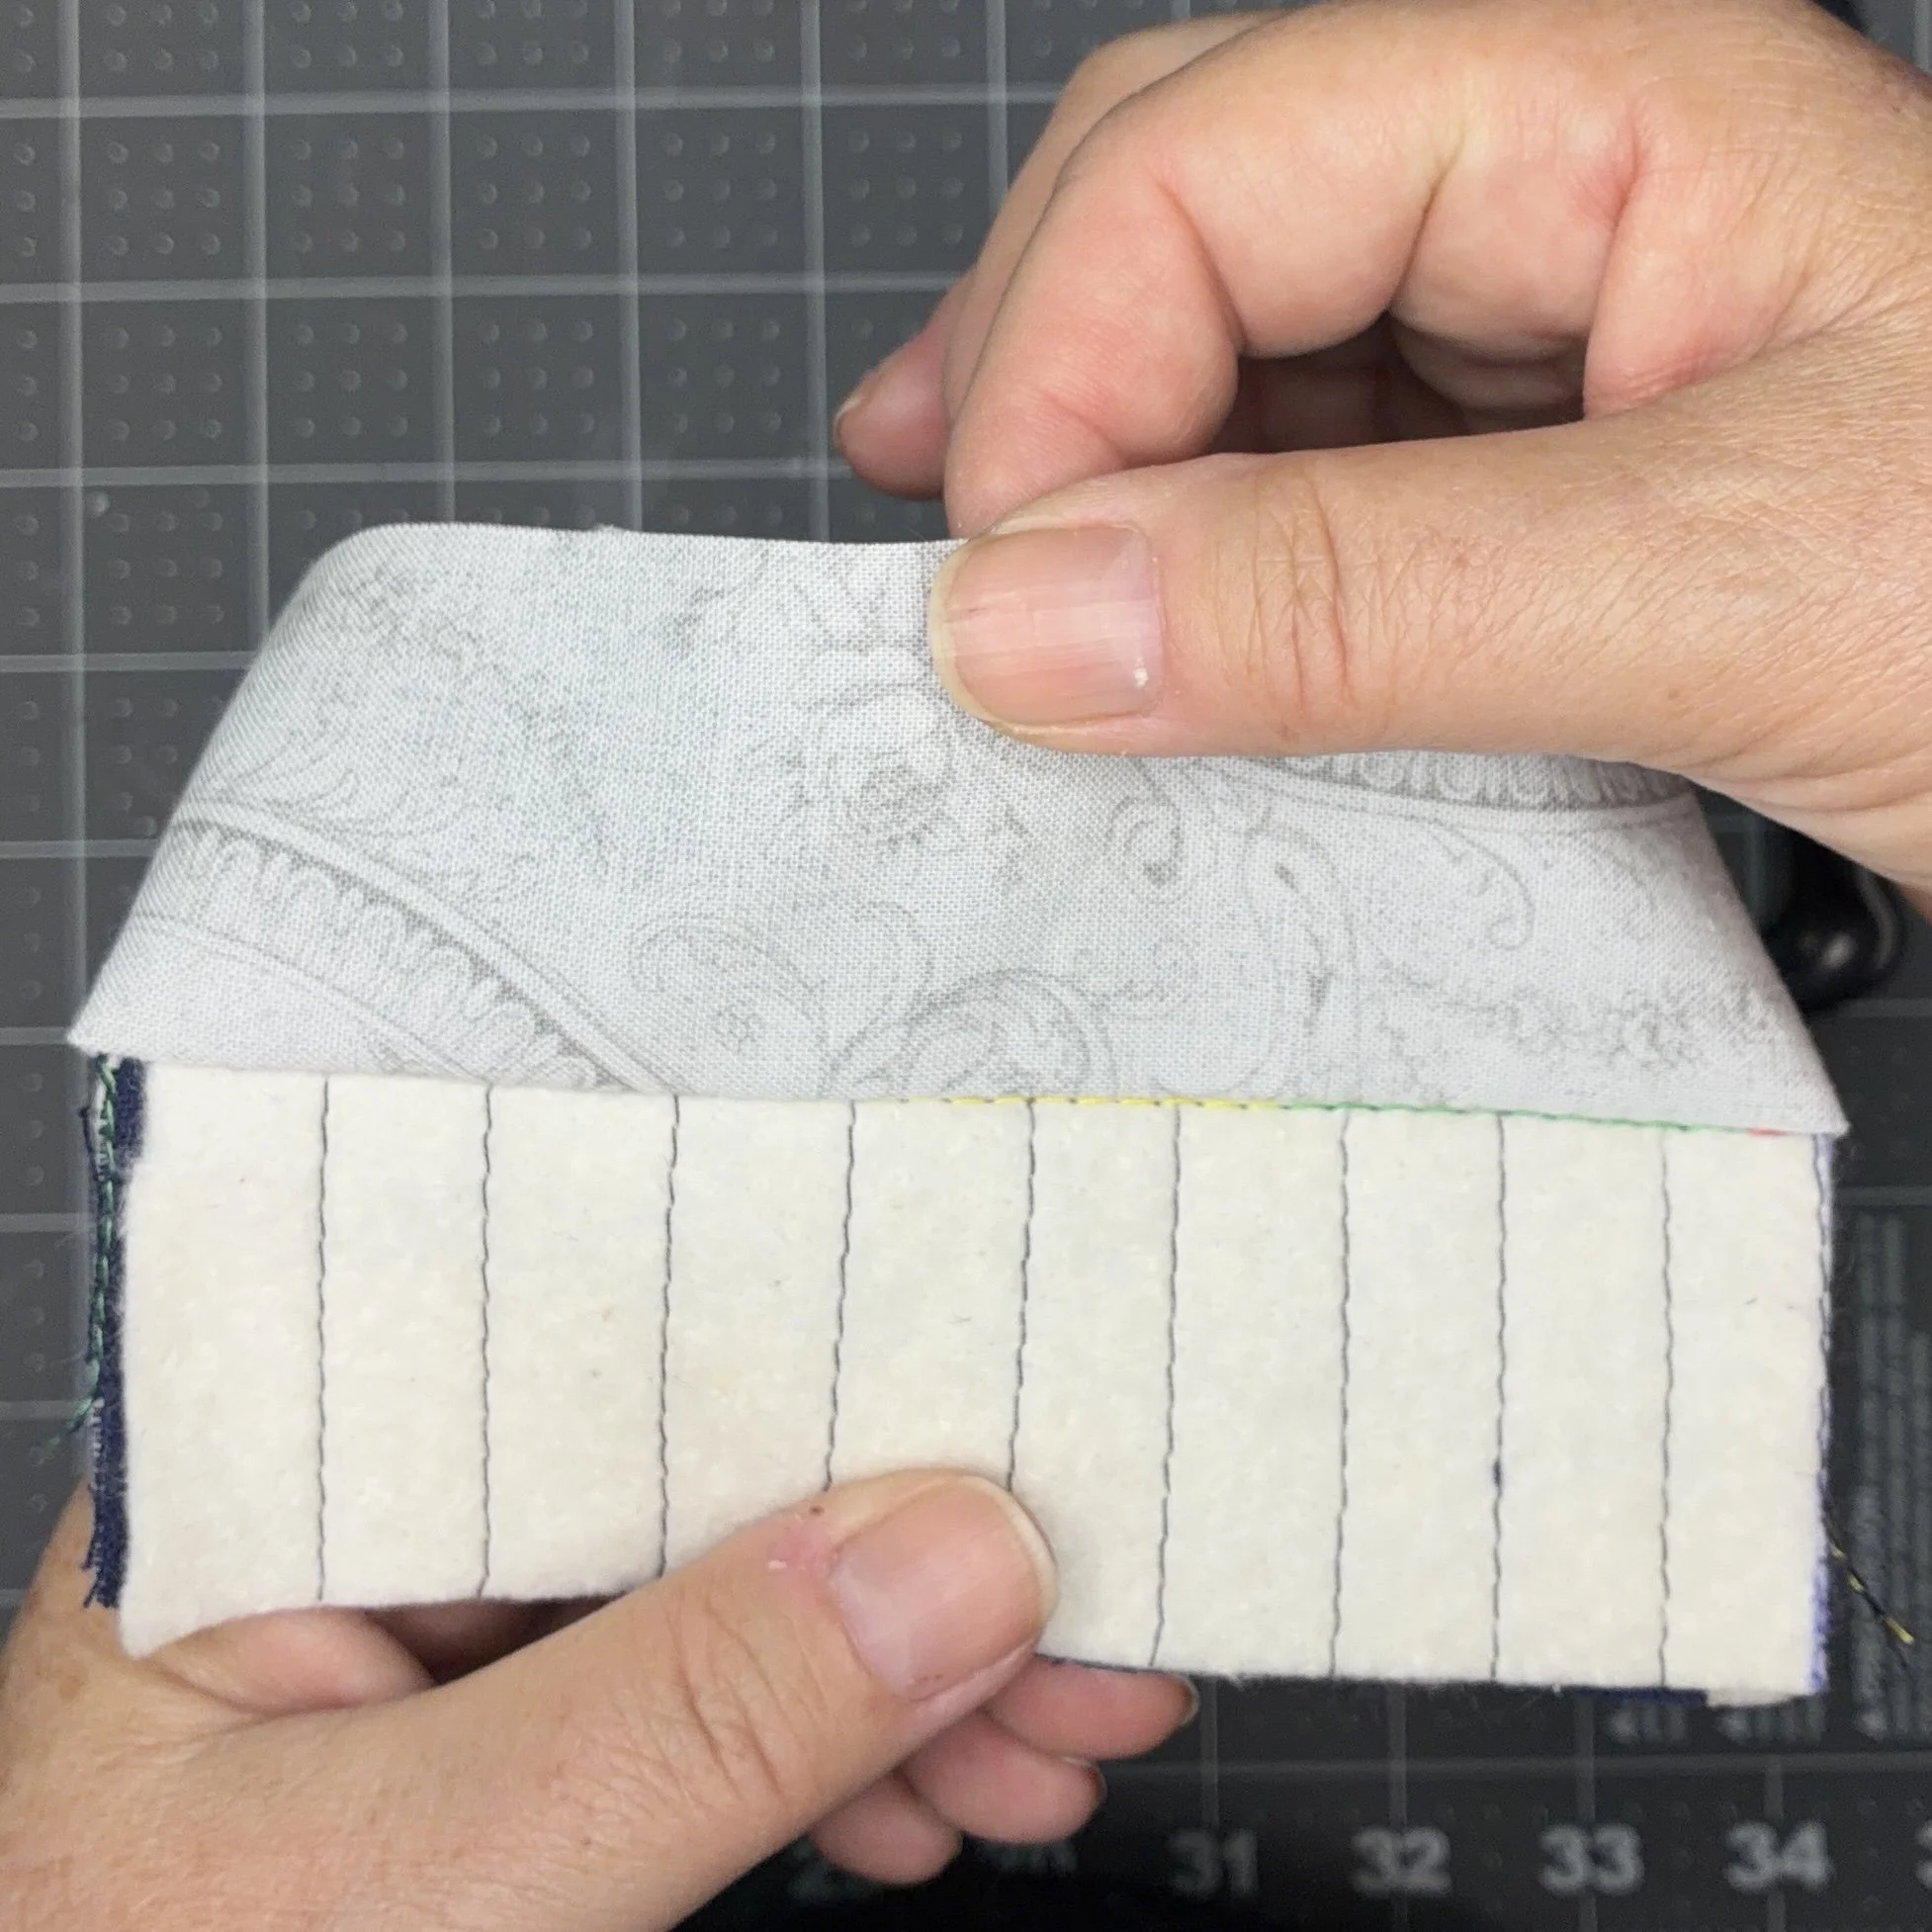
The binding wrapped tidily around the end of the fabric. I folded the top of the binding down until its raw edge met the raw edge of my fabric. Then I folded it over again, covering up the raw edge of the fabric, and pinned it in place.
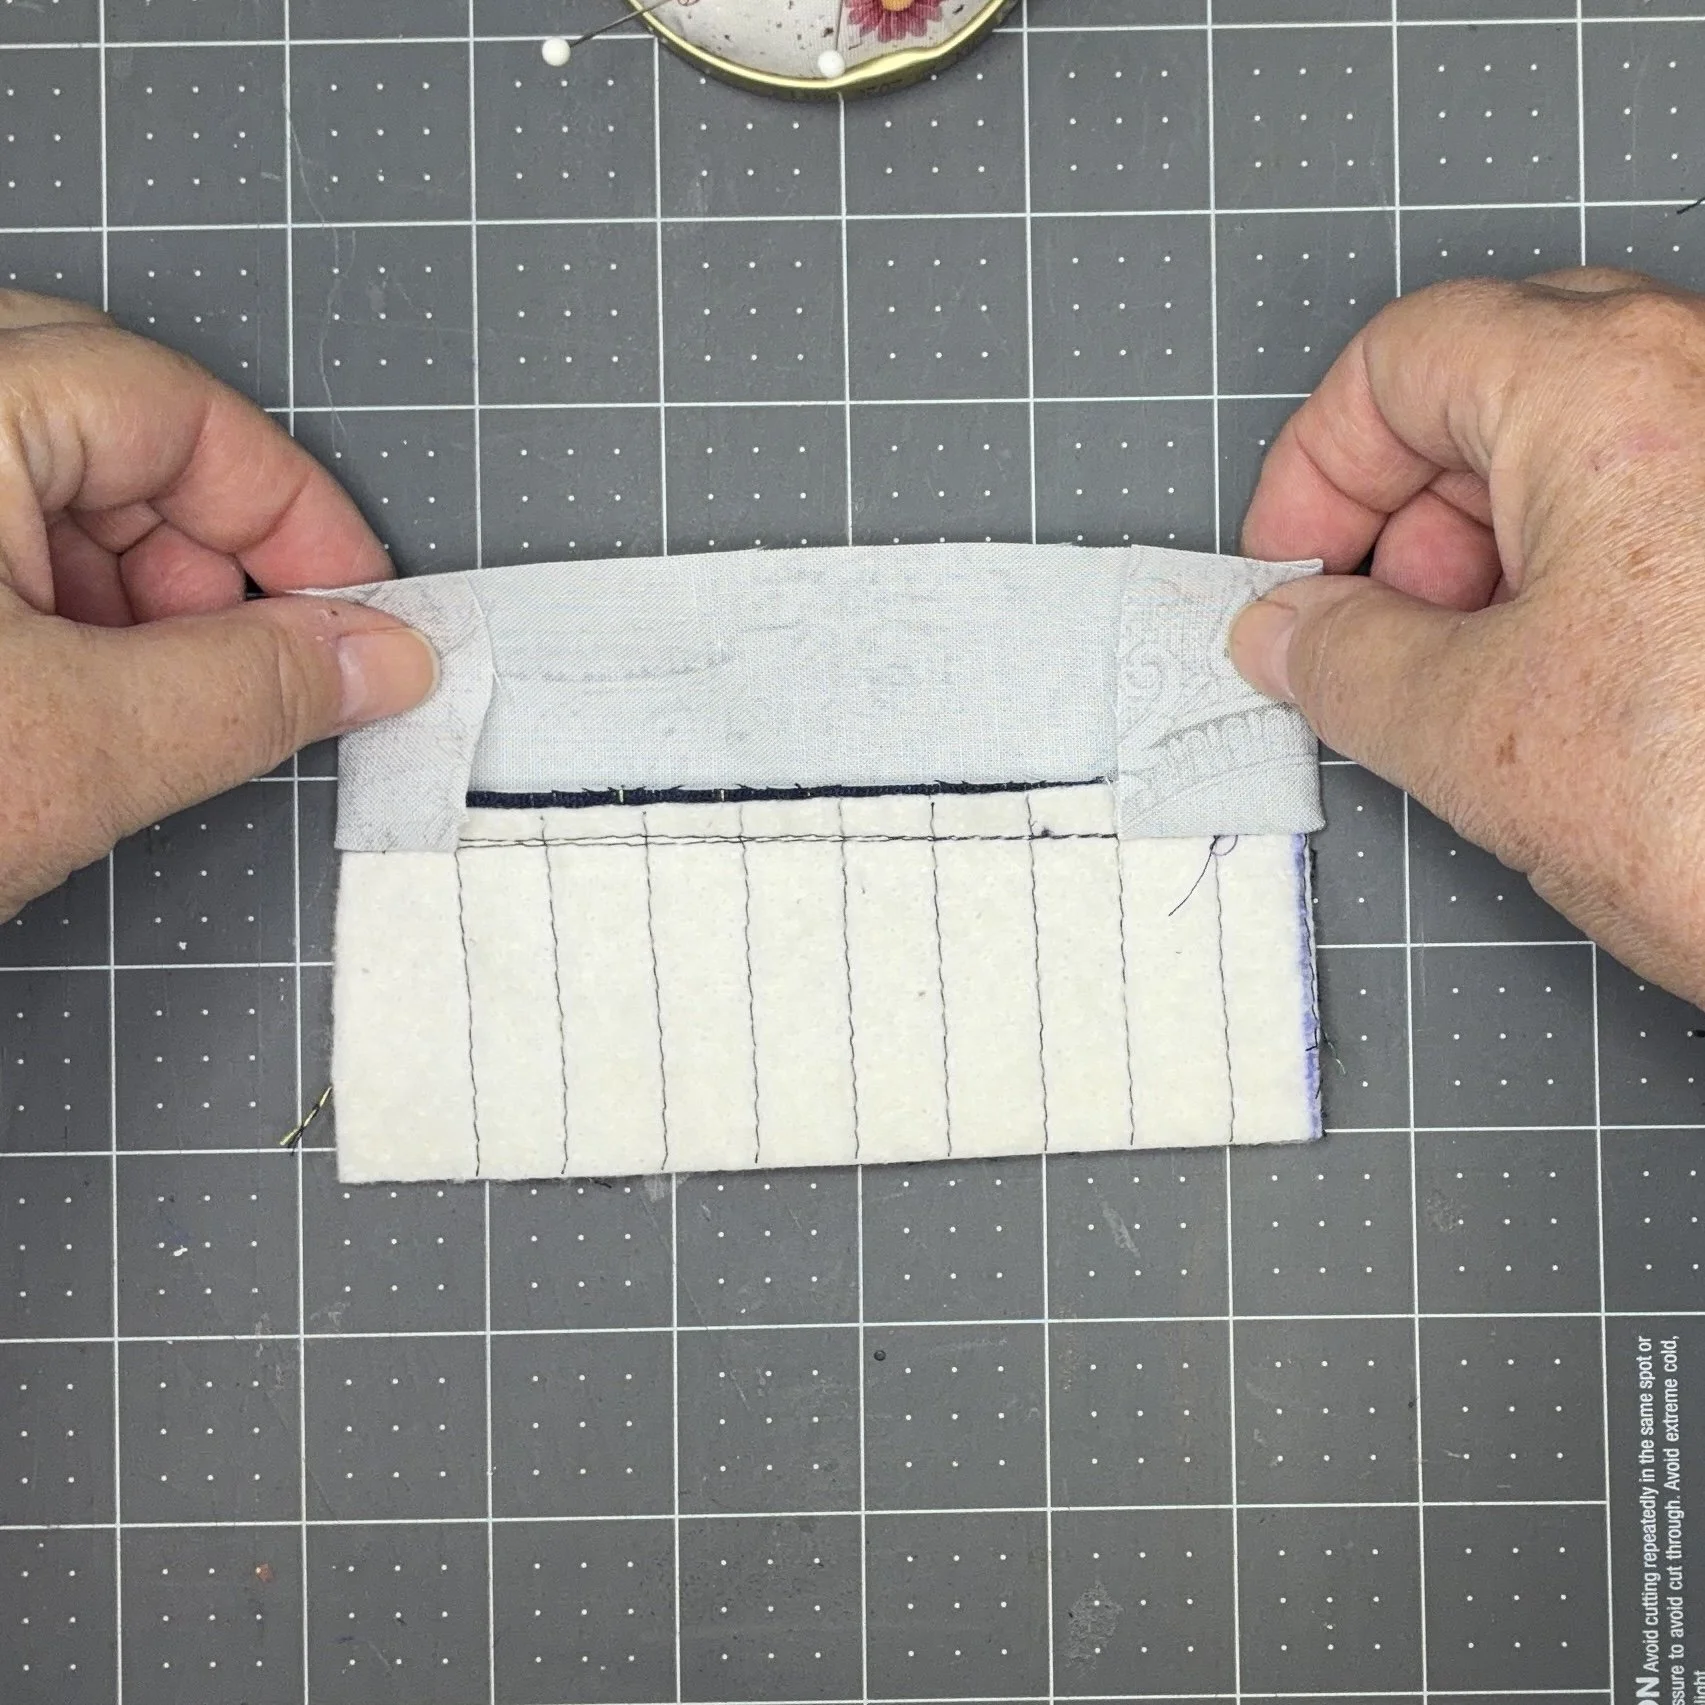
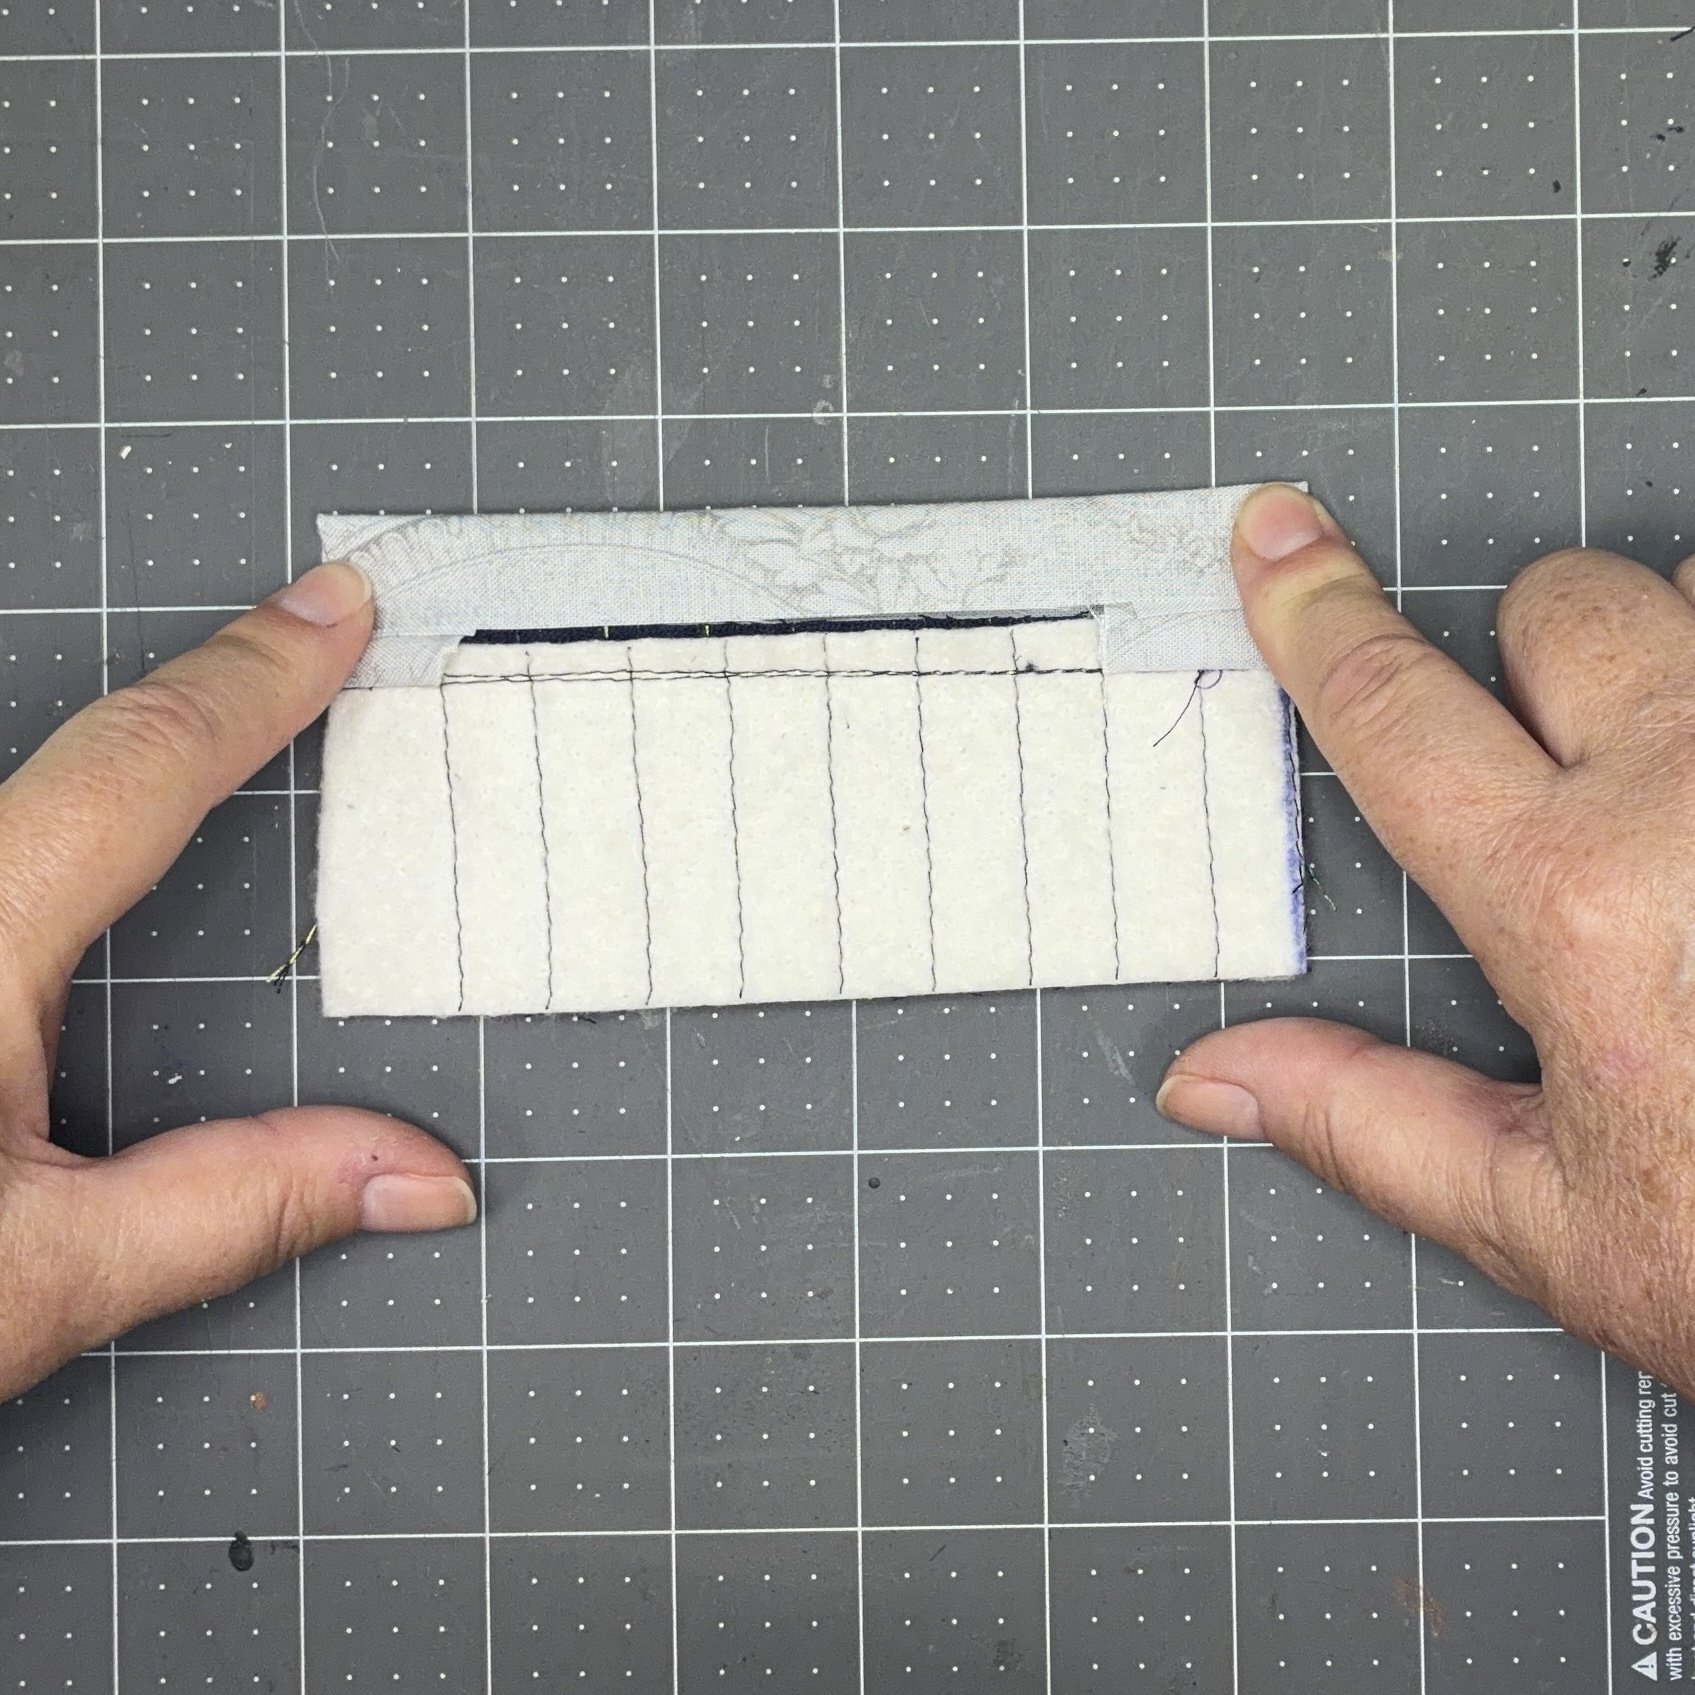
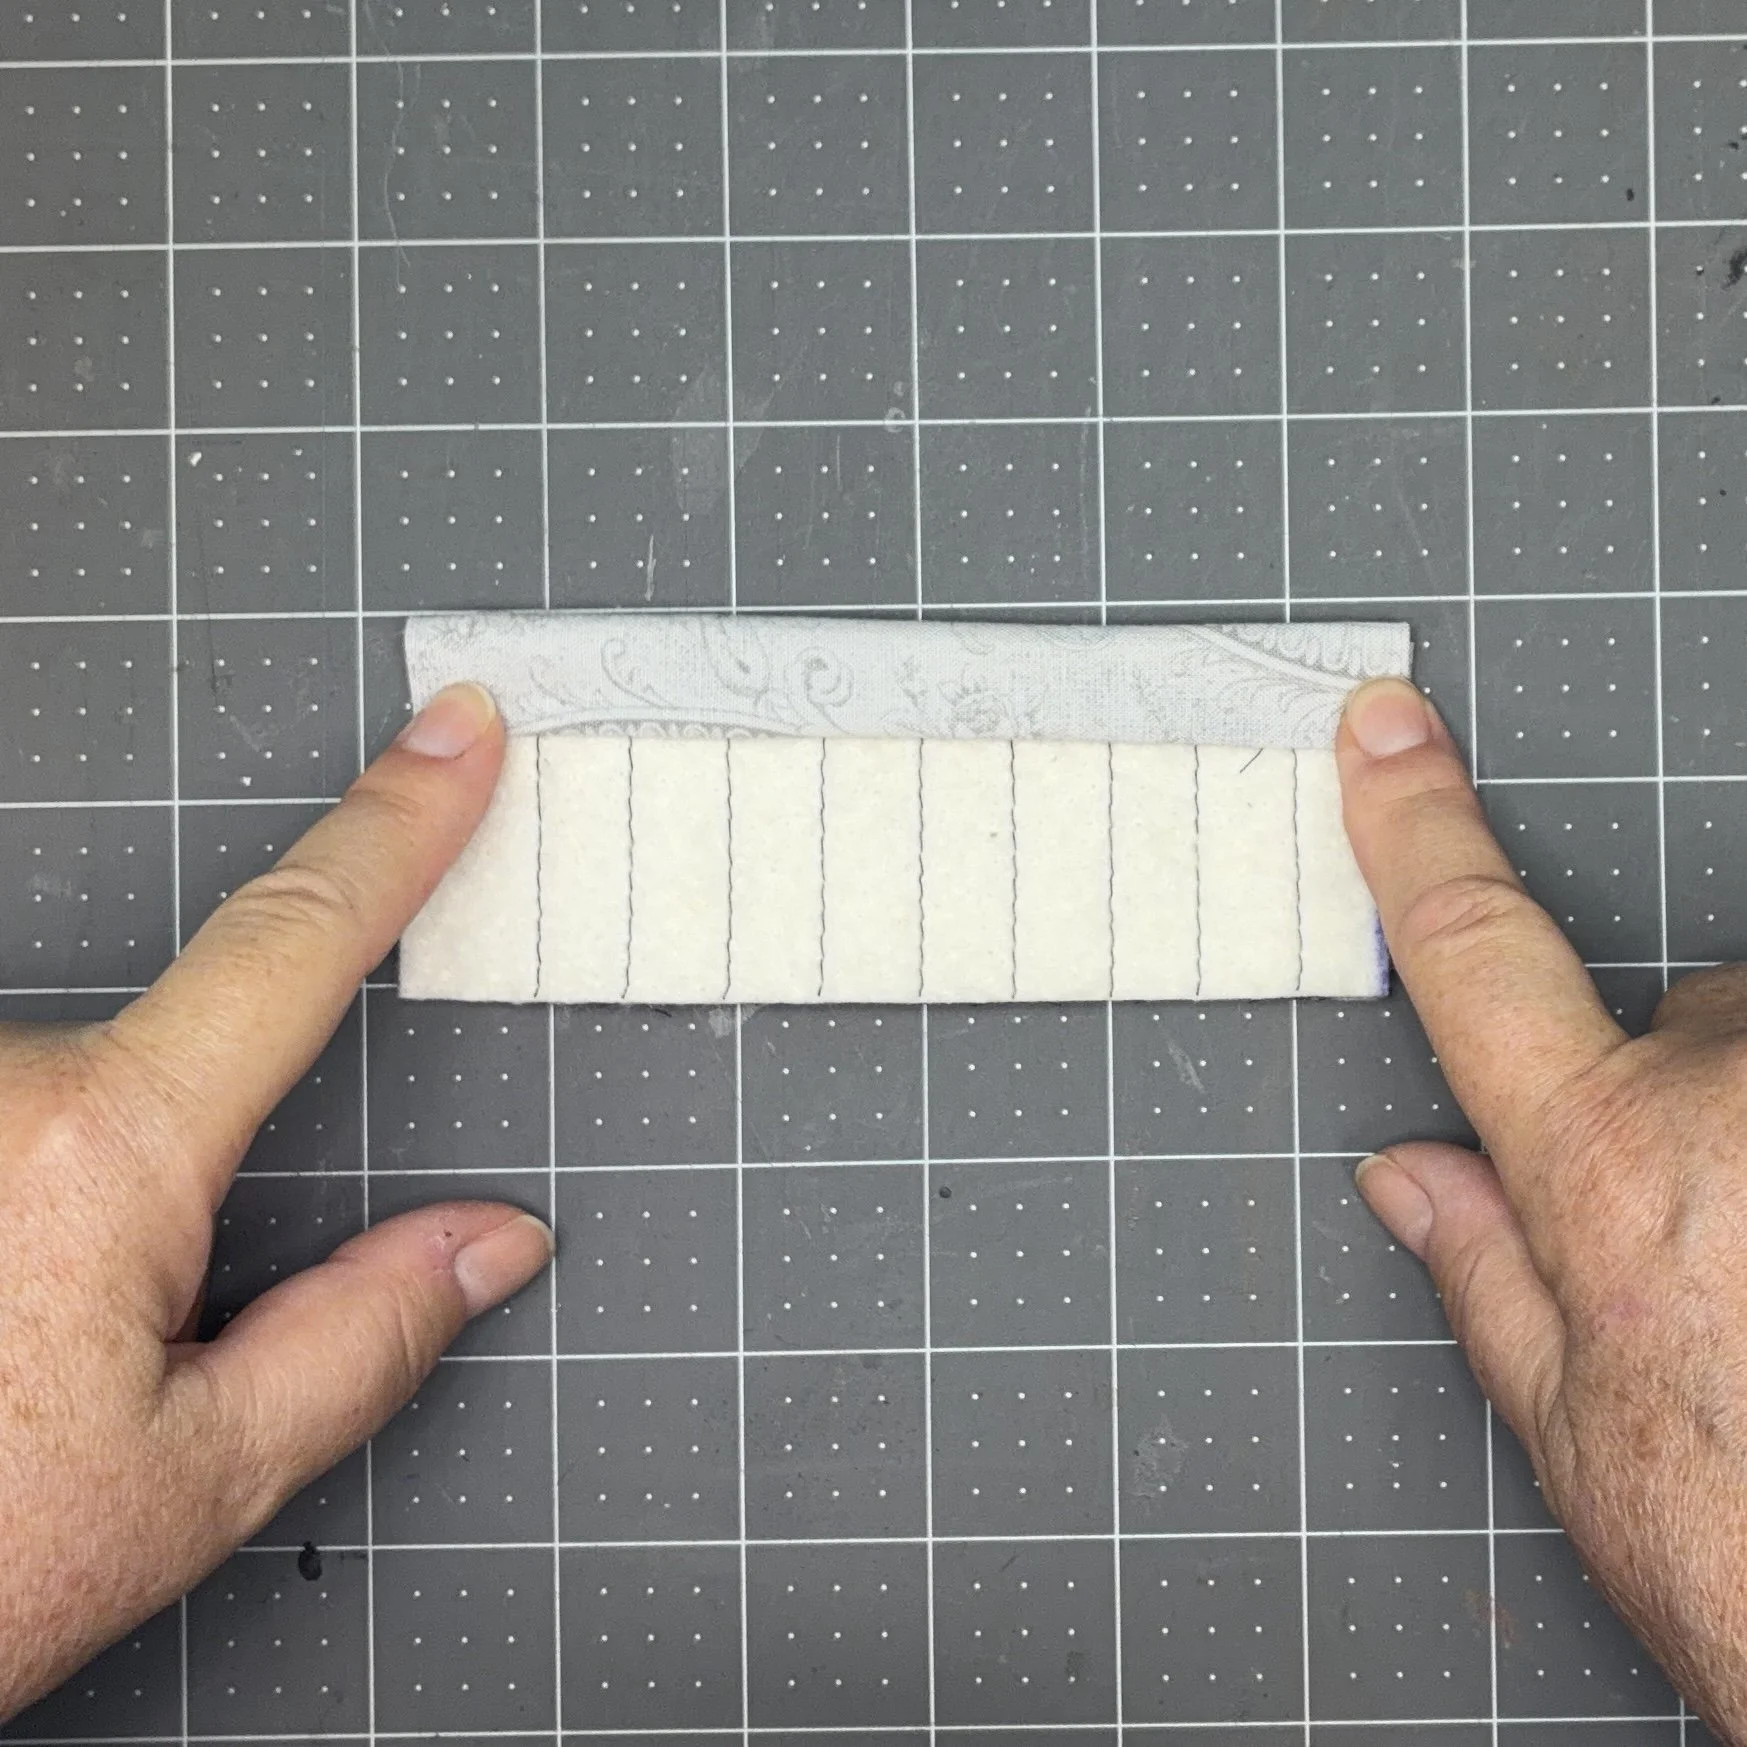
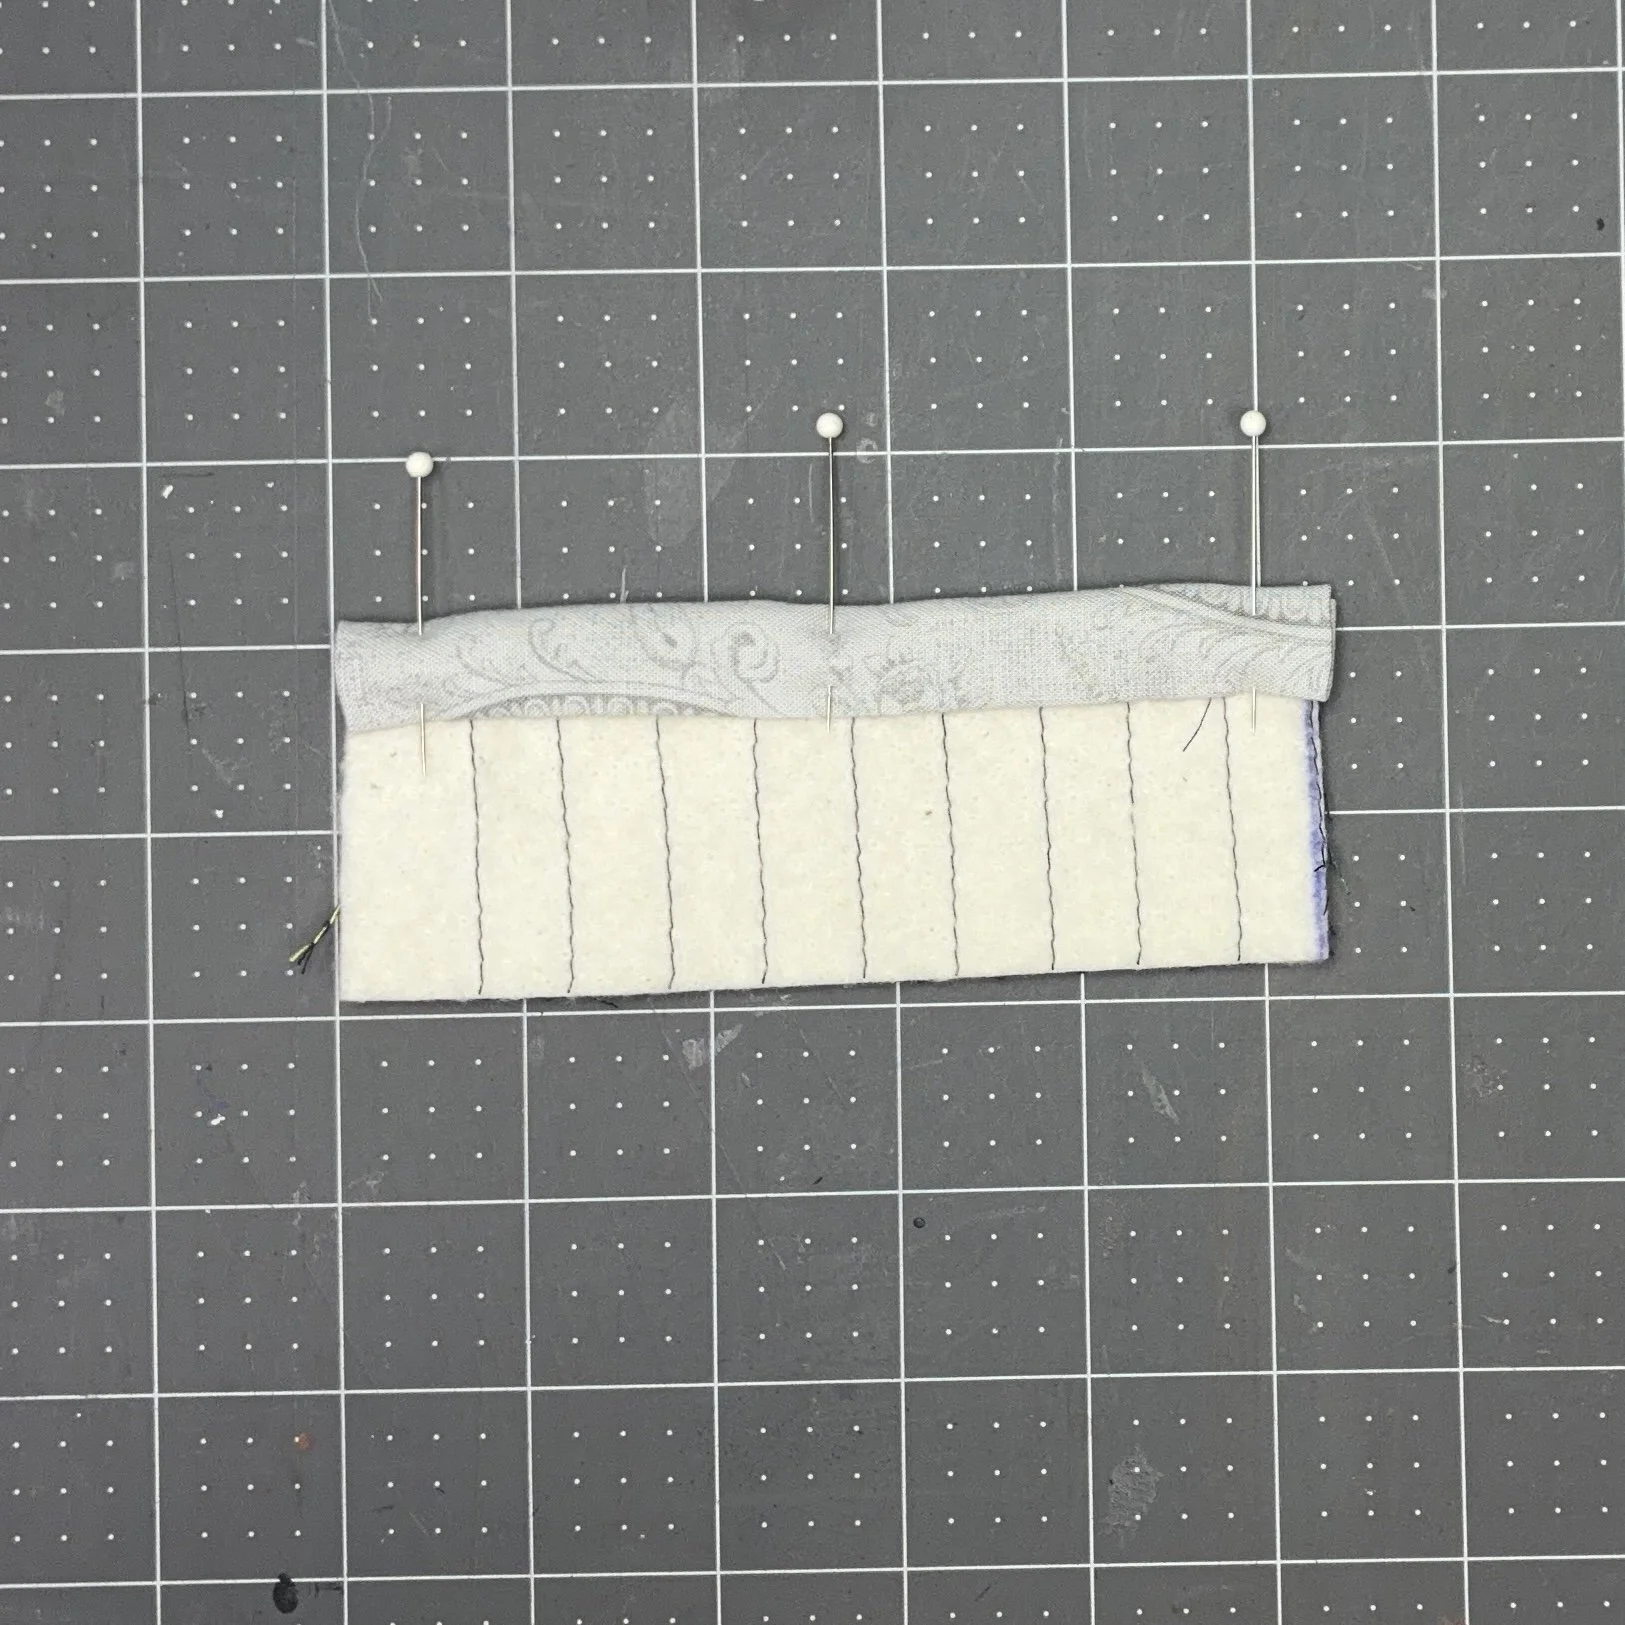
I stitched the binding down. As you can see, this yields a single visible seam on the binding on one side, and a visible seam on the fabric (not the binding) on the other side. This is acceptable, as all this will sit inside the pouch and be almost invisible. The important point was to tidily contain all the raw edges of the fabric.
And finished! Here are my two pouches, both open and closed.
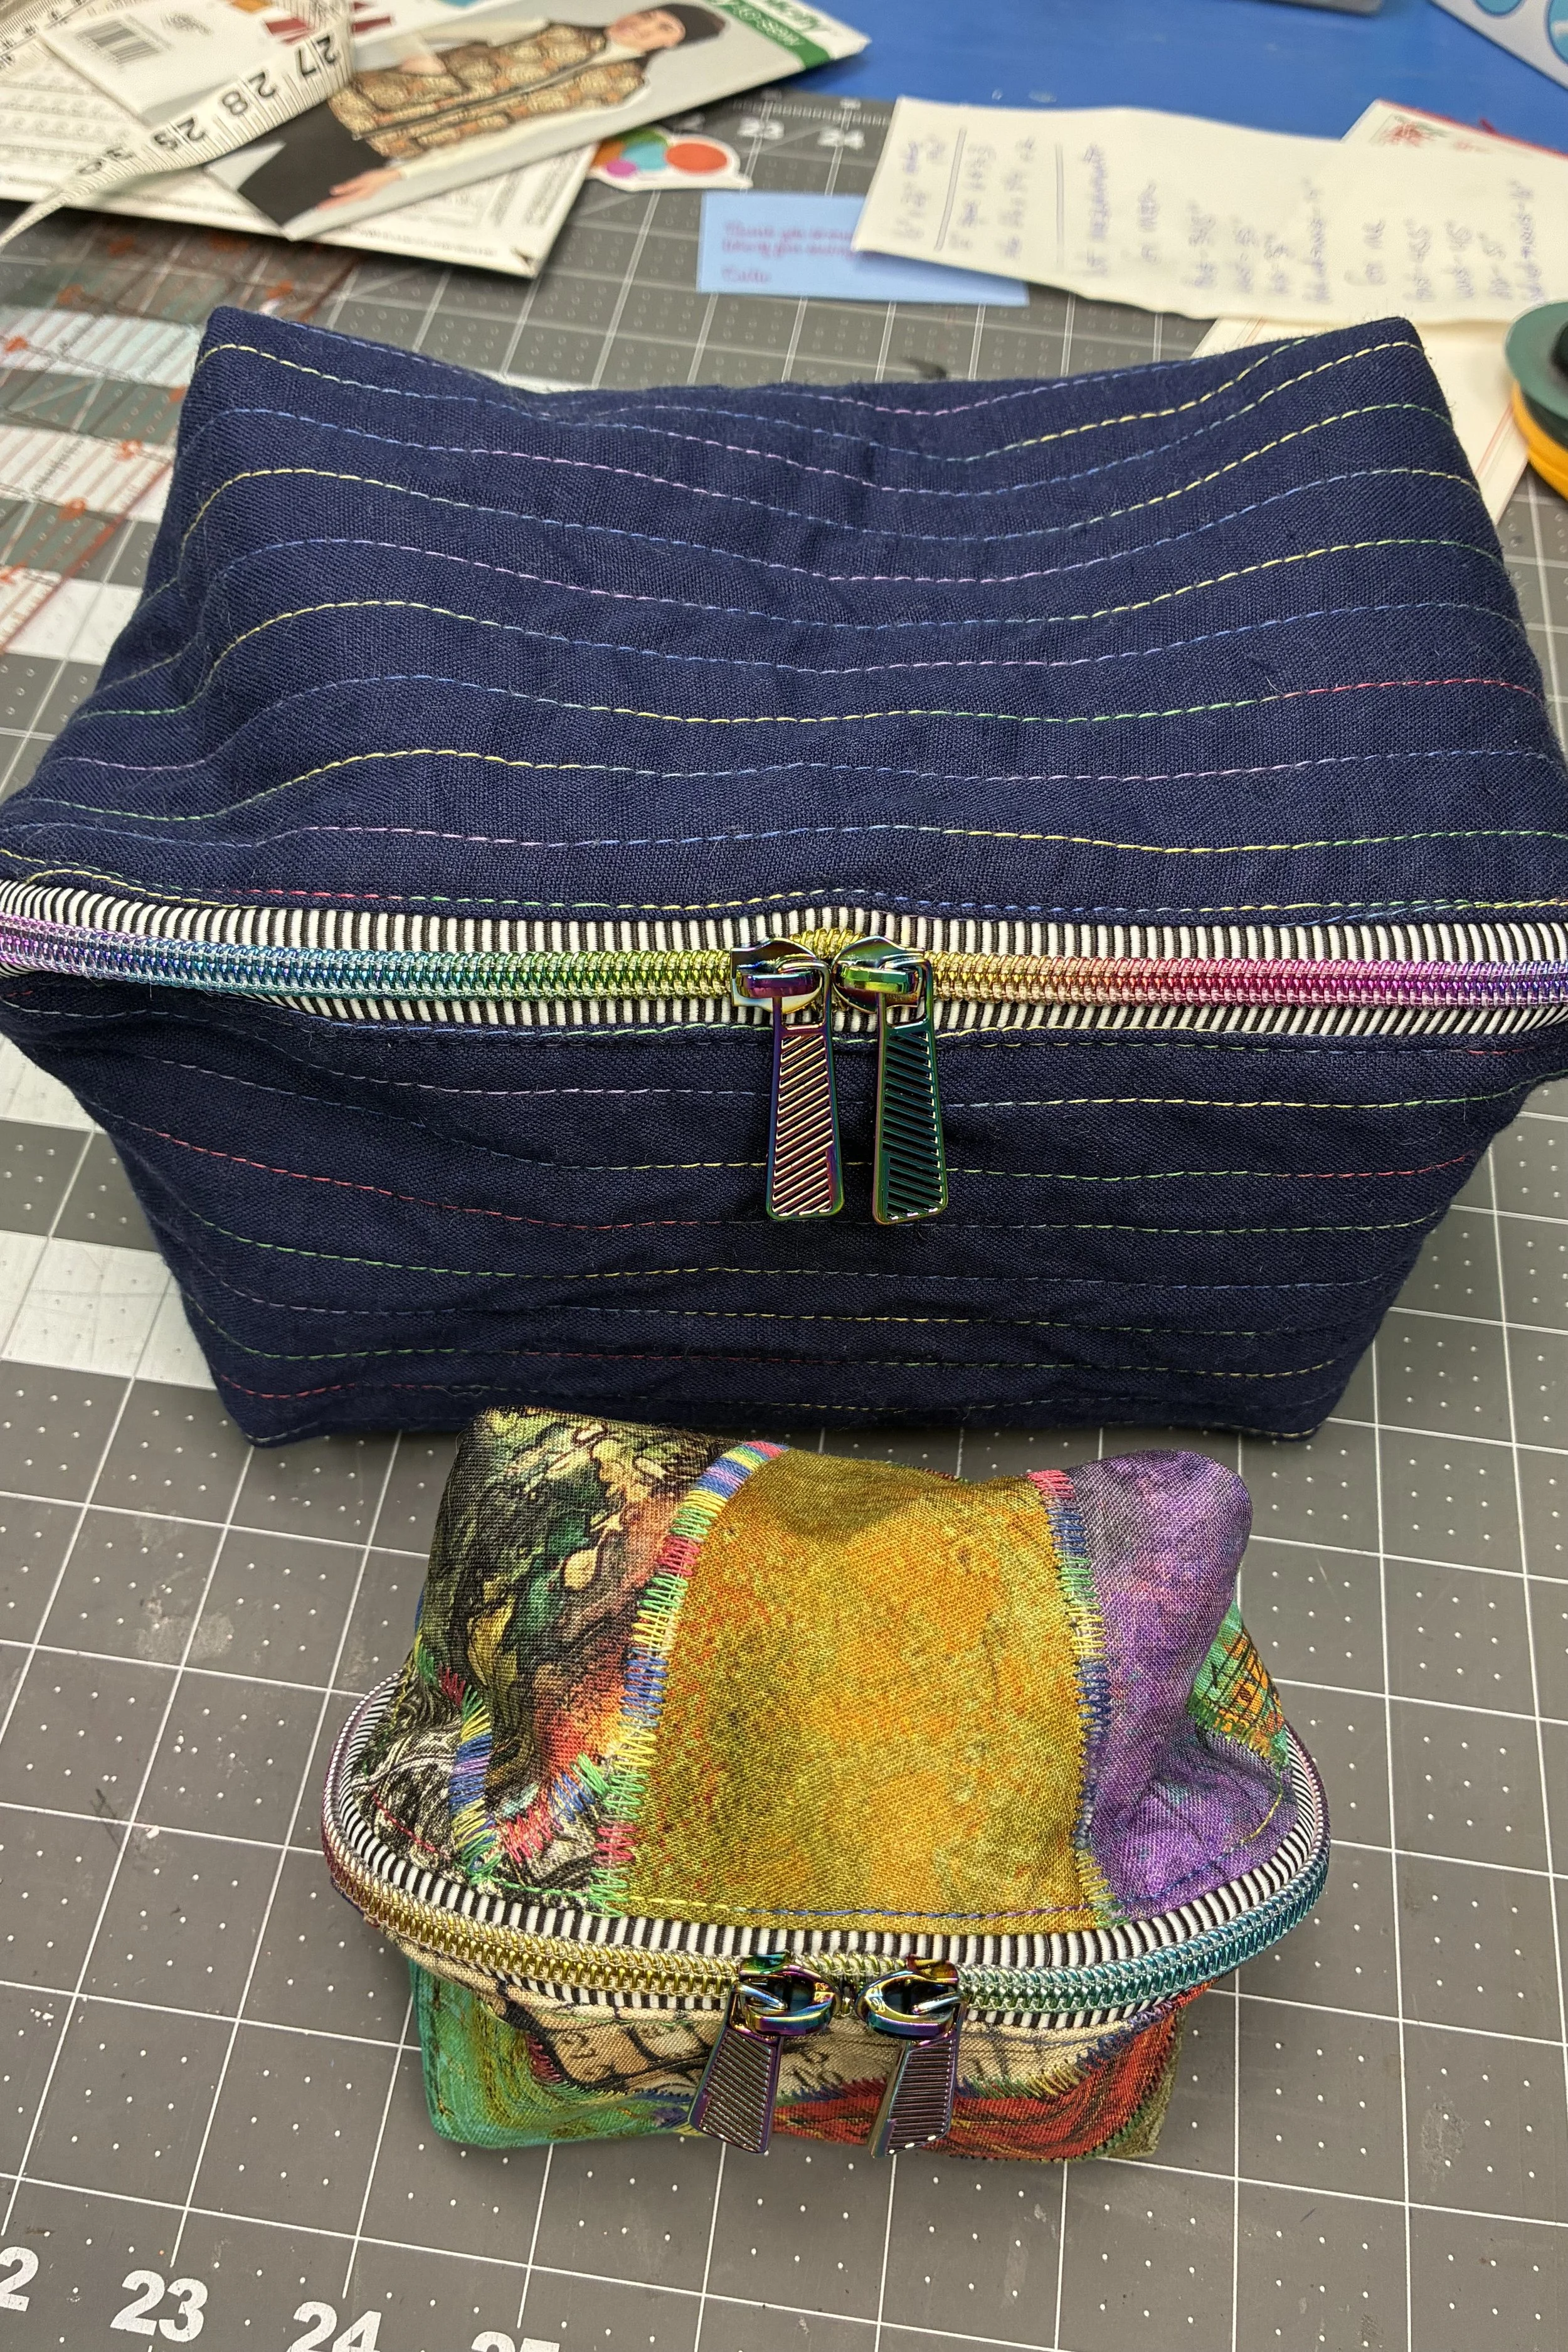
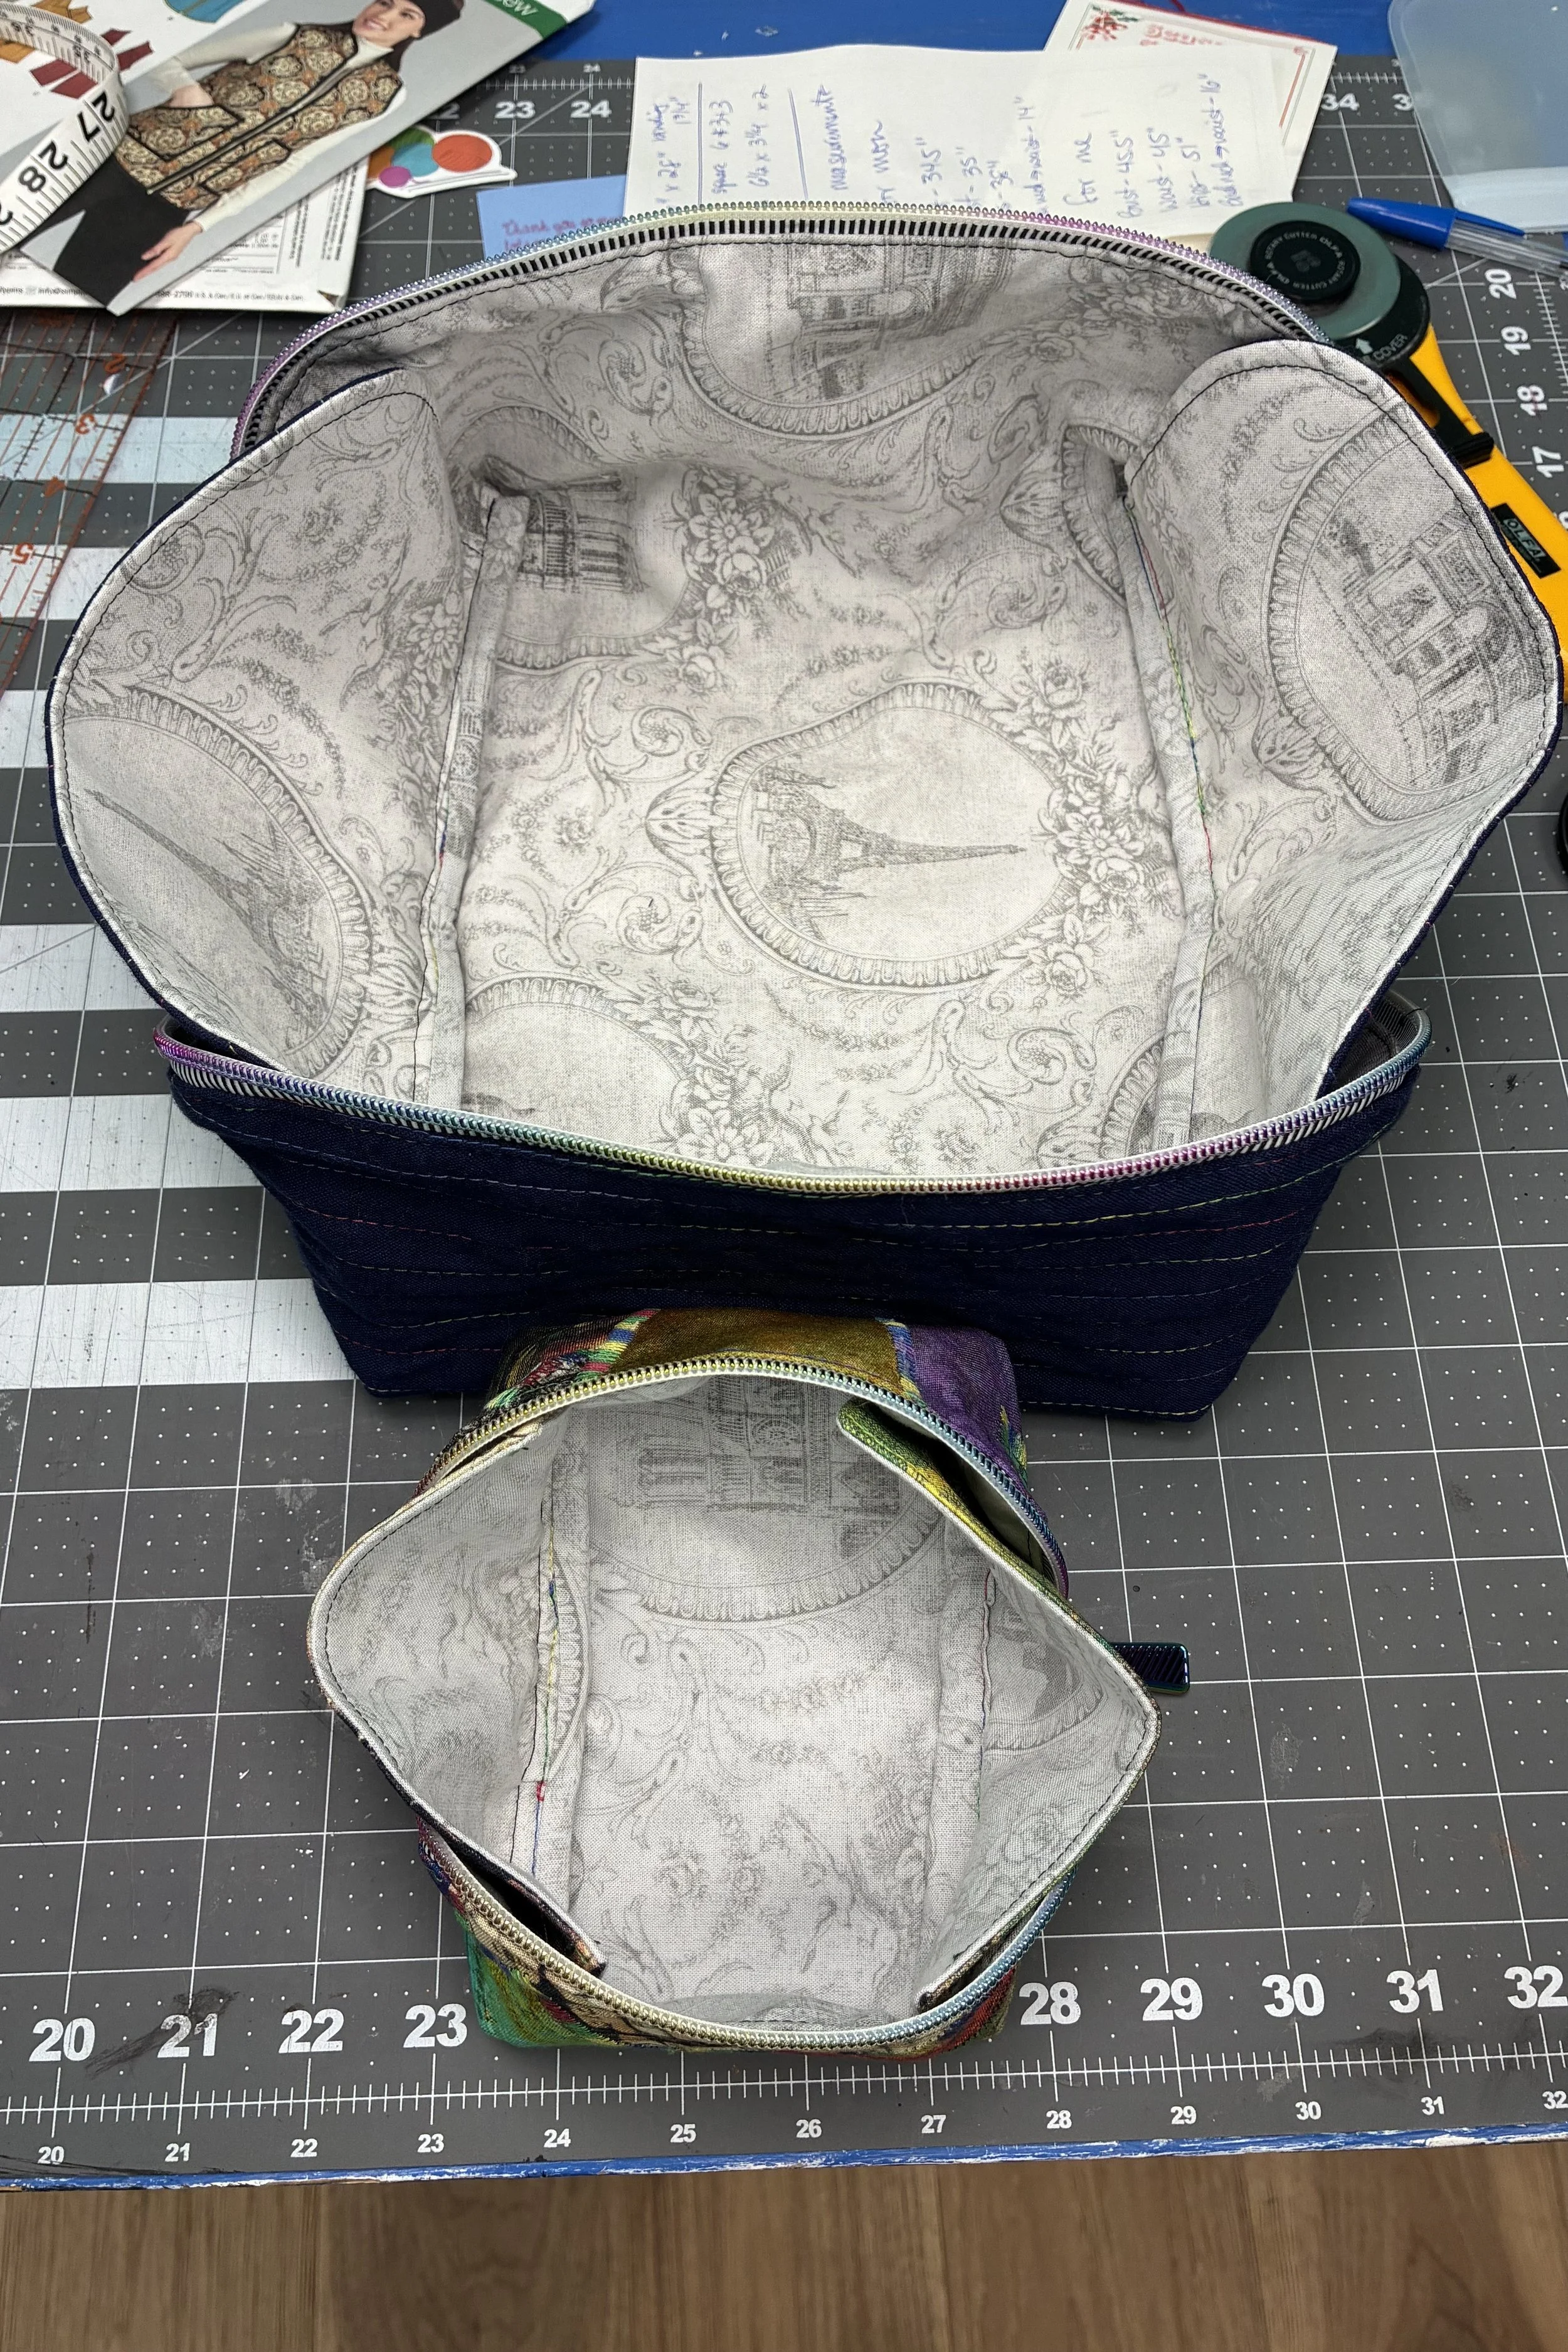
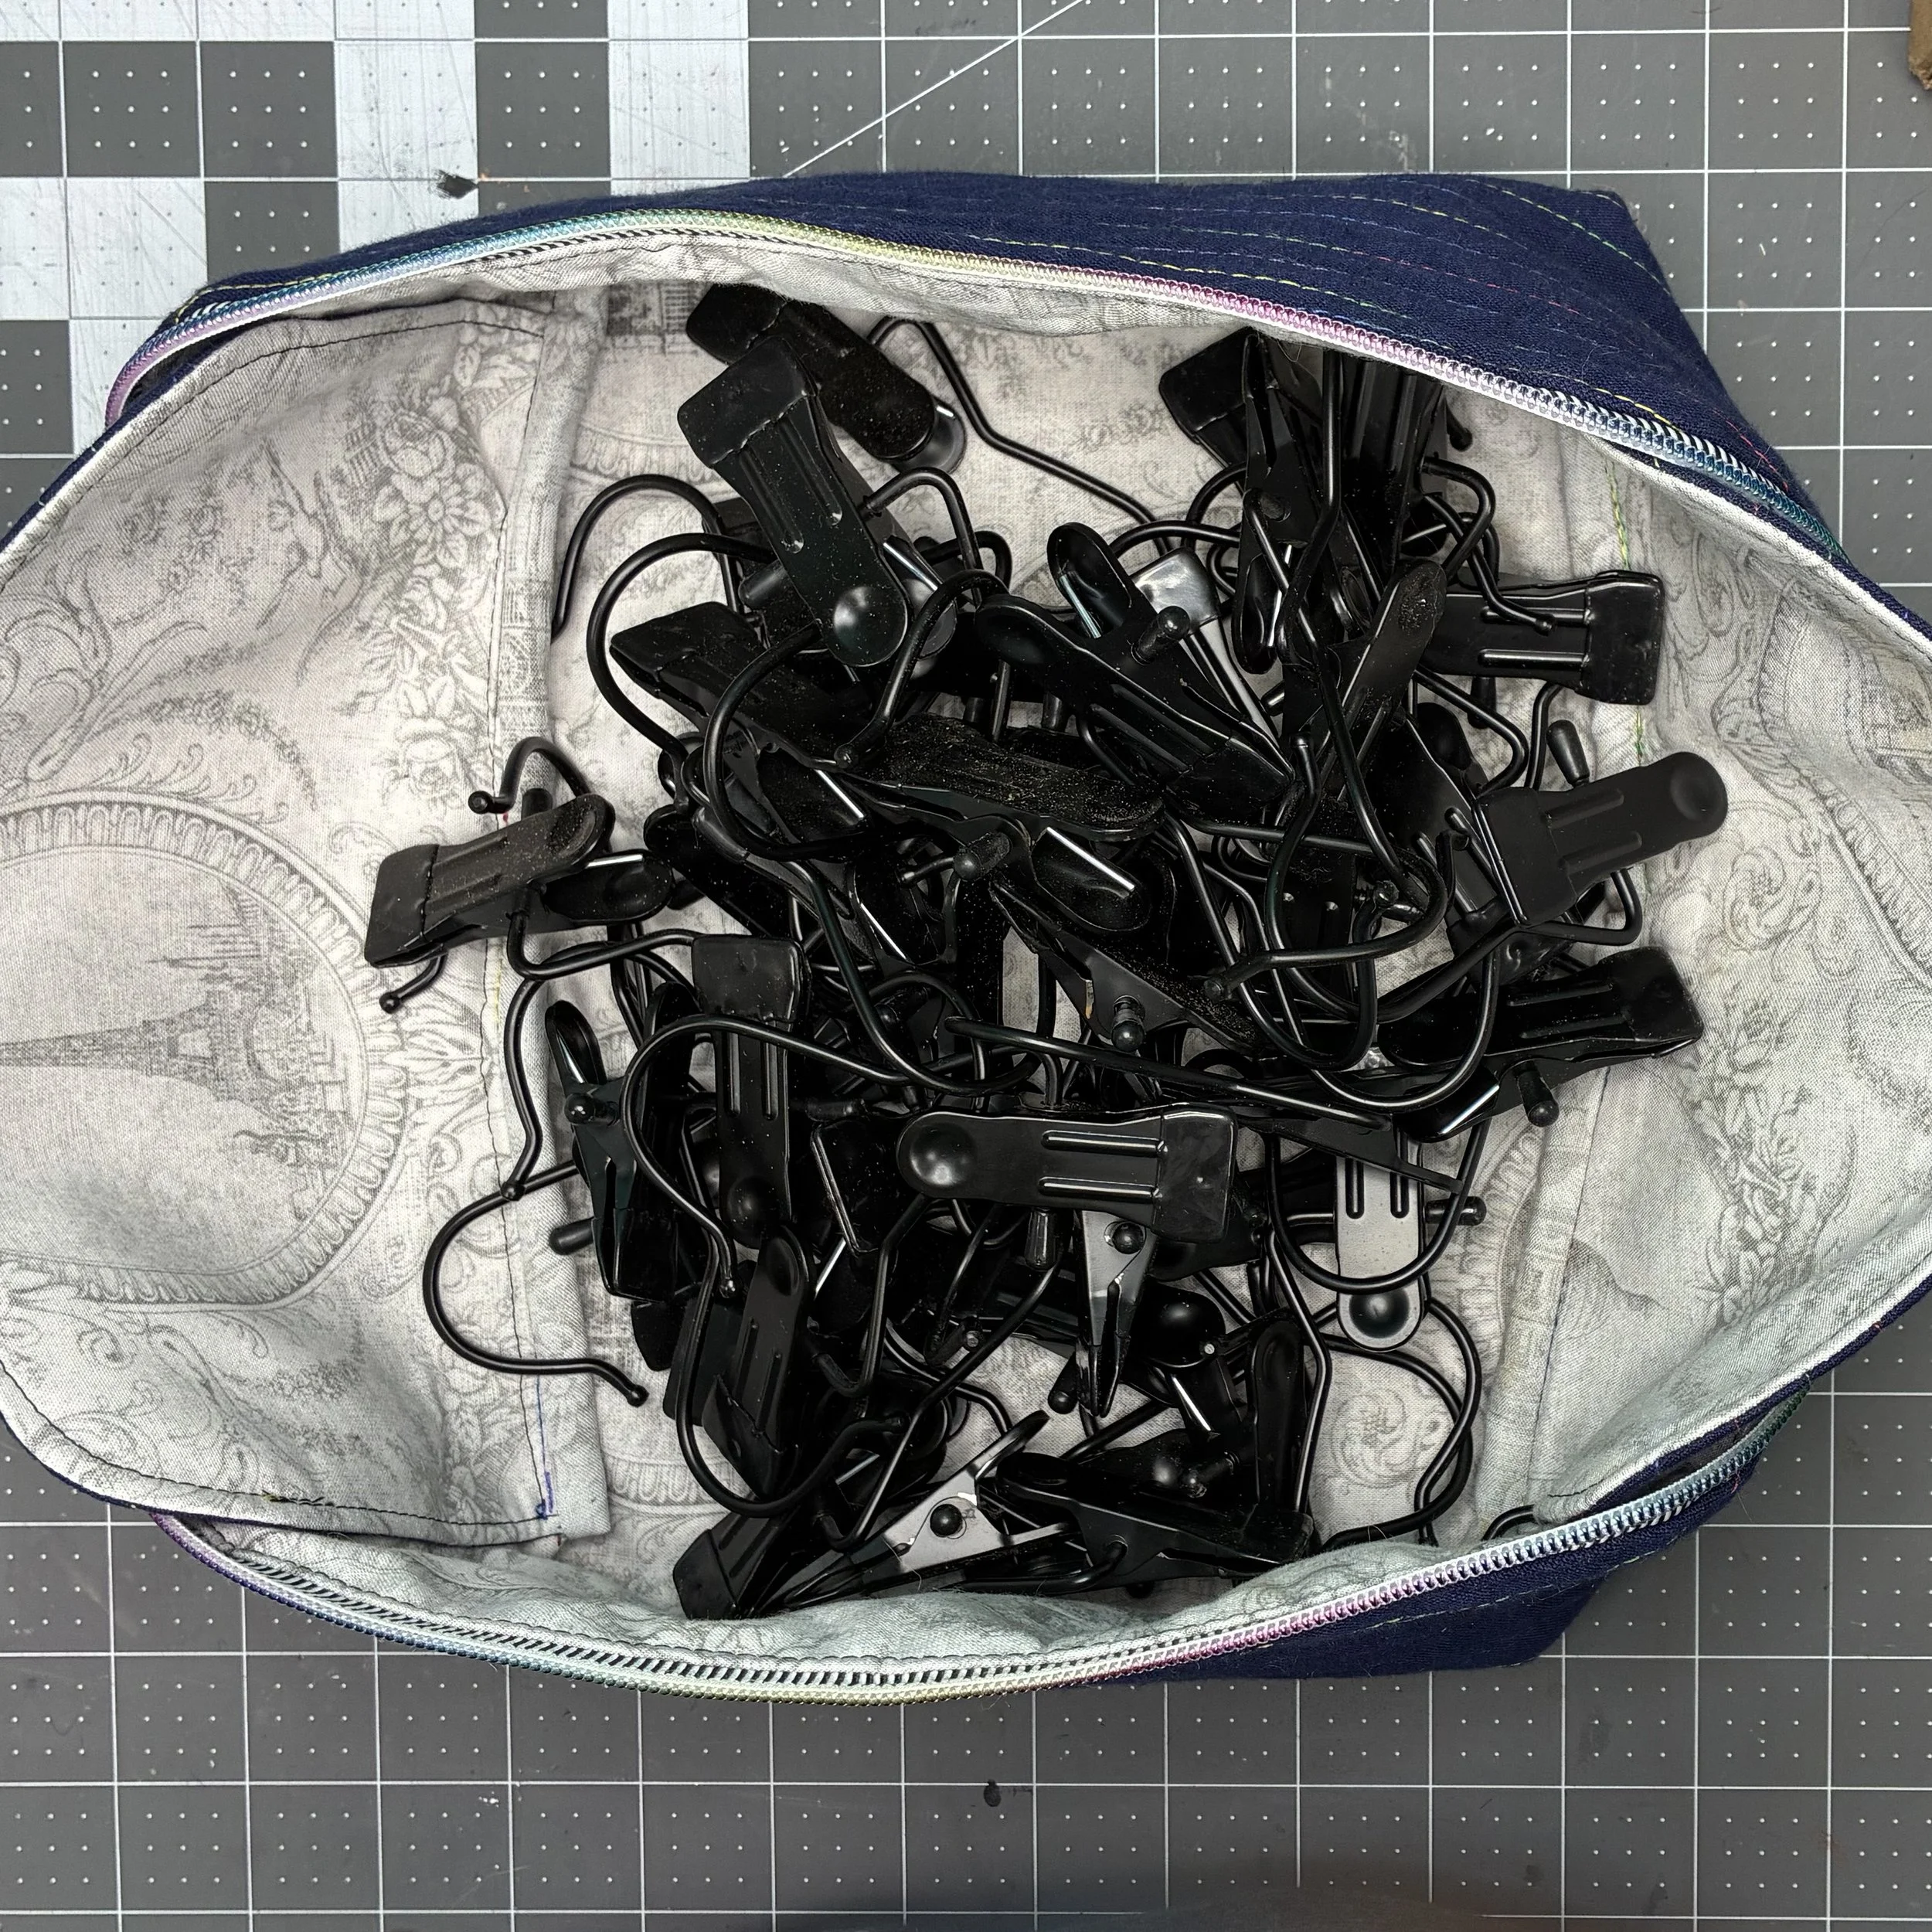
I haven’t decided on a use for the smaller pouch yet, but the large pouch now holds my hanging clips, which I use at least once a week for bit of laundry. It’s very convenient to have that pouch open all the way so I can easily get at the clips, but then fold up into a relatively compact package to fit in a small space in my bathroom cabinet. I love it!