Adventures In Necessary Cases
As an Amazon associate, I may earn a small commission if you navigate to Amazon from my site and buy something. This will not result in an extra cost to you.
I mentioned in a previous post that I’m loving my new massaging neck pillow. In fact, I love it so much that I bought that company’s original lower back pillow, which performs the same functions. However, while the neck pillow does actually apply gentle traction to the neck, the same can’t be said for the lumbar pillow. The mechanics of the body just don’t allow it. Nonetheless, I’m glad I bought it and it is helping somewhat with my chronic lower back pain.
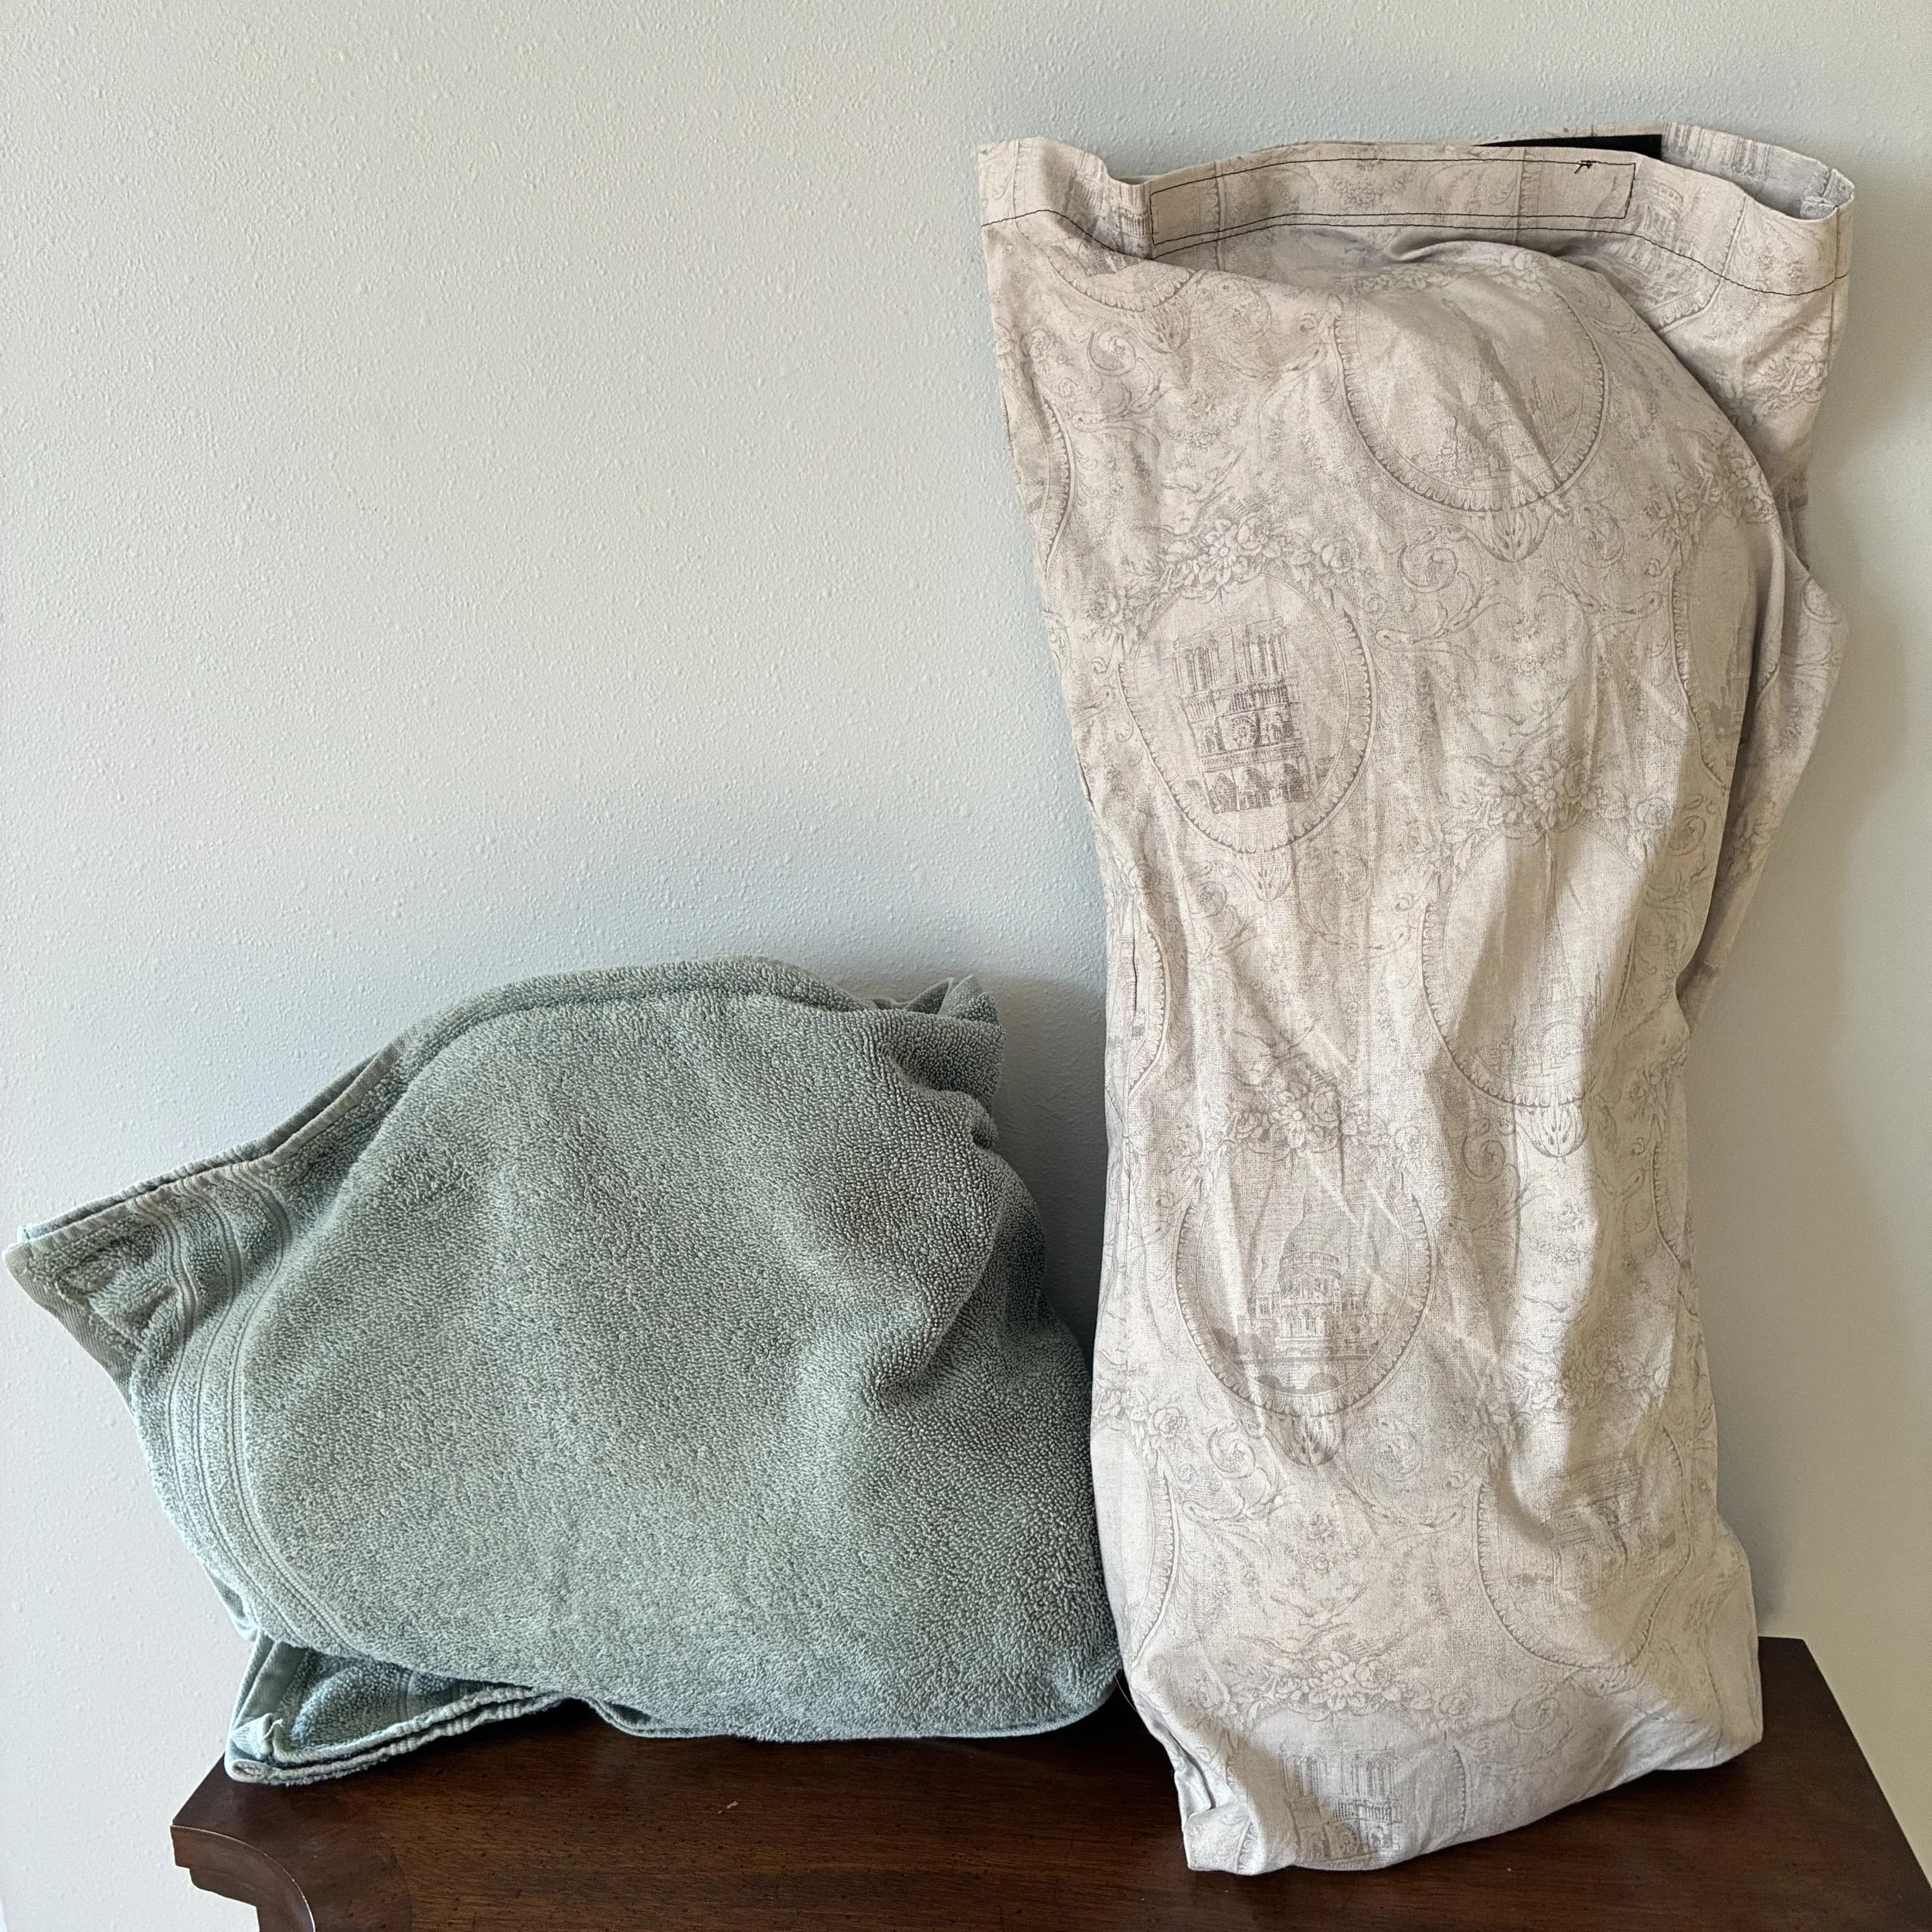
Both pillows have covers with zippers in them, which suggests to me that the covers are intended to be removed for washing. But once I looked into my neck pillow and saw all the goings-on inside, I zipped it closed and swore never to look at its innards again. I had been covering it with a hand towel when I was using it. This both kept my skin oils off of it and also slightly buffered the heat coming from the pillow, which can be a little warmer than is comfortable for me. However, the hand towel slid out of place easily, so I decided I needed some sort of case for it. A pillow case, naturally.
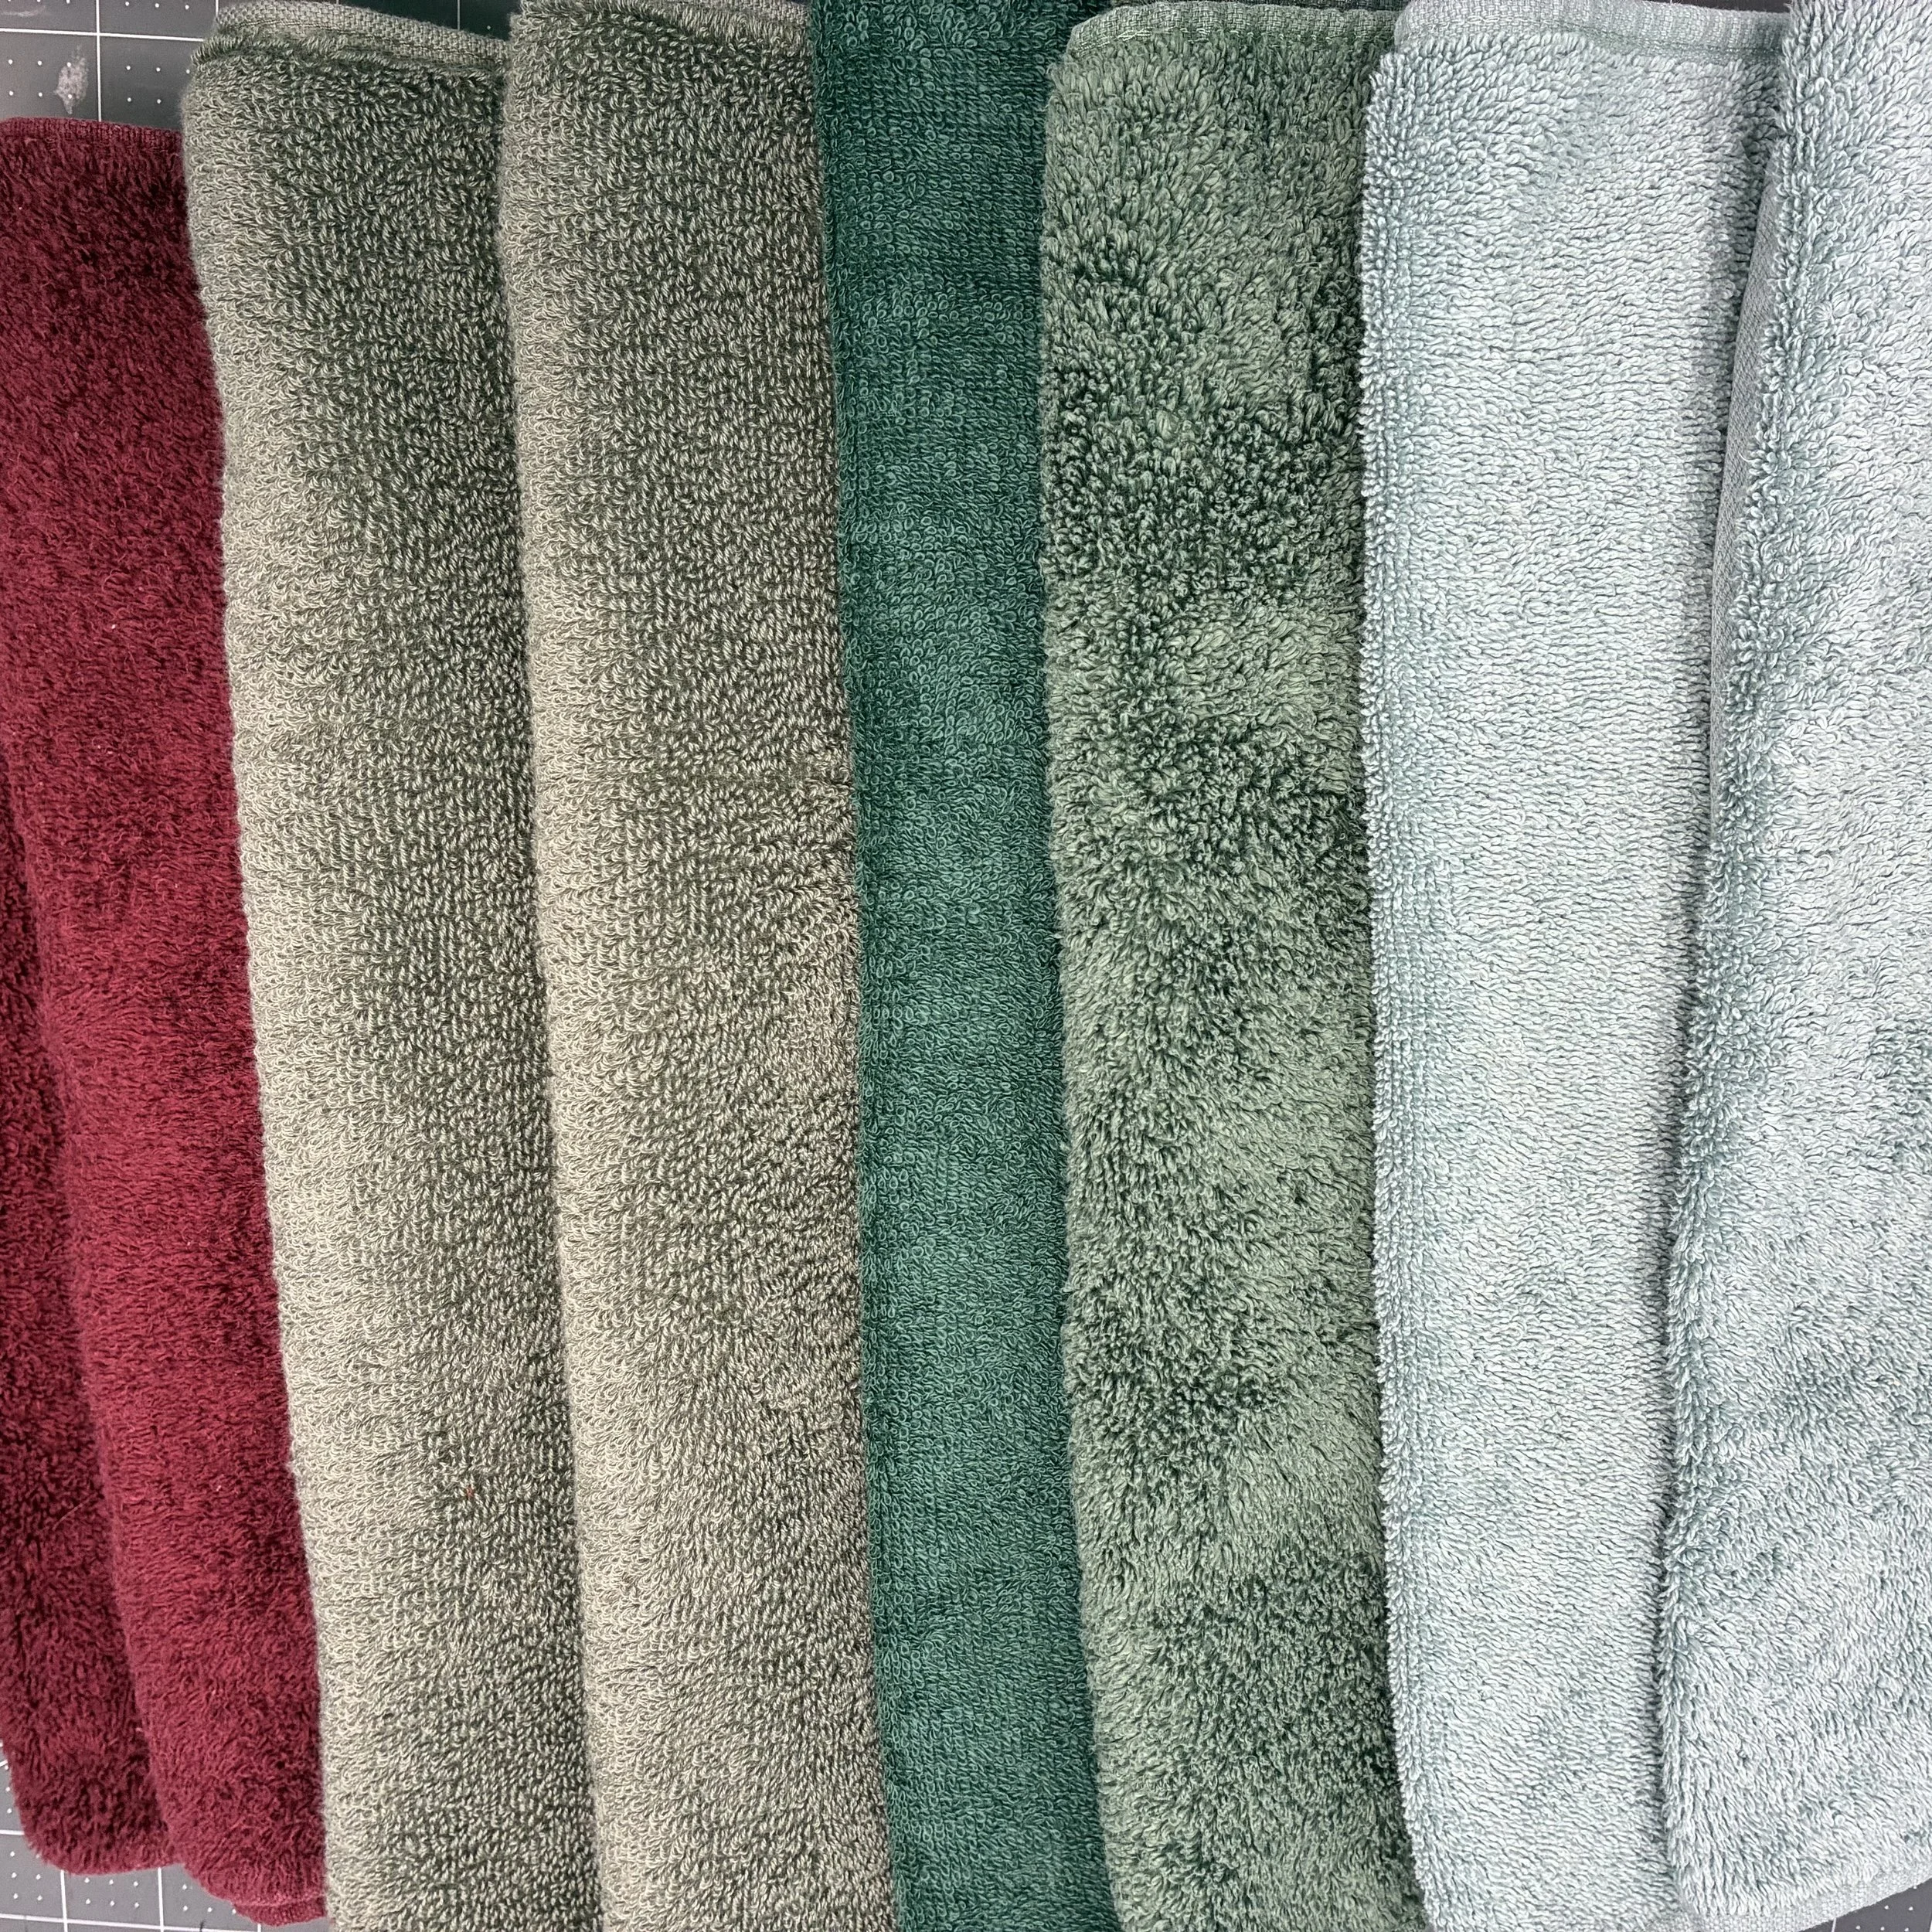
I stopped by my local Goodwill, and bought a stack of (mostly) matching pairs of hand towels at a bargain price. Sewn together, these would make a case for the neck pillow that would both protect it from grime and also provide the insulation I’d need from the heat of the pillow.
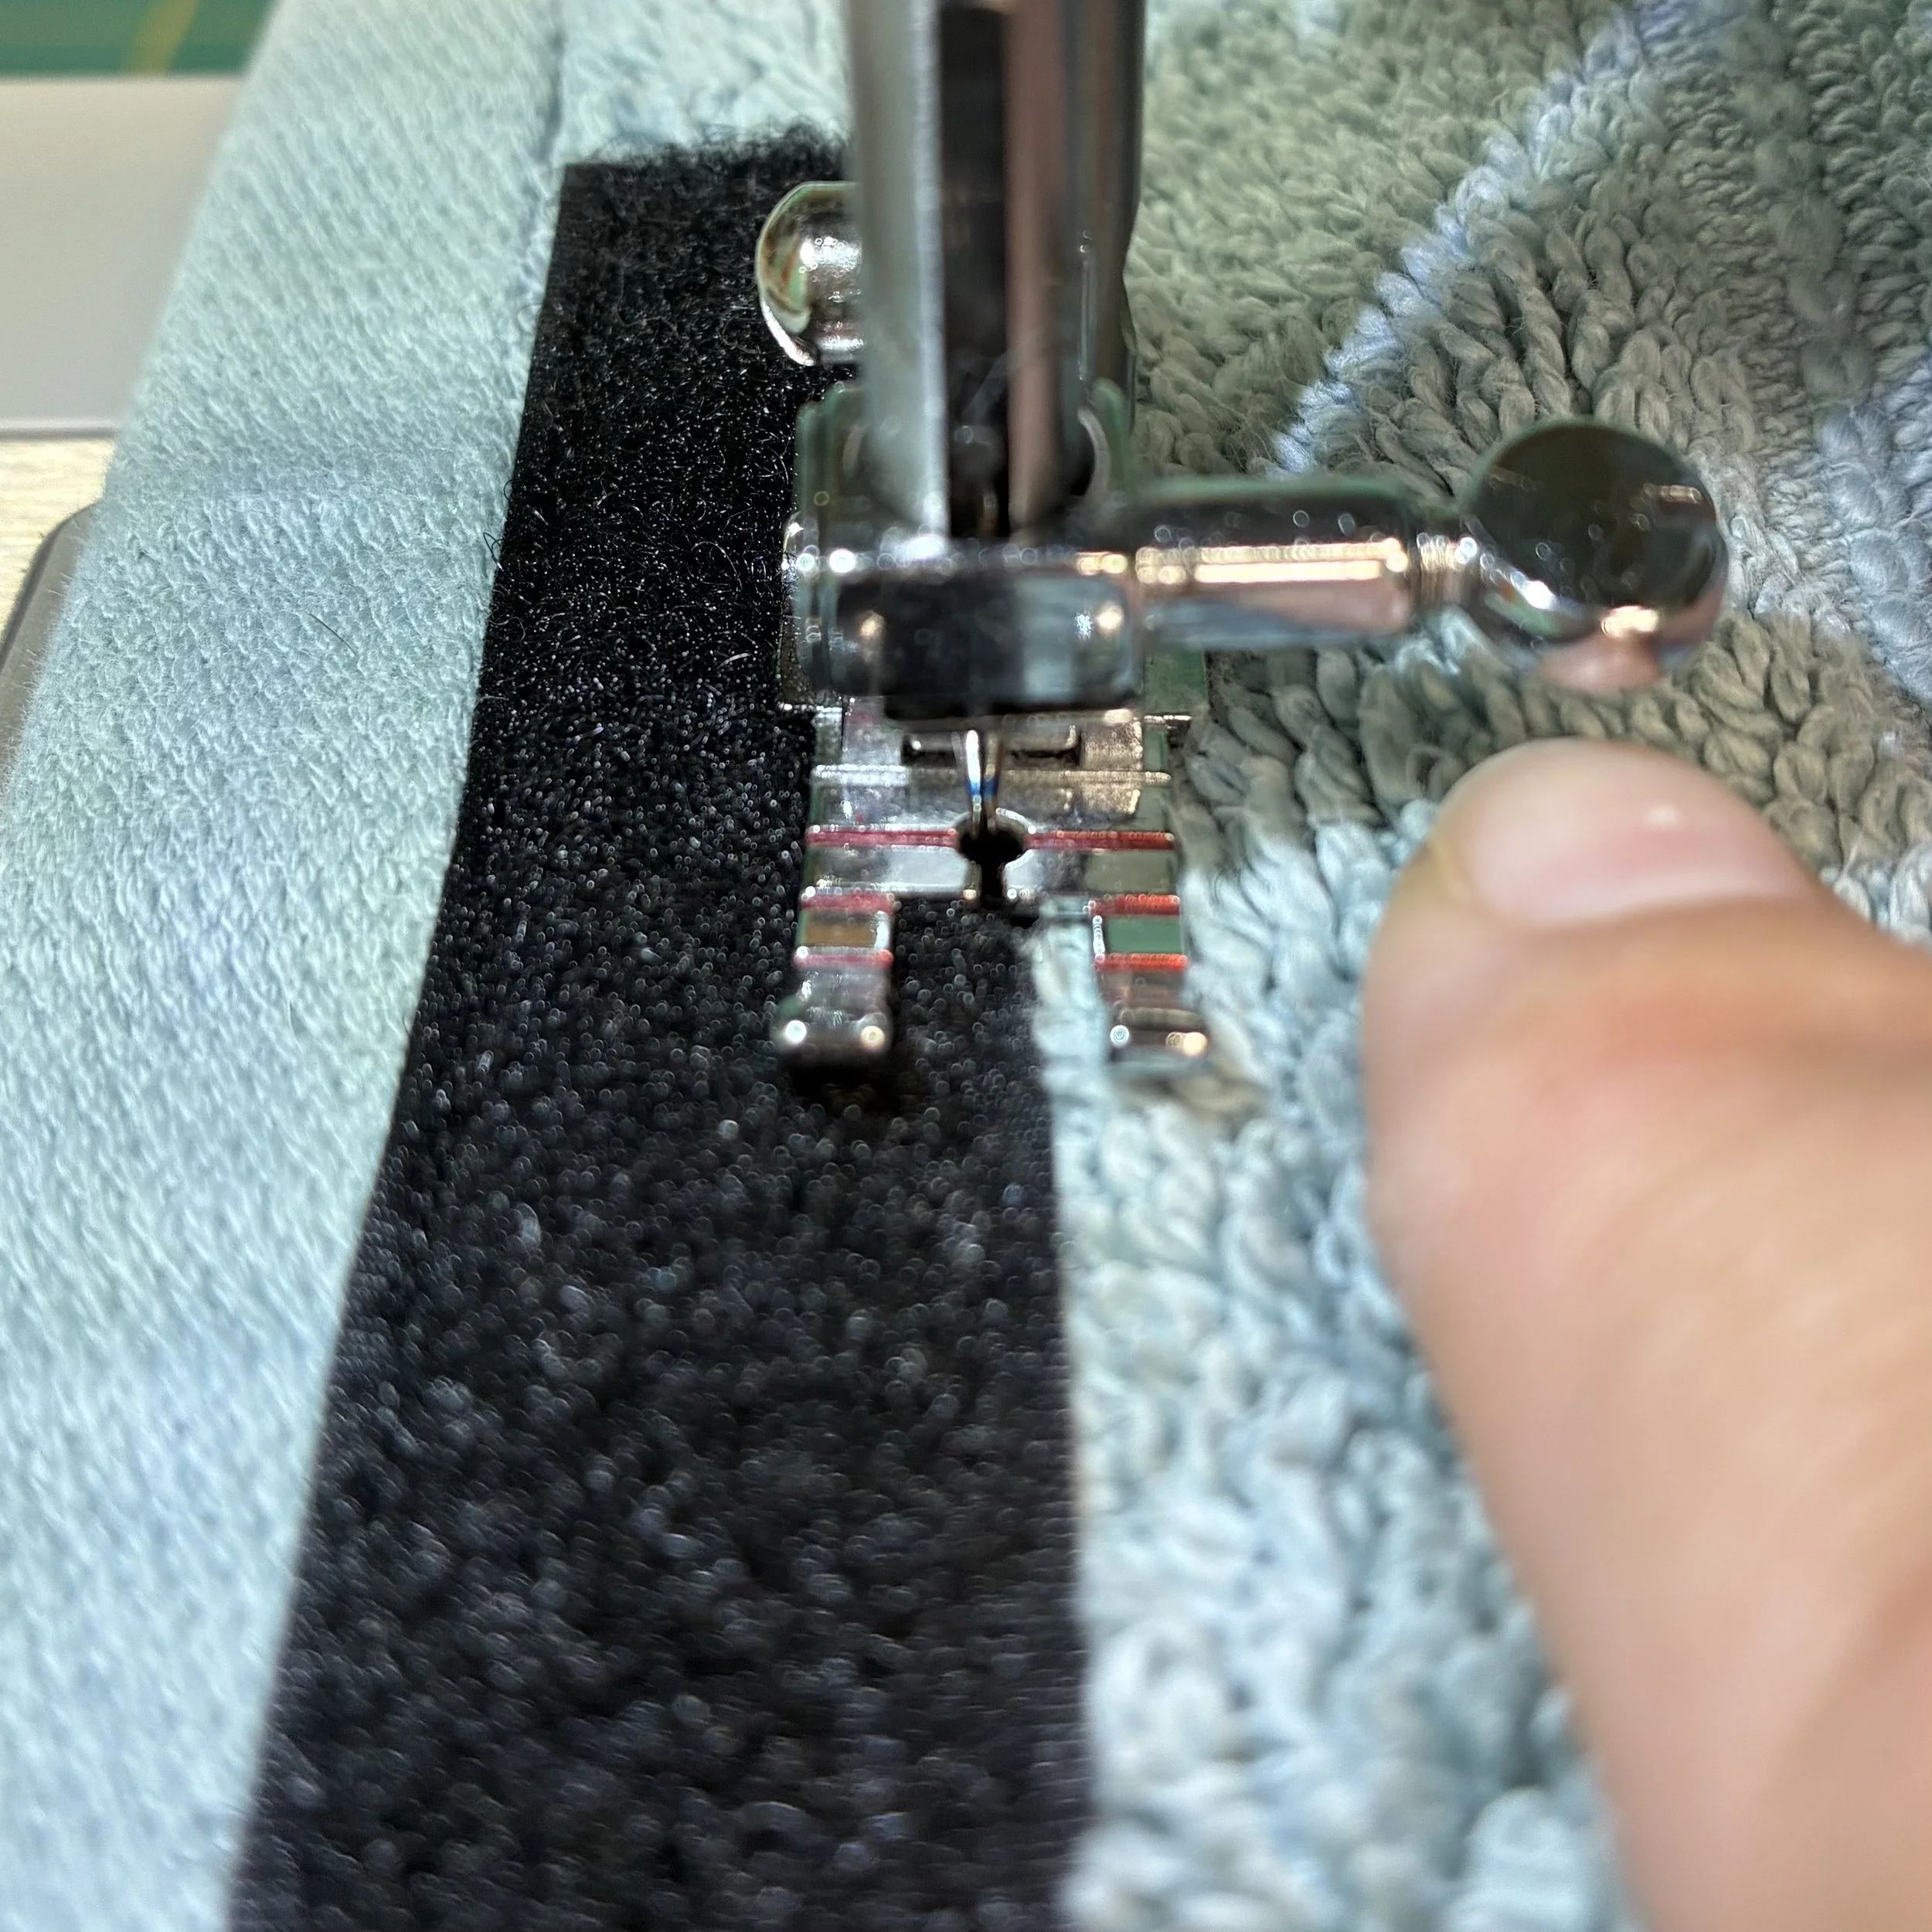
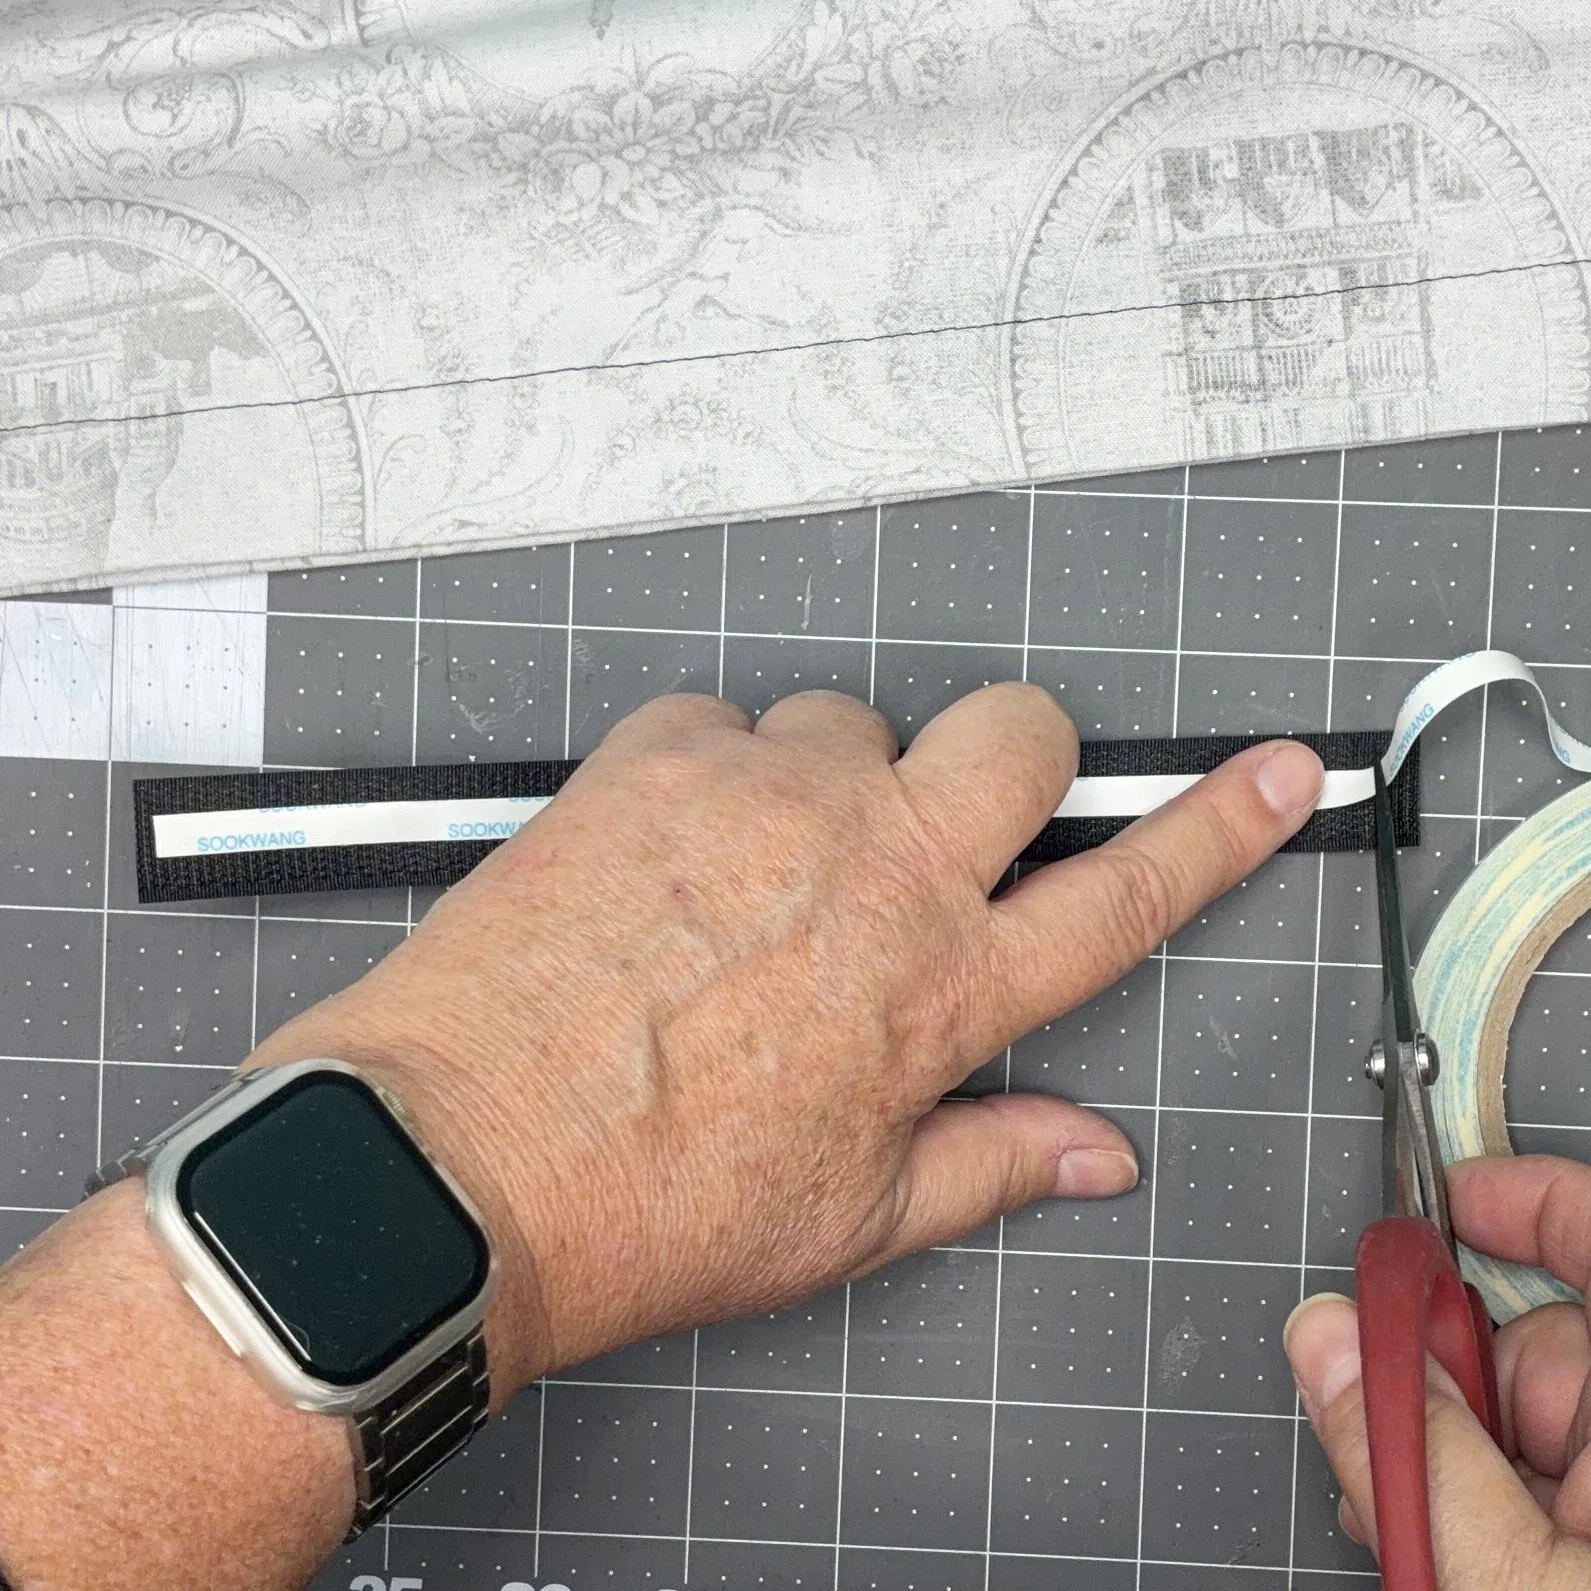
I grabbed a matching pair of towels and started out by cutting some velcro to size, using my 1/4” double-sided tape to baste it in place, and then stitching it down. In the pictures, the Velcro looks like it is attached crookedly to the top edge of the towels. This is because these are used towels that have been washed enough times so as to no longer be perfectly rectangular. So although the Velcro is straight, the edge of the towel is not.
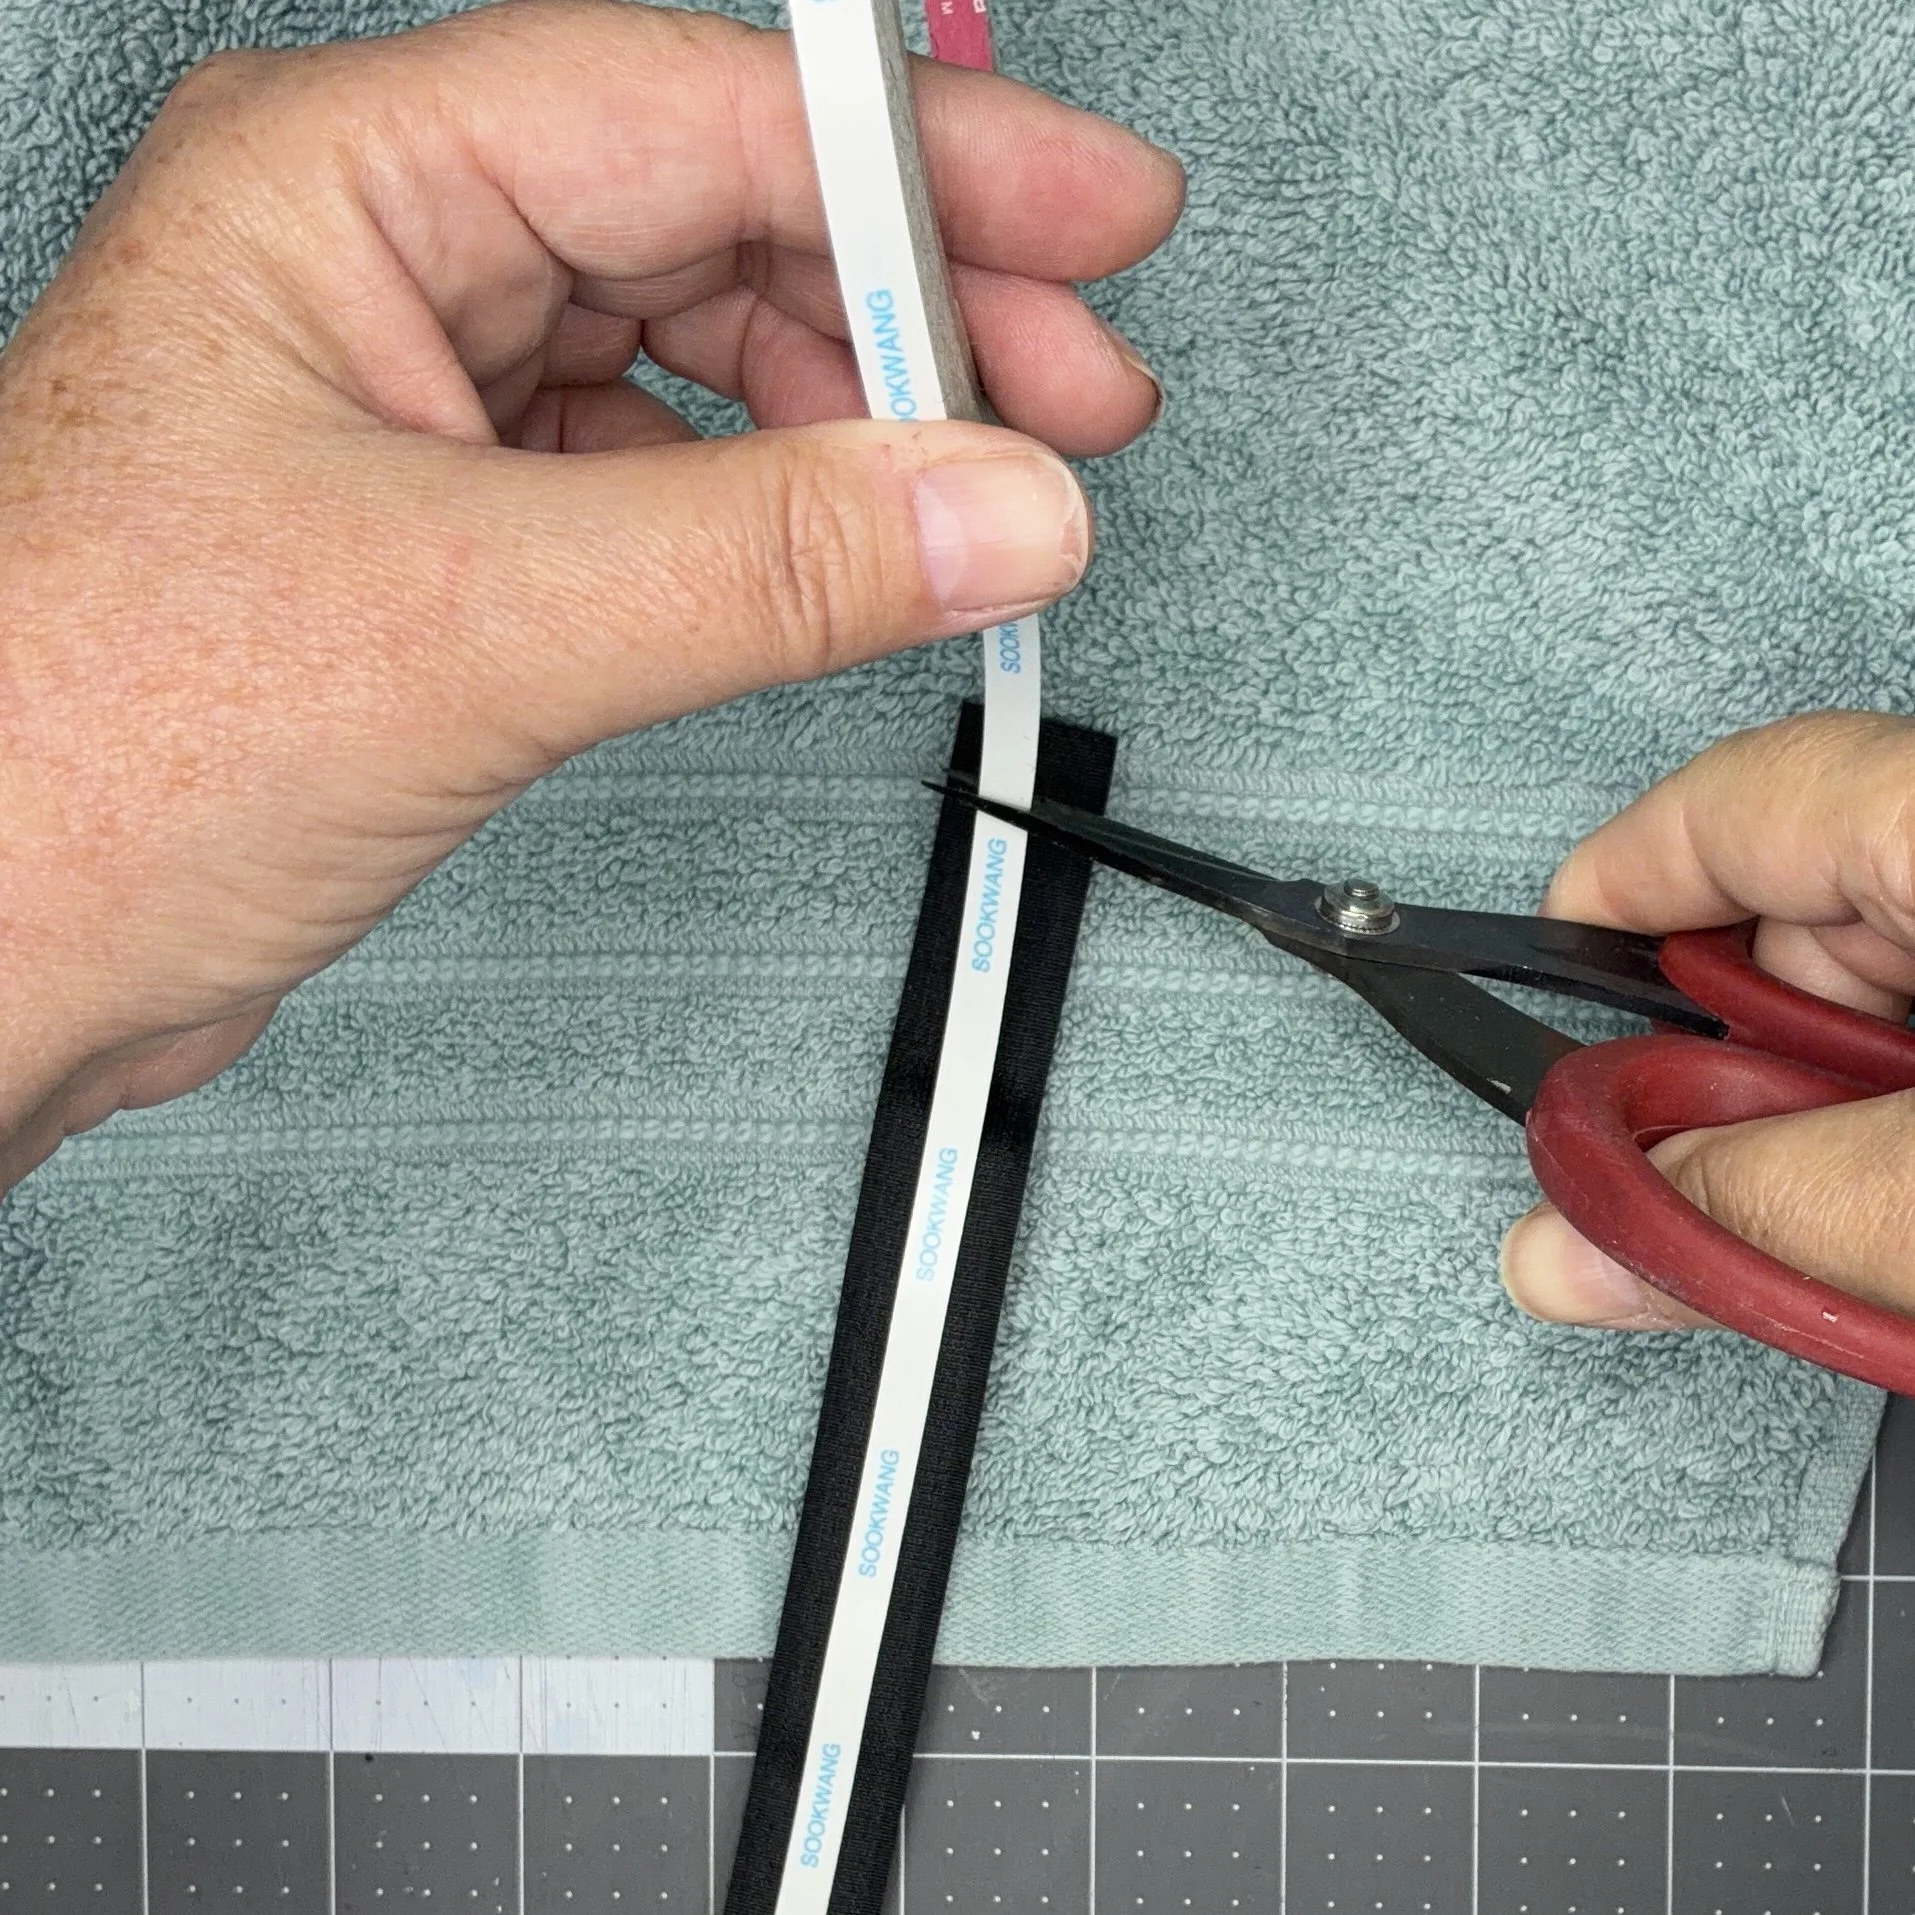
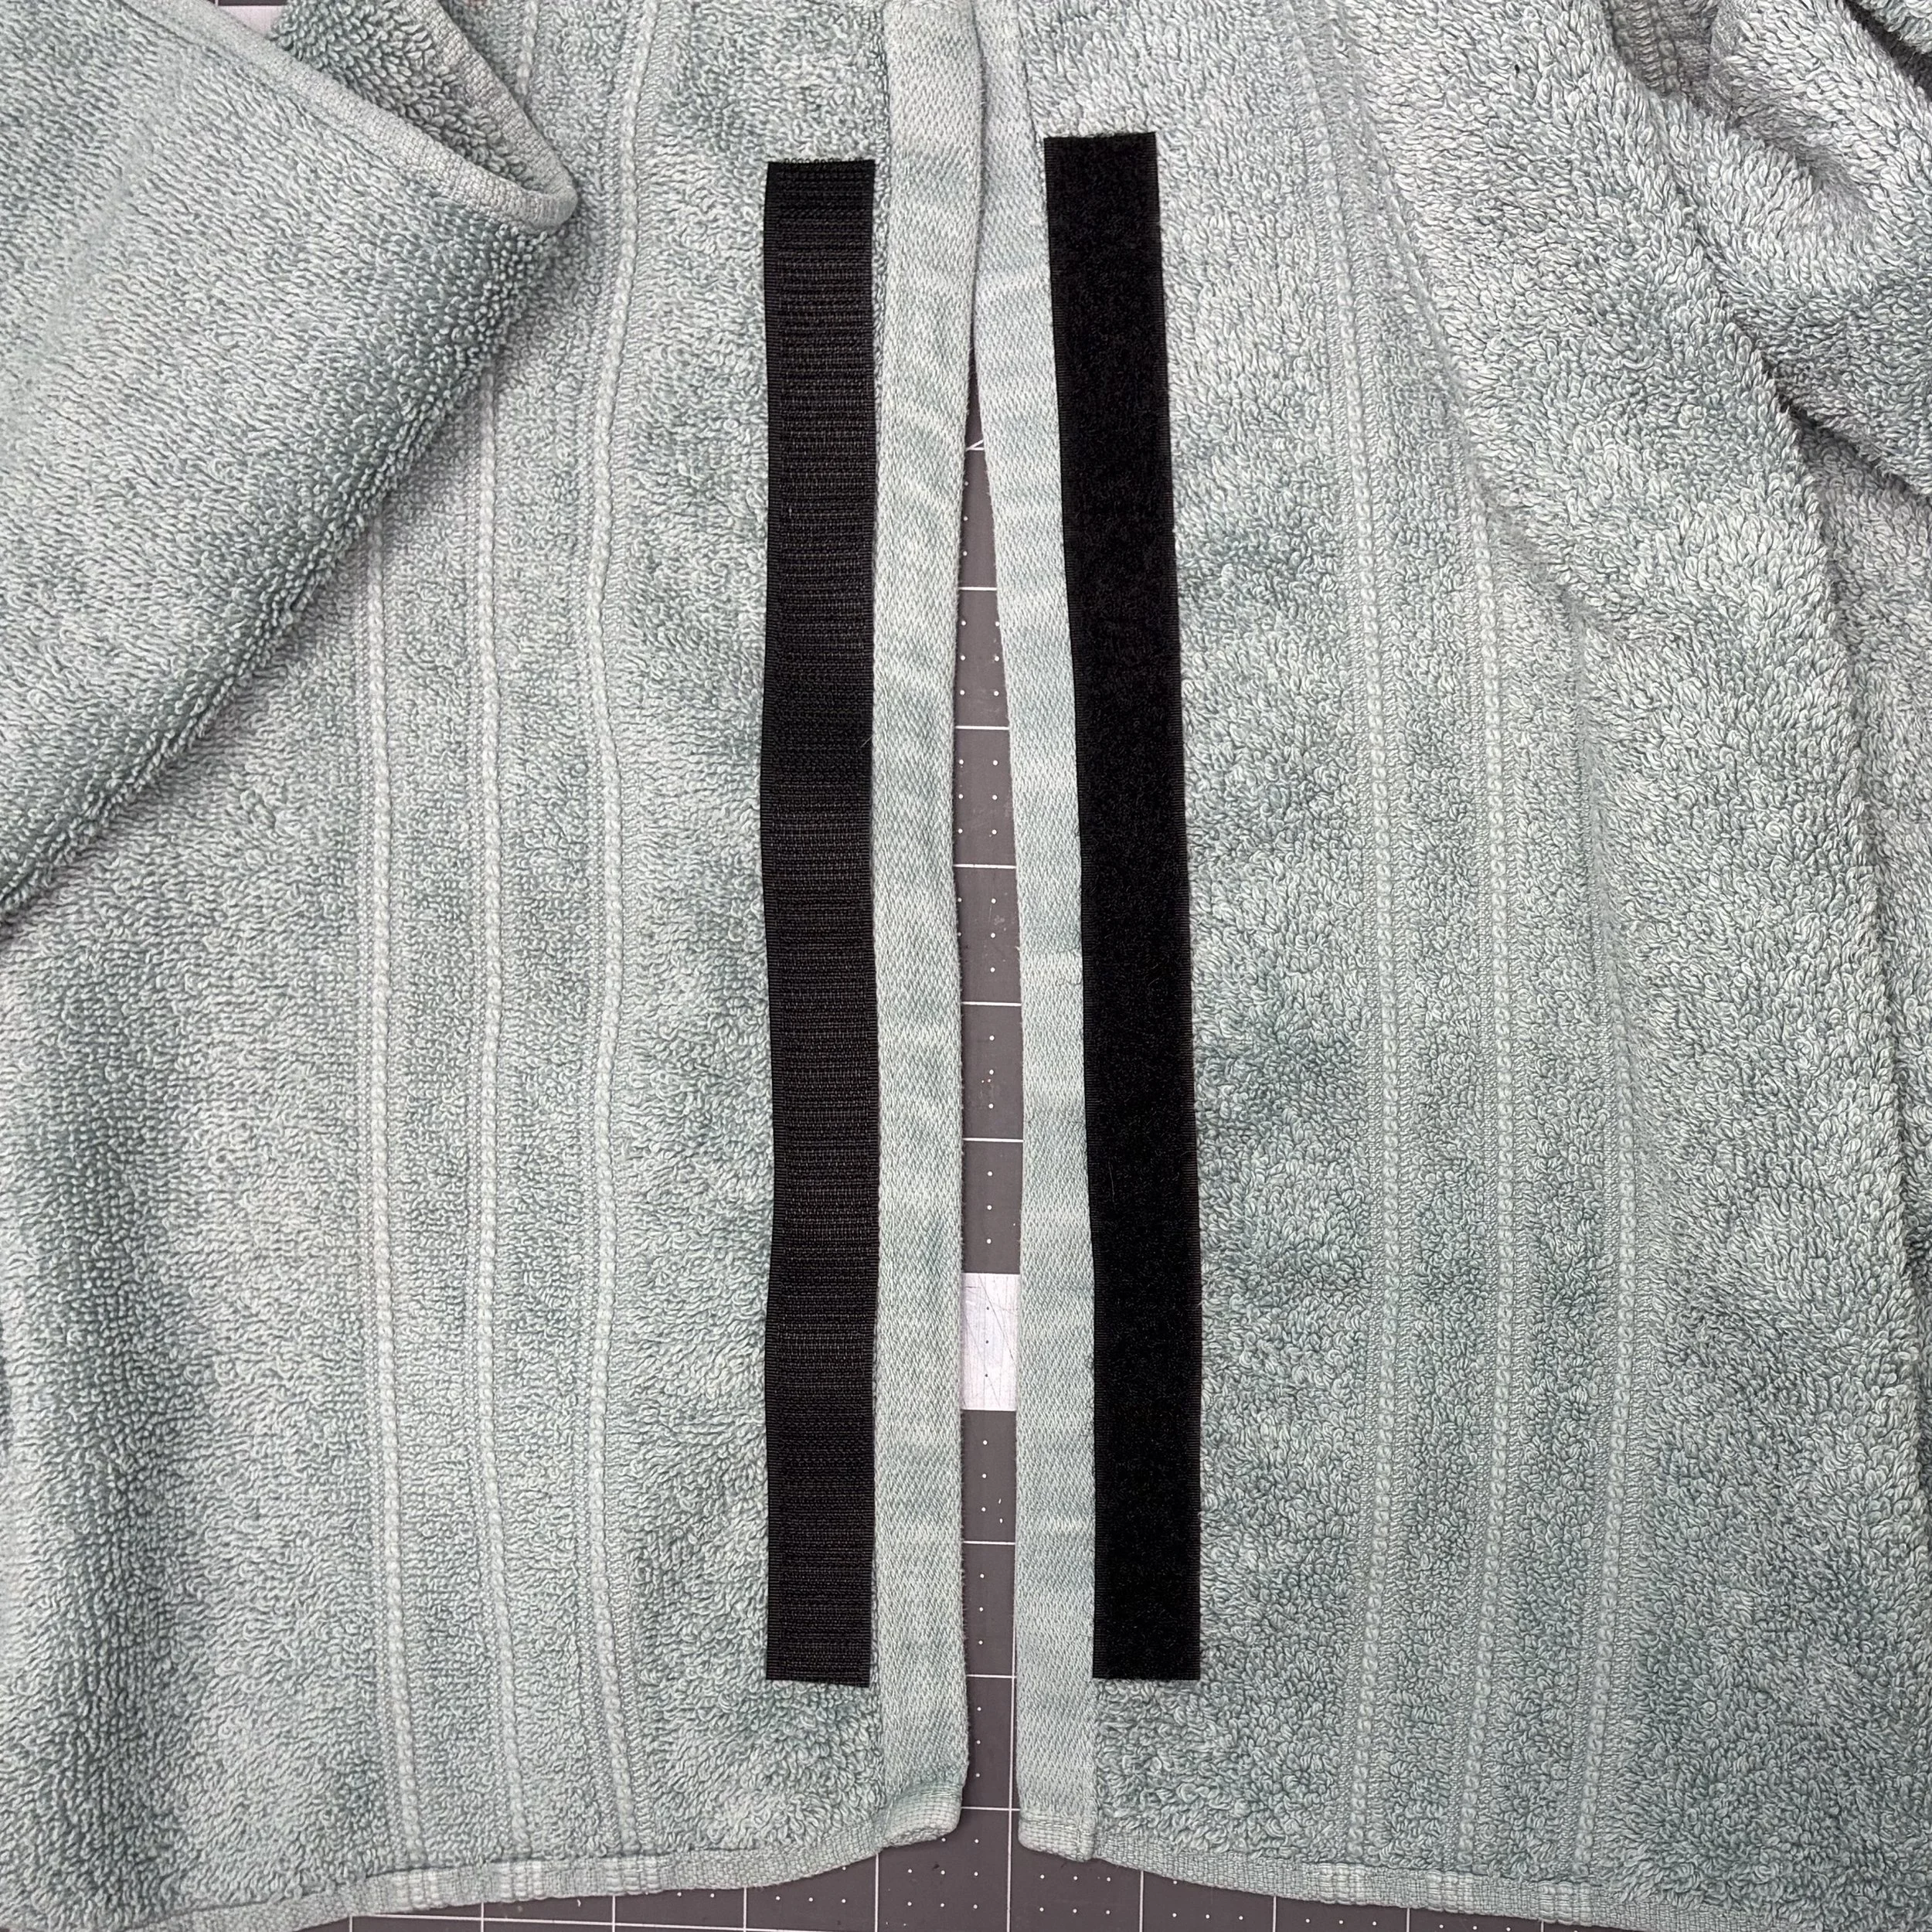
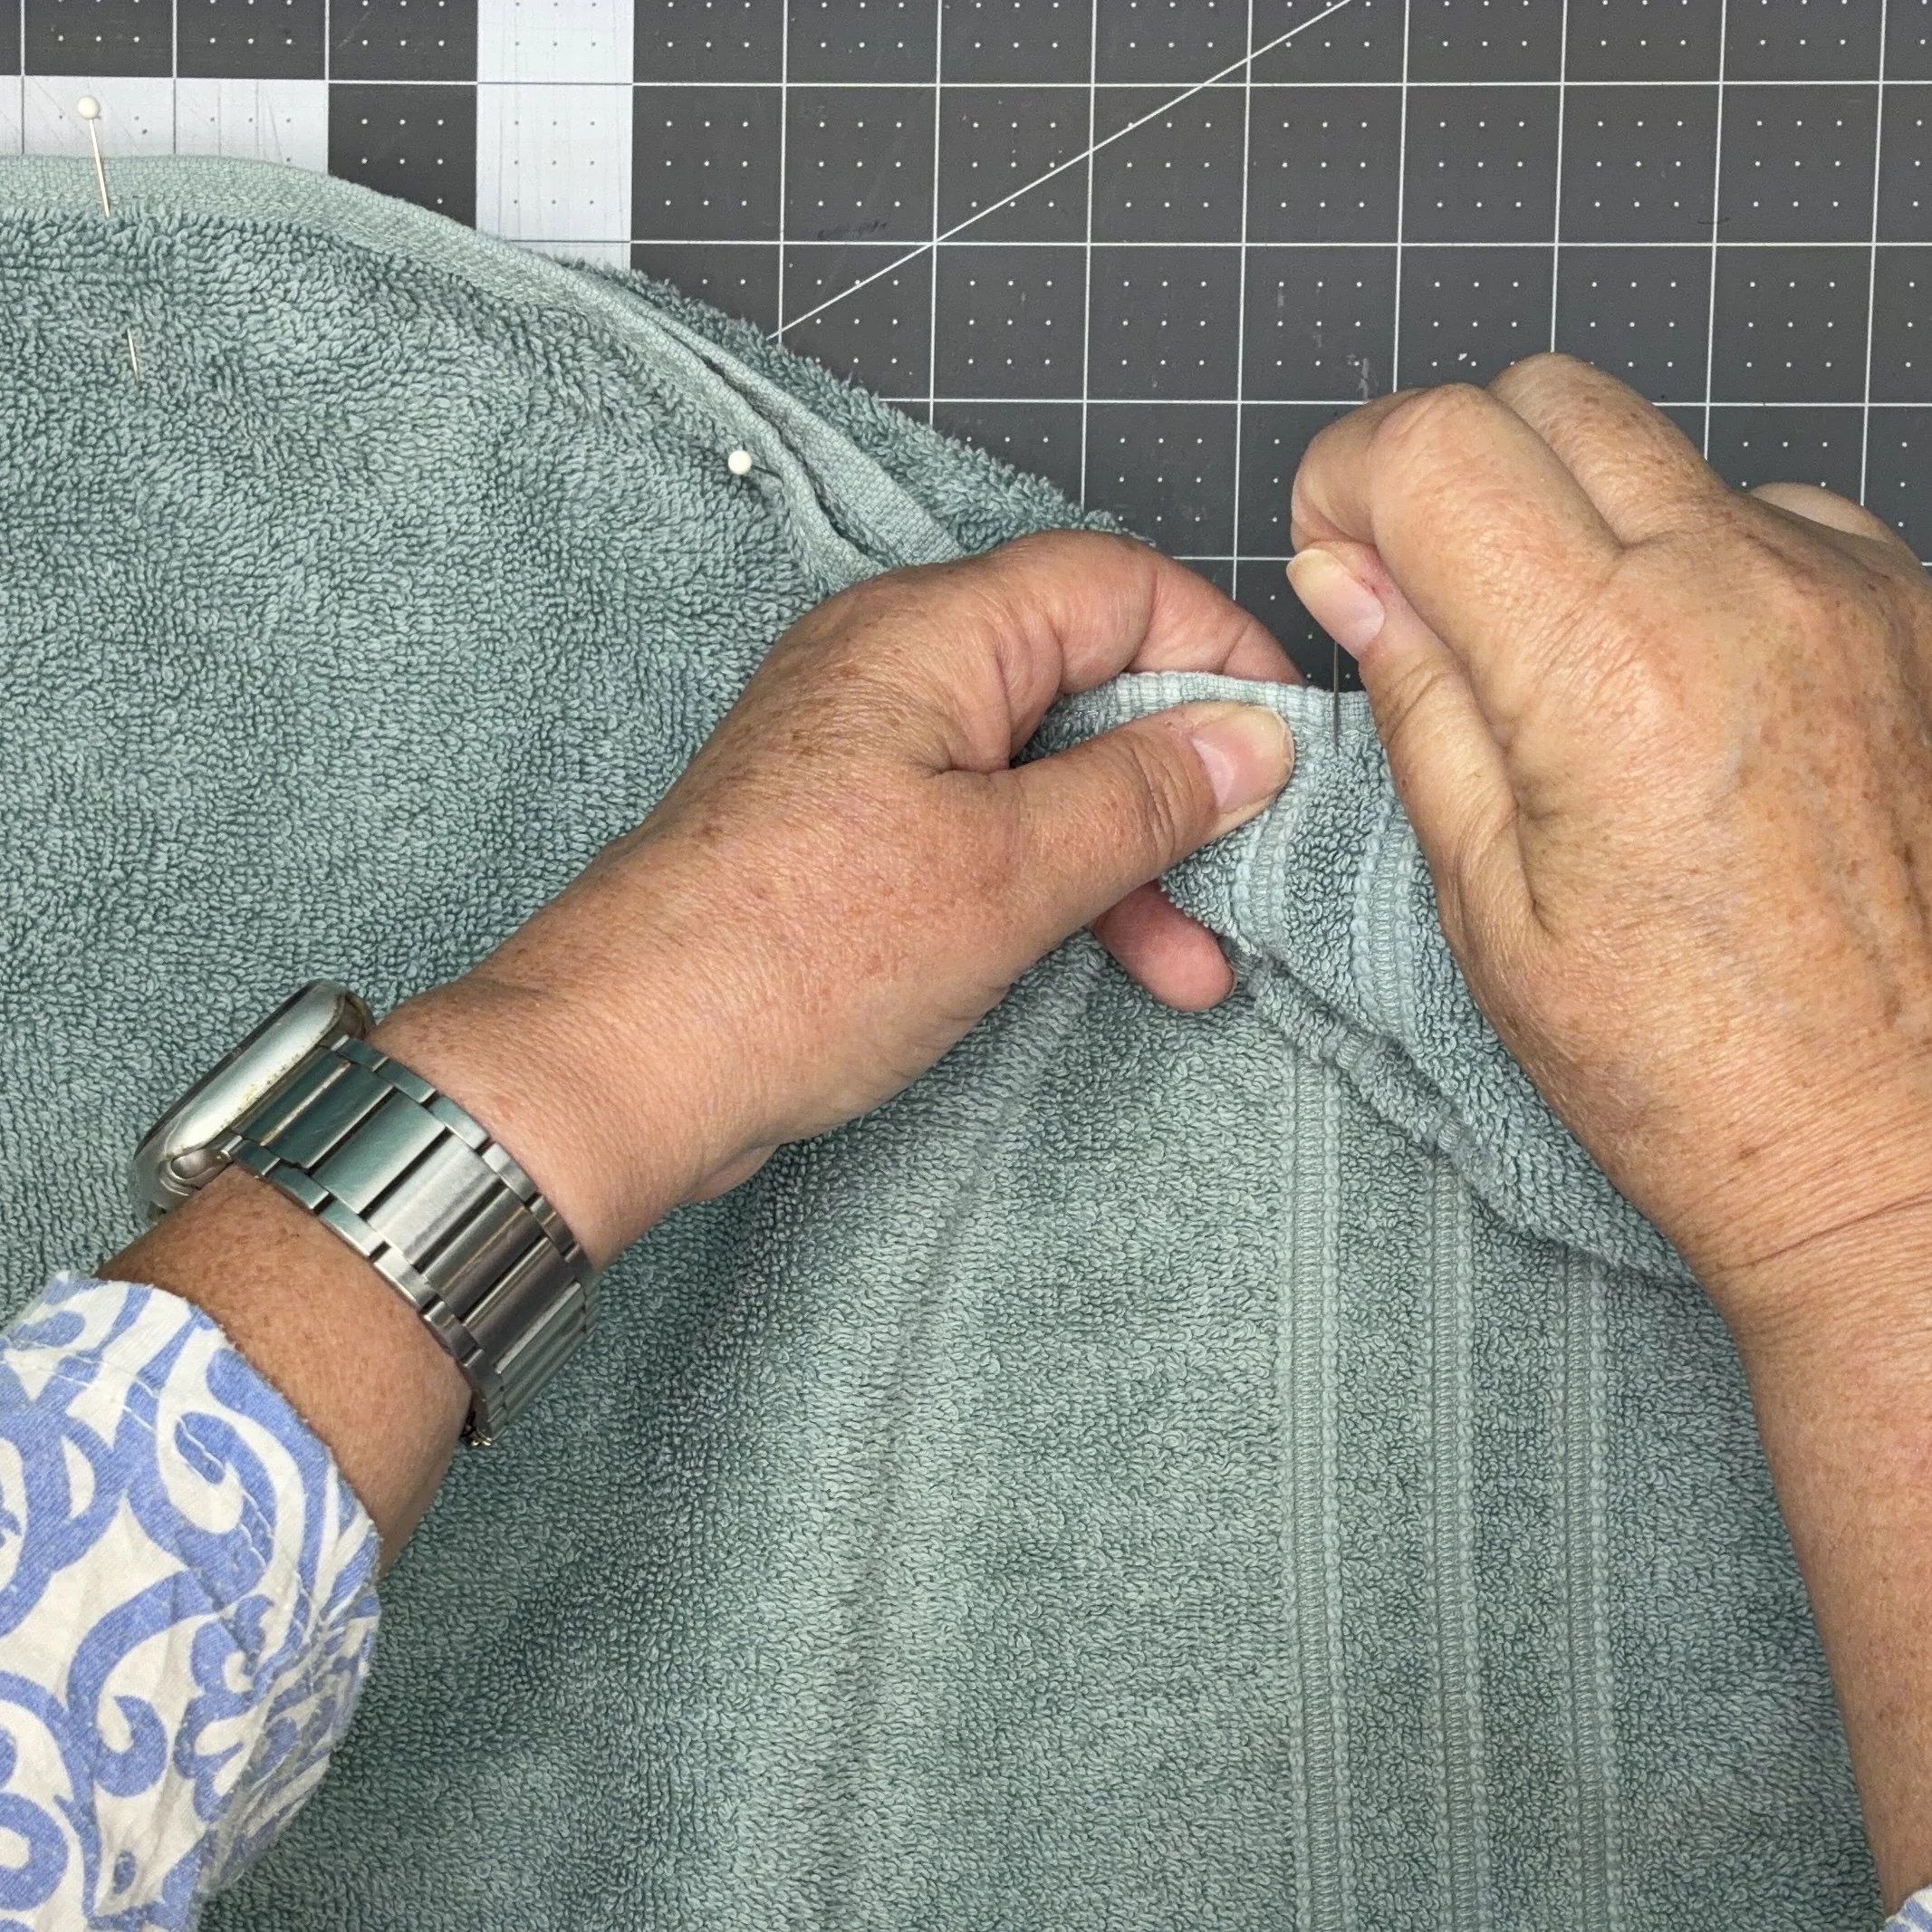
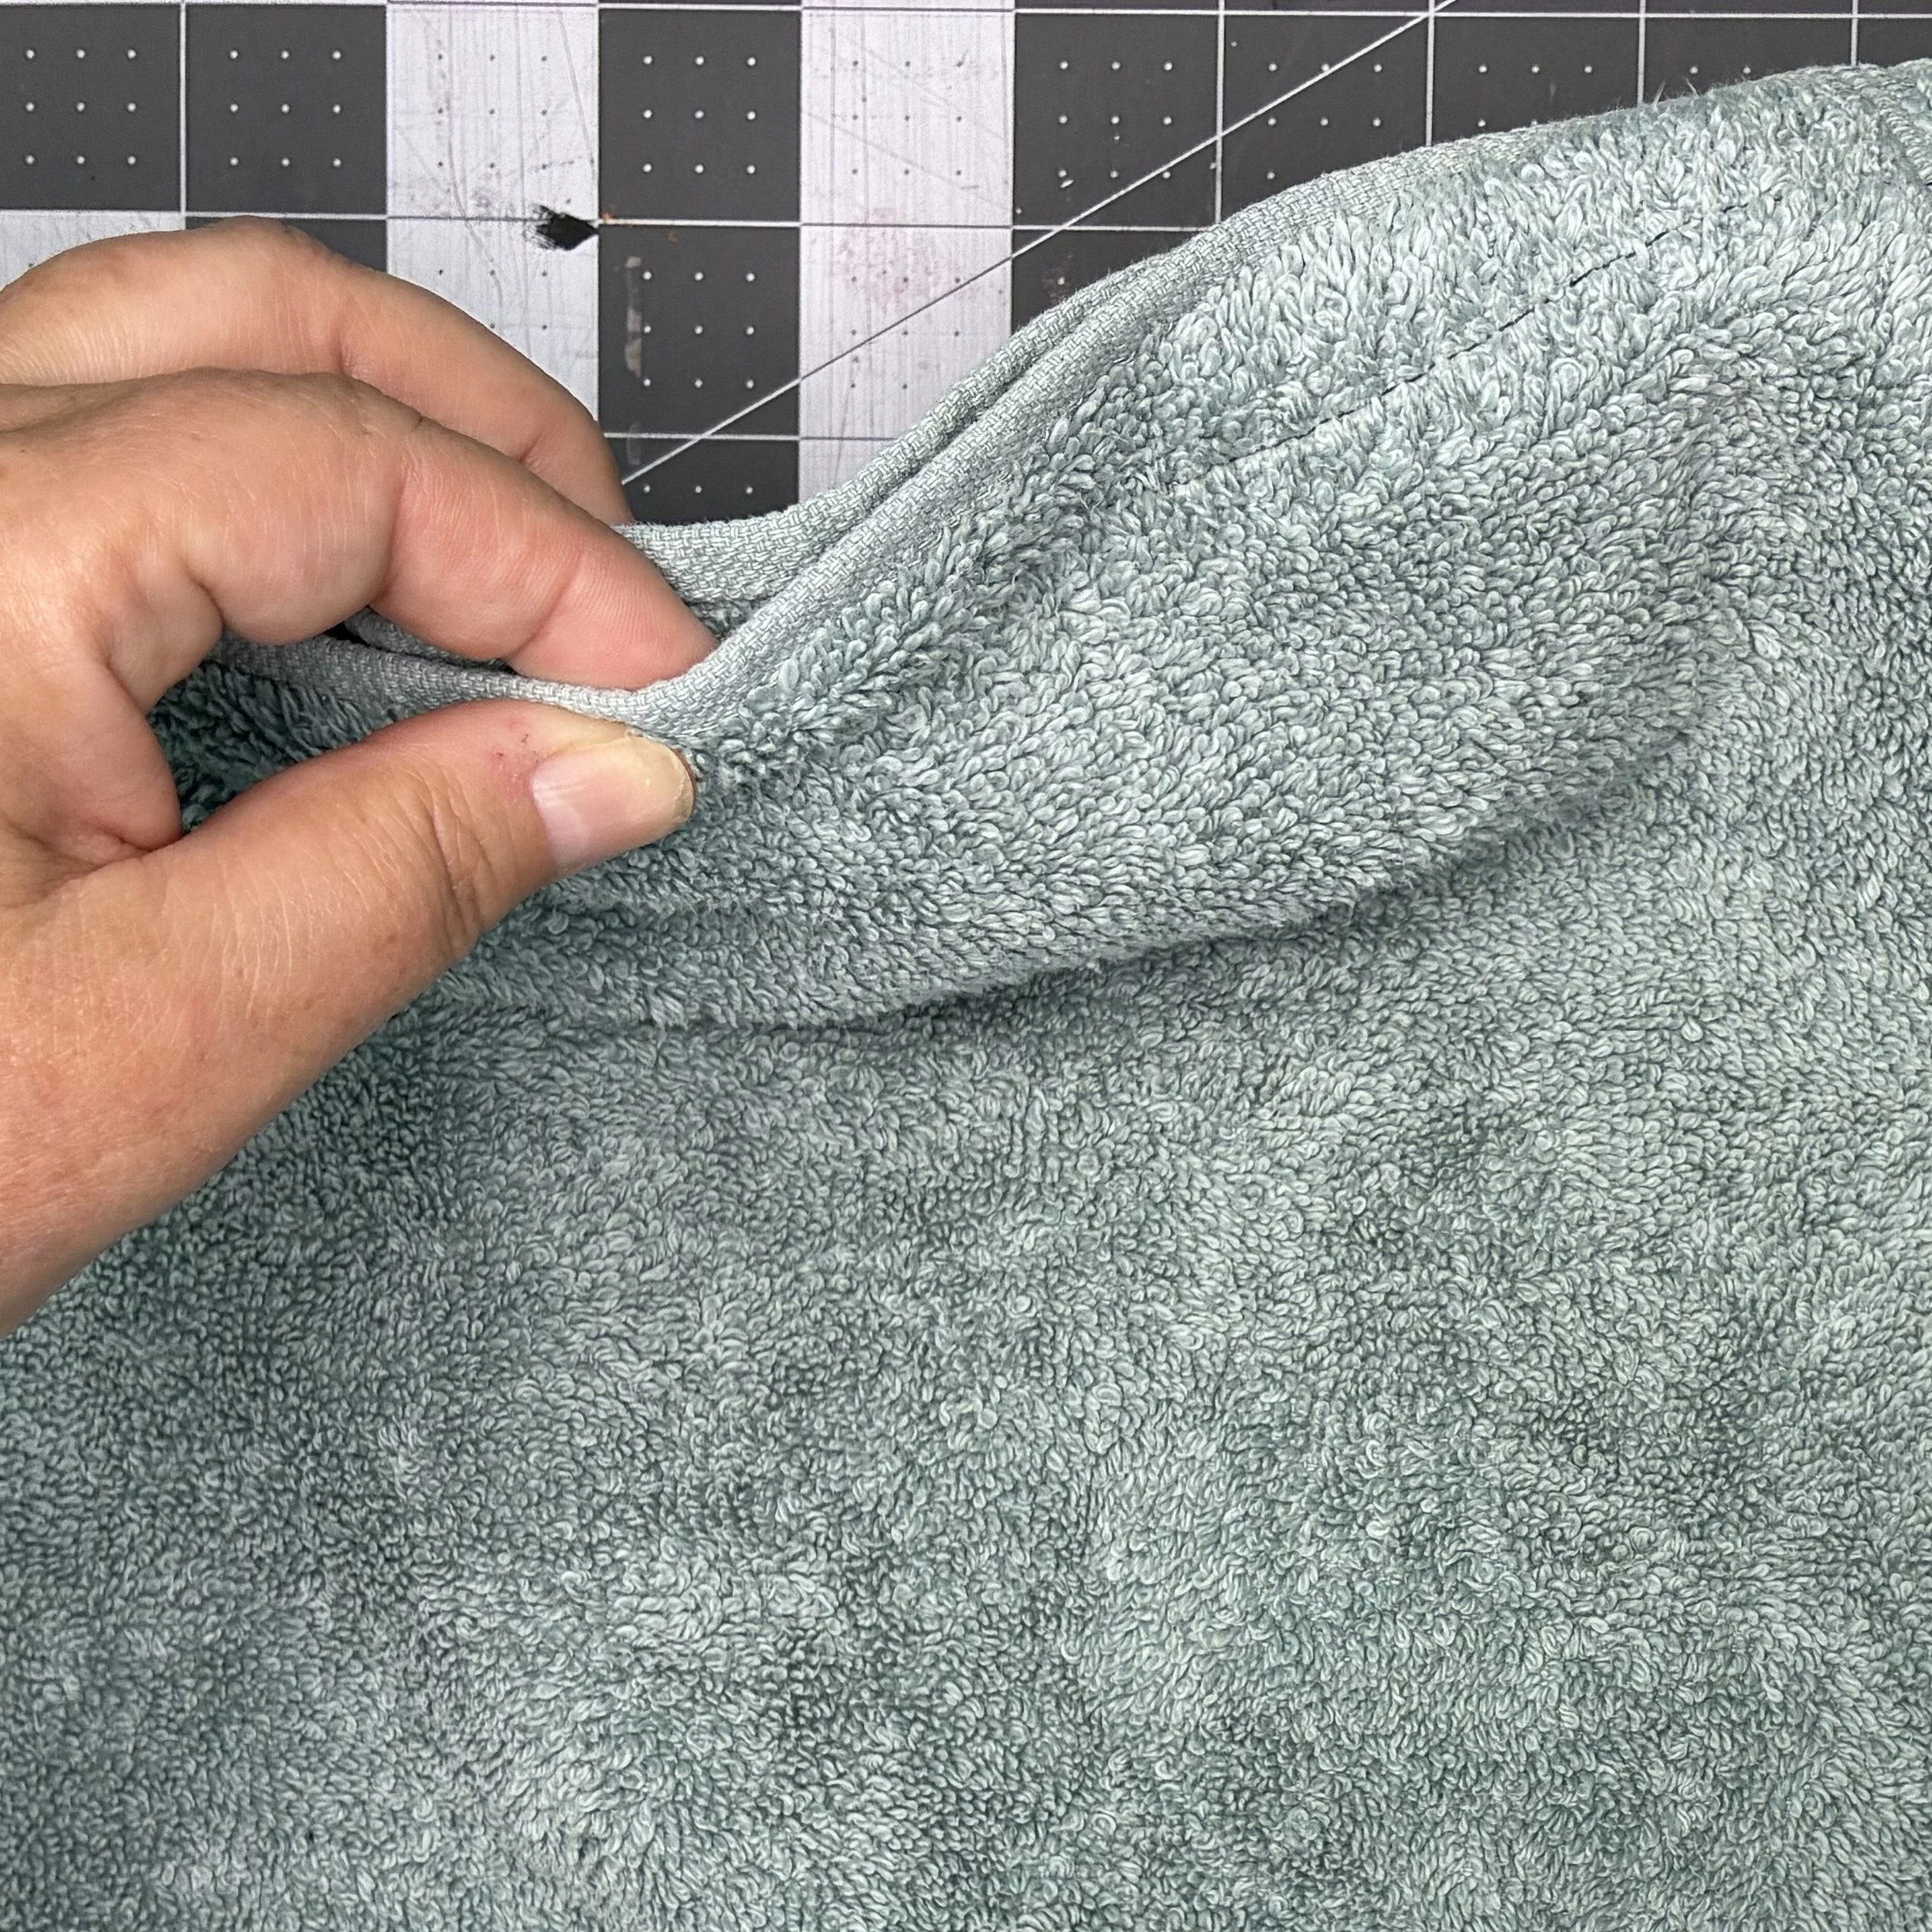
Once the Velcro was stitched down, I pinned the other three sides together, and sewed them with a generous seam allowance. Given the thickness of the towels, I opted to leave the seam allowance on the outside of the case. The towel edges were all finished, so they wouldn’t ravel, and turning them to the inside would really increase the bulk inside the pillow case. Leaving them on the outside would cause no additional bulk at all.
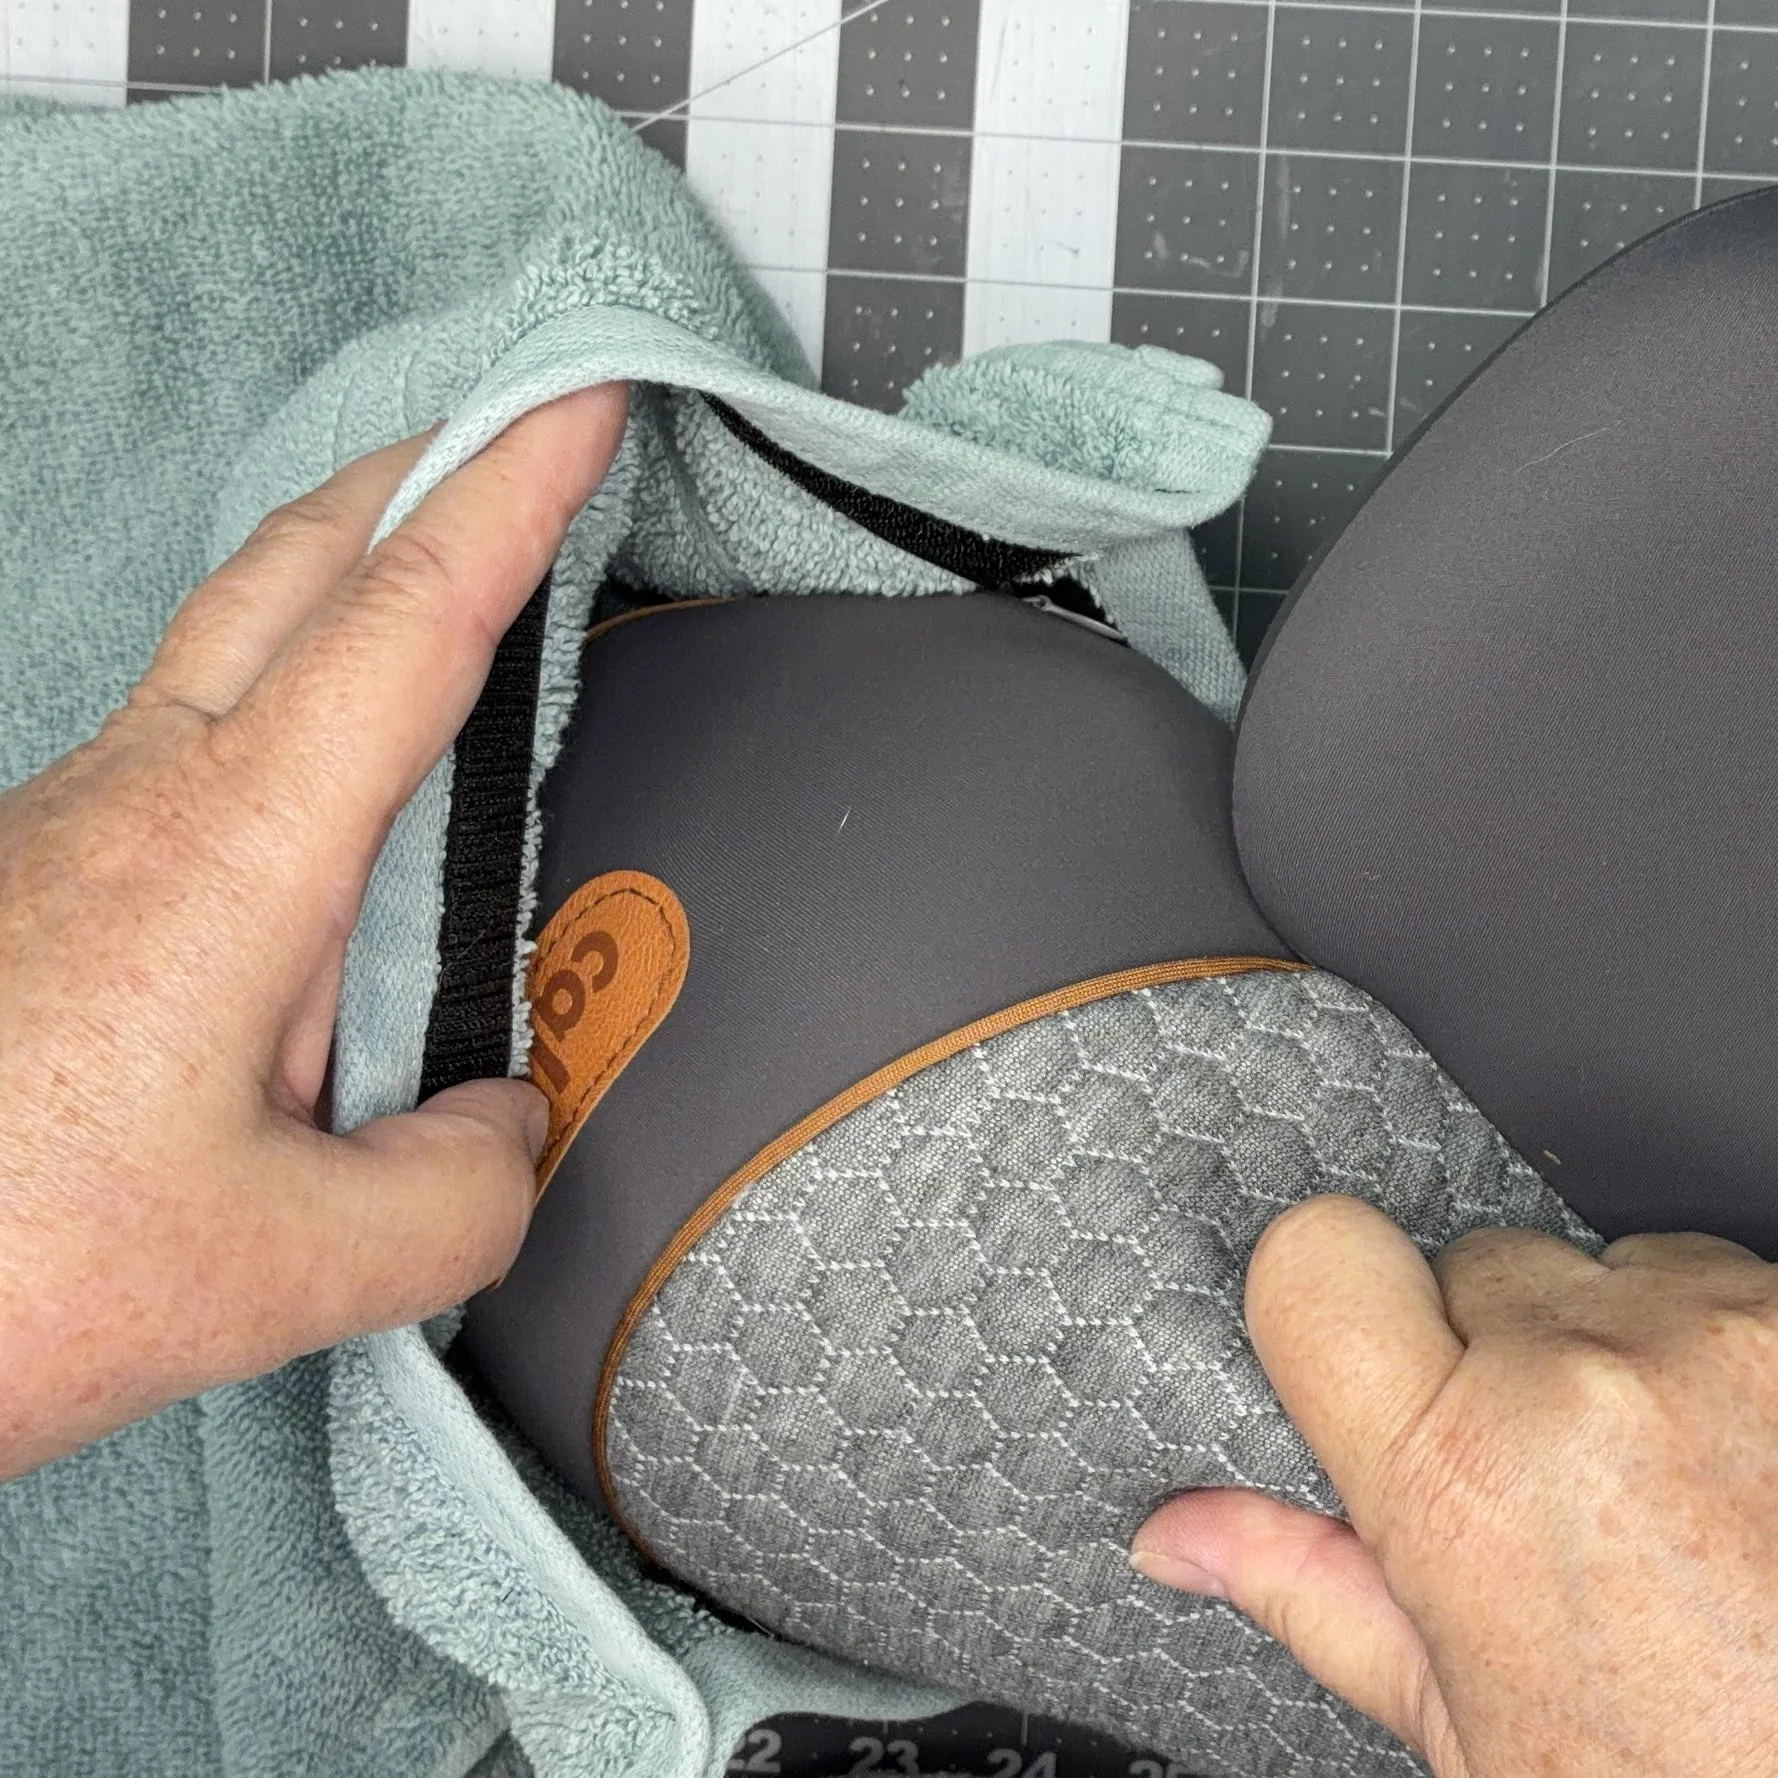
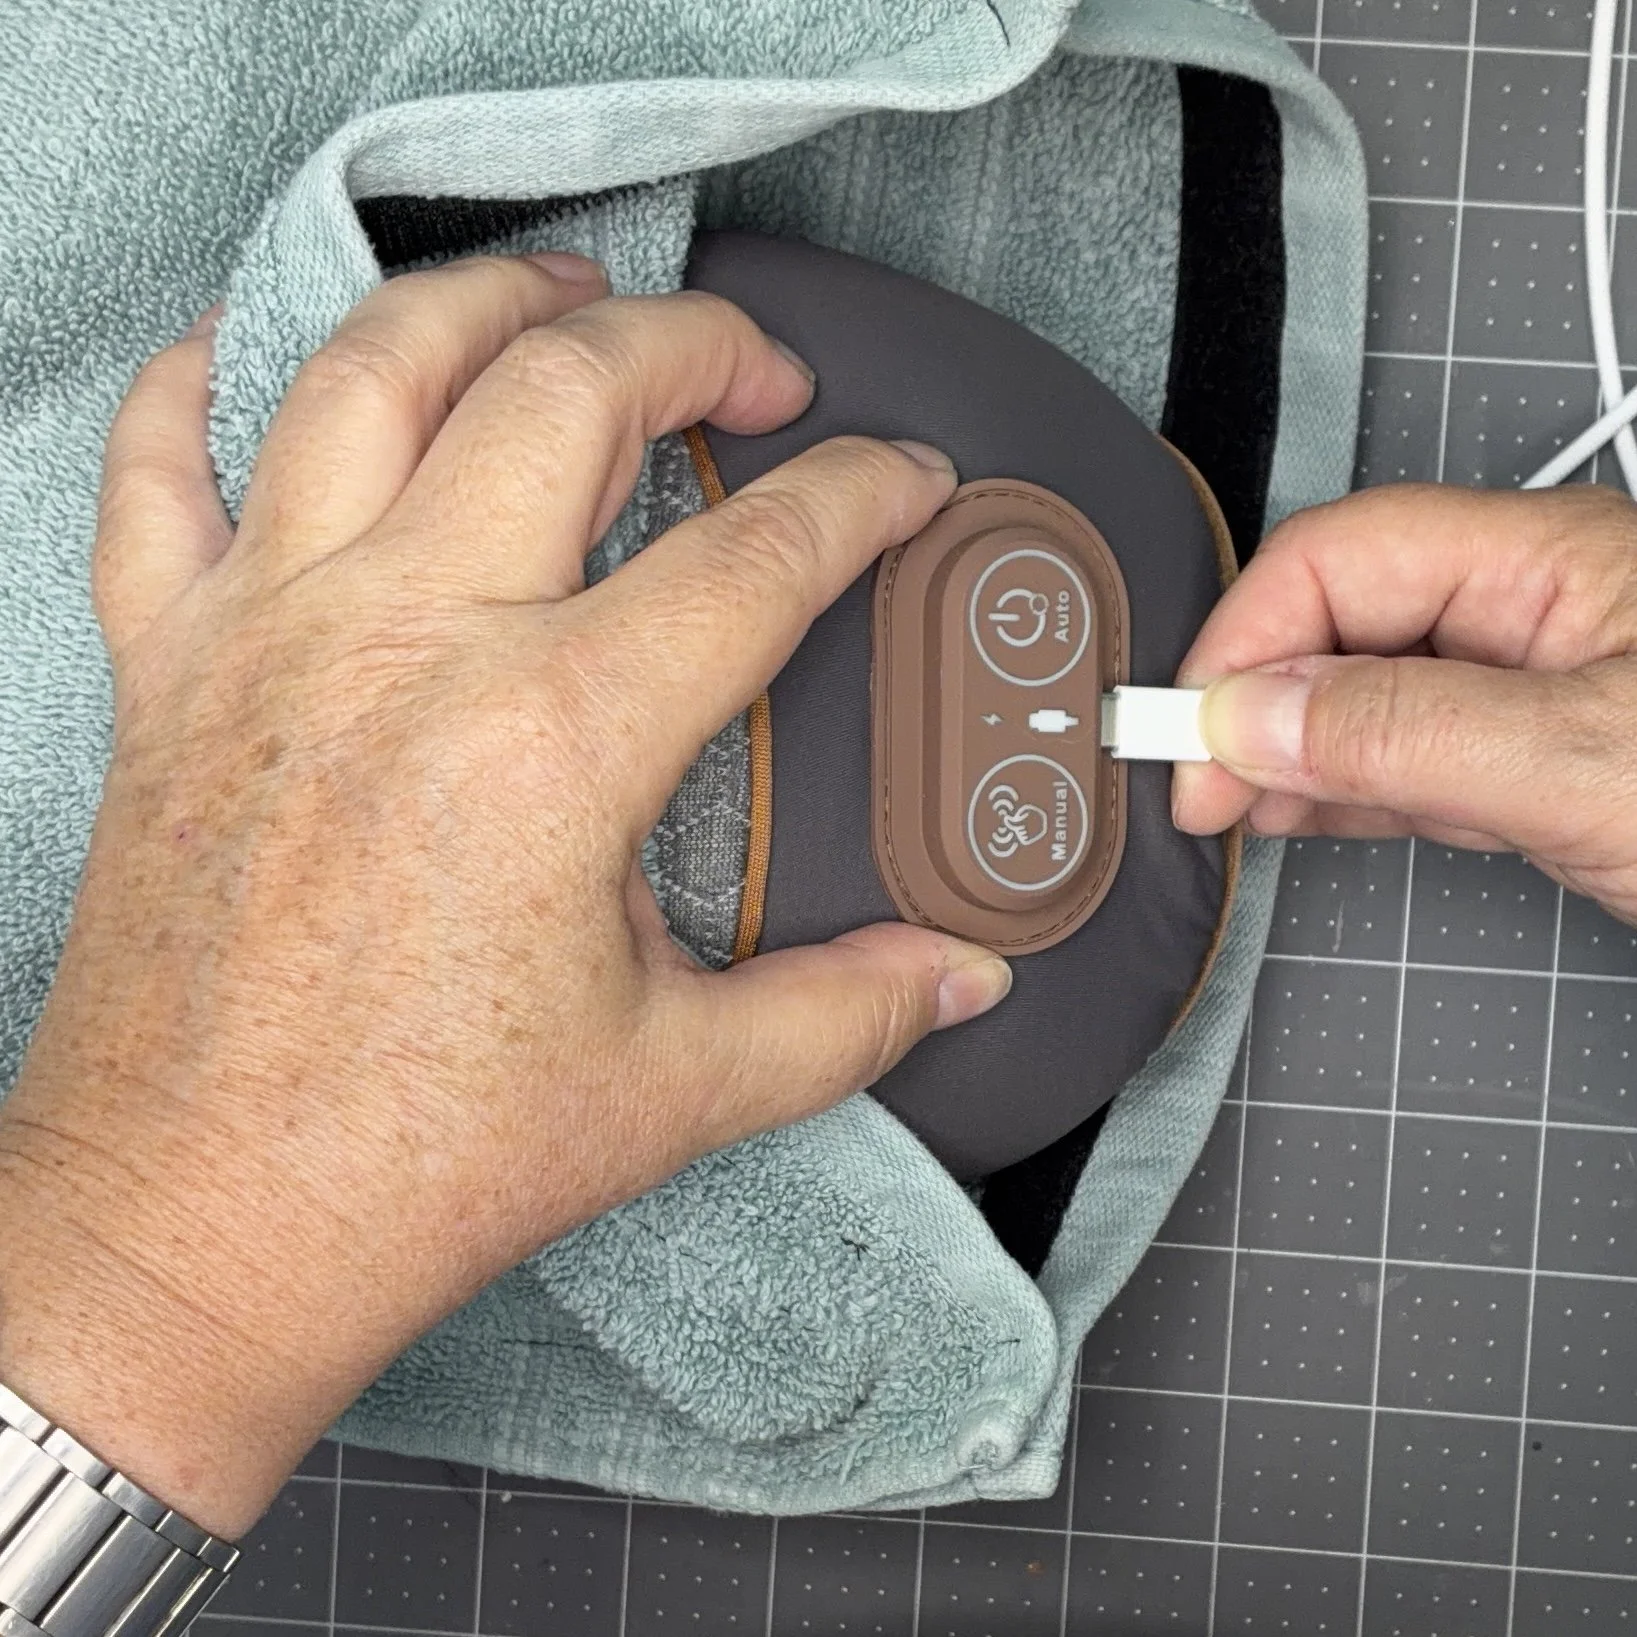
Then I stuck the pillow inside and closed up the Velco. In order to charge the pillow, I just needed to open up the Velcro enough to stick the USB cord inside. Easy peasy and it worked great! I had bought enough towels to make several cases, but I really couldn’t think of a reason to make more than one. I’ll just throw it into the washing machine once a week to keep it reasonably clean.
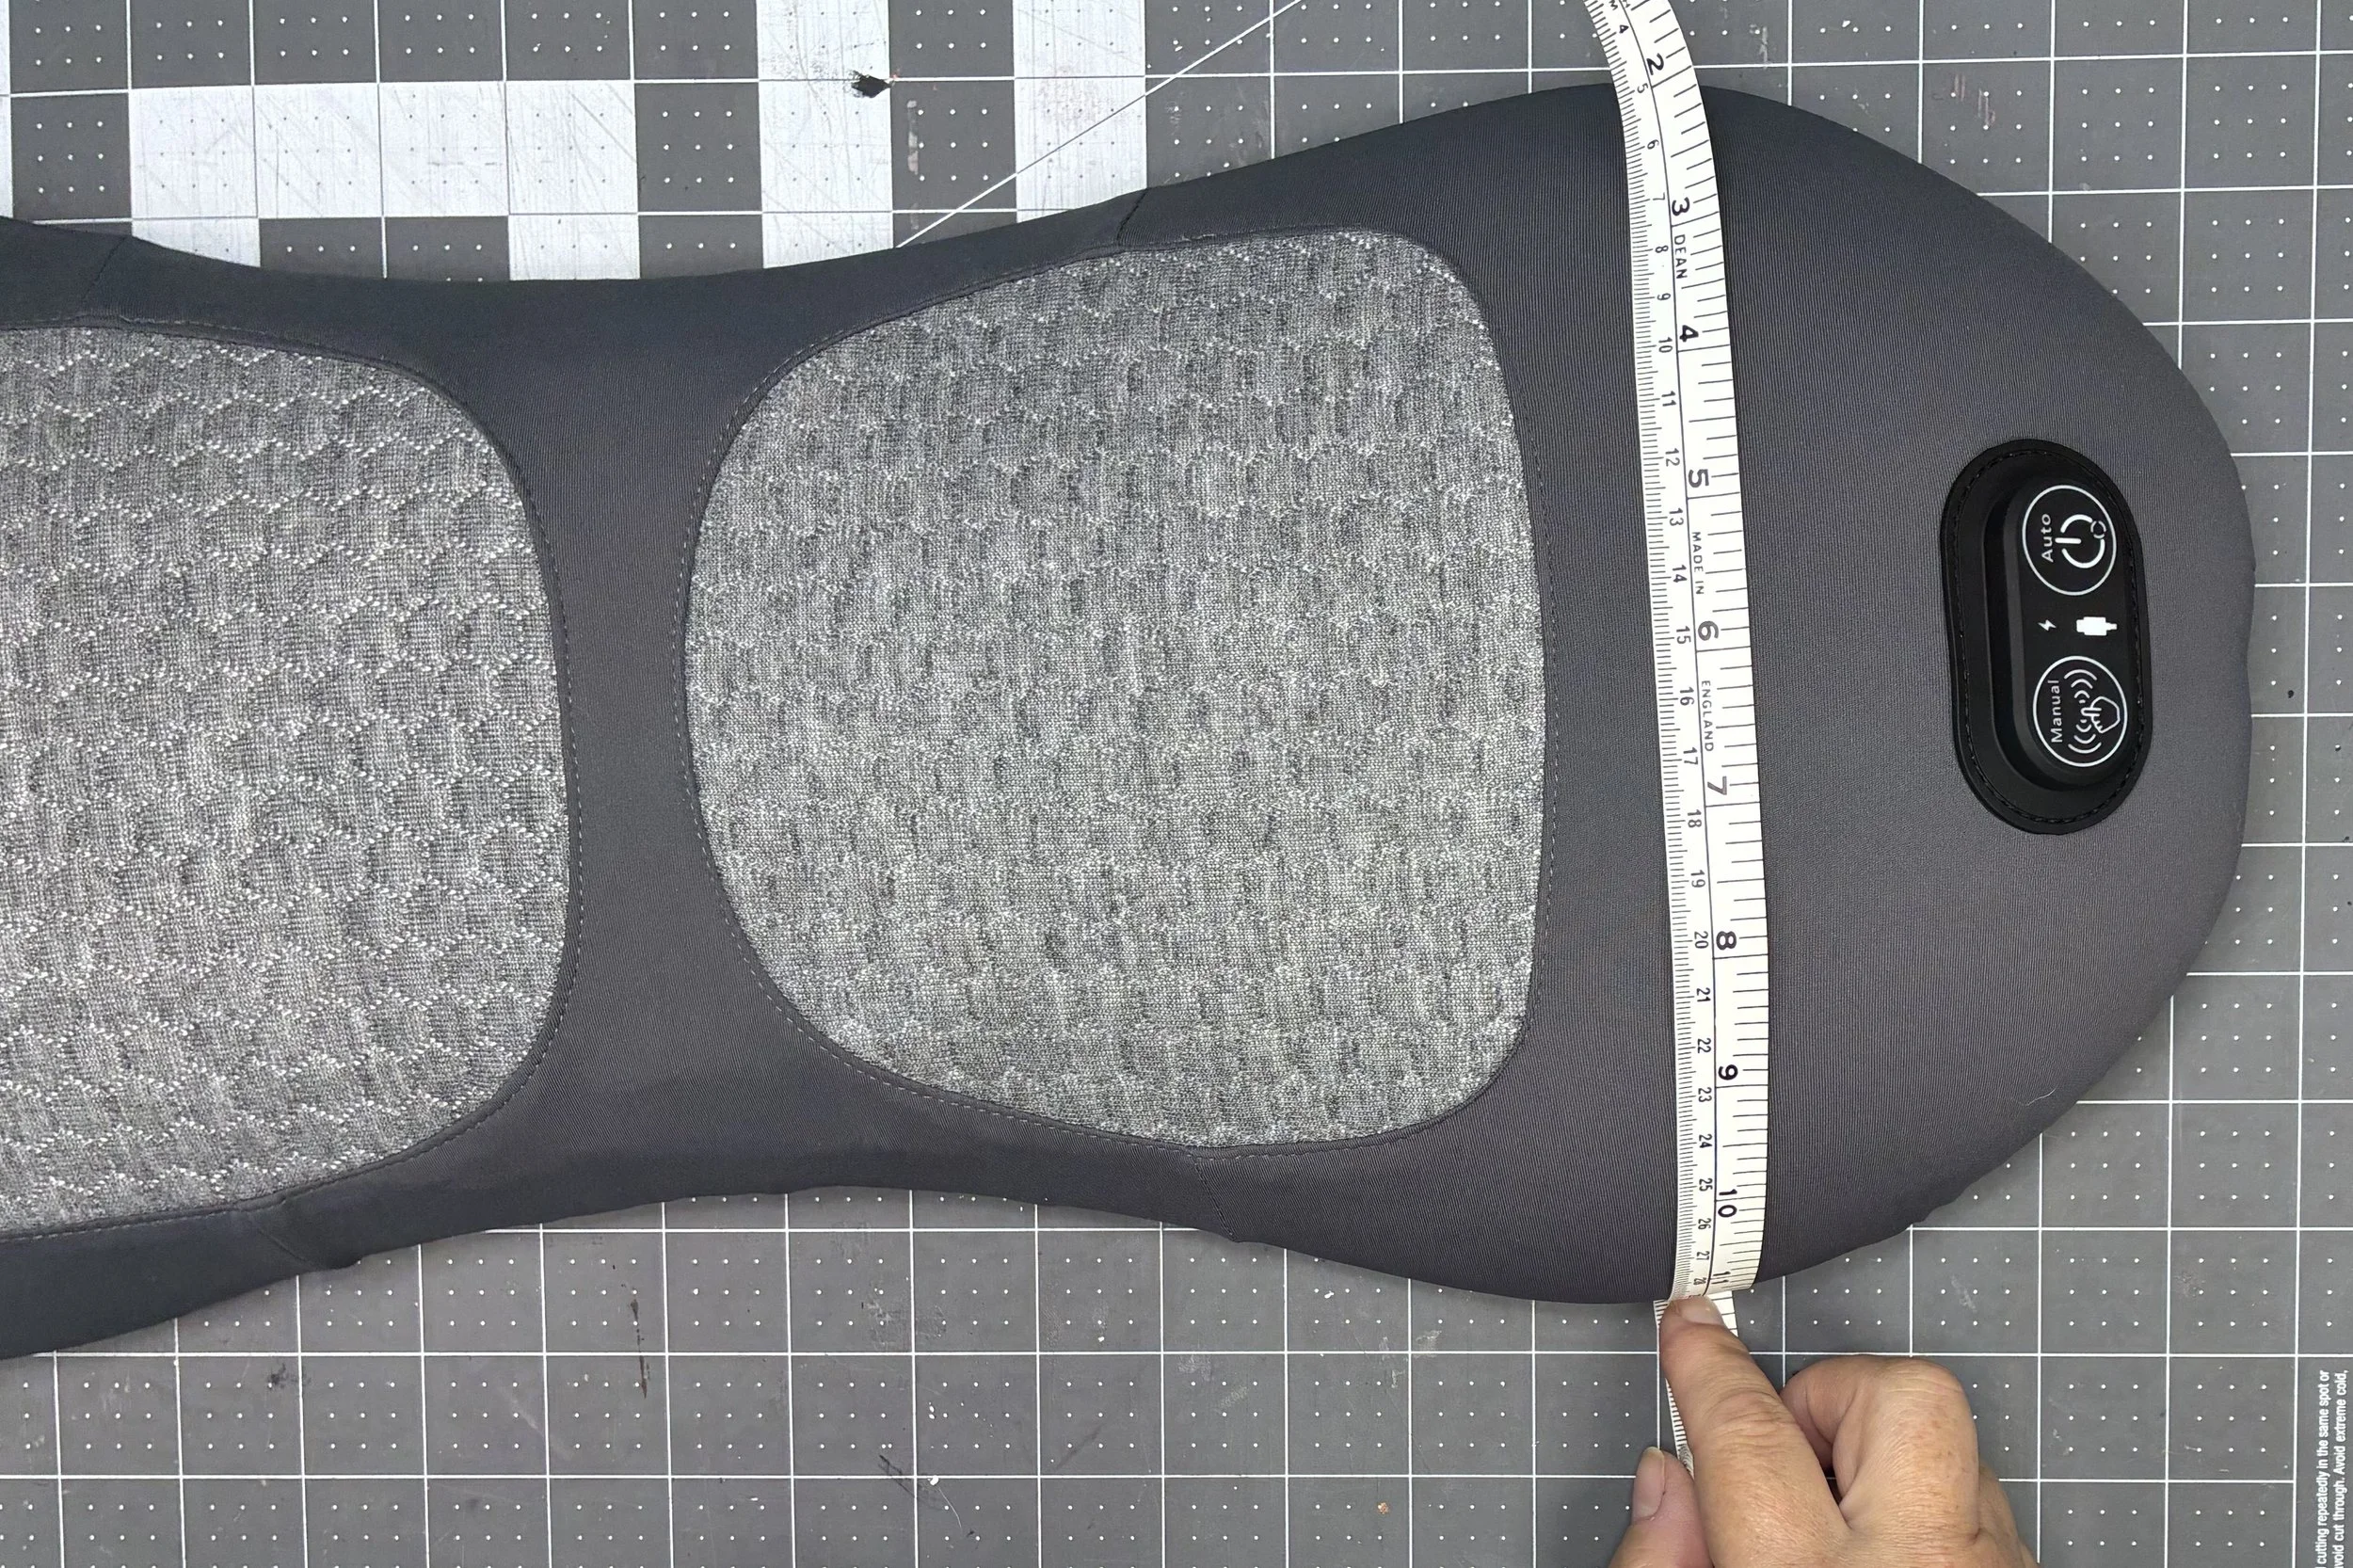
When it came to making a case for the back pillow, it was immediately obvious to me that the hand towels would not do the job. The back pillow is a little narrower than the neck pillow but it is longer. Too long for a hand towel. No problem…I didn’t actually need a towel for this pillow because it doesn’t get warm enough to bother me. Regular fabric would do just fine. I still haven’t unpacked most of my fabric, but I did have that gray patterned fabric I used to line my remote holster. So I measured the back pillow and cut two pieces of the gray fabric a little bigger than I thought I’d need, accounting for an extra seam allowance for French seams.
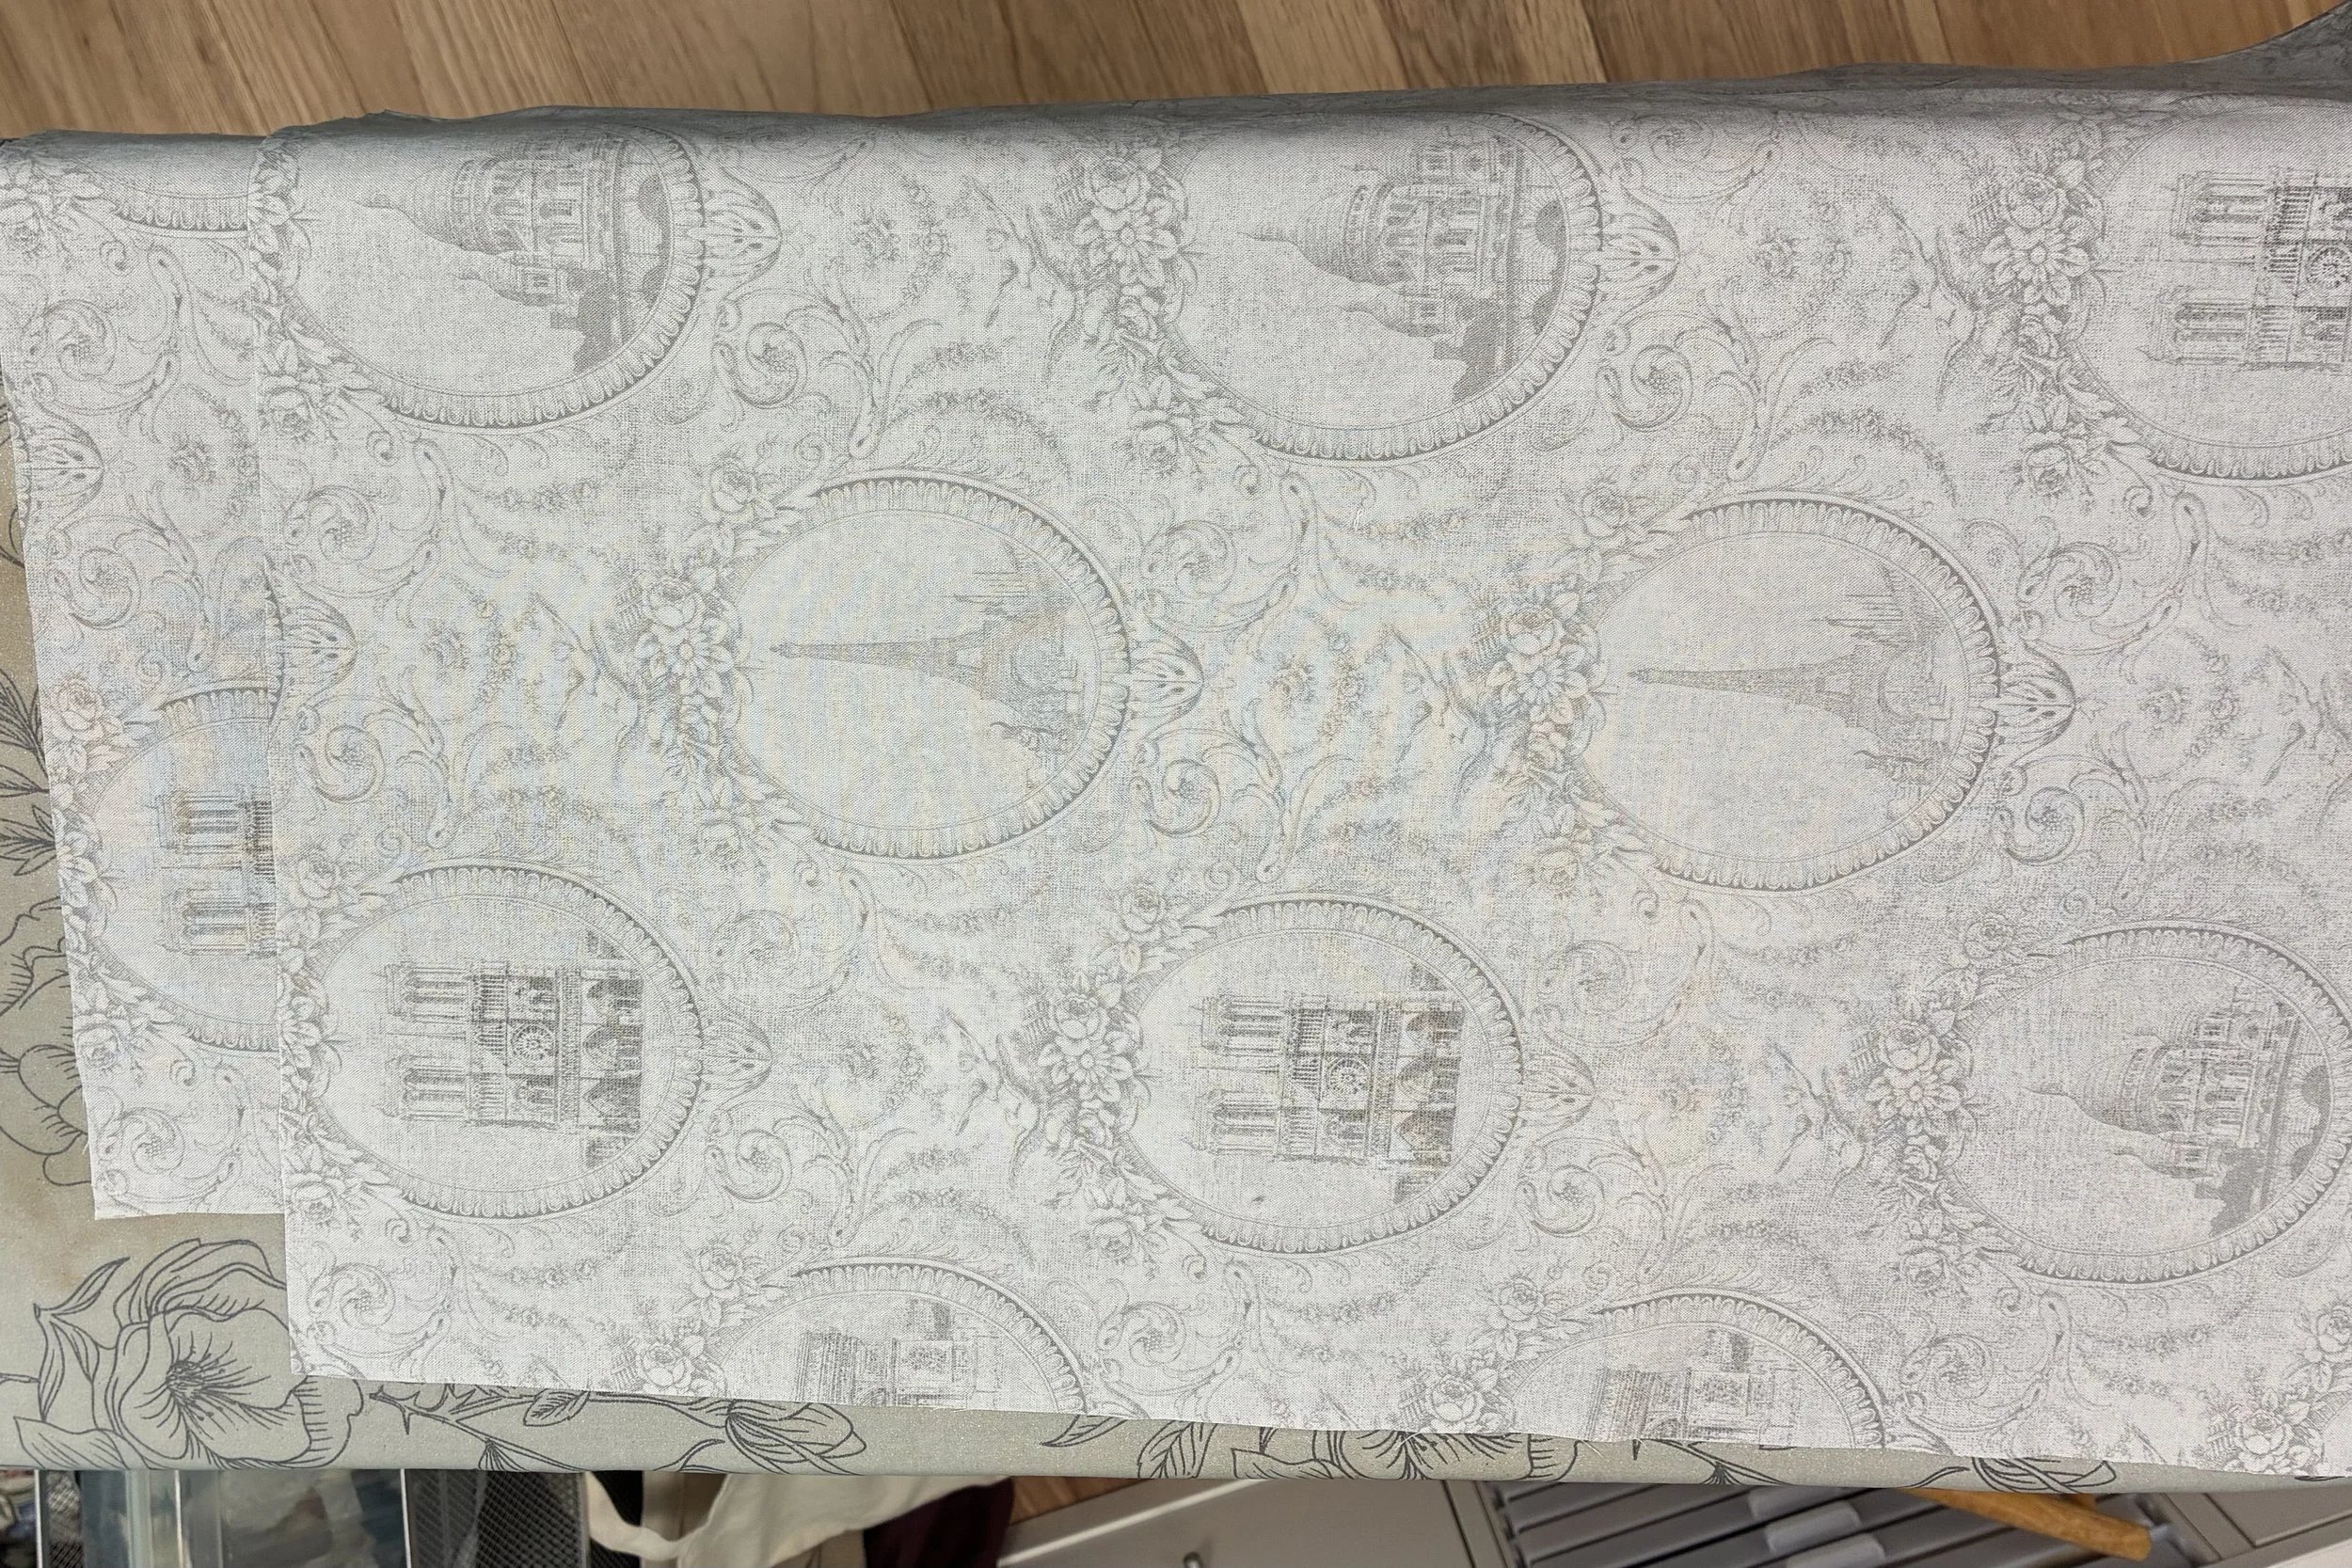
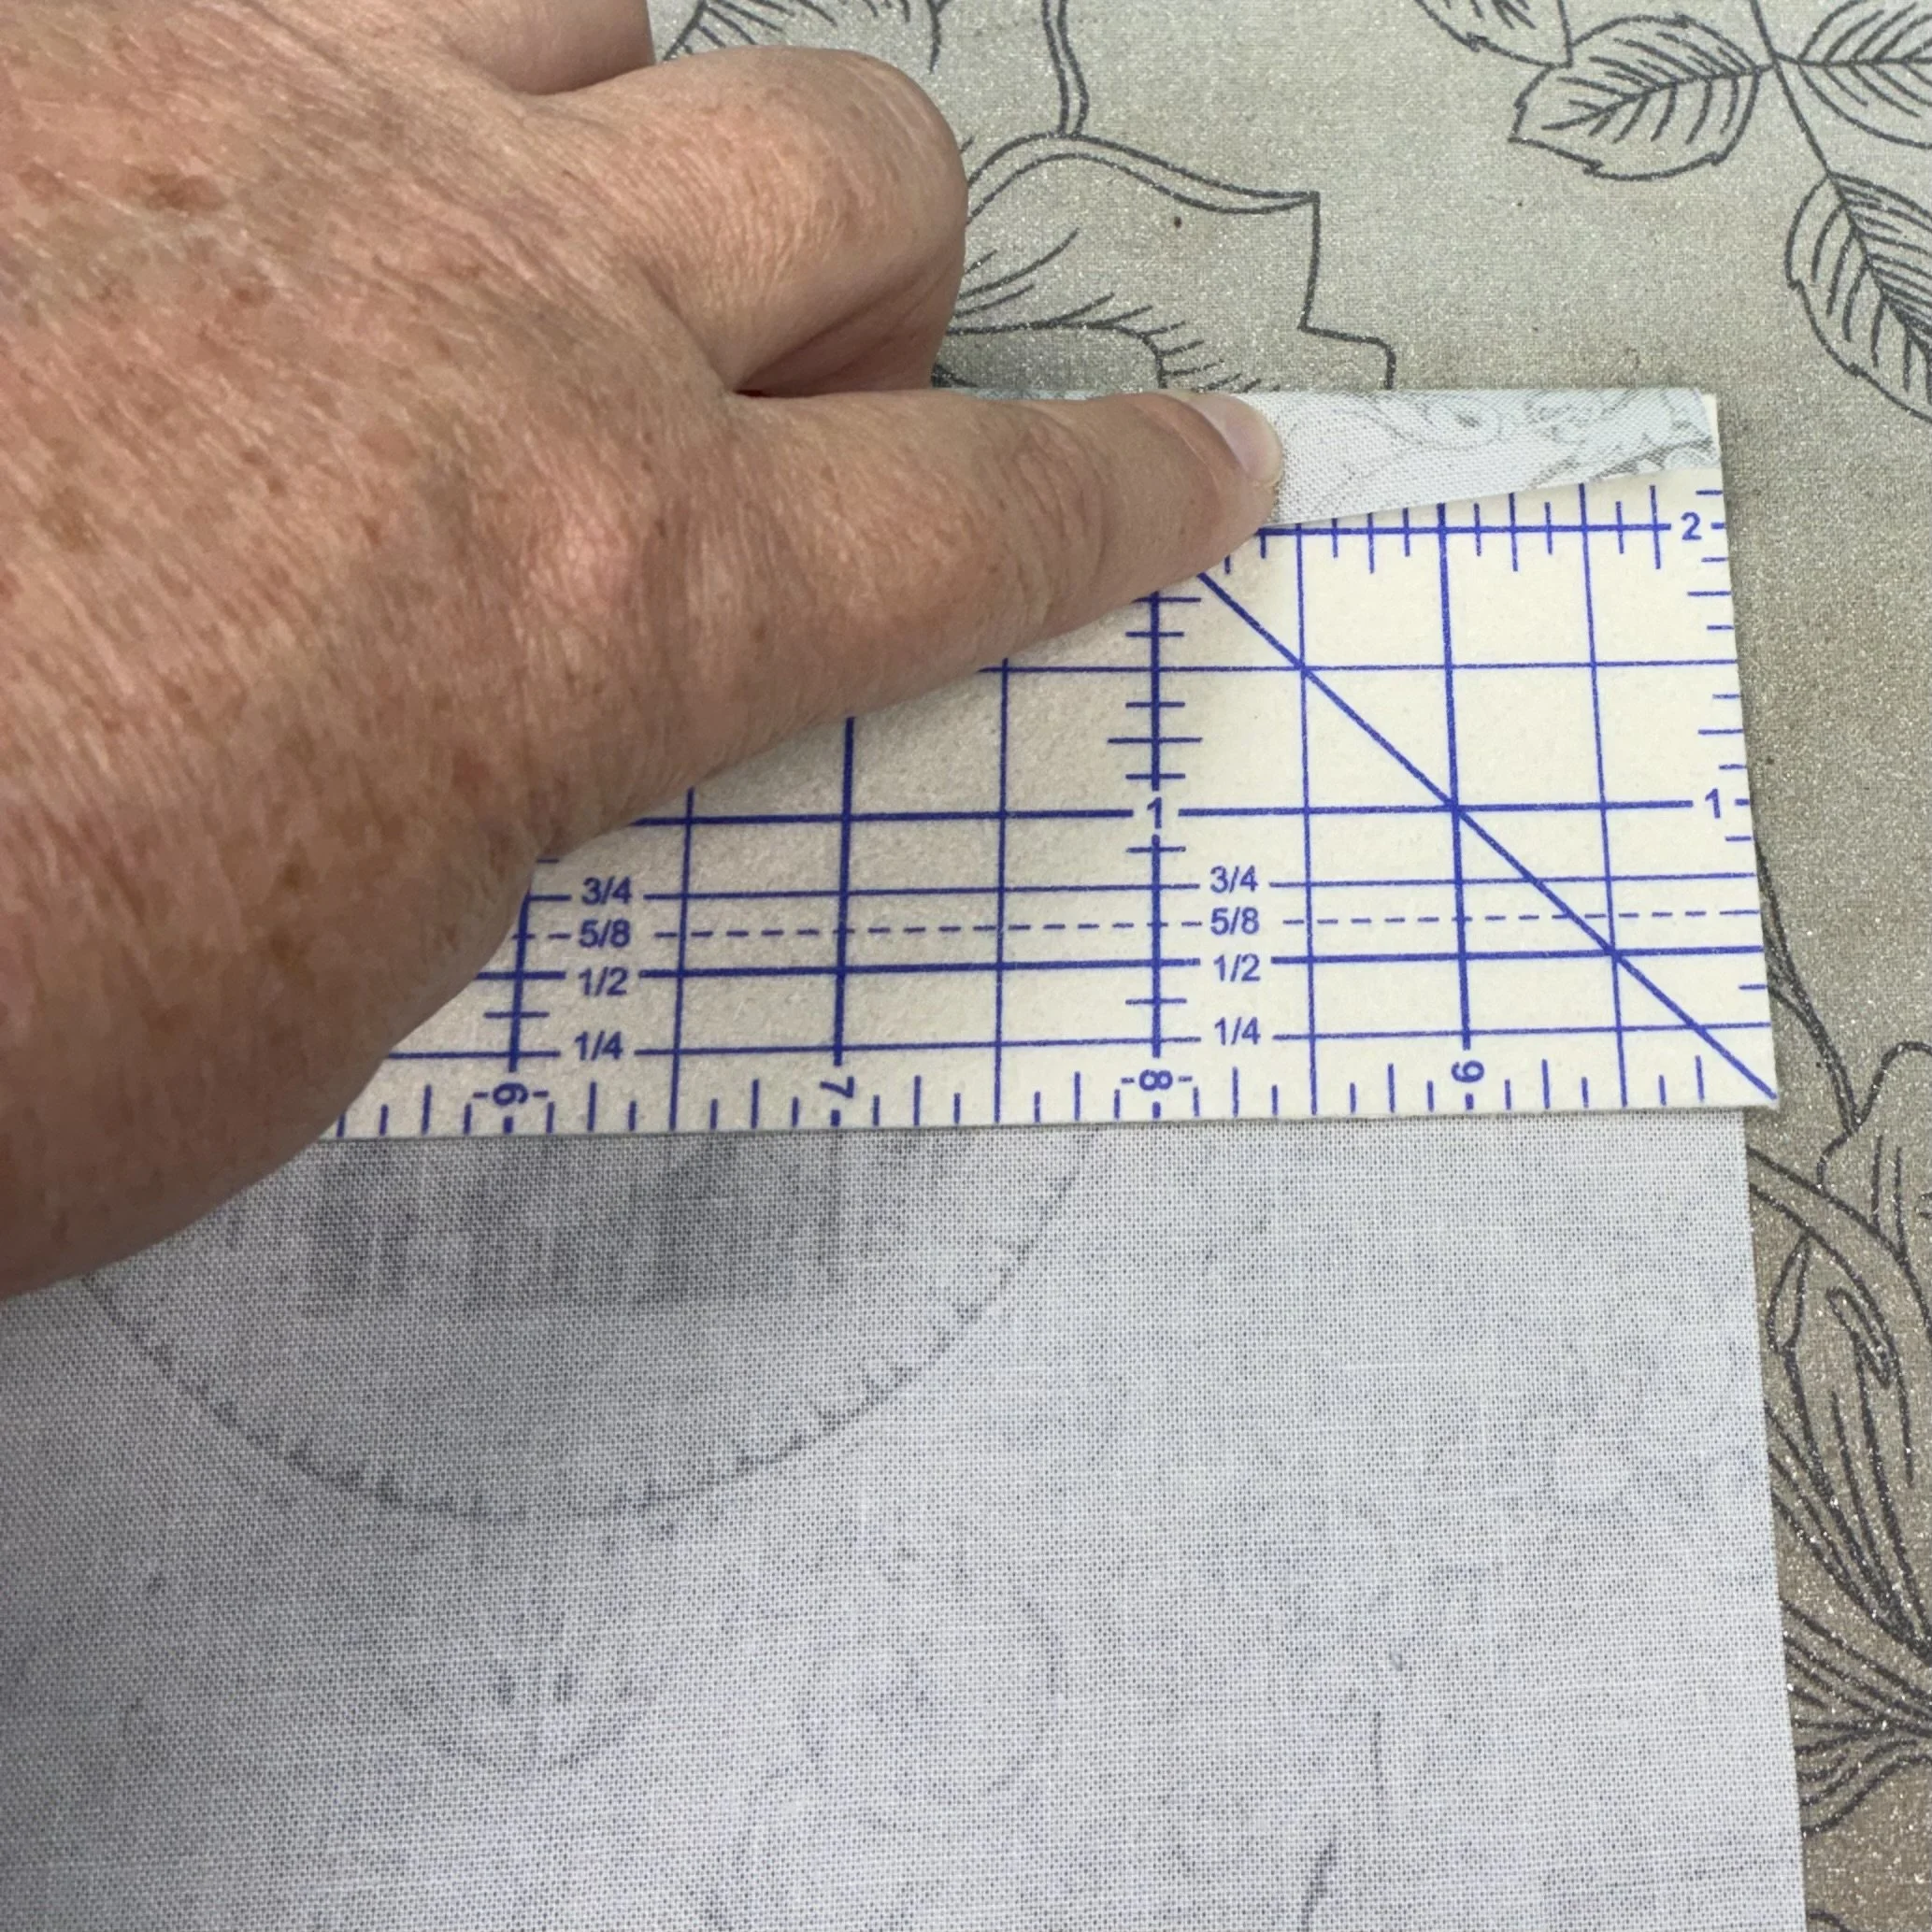
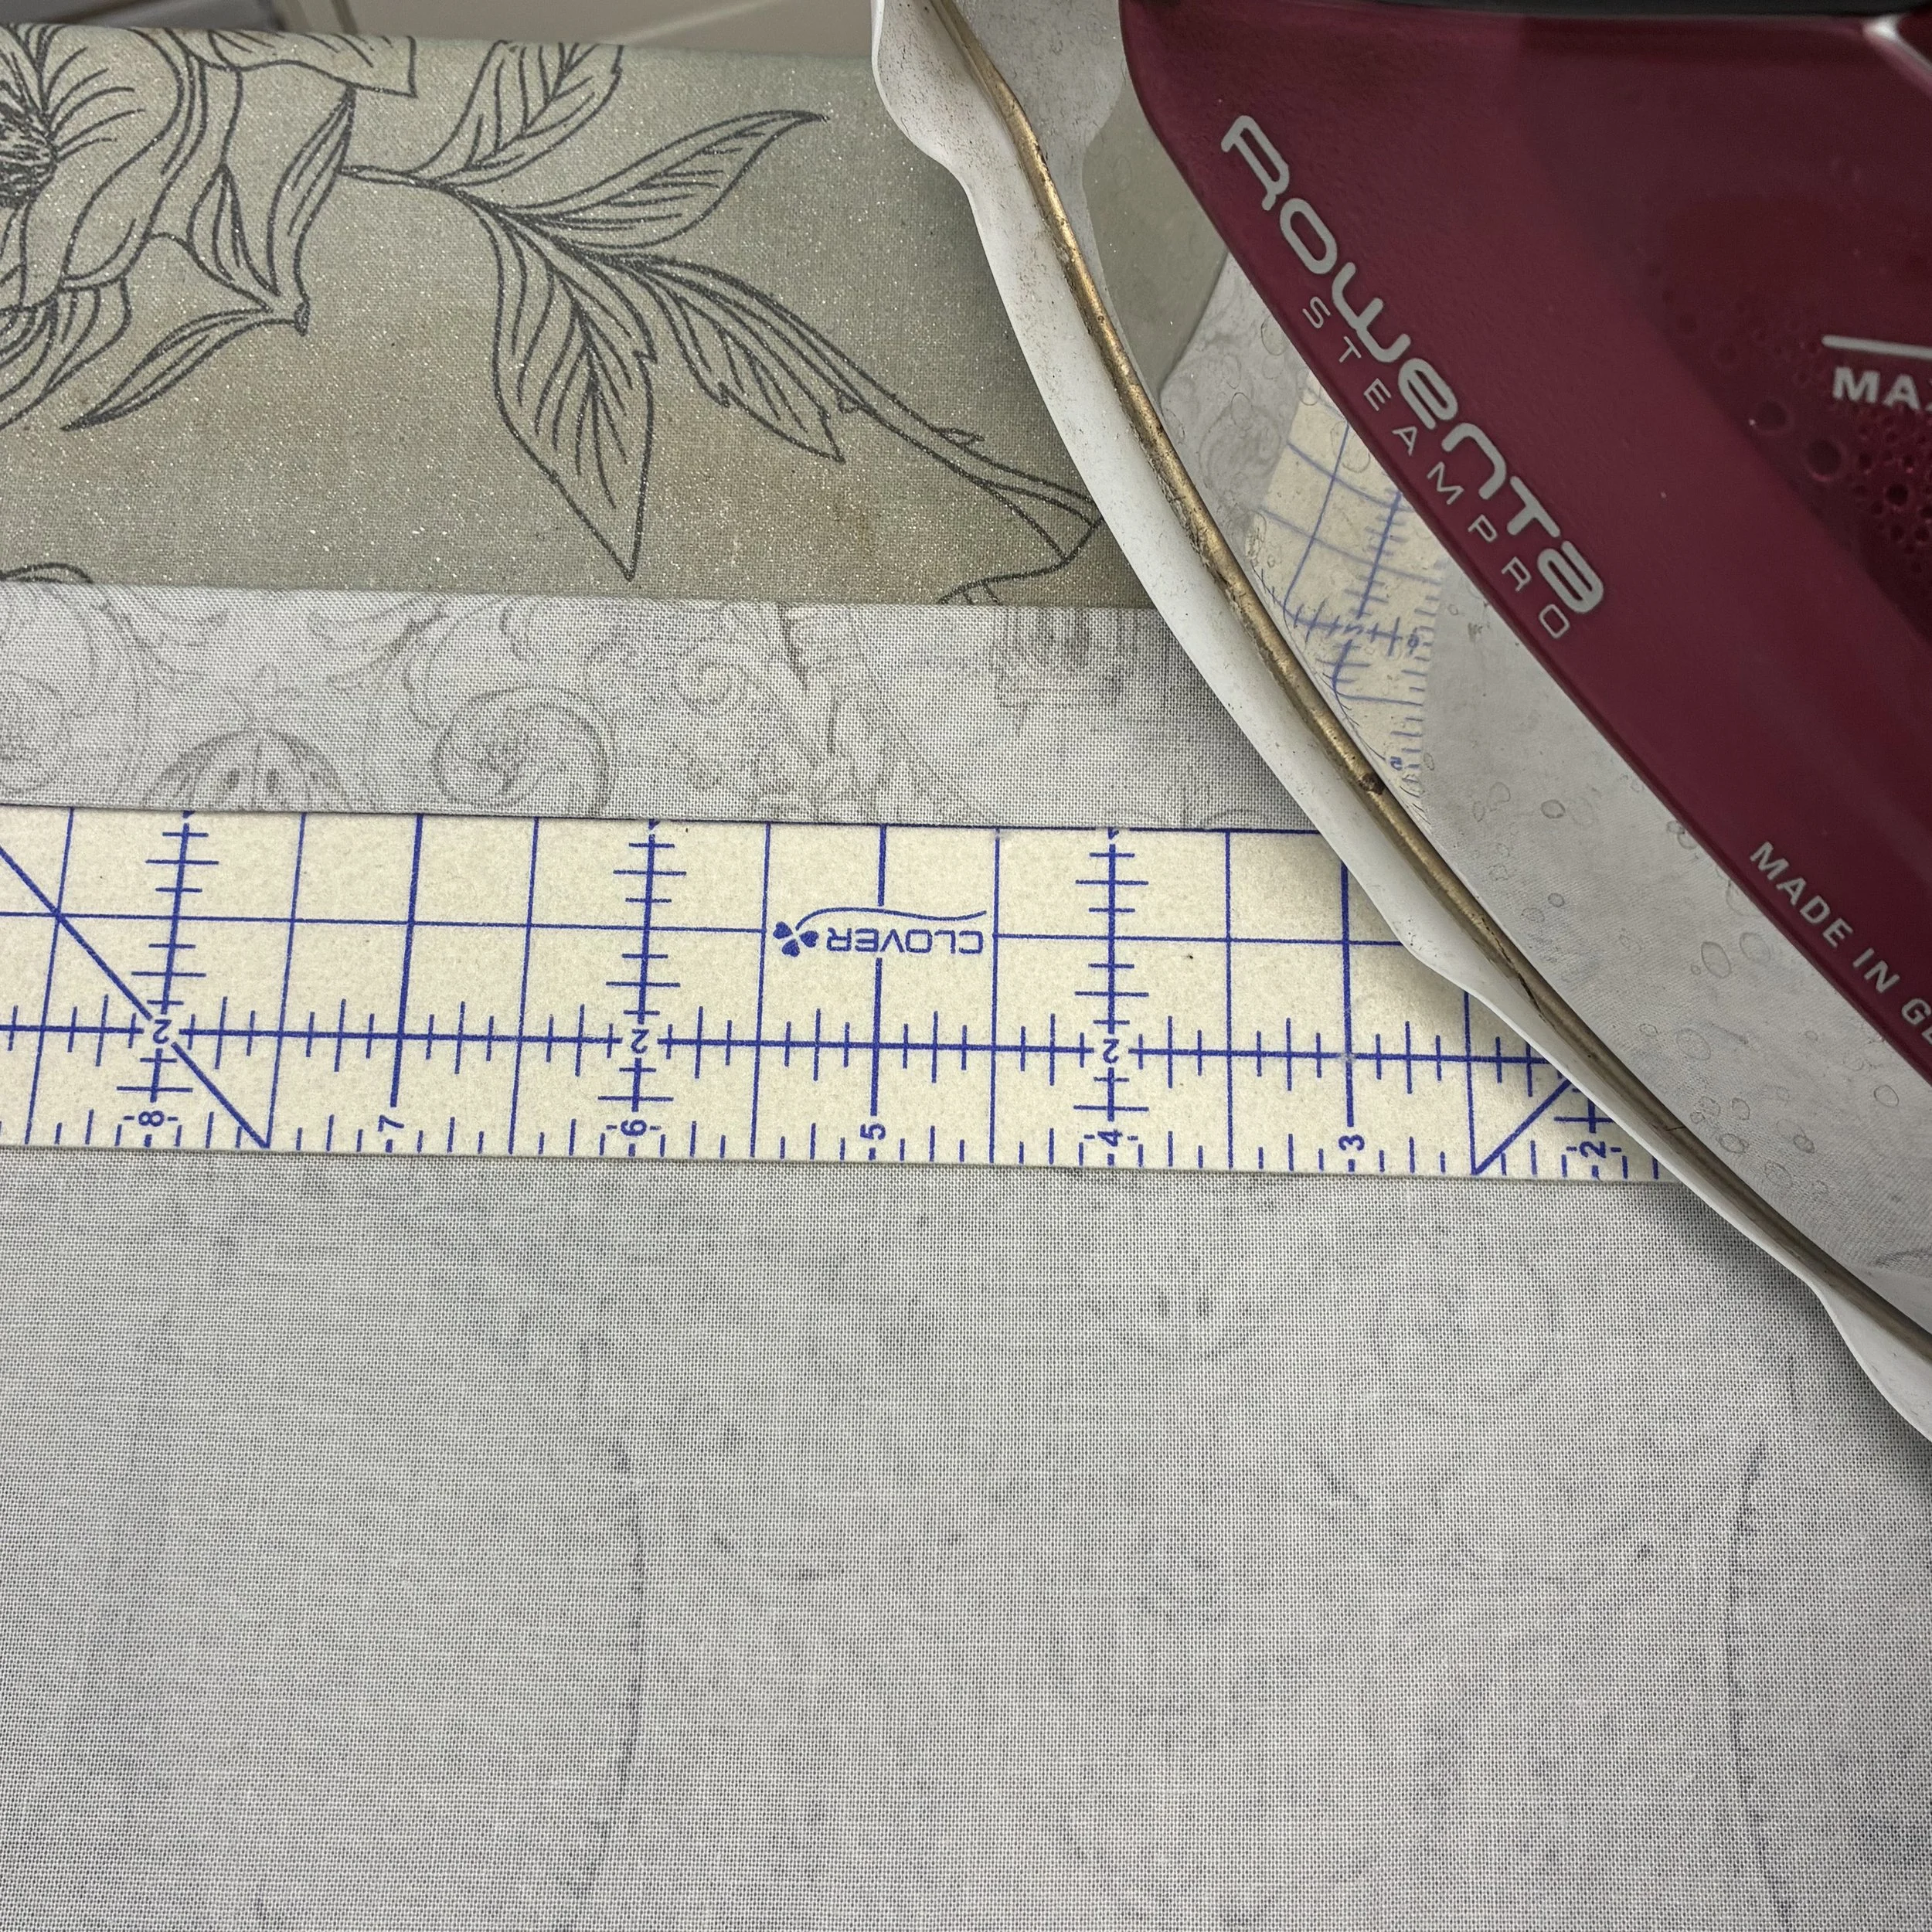
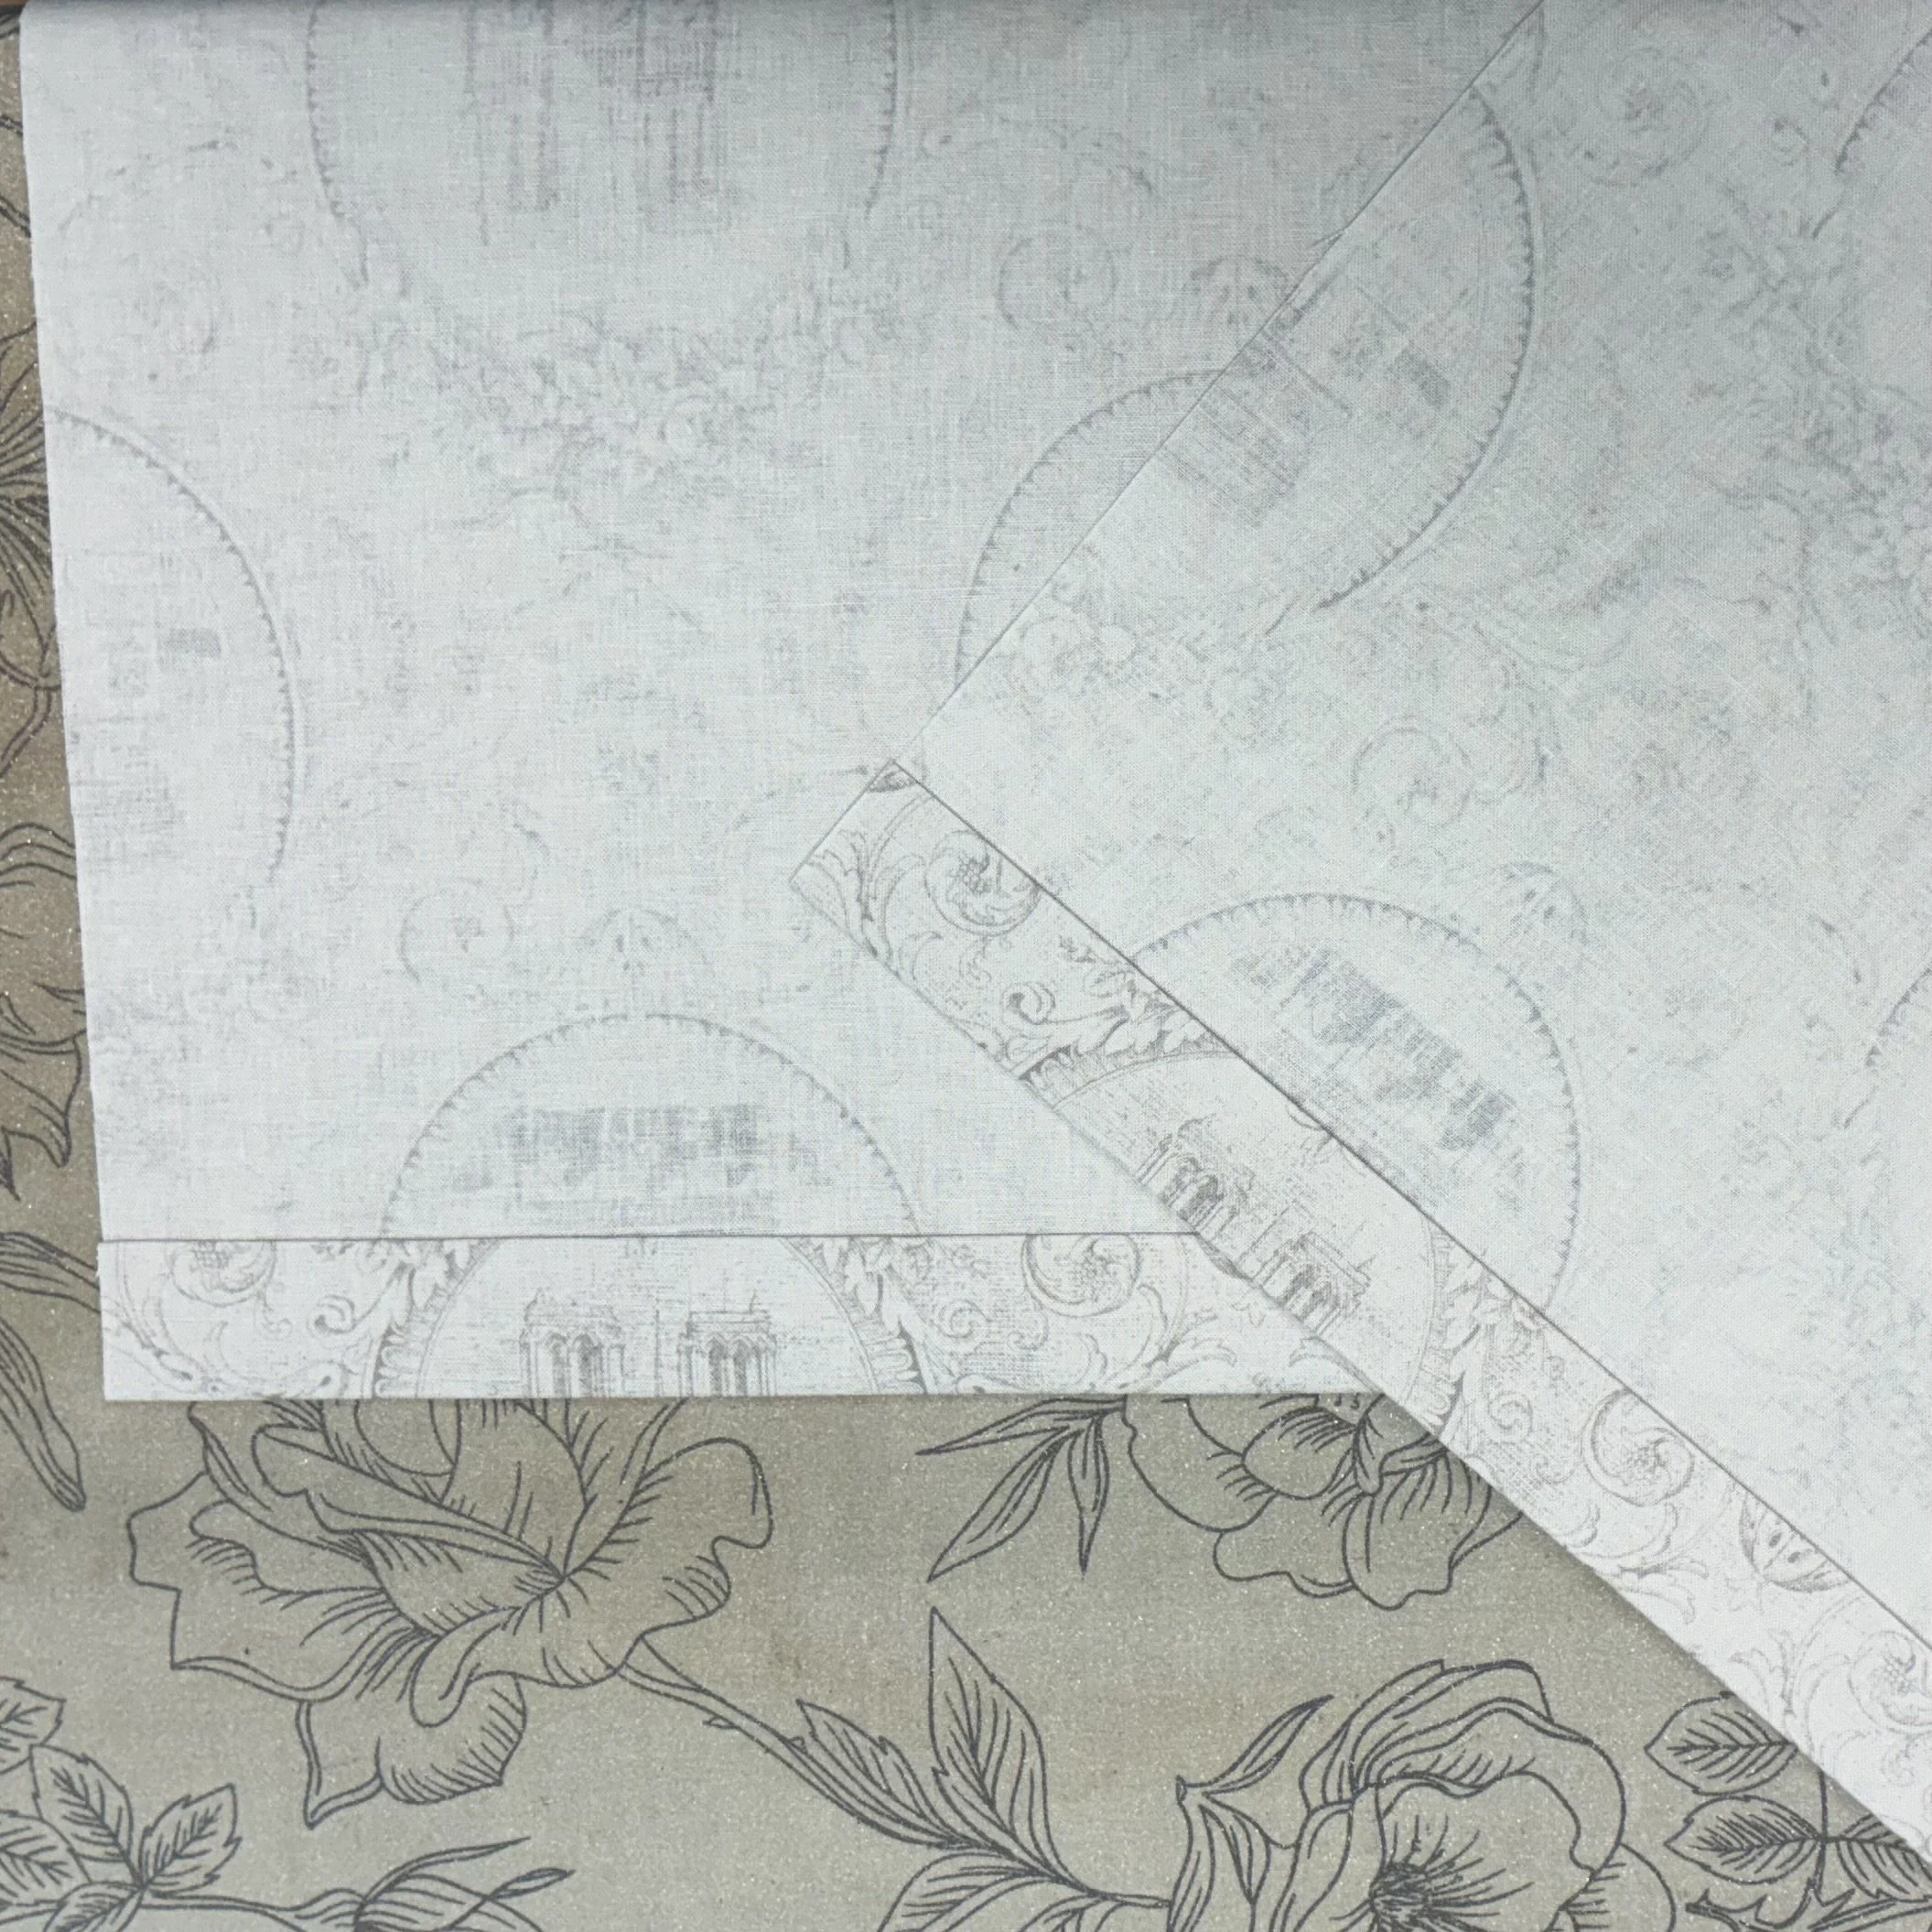
At the ironing board, I used my hot press ruler to press over 1/2” on one of the short ends of the fabric on both pieces. Then I used the ruler to press over another inch, so I’d have a tidy enclosed hem that would be wide enough to accommodate a piece of Velcro. Love that ruler…
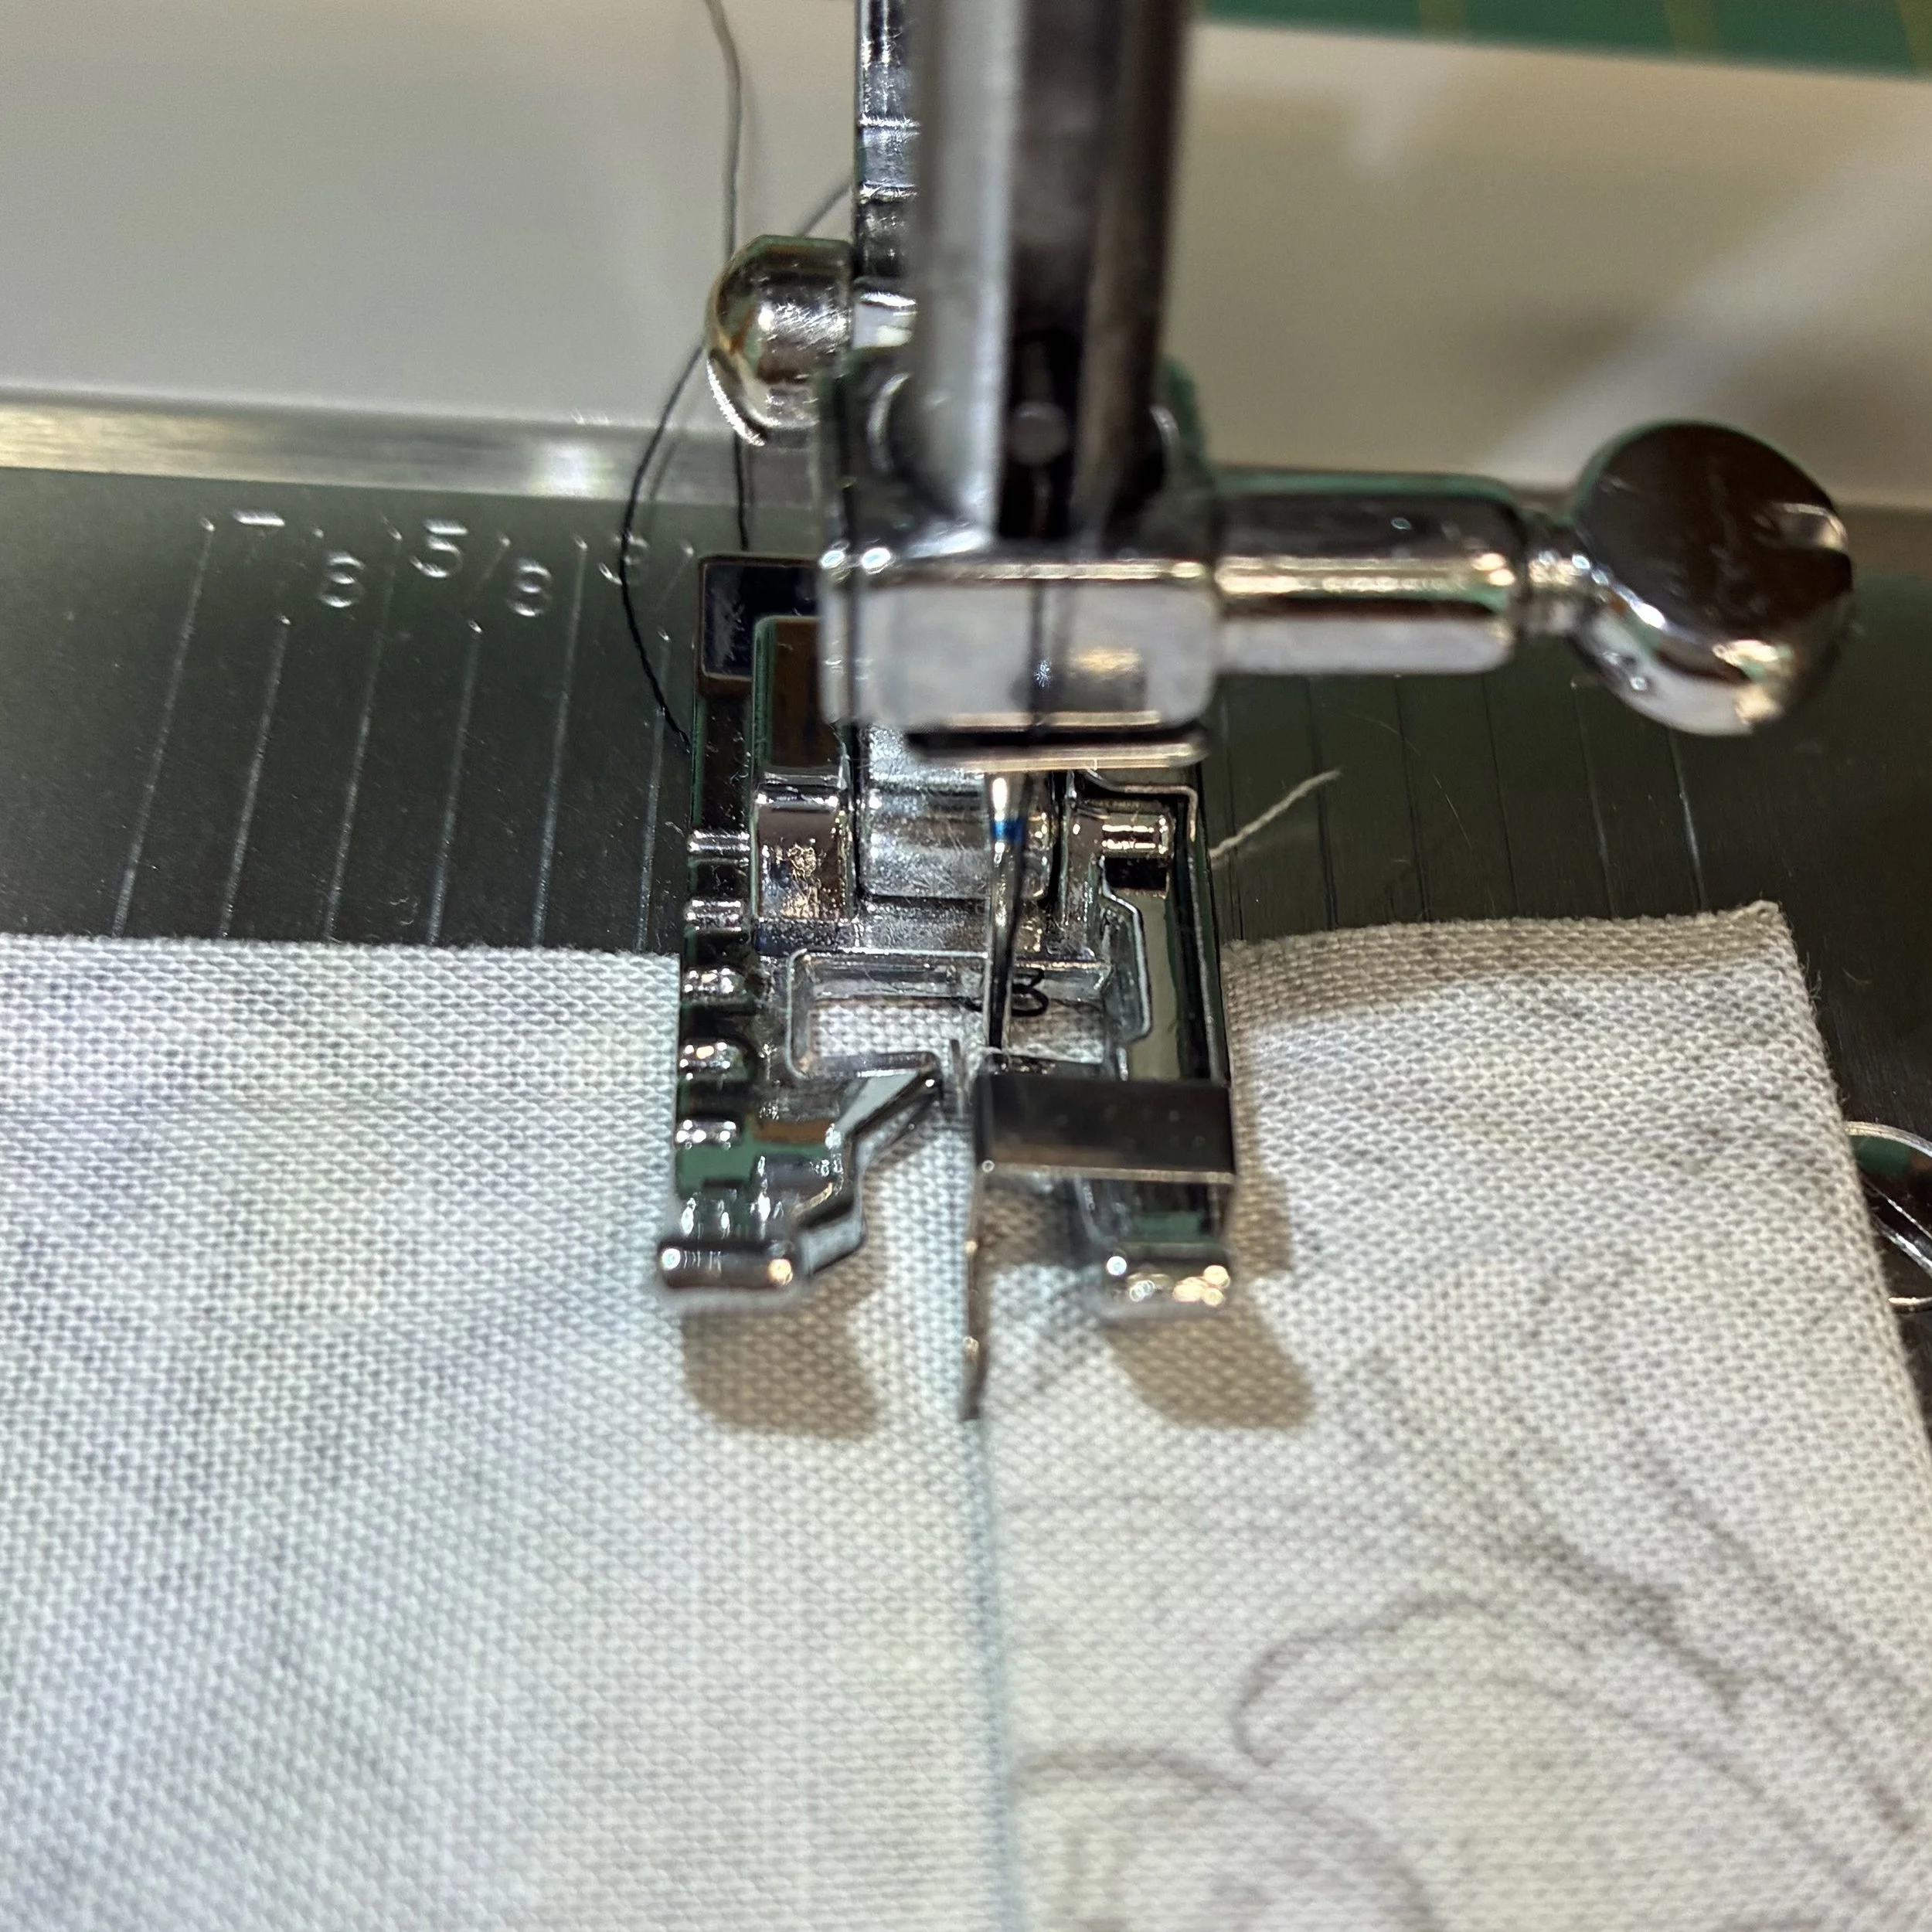
At the sewing machine, I put on my stitch-in-the-ditch presser foot, set the needle to hit just to the right of center, and sewed down the hem. That fabulous little presser foot allowed me to sew a perfectly straight seam extremely close to the edge of the hem. Brilliant.
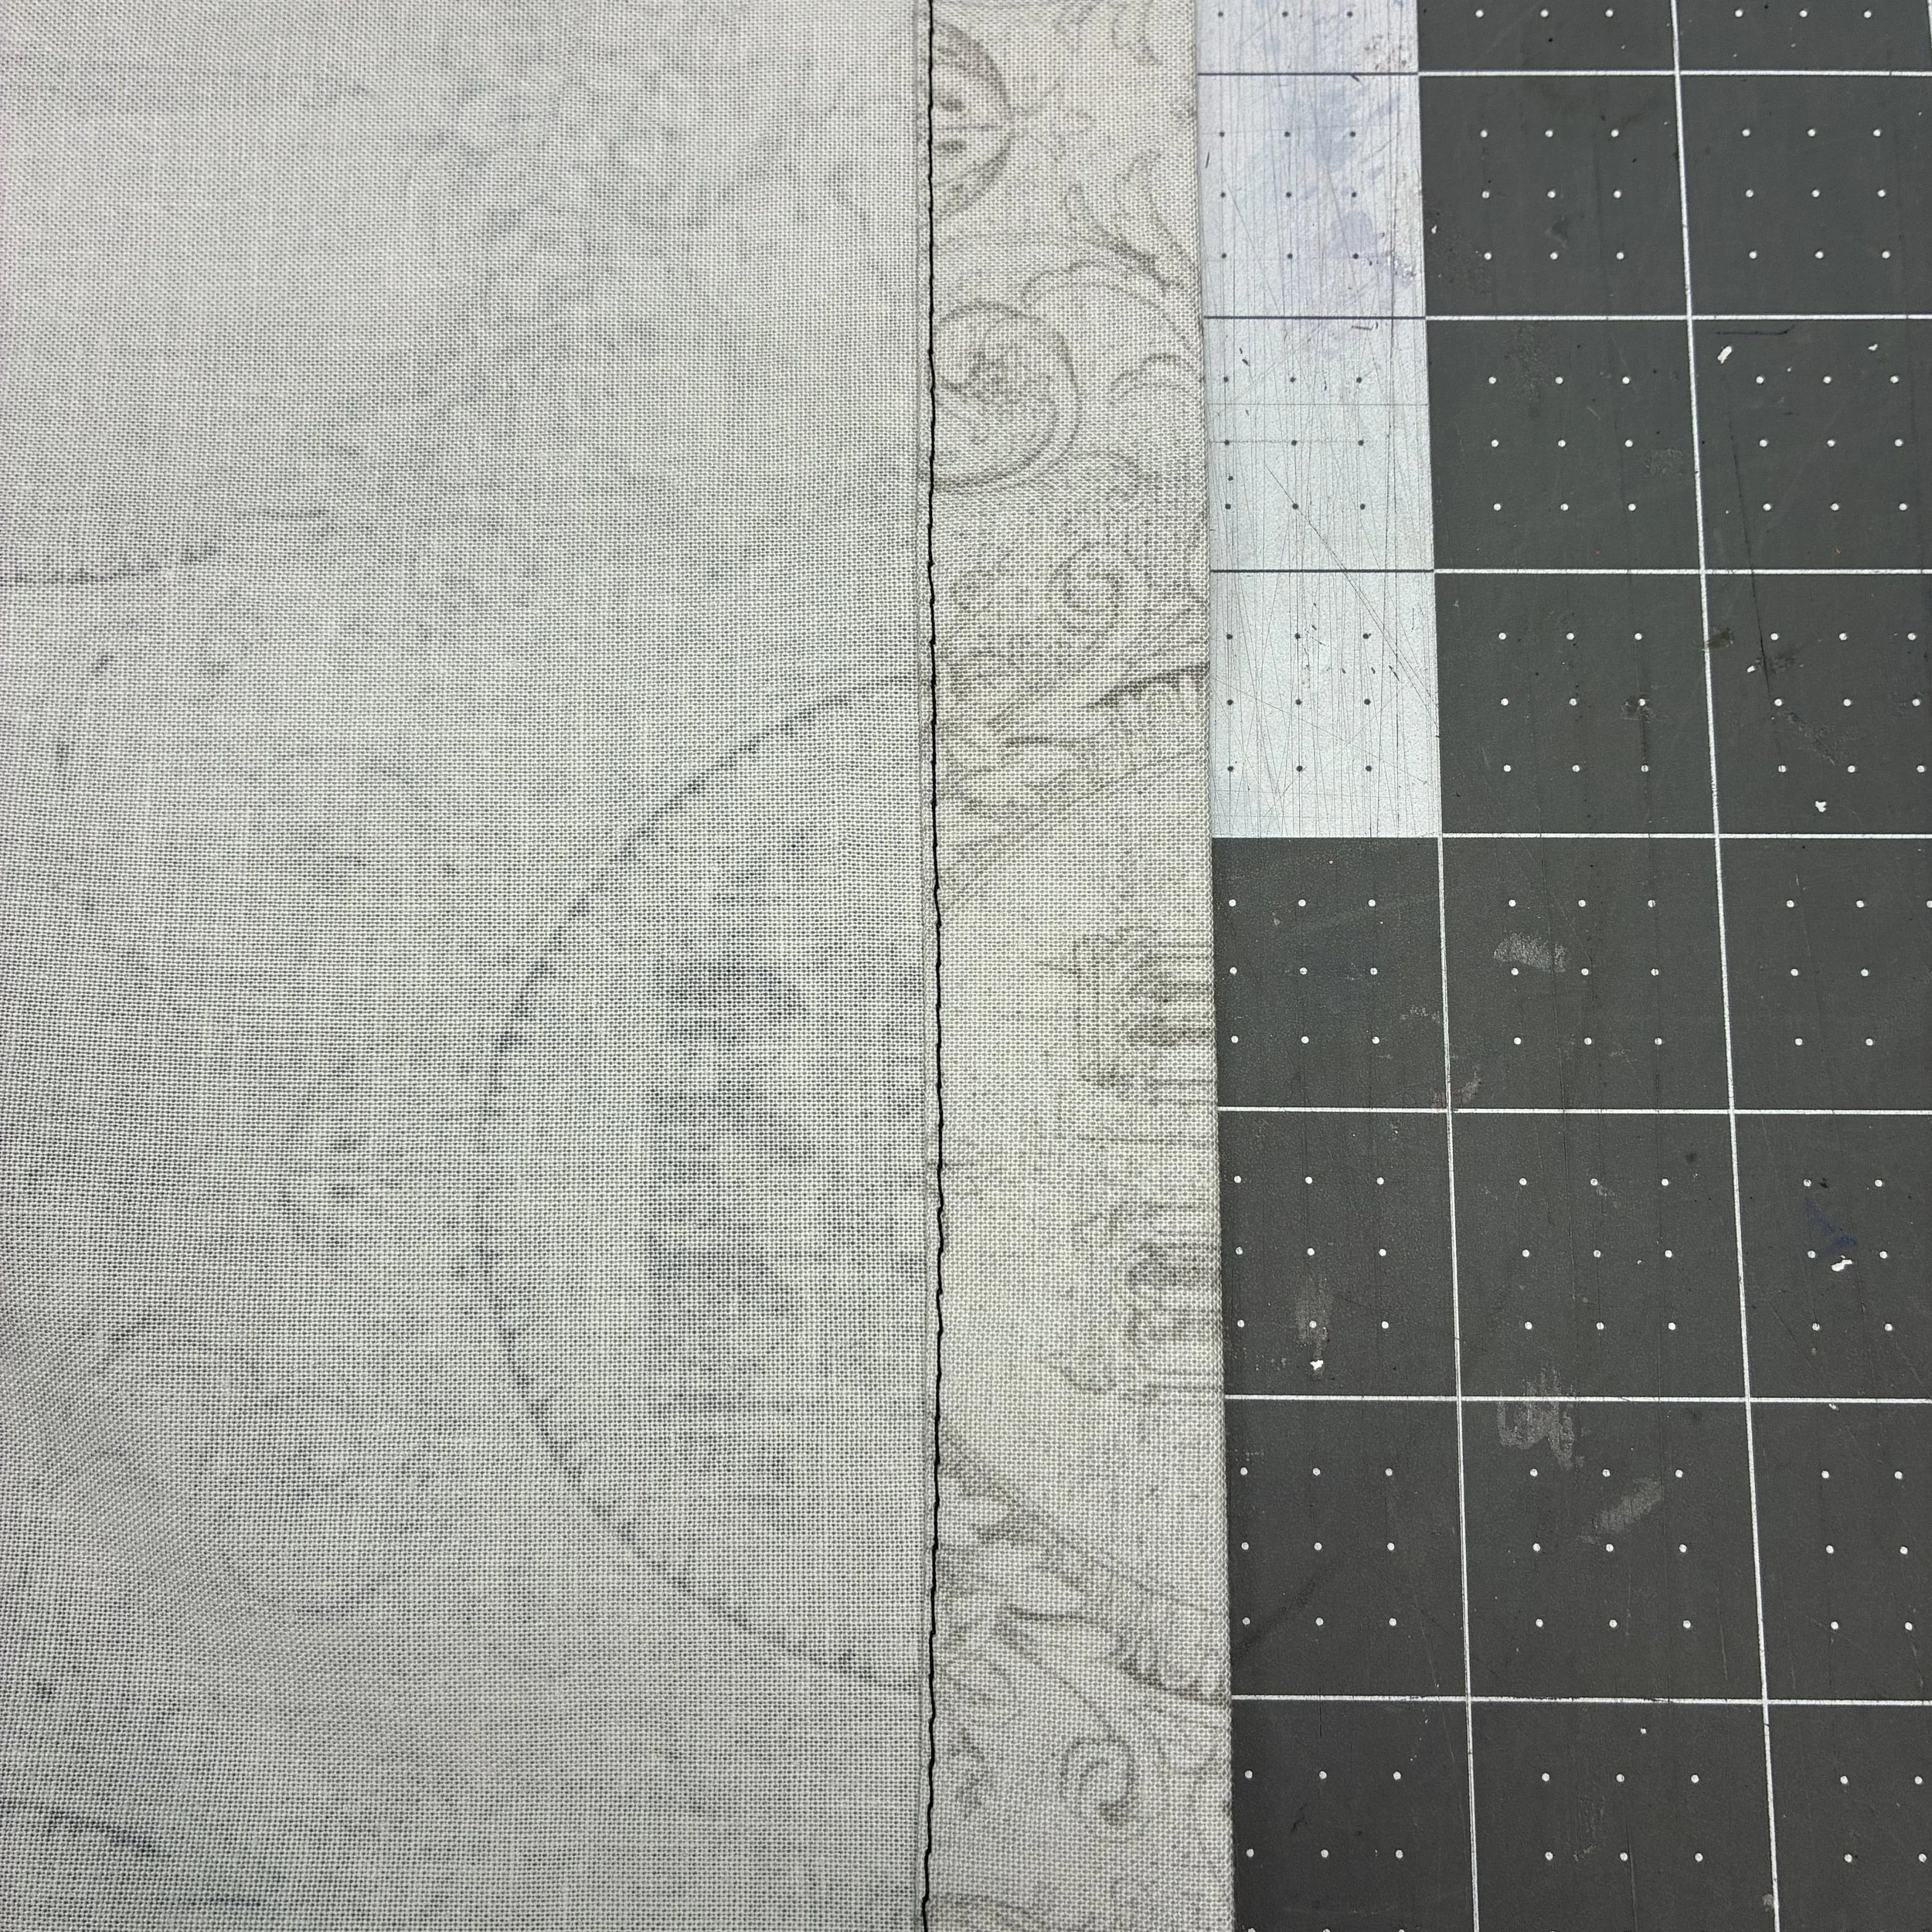
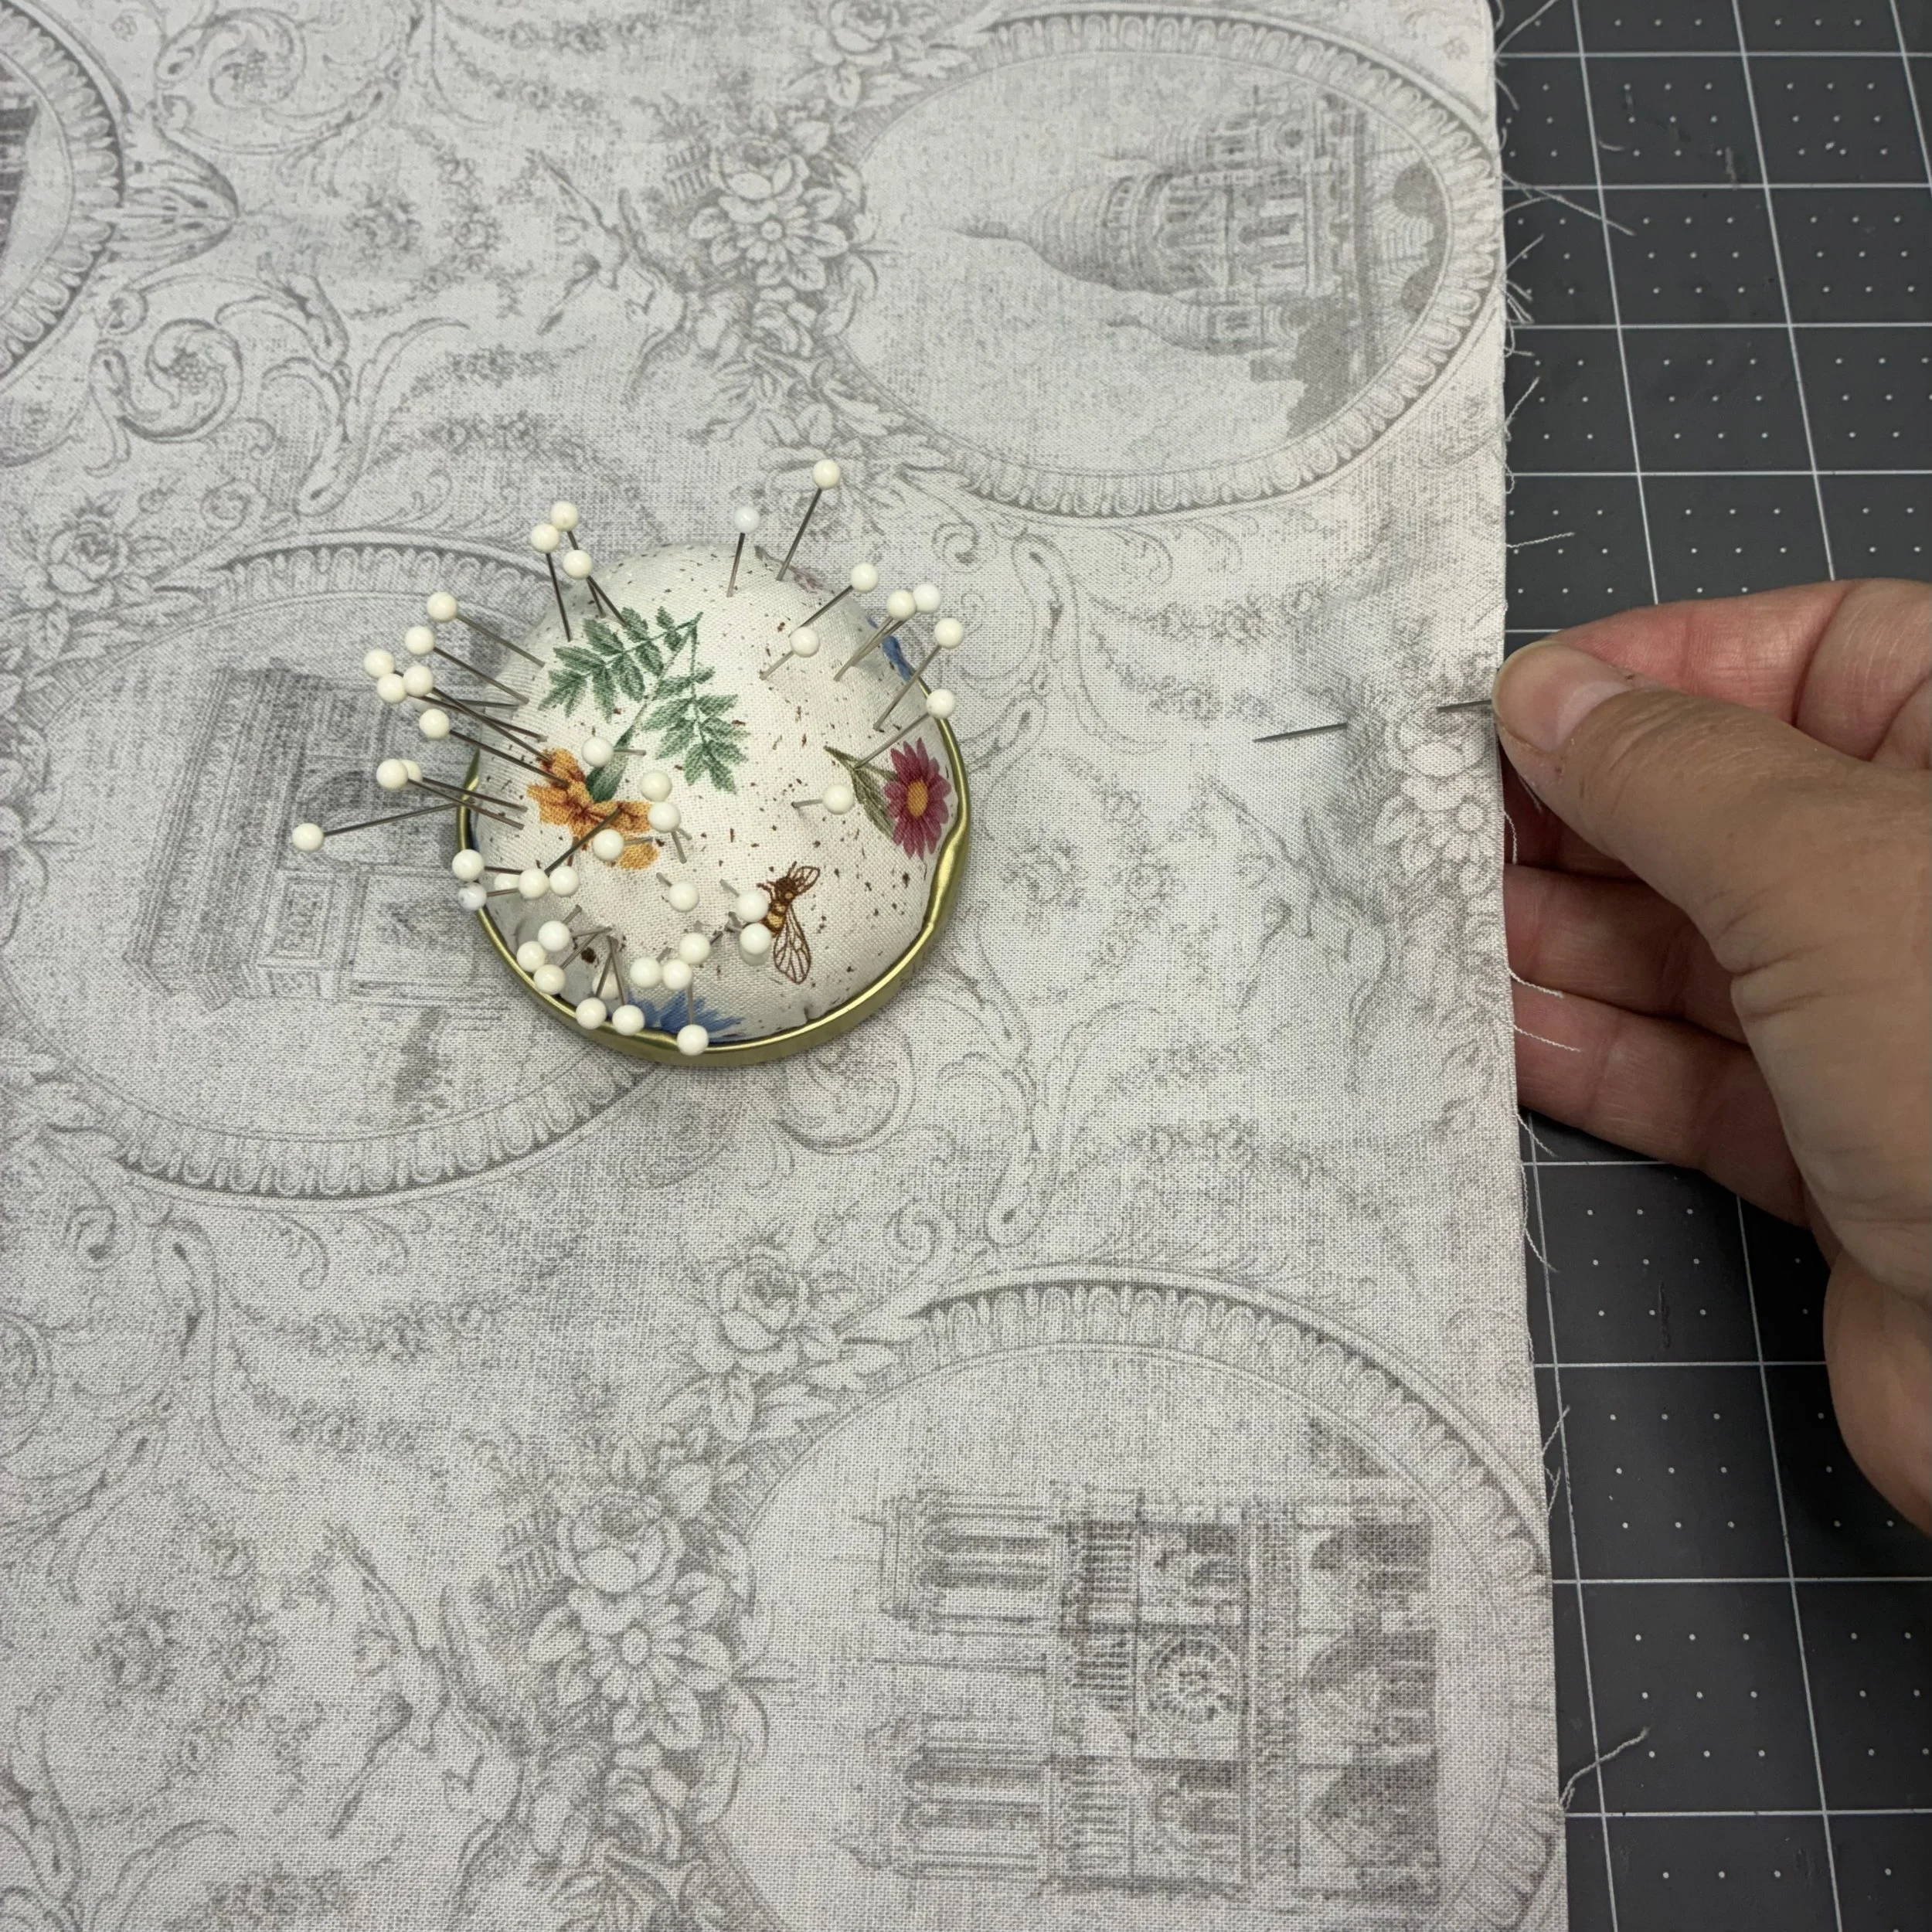
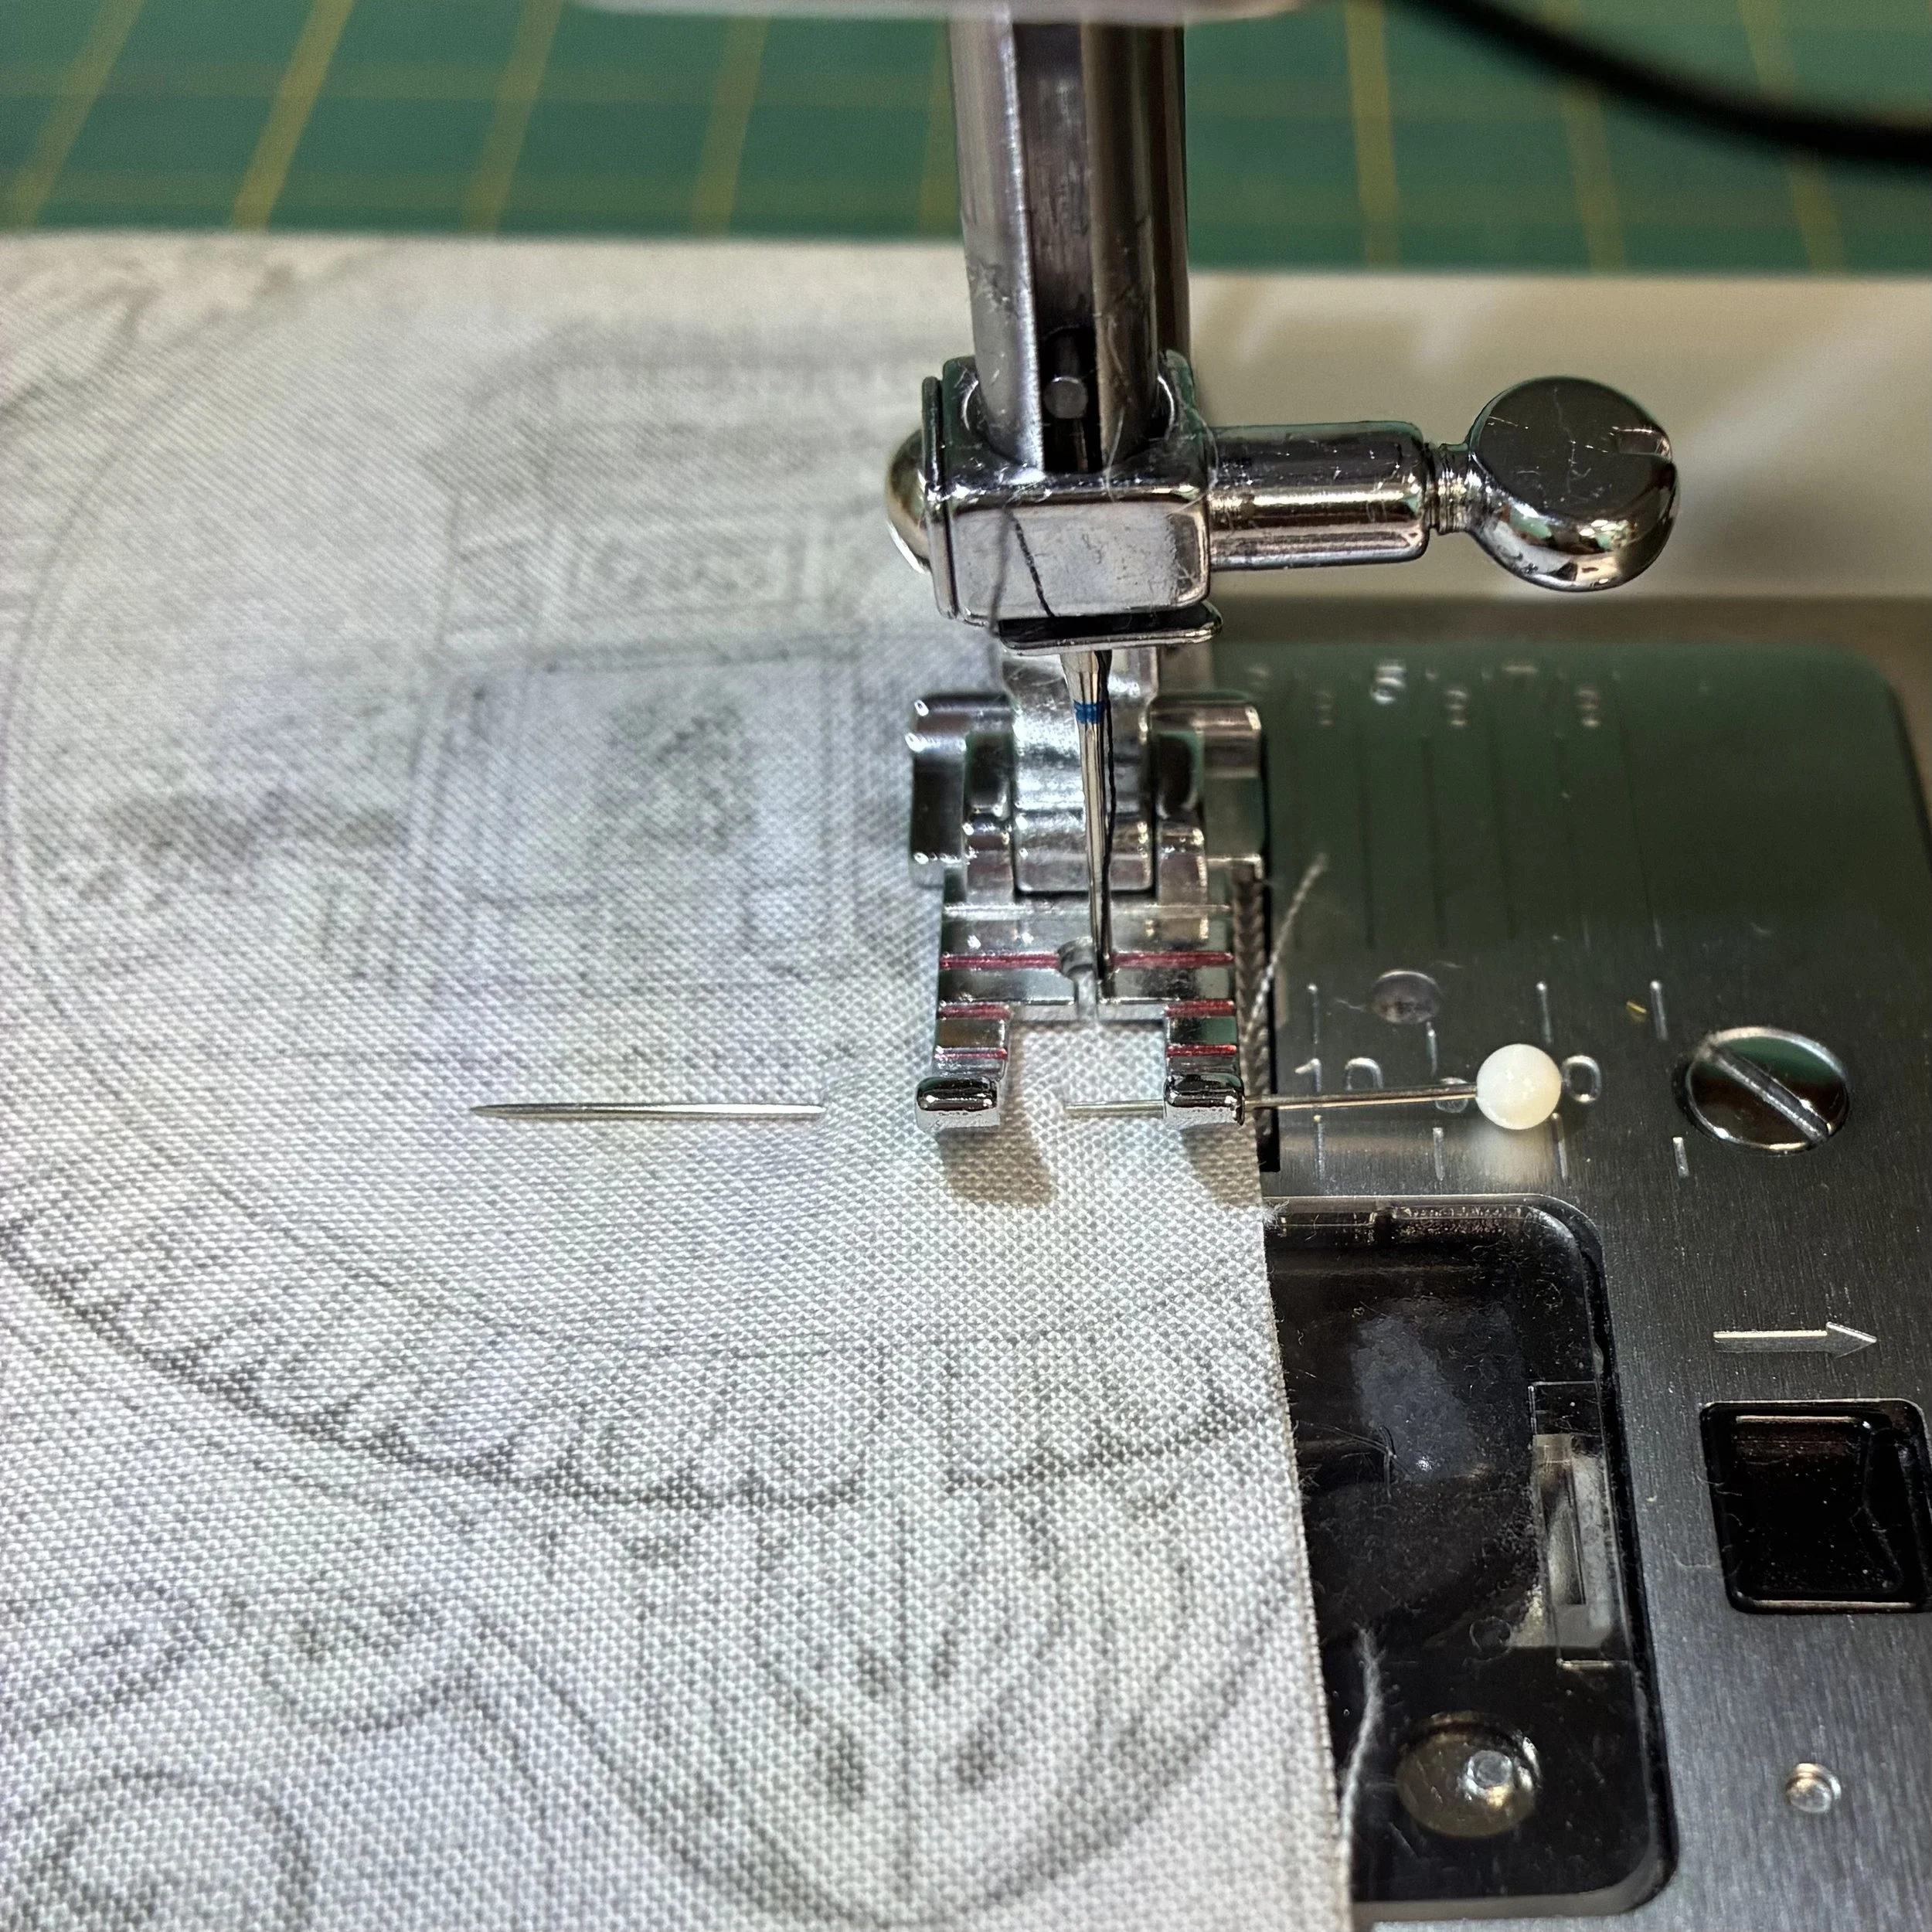
Next, I pinned the two pieces wrong sides together. Yes, you heard me right. If you’re doing a French seam, you sew the seam twice and you start with wrong sides together. I stitched closed three sides of the case (leaving the hemmed area open) using my 1/4” quilter’s presser foot to make a perfect 1/4” seam. Not only is the presser foot really easy to stitch with, but it also has little markings on it which let you know when you come to within a quarter inch of the end of your fabric, which is extremely useful when you’re going to pivot at that point and stitch down the next side.
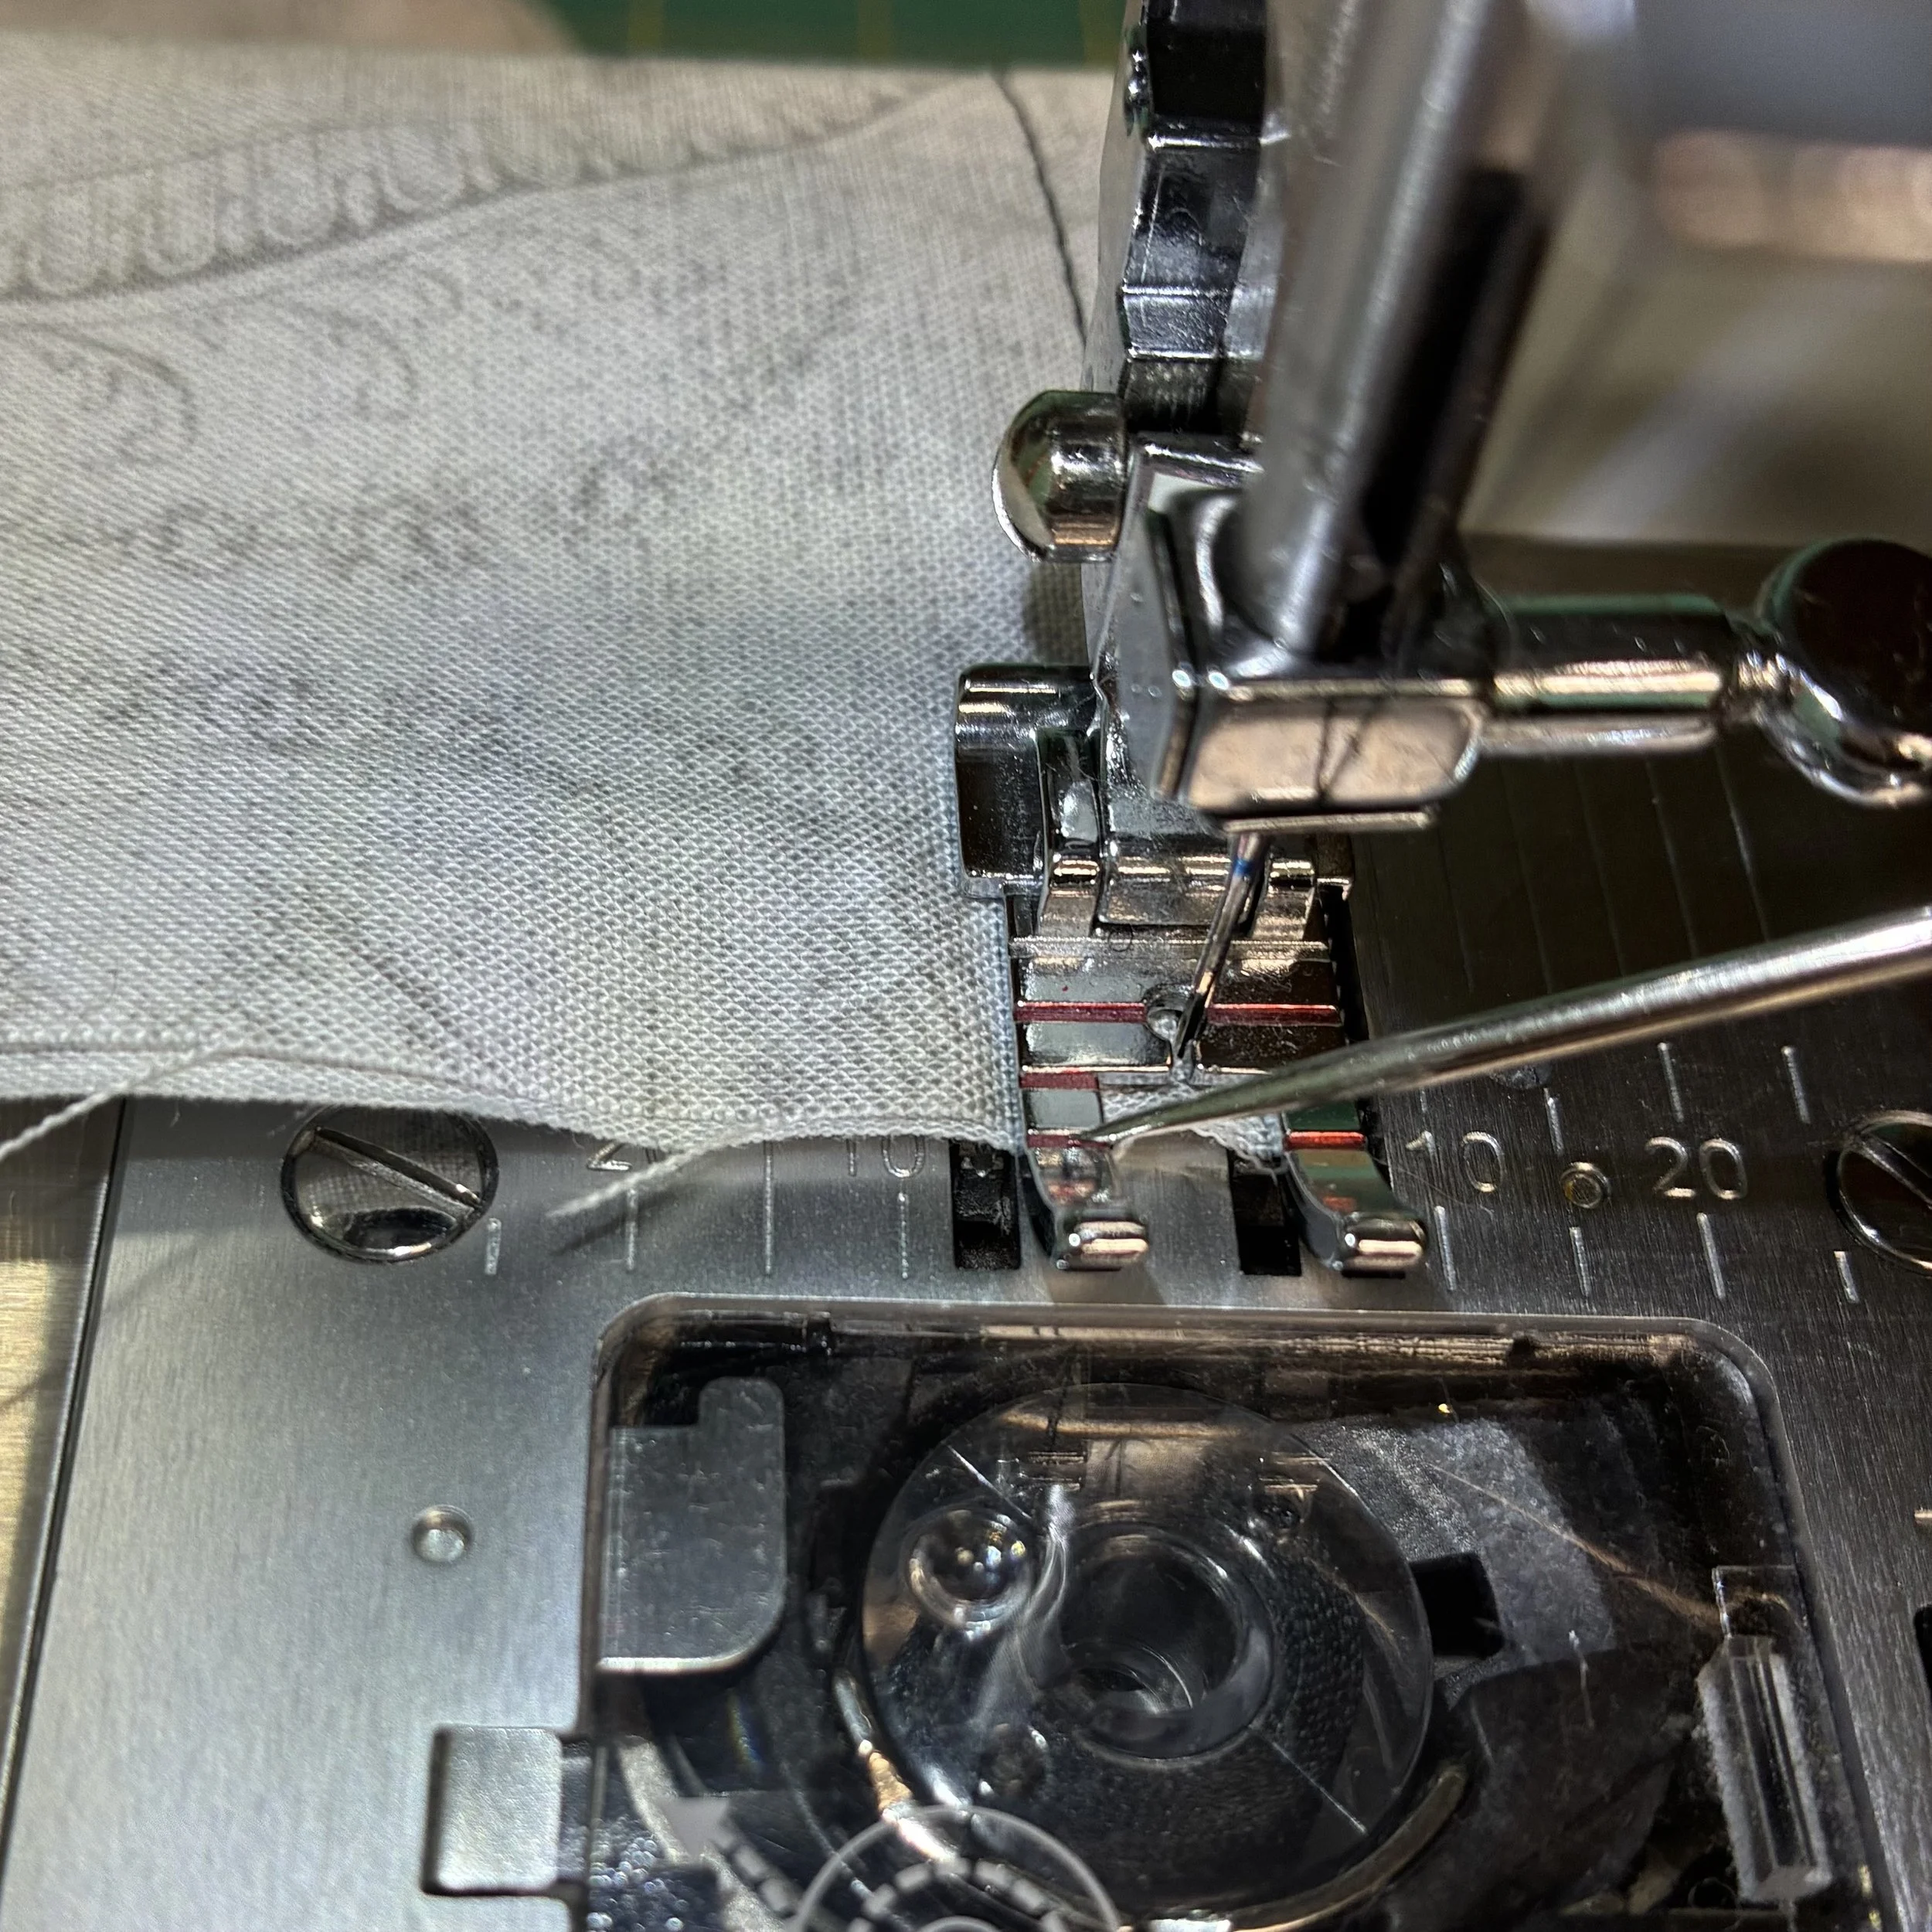
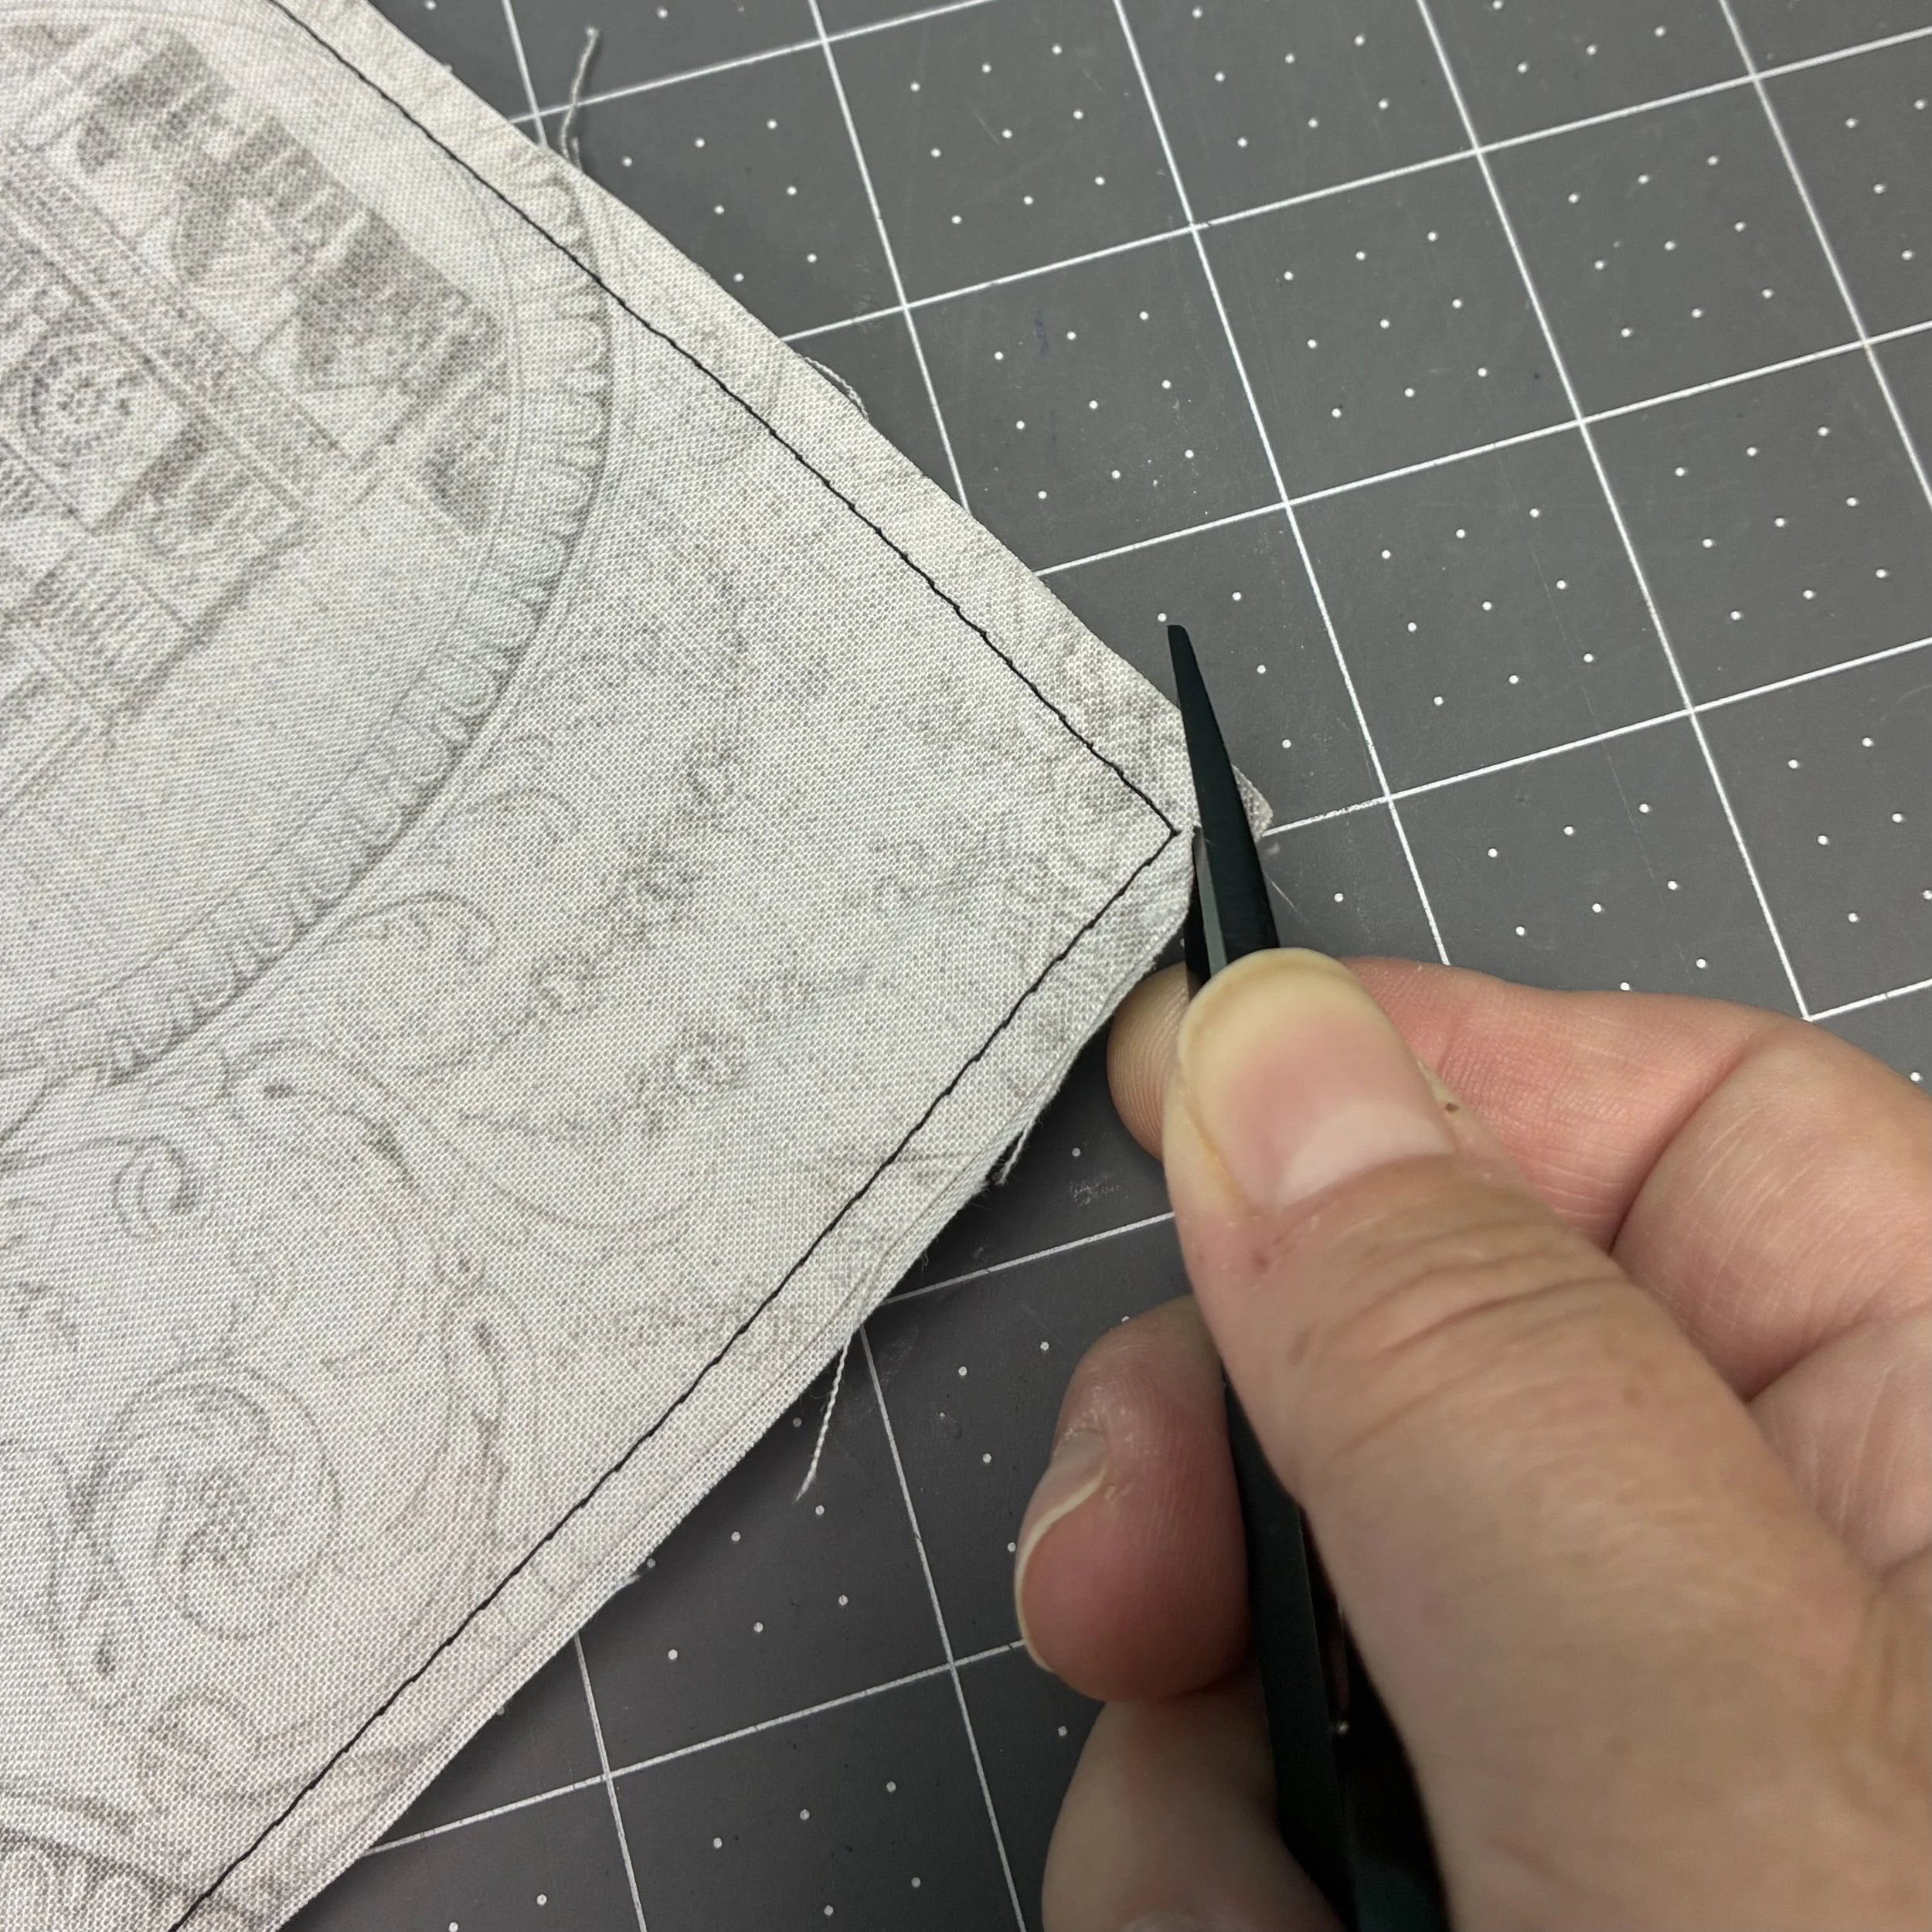
I trimmed the corners before turning the case inside out, and then took the time to carefully press the seam open, so that it would lay flat and be cooperative when I did the next seam. Then I pinned the seam (probably not necessary, but pins make me feel secure) and stitched it again, this time at 1/2”. This left me with the raw edges of the fabric completely enclosed. It’s a really nice way to make a pillow case, as I’ve noted in a previous article.
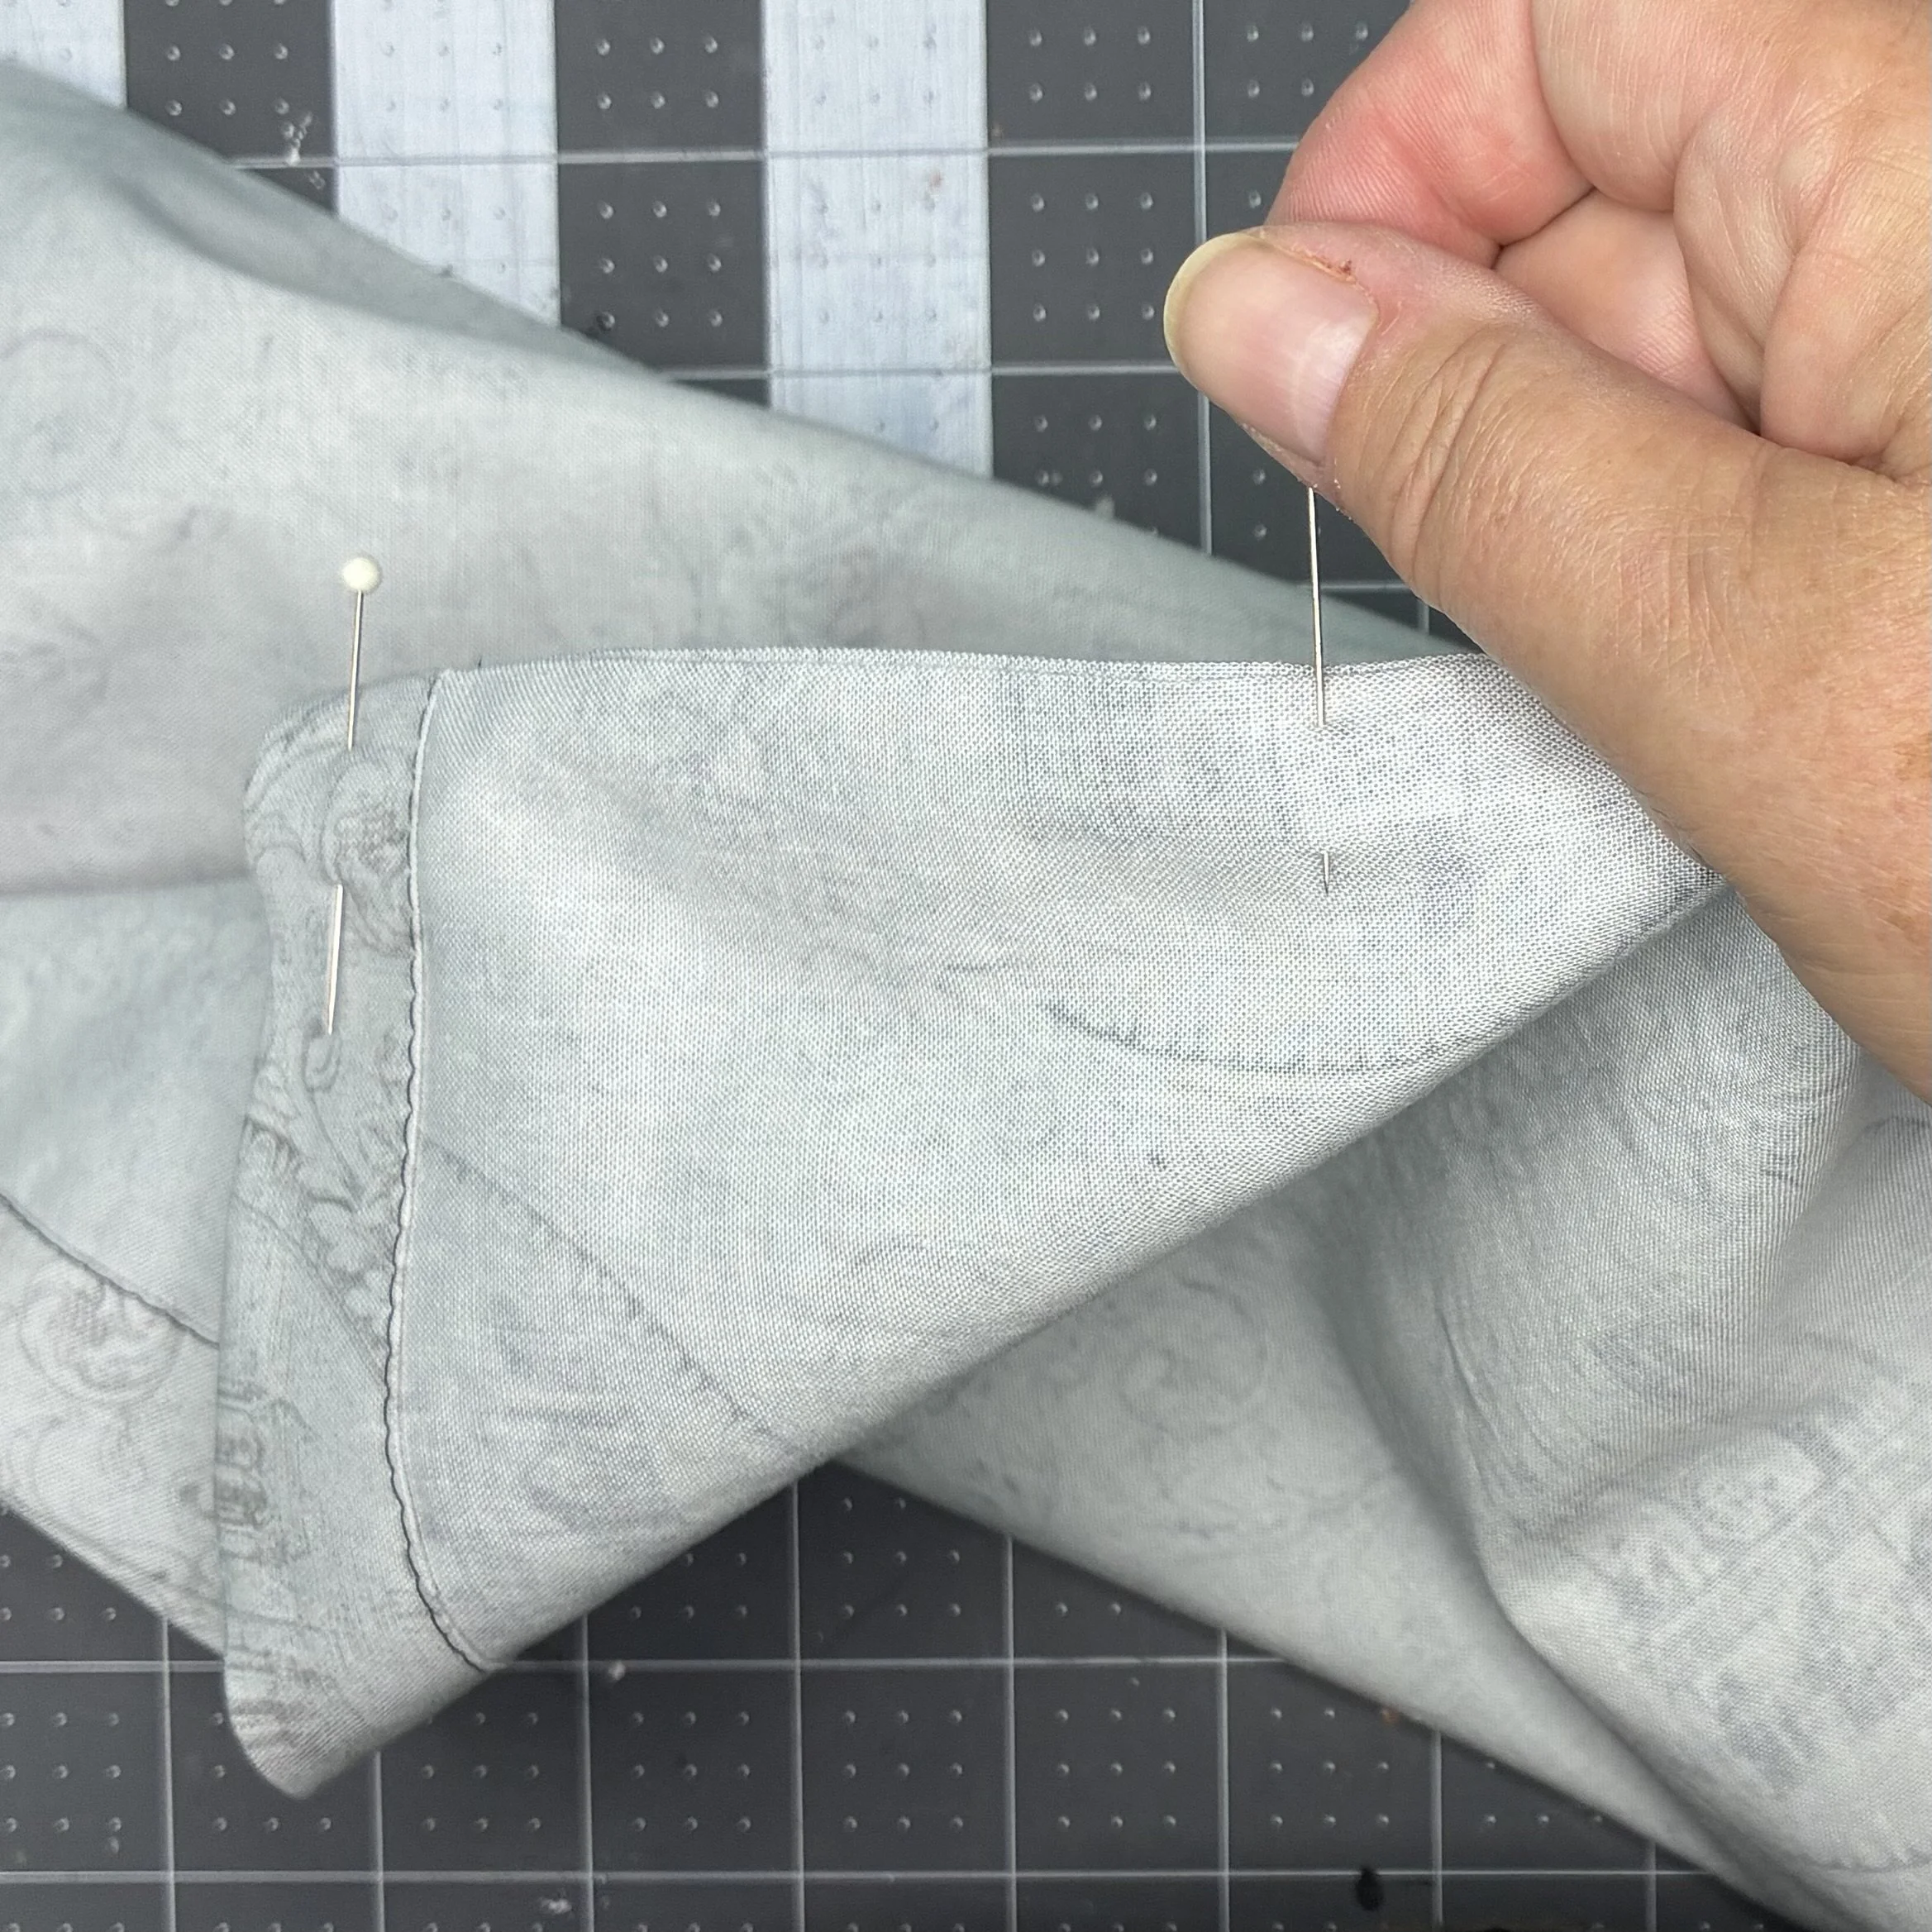
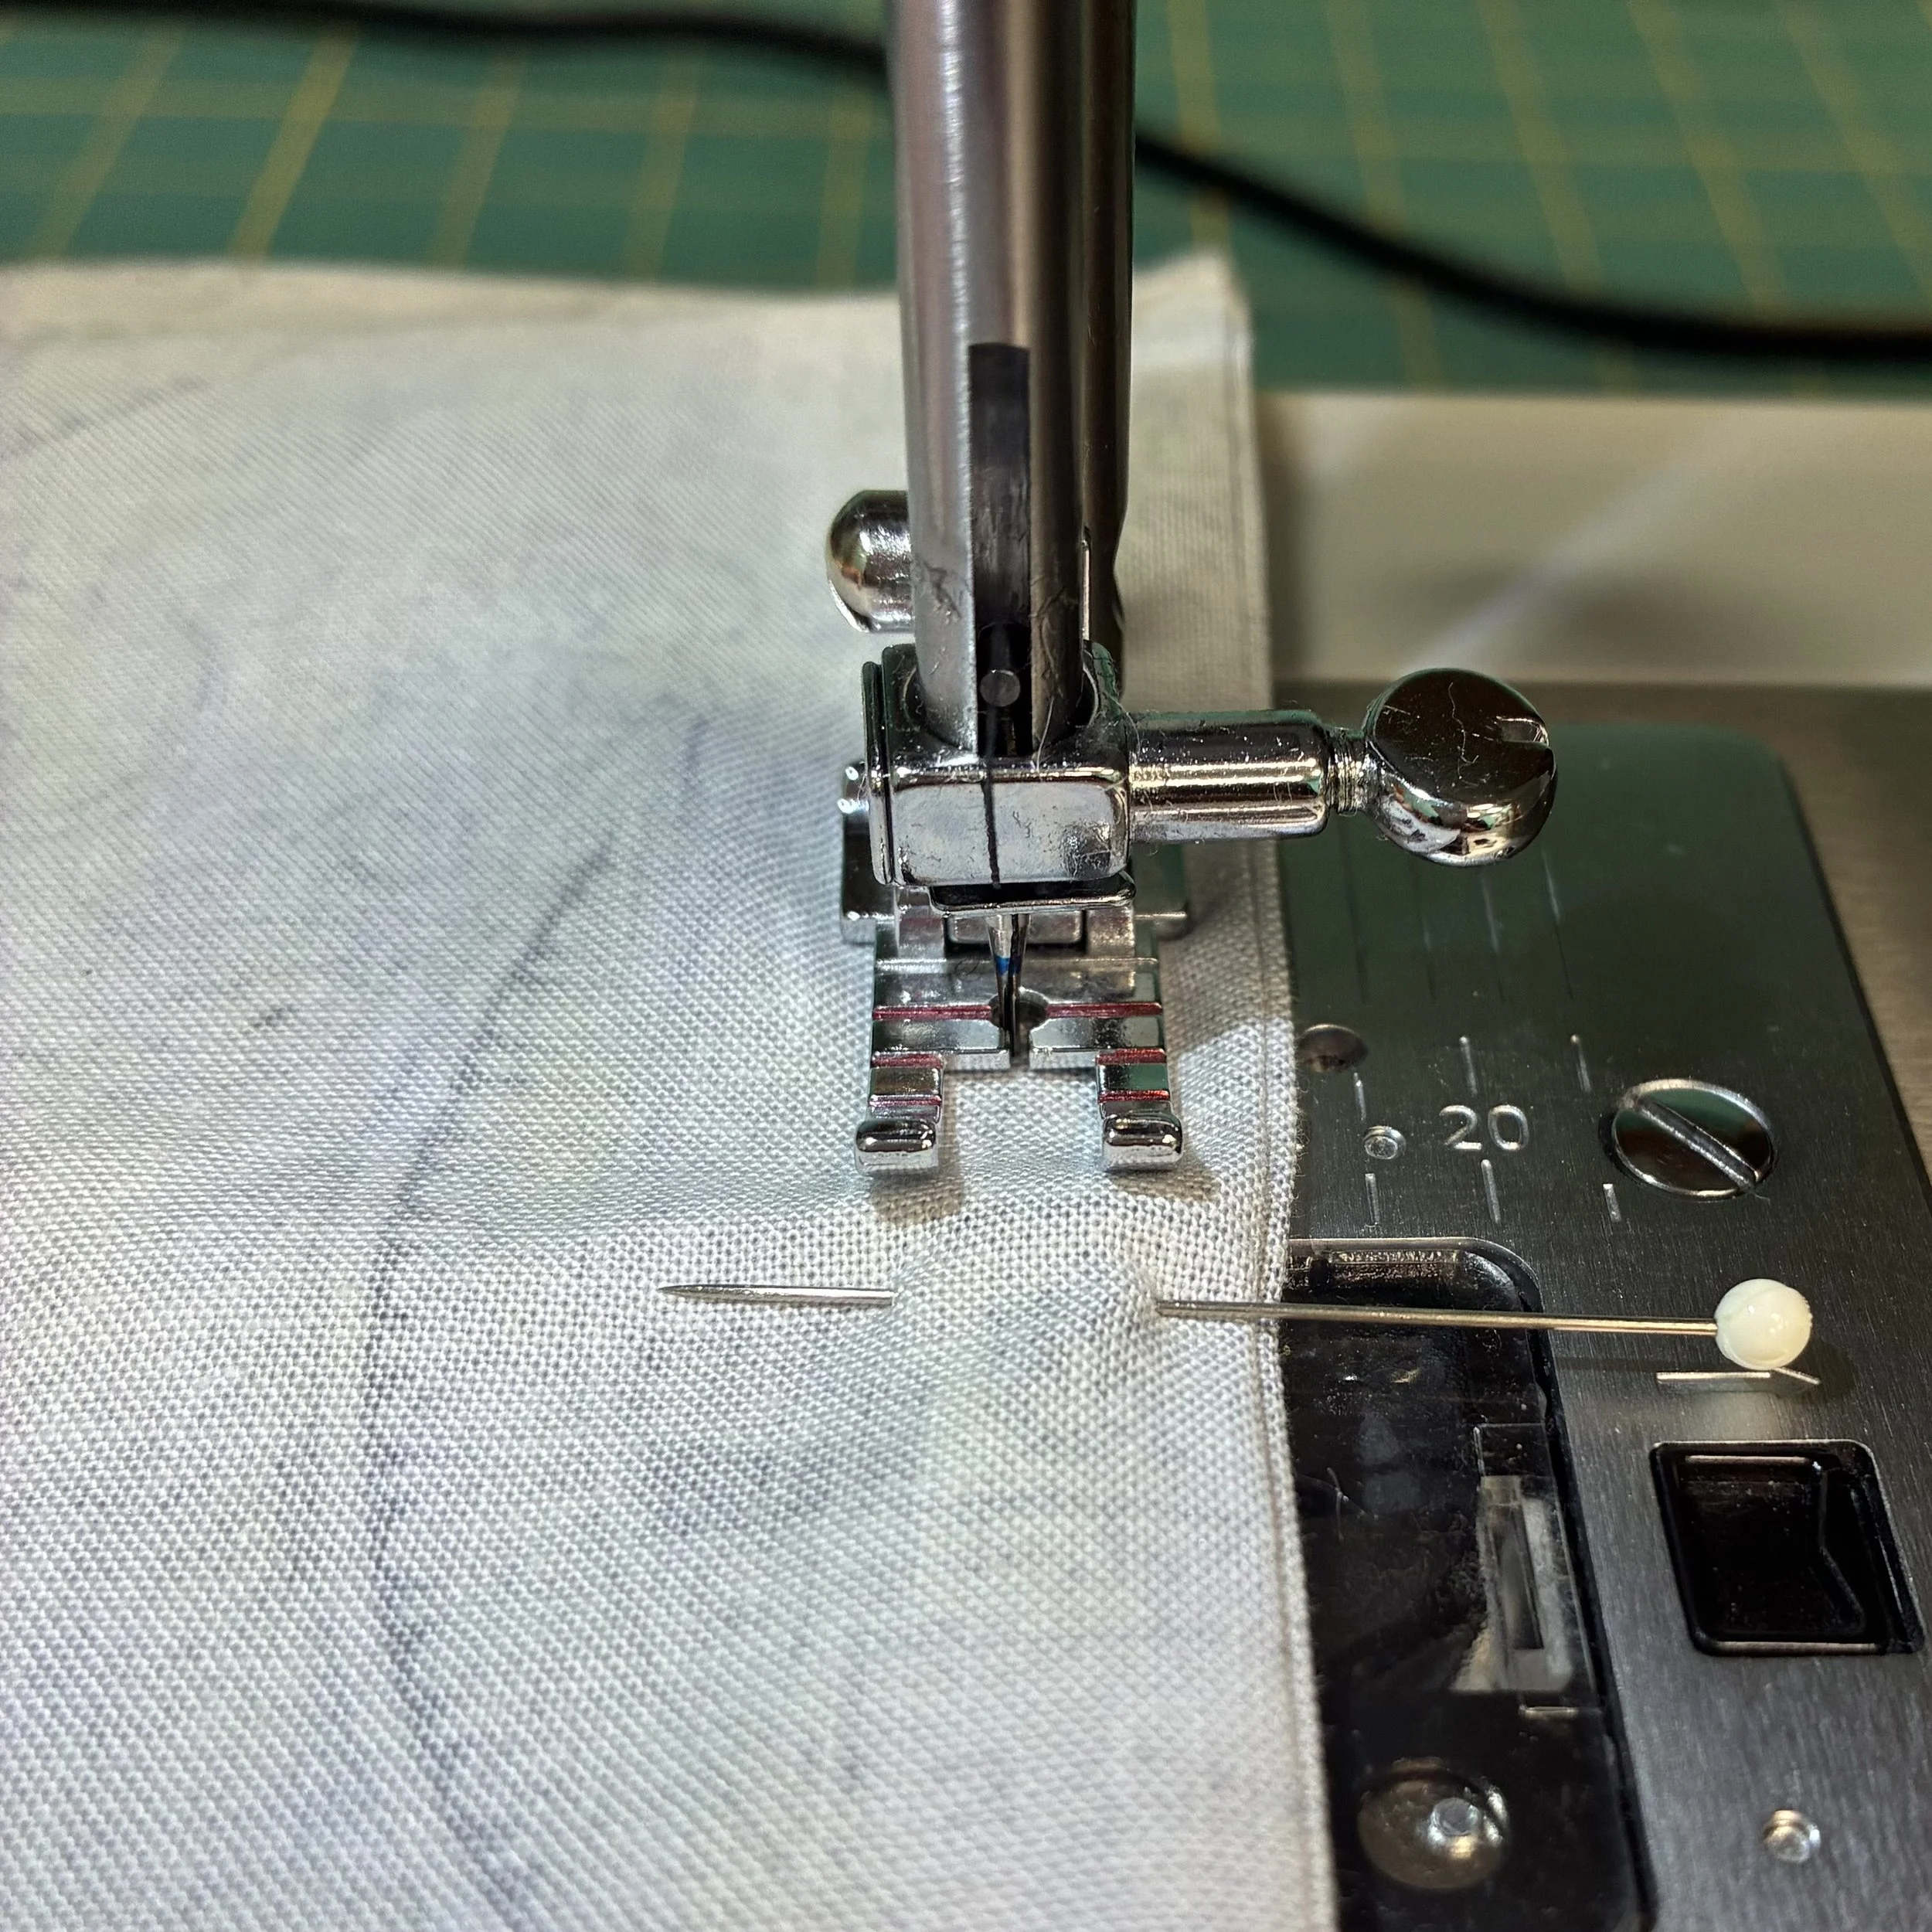
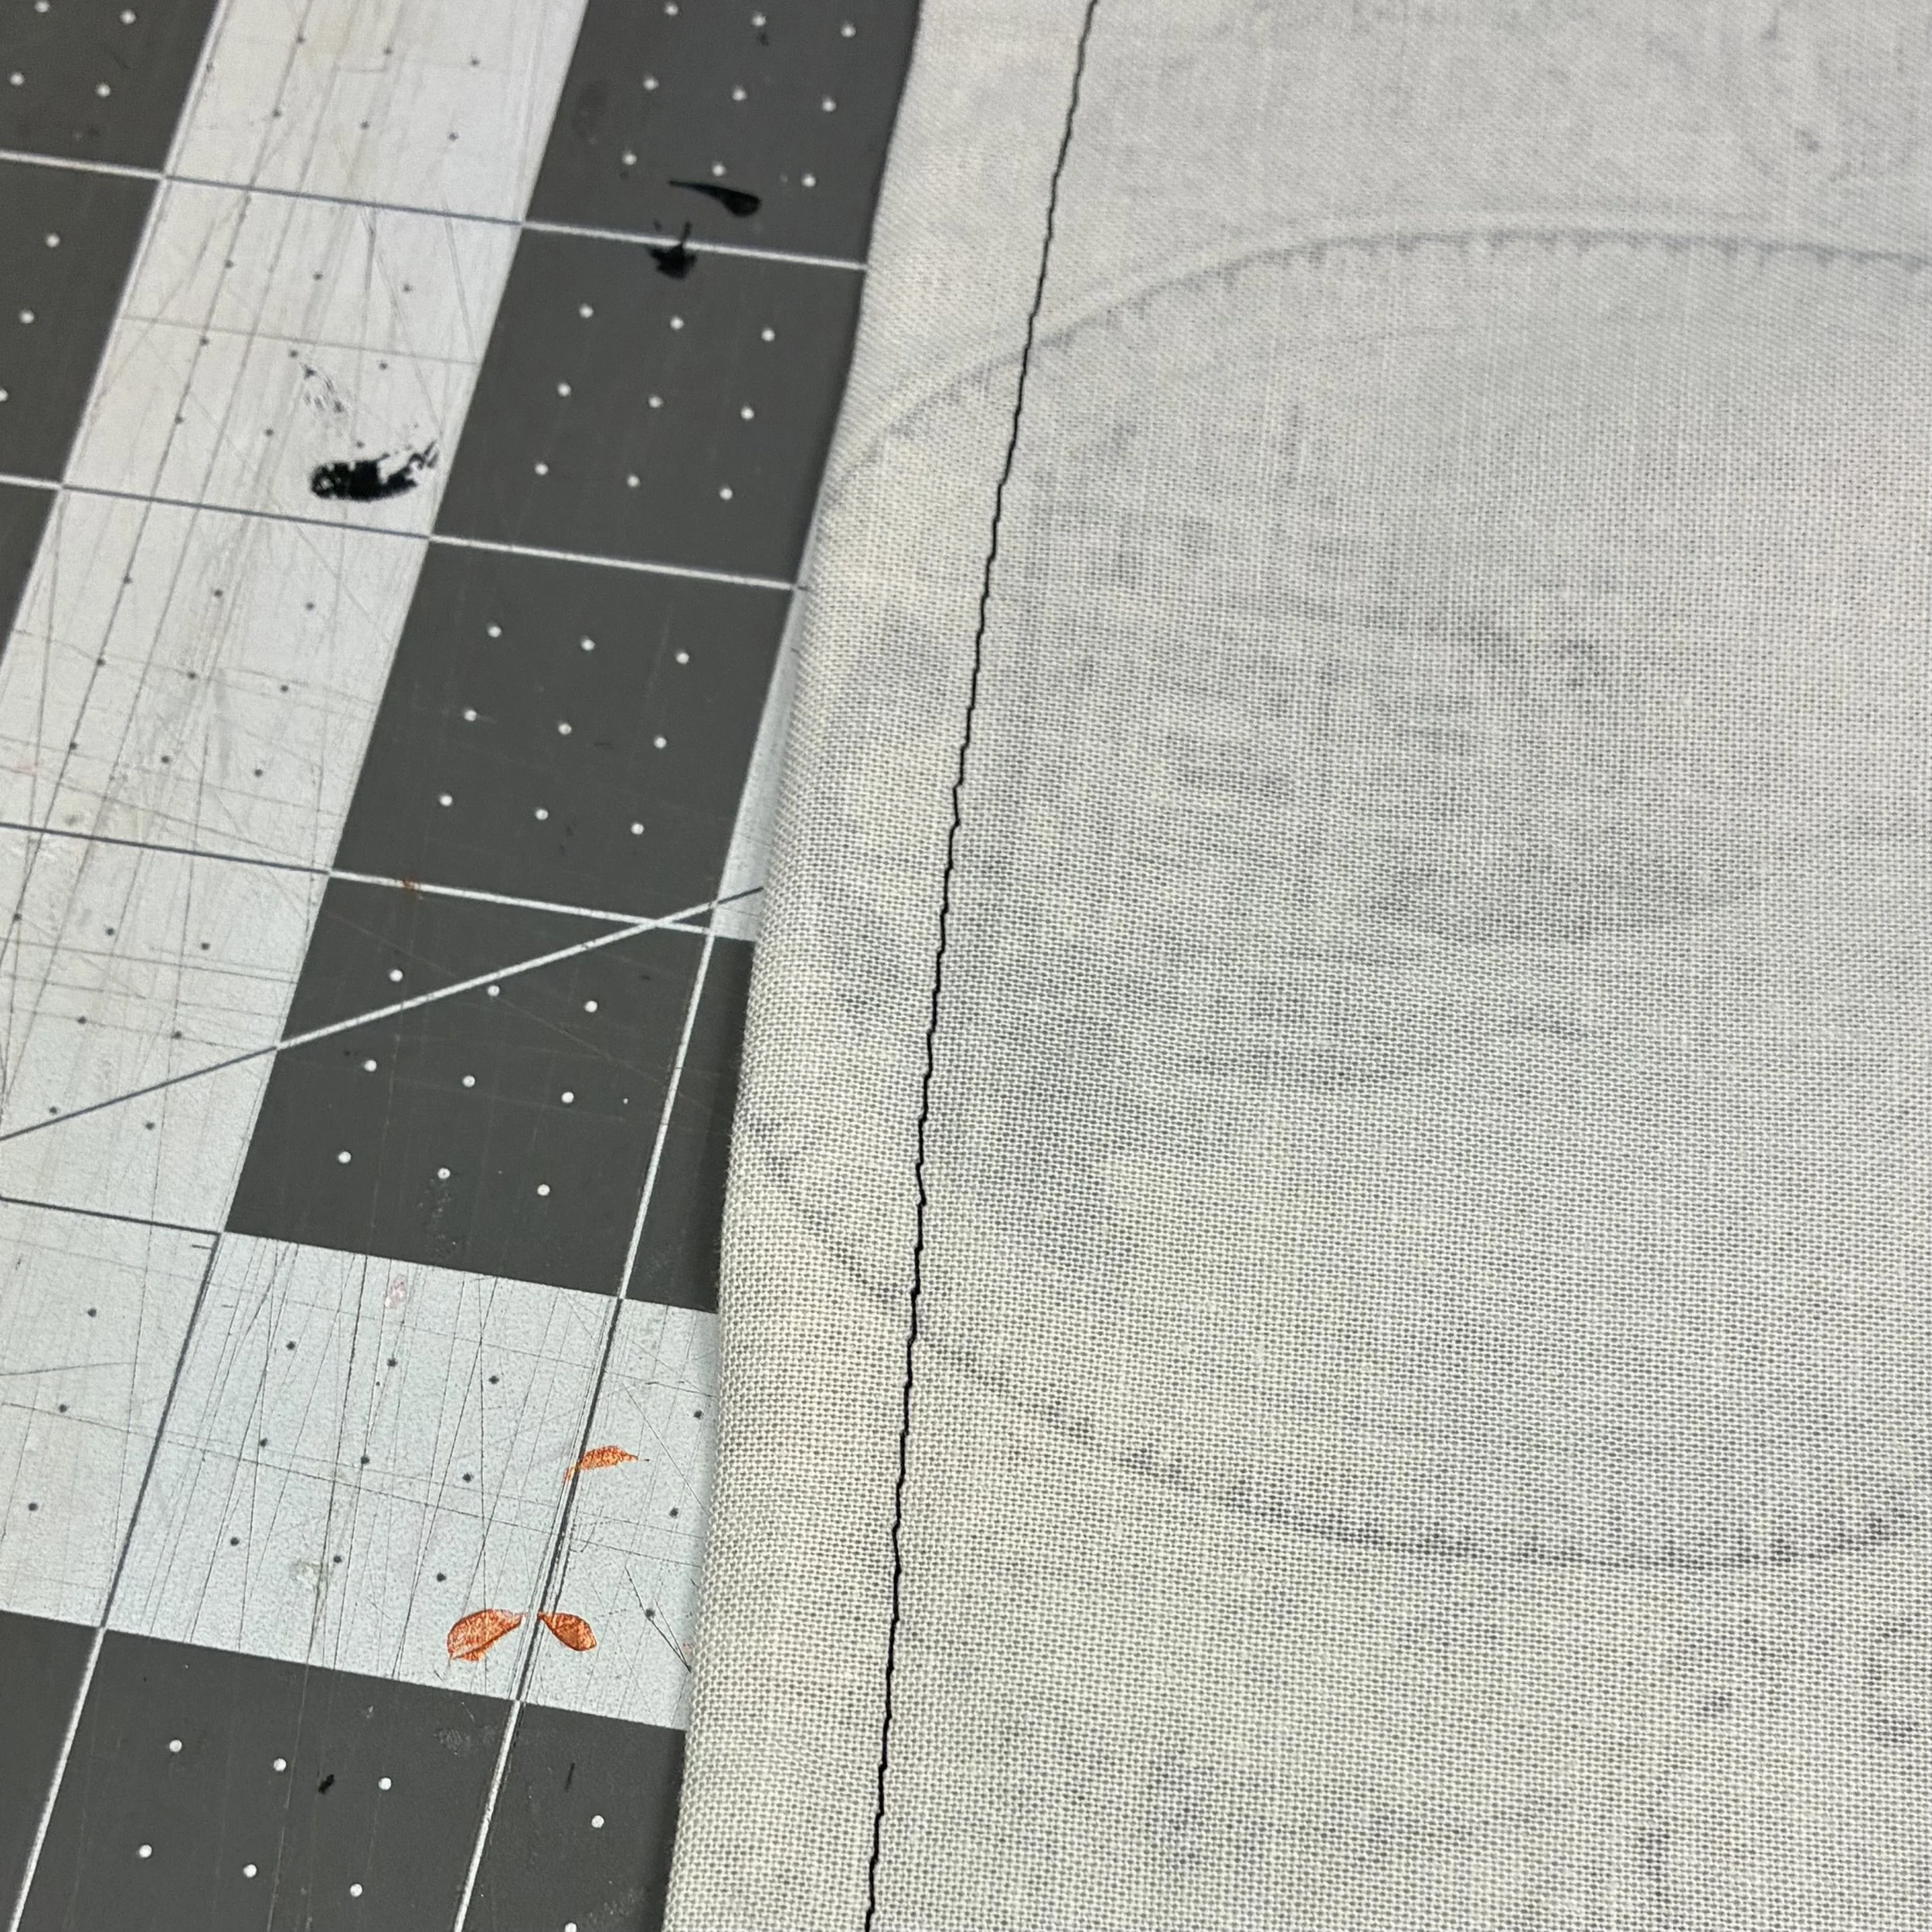
I’m very proud that I sensibly took the time to stuff the pillow into the case to make sure it would actually fit before I went to the trouble of attaching Velcro. It did, so I used my double-sided tape to baste it down, then stitched it onto my wide hem. This case also works beautifully for what I need, and again, I decided I only needed one, which could go into the laundry once a week.
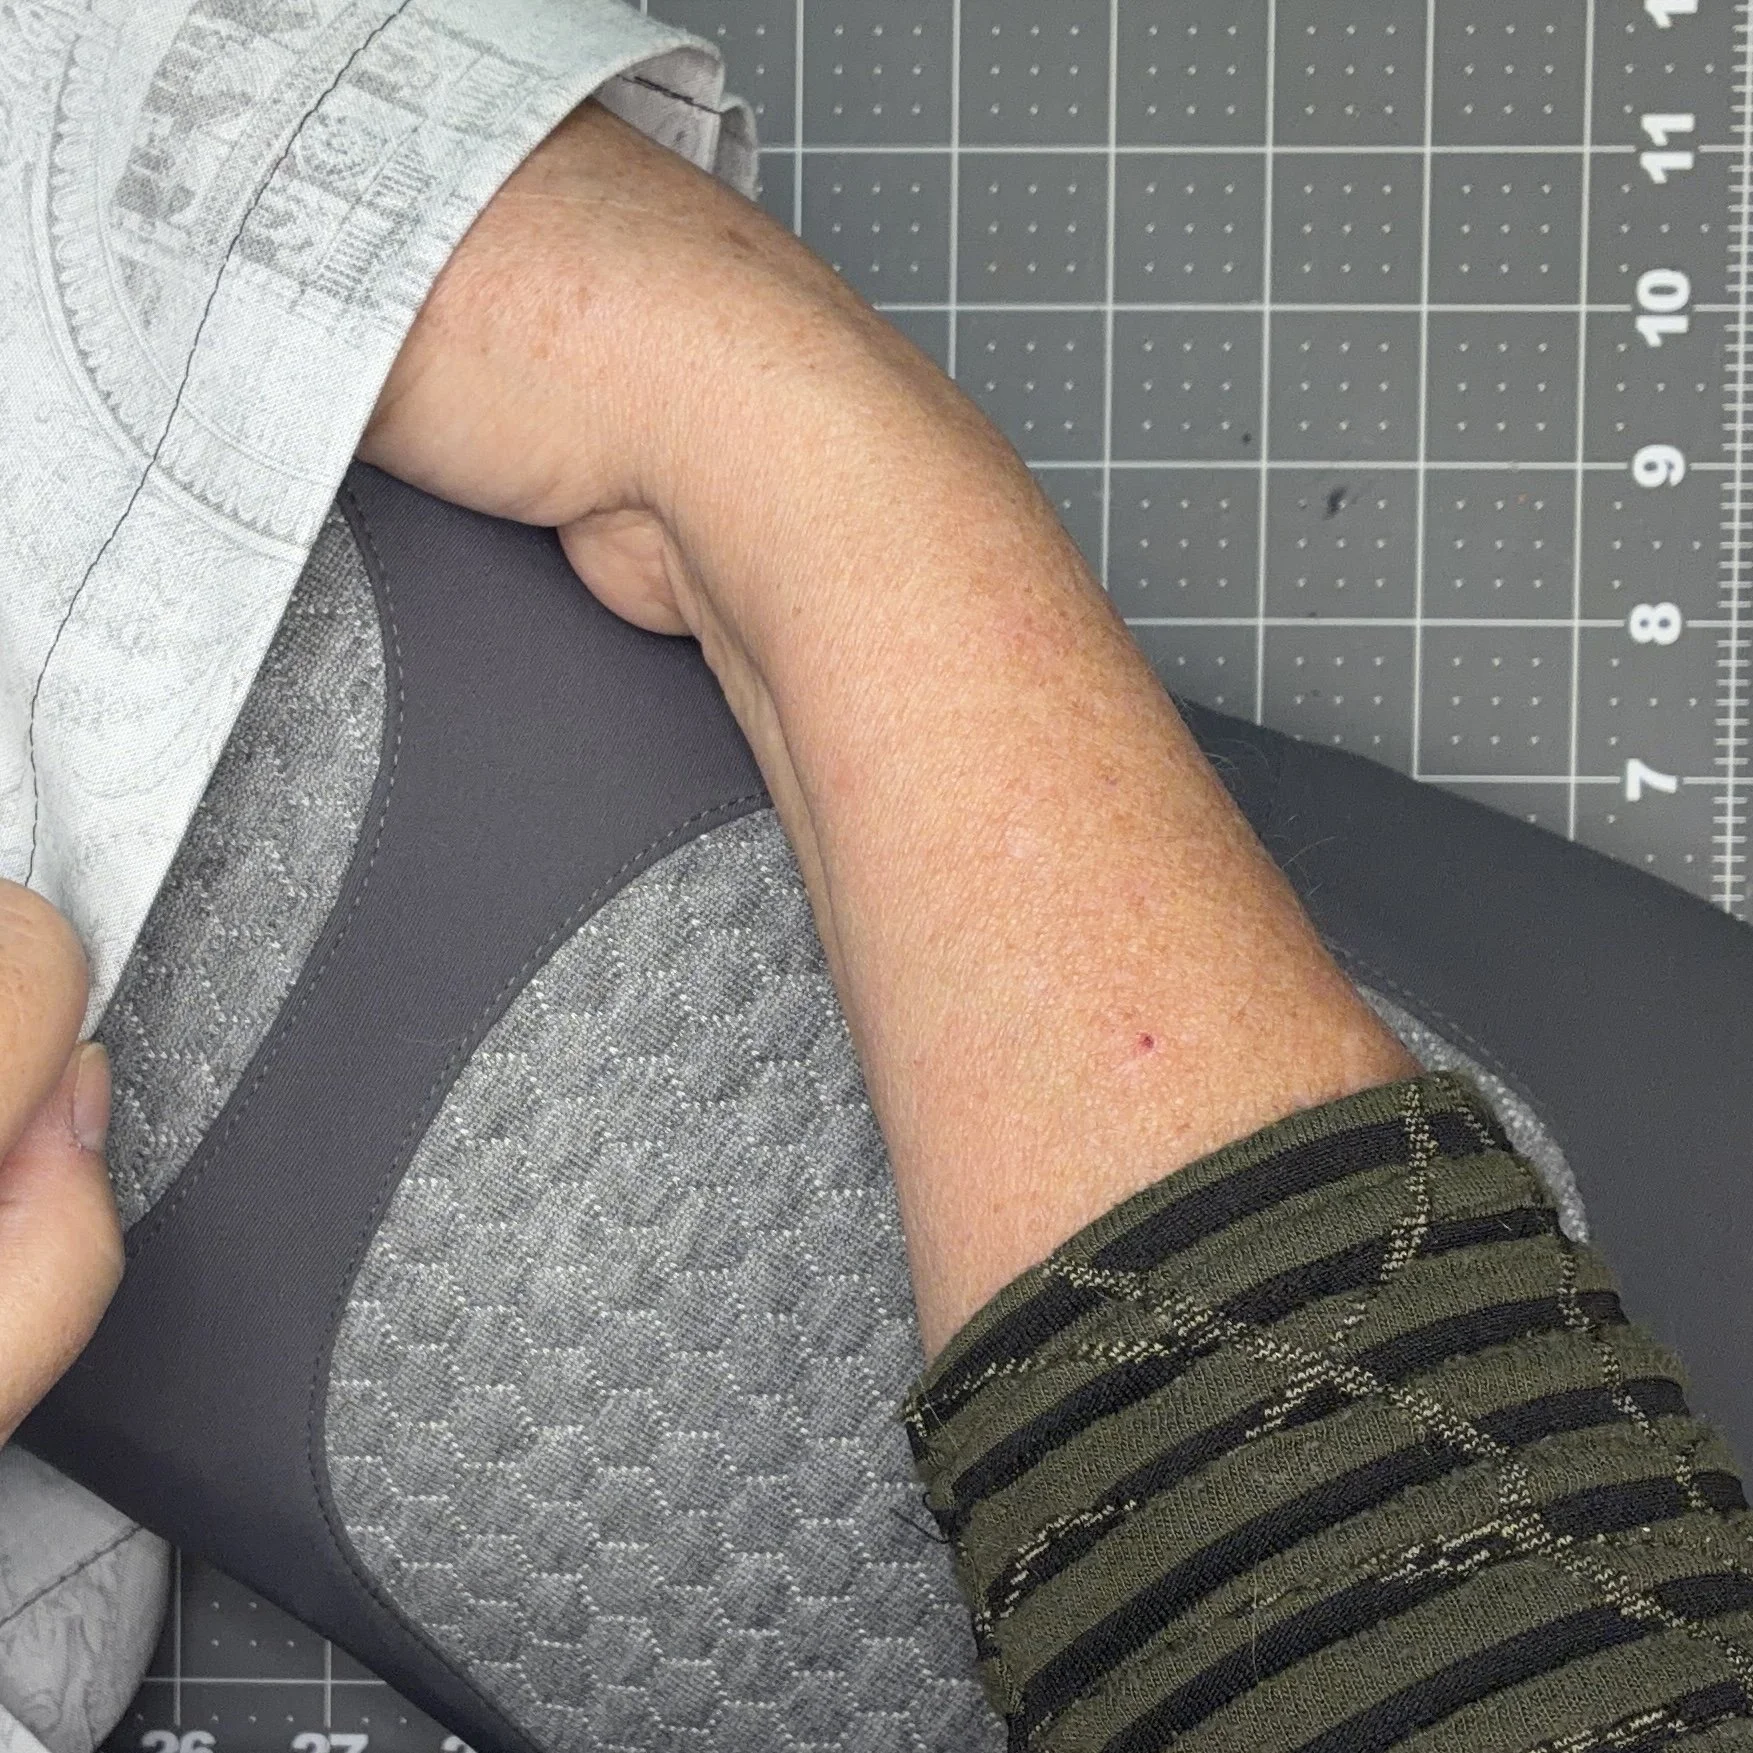
And done! These two cases aren’t pretty but they are fully functional in exactly the way I need and I’m really the only one who is going to see them. They aren’t going to be on display anywhere, so I don’t have to worry about their lack of good looks.