Adventures In Post-Apocalyptic Nookery
As an Amazon associate, I may earn a small commission if you navigate to Amazon from my site and buy something. This will not result in an extra cost to you.
Post-apocalyptic: relating to or set in the period following an apocalypse, such as an imagined nuclear war or the collapse of global civilization.
This definition is brought to you by dictionary.com, which shows it as a single word, not hyphenated. However, I don’t like that and I agree with other sources (spell-check) that show it either as two words or as a hyphenated word. I can’t believe I’m wasting blog space on this explanation, but here we all are.
There are lots of apocalypse/disaster movies (2012, World War Z, Armageddon, etc) and lots of post-apocalyptic movies (Snowpiercer, I Am Legend, and everything from the Mad Max ouvre). I don’t watch many of these kinds of movies, for the most part. I find them to be full of destruction (obviously) and remarkably ugly, both in terms of what the world looks like and in terms of human behavior. It’s quite depressing.
But every so often, I catch a glimpse of something very beautiful in one of these films. I’m mostly speaking of the aesthetic where the world has clearly fallen apart, but there are still some relatively intact buildings, with the forest slowly reclaiming them. The juxtaposition of old buildings and new growth is gorgeous. I found a couple sample pictures on Pinterest:


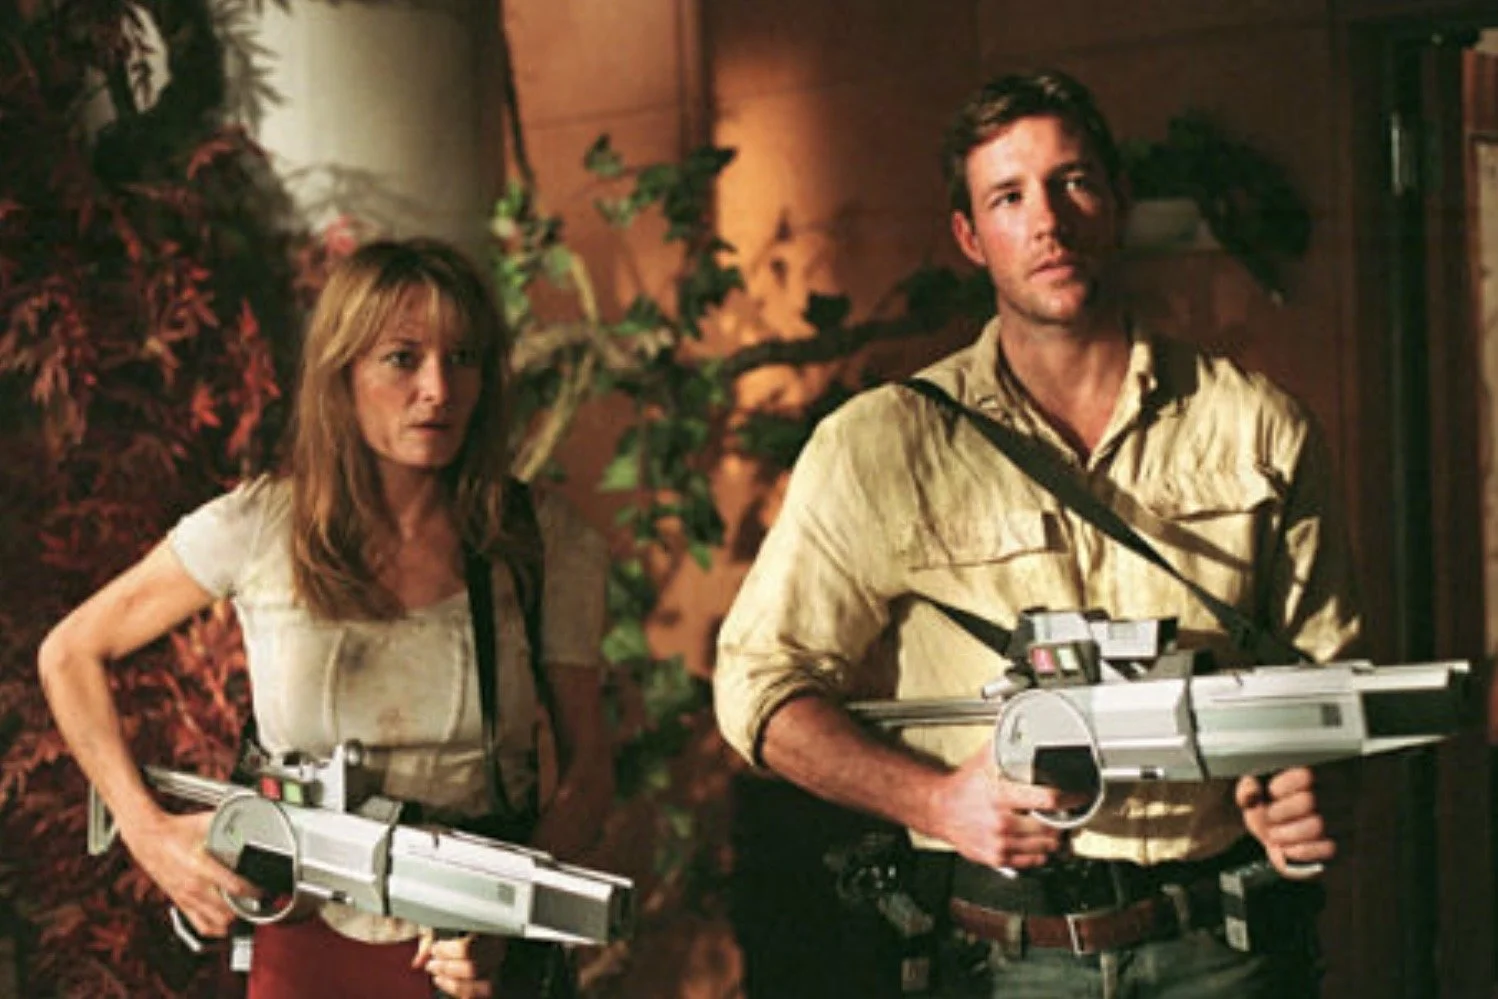
There’s also a movie that has a fair bit of this aesthetic. A Sound Of Thunder is a deeply silly movie (even though it was based on a short story by the great Ray Bradbury) but it is fun. I own it and have watched it multiple times. There’s just something about it that I enjoy, not least of which is watching the scenery change as time accelerates.
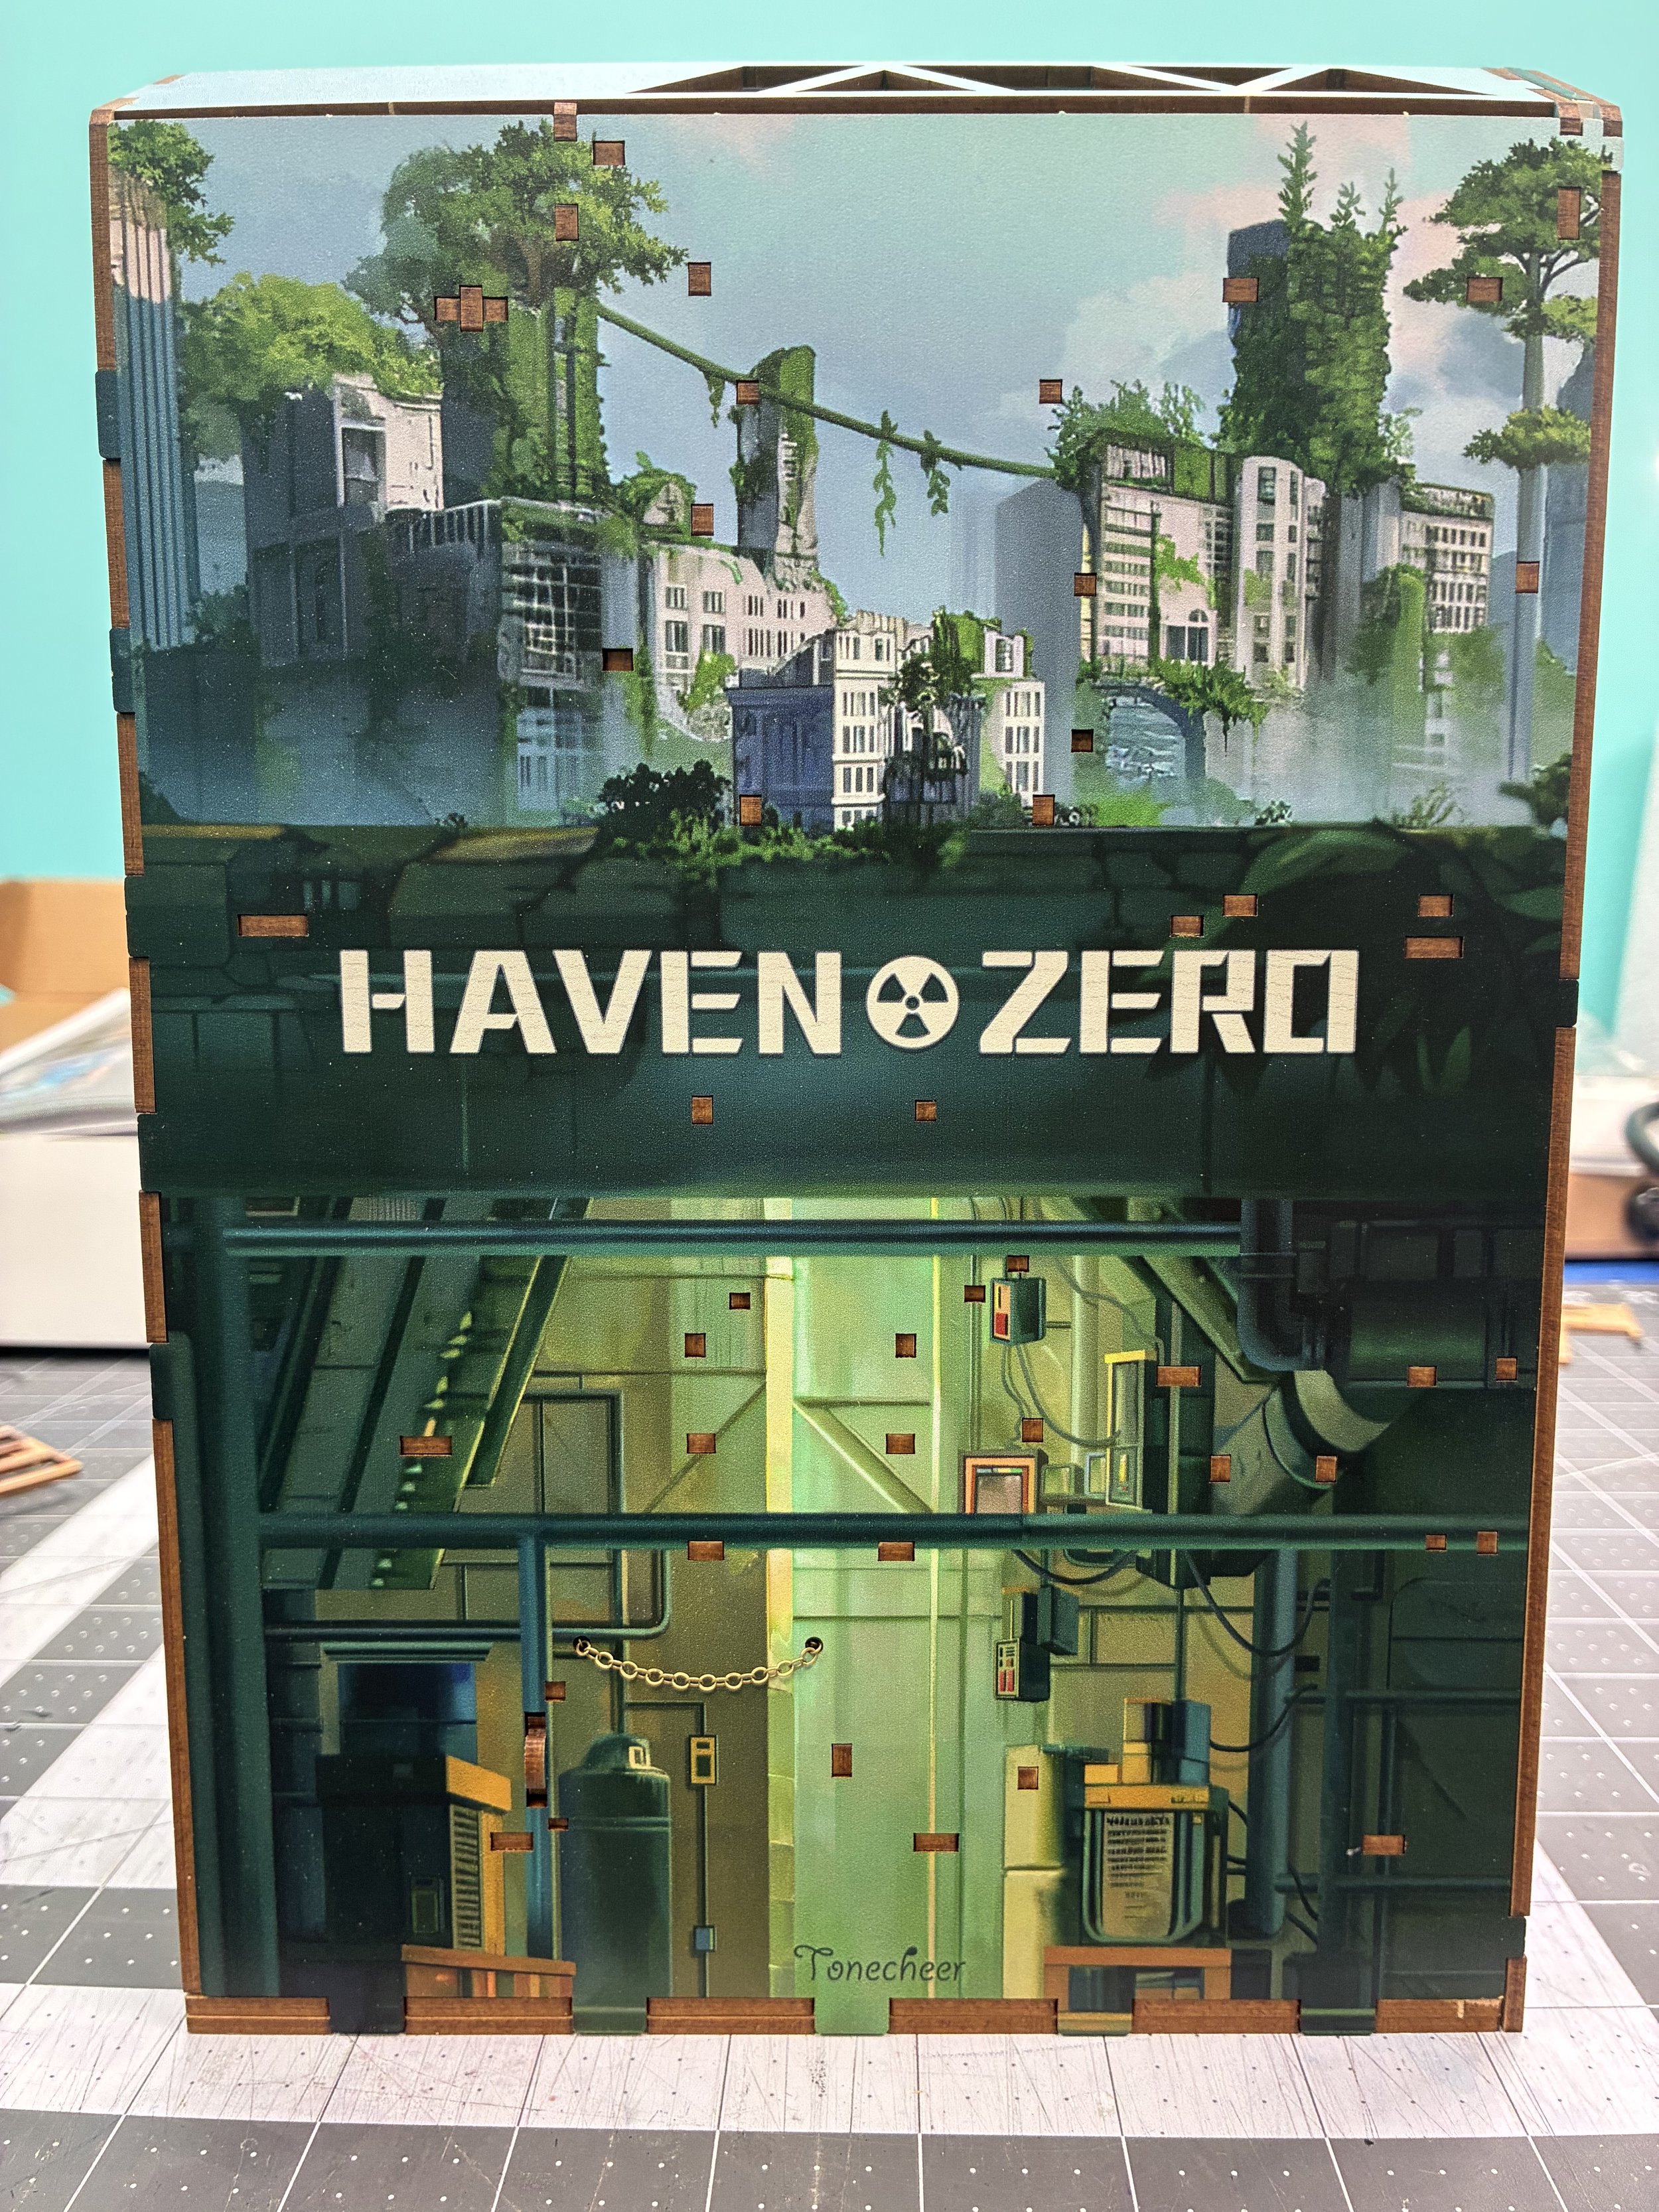
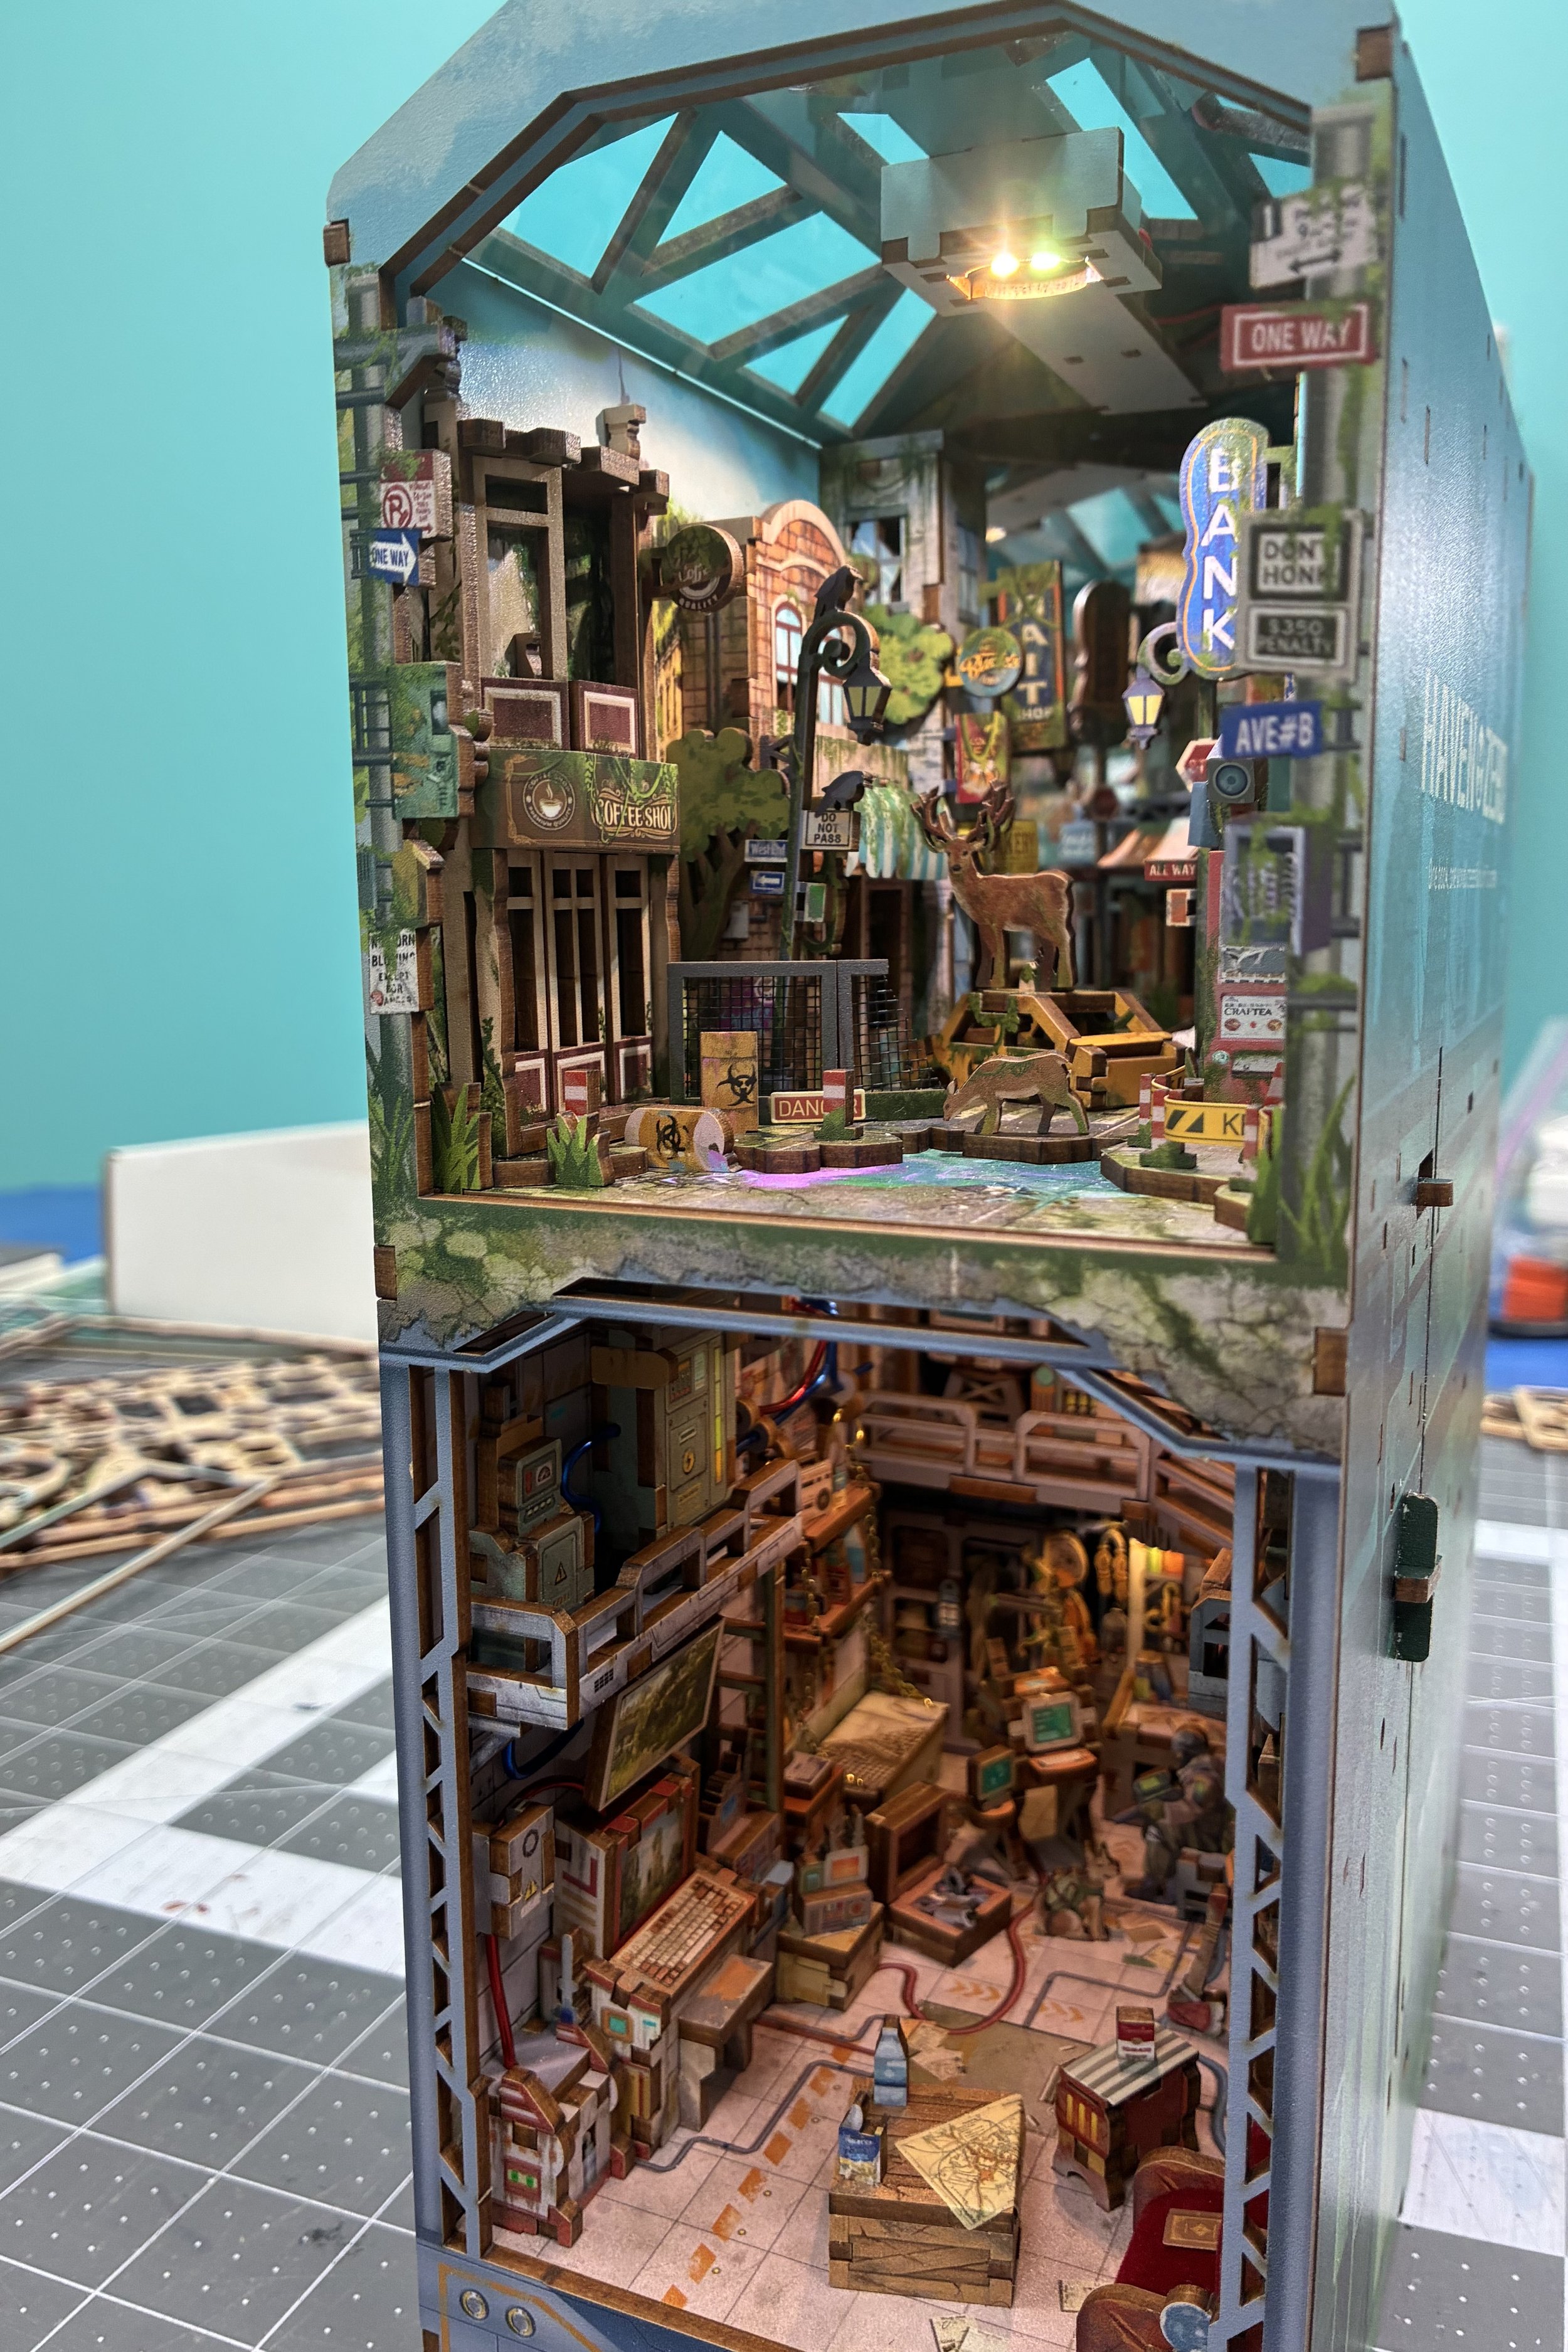
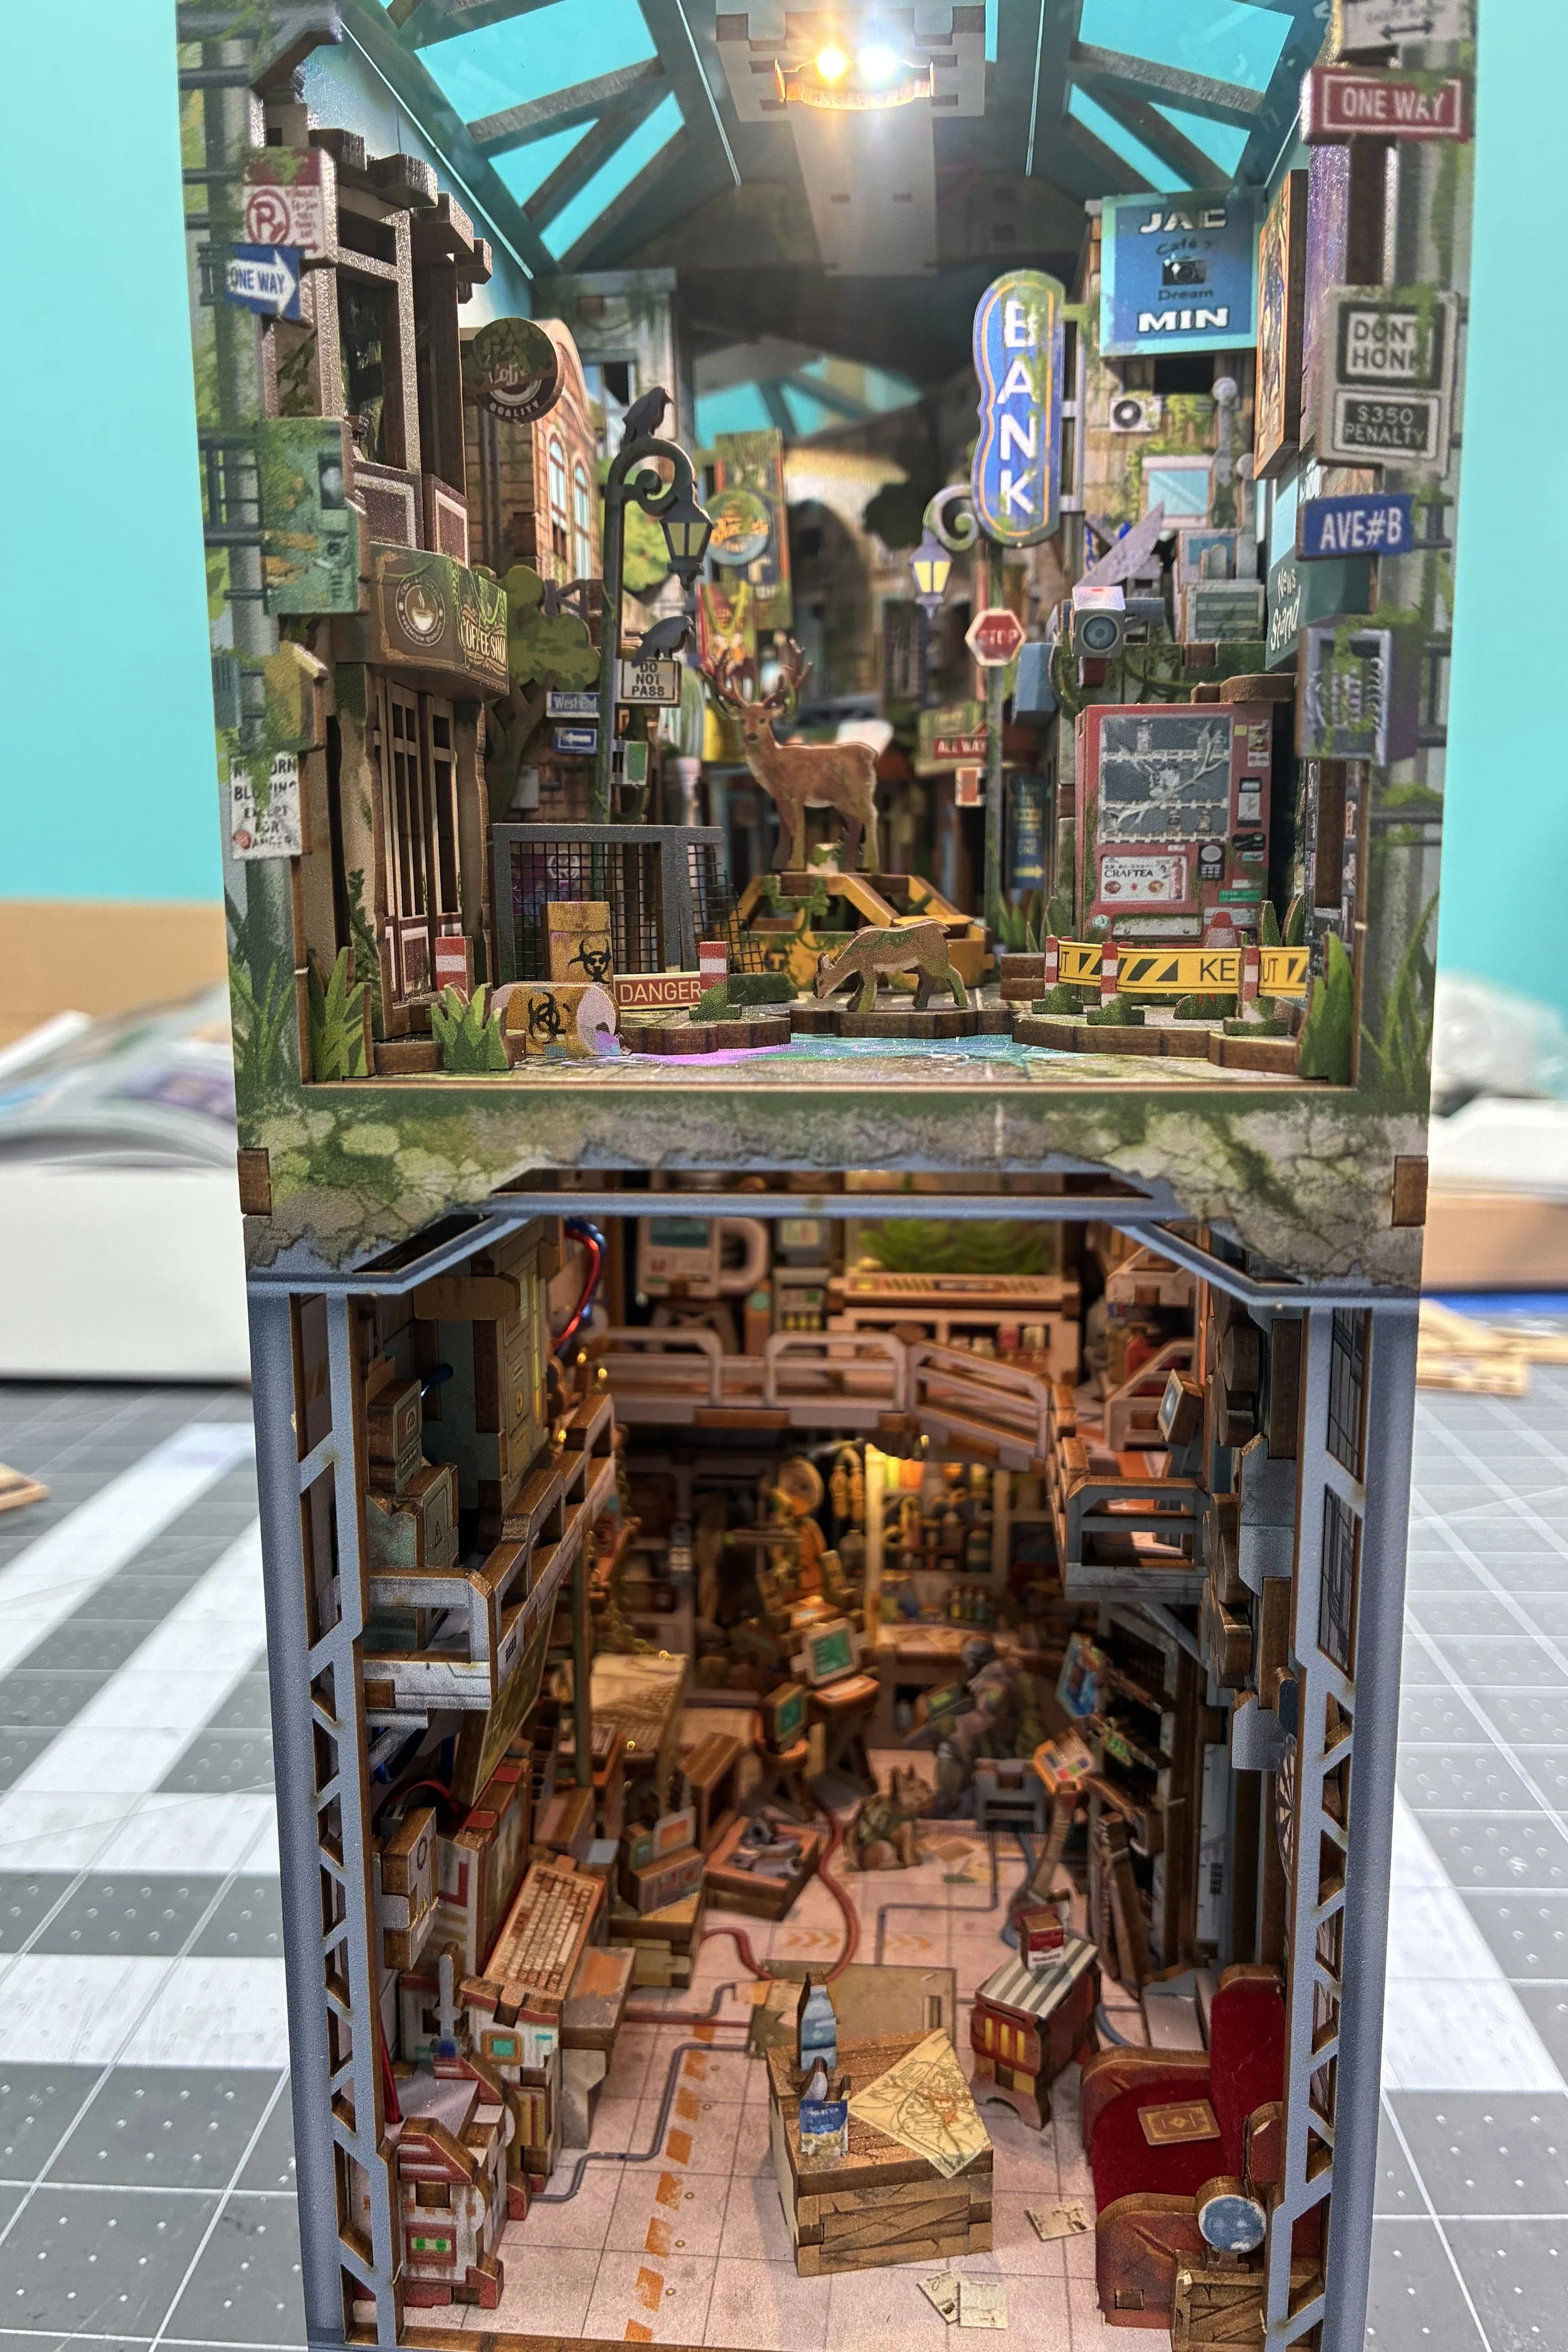
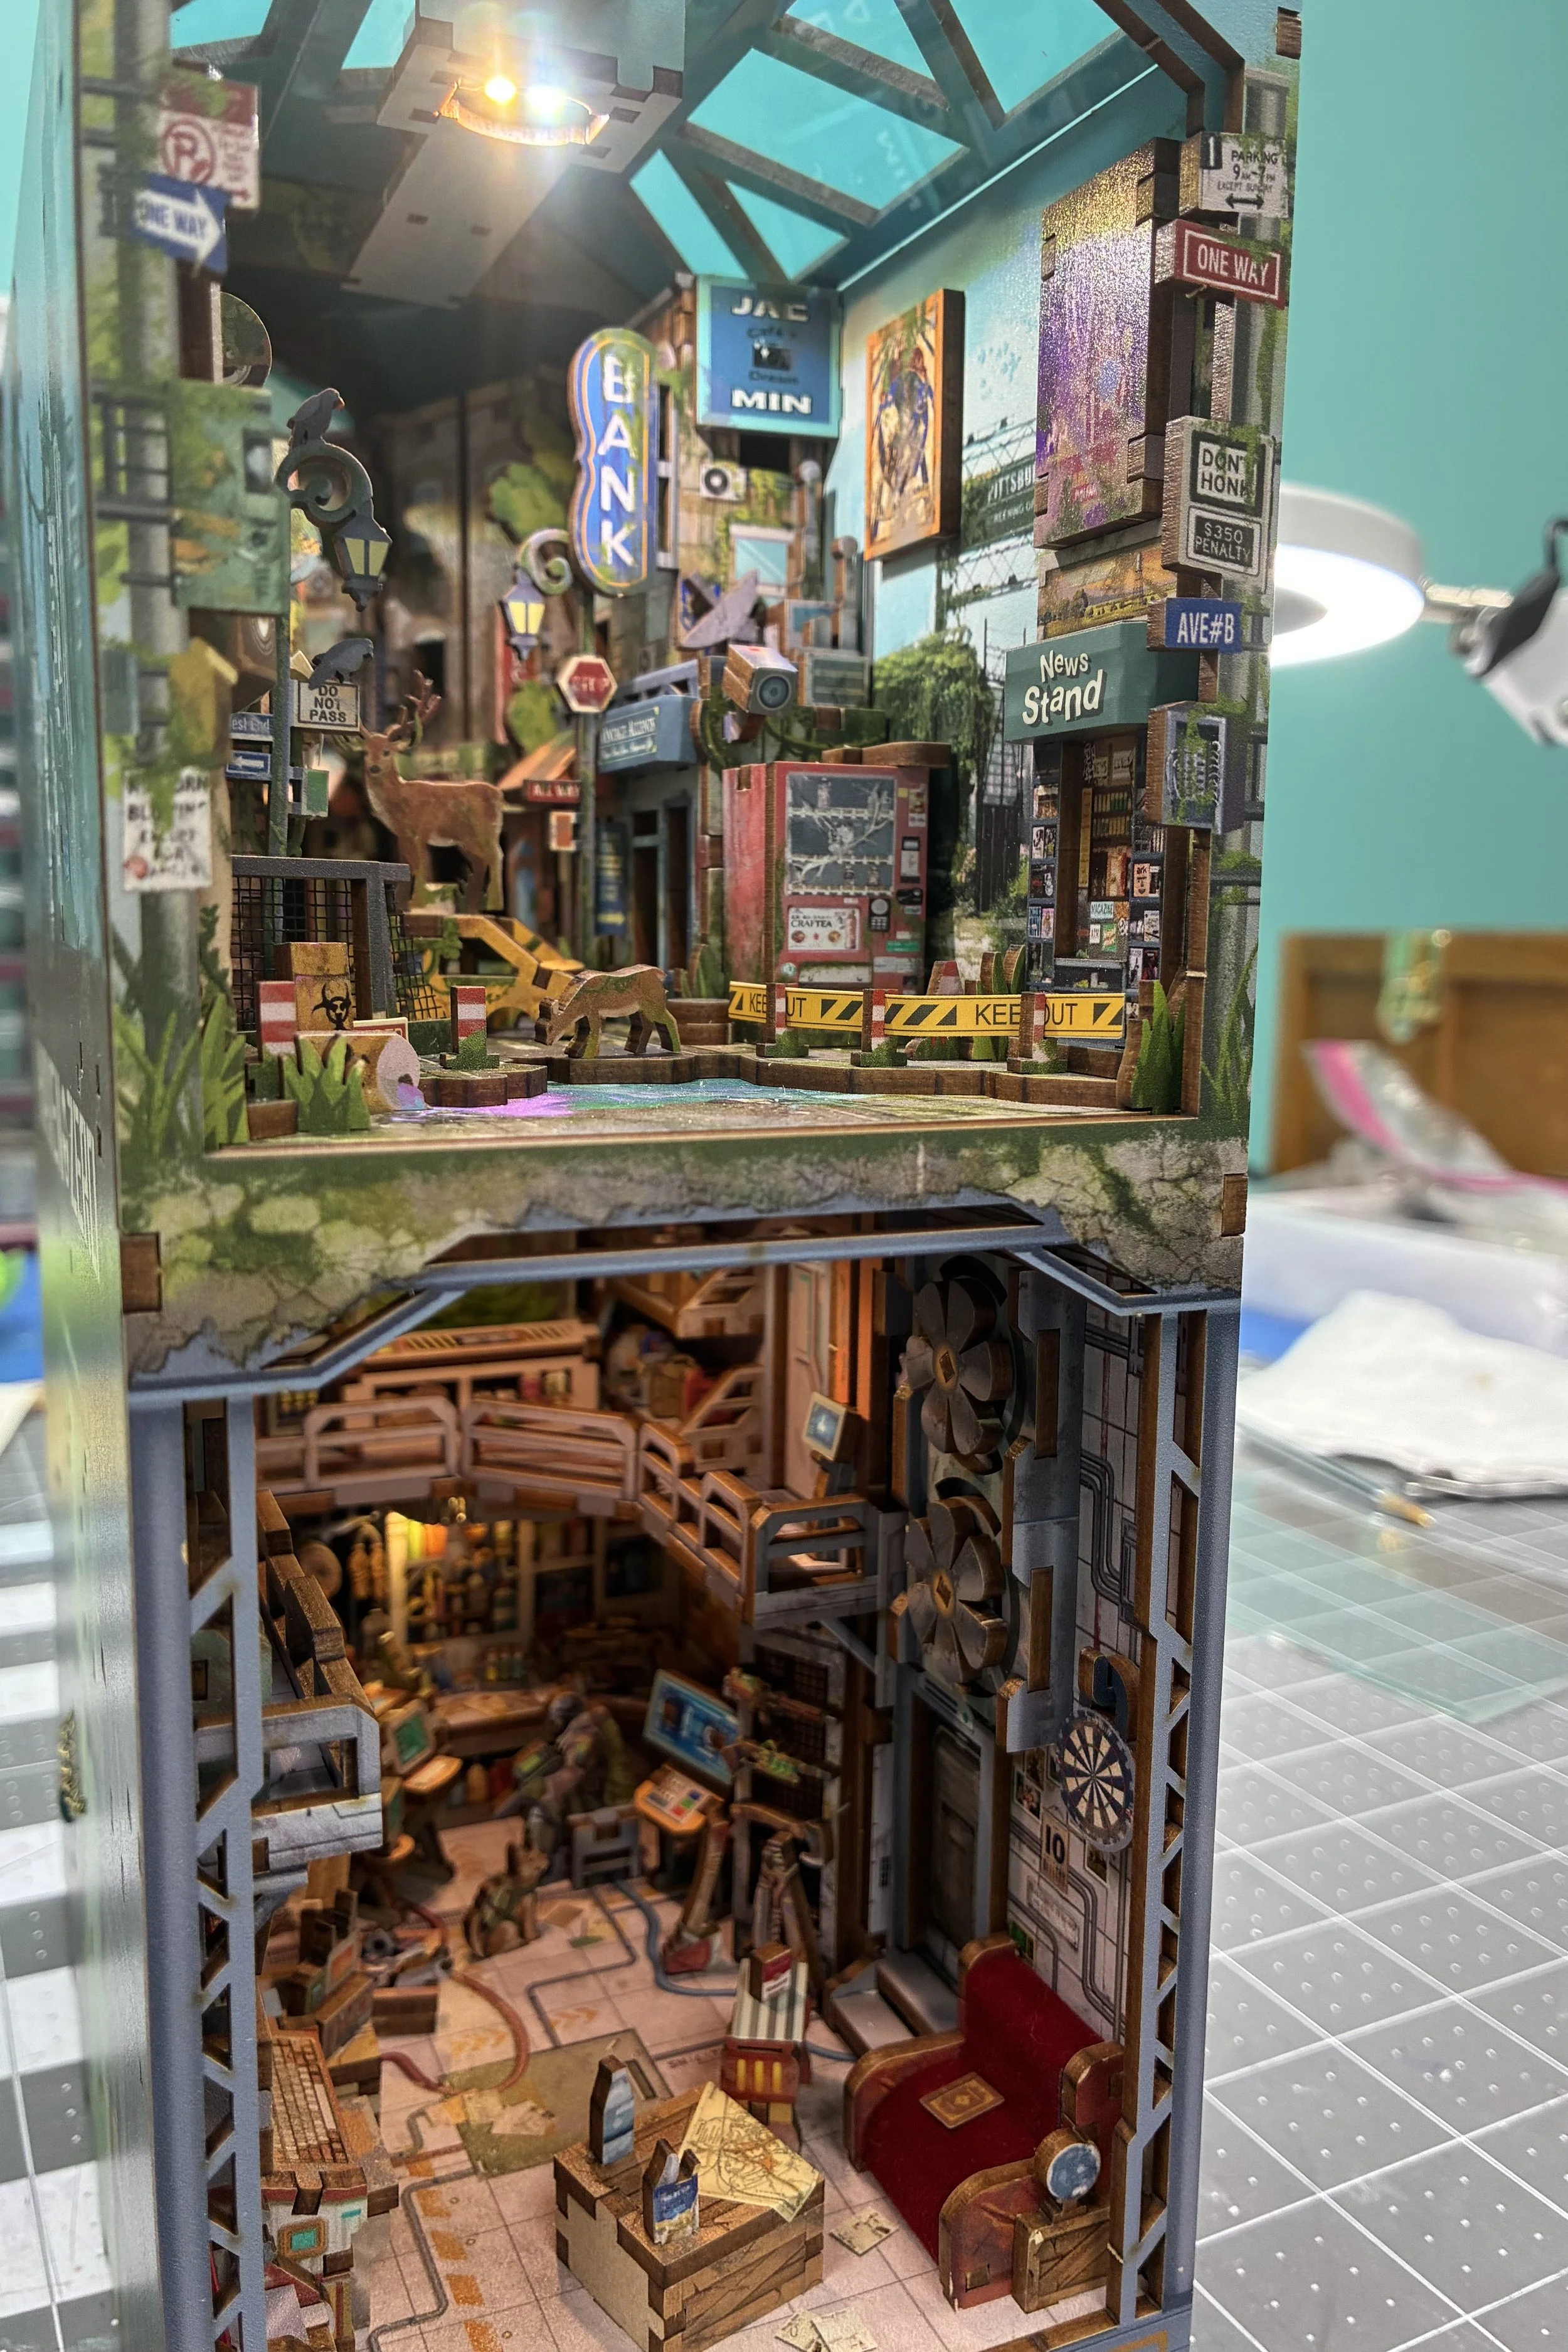
All of this was in my mind (yes, my mind is a cluttered place…why do you ask?) when I bought my third quarter book nook kit. It’s called Haven Zero, made by Tonecheer. It’s clearly a survivalist center inside an industrial building being overgrown by nature, with weapons closets, tool chests, storage chests, lab equipment, greenhouses…most everything the apocalypse survivor would need. And it’s quite beautiful…grungy and green in just the right way.
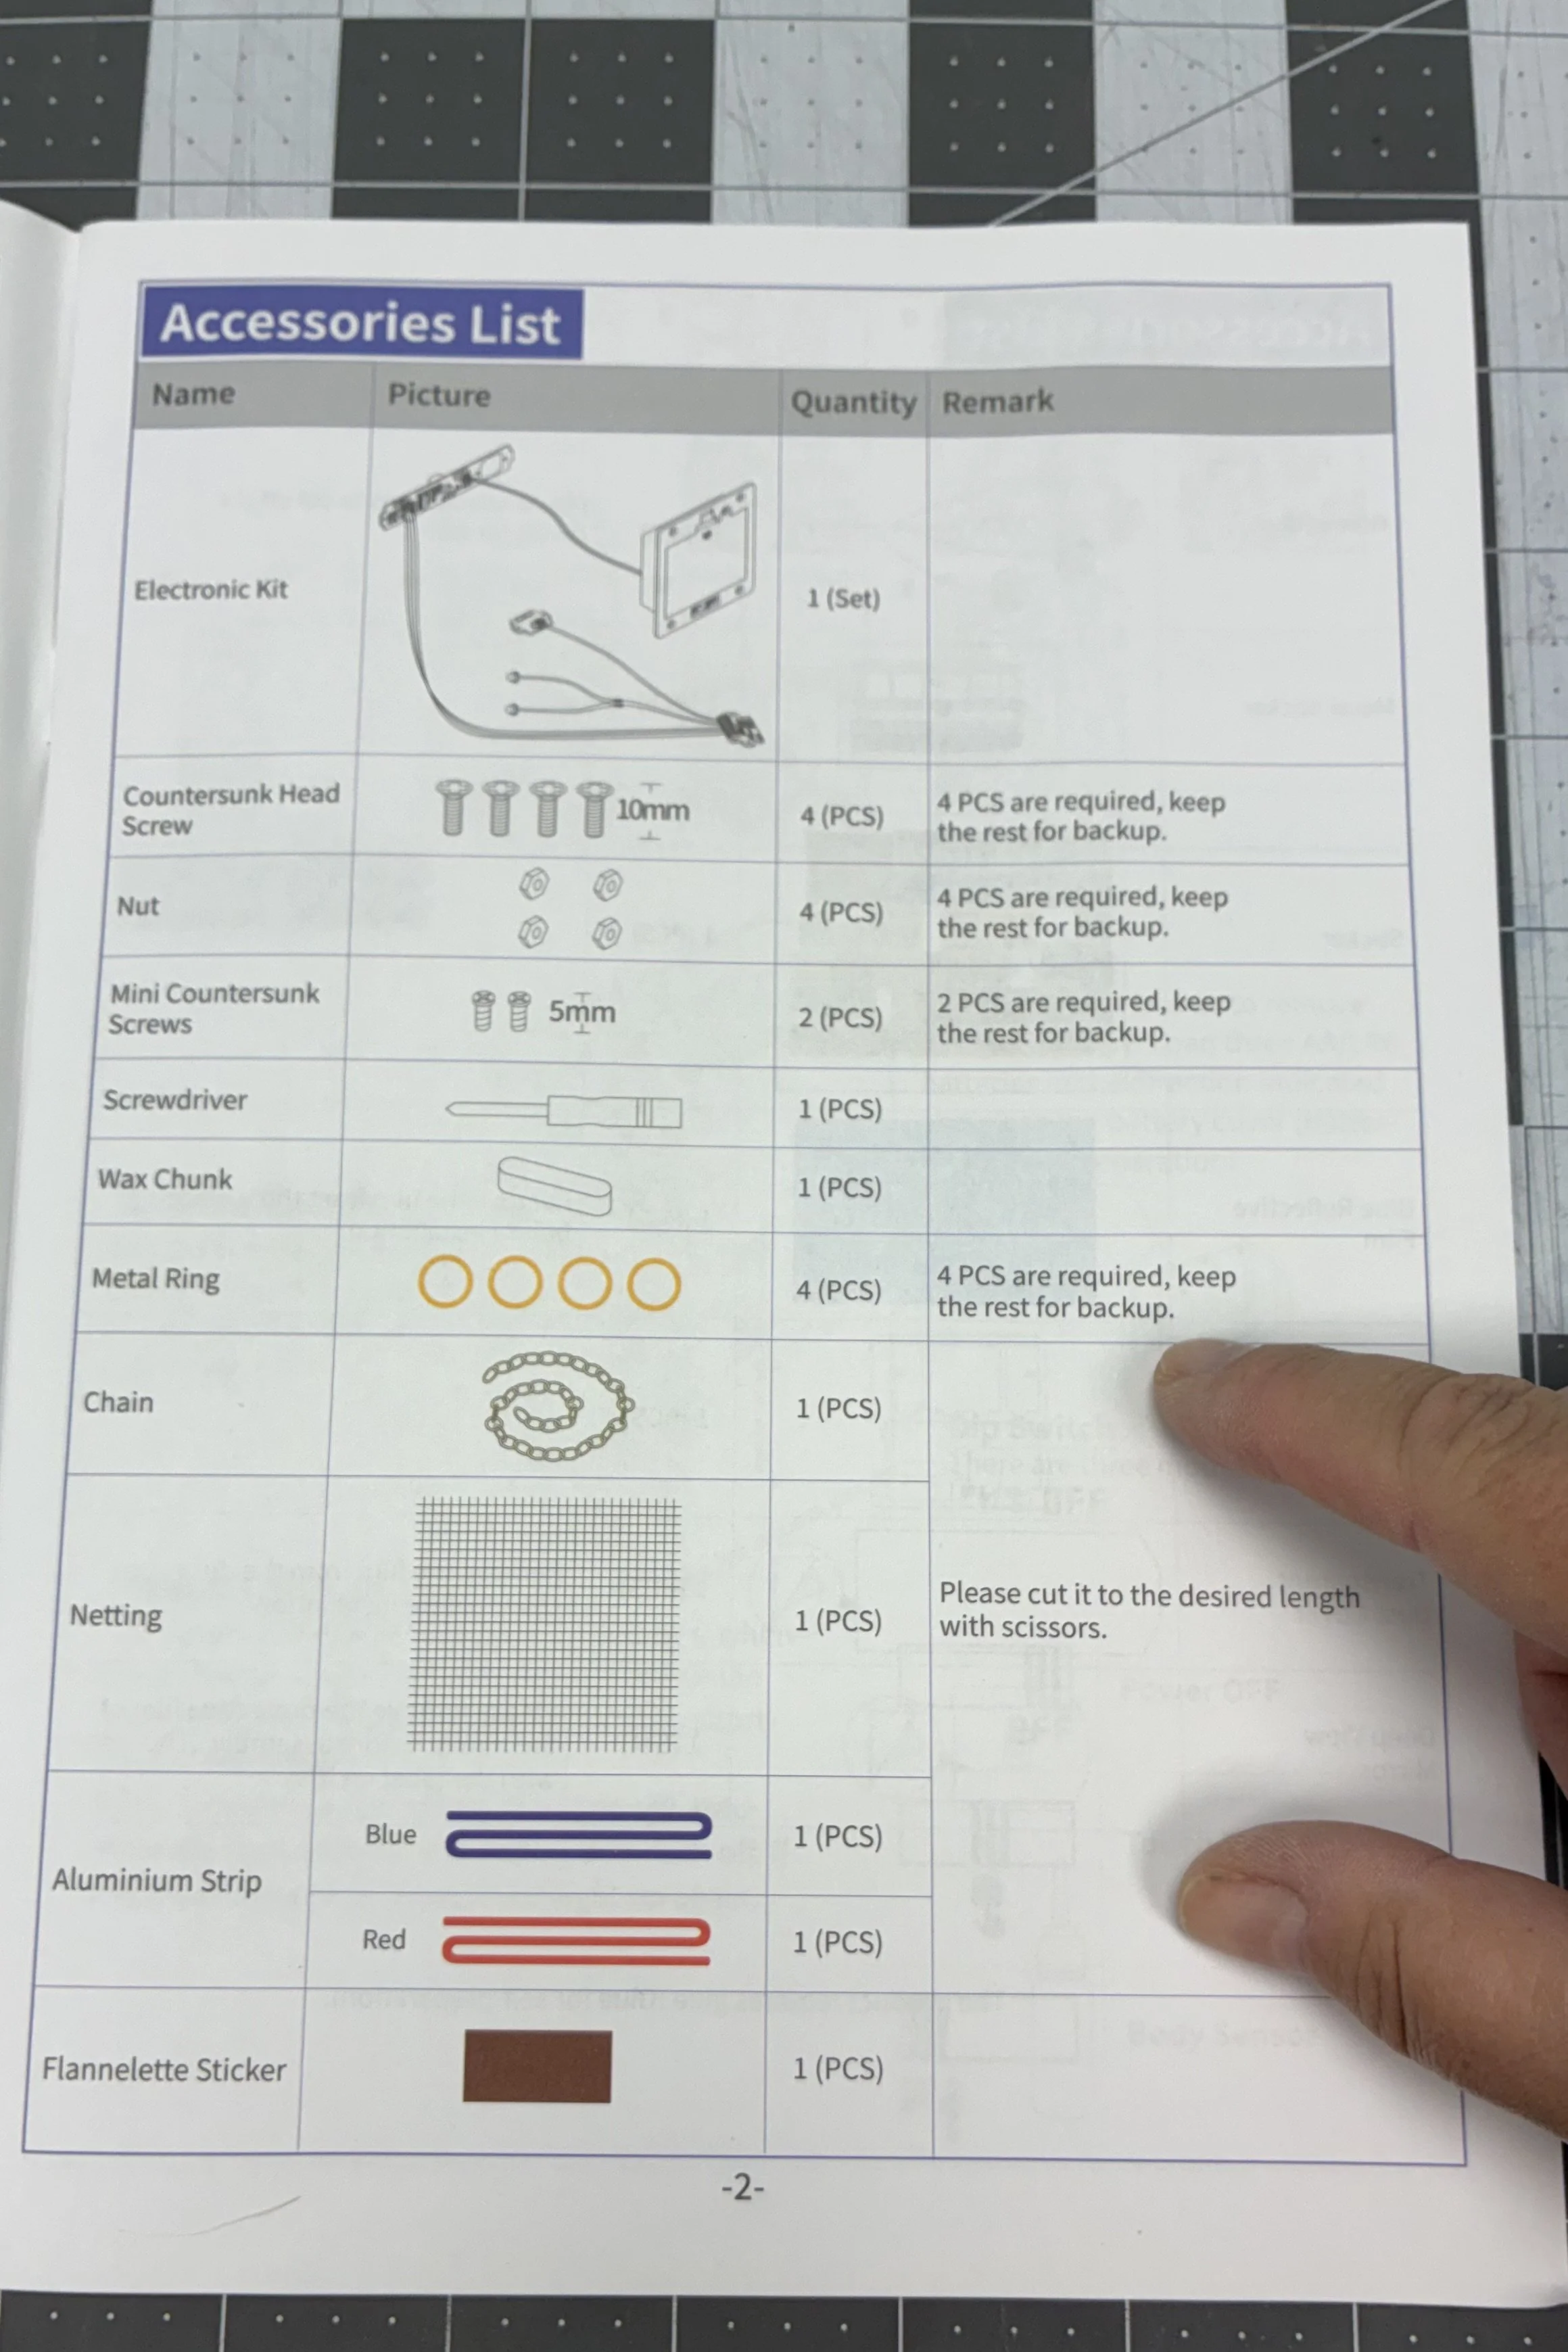
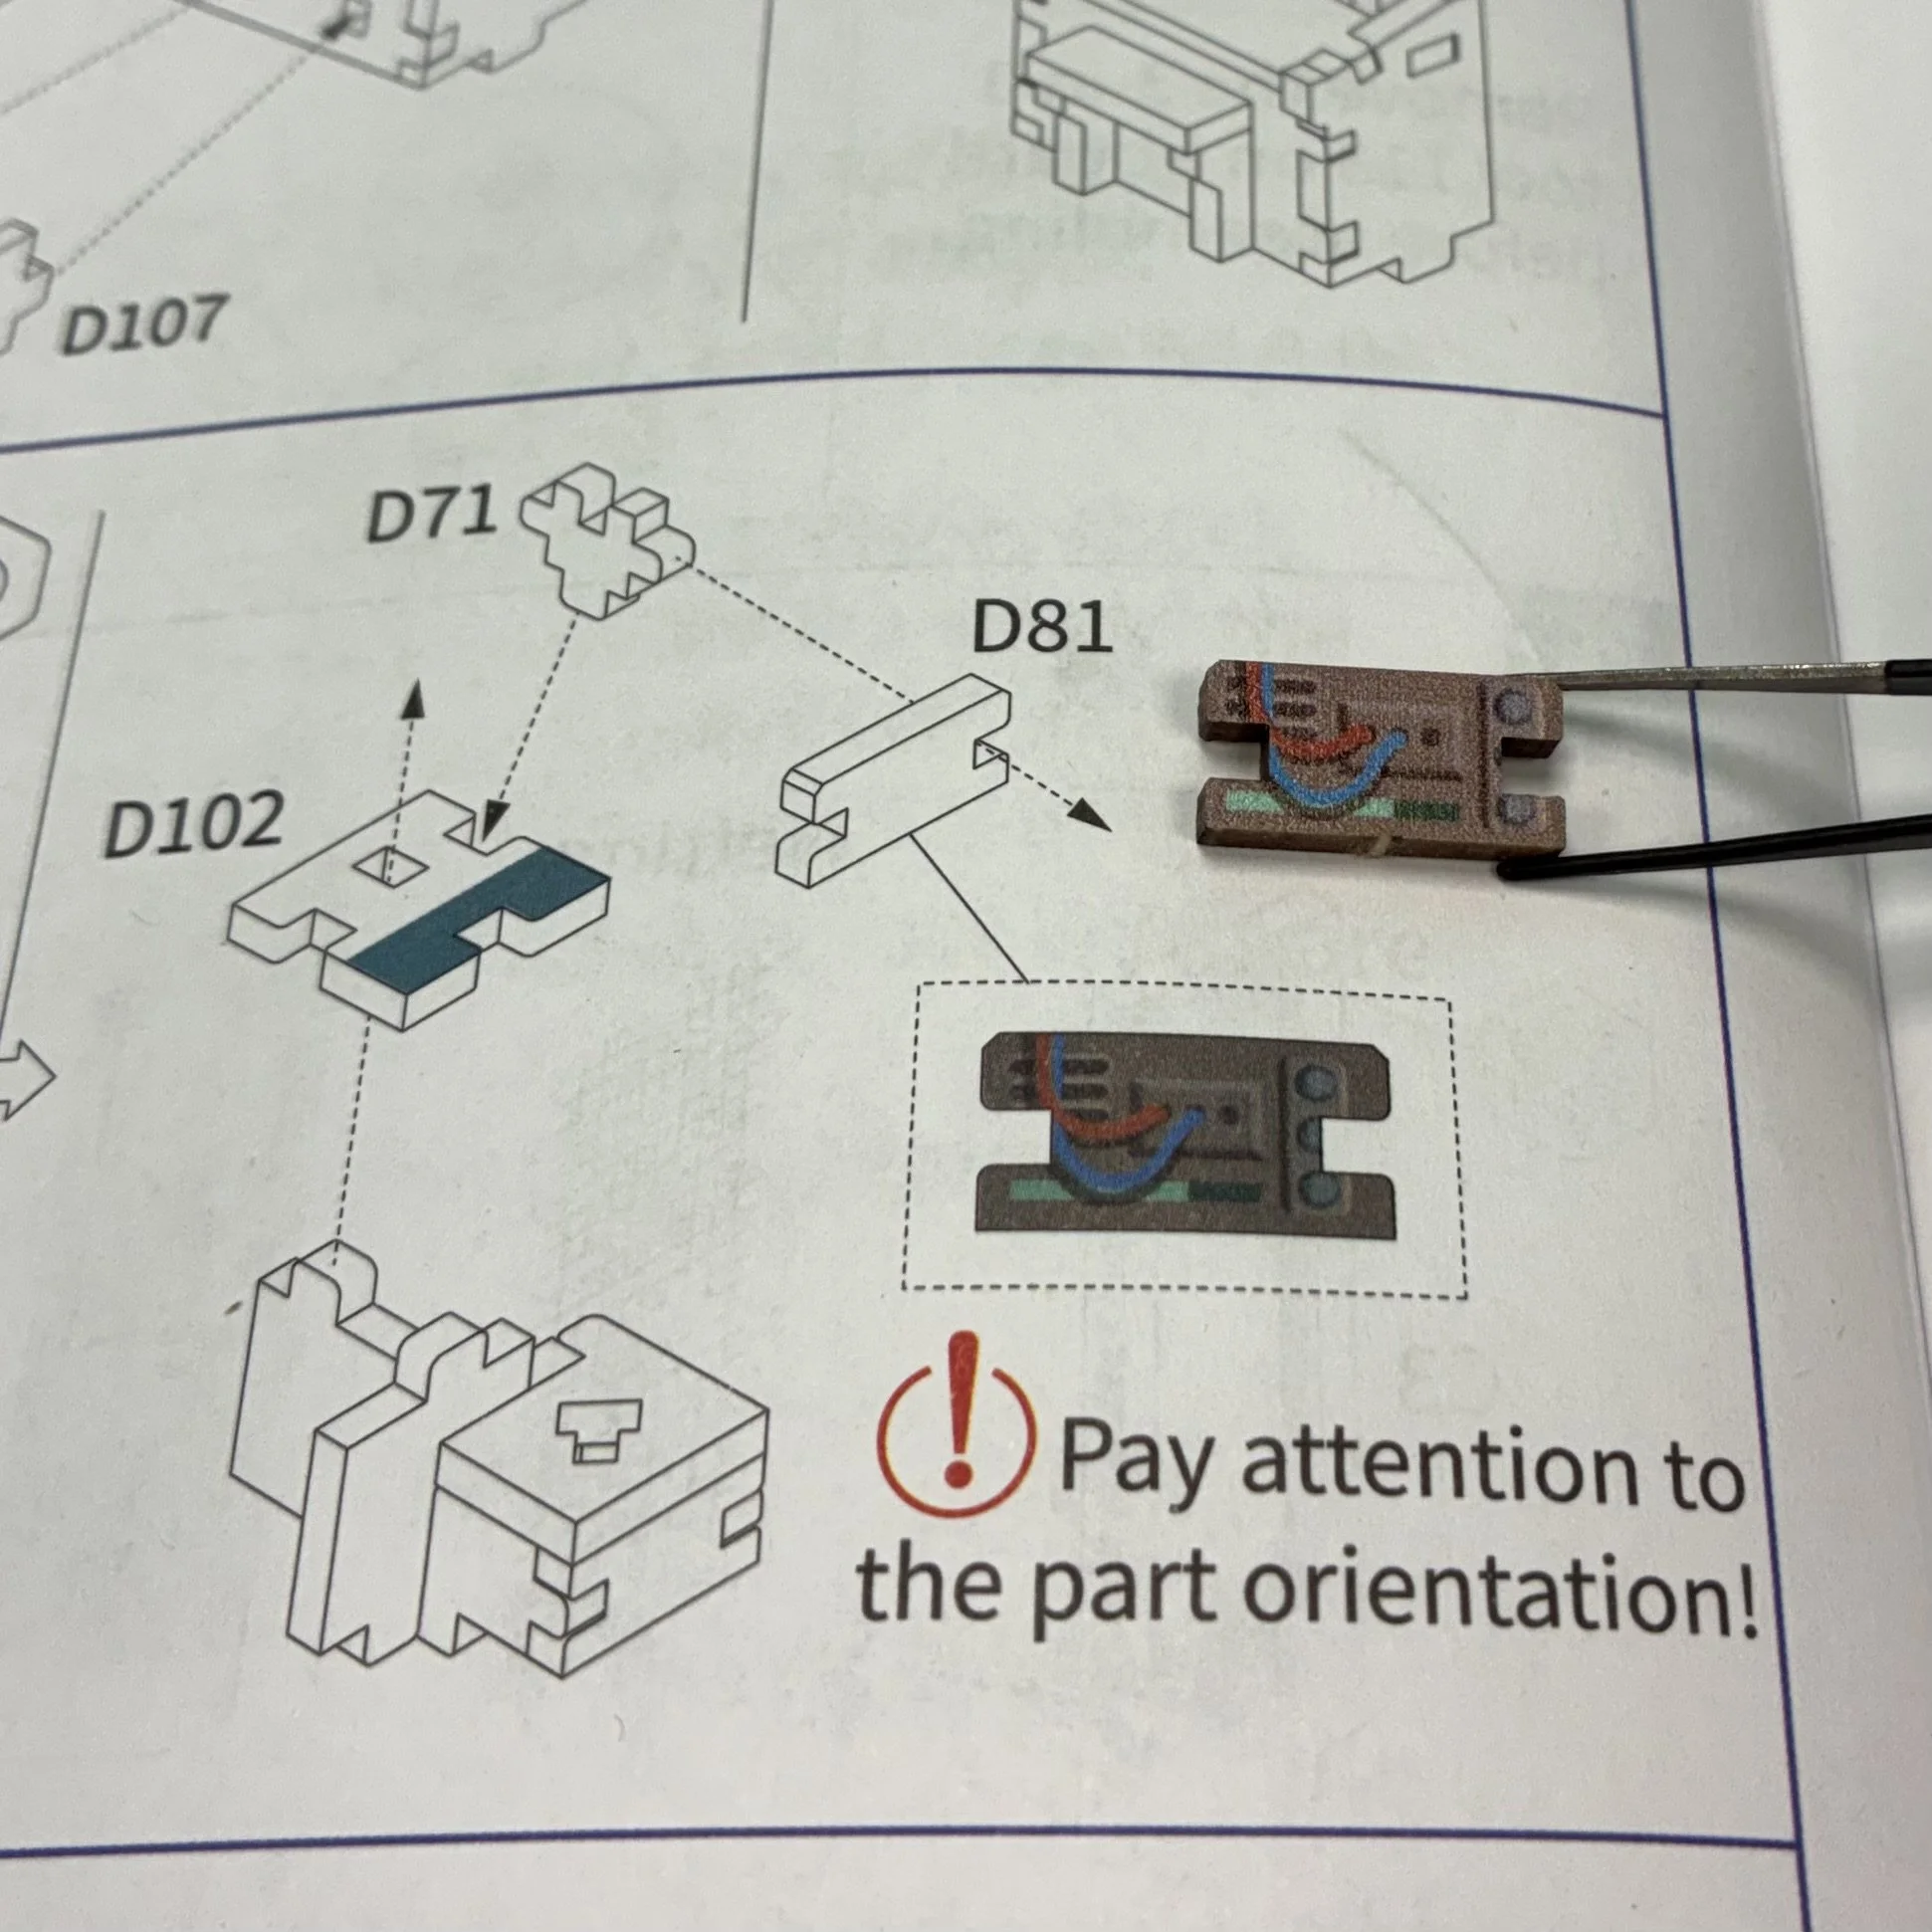
As I’ve come to expect from this company, the instructions are careful and thorough, and I appreciate that they noted where they’d supplied extras of certain supplies. Where orientation particularly mattered and was not otherwise obvious, they showed exactly what was needed.
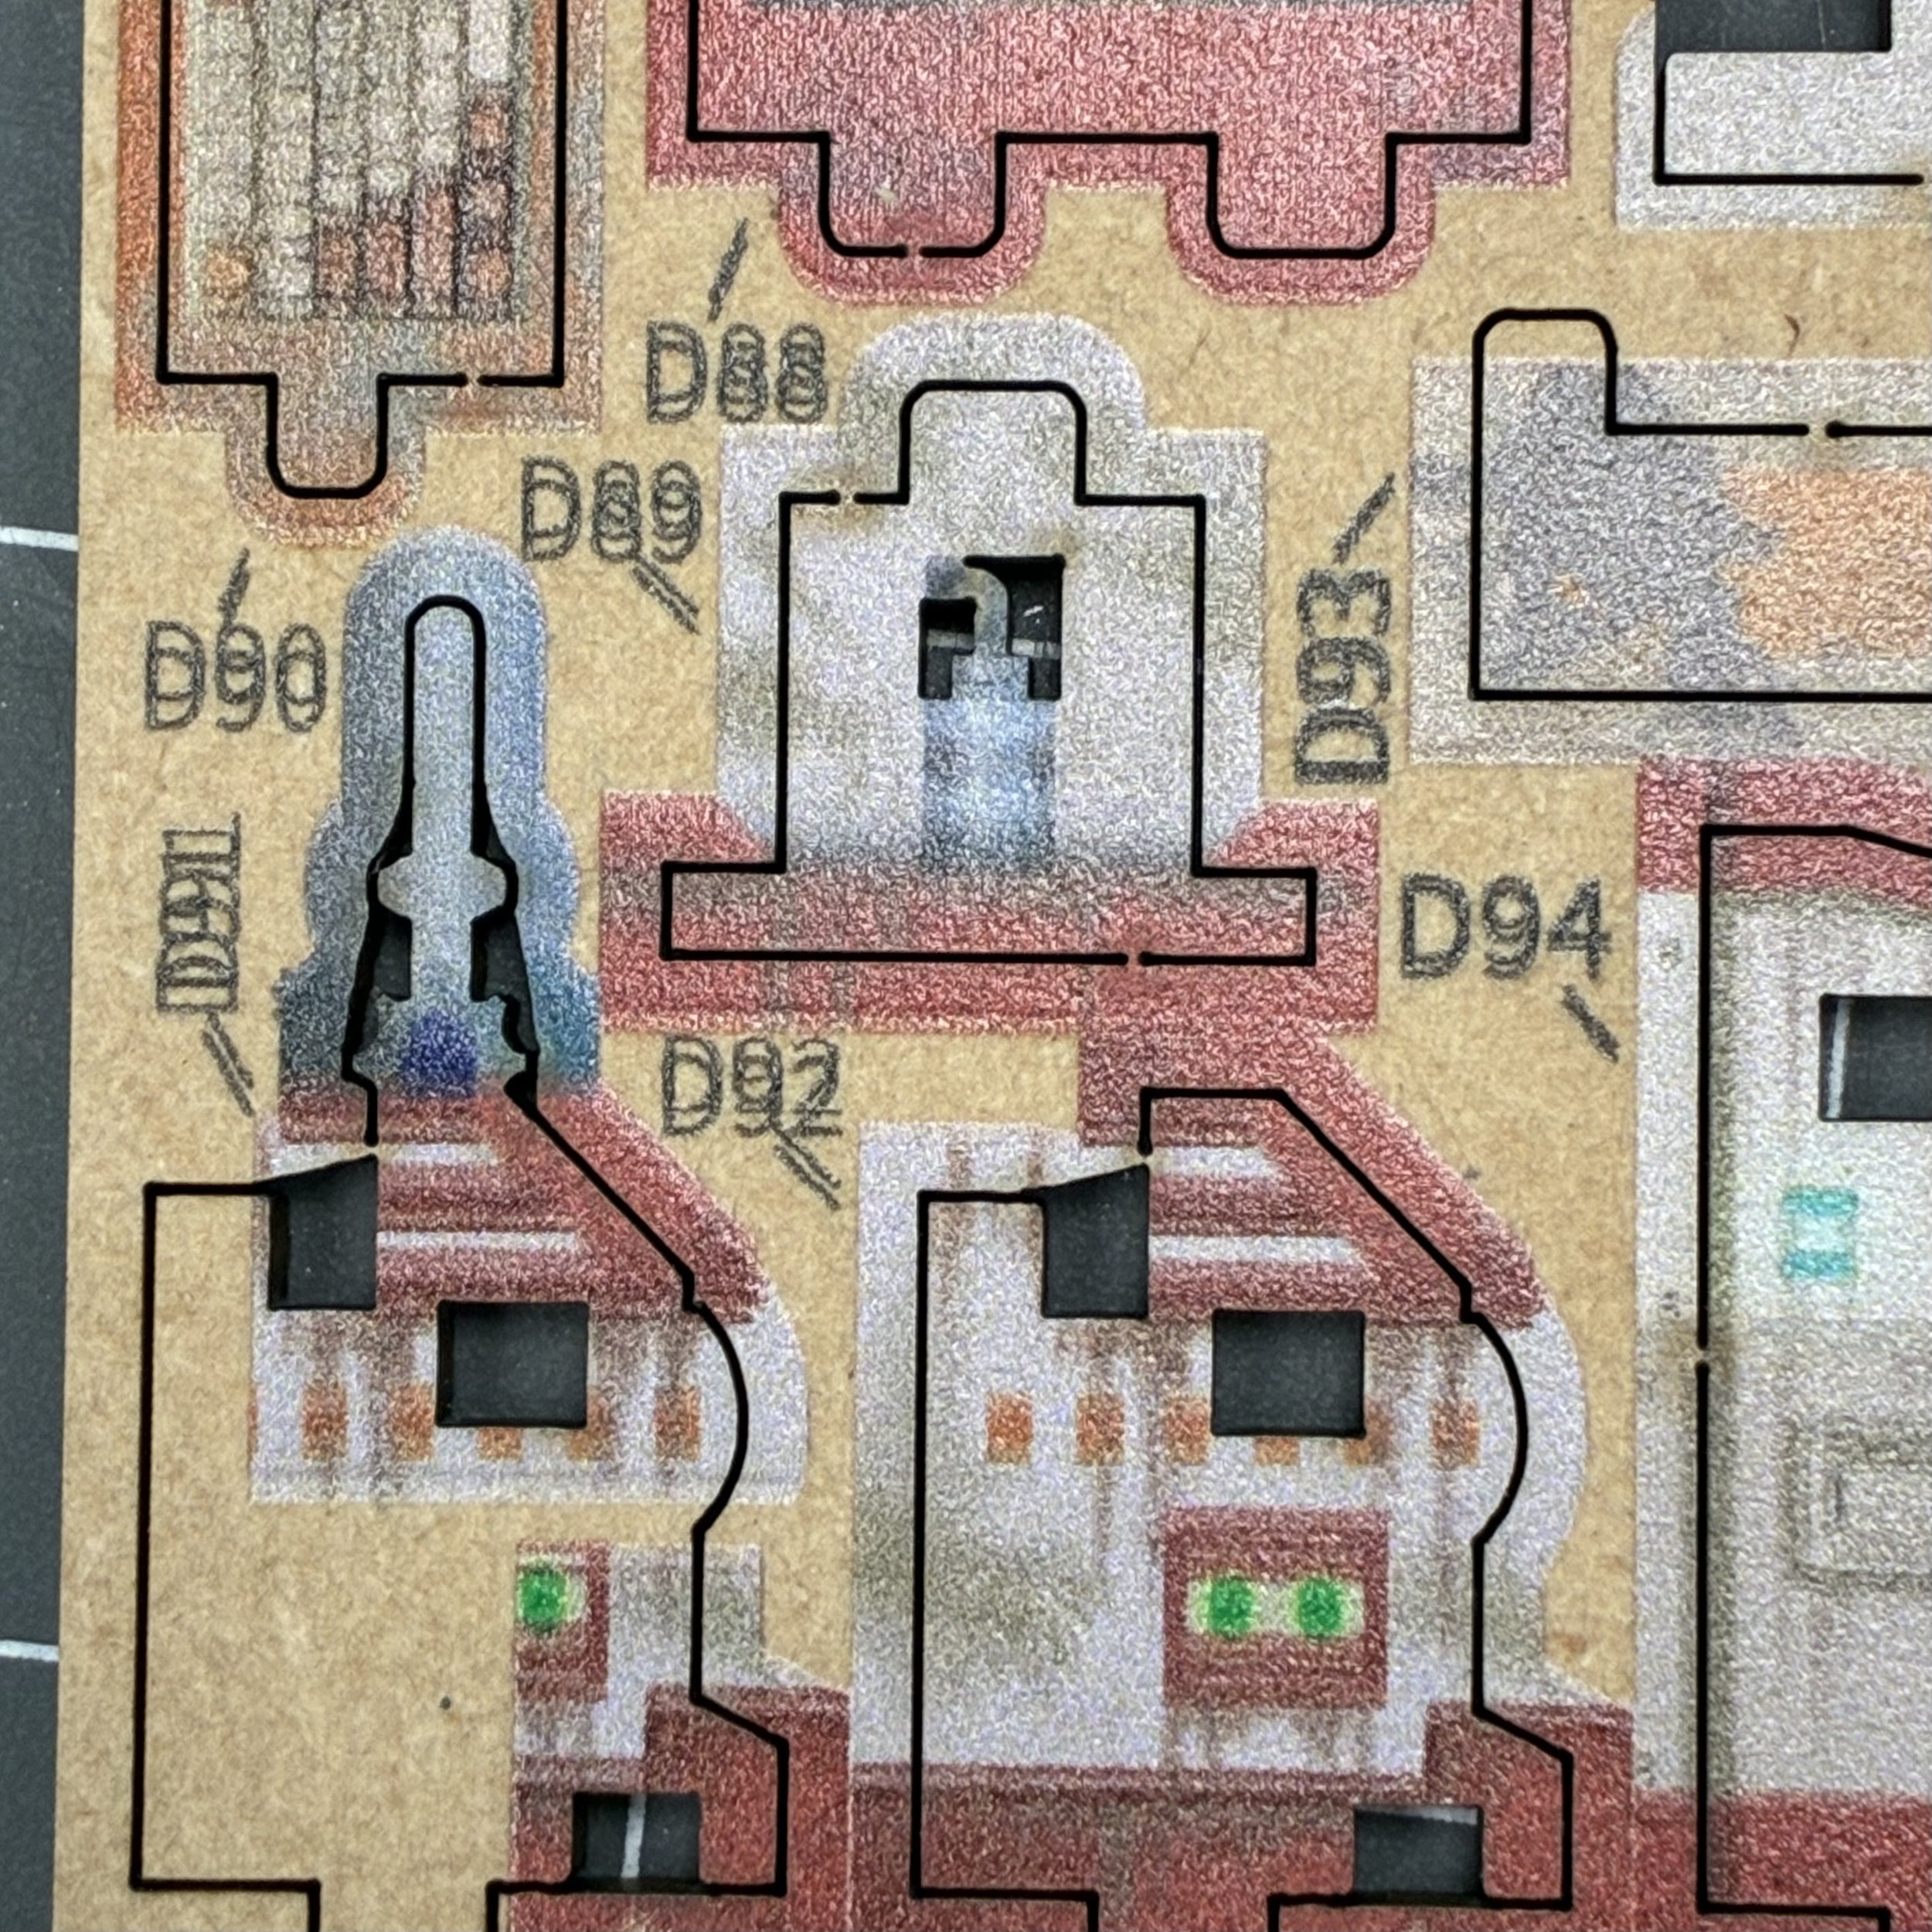
This kit did have one little problem in one place…the corner of one of the wood sheets had been double printed with the letter/number combo. Fortunately for me, the actual piece that needed to be punched out had not been double printed and was completely fine, so I didn’t have any trouble figuring out which piece was which. It was just a little oddity that I haven’t seen in one of these kits before.
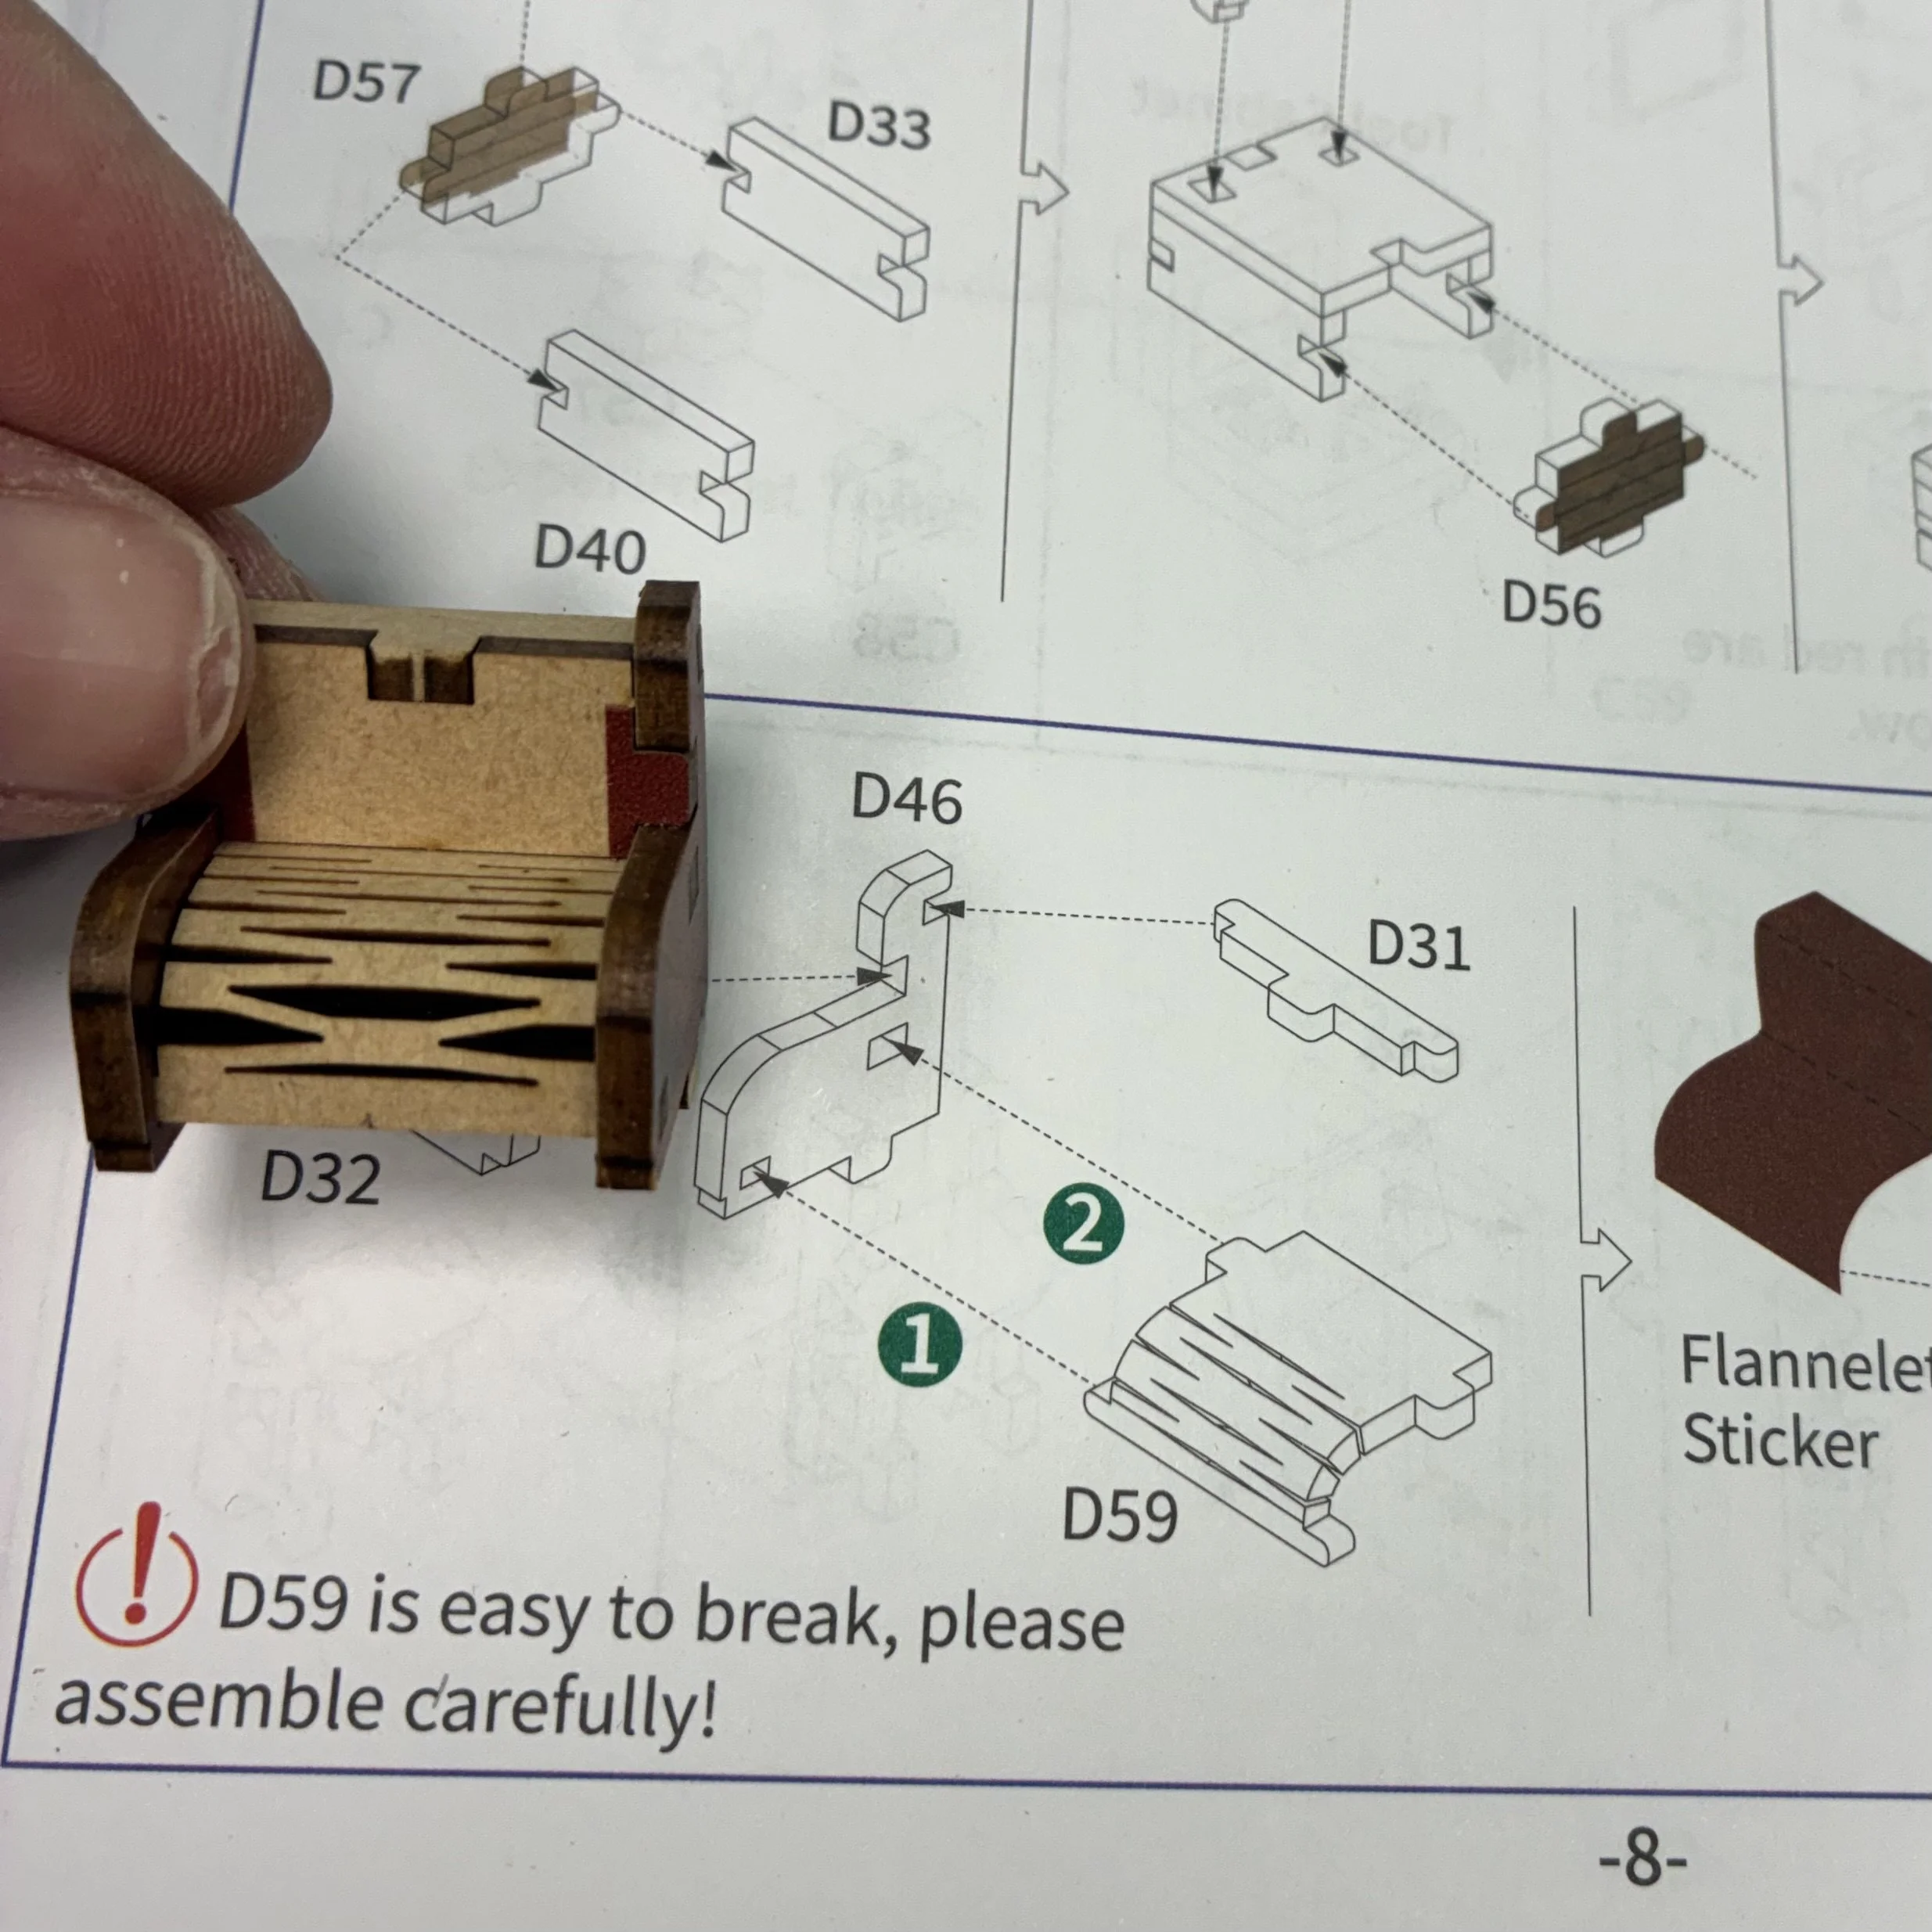
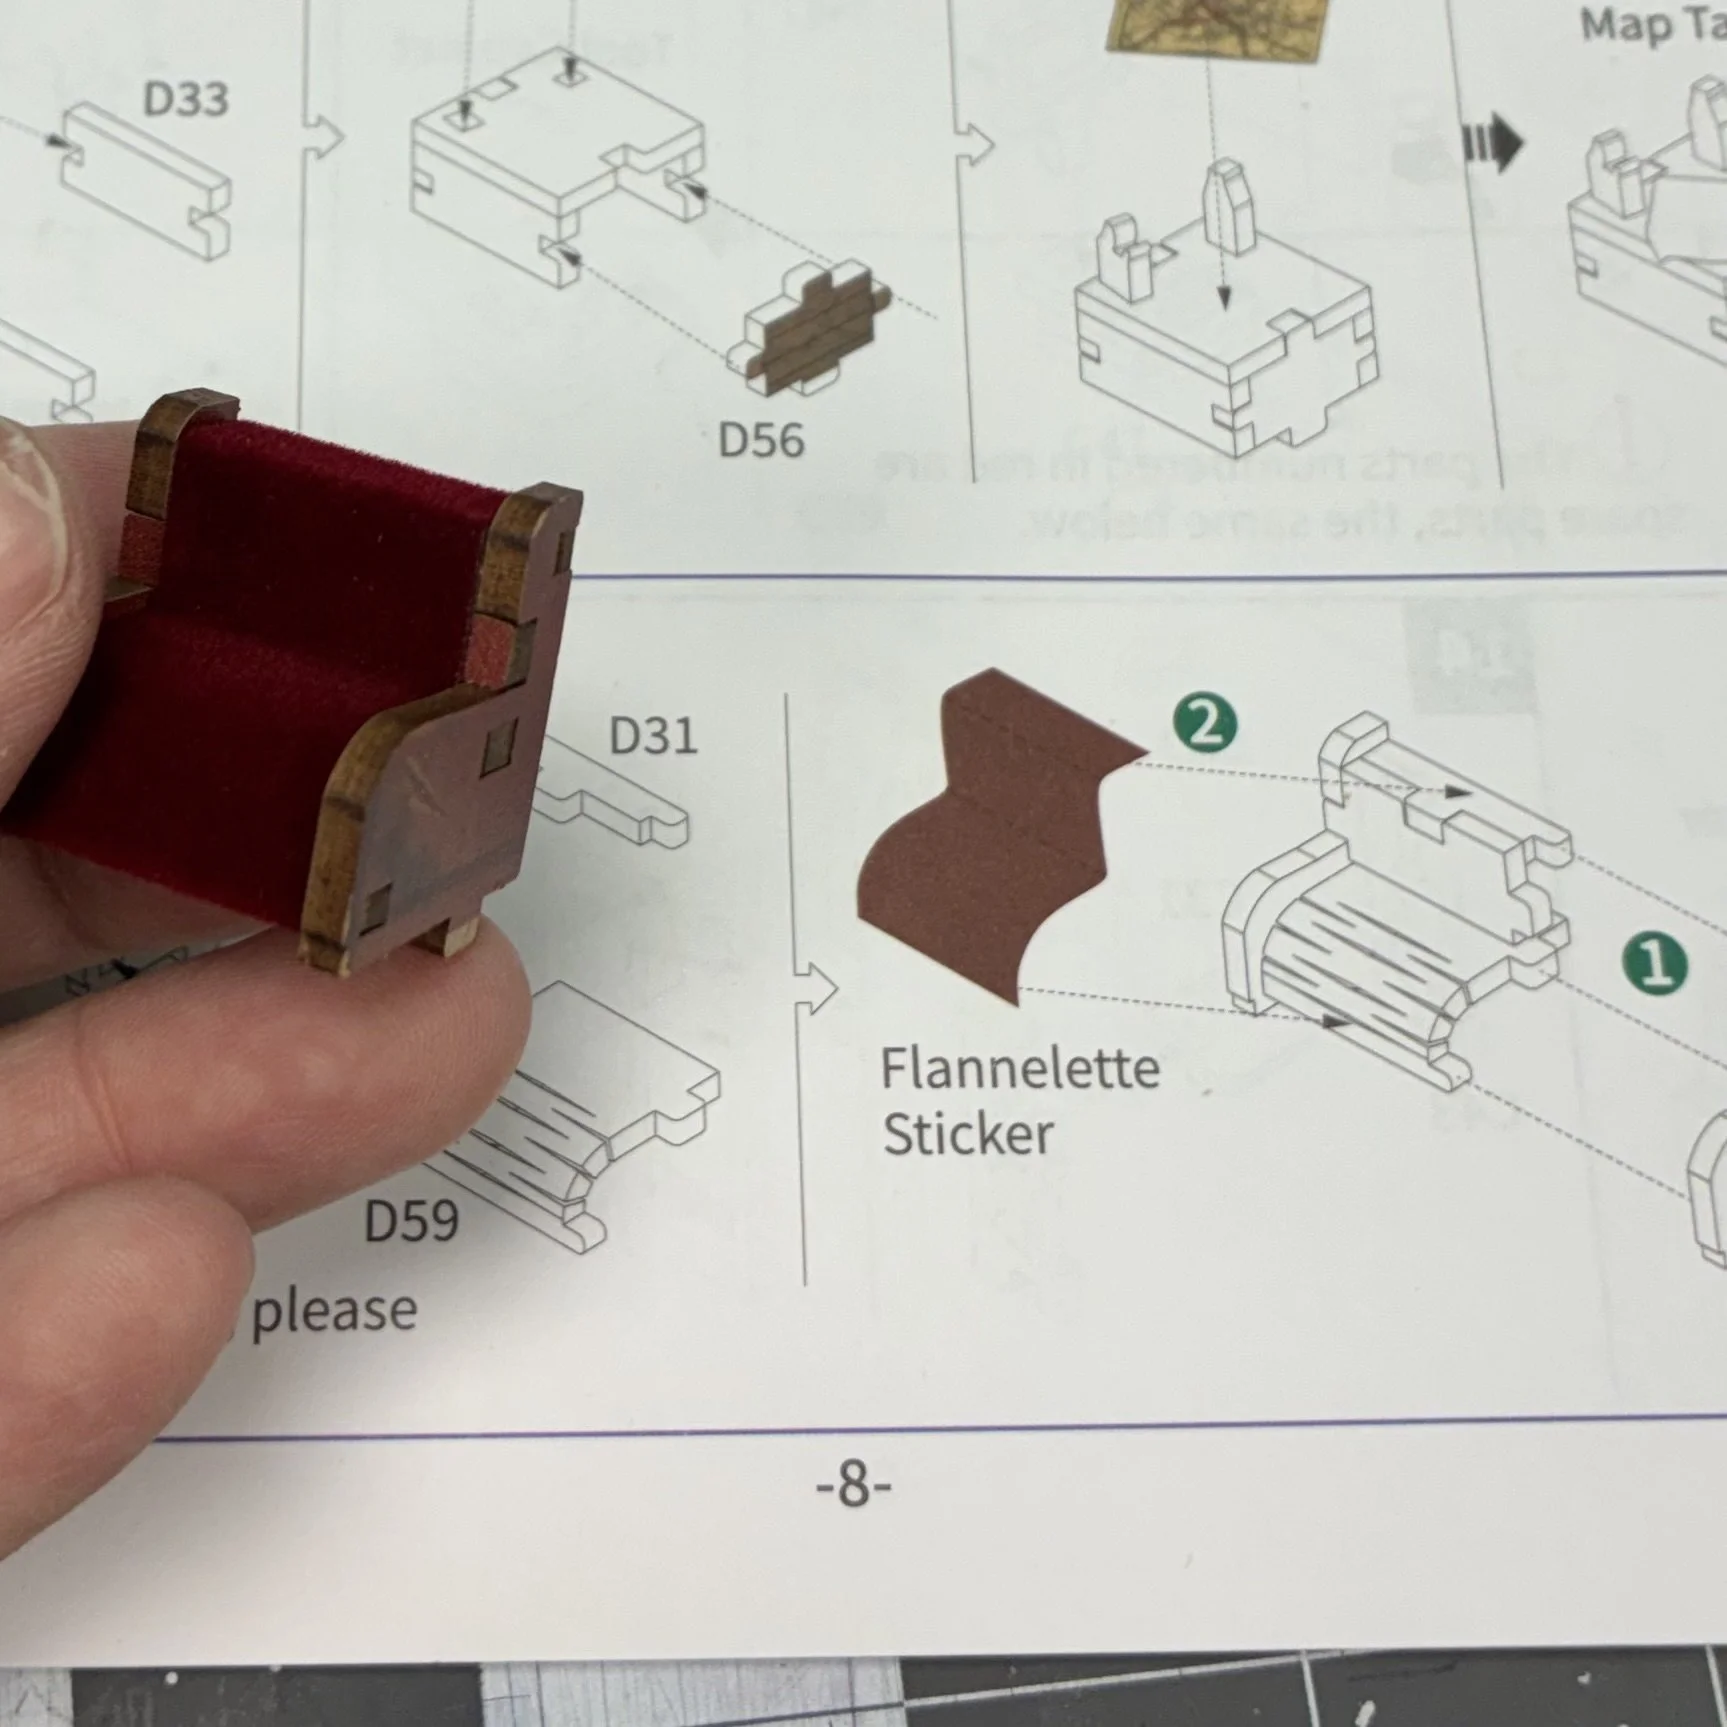
The kit had the usual little gems. I was just delighted with this plush chair creation. And the instructions were even explicit about the need to be careful with the bendy piece. Slap on the felt covering when the wood pieces were assembled and it looked gorgeous!
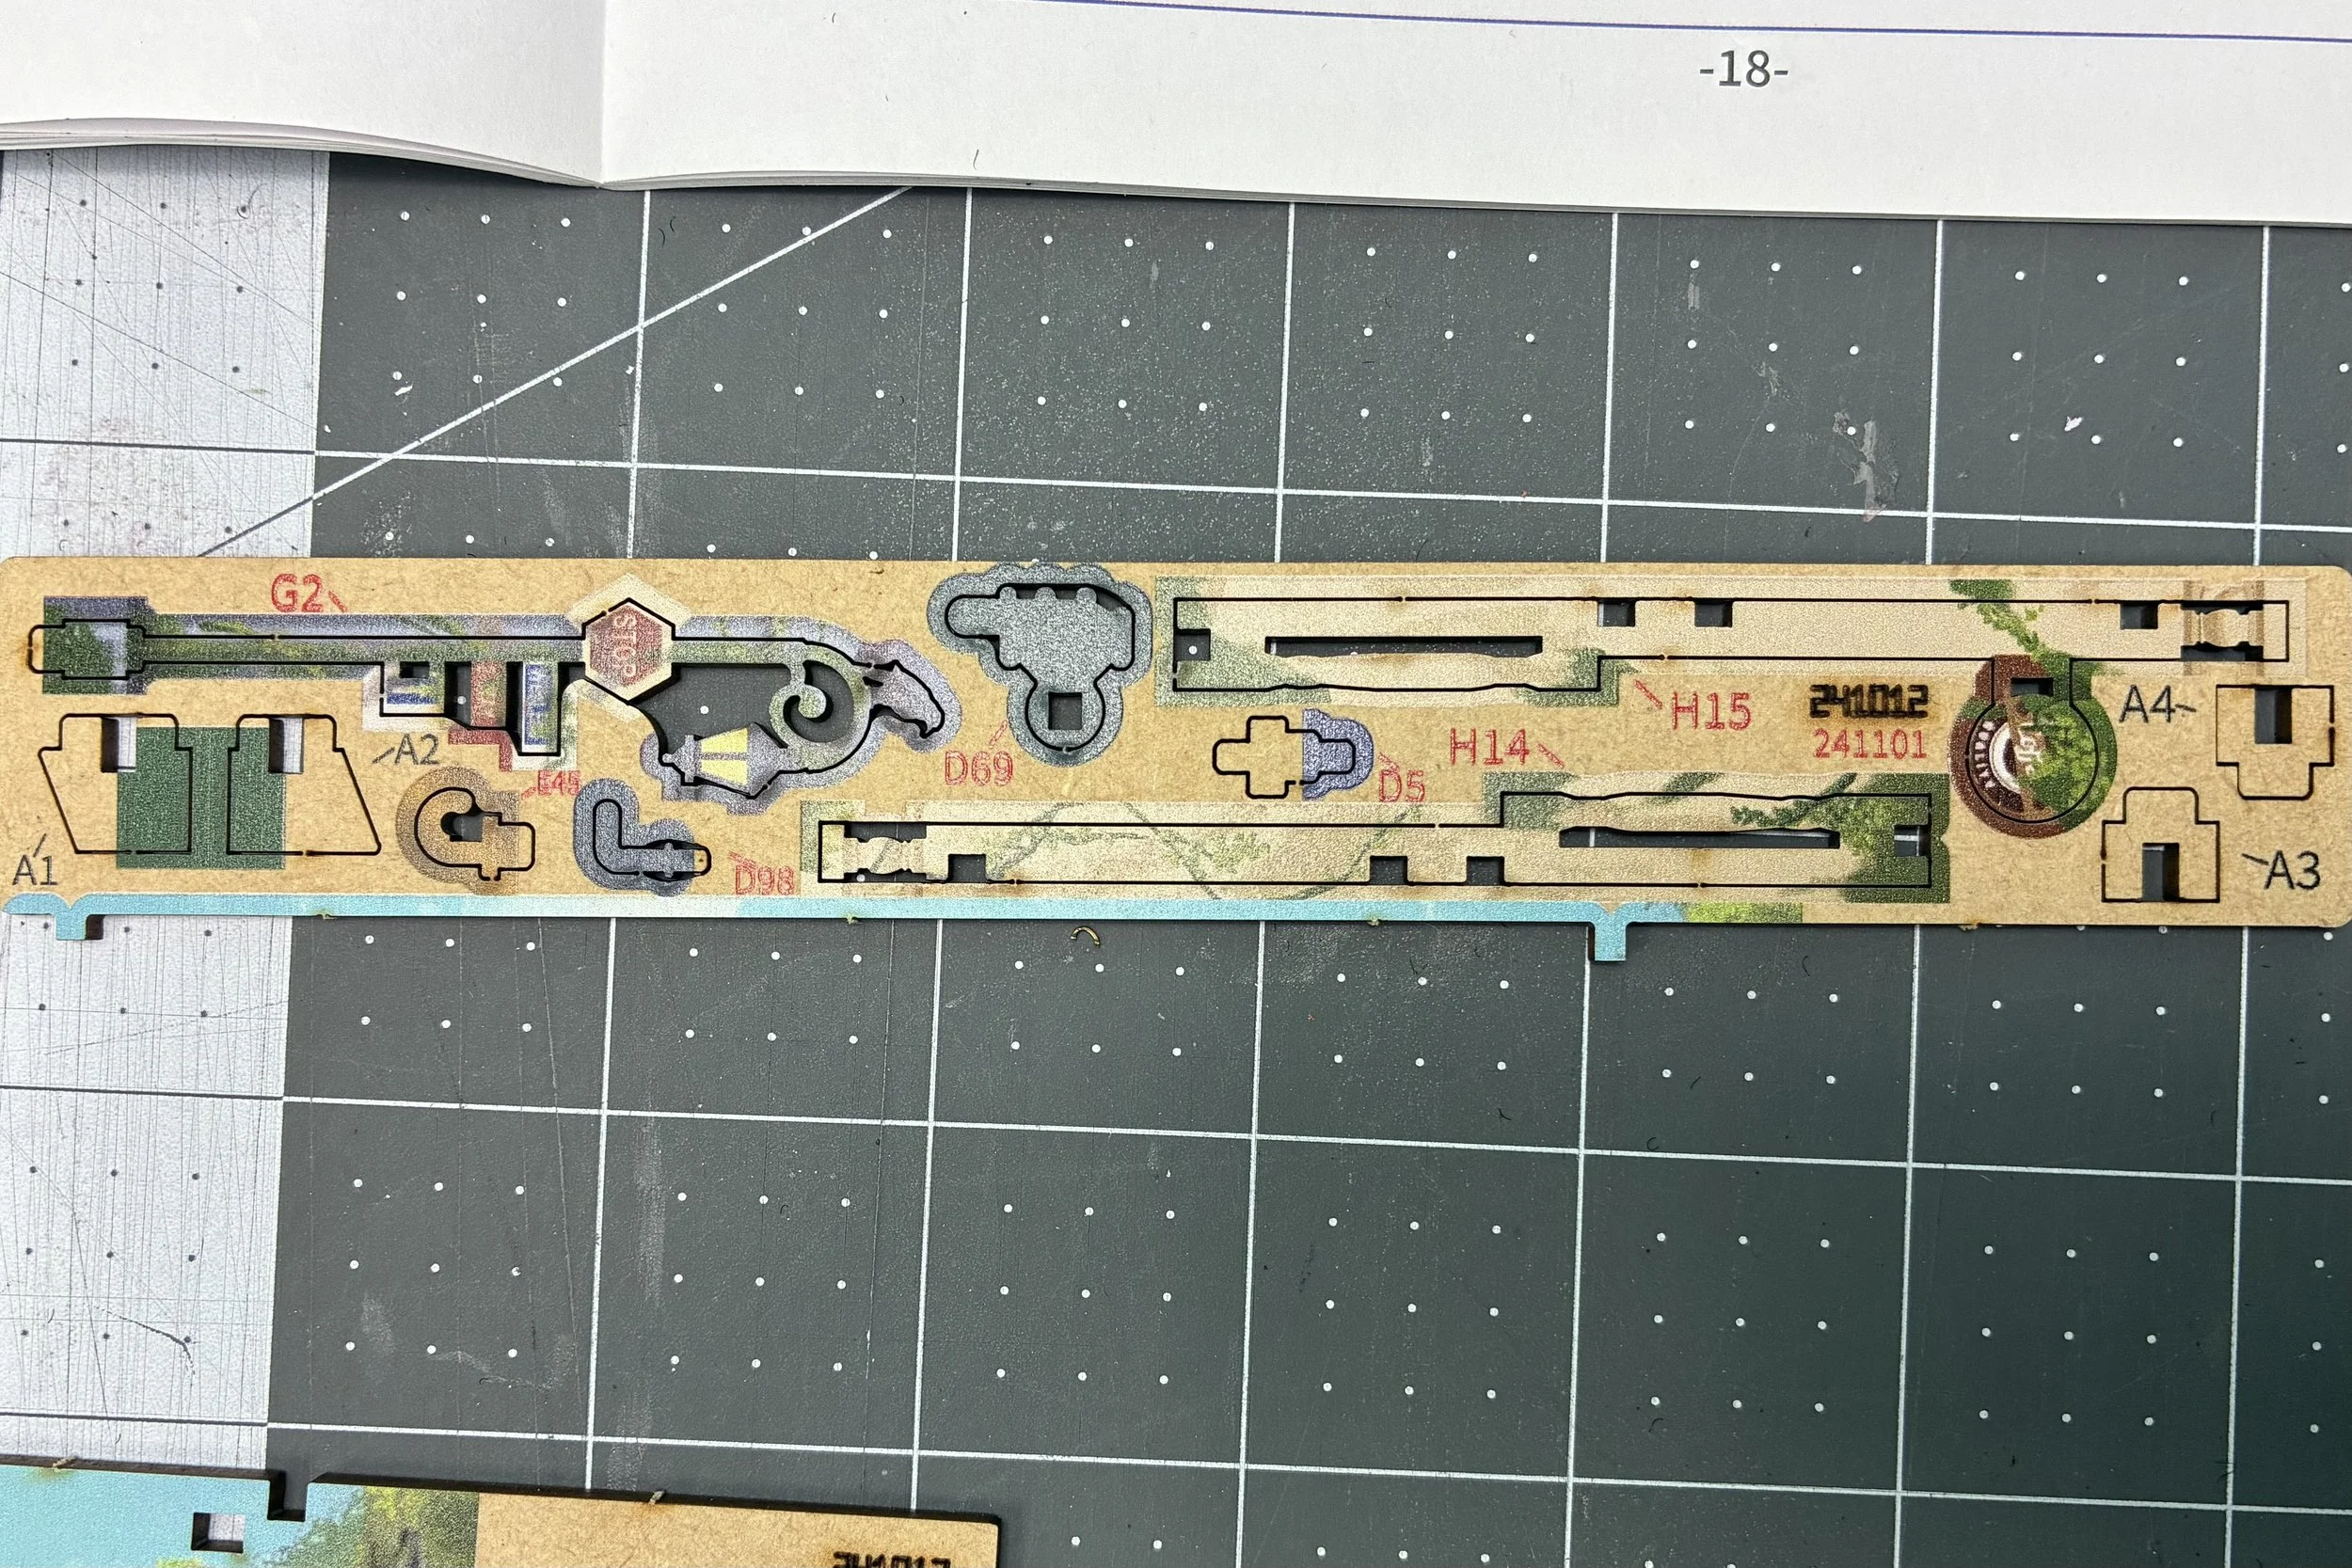
As I worked through the first part of assembly, I was pleased to see that each piece I was assembling called for components from only one of the wooden sheets, so that was nice. It’s doable but slightly more complicated when a little miniature calls for two pieces from sheet A, one from sheet C, and three from sheet F, for example. I was also pleased to note that all the various sheets (A-H) only had pieces labeled with those letters. No pieces labeled F on sheet B, for example. All of this changed when I got to page 13 of the instructions, and suddenly, it was back to using multiple sheets for a single assembly. I also discovered a little section of one of the sheets that had multiple letters on it. Oh well, it was nice while it lasted.
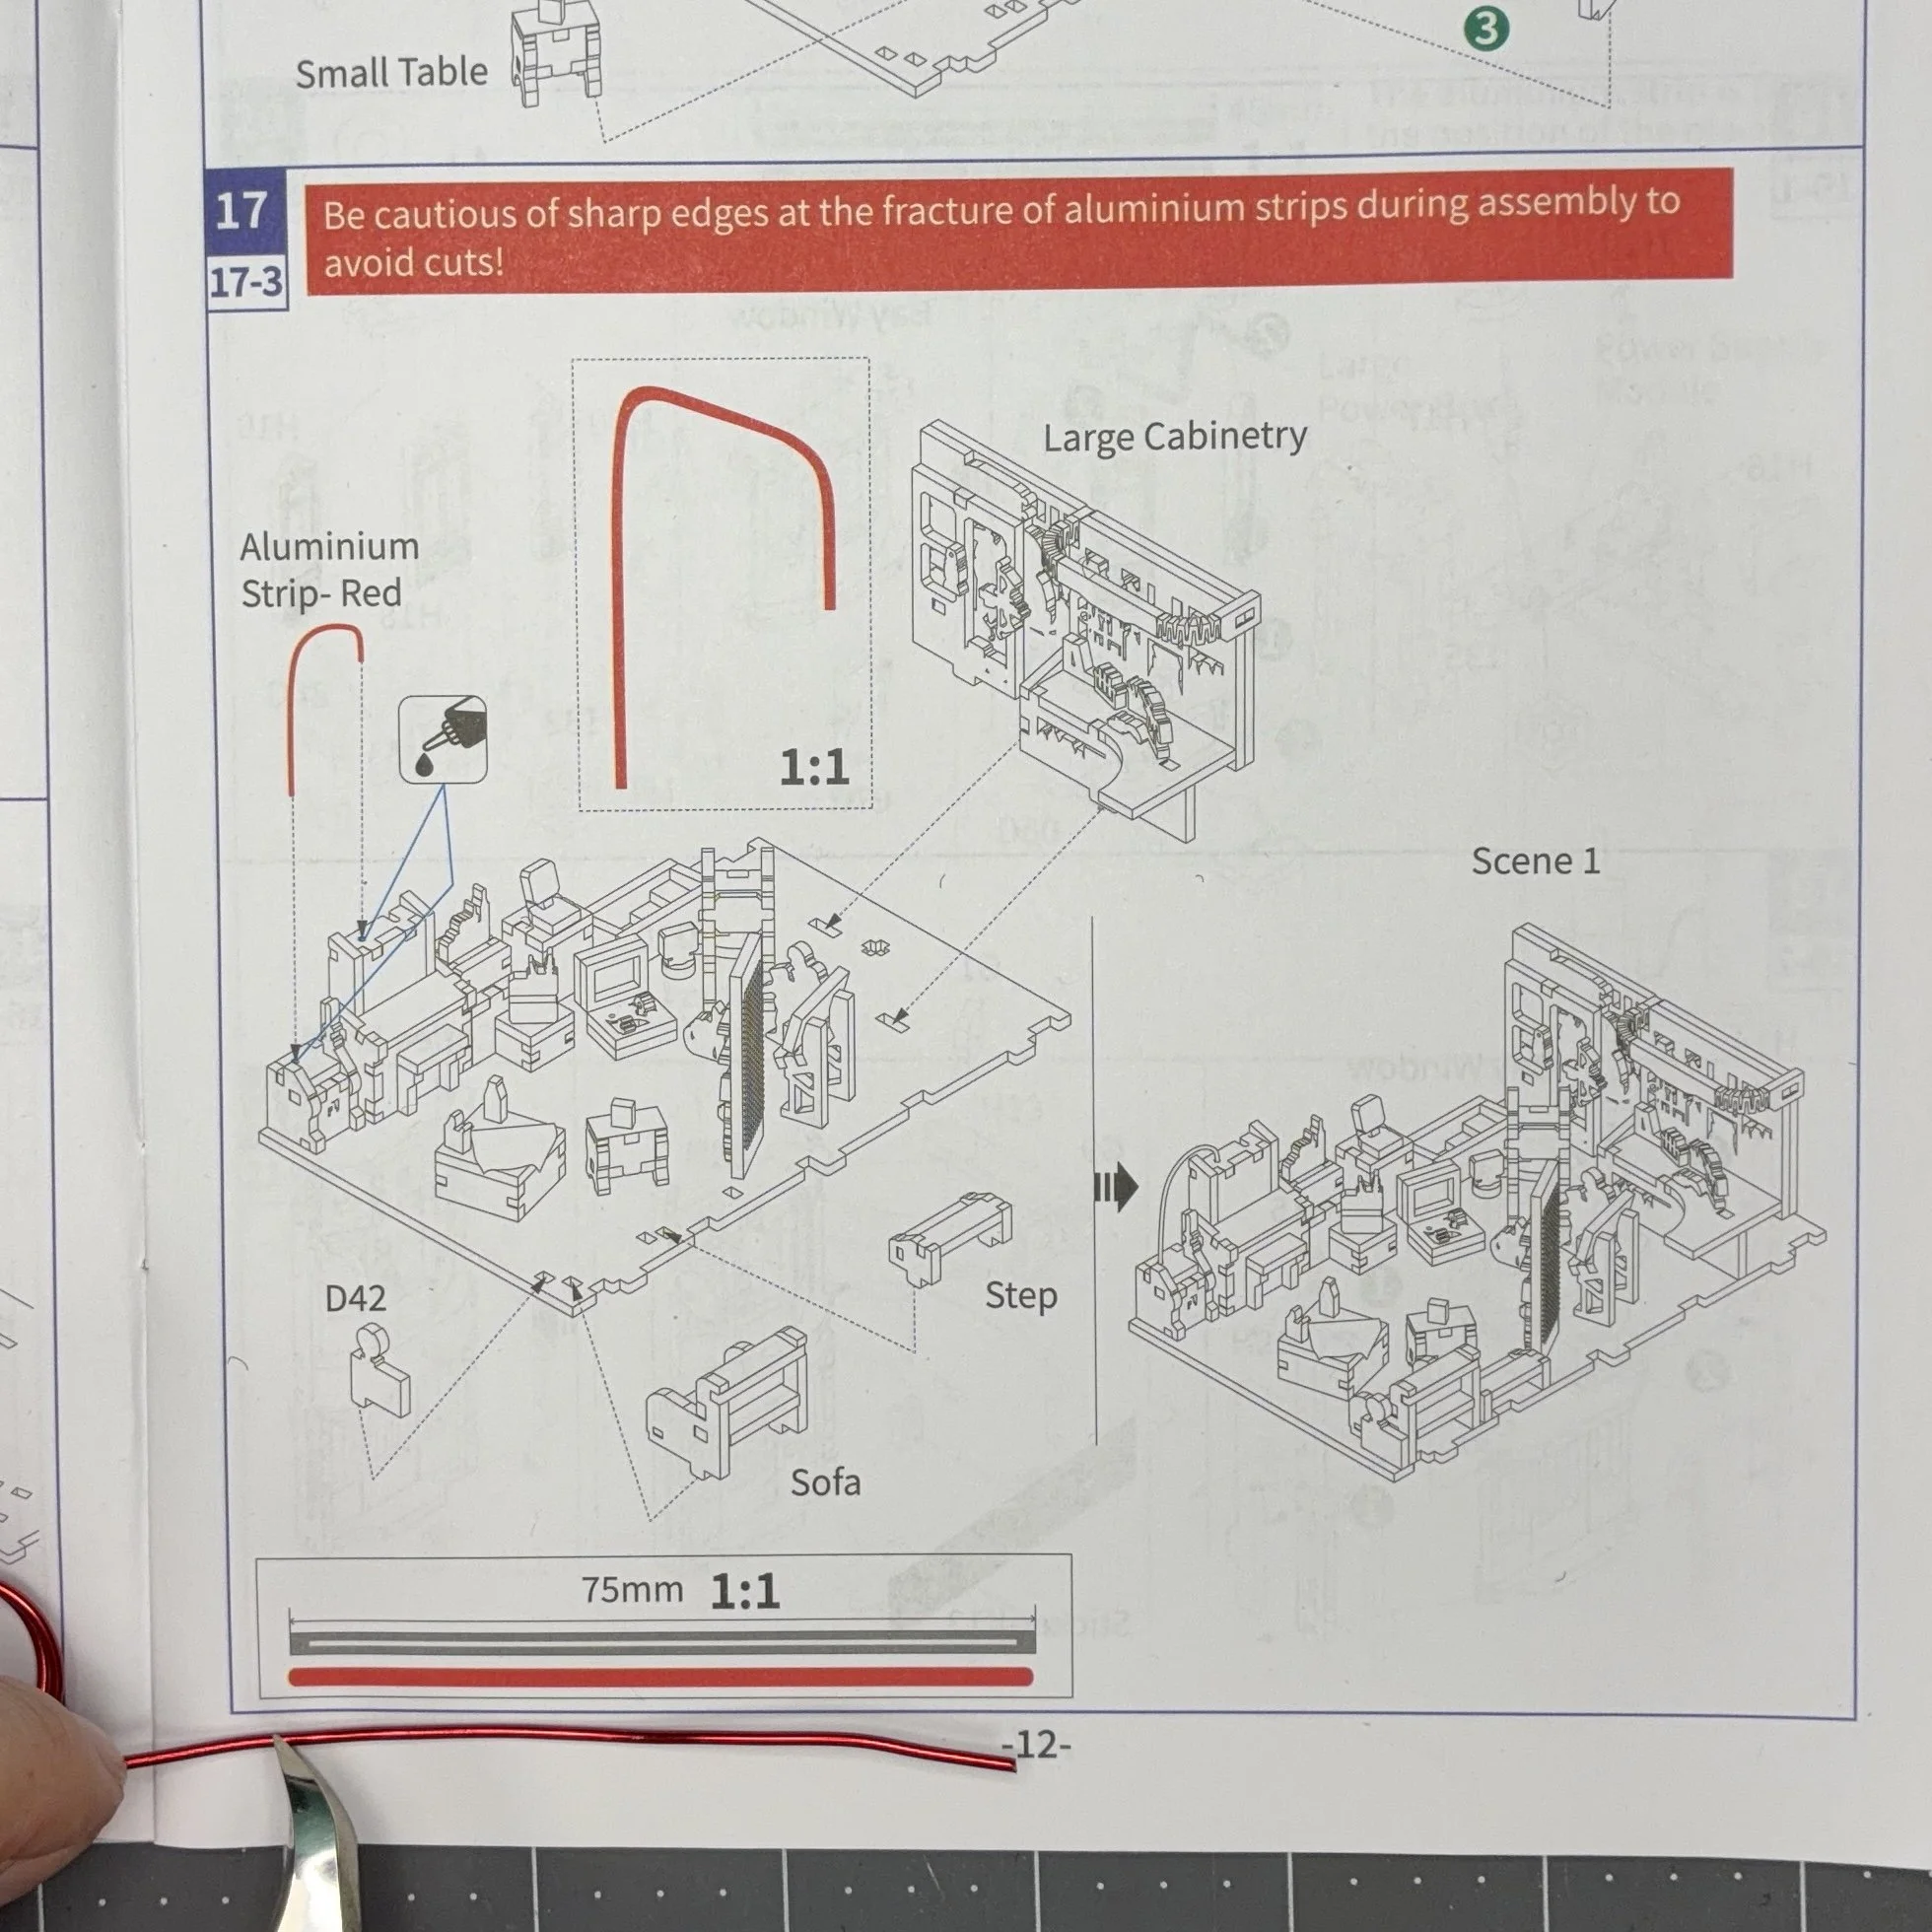
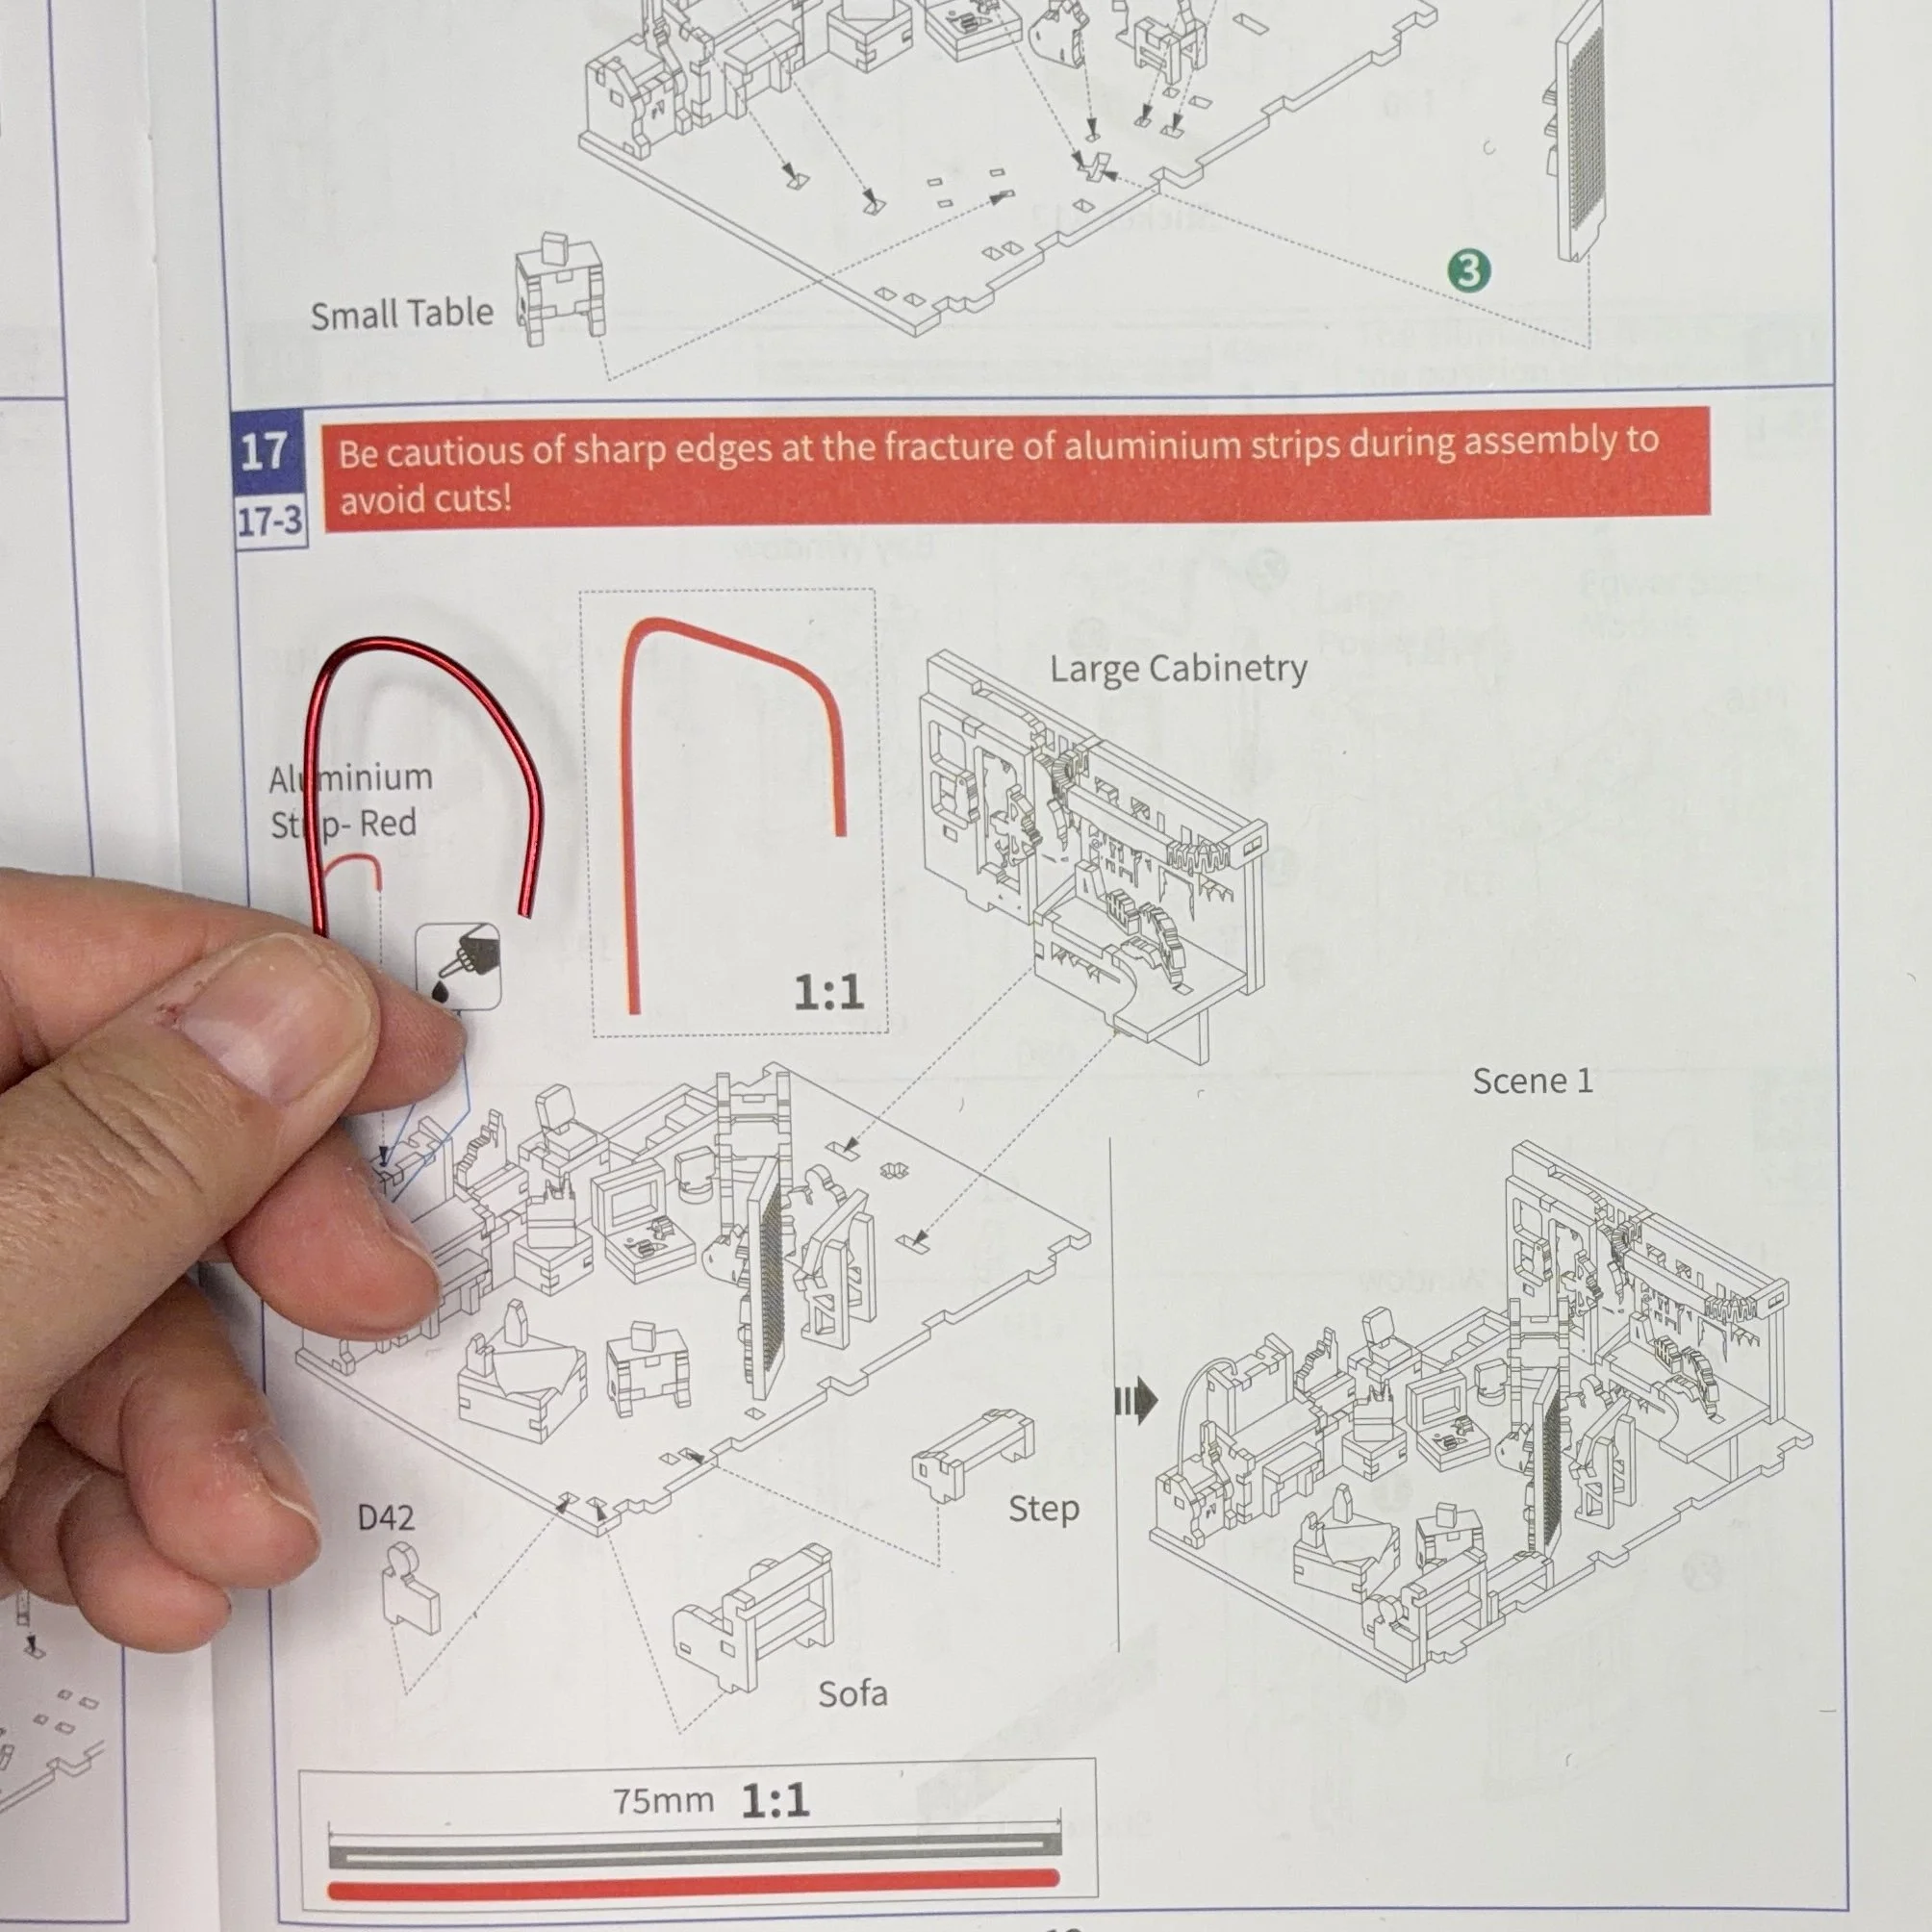
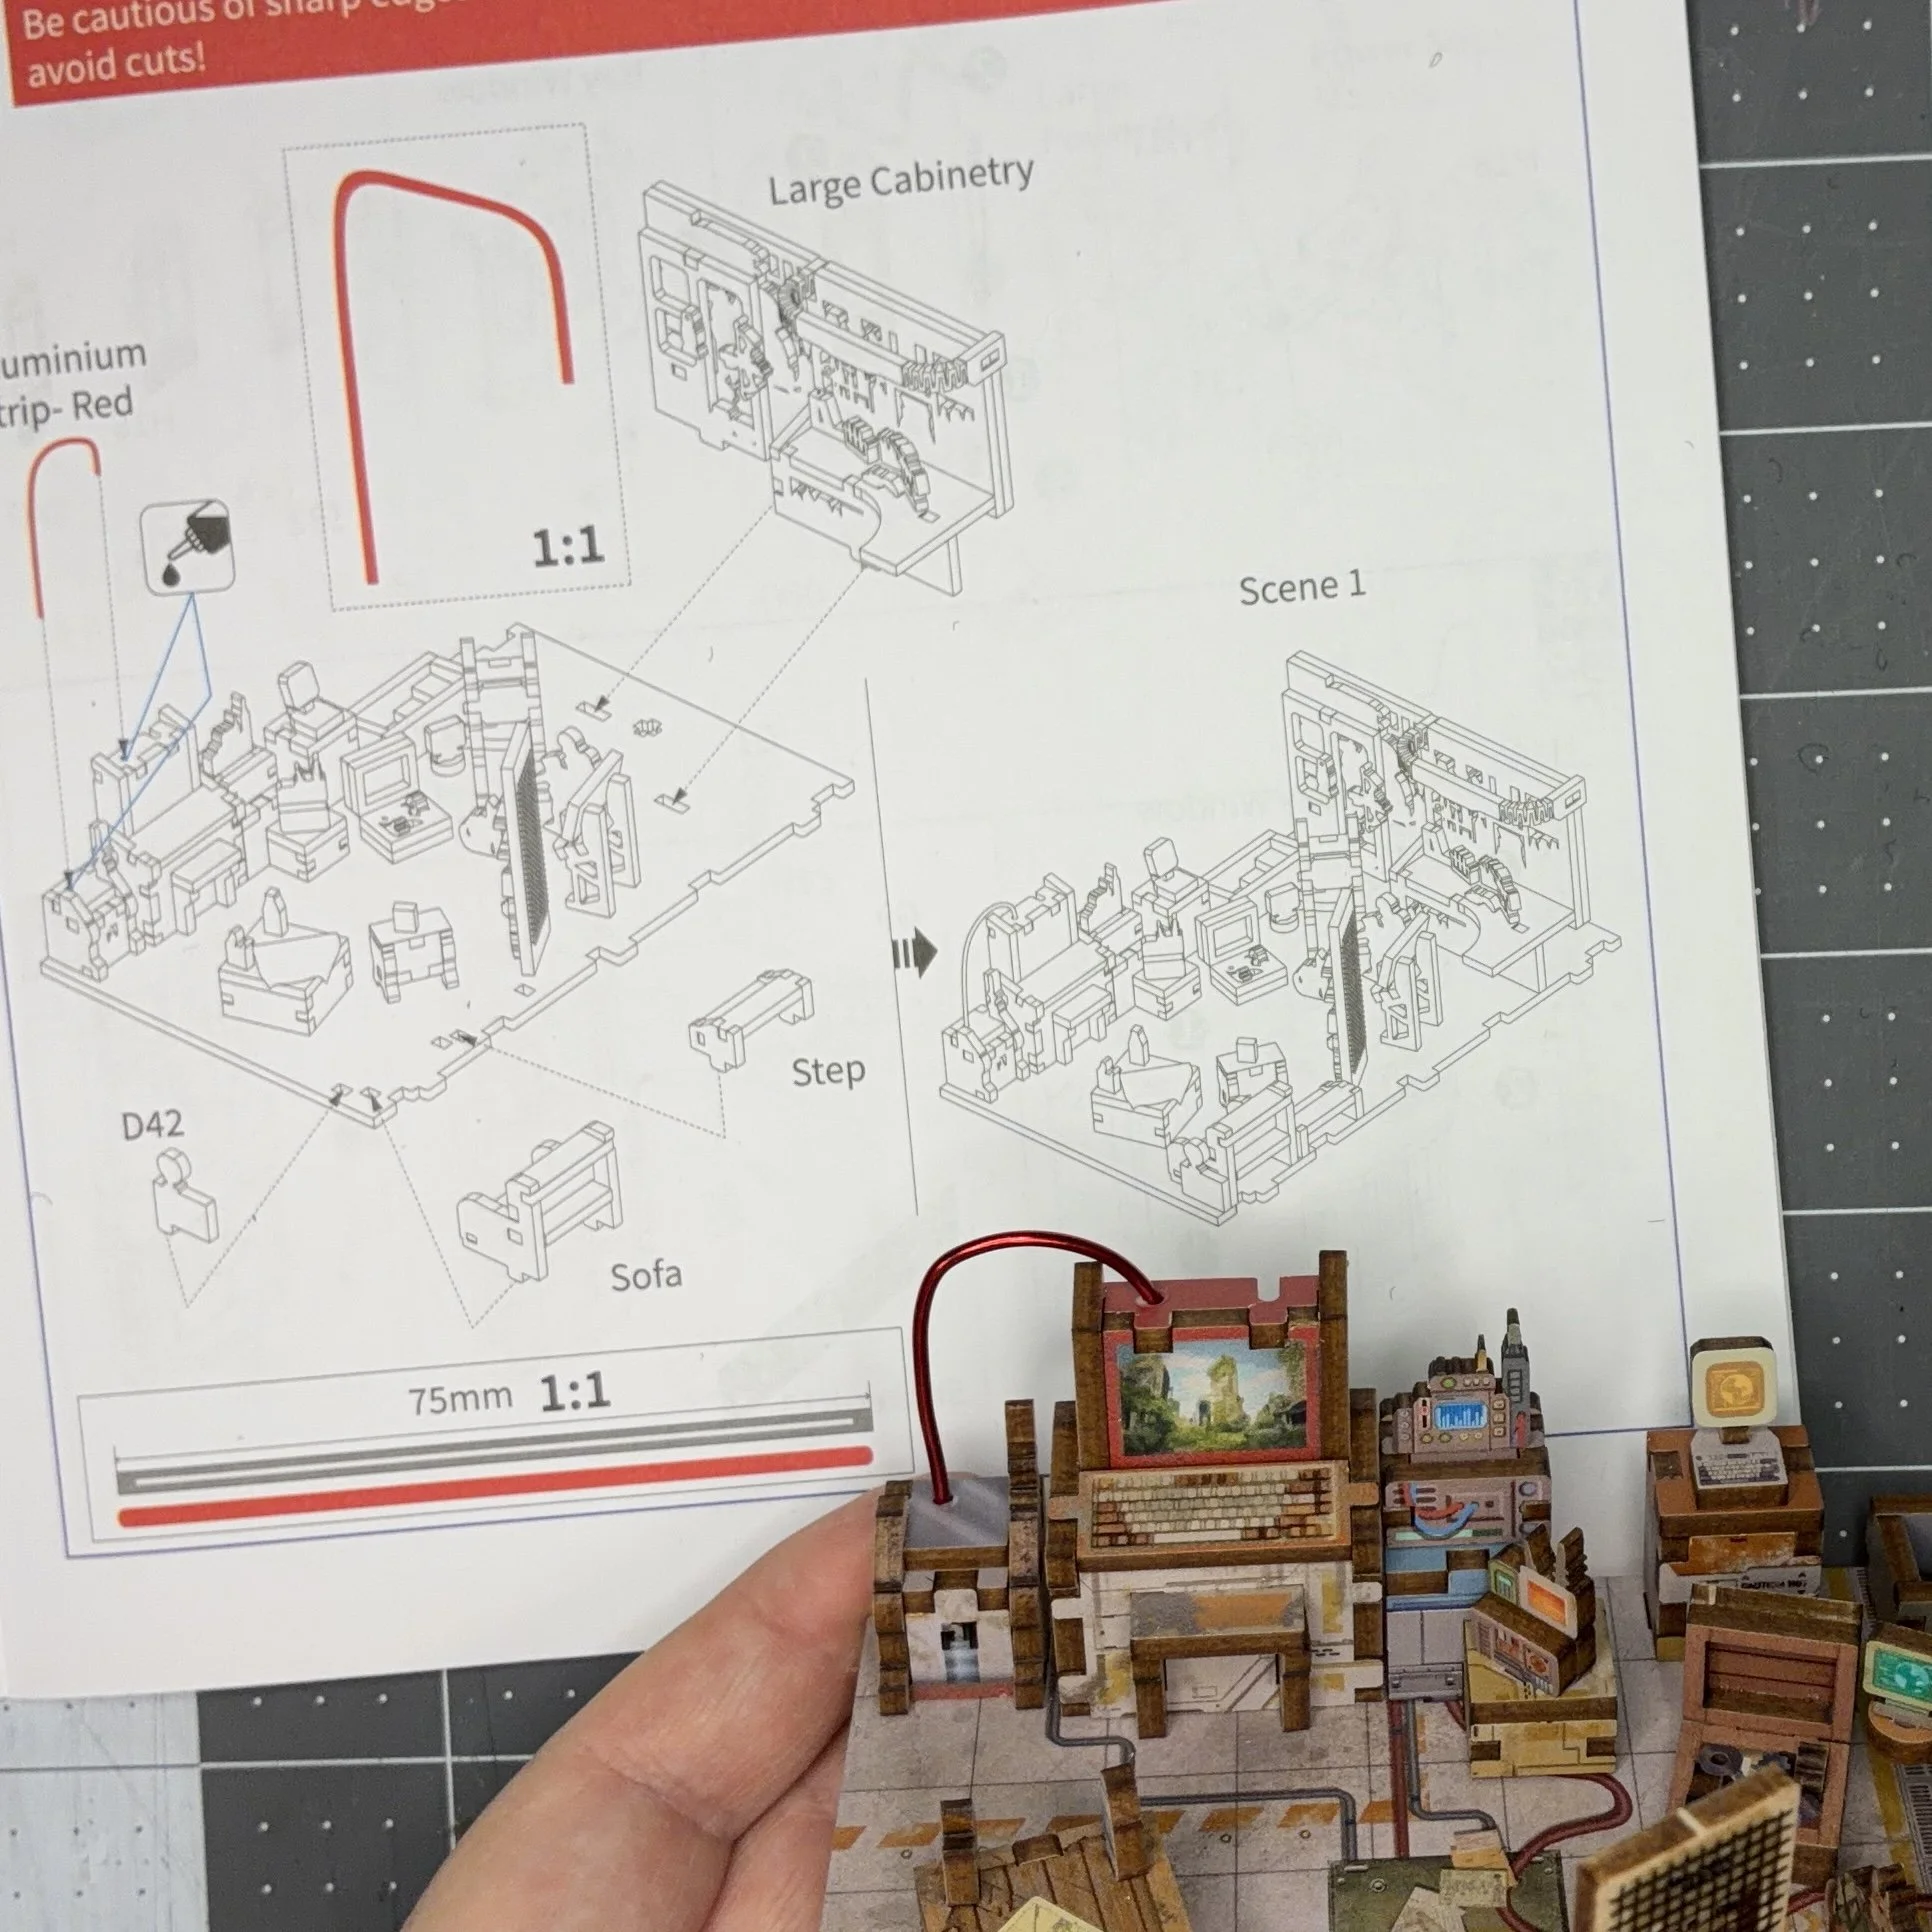
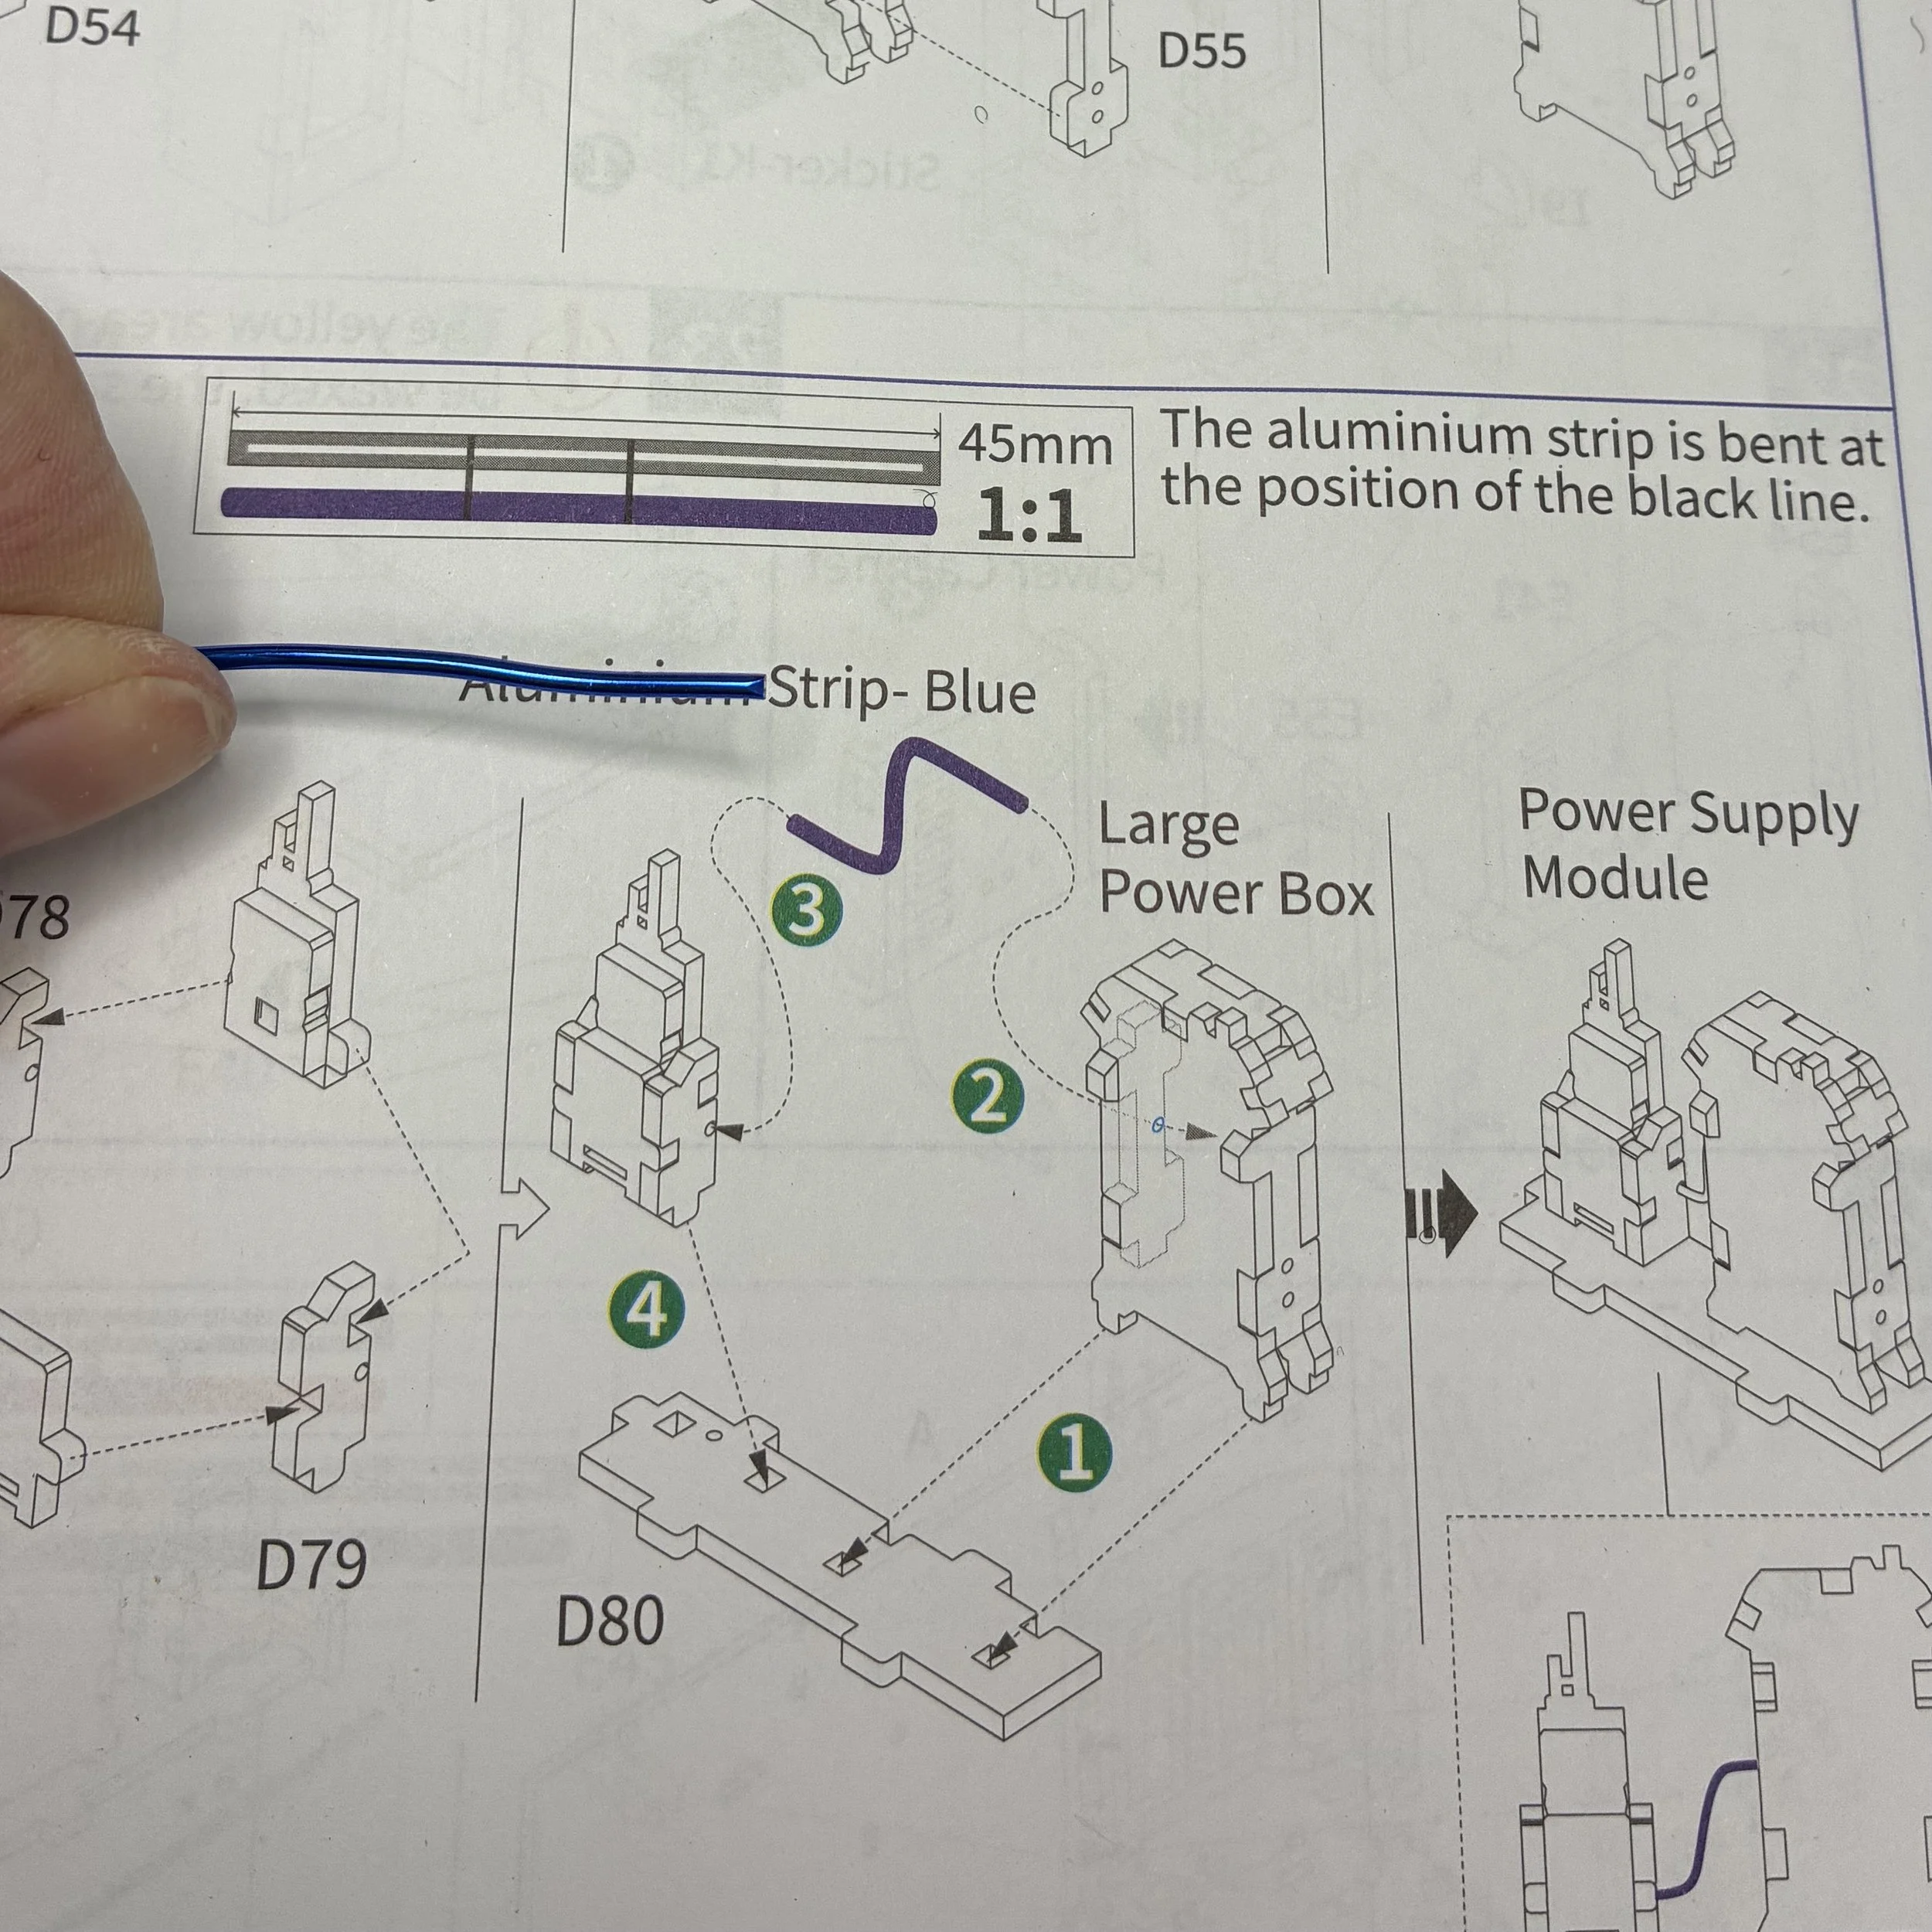
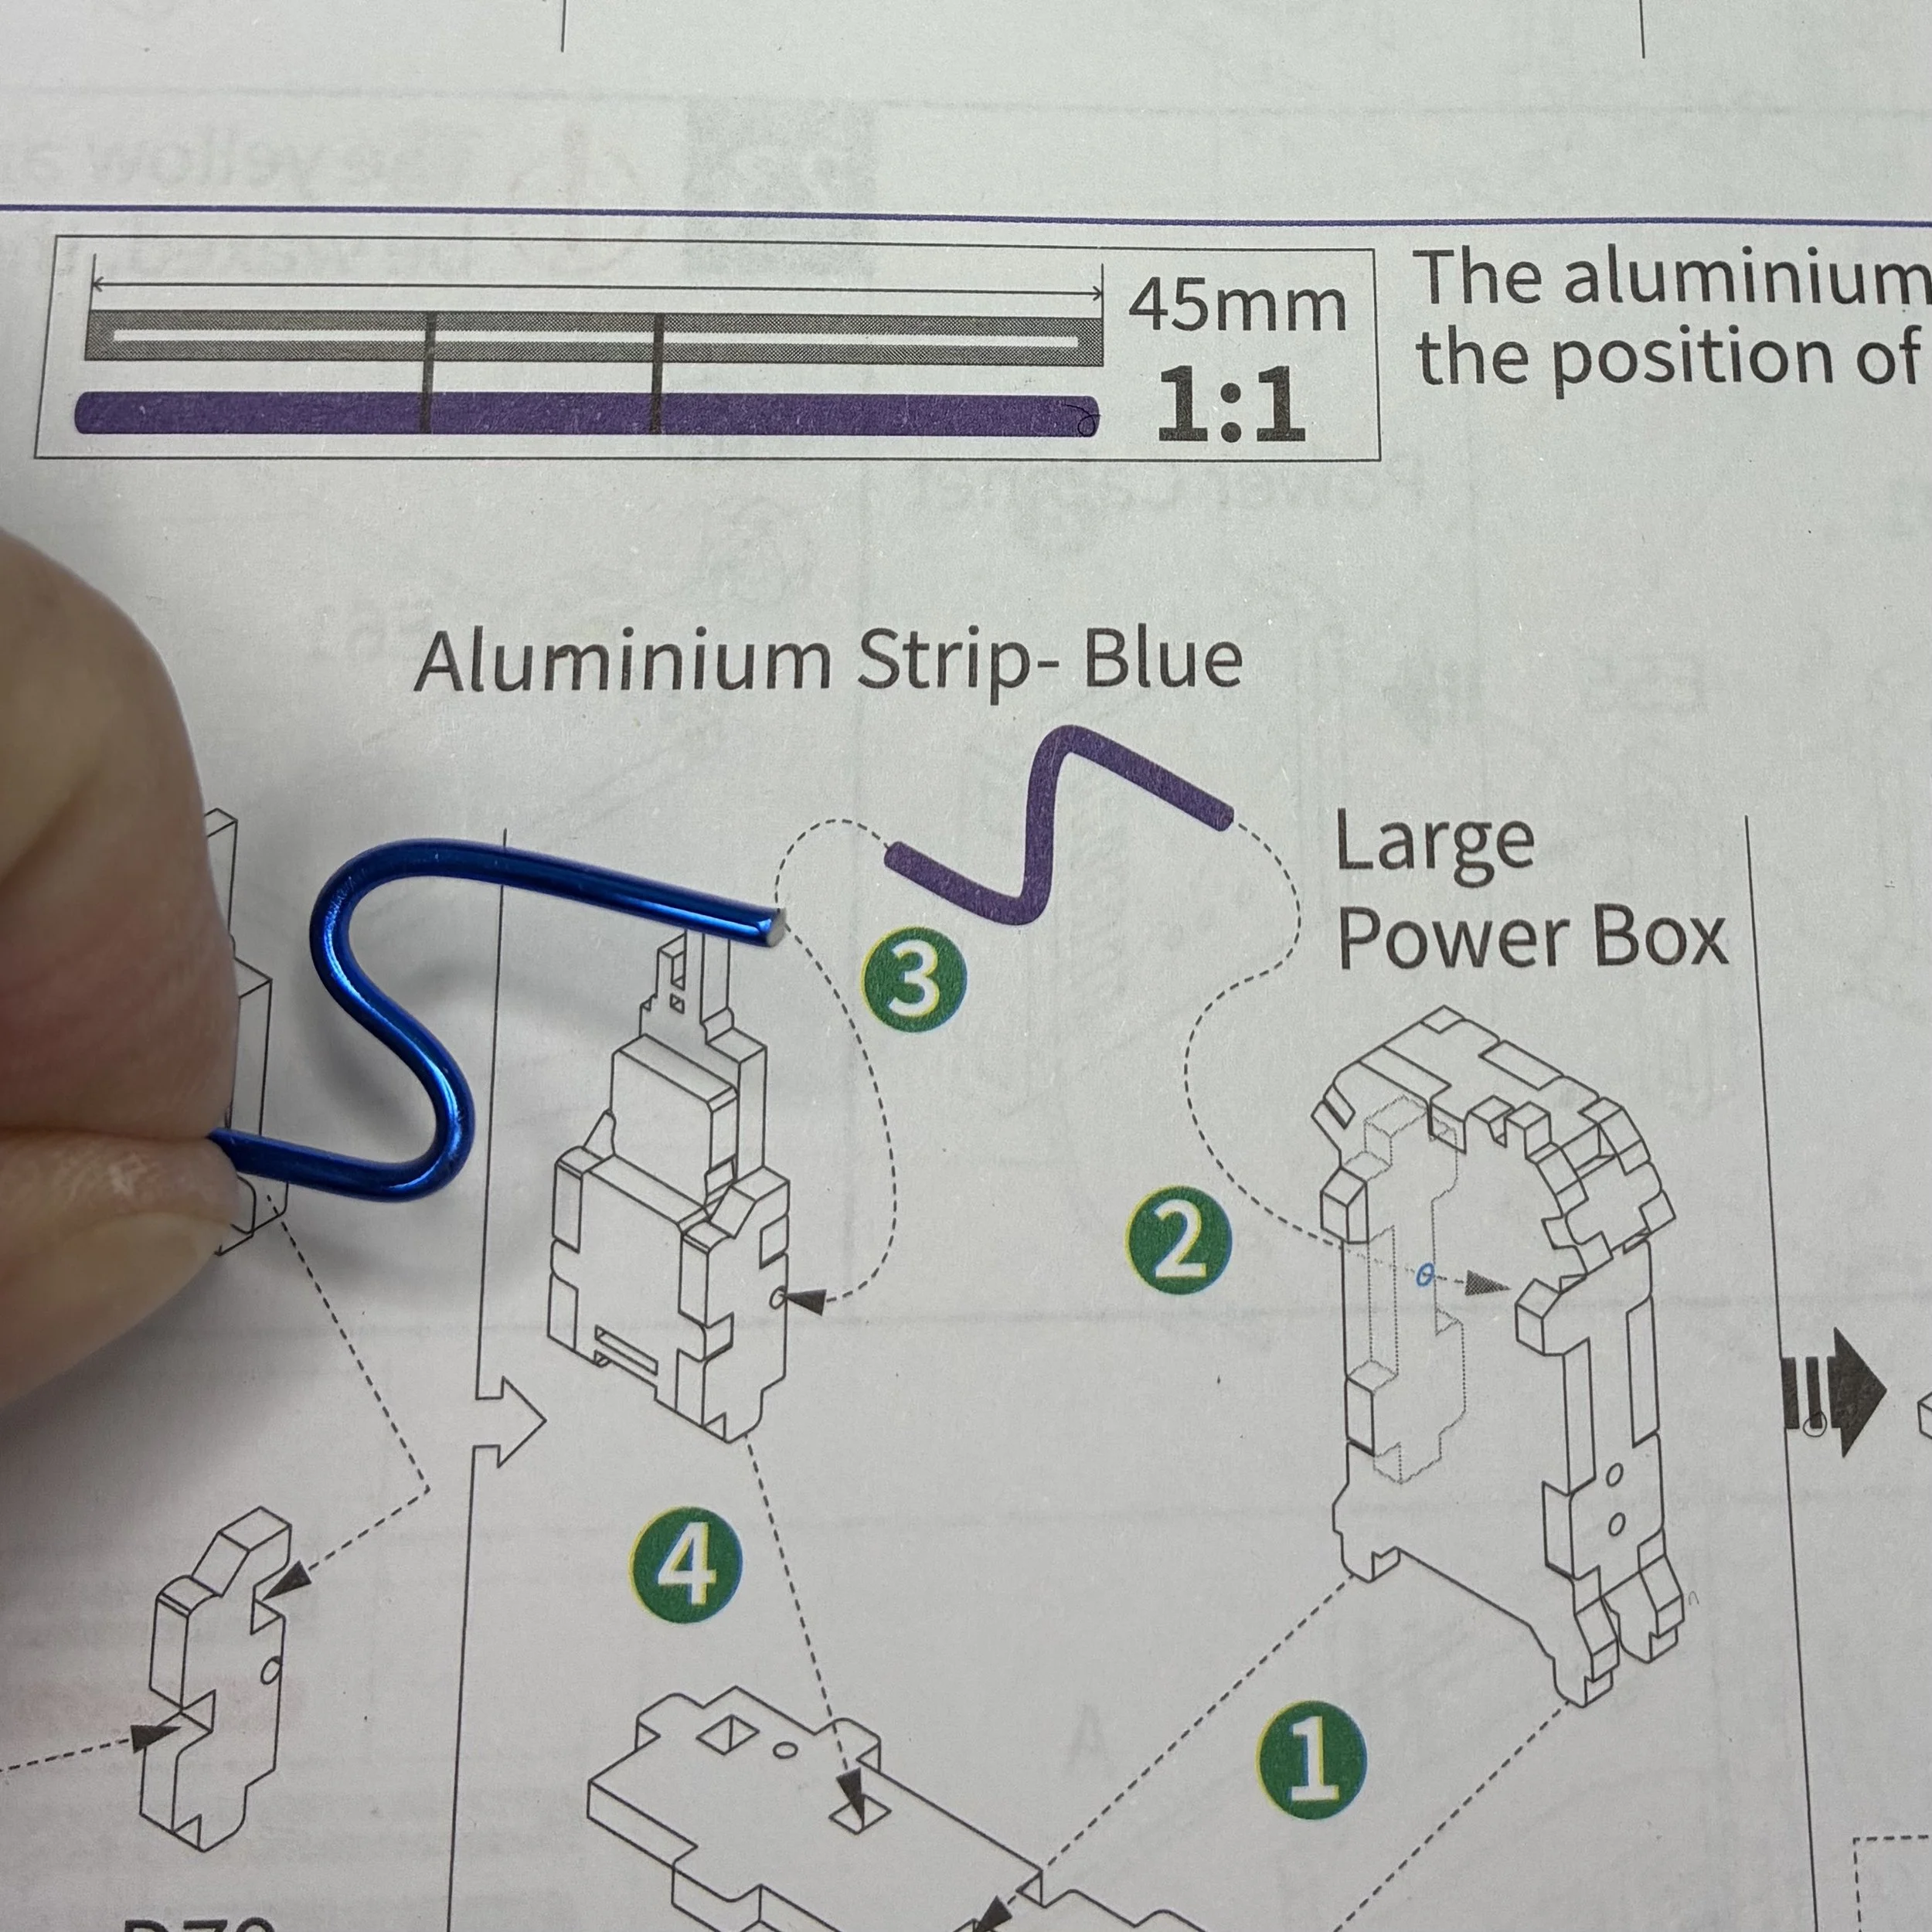
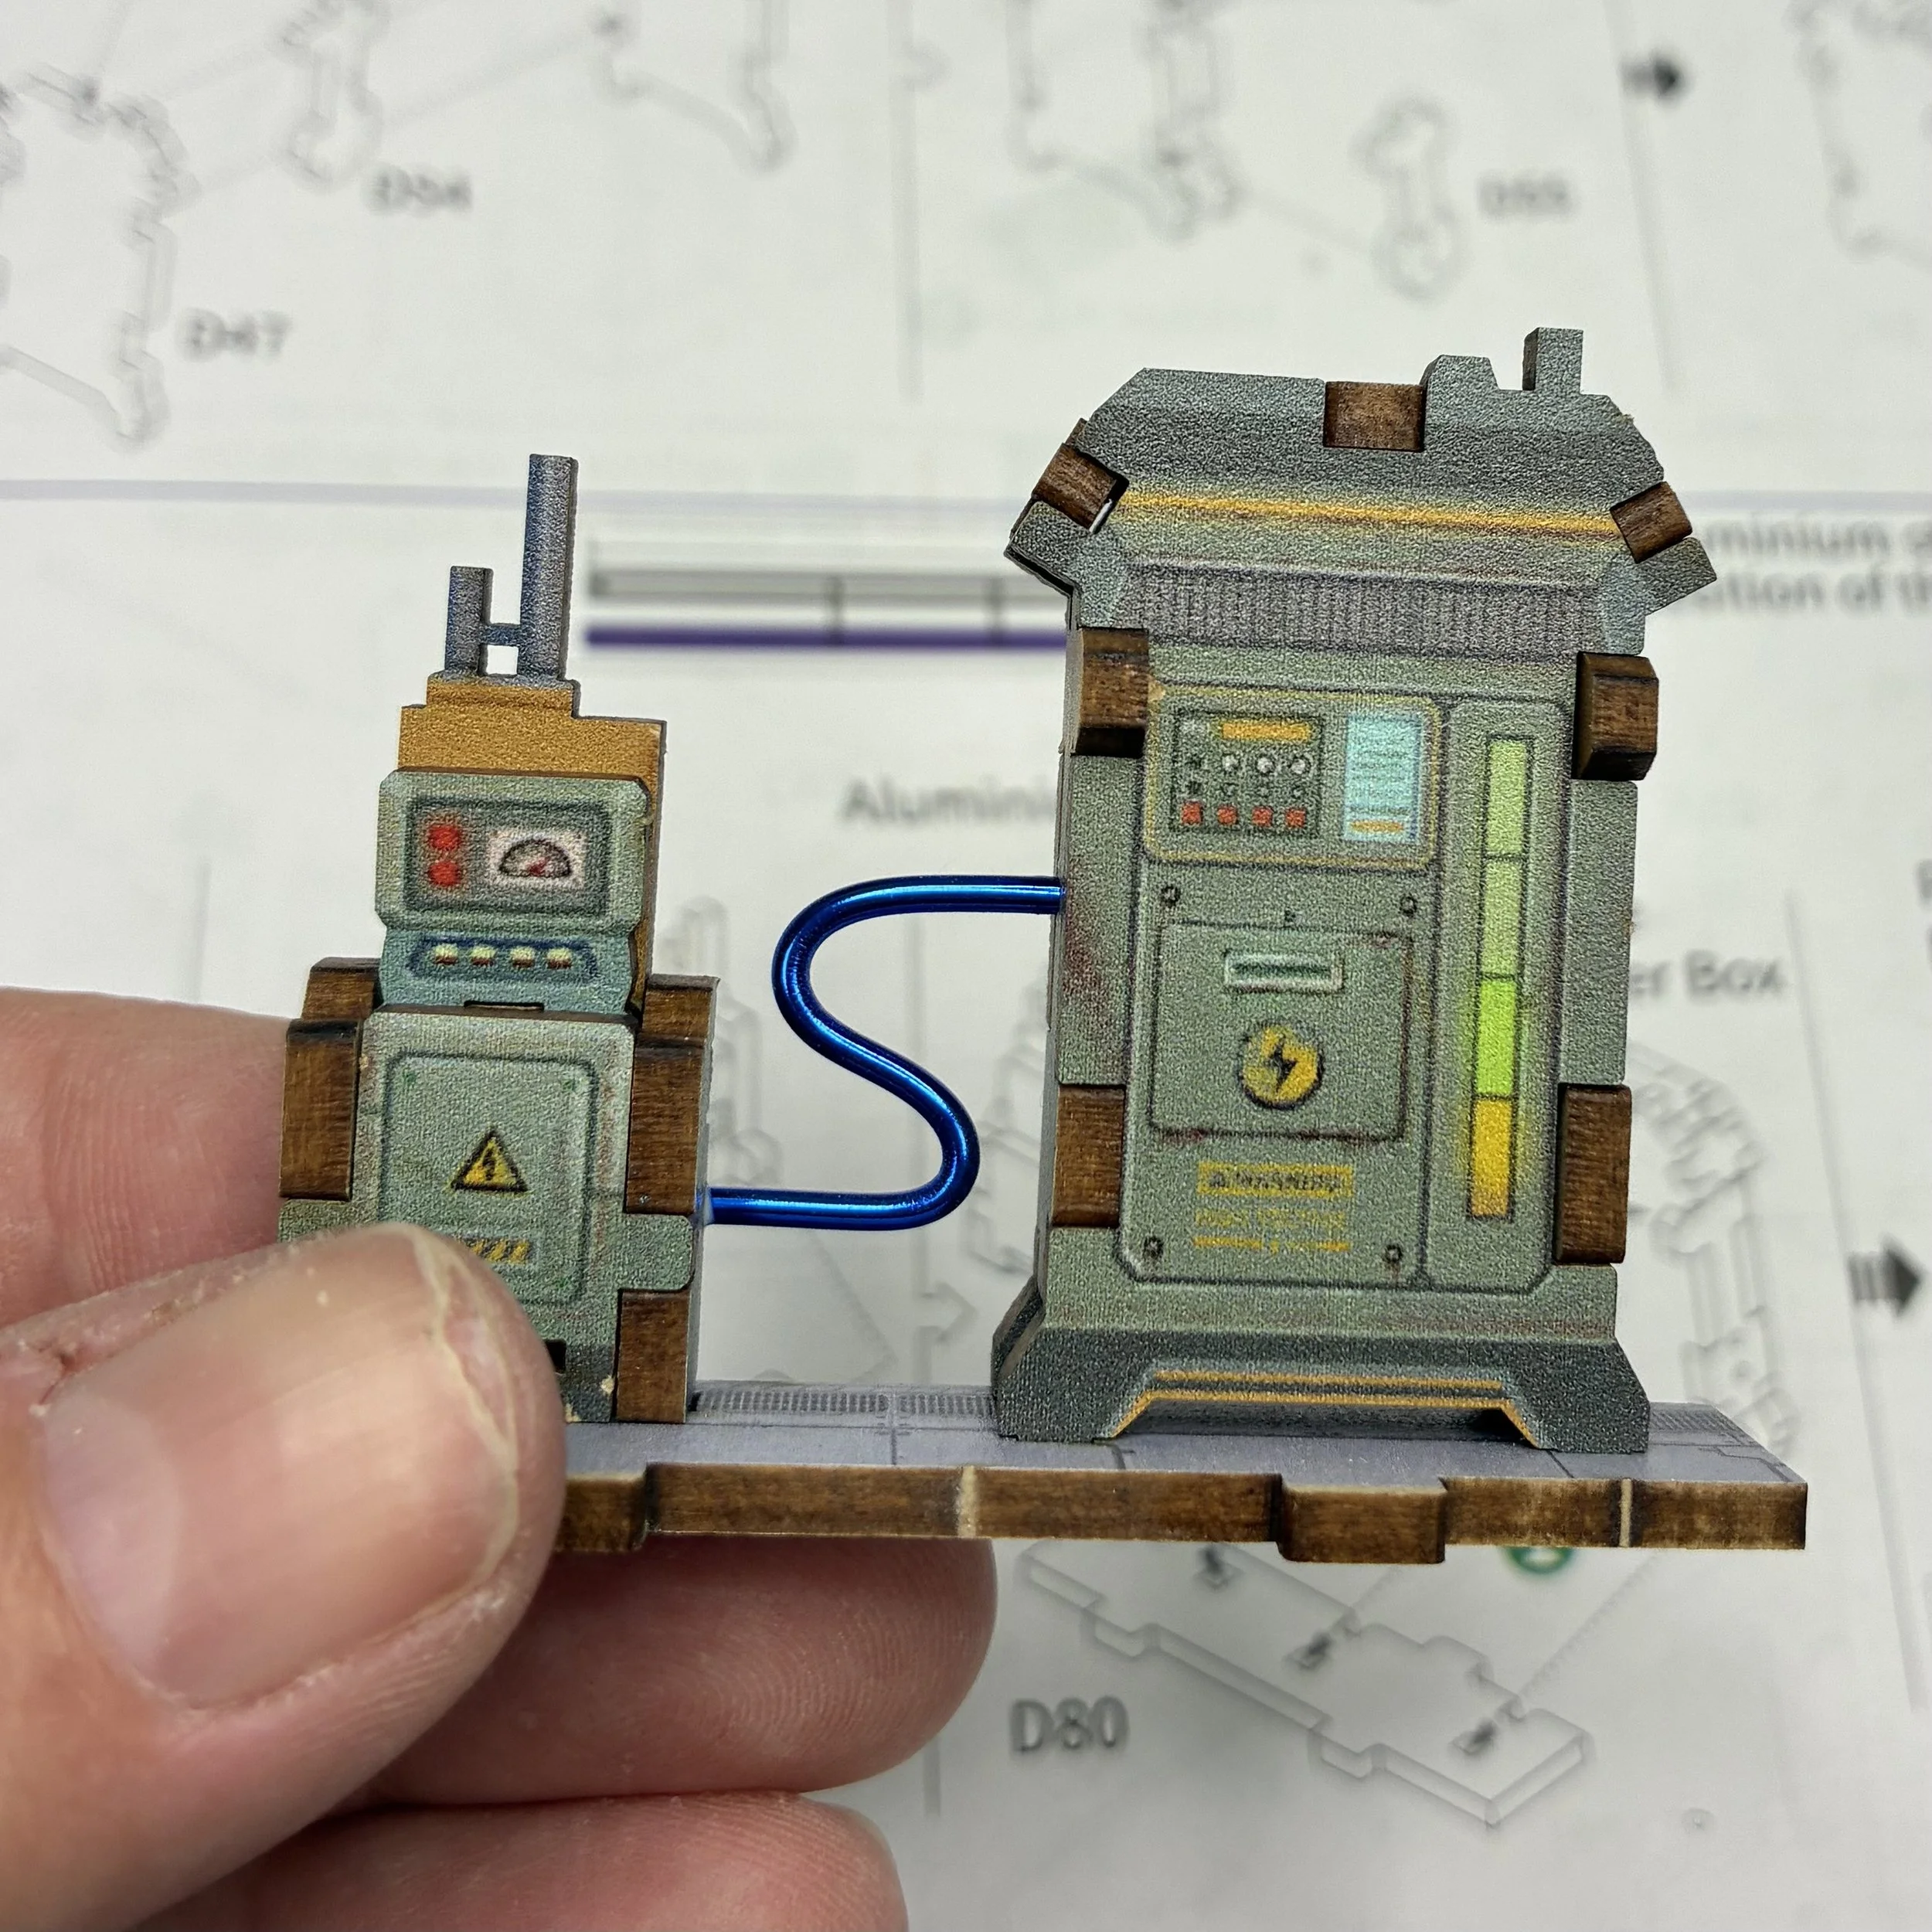
This kit also called for decorative wiring in a couple places. The instructions showed the length of the wire needed right on the page (no need to go find a ruler), and also showed the specific bends that would be needed in the wire before it was installed. Then each wire popped right into place. Easy-peasy and quite pretty.
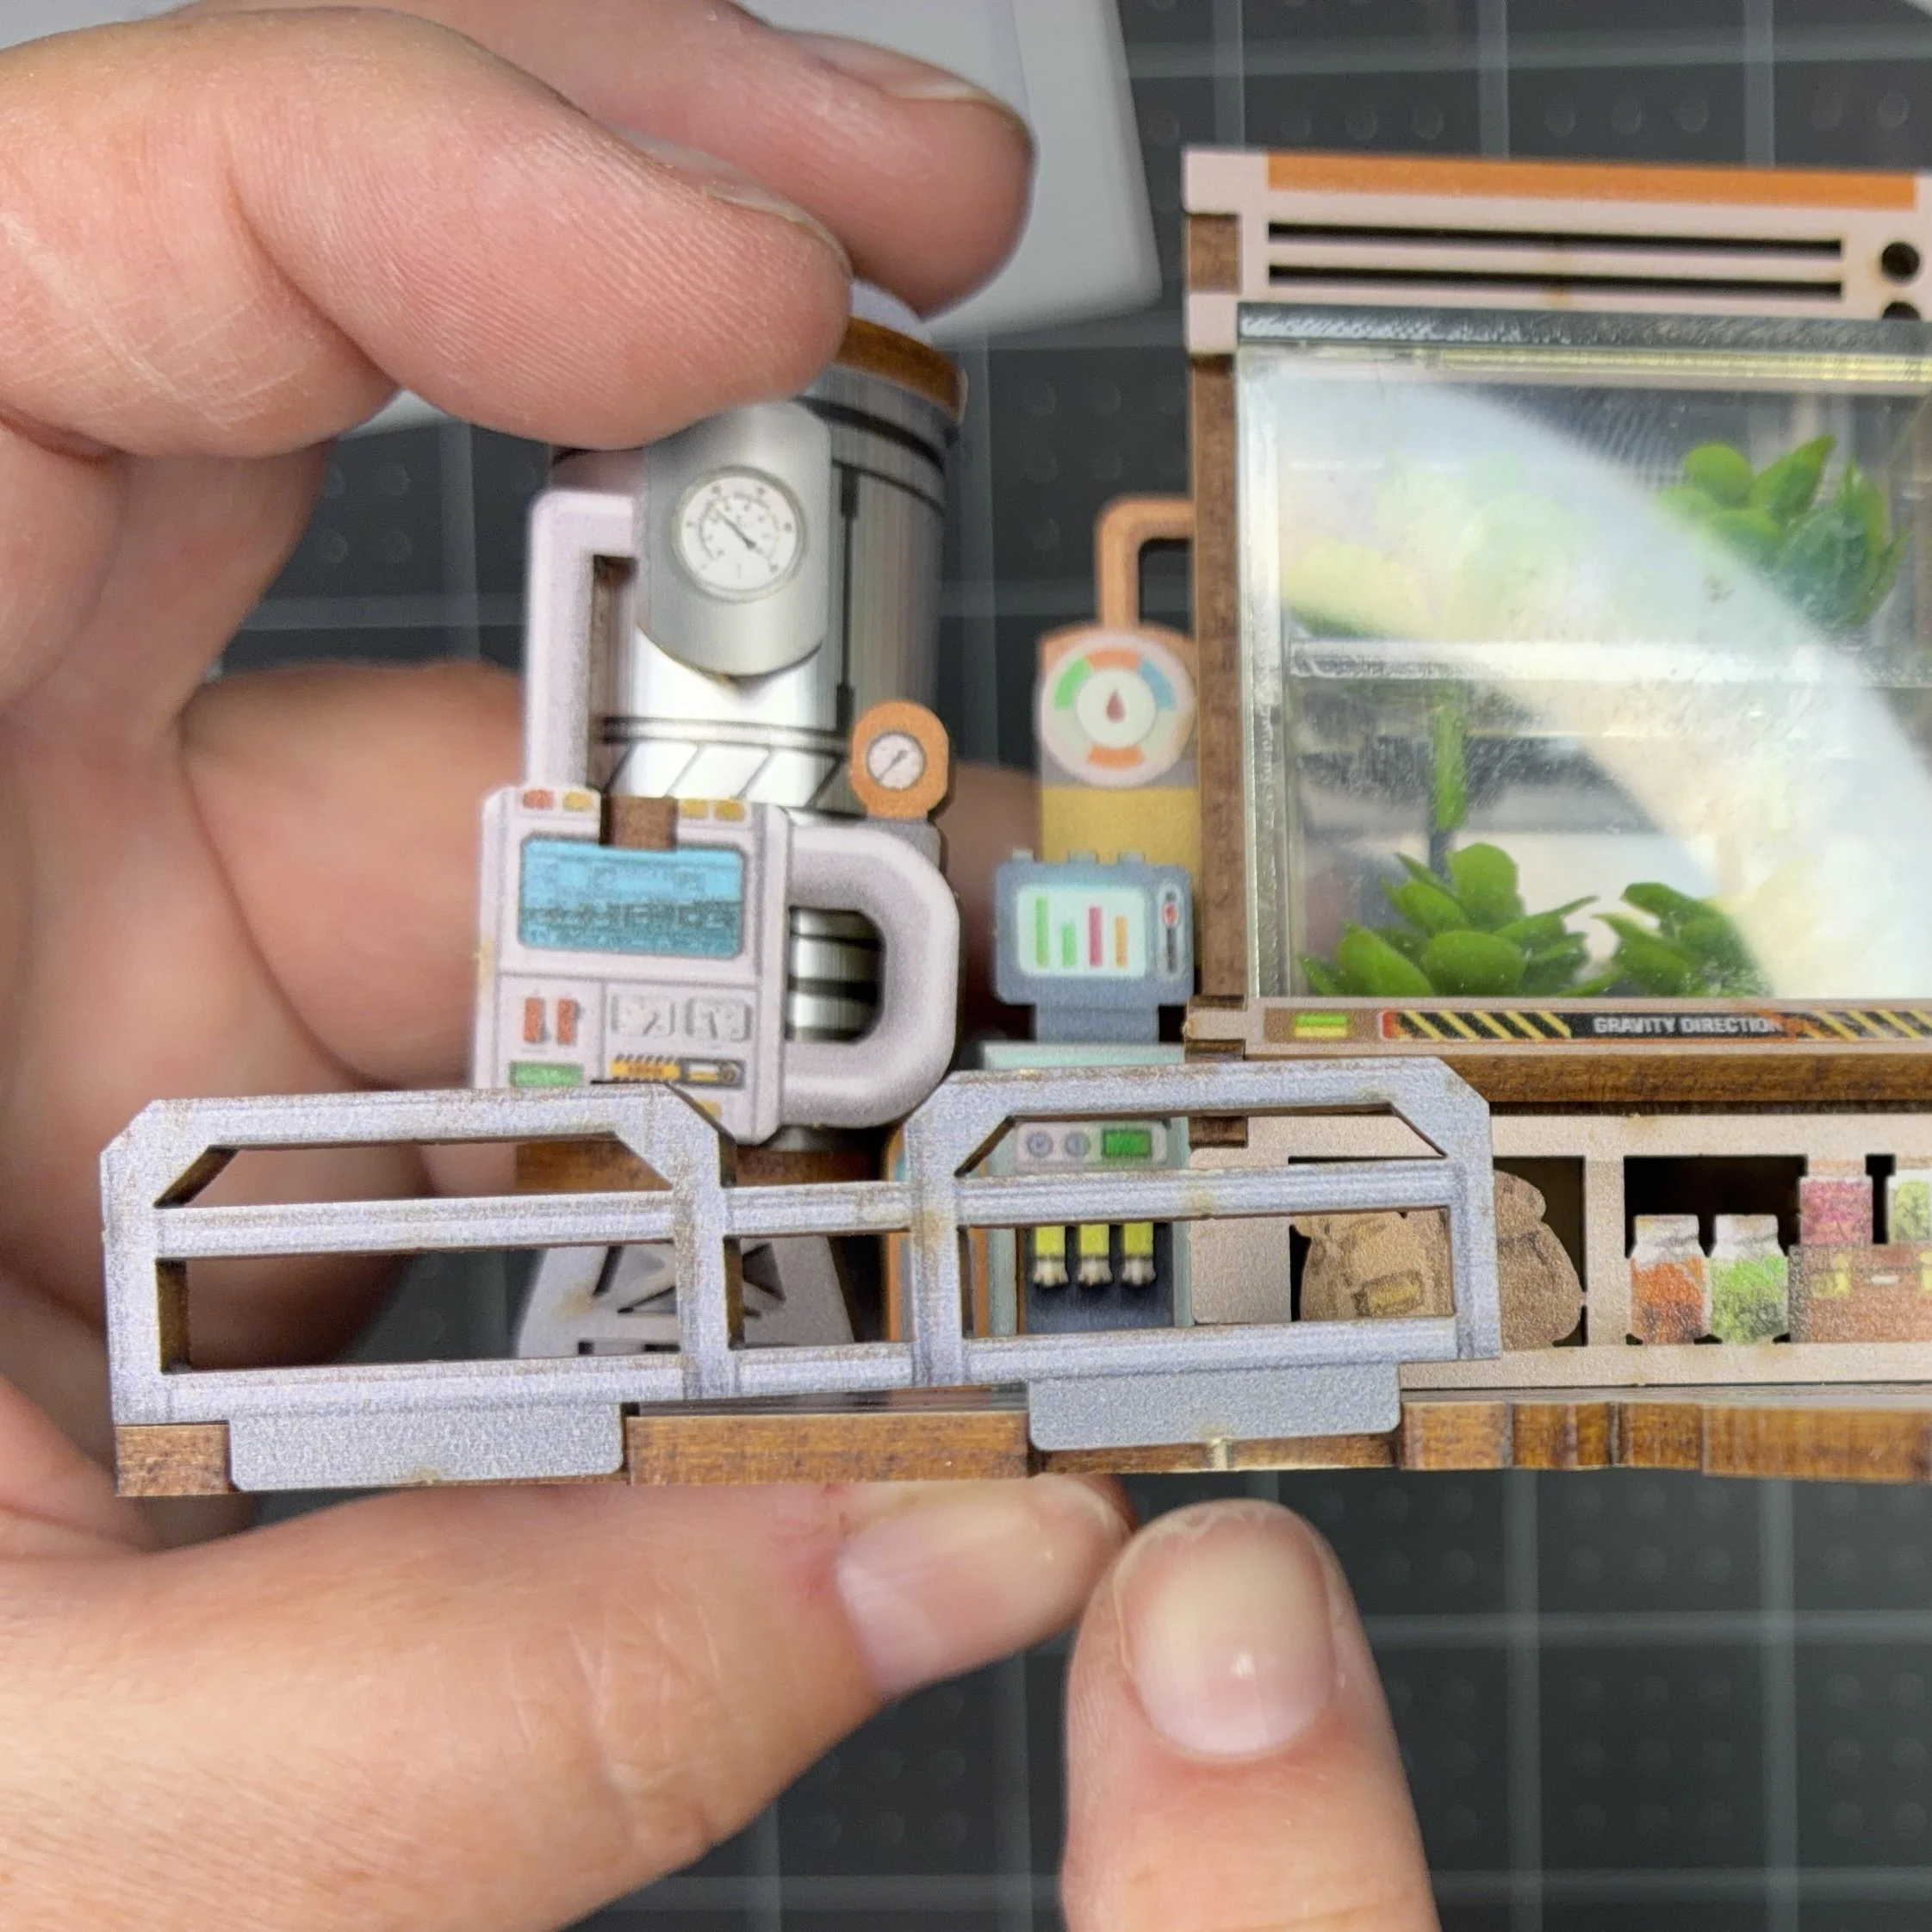
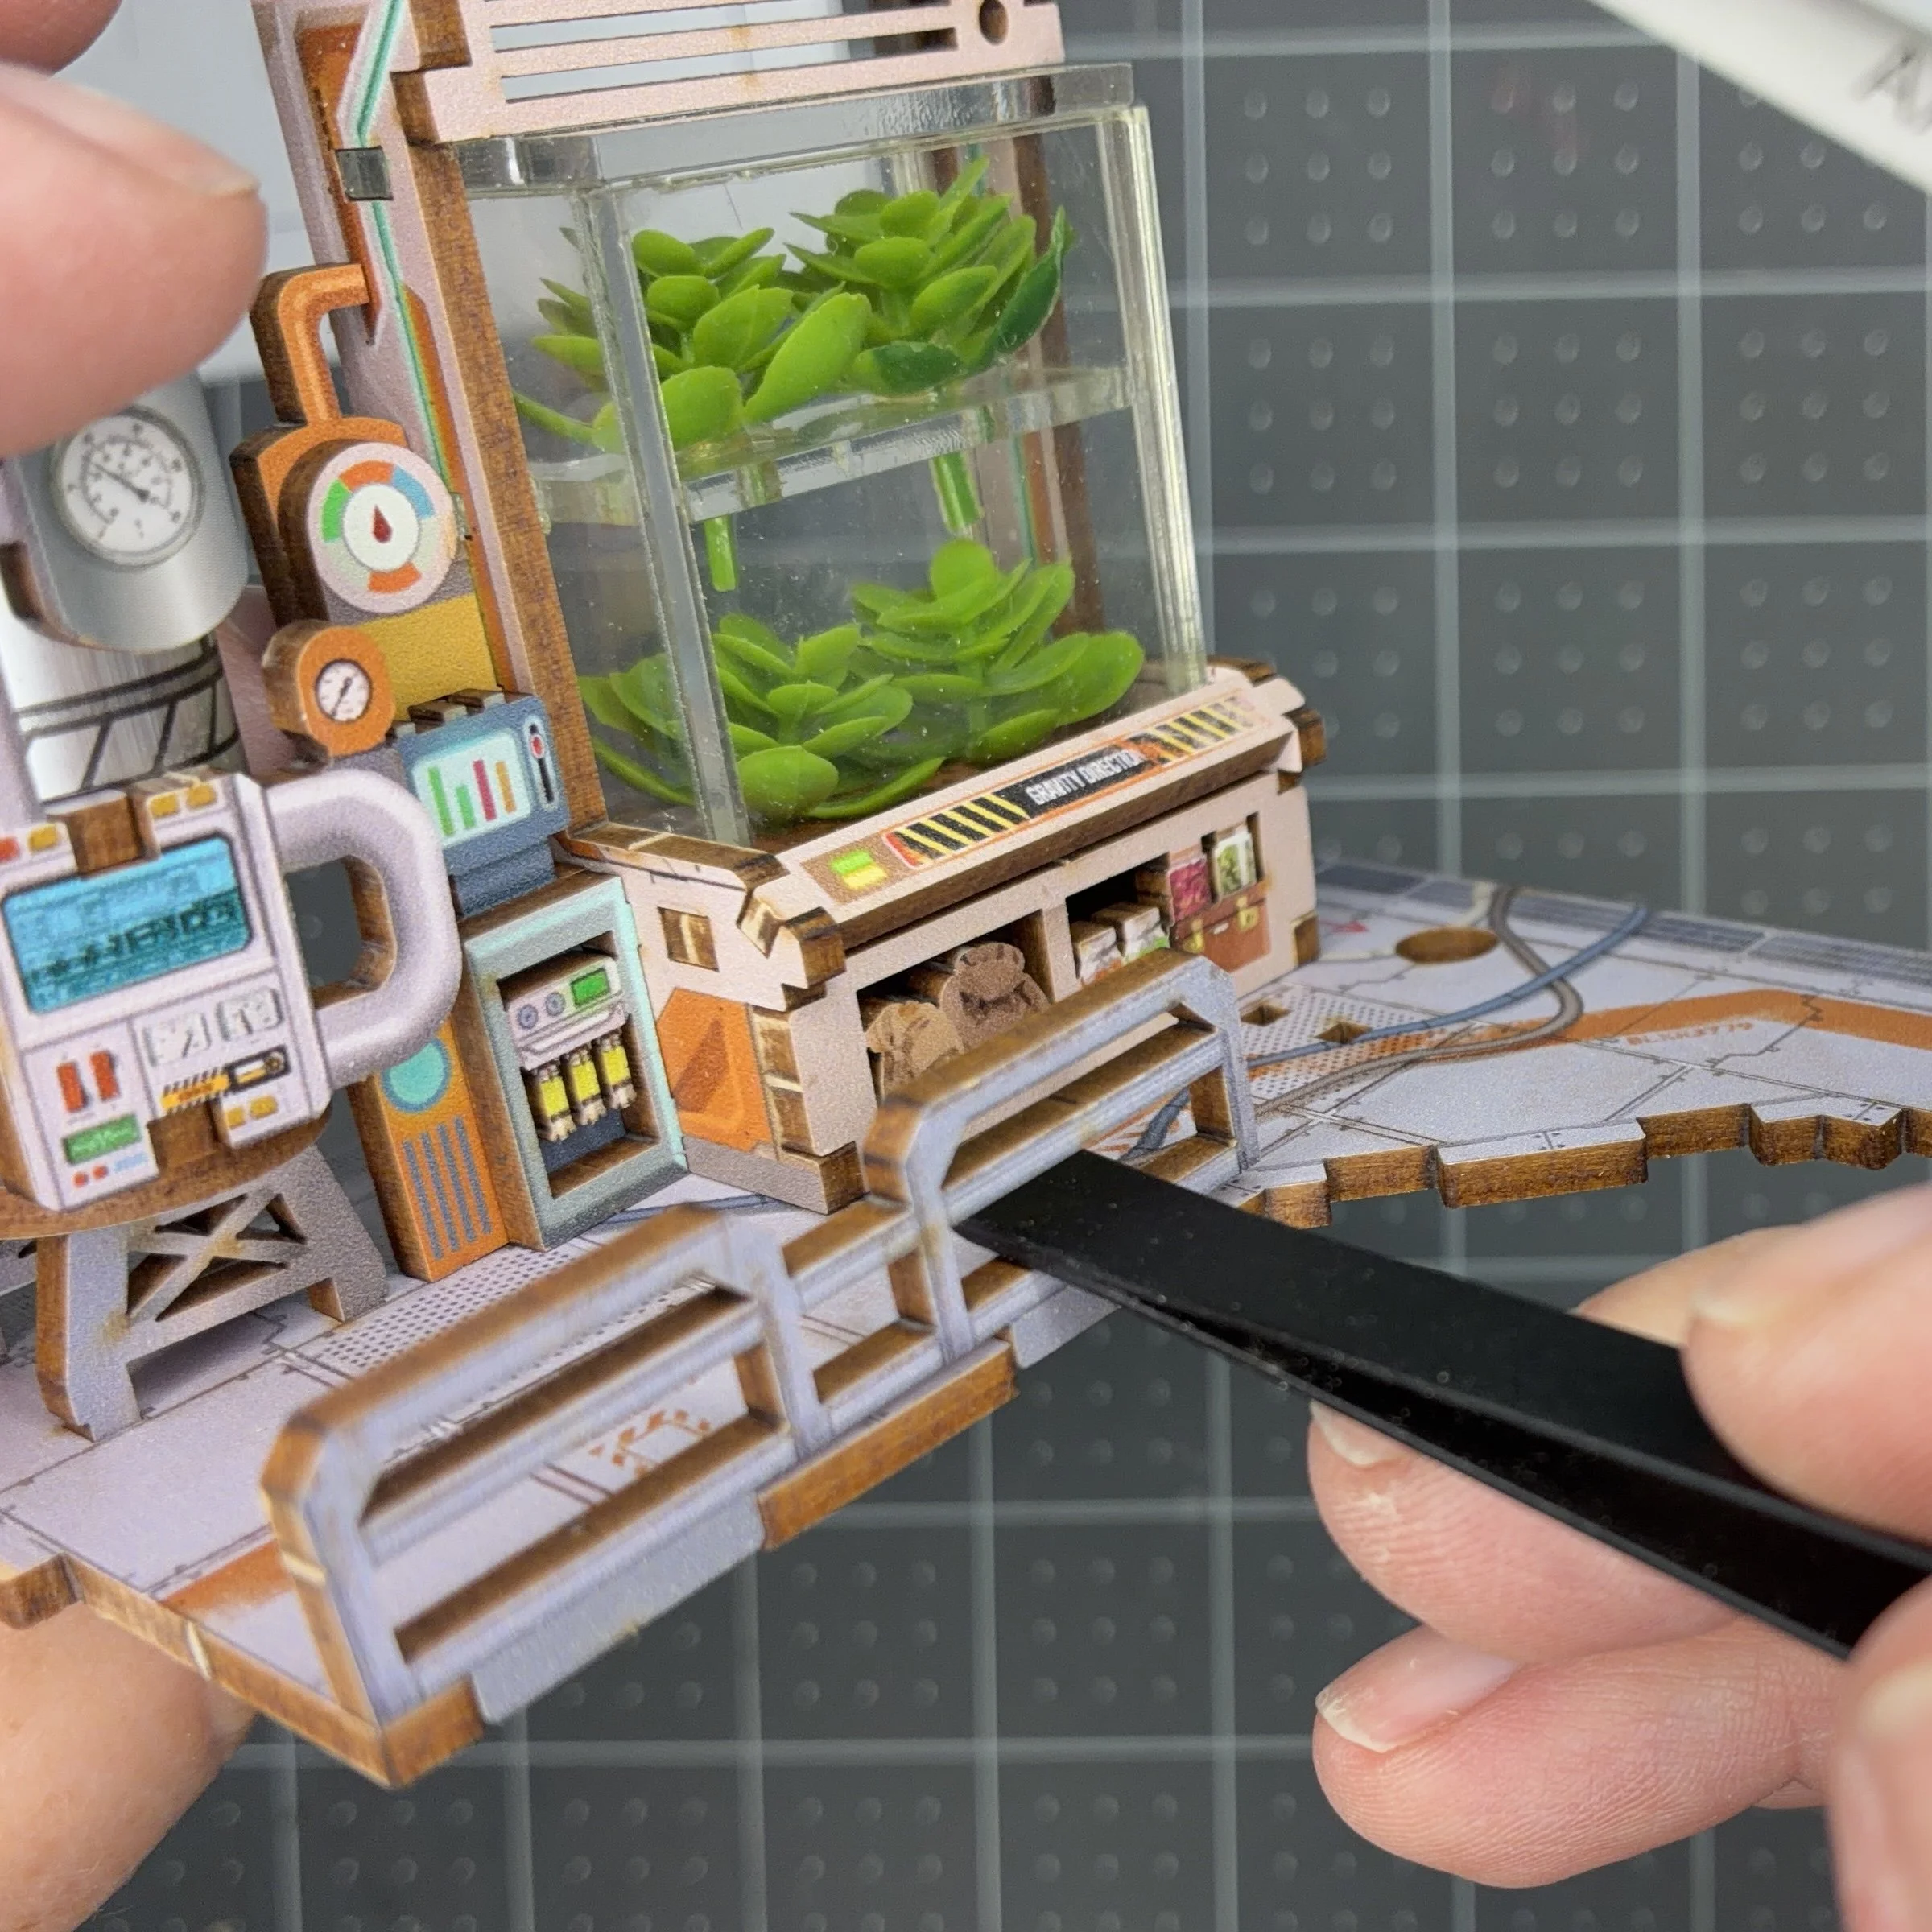
Something I’ve struggled with in the past is how to get a relatively delicate piece shoved into its groove/slot without breaking the piece. As an example, you can see below that this piece of railing is reluctant to go all the way into its slots. If I pushed on the top edge, that edge would just break and it still wouldn’t be in its slot. So I used the back end of my fine tweezers to slide in just above the tab that needs to go in, and then I could push on the tweezers to pop it right into place. I didn’t break a single piece in this build! I think that might be a first…
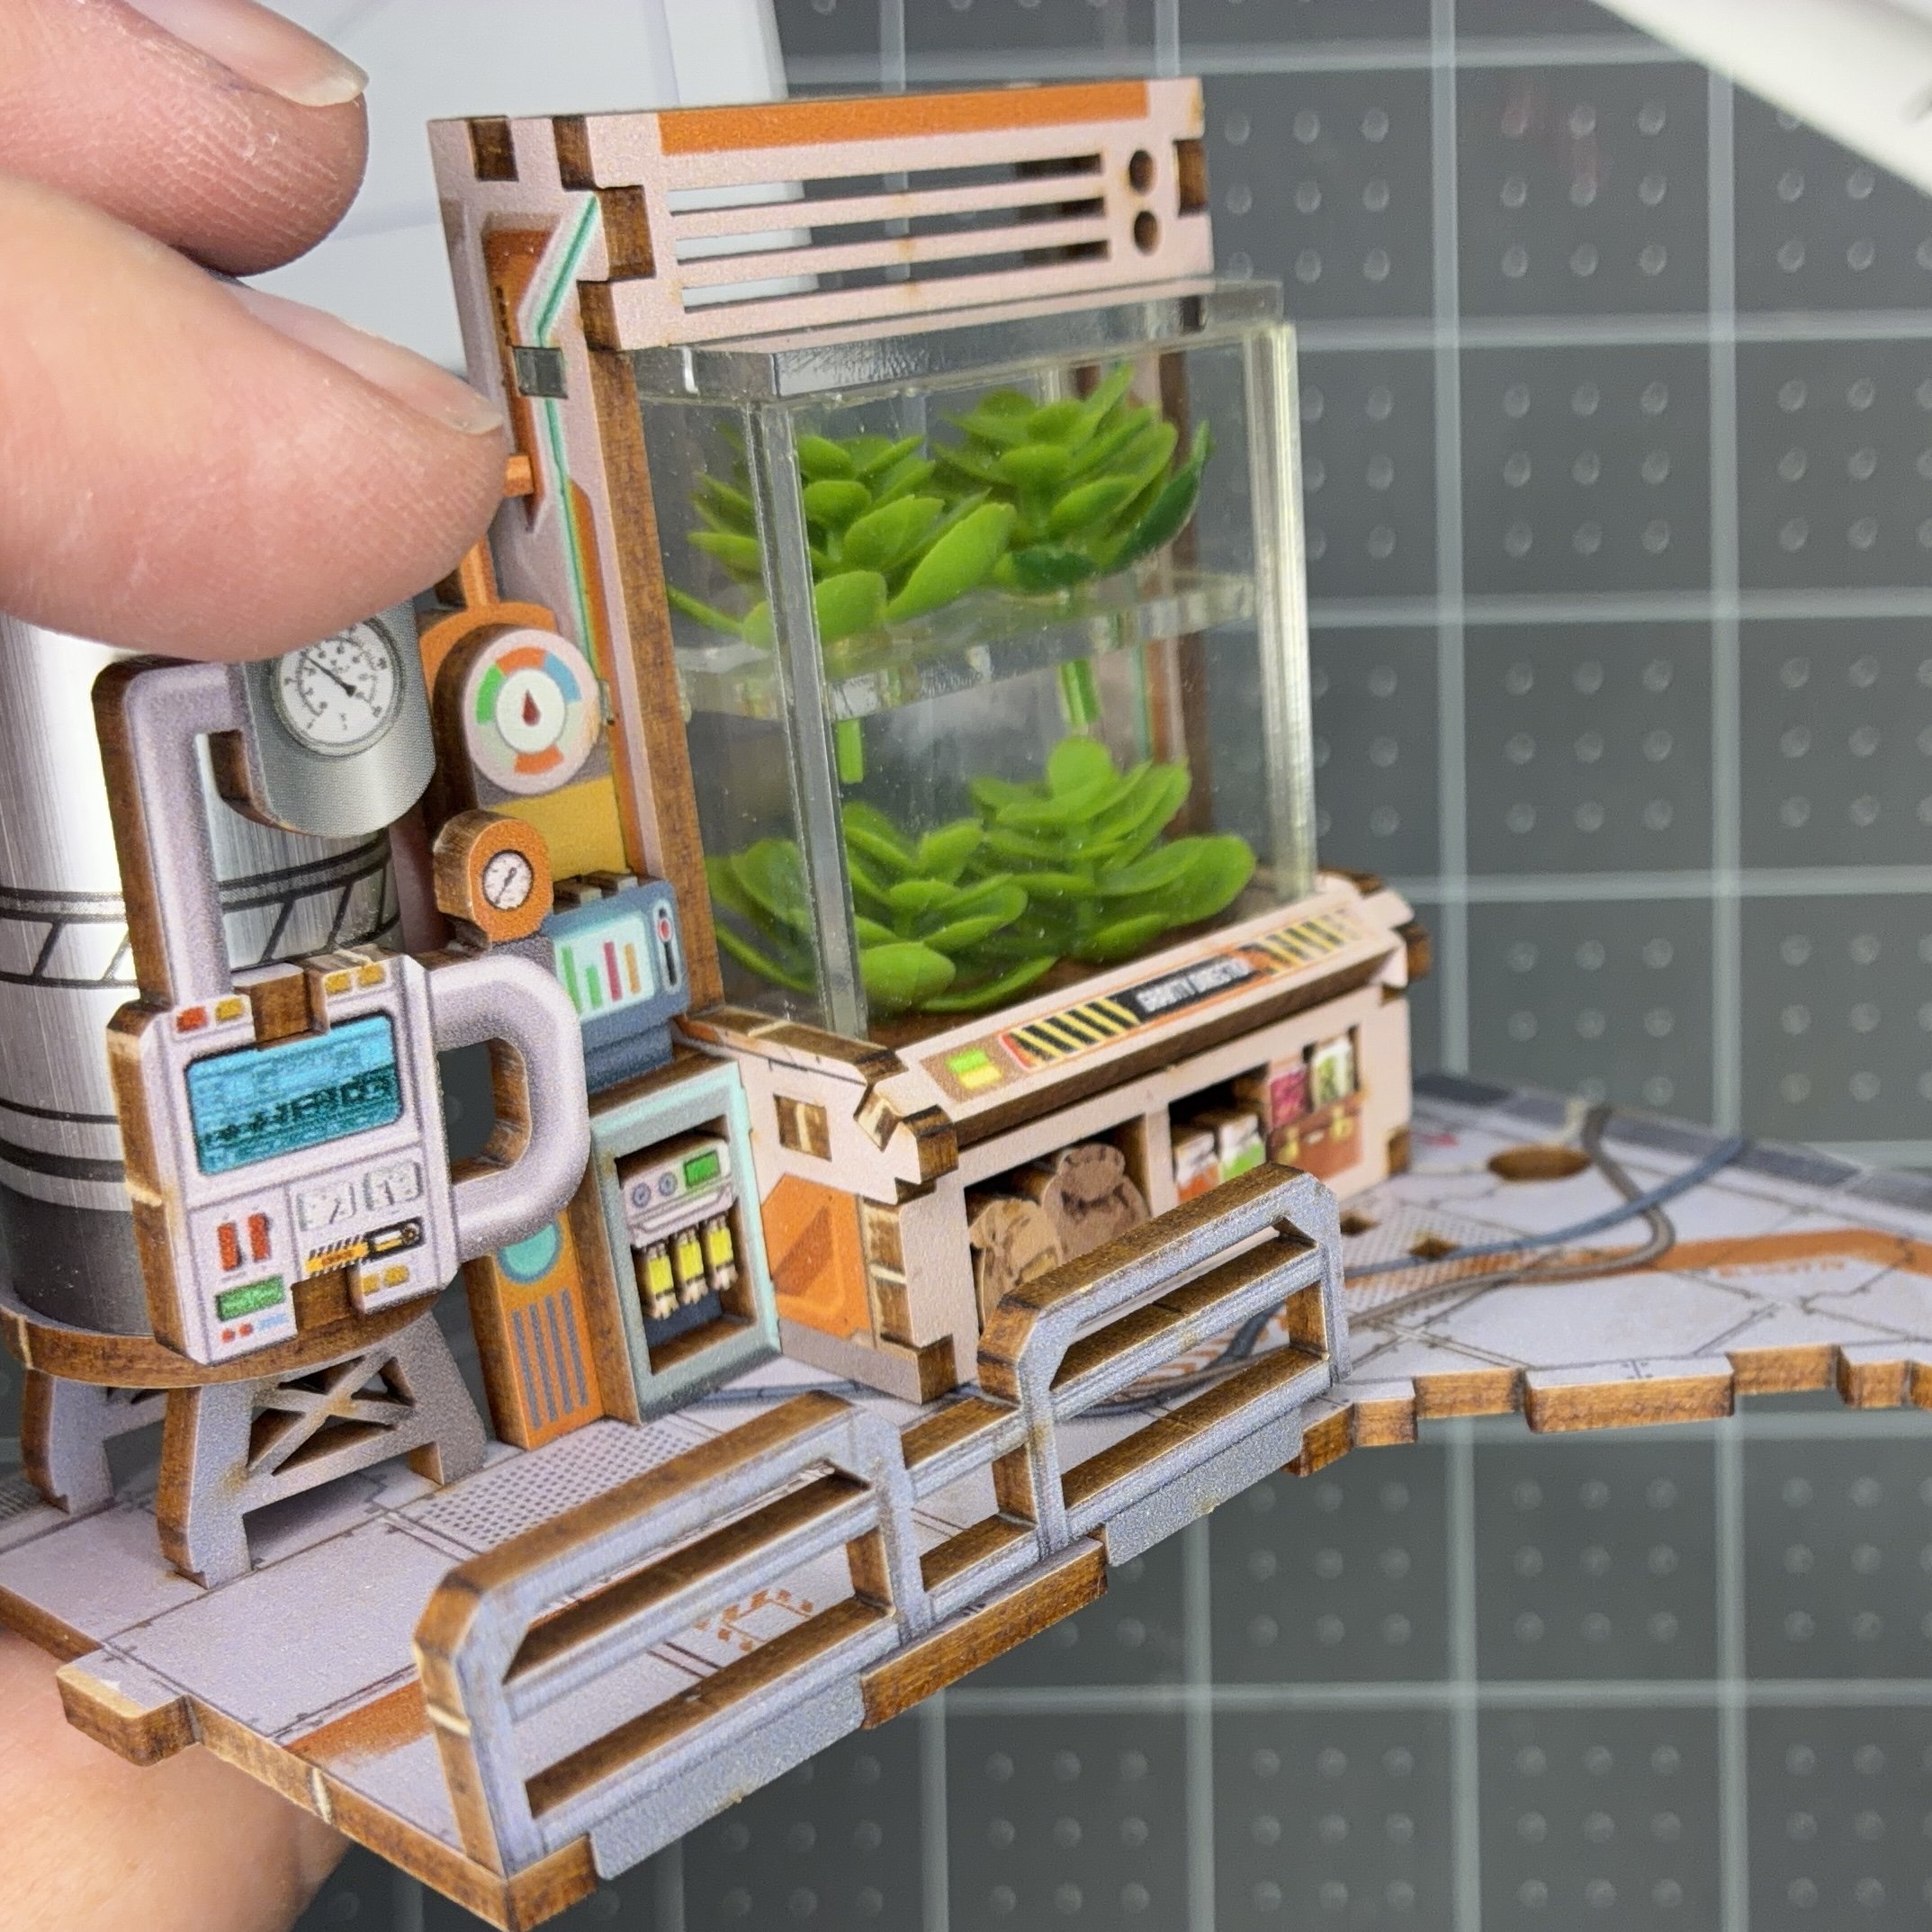
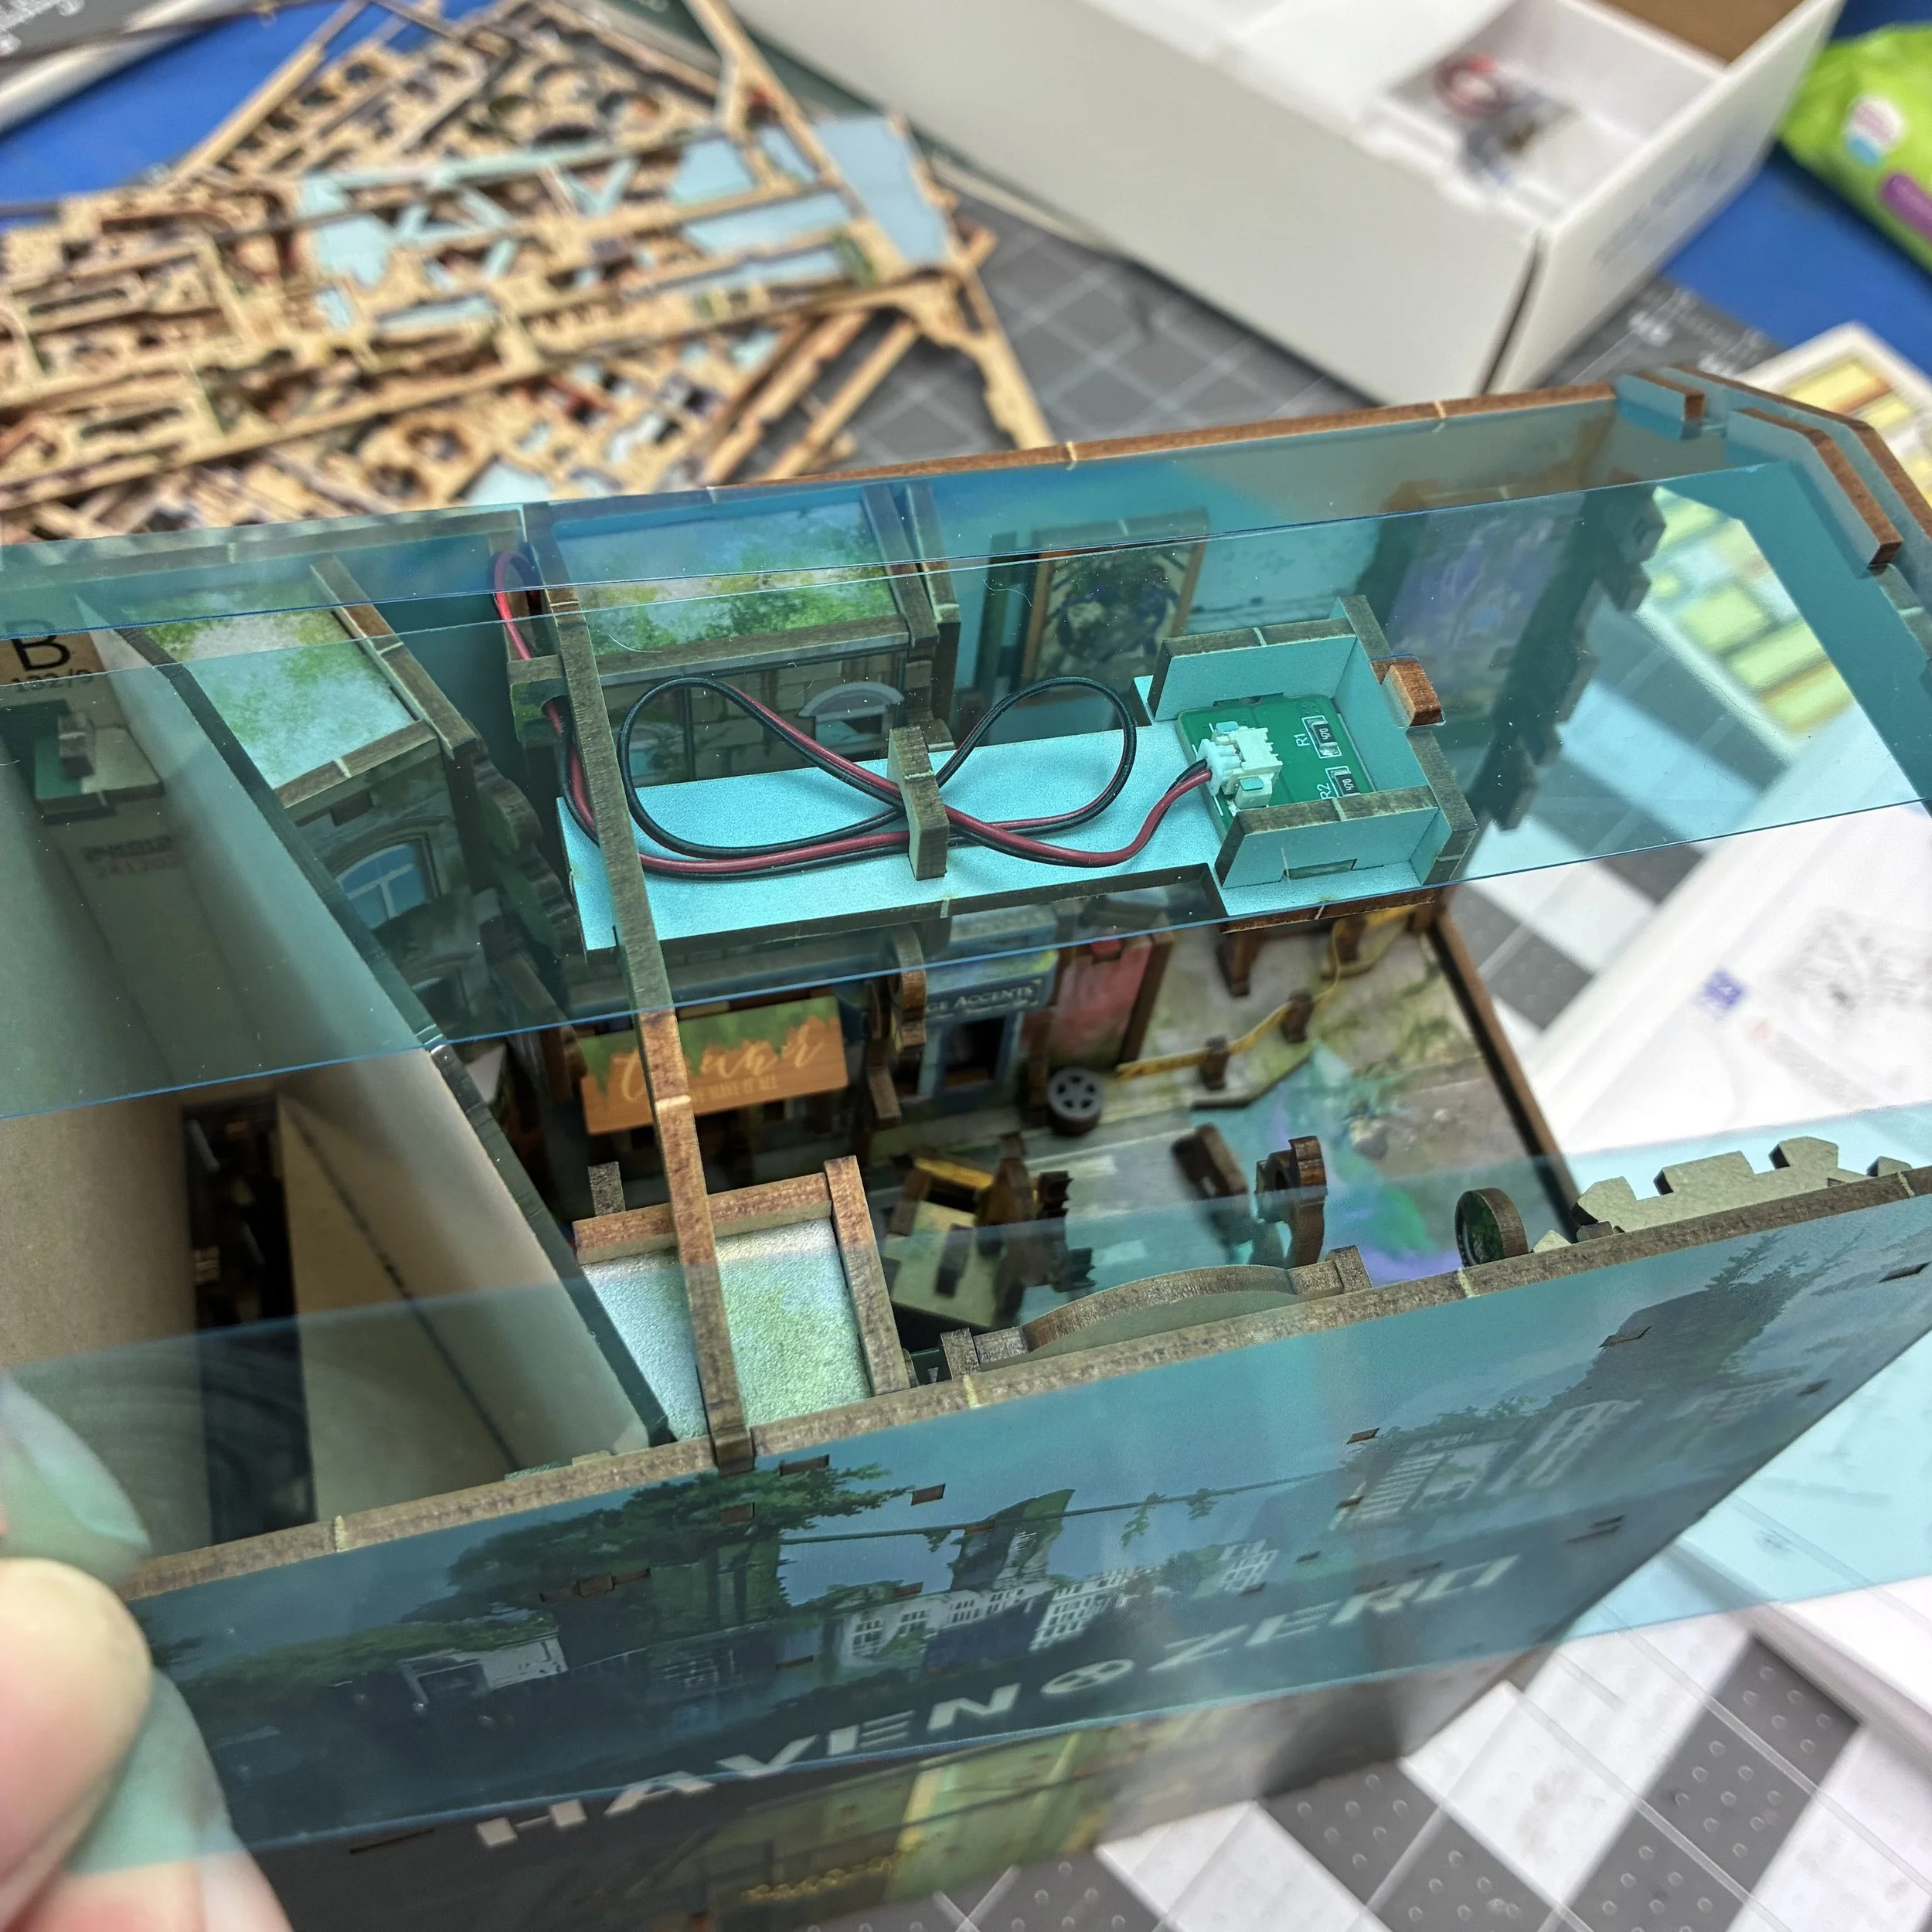
The lighting wiring wasn’t particularly challenging. The written instructions were clear and there were lots of little indicators on the pieces themselves as to there they should go and how they should be oriented. I got the wiring right on the first try, which isn’t always the case. The sidewalls went into place without much problem, although a little piece did drop out from somewhere and land on my work surface. It took me a little while to work out where it went and then to get it back into place without taking anything apart, but overall, it went smoothly.
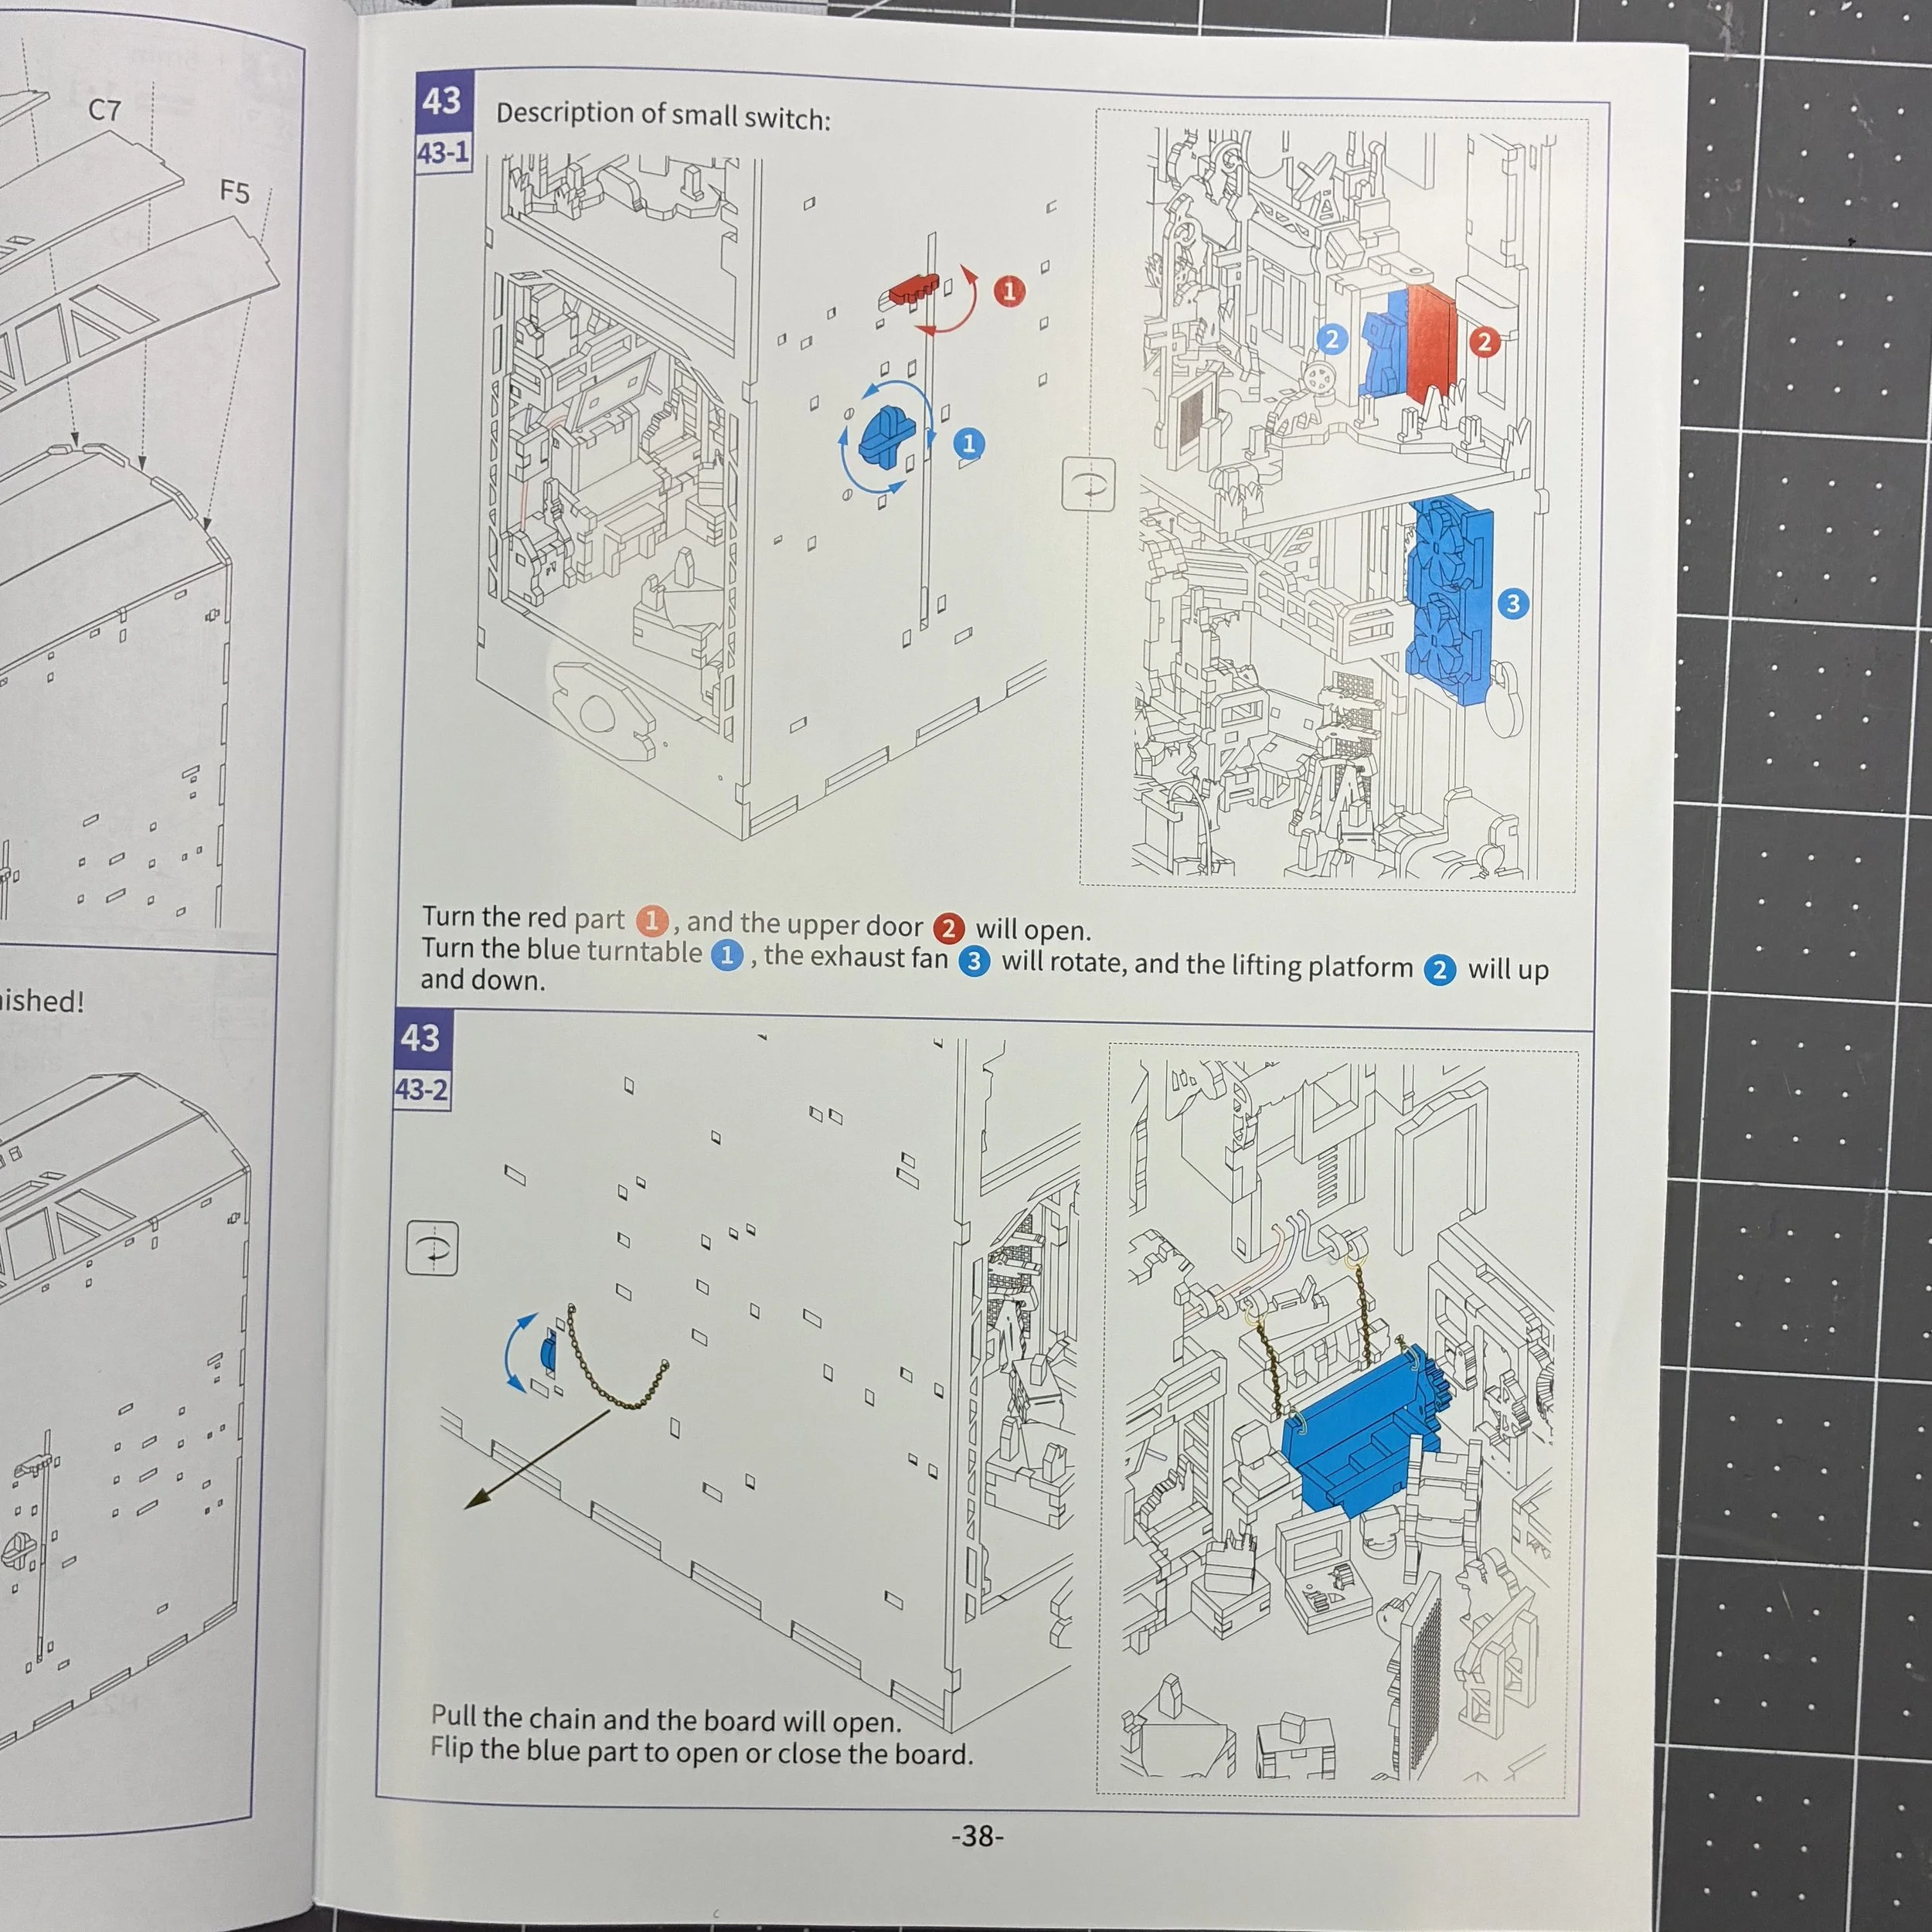
The roof was done in two parts. First, the blue “glass” (okay, thin plastic strips) was laid in place over the rafters, and then the wooden framing pieces went over the top of that. It’s really pretty! As I got to the last page of the instructions, I was delighted to see that they had dedicated an entire page to illustrating which little handles, switches, and levers moved what inside the book nook. How clever is that!
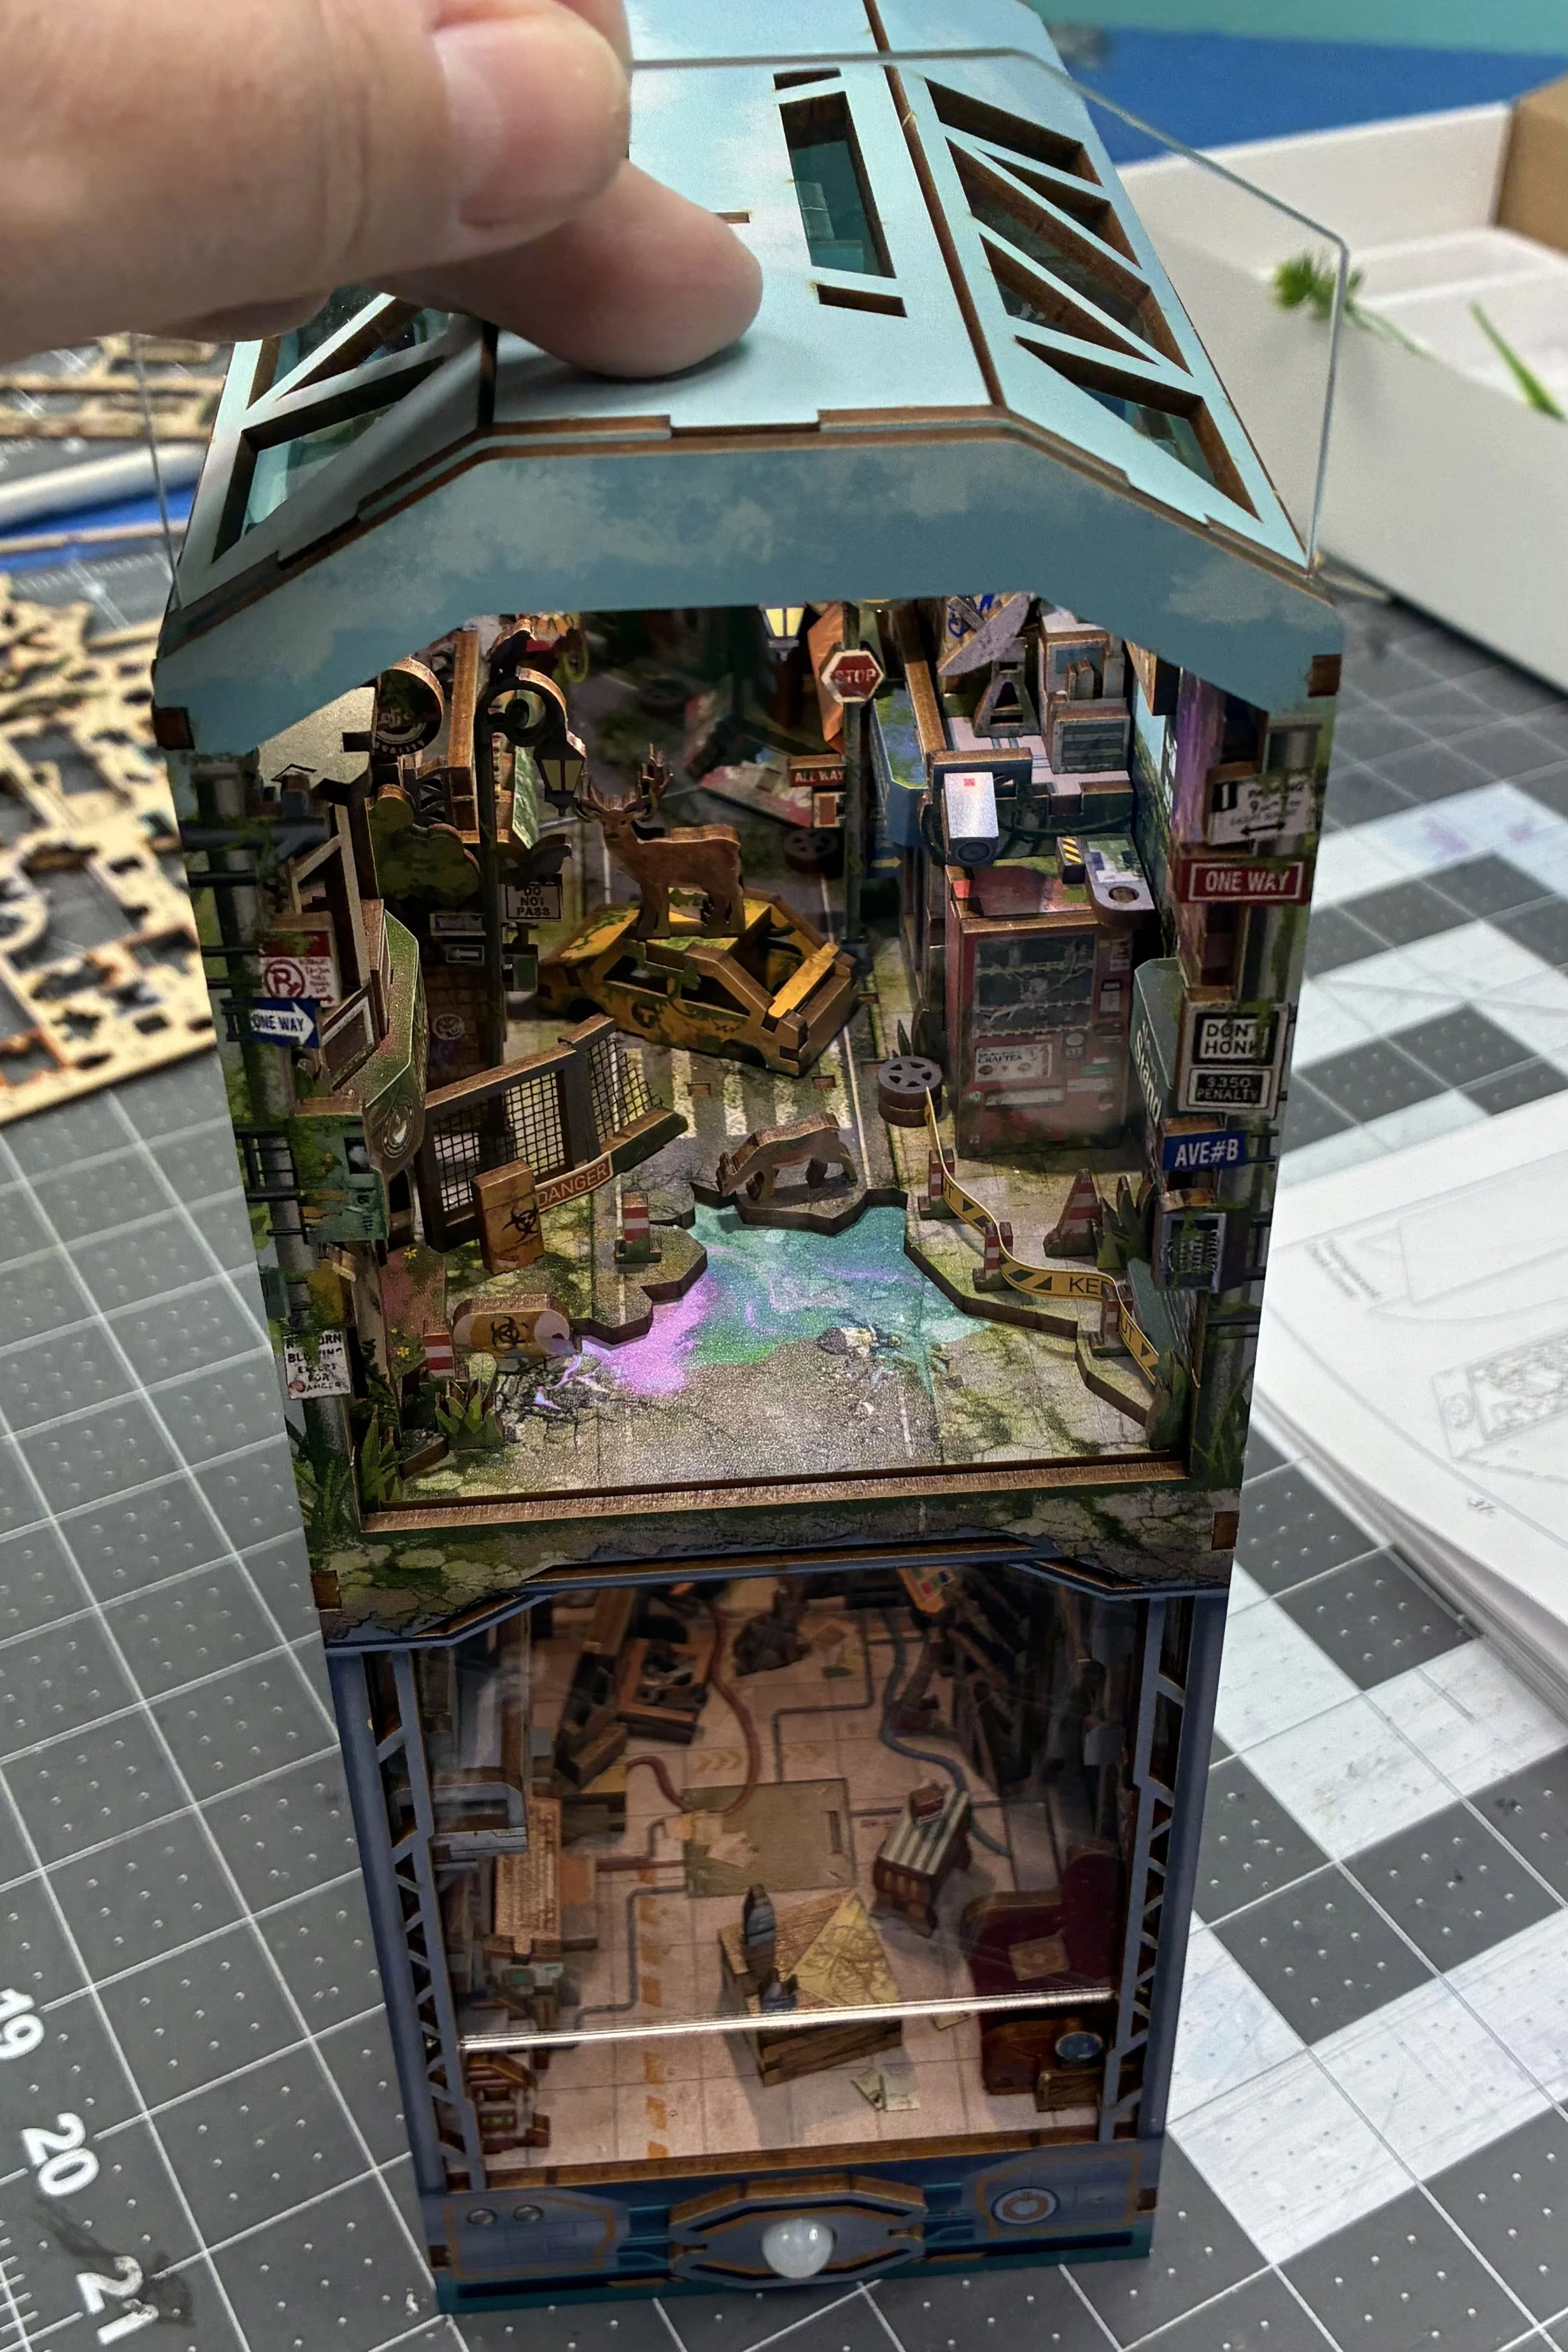
The last piece that had to be placed was the dust cover. I really like these…saves me from having to dust the inside of these nooks. I’ve decided that from now on, I’m not keeping any book nook that doesn’t have a dust cover. Lucky for me, most of the Tonecheer kits do have these covers.
And done! I think this is my favorite kit so far.