Adventures In Punchboards
As an Amazon associate, I may earn a small commission if you navigate to Amazon from my site and buy something. This will not result in an extra cost to you.
What is a punchboard? Well, in crafting terms, a punchboard is a little device, usually flat, that allows a maker to punch out shapes and score lines to make a specific thing quickly and easily. Often, this is done with cardstock, rather than regular paper. Some punchboards that are readily available on Amazon include: a punchboard for making little shadowboxes;a punchboard for making envelopes, gift boxes, and bows; and a punchboard for making little interestingly-shaped boxes, supposedly for candy.
All of these boards will do what they advertise. I can’t find it on Amazon anymore, but I saw one once that makes the pennant shapes that are used in bunting. However, I decided long ago that most of these are rather limited in what they can be used for, and also limited in size. The bunting punchboard, for example, made rather small flags for bunting. They couldn’t make the larger sizes that would be used in a big venue, for instance.
But I did buy one punchboard about 12 years ago, and have used it many times over the years. It’s the envelope punchboard, which I also frequently use to make boxes. Let me show you.
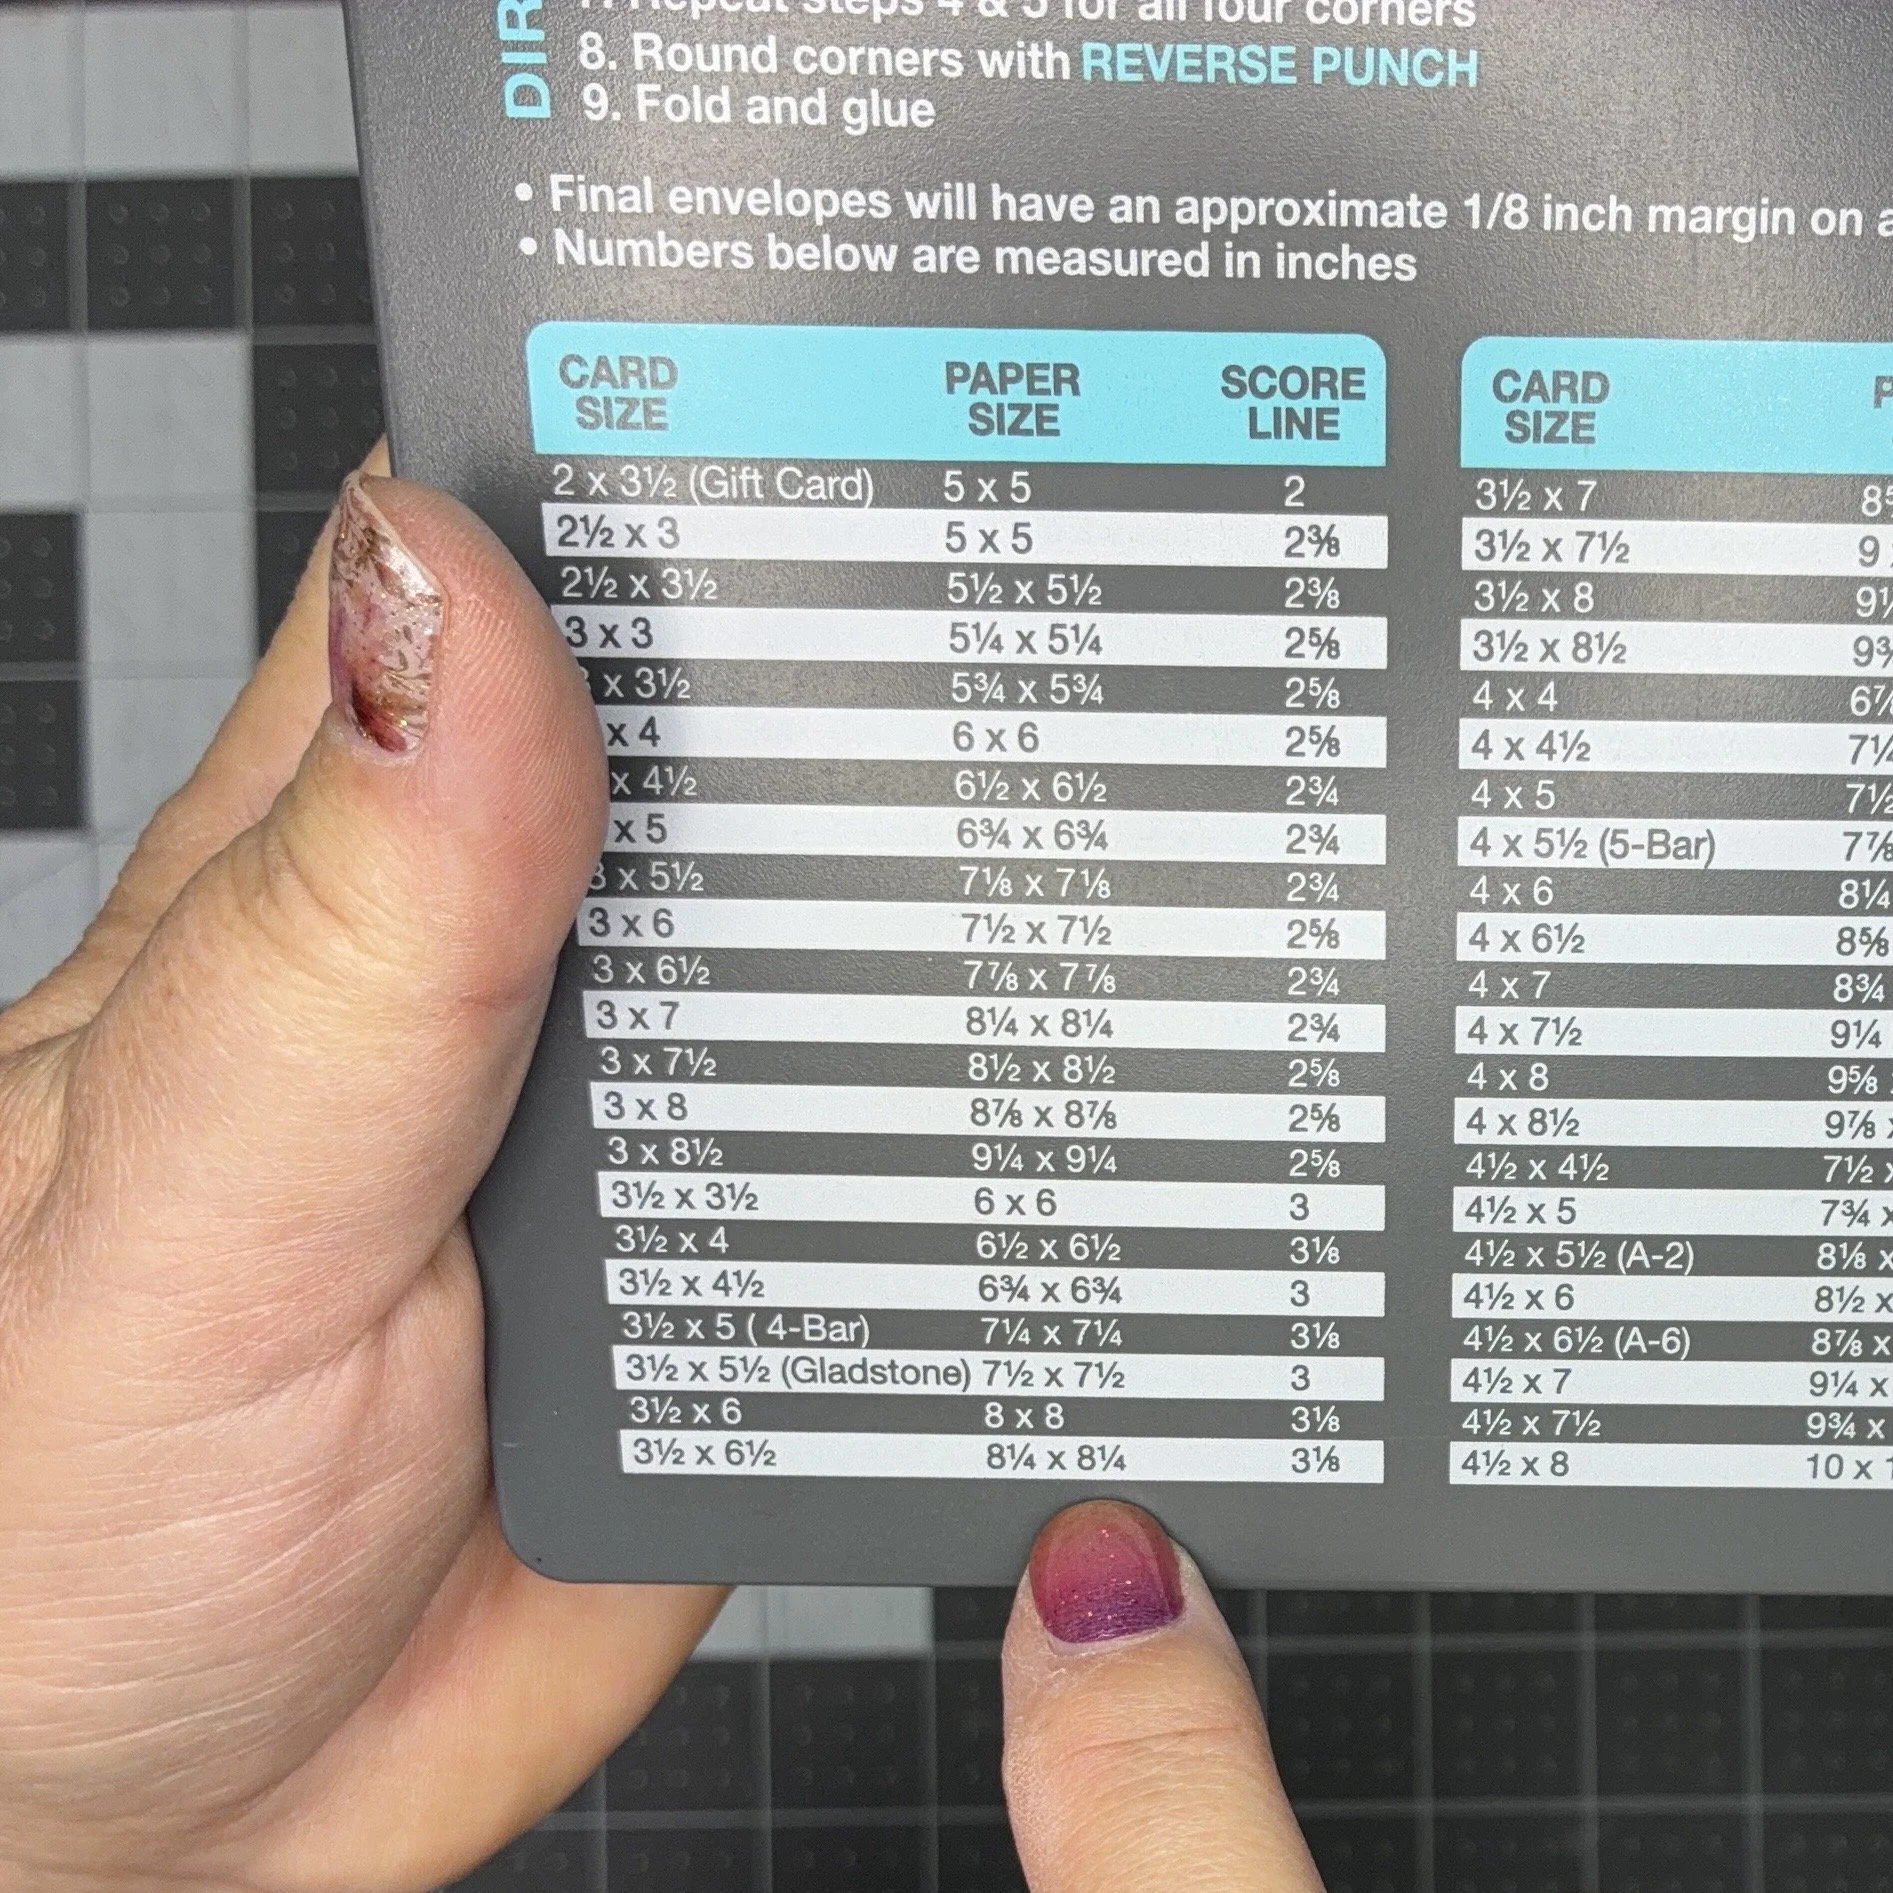
We’ll start with a basic envelope that I need to make to hold some cash to give my nephew for his birthday. On the front of the punchboard, there’s a chart that shows the finished size of the envelope in the left column, the size of the paper square needed in the middle column, and the measurement for the first punch in the right column. For my cash envelope, I selected the size at the bottom, which has a finished dimension of 3.5” x 6.5” and requires that I start with an 8.25” square.
I do have a really nice Fiskars rotary paper cutter. For the record, rotary is better. Fixed blade paper cutters tend to start tearing the paper when they get dull. Or when they’re in a mood. Terrible mess. A rotary cutter just rolls right over, cutting everything without any fuss.
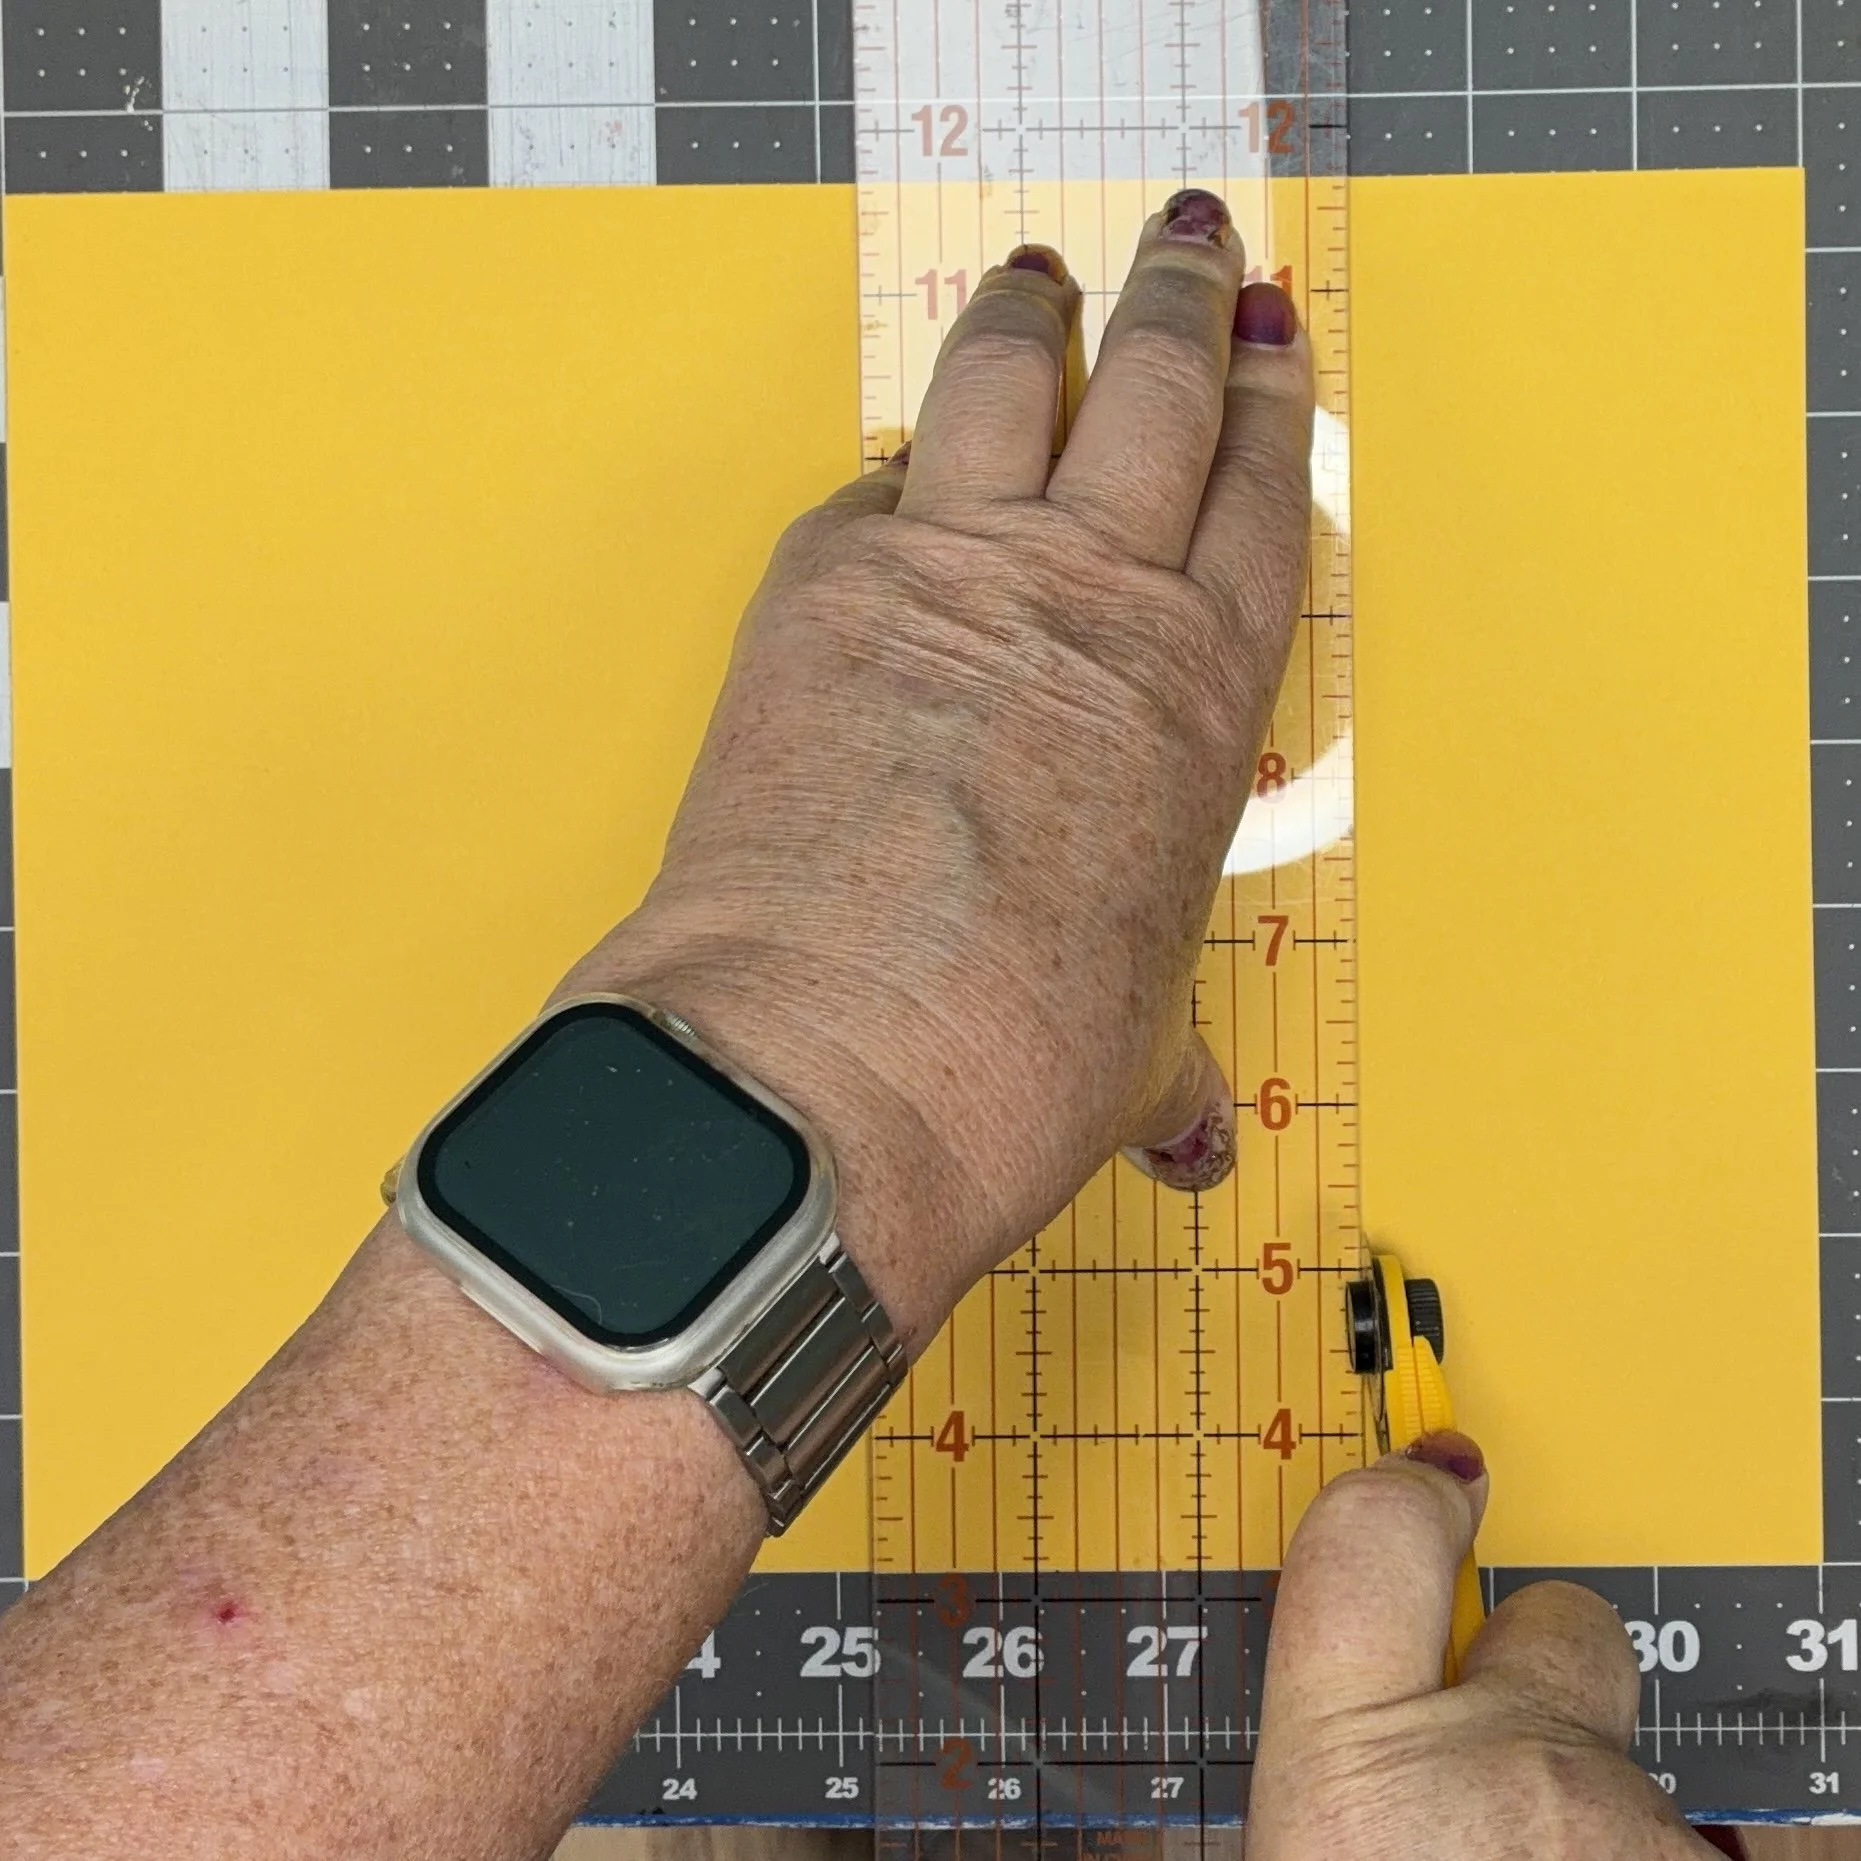
But for a quick job, it’s just as easy to use the grids on my cutting mat. I have an Olfa 28 mm rotary cutter that I originally bought for cutting fabric, before I upgraded to a bigger size. Now I use the small one for easily cutting paper (no tearing). It does a bang-up job of cutting through things like chipboard and mat board too. It was quick and easy to cut down my piece of cardstock to an 8.25” square.
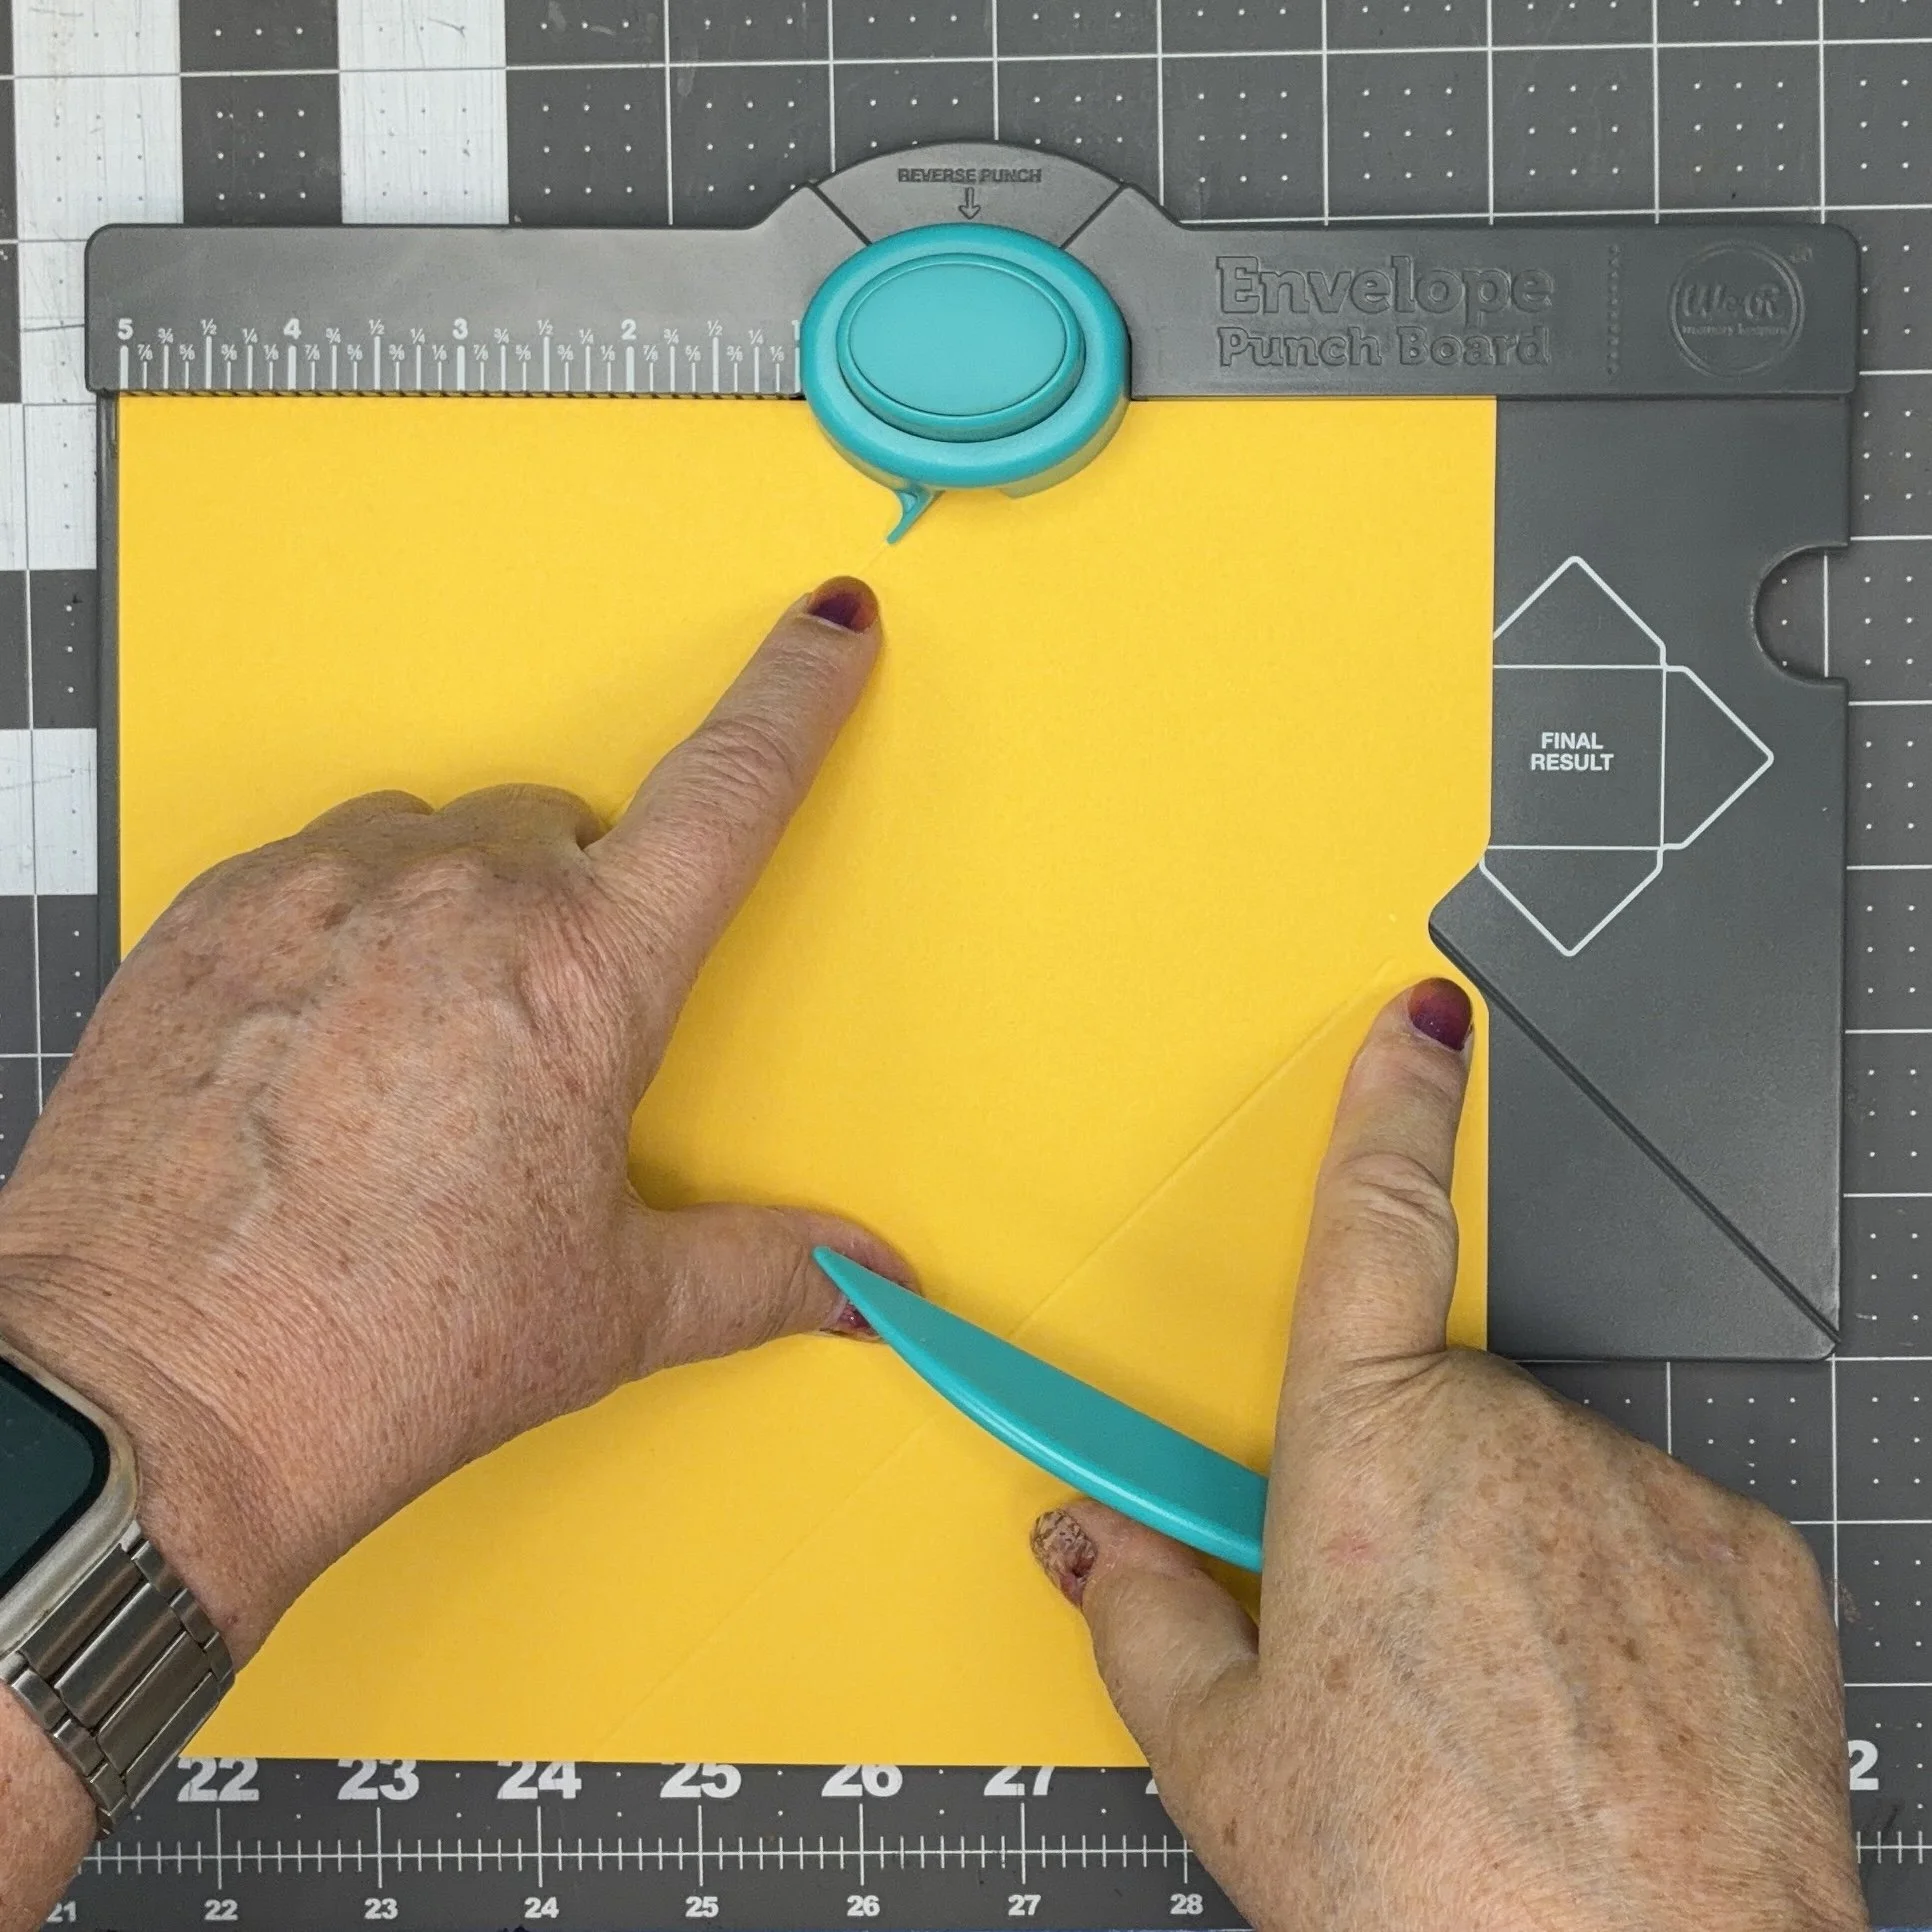
Once the paper is the right size, consult the chart on the punchboard to see where to make the first punch and score. In this instance, the chart said the measured punch/score is at 3 1/8”. Align the paper against the top lip of the punch board with the left edge at the 3 1/8” mark. Then push down briskly on the big blue punch button. Keeping the paper in place, use the bone folder that’s stored in the right side of the punchboard to score down the groove from the punch button to the edge of the paper. The groove is very visible on the board, and easy to find even when it’s being covered by the paper. Rotate the paper 180° and punch and score again in the same way.
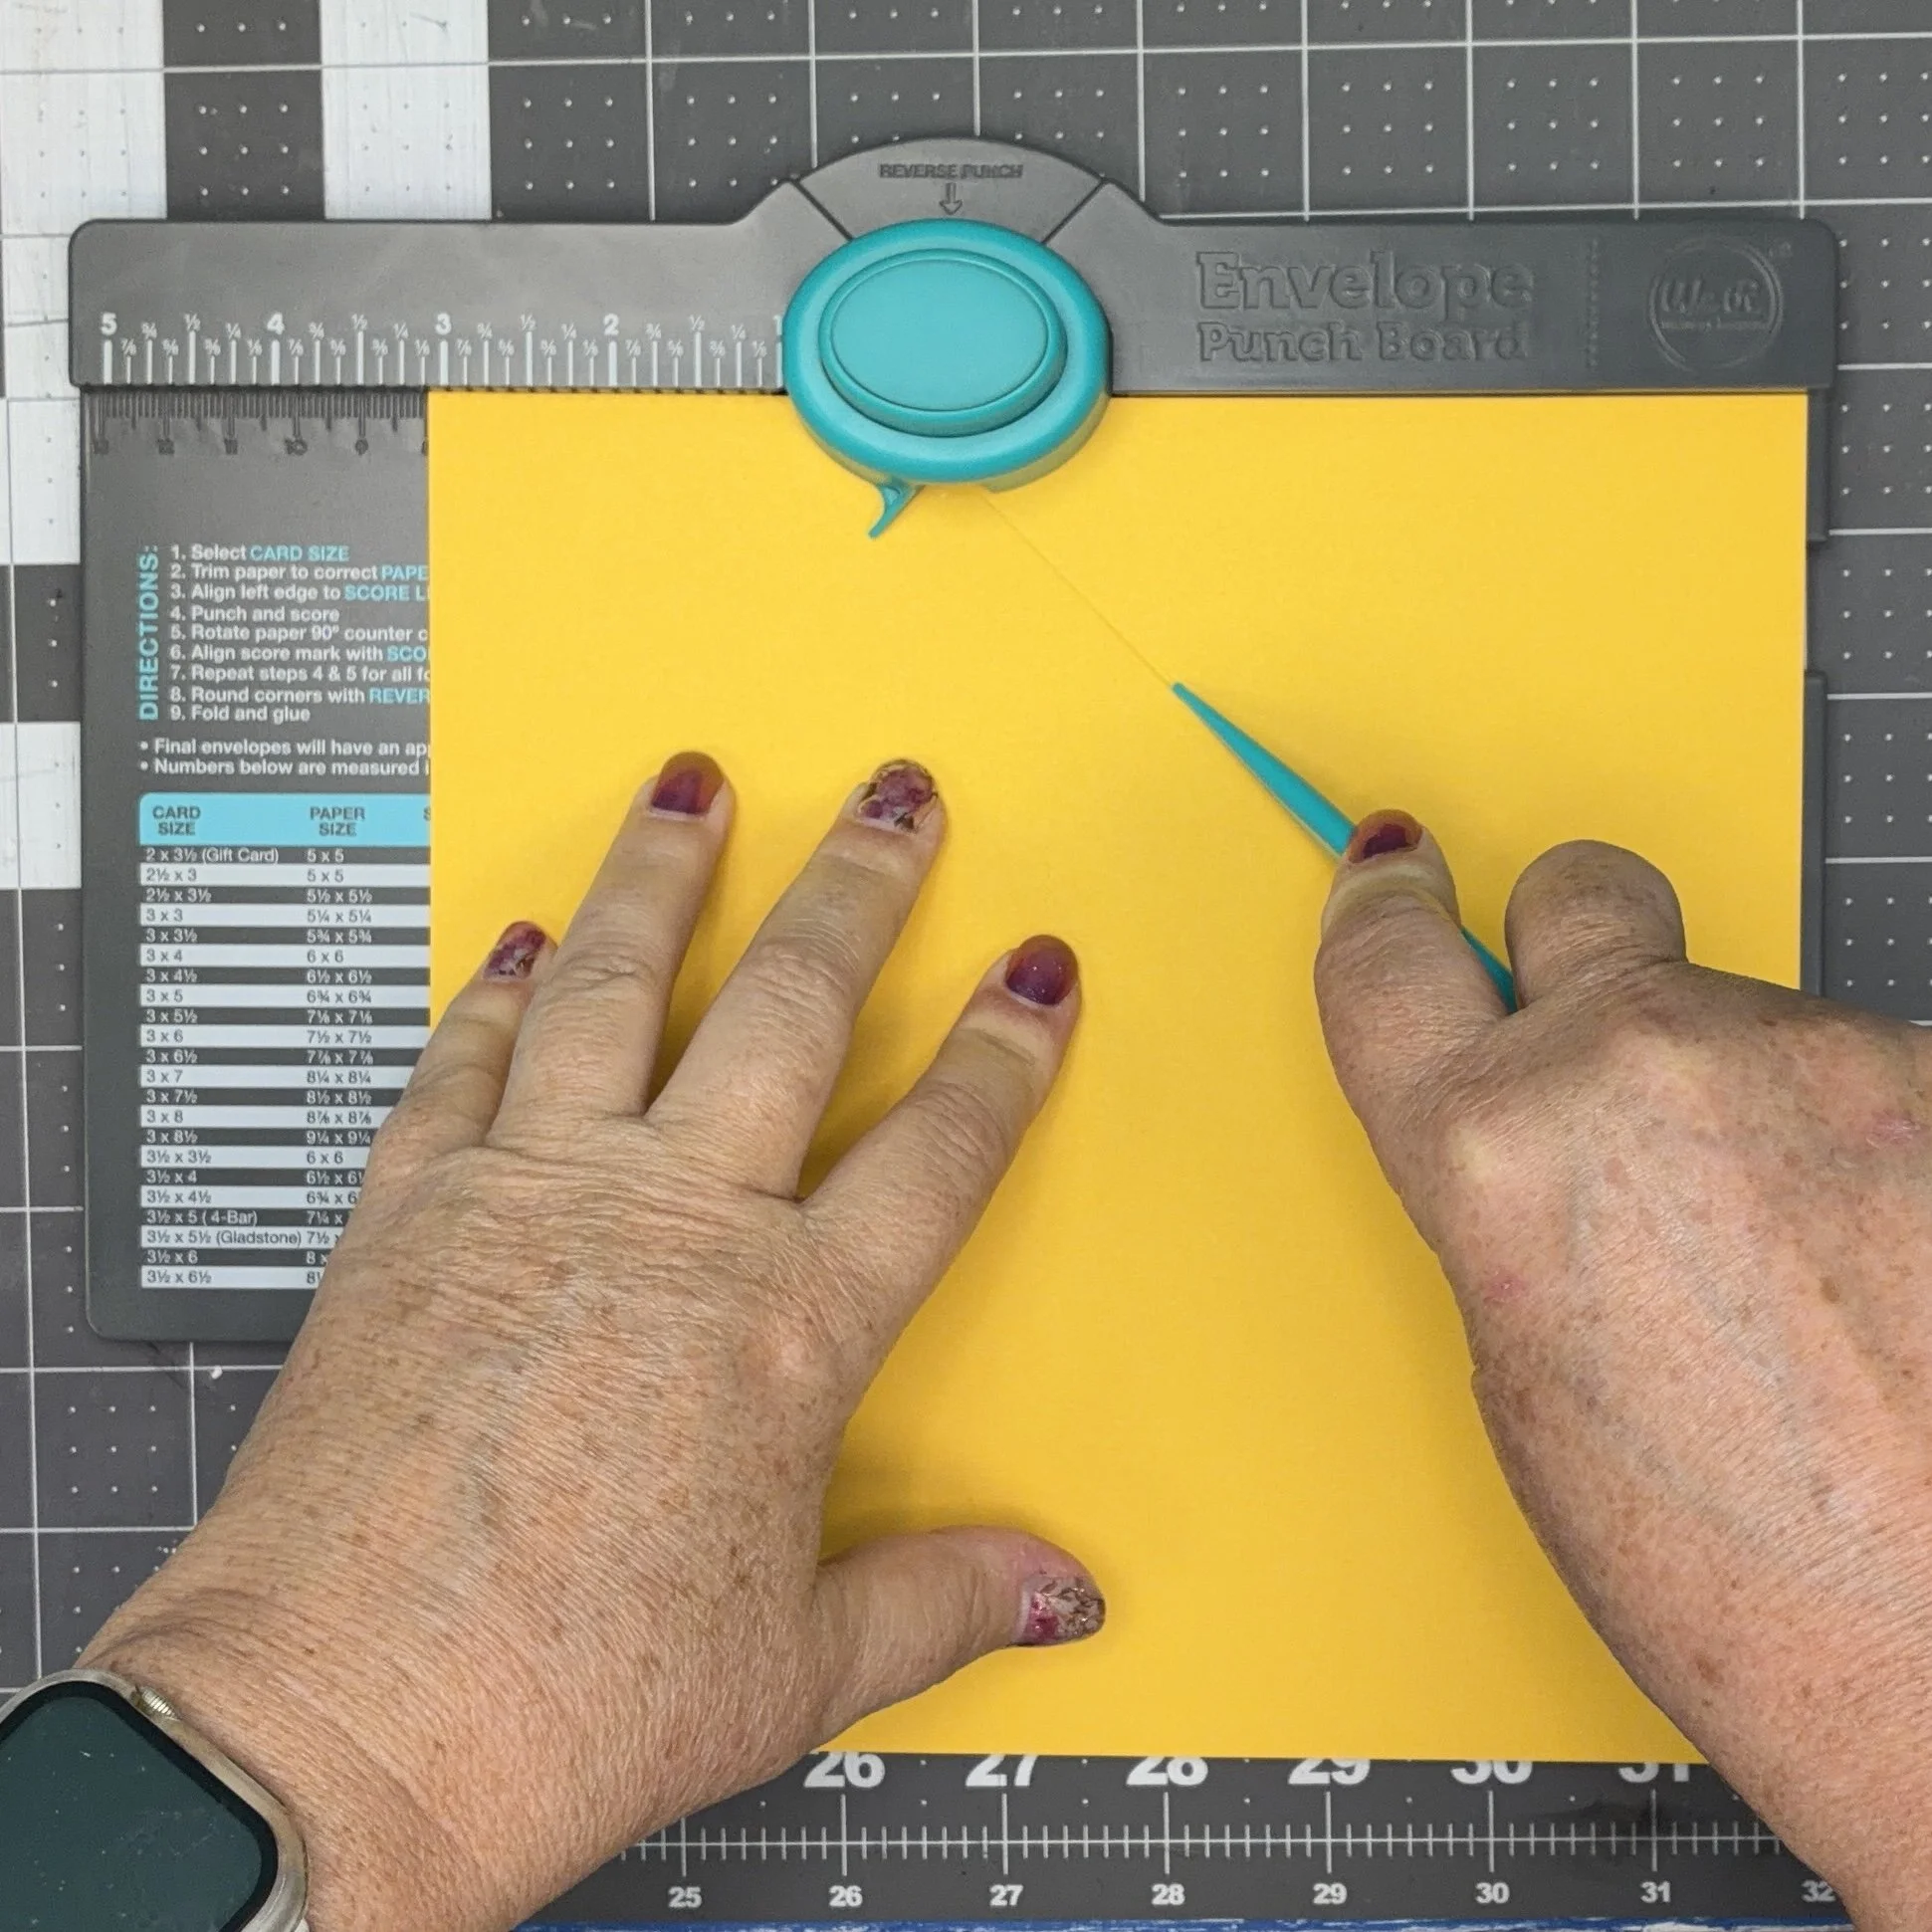
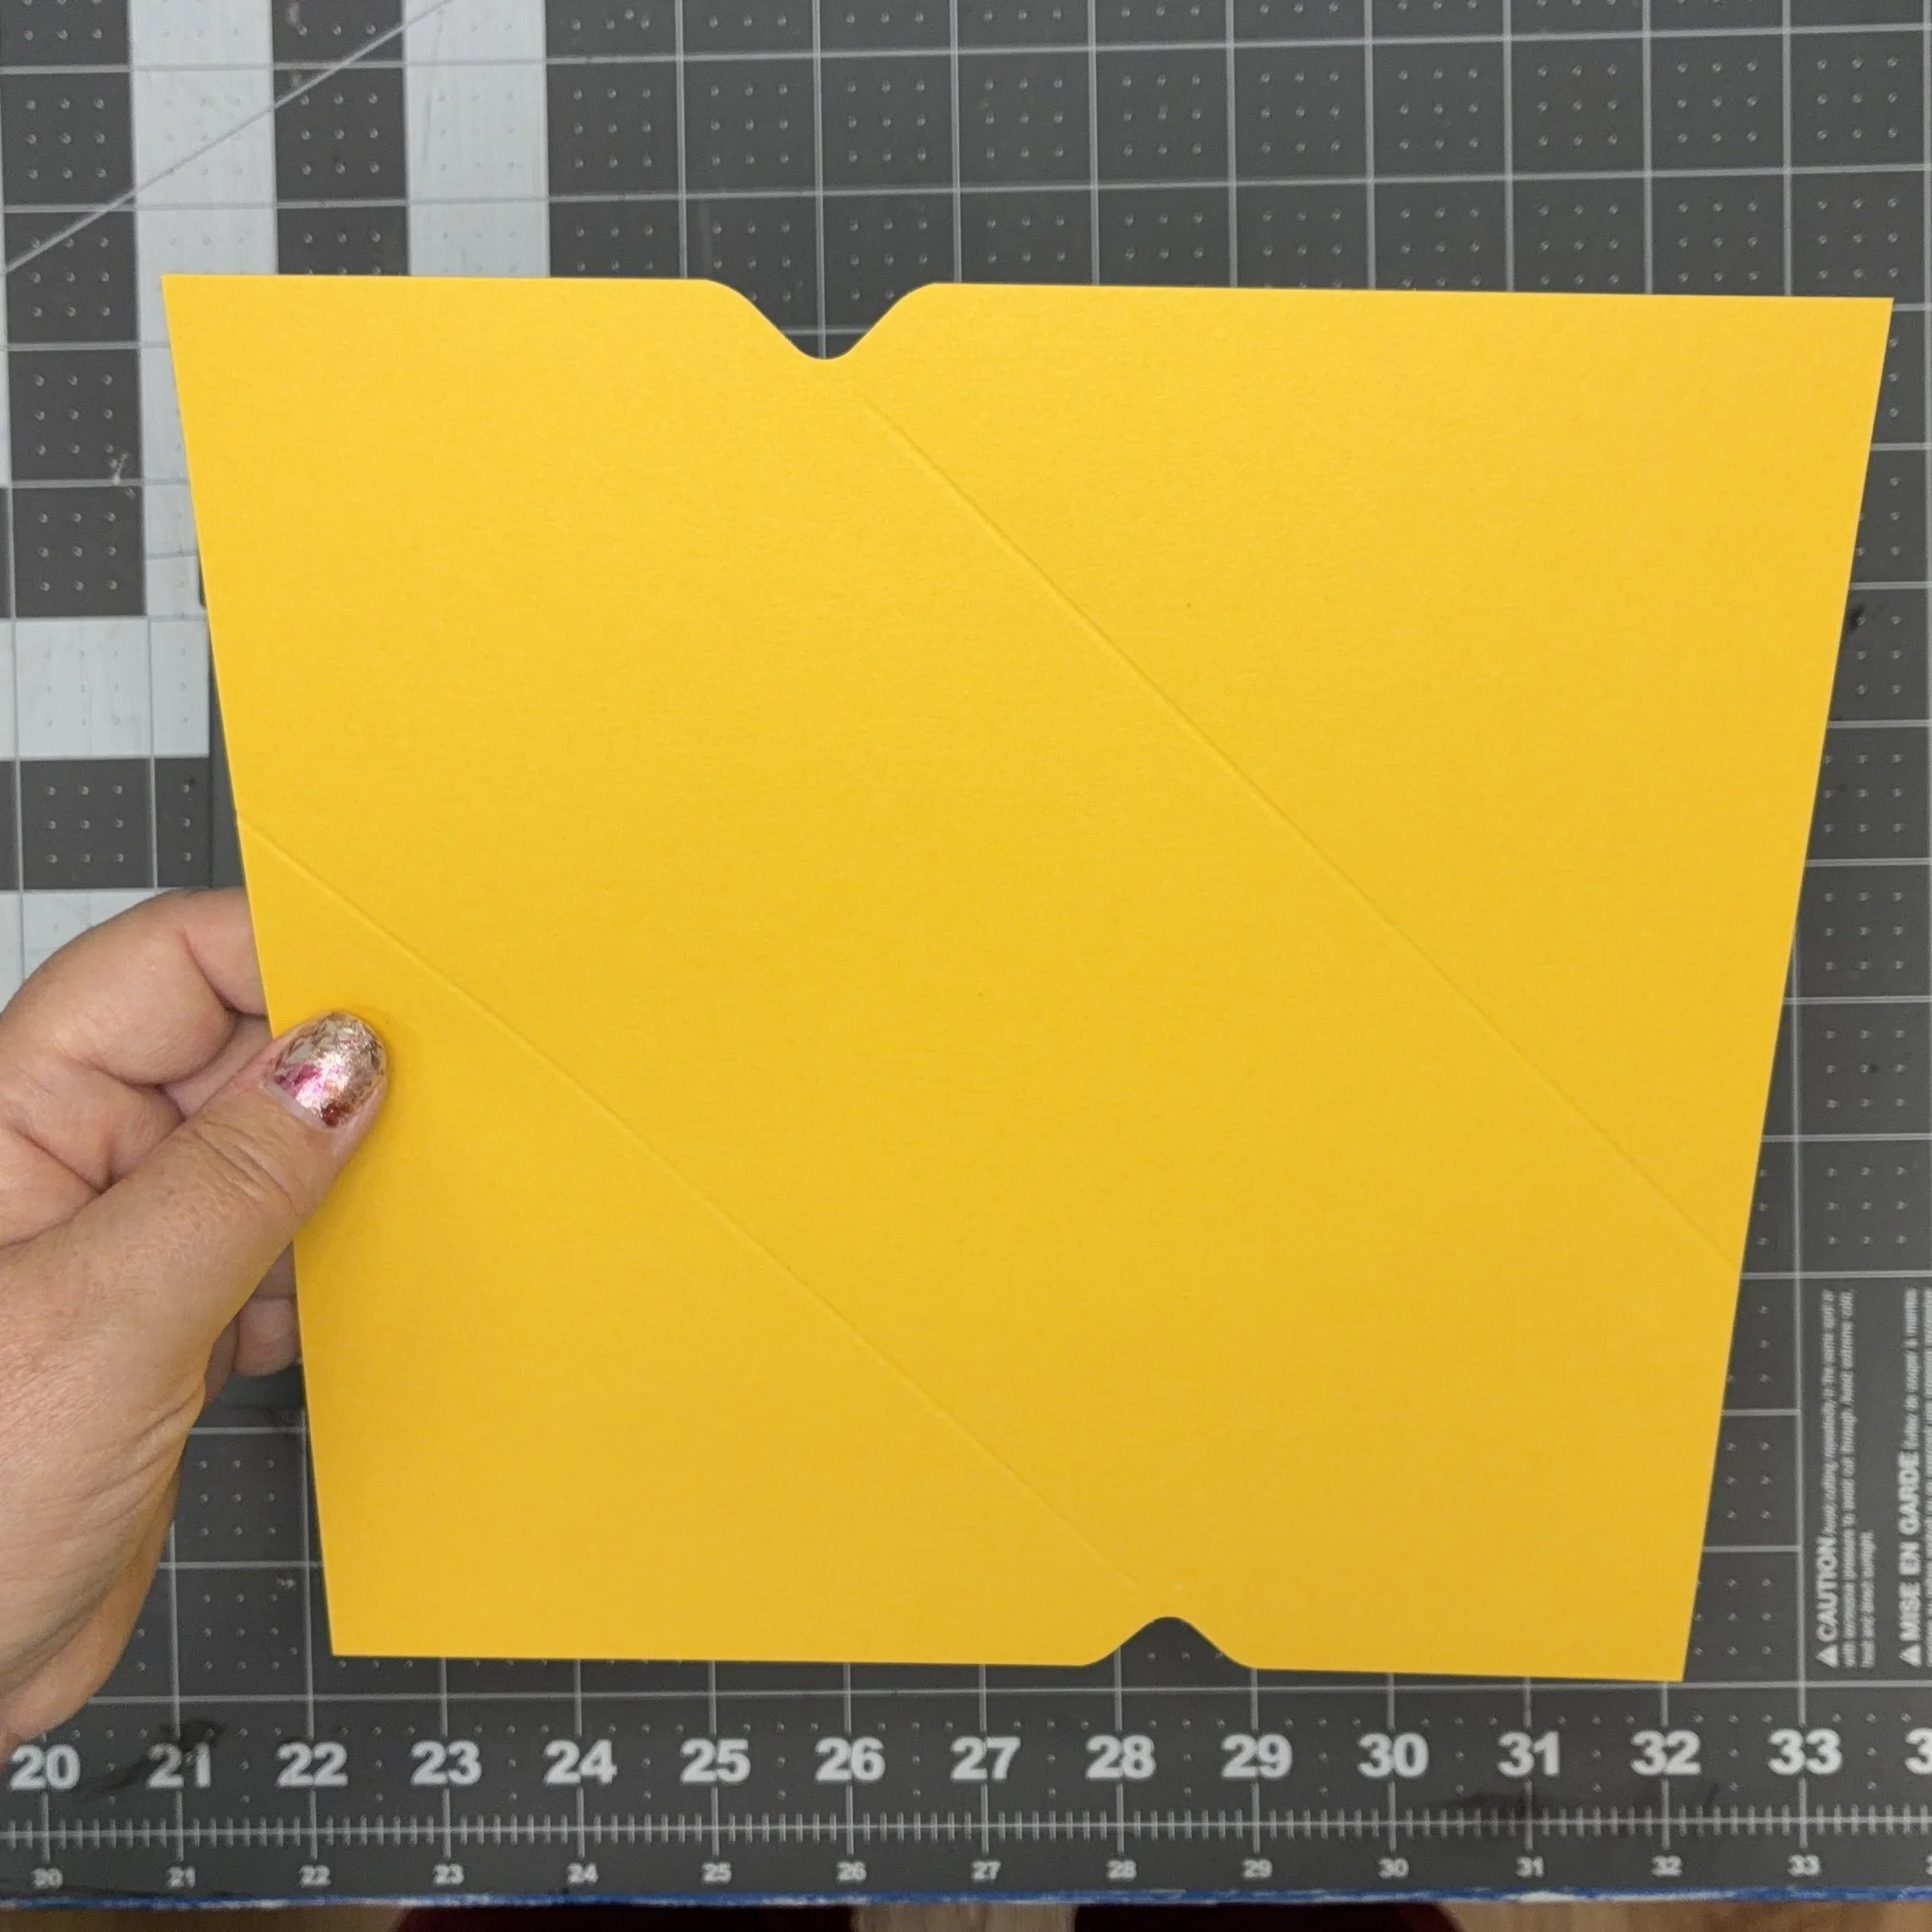
Now line up one of the intact edges along the top lip. You will want to align the scored line with the little indicator pointing off the bottom left edge of the punch button. To double check that you’re in the right place, check that the little notch on the right side of the paper lines up with the score groove. You will NOT be using the 3 1/8” measurement at the top again. Then punch and score again. Rotate the paper 180º and punch and score again.
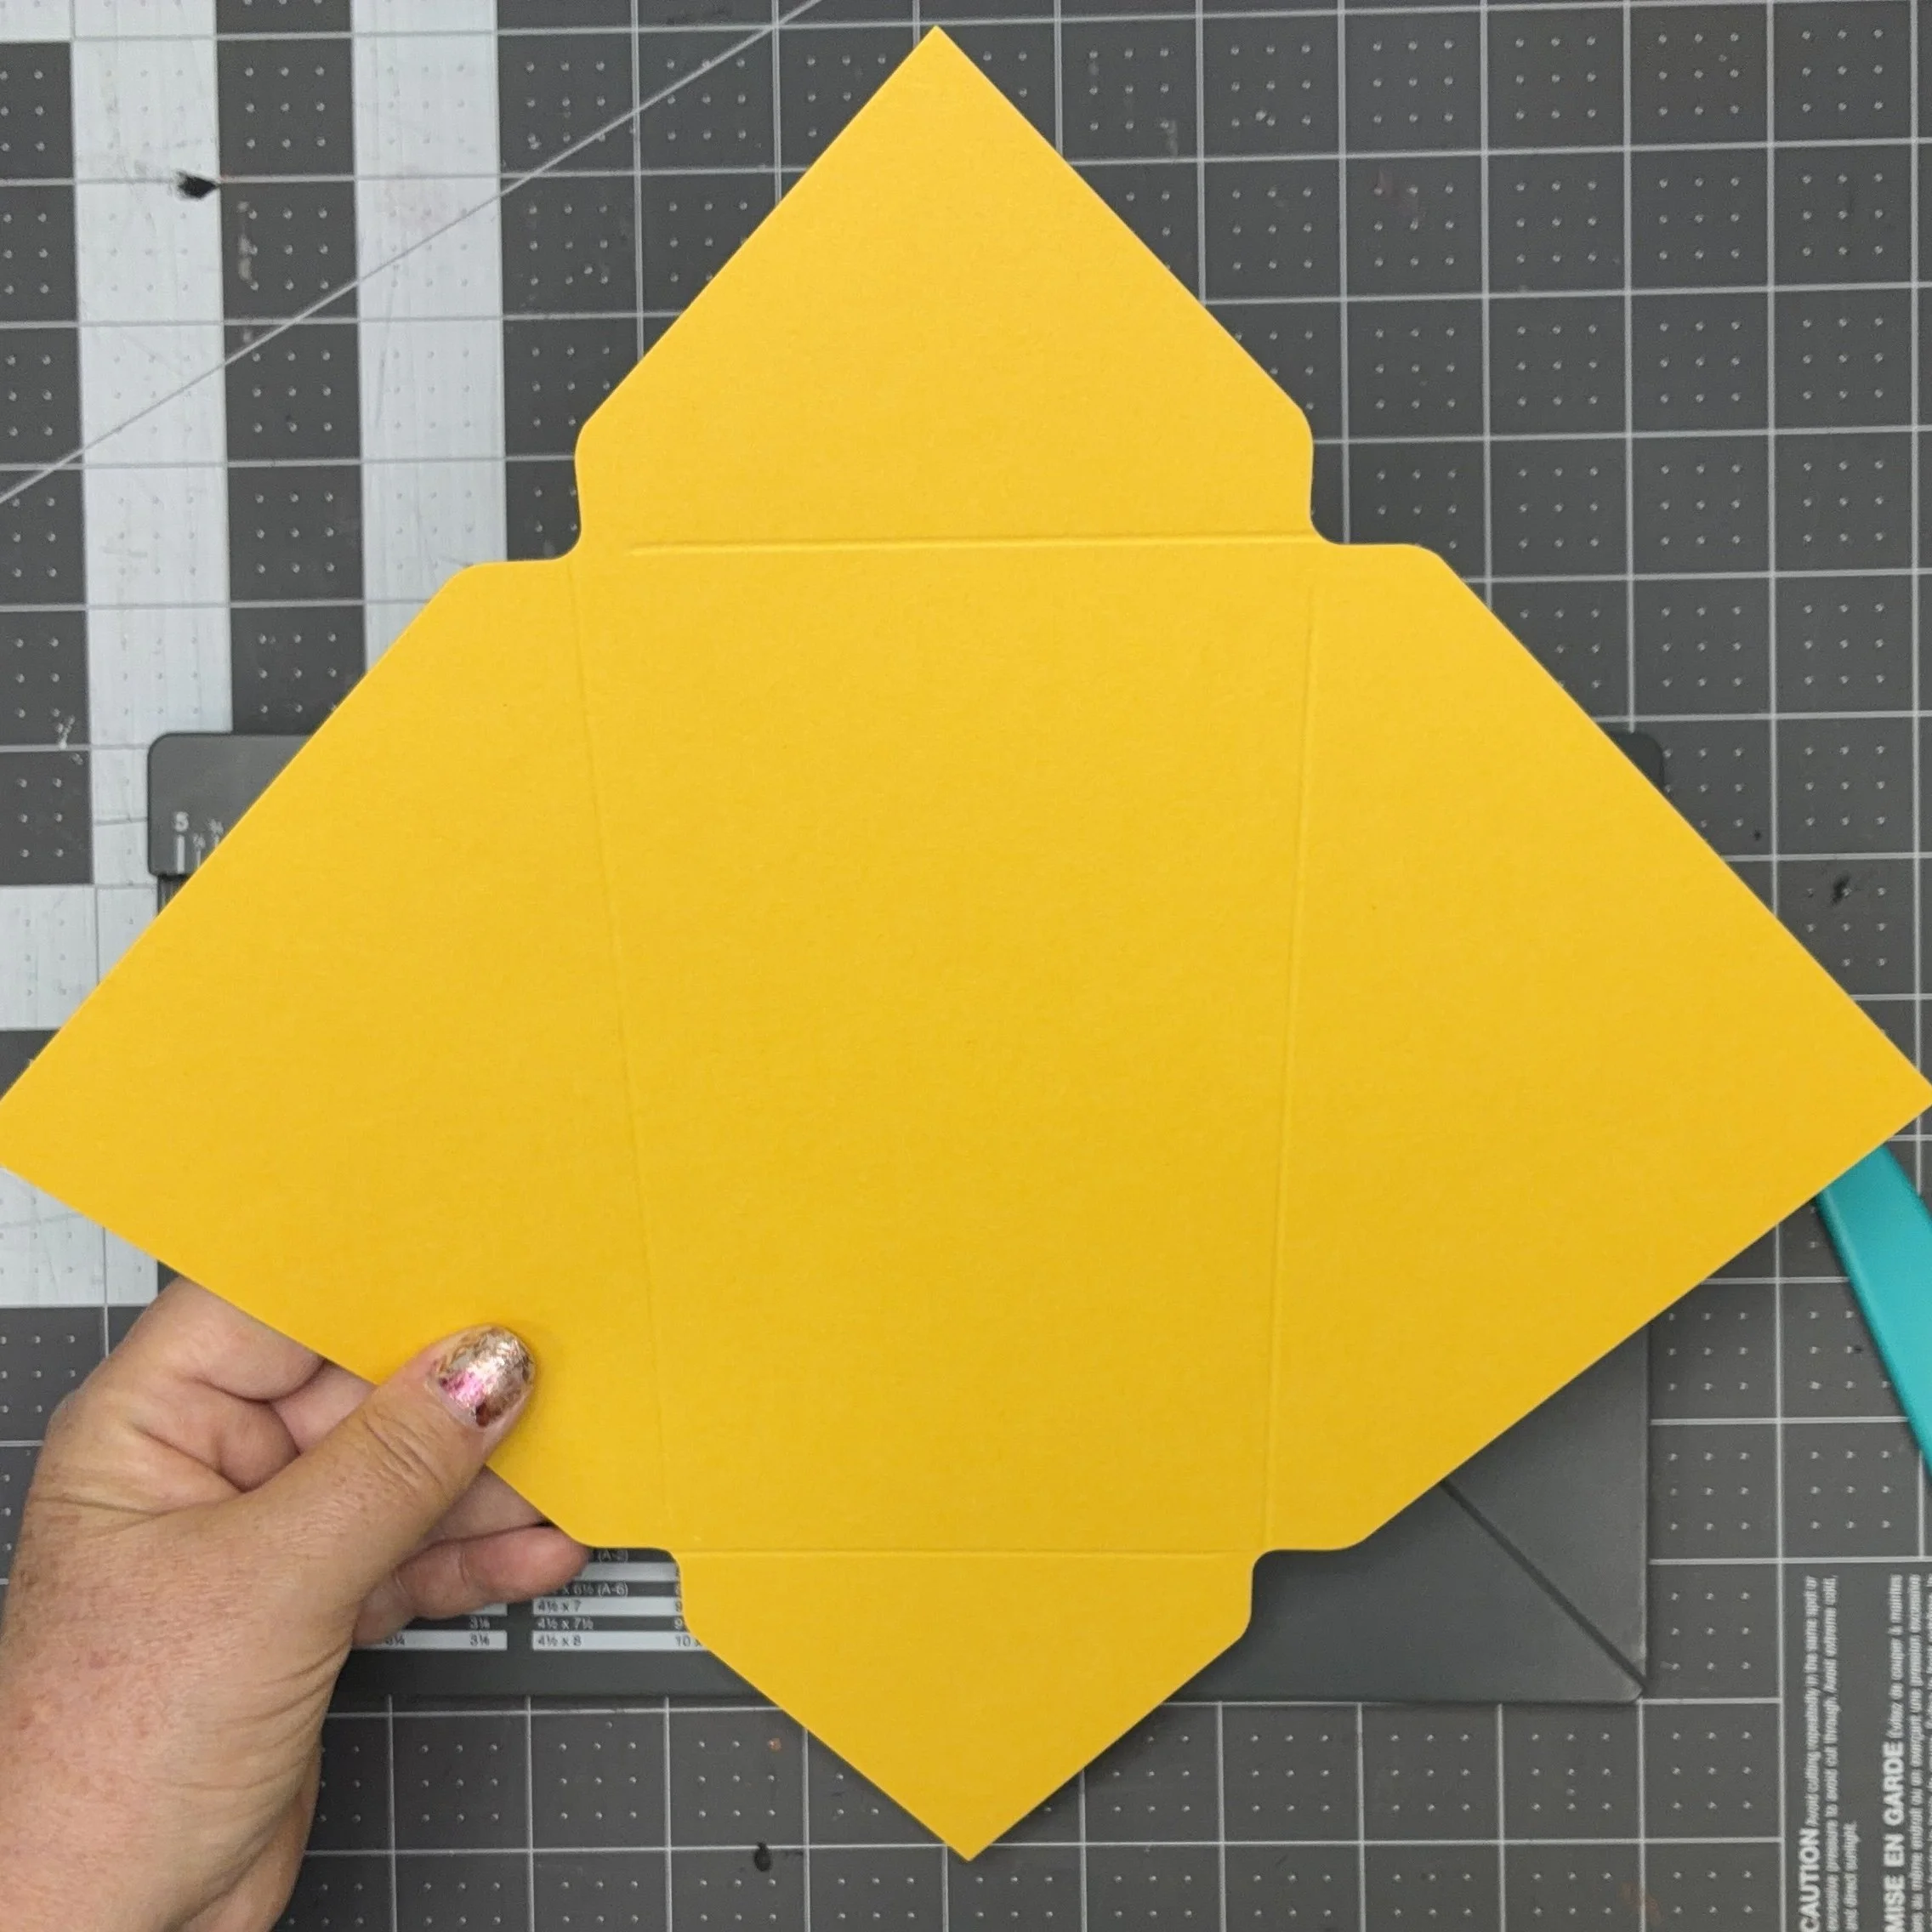
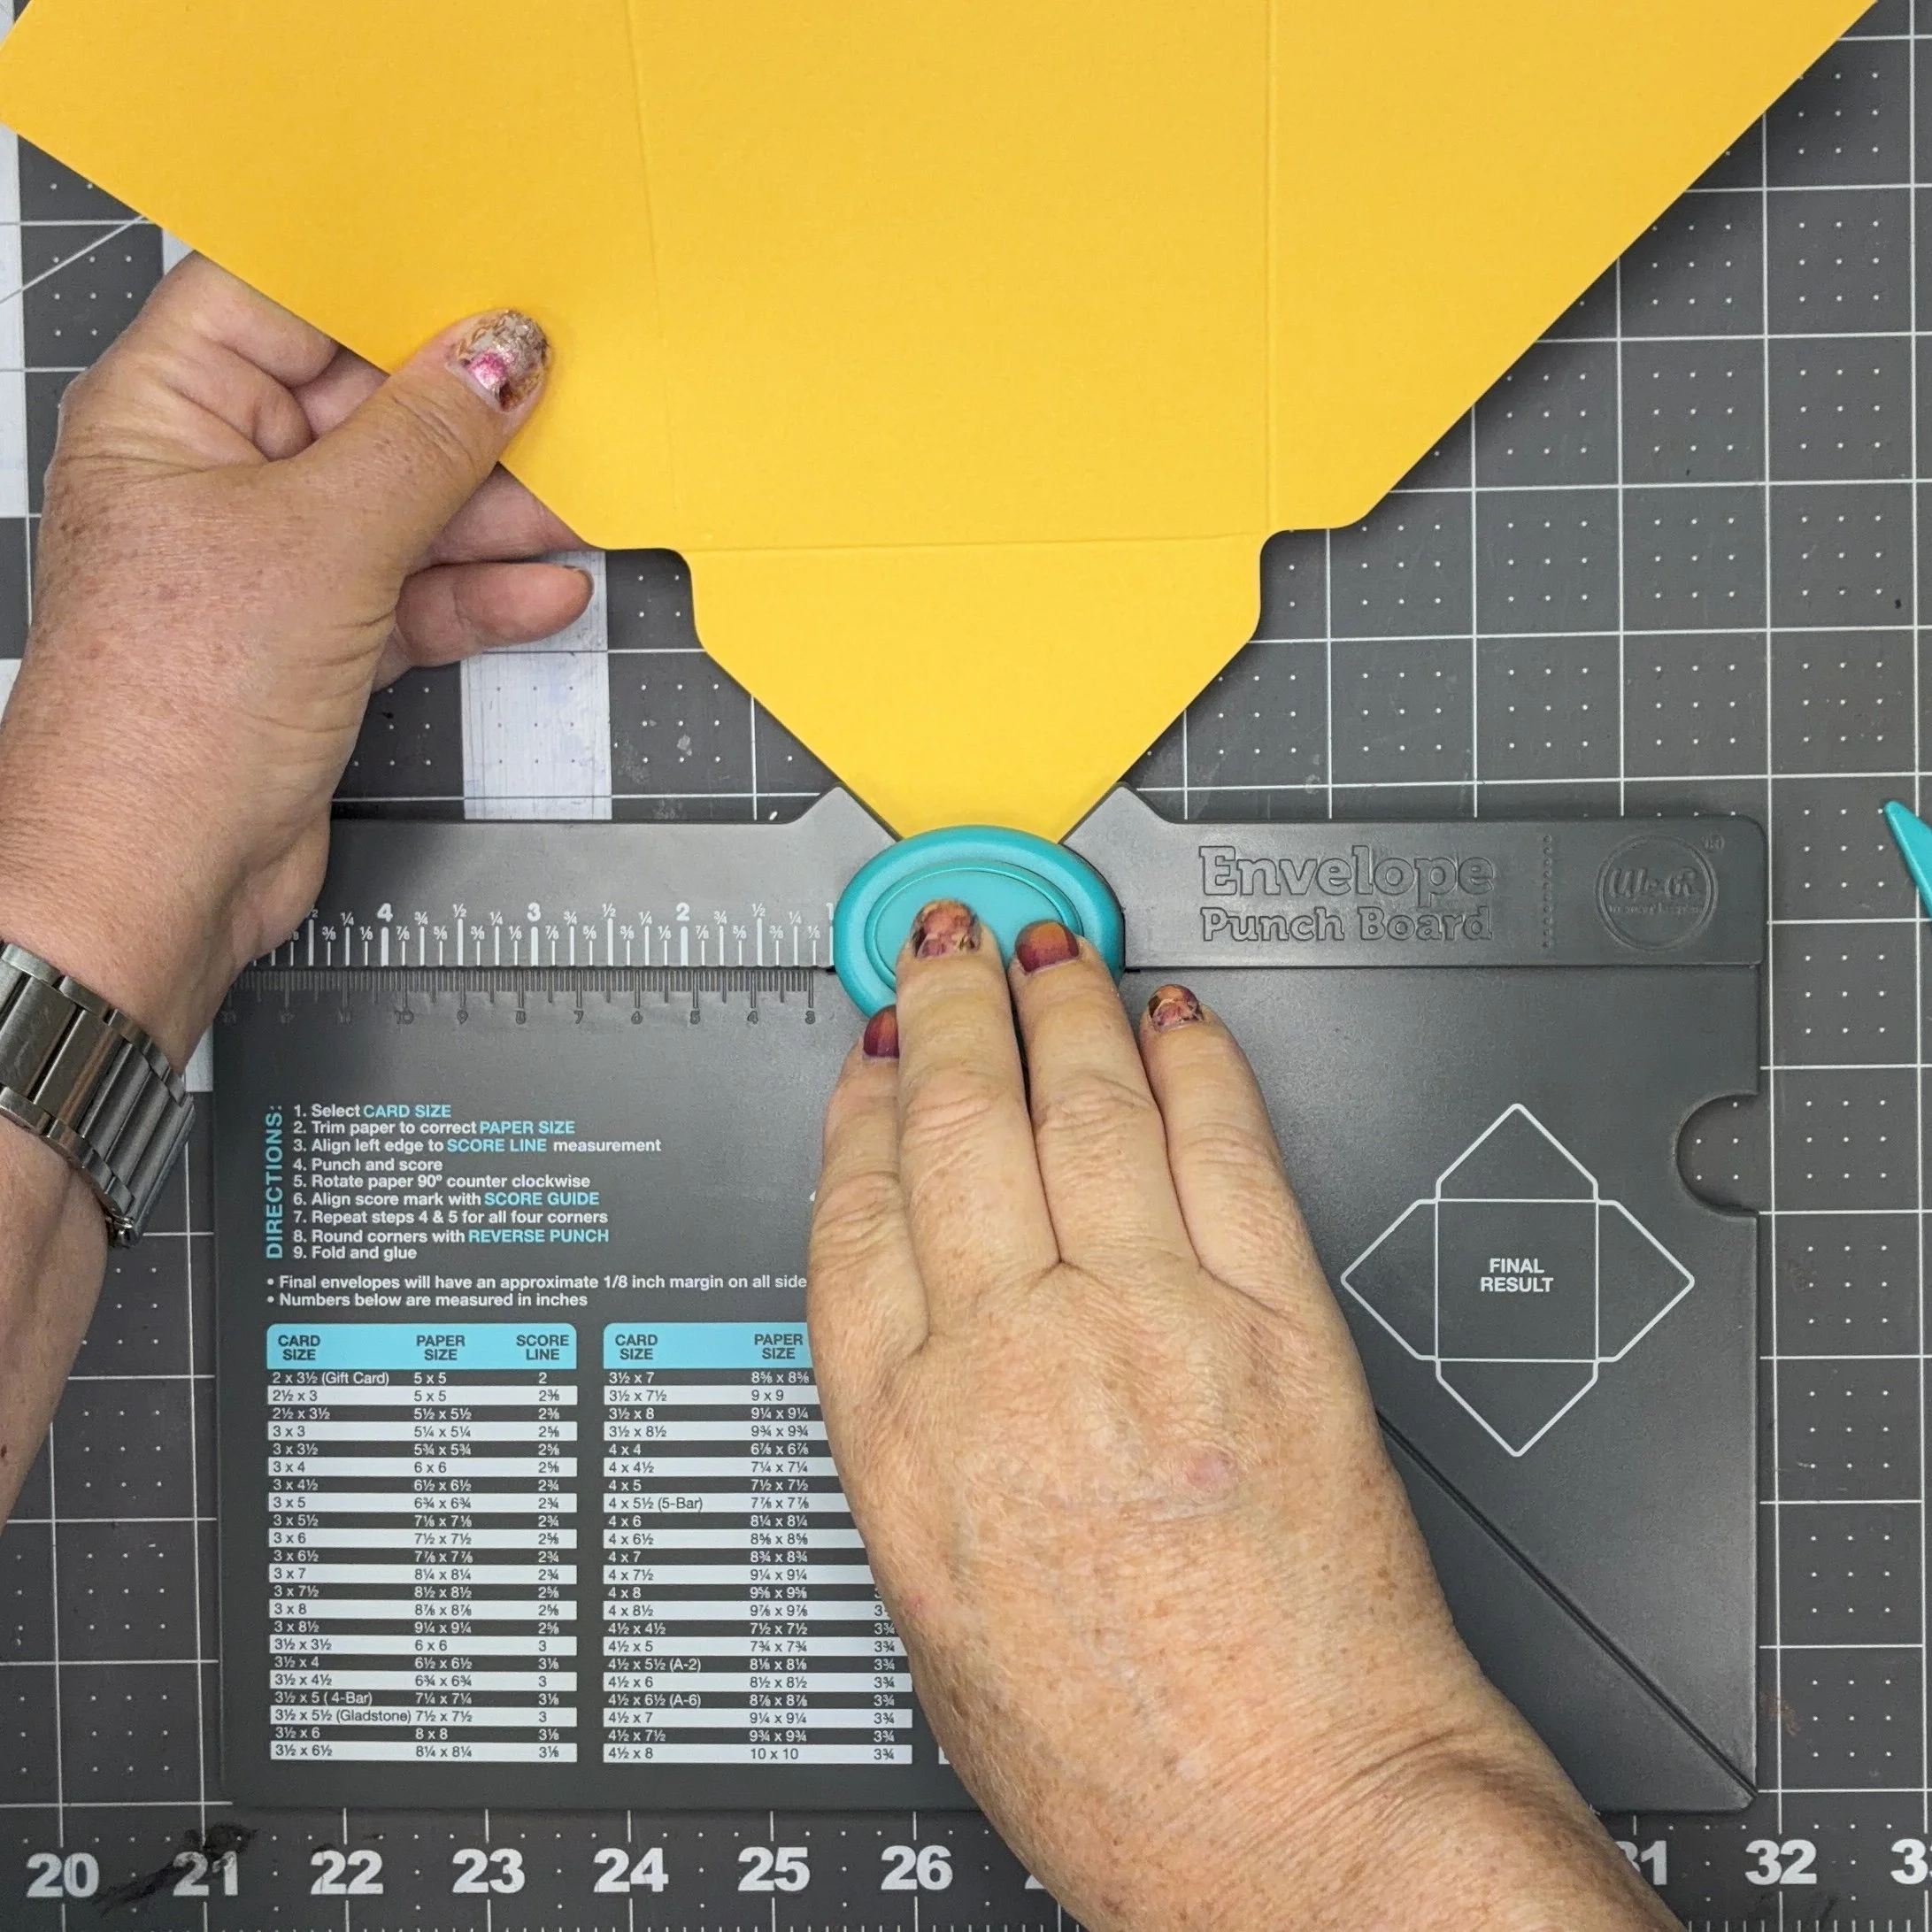
Now use the top of the punch button to round all four corners of your paper. This is an optional step but I always do it, as it gives a much nicer finish. Once that’s done, use the bone folder to help you fold along all four score lines. You want nice crisp folds.
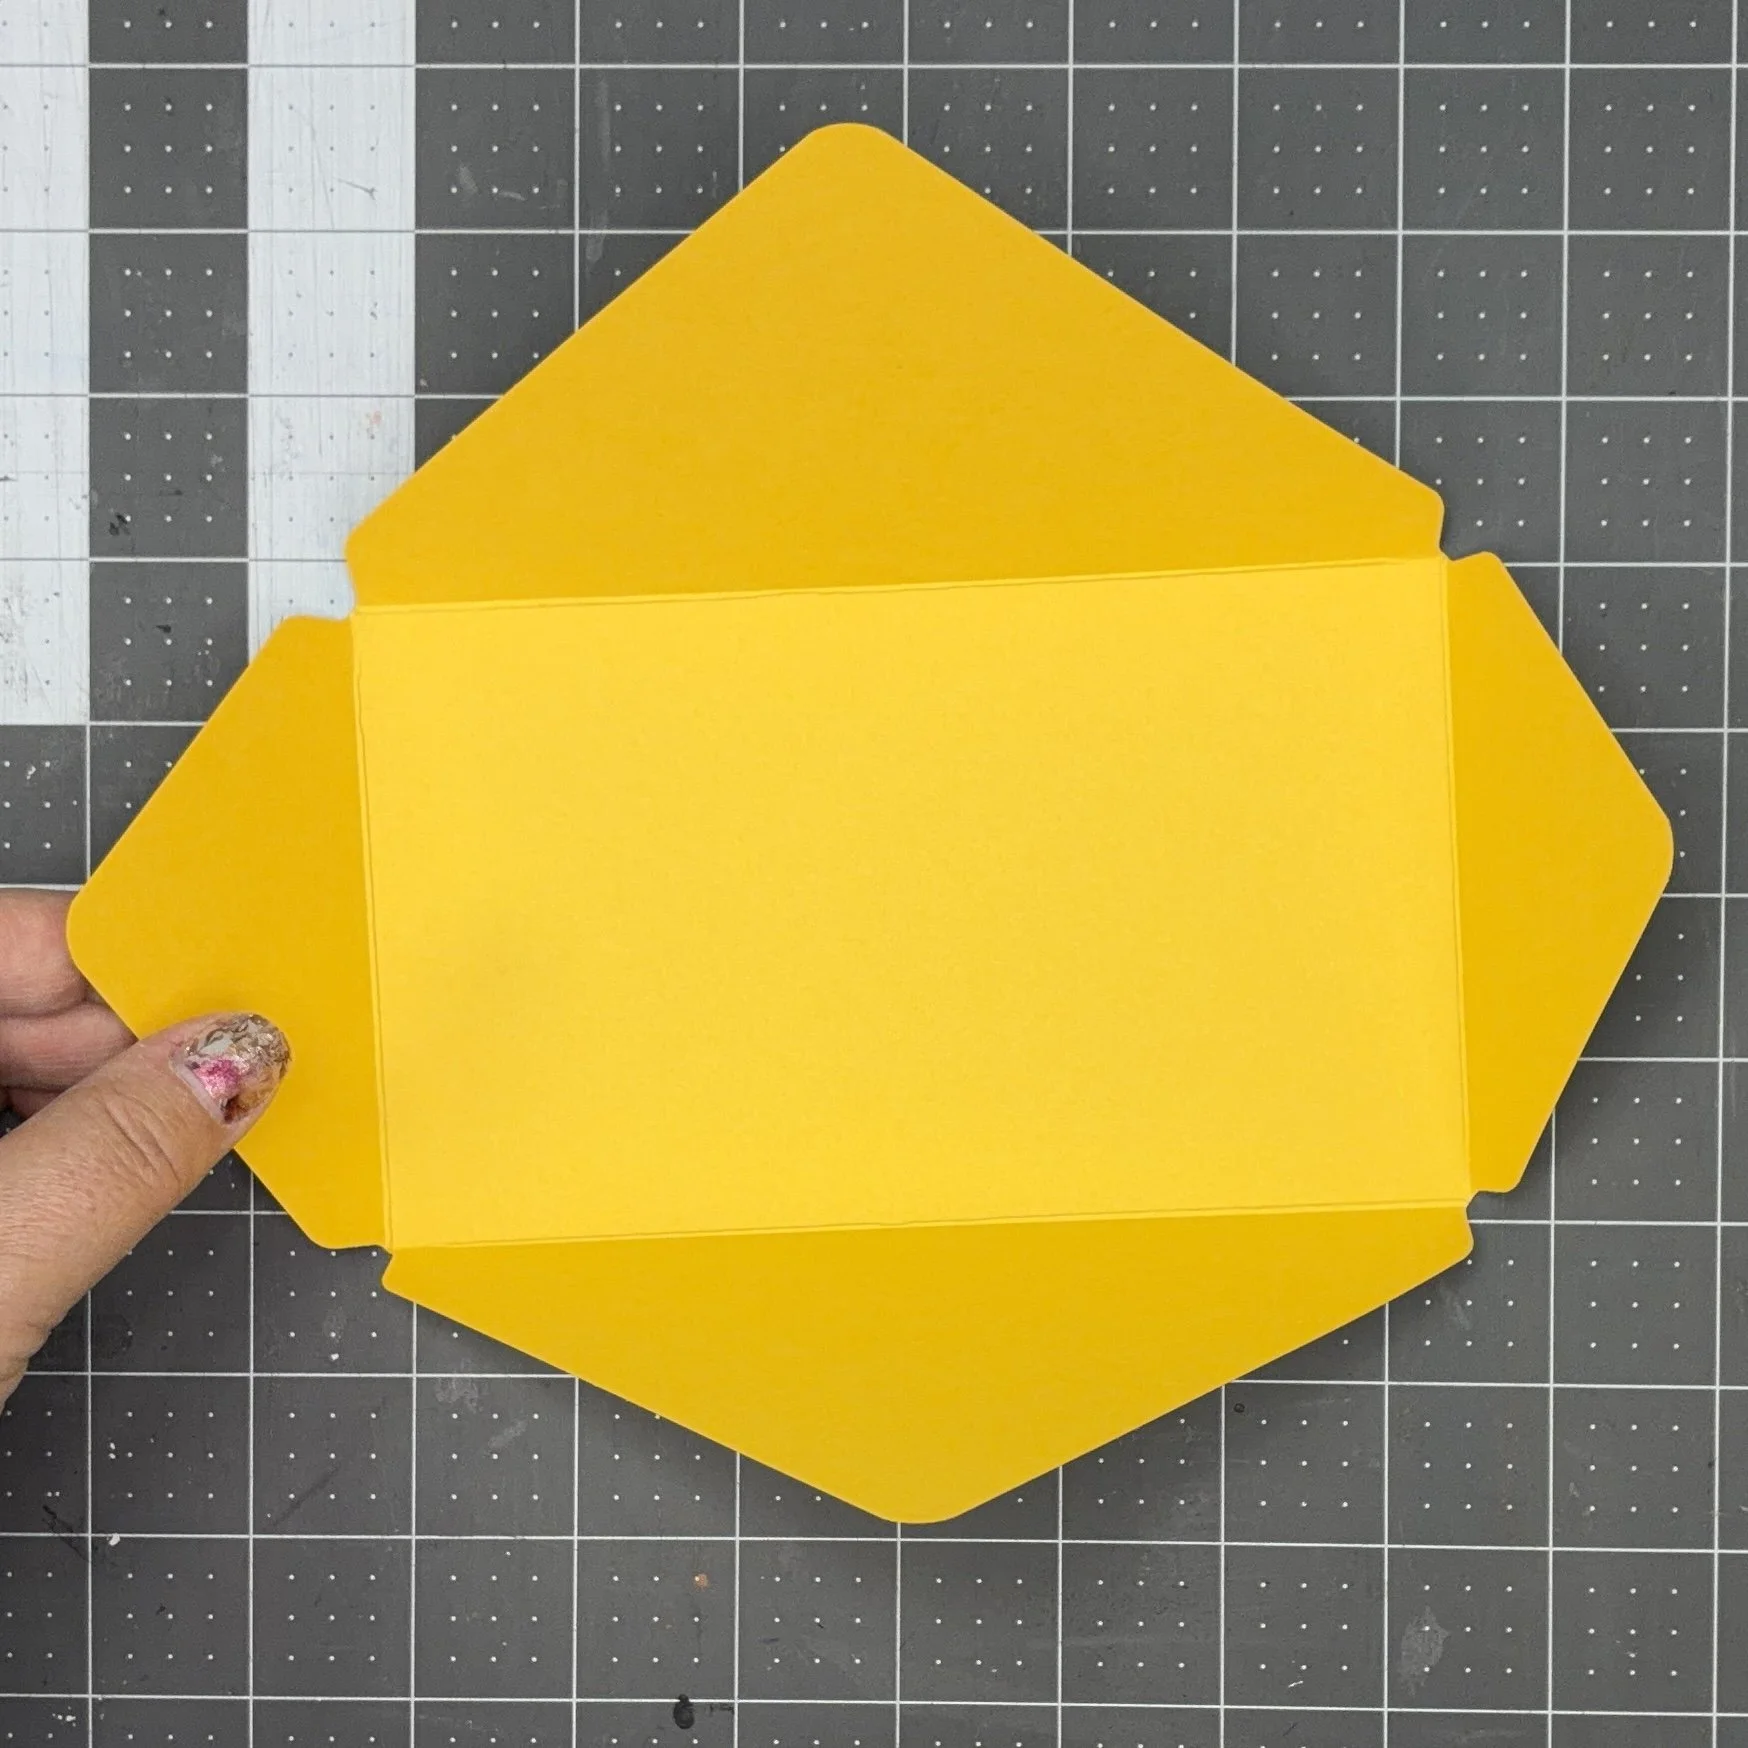
Now grab your double-sided tape, and apply a piece to the outside of the short flaps. Not the whole edge, just one half of it. Once those flaps fold in, the tape will be on the inside where it’s needed. Yes, you could absolutely use glue here. You’d just have to wait for it to dry. Peel the back off the tape, fold those flaps in, and fold one of the long sides over the flaps so that the tape grabs it. Press this very firmly to make sure it’s stuck down properly.
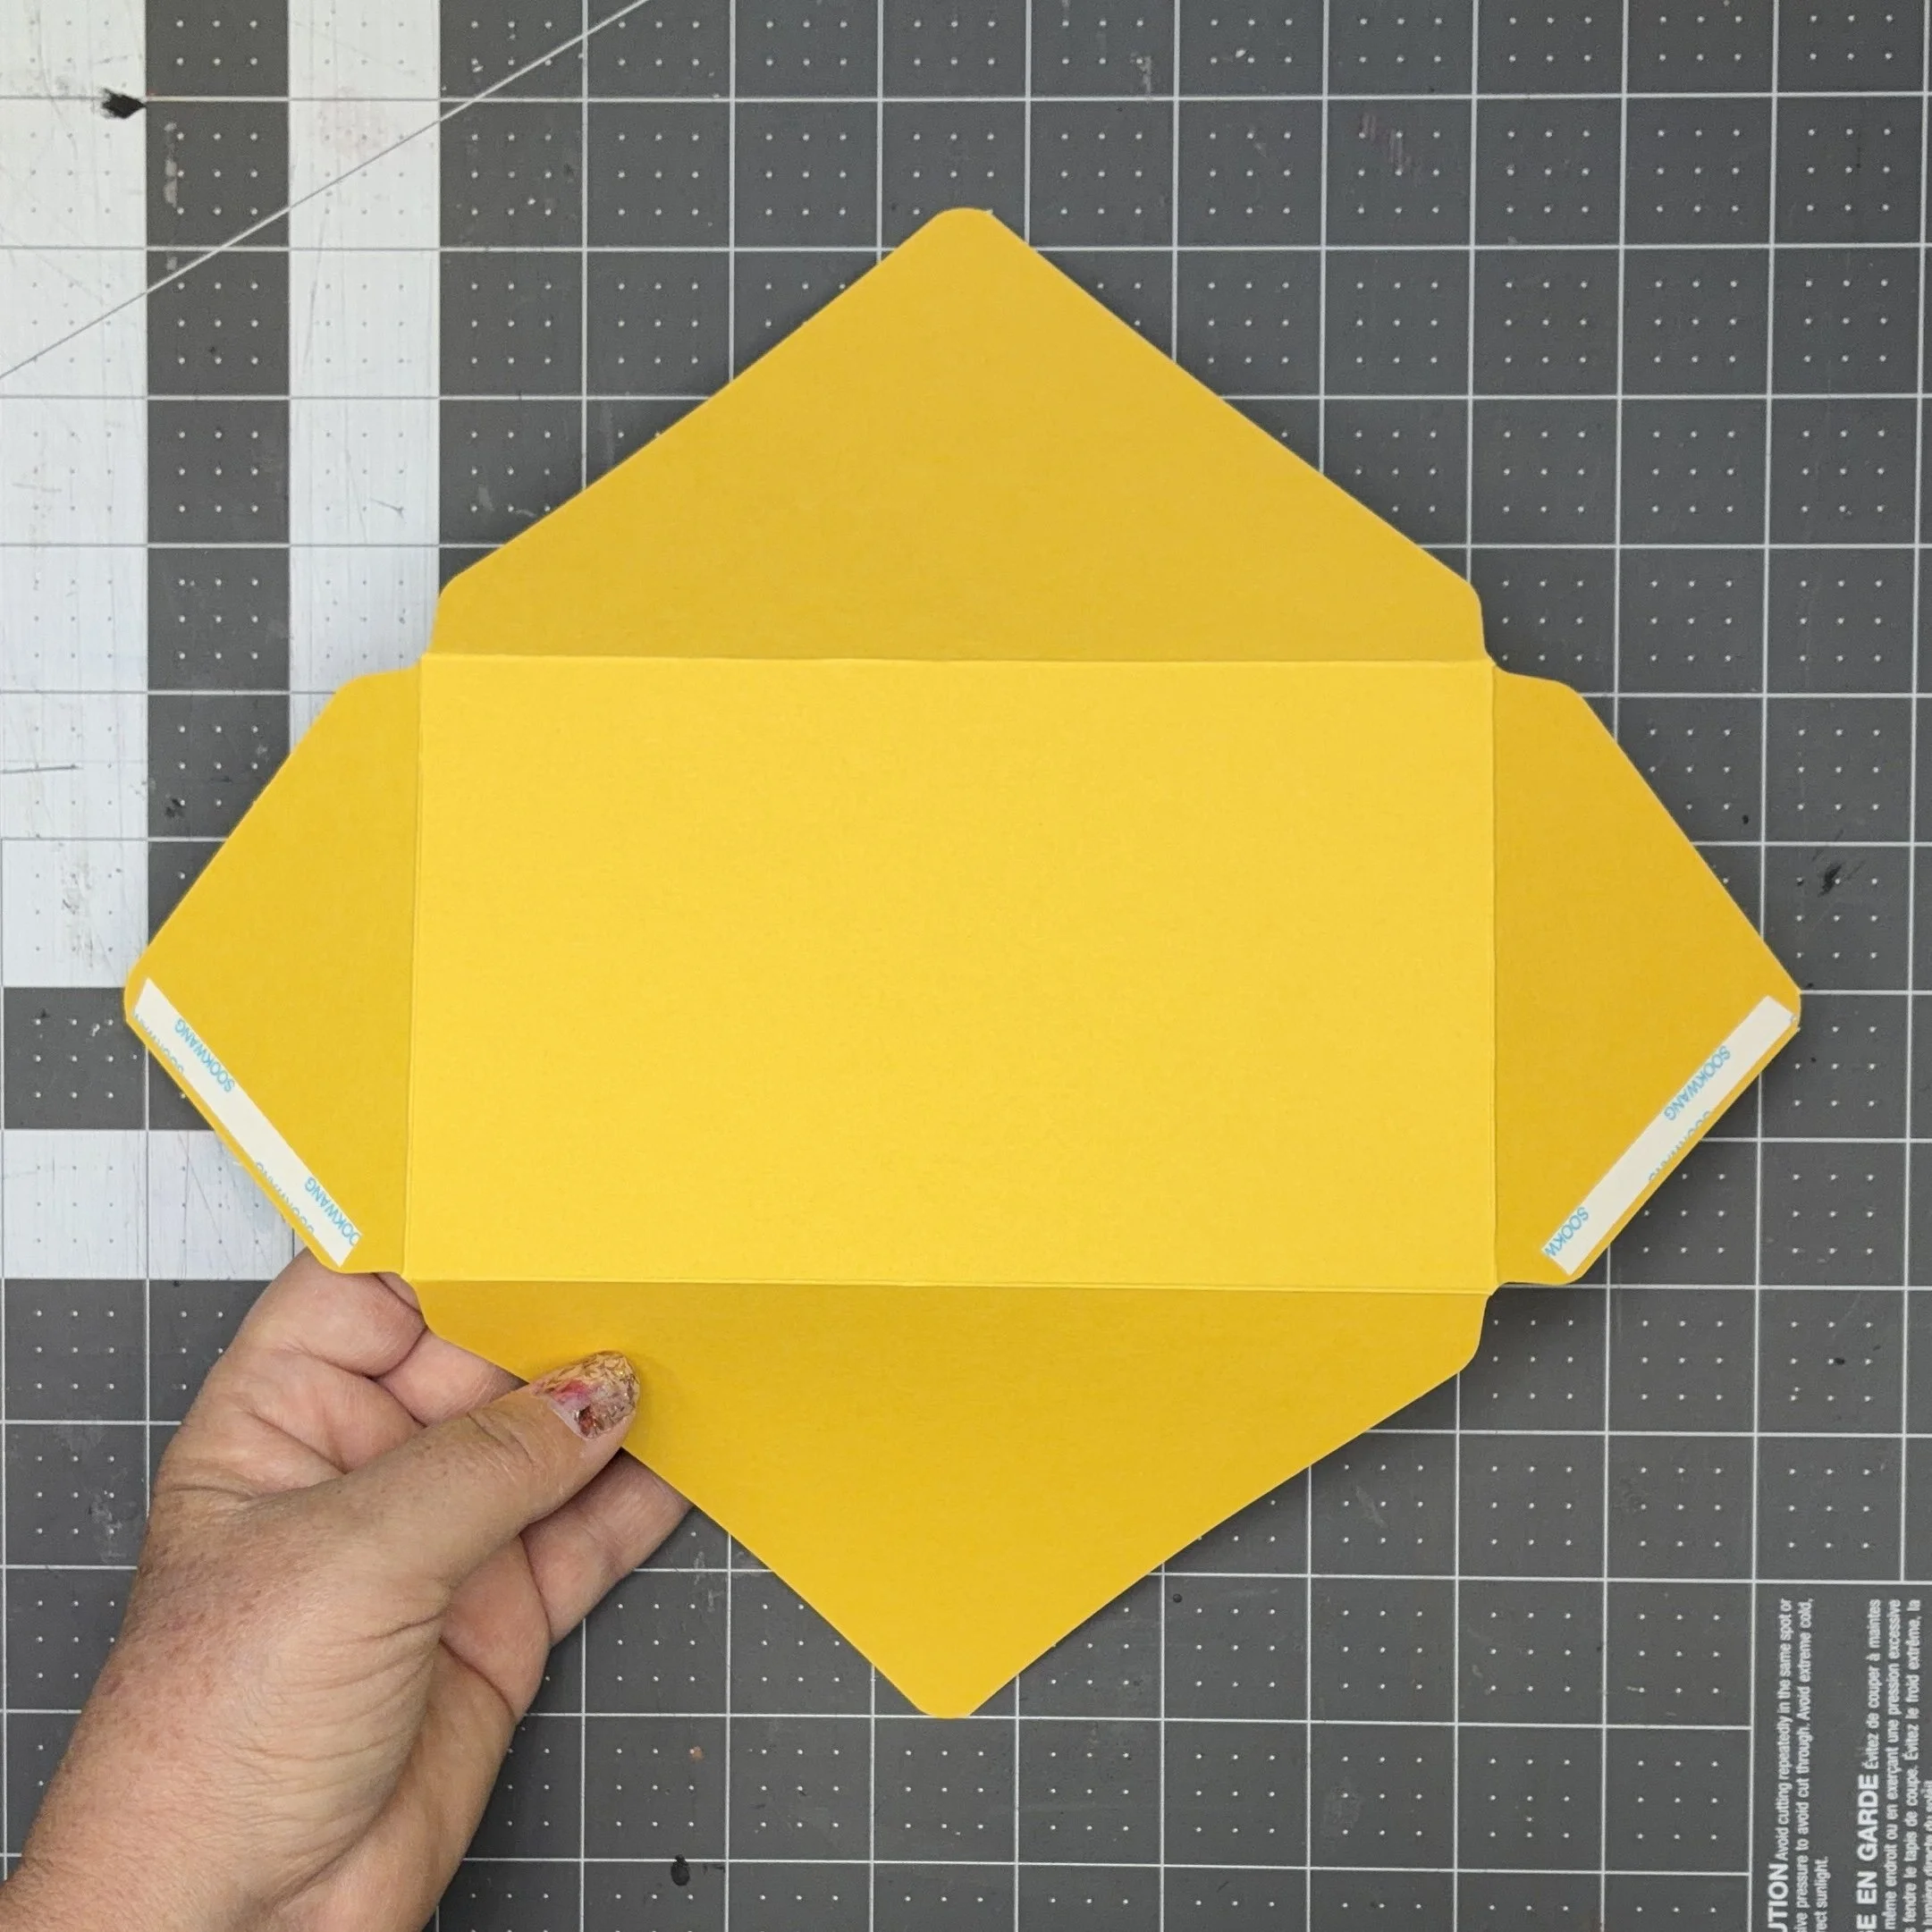
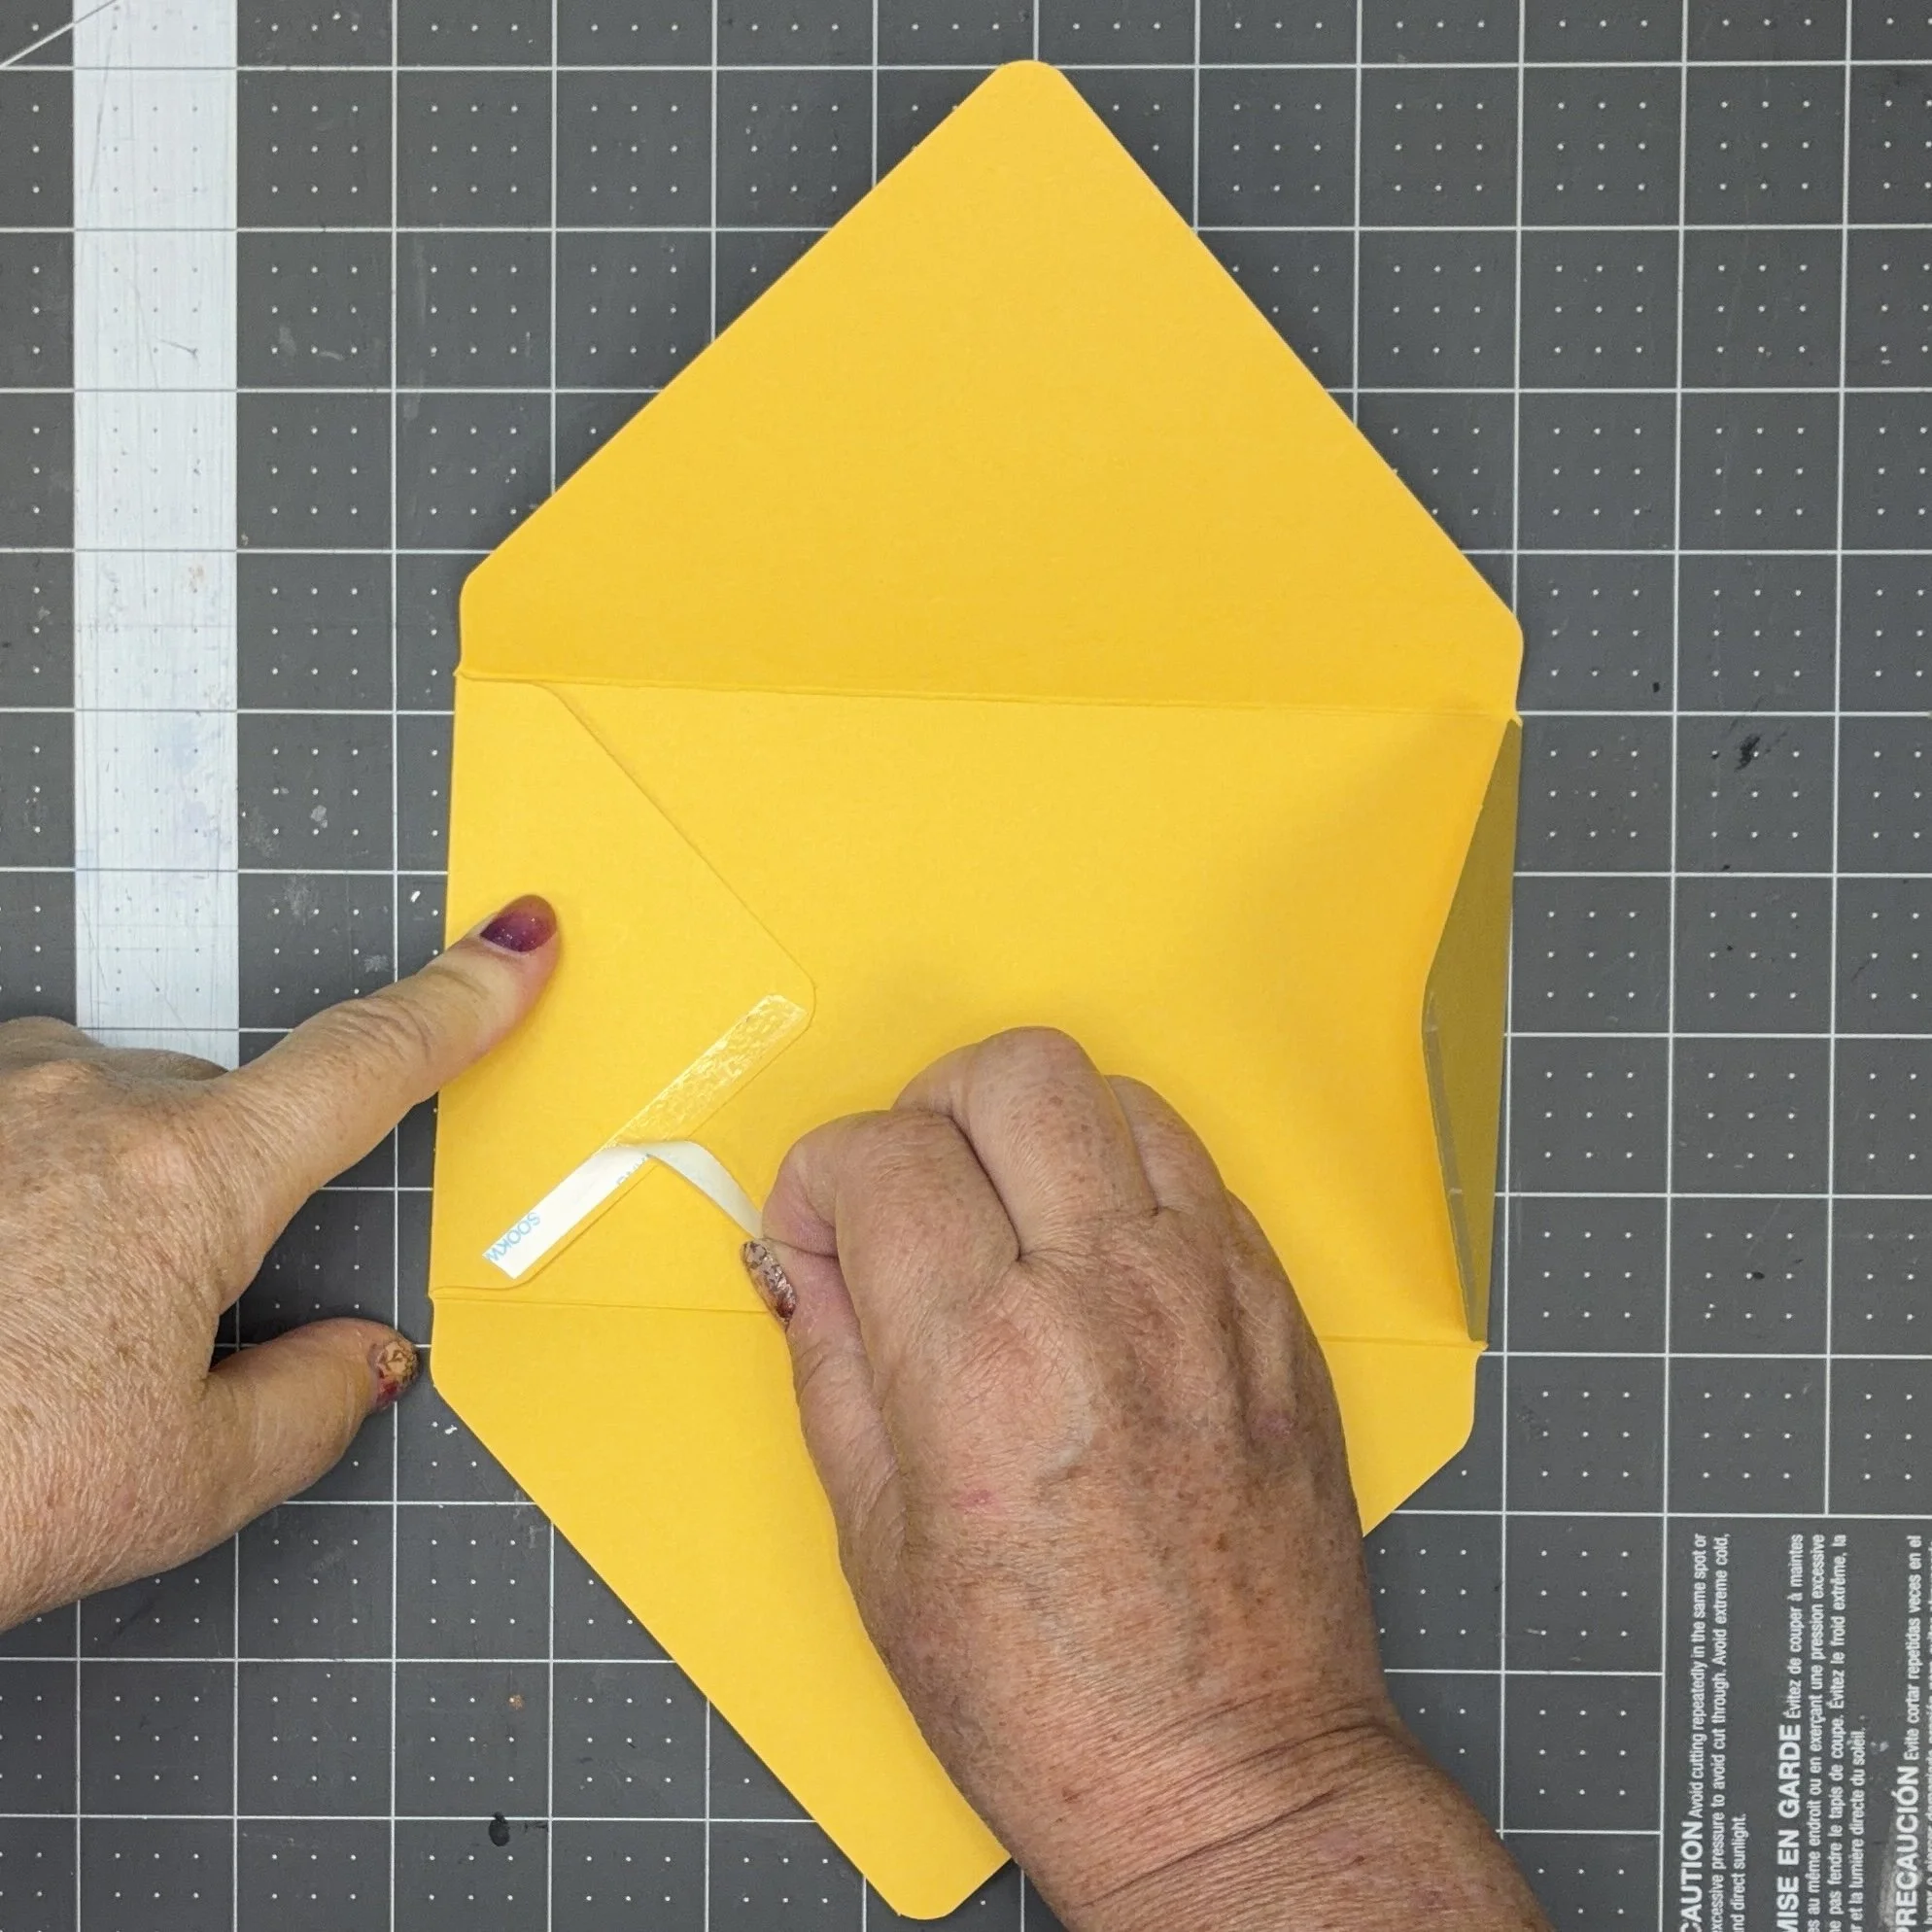
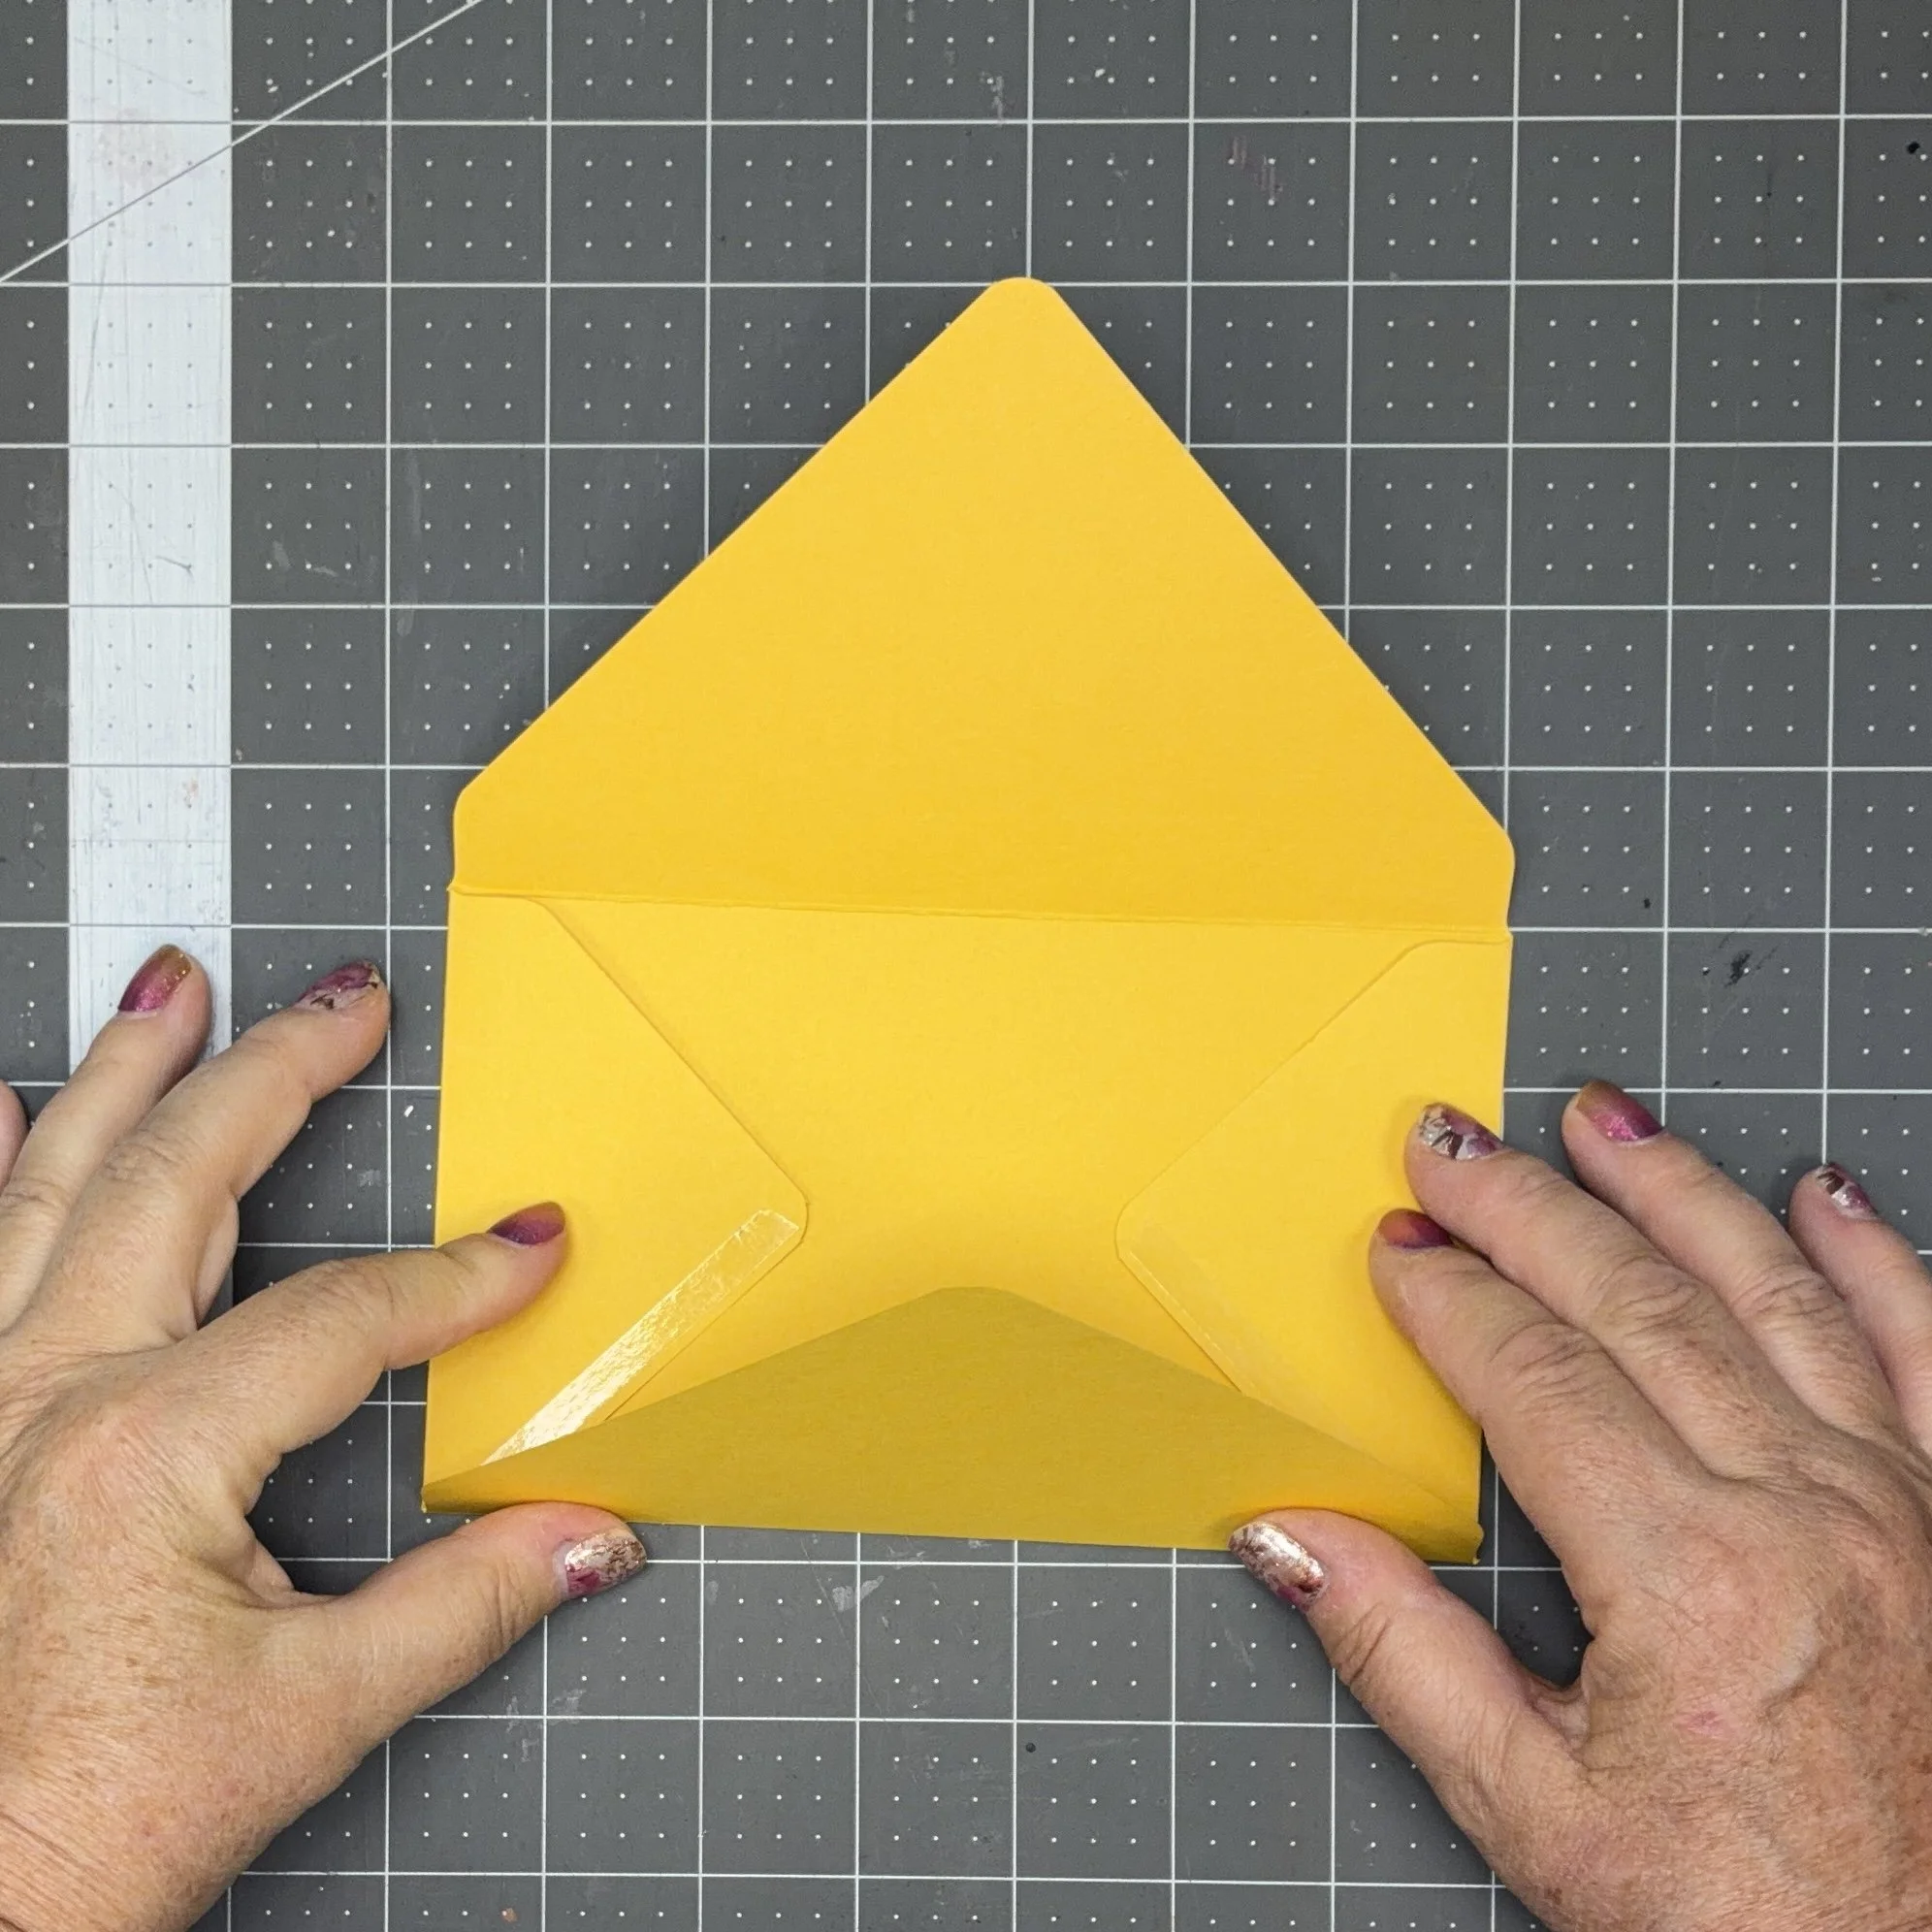
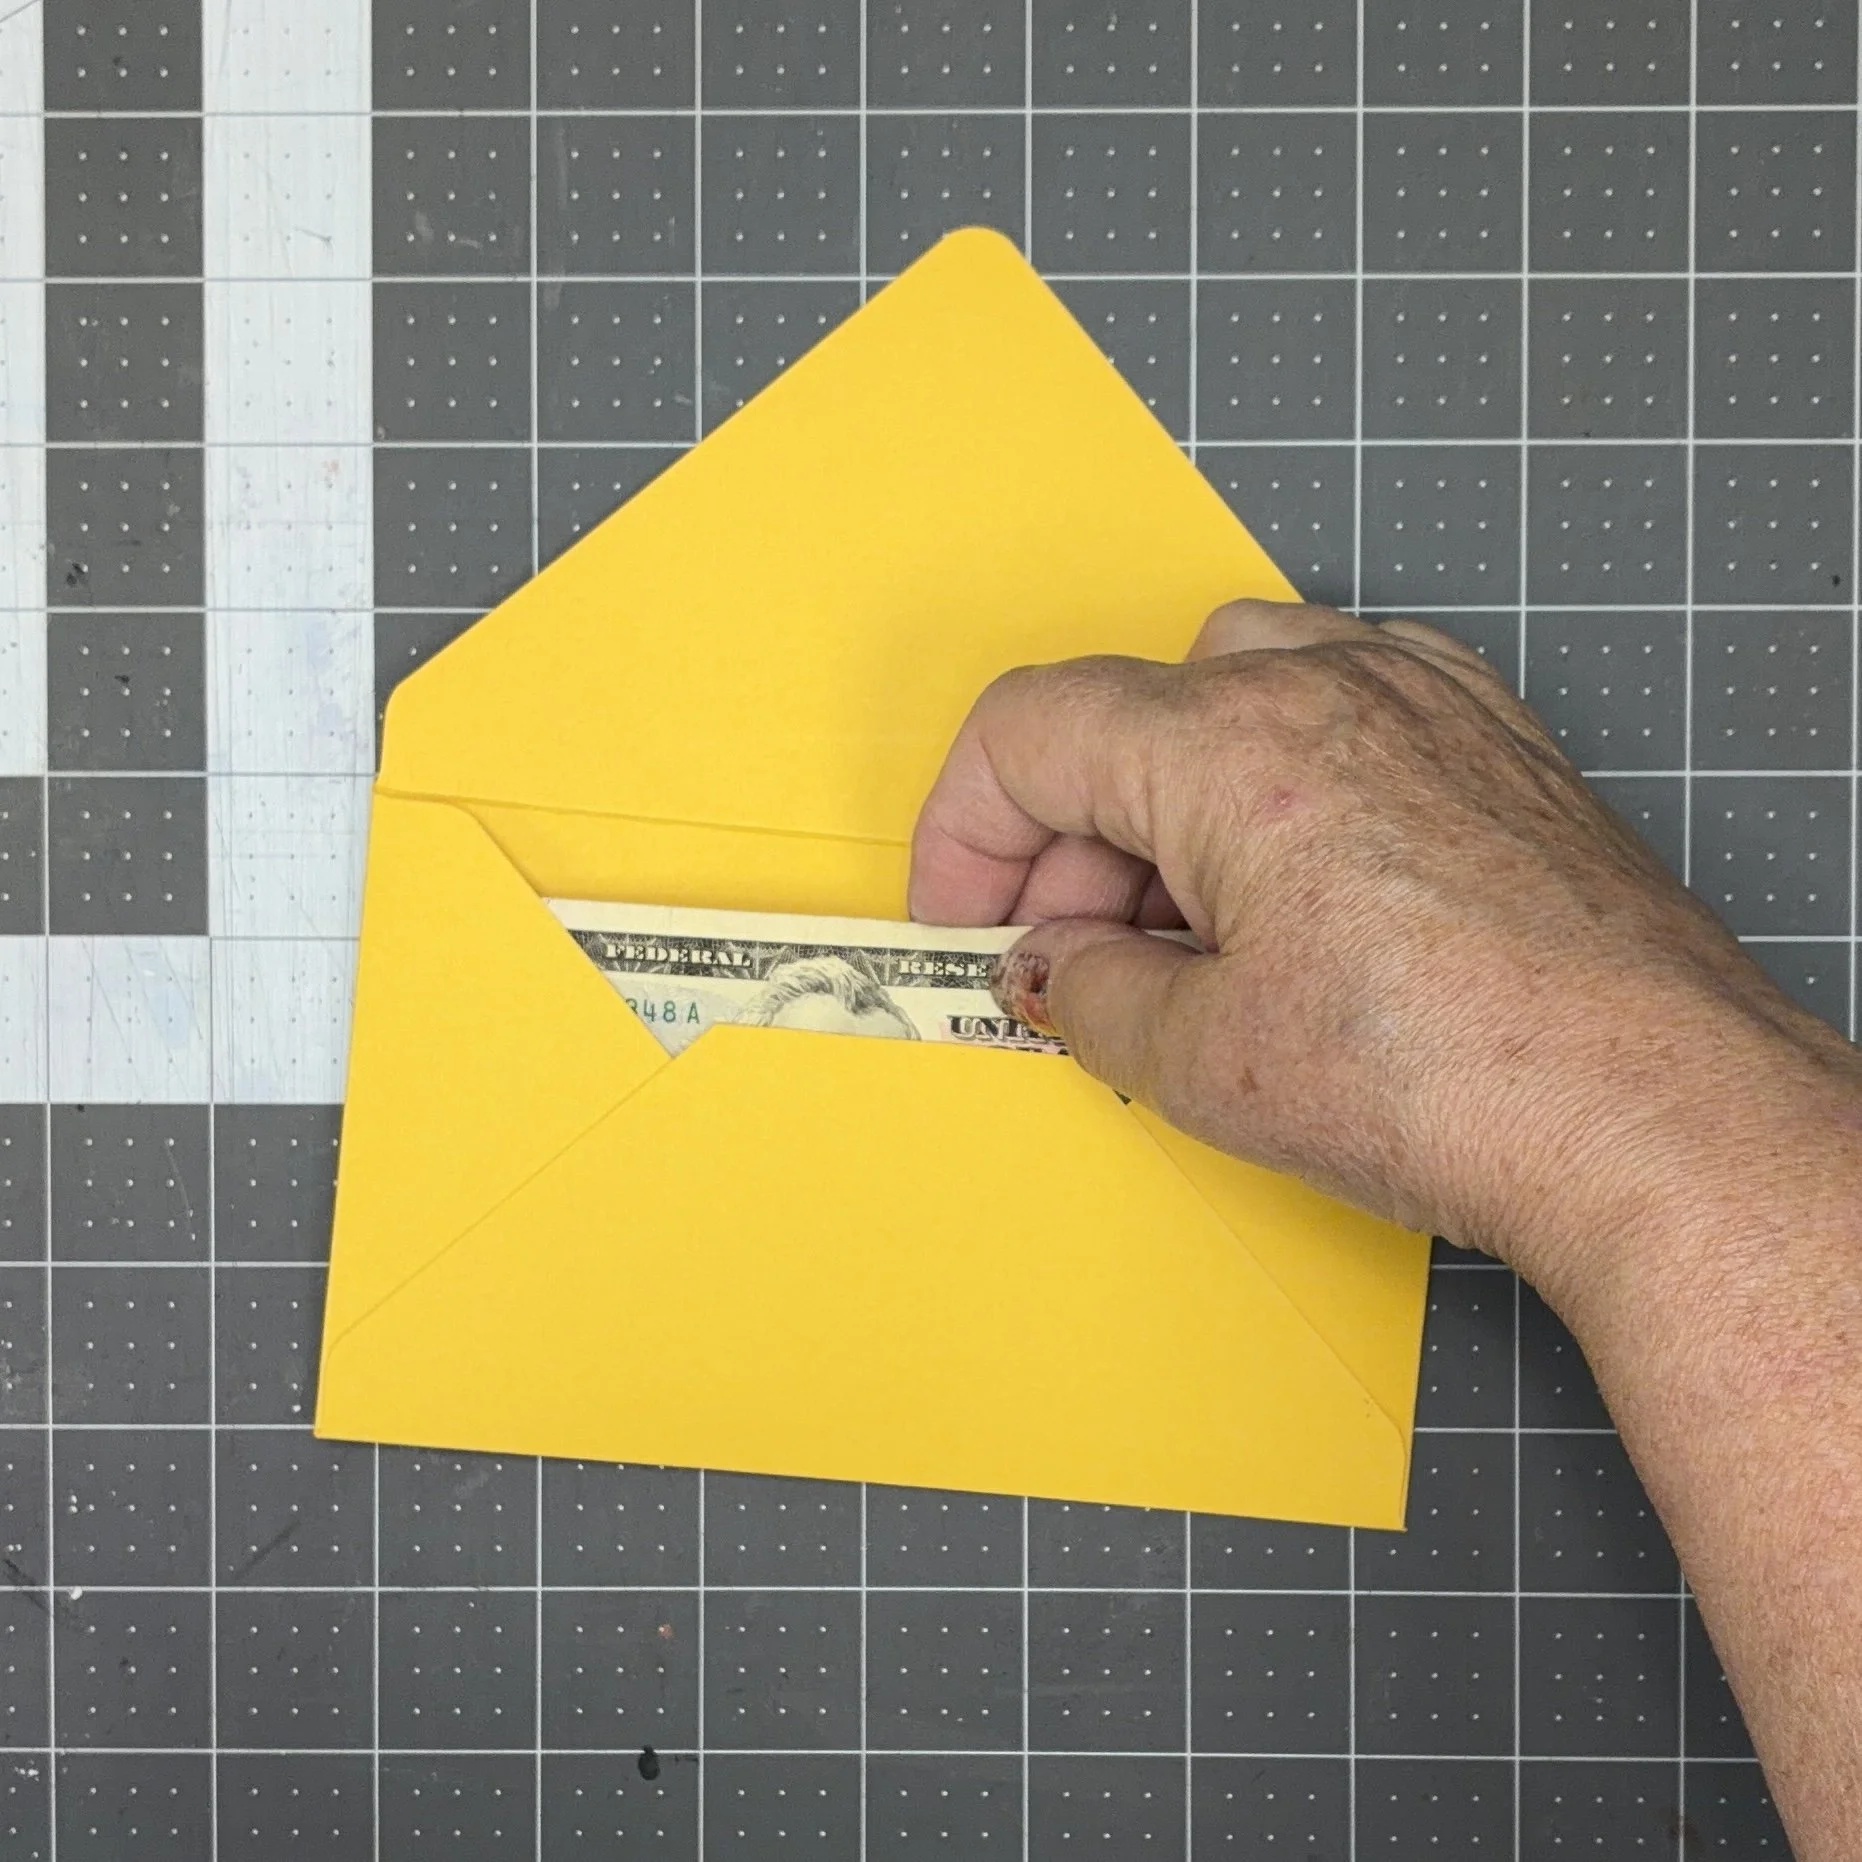
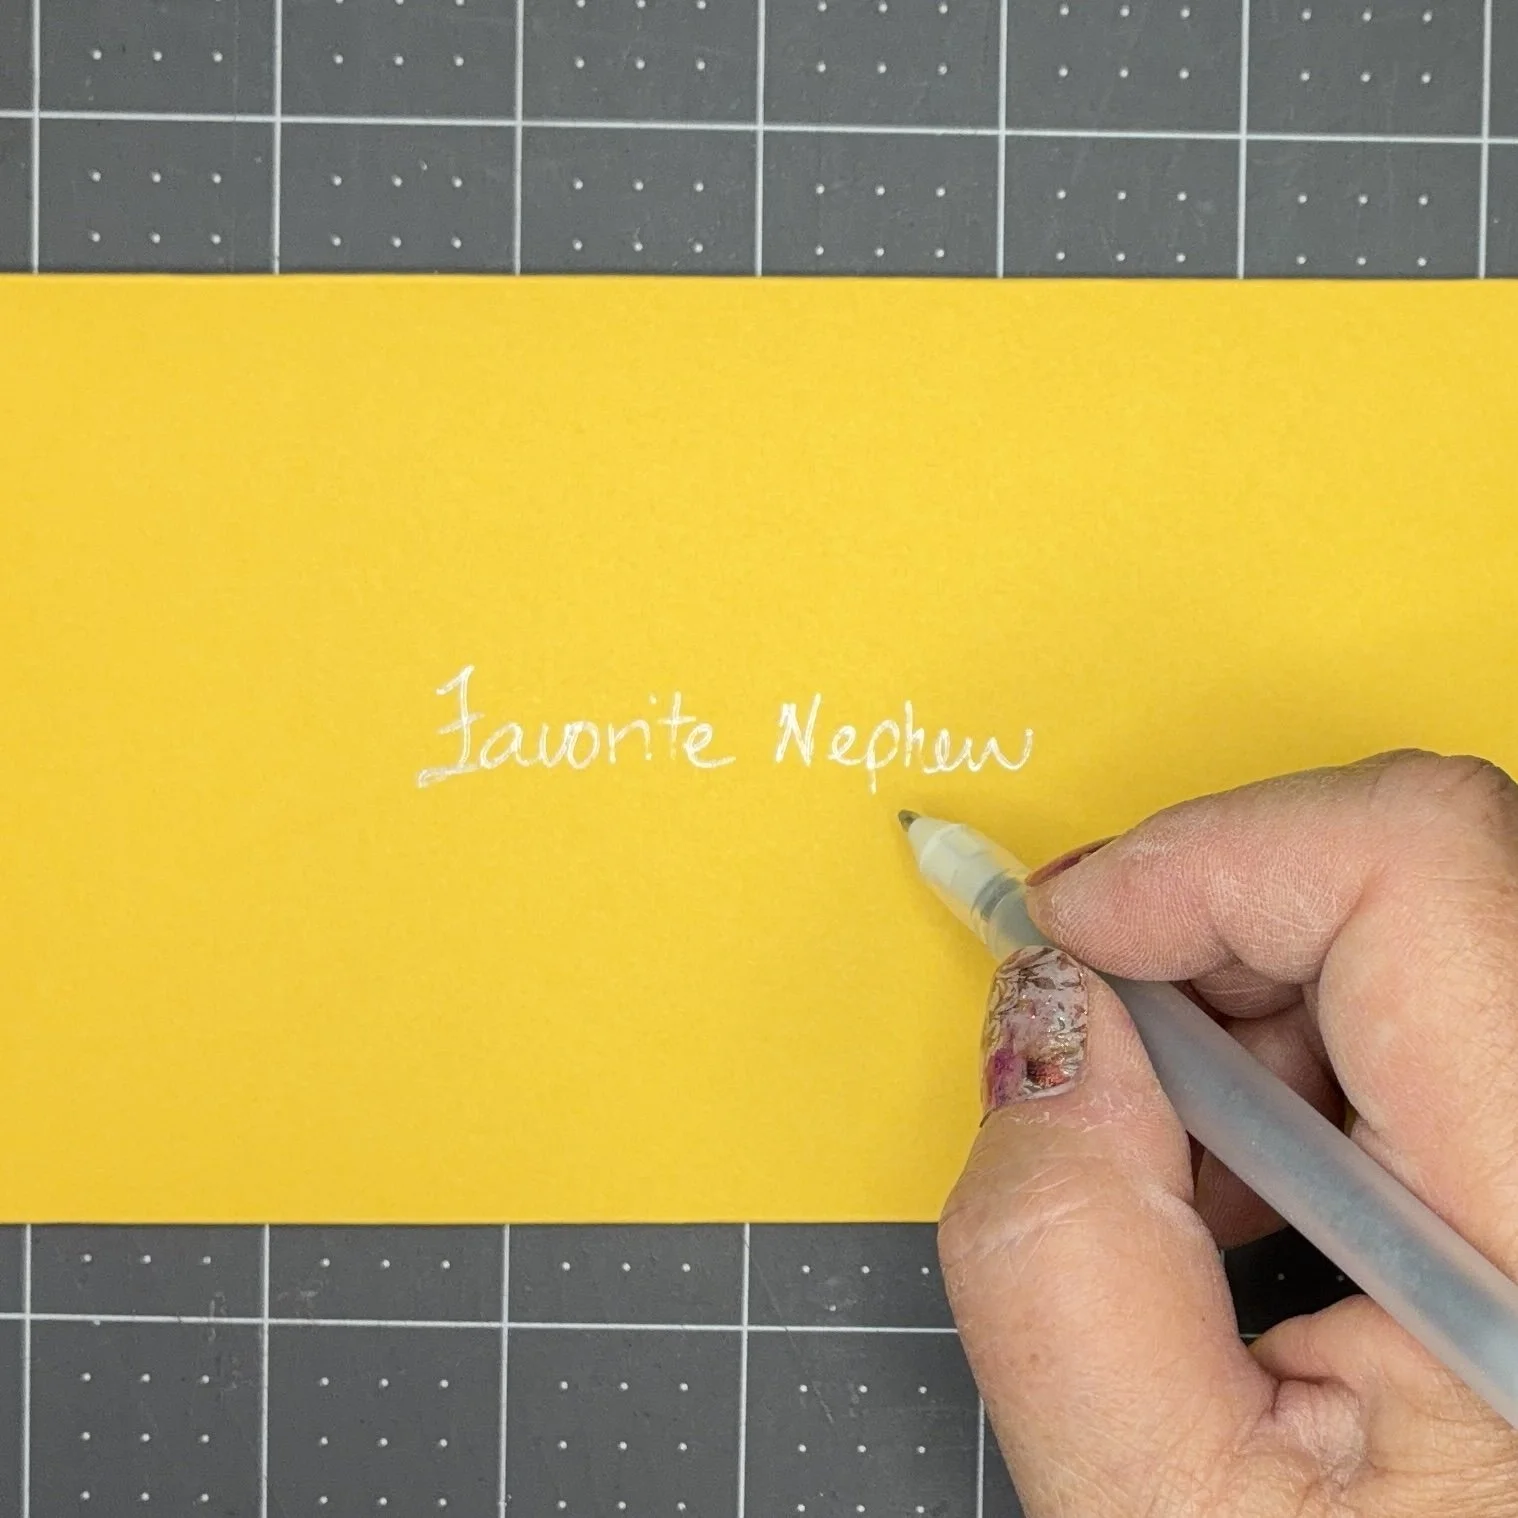
And you now have an envelope custom-made to your desired size. As you can see in my example, sometimes the long flaps extend too far. If that’s the case, just trim down the point like I did. If you wanted to be fancy, you could use something like my curved corner quilt ruler to curve that new edge, but I just left mine flat. Stick in some cash, use a little more double-sided tape to seal the envelope closed, and write the lucky recipient’s name on the front in sparkly silver ink. Good to go!
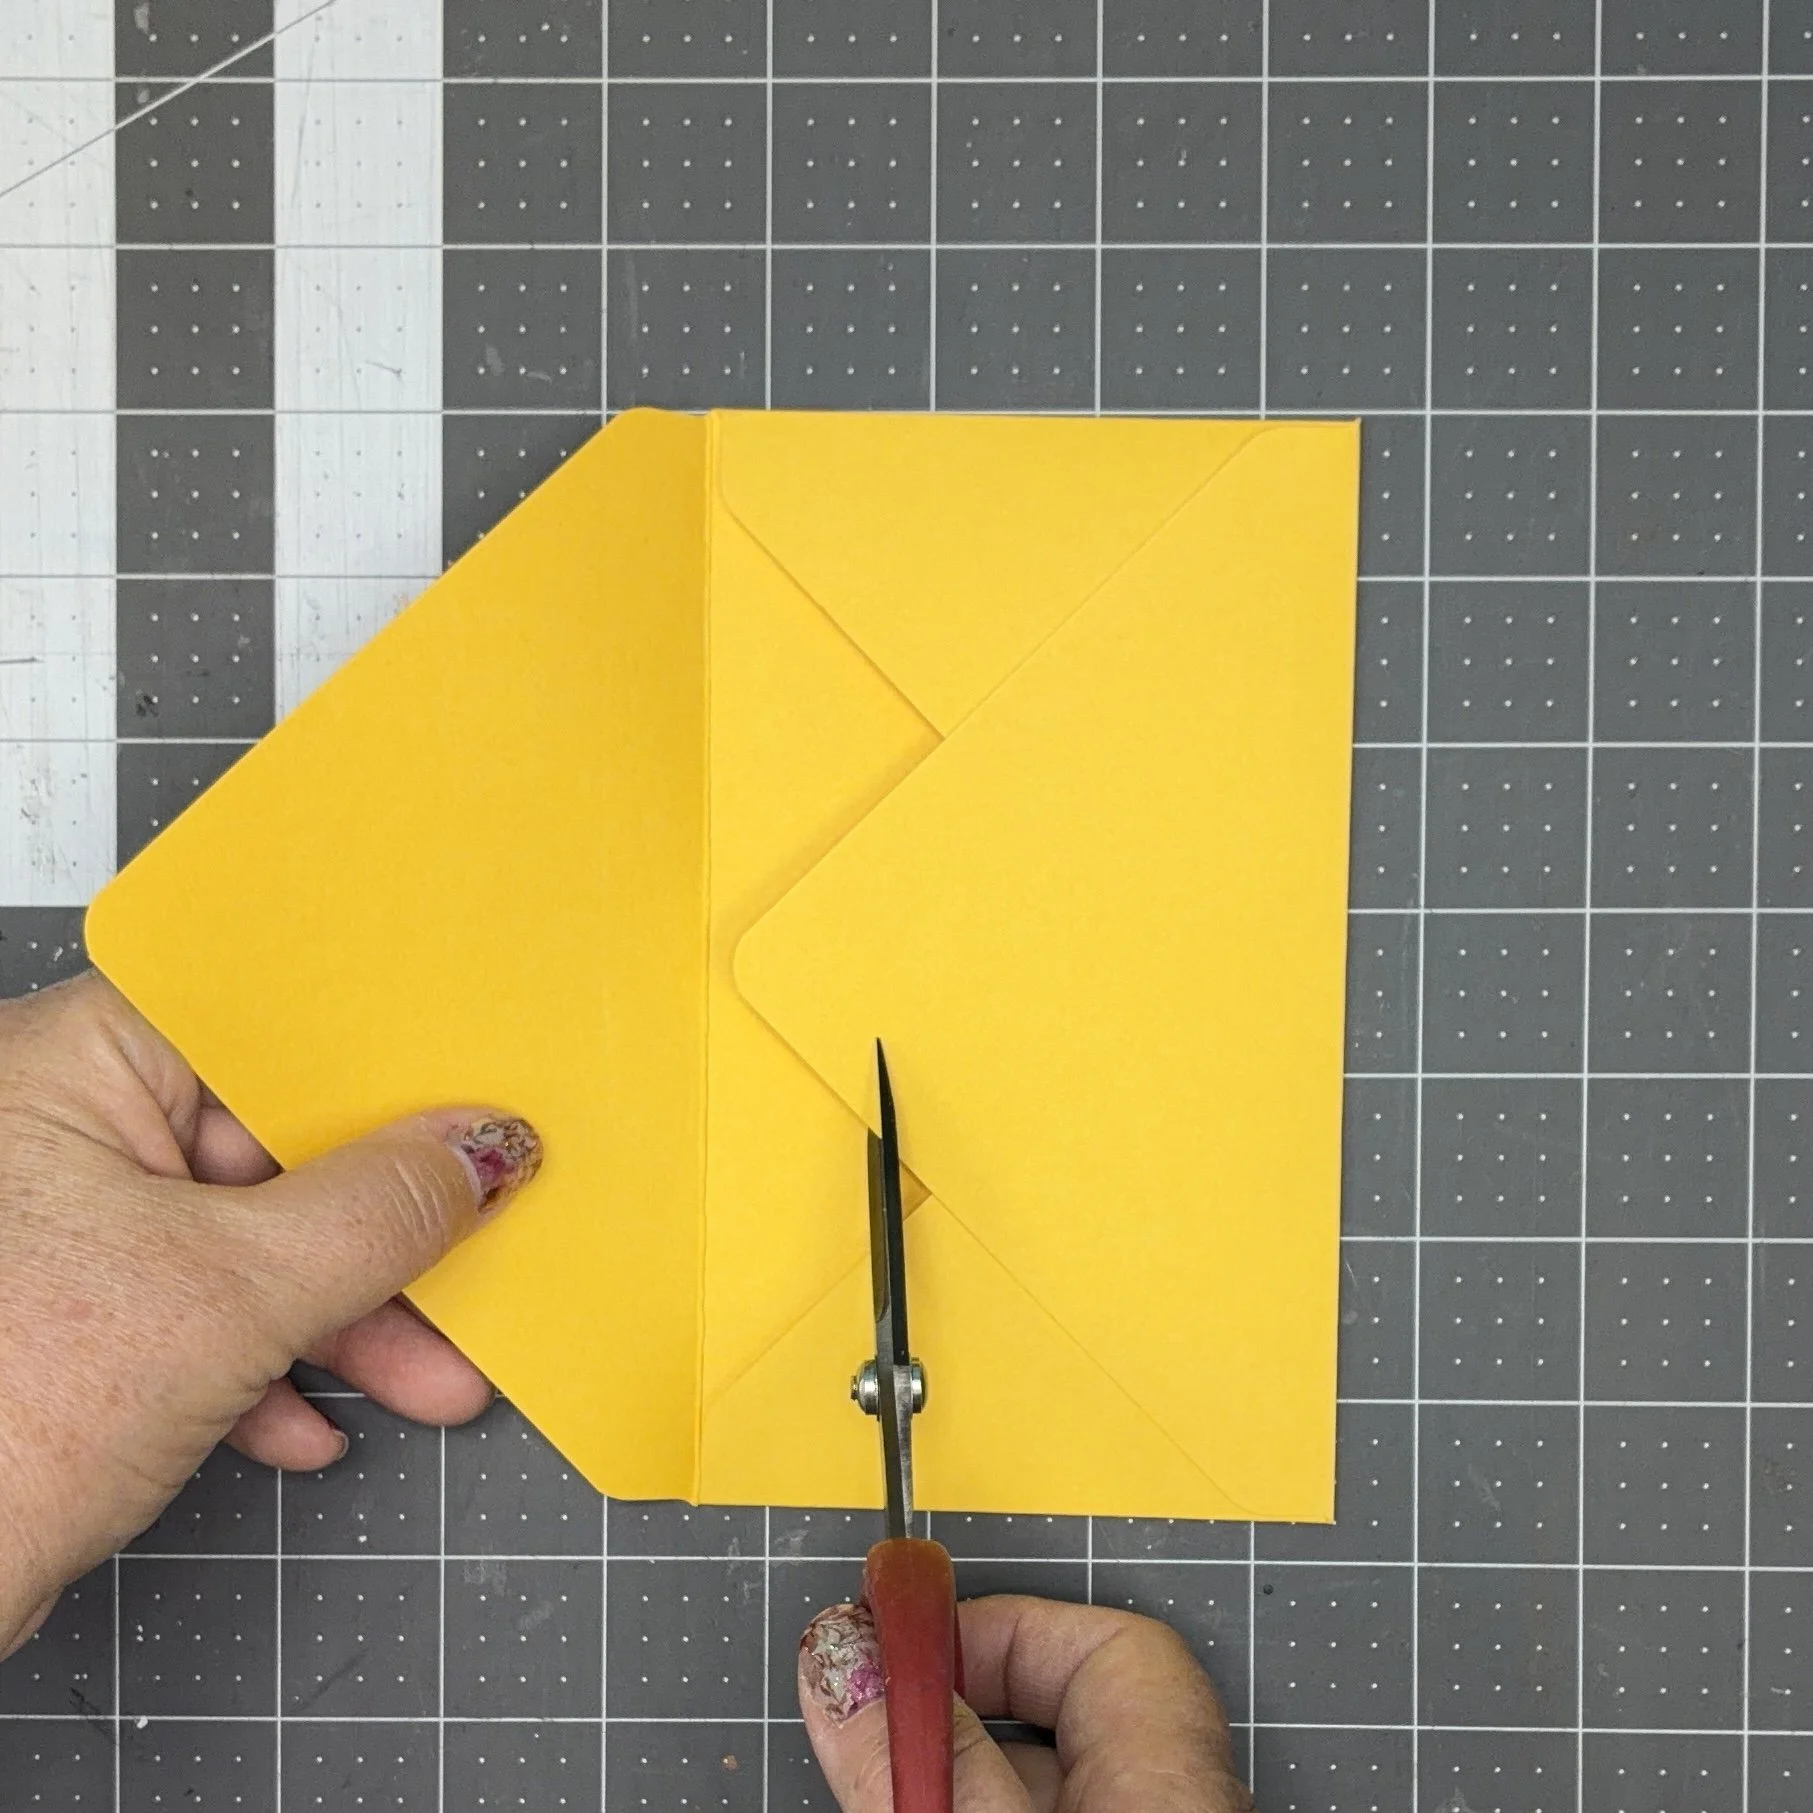
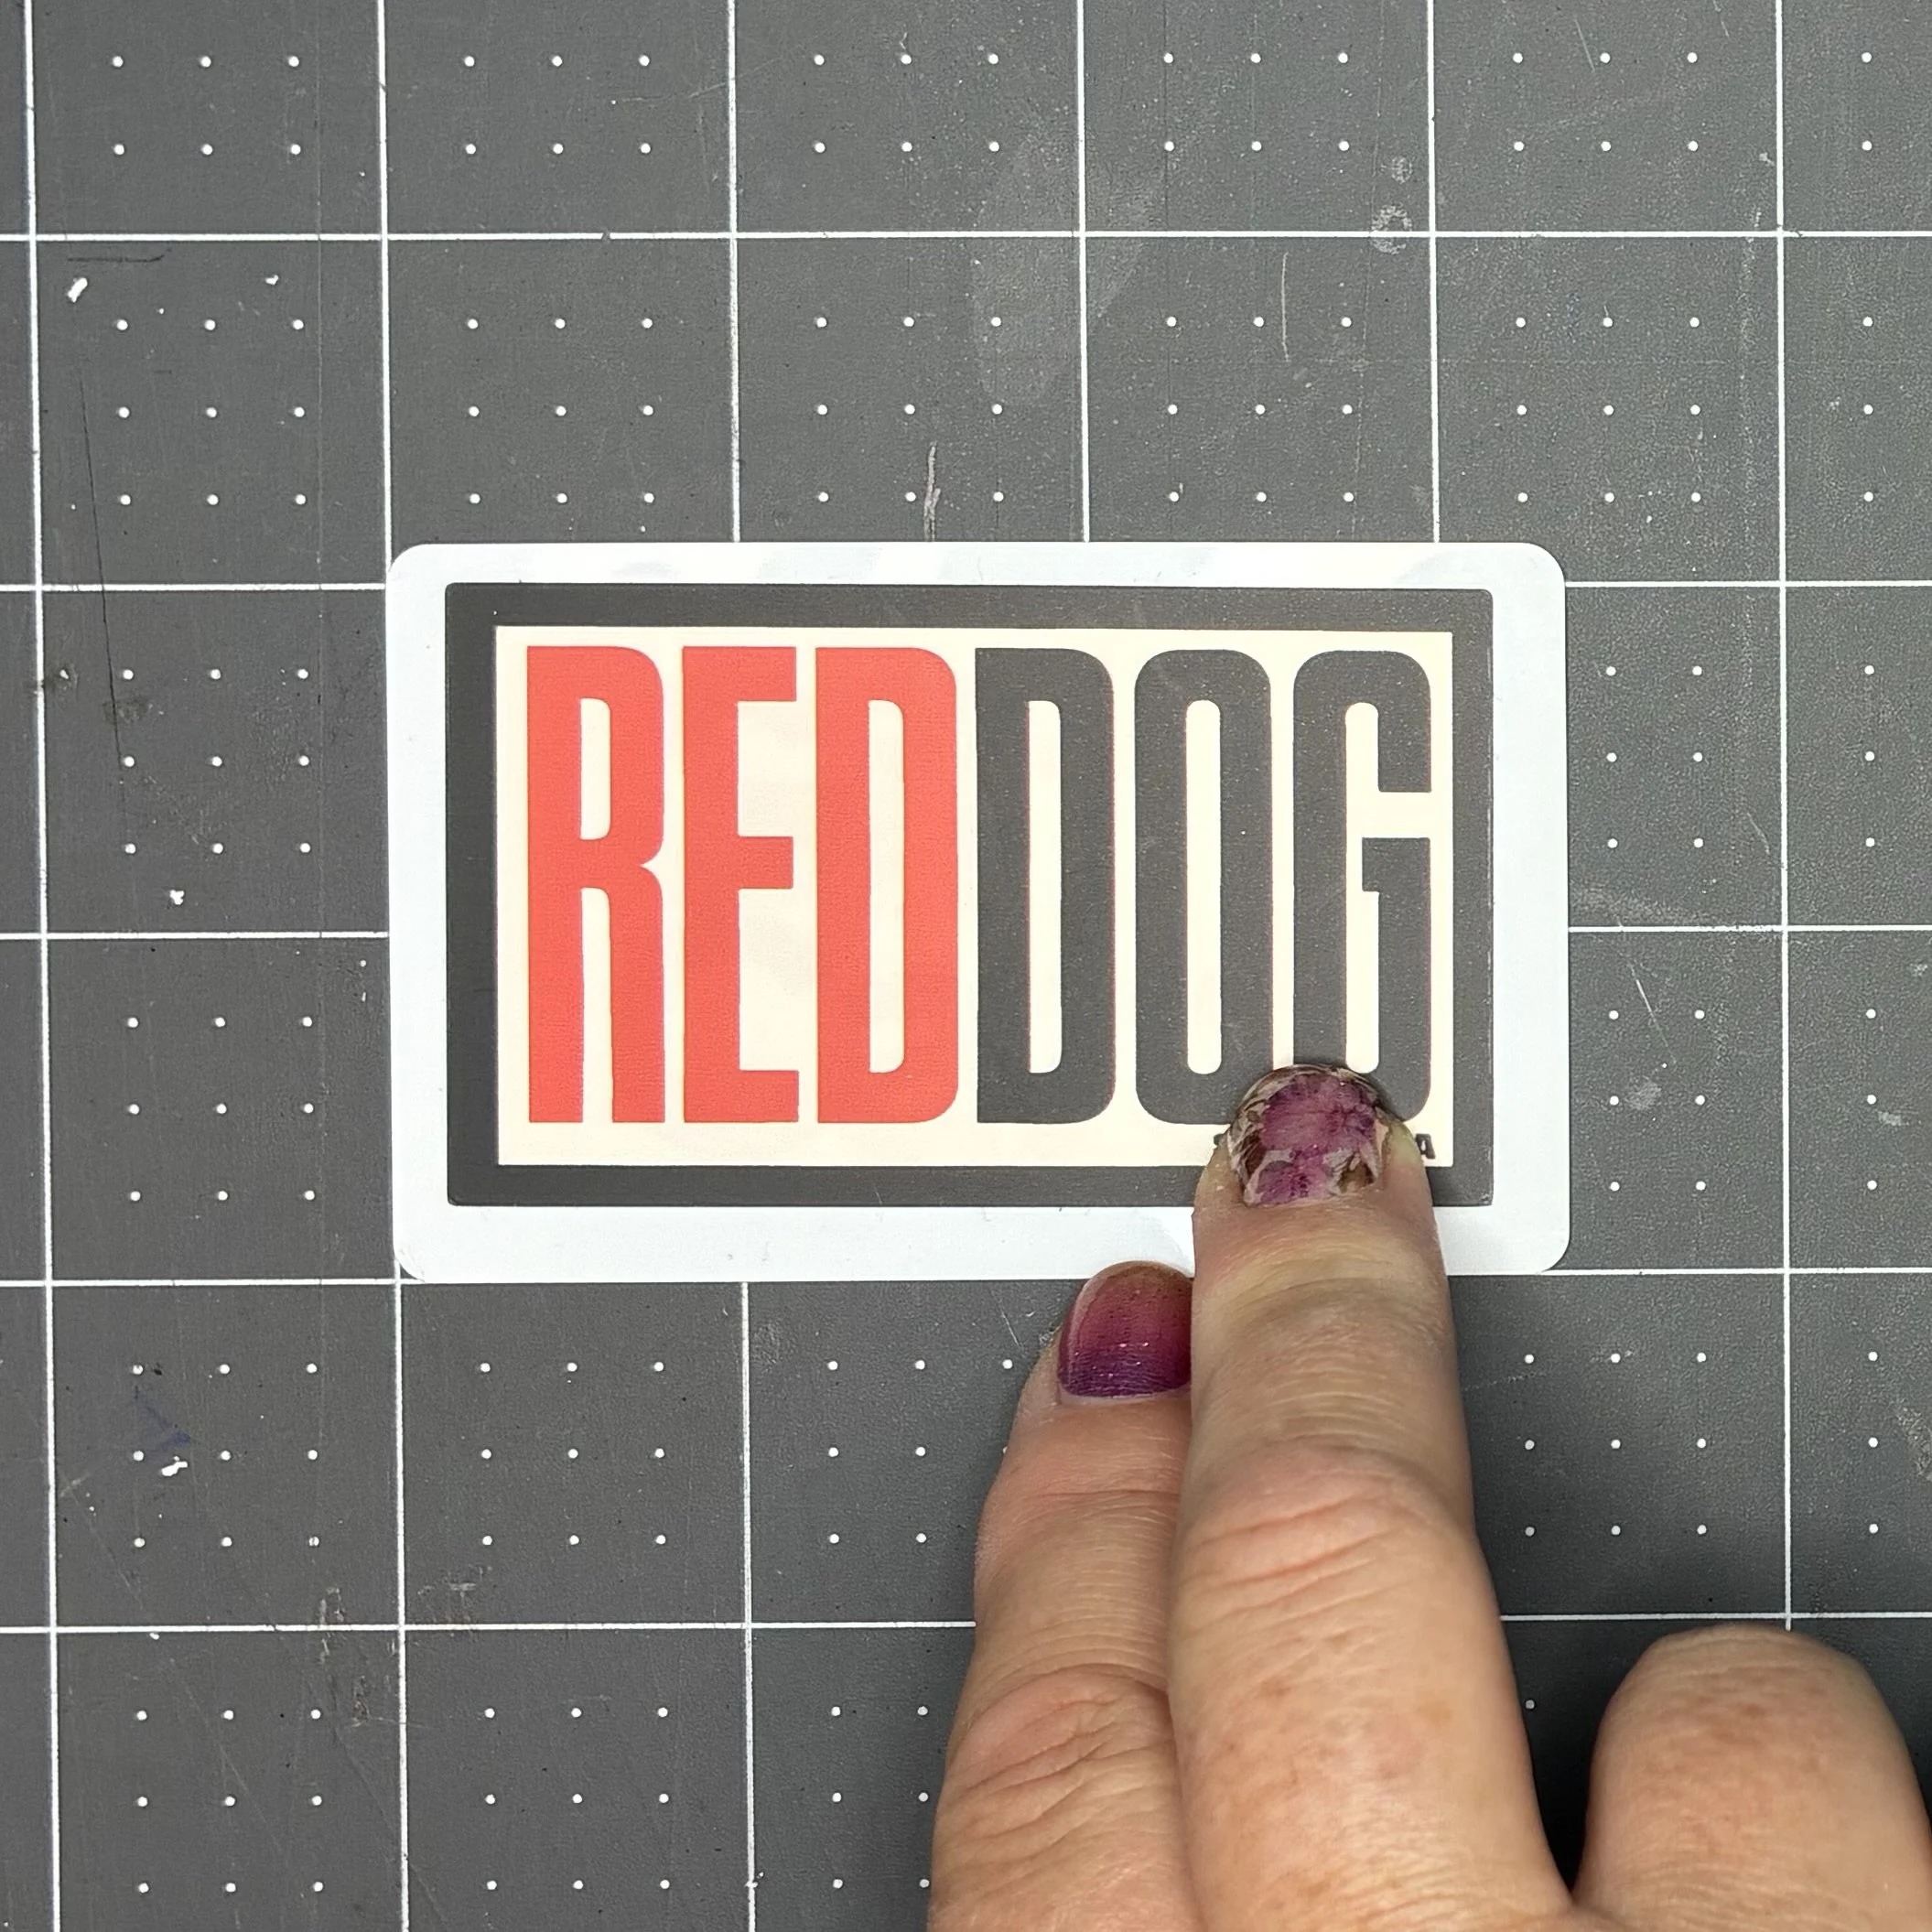
Another thing this punchboard is good for is making pretty little envelopes that hold a gift card. In fact, the punchboard chart has a size listed at the very top specifically for gift cards. However, as you can see, the punchboard chart assumes that gift cards are smaller than they really are. I personally tend to use the third measurement down, which yields an envelope that is 2.5” x 3.5”.
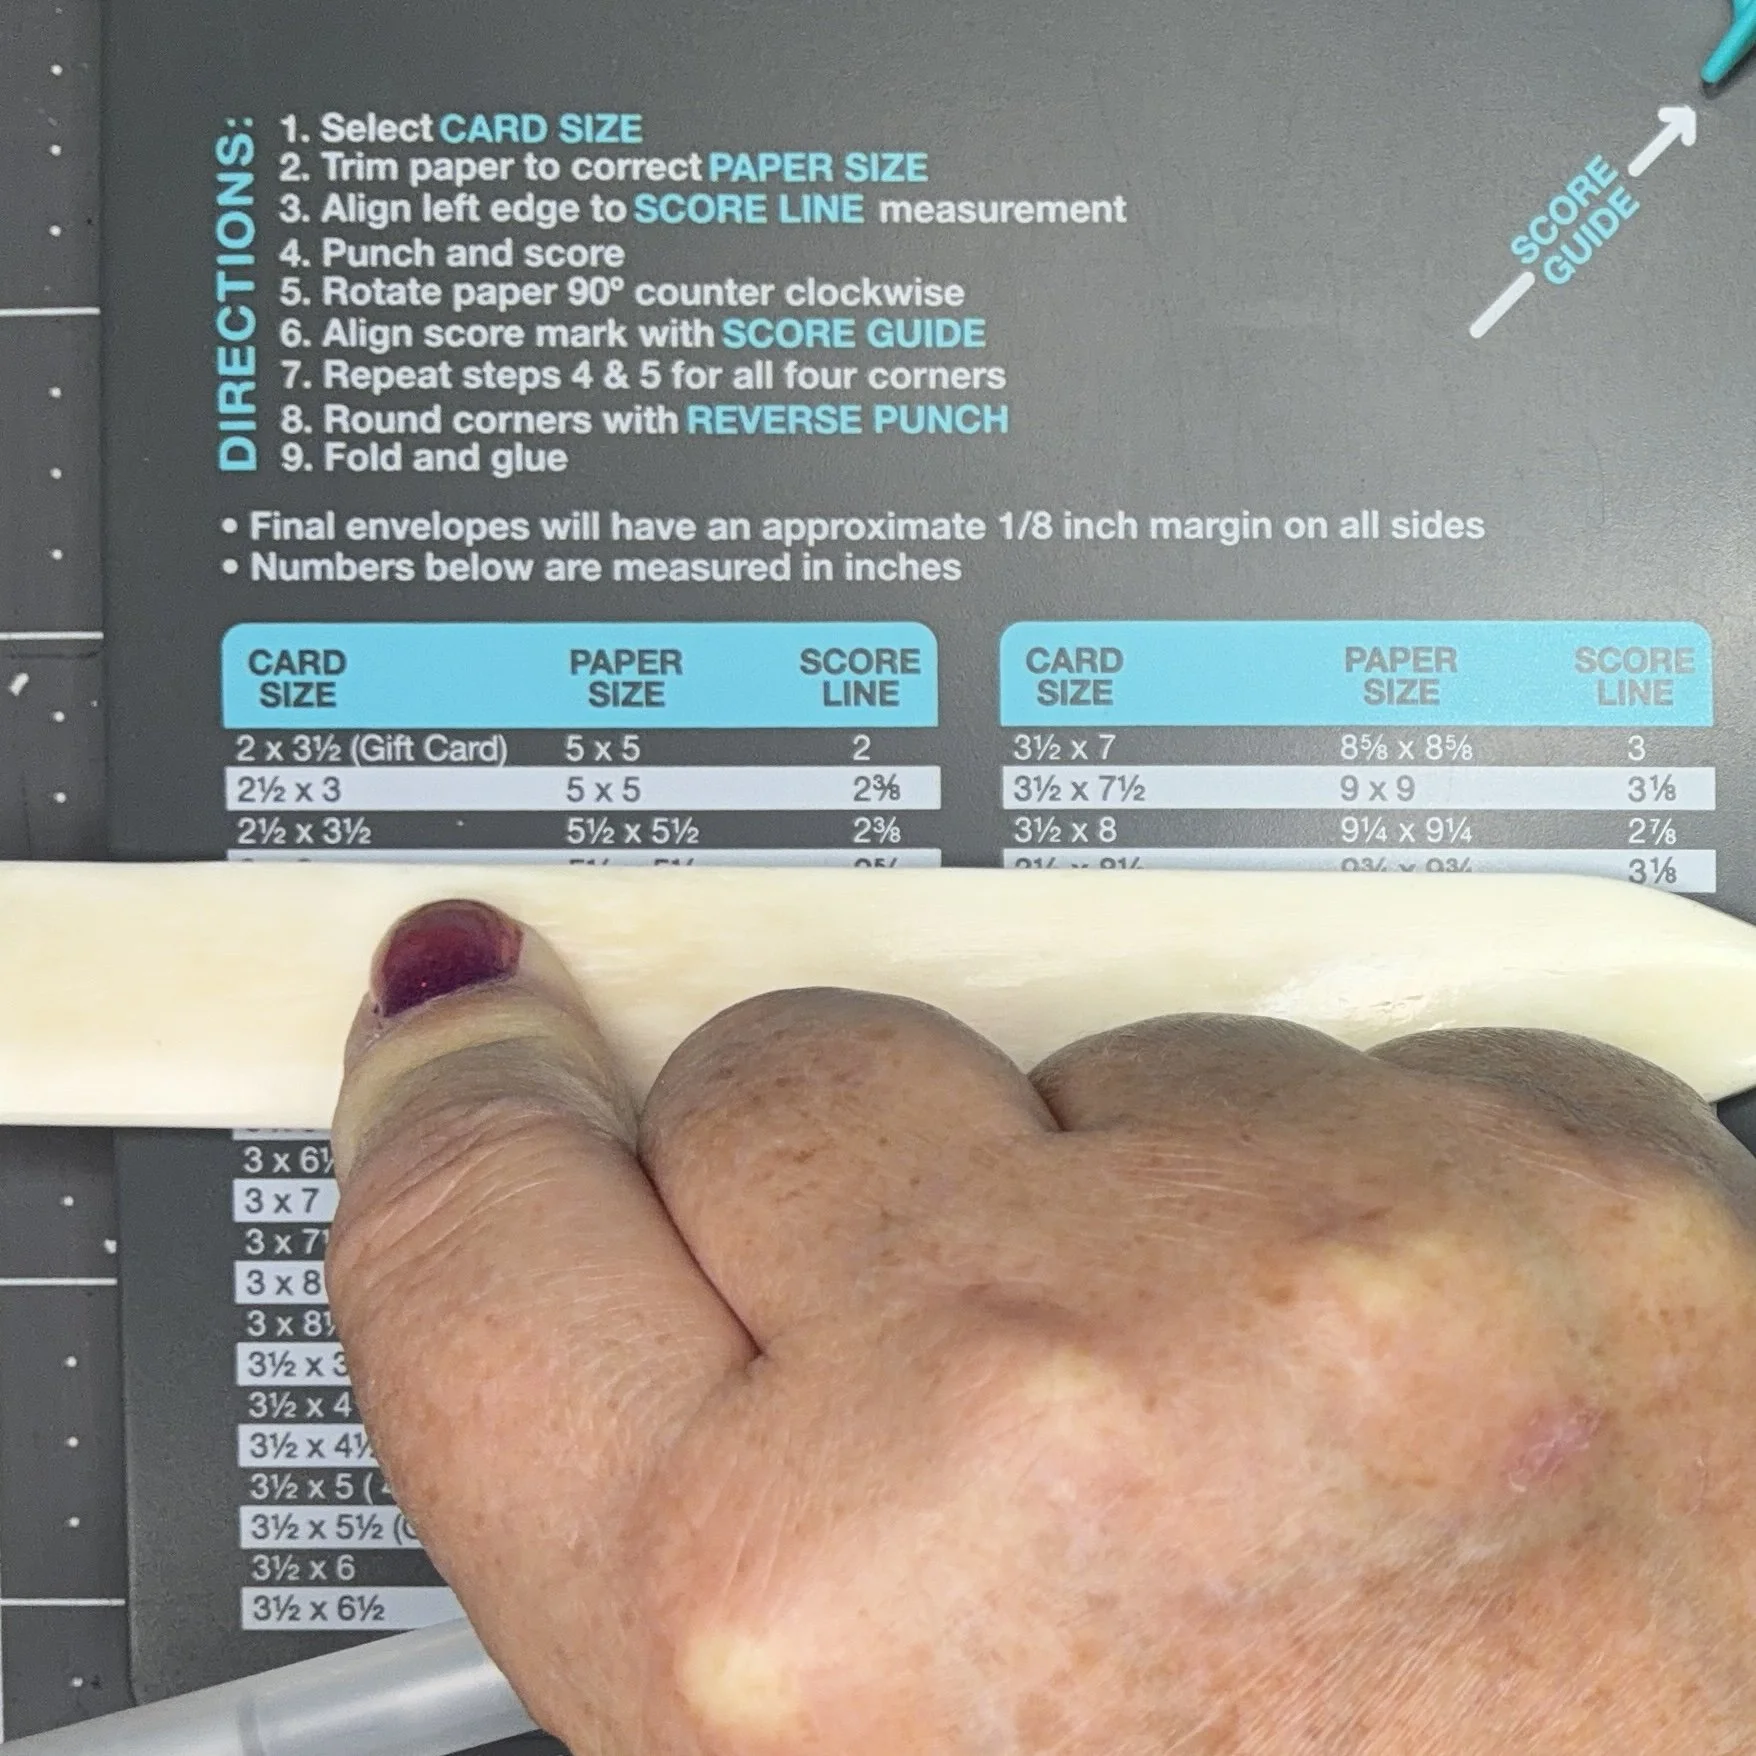
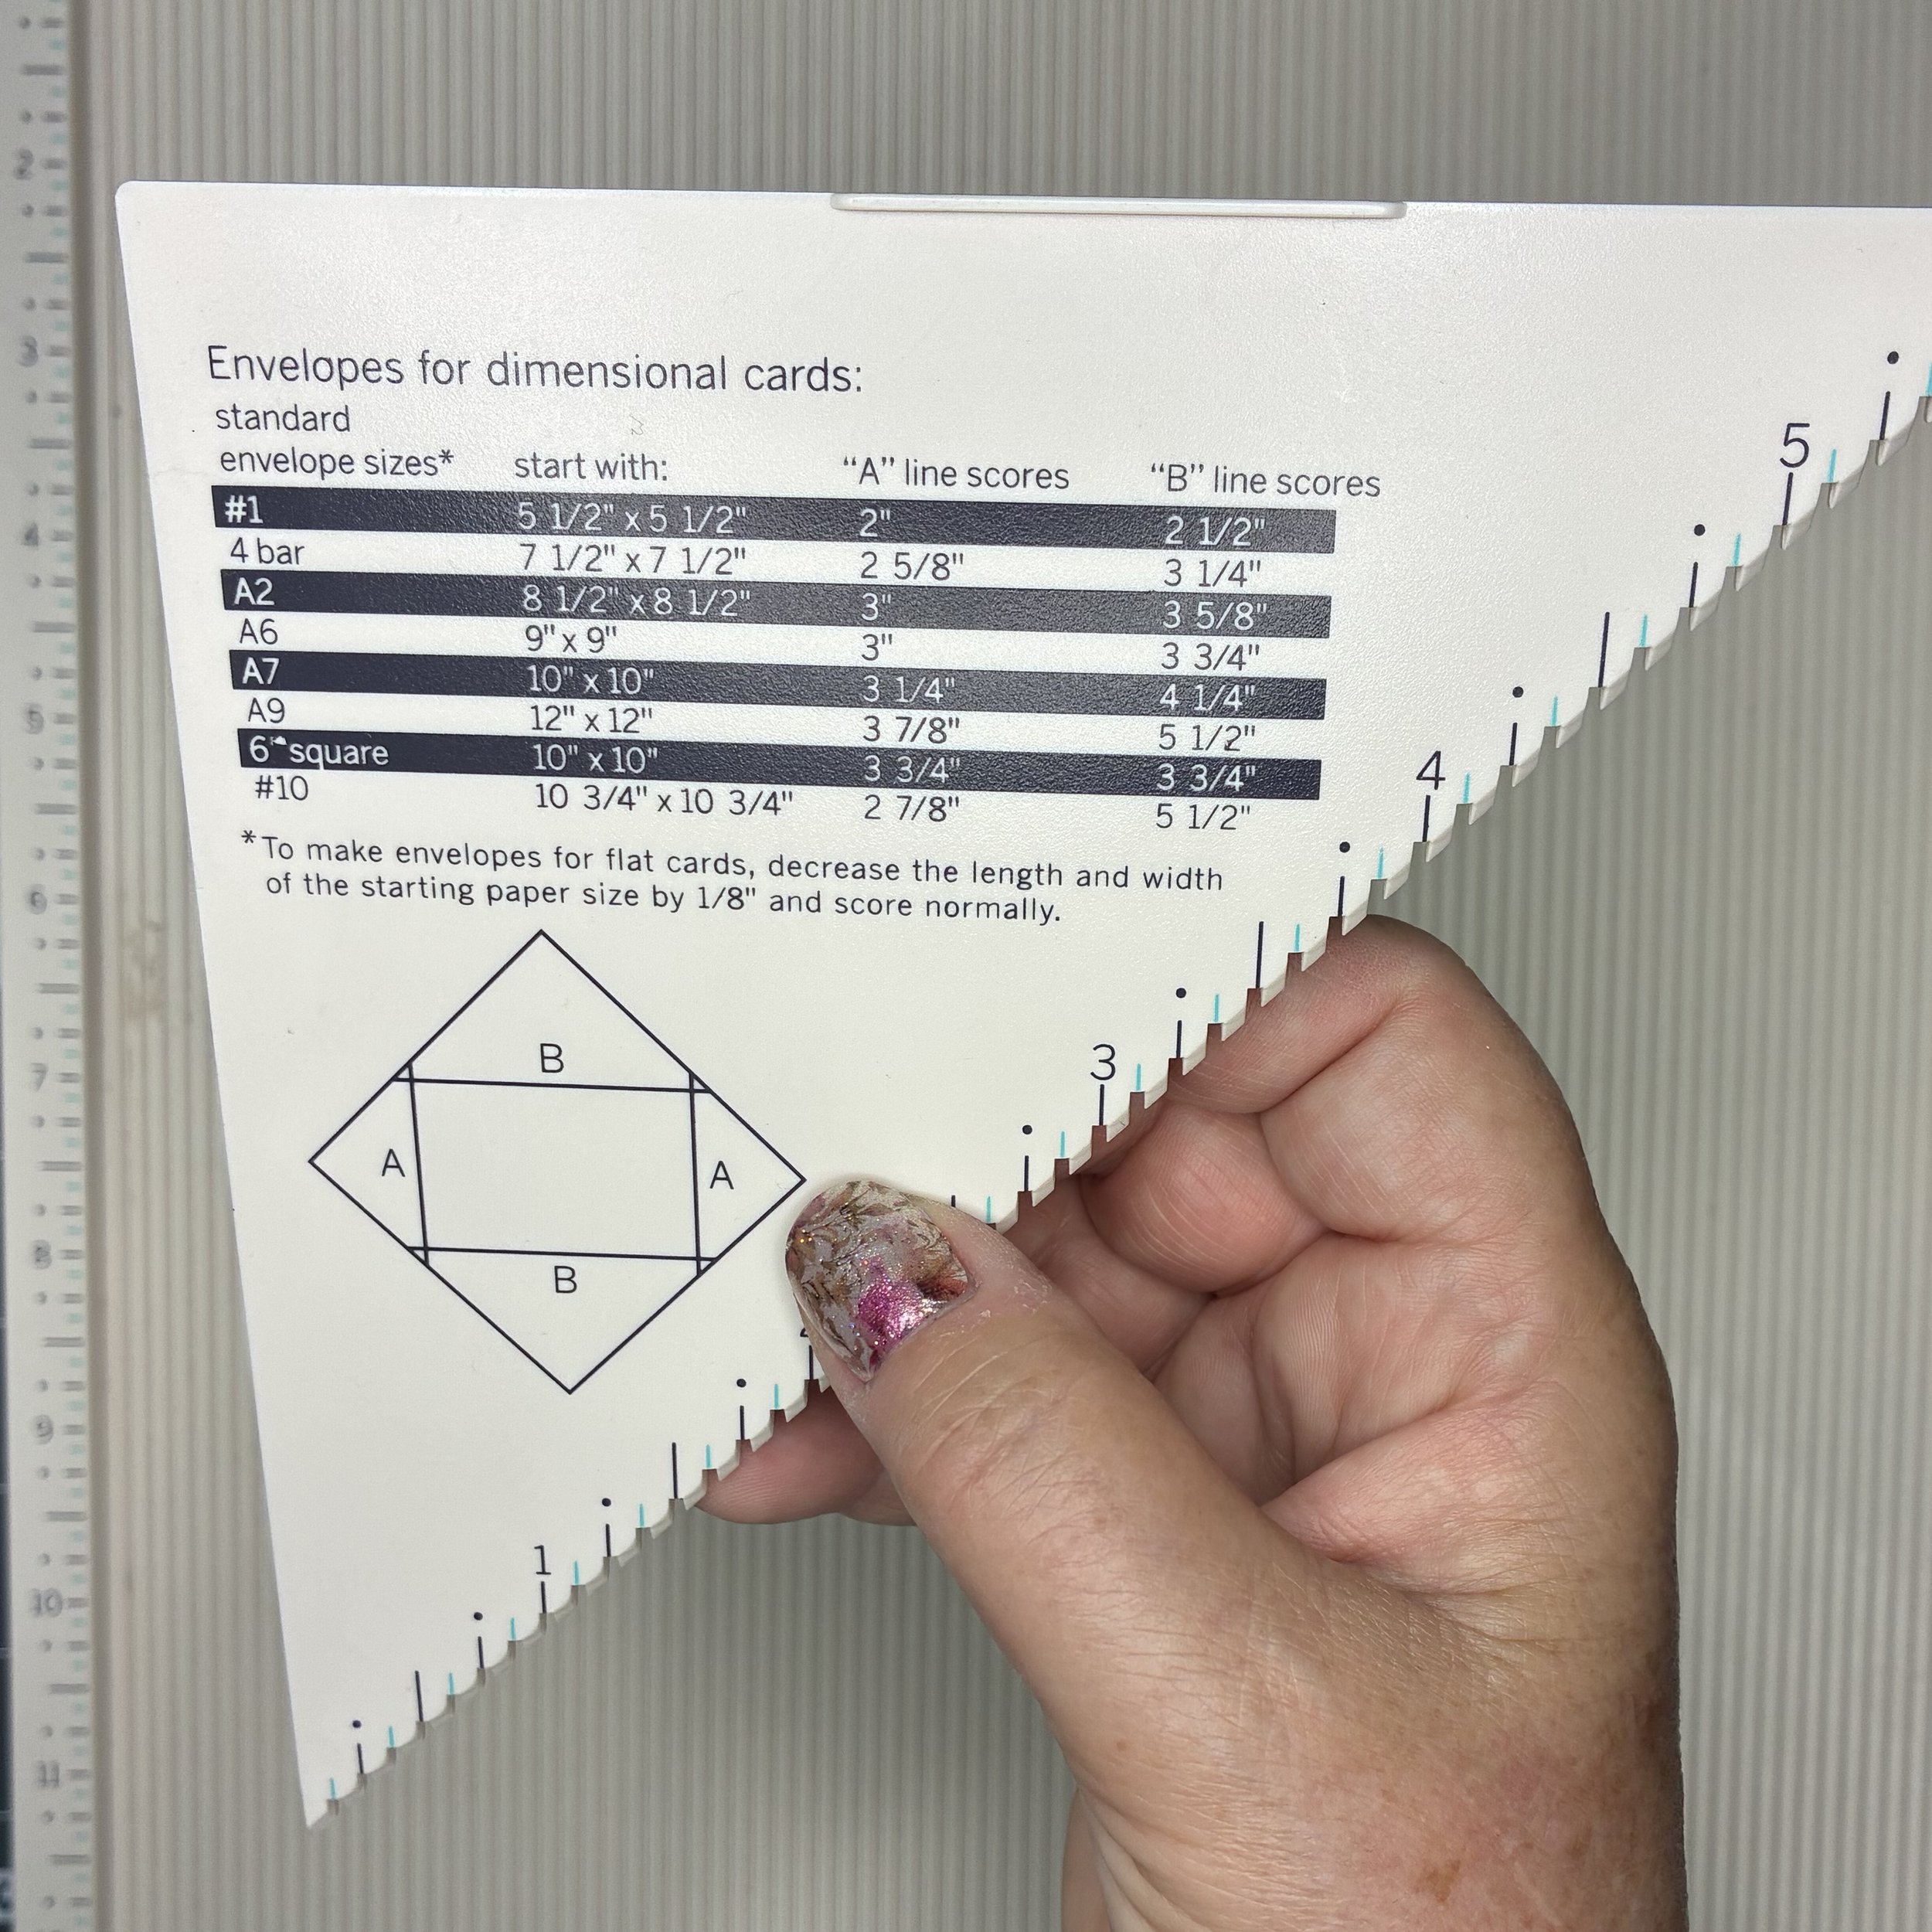
I also have a really nice Martha Stewart scoreboard (which I can’t find on Amazon anymore but which is extremely similar to this one) which has an angled piece that would let you score an envelope that way. The scoreboard doesn’t do any nice punching or rounding, though, and it’s got quite a limited number of sizes listed. But if that’s what you have, you can absolutely make an envelope with it.
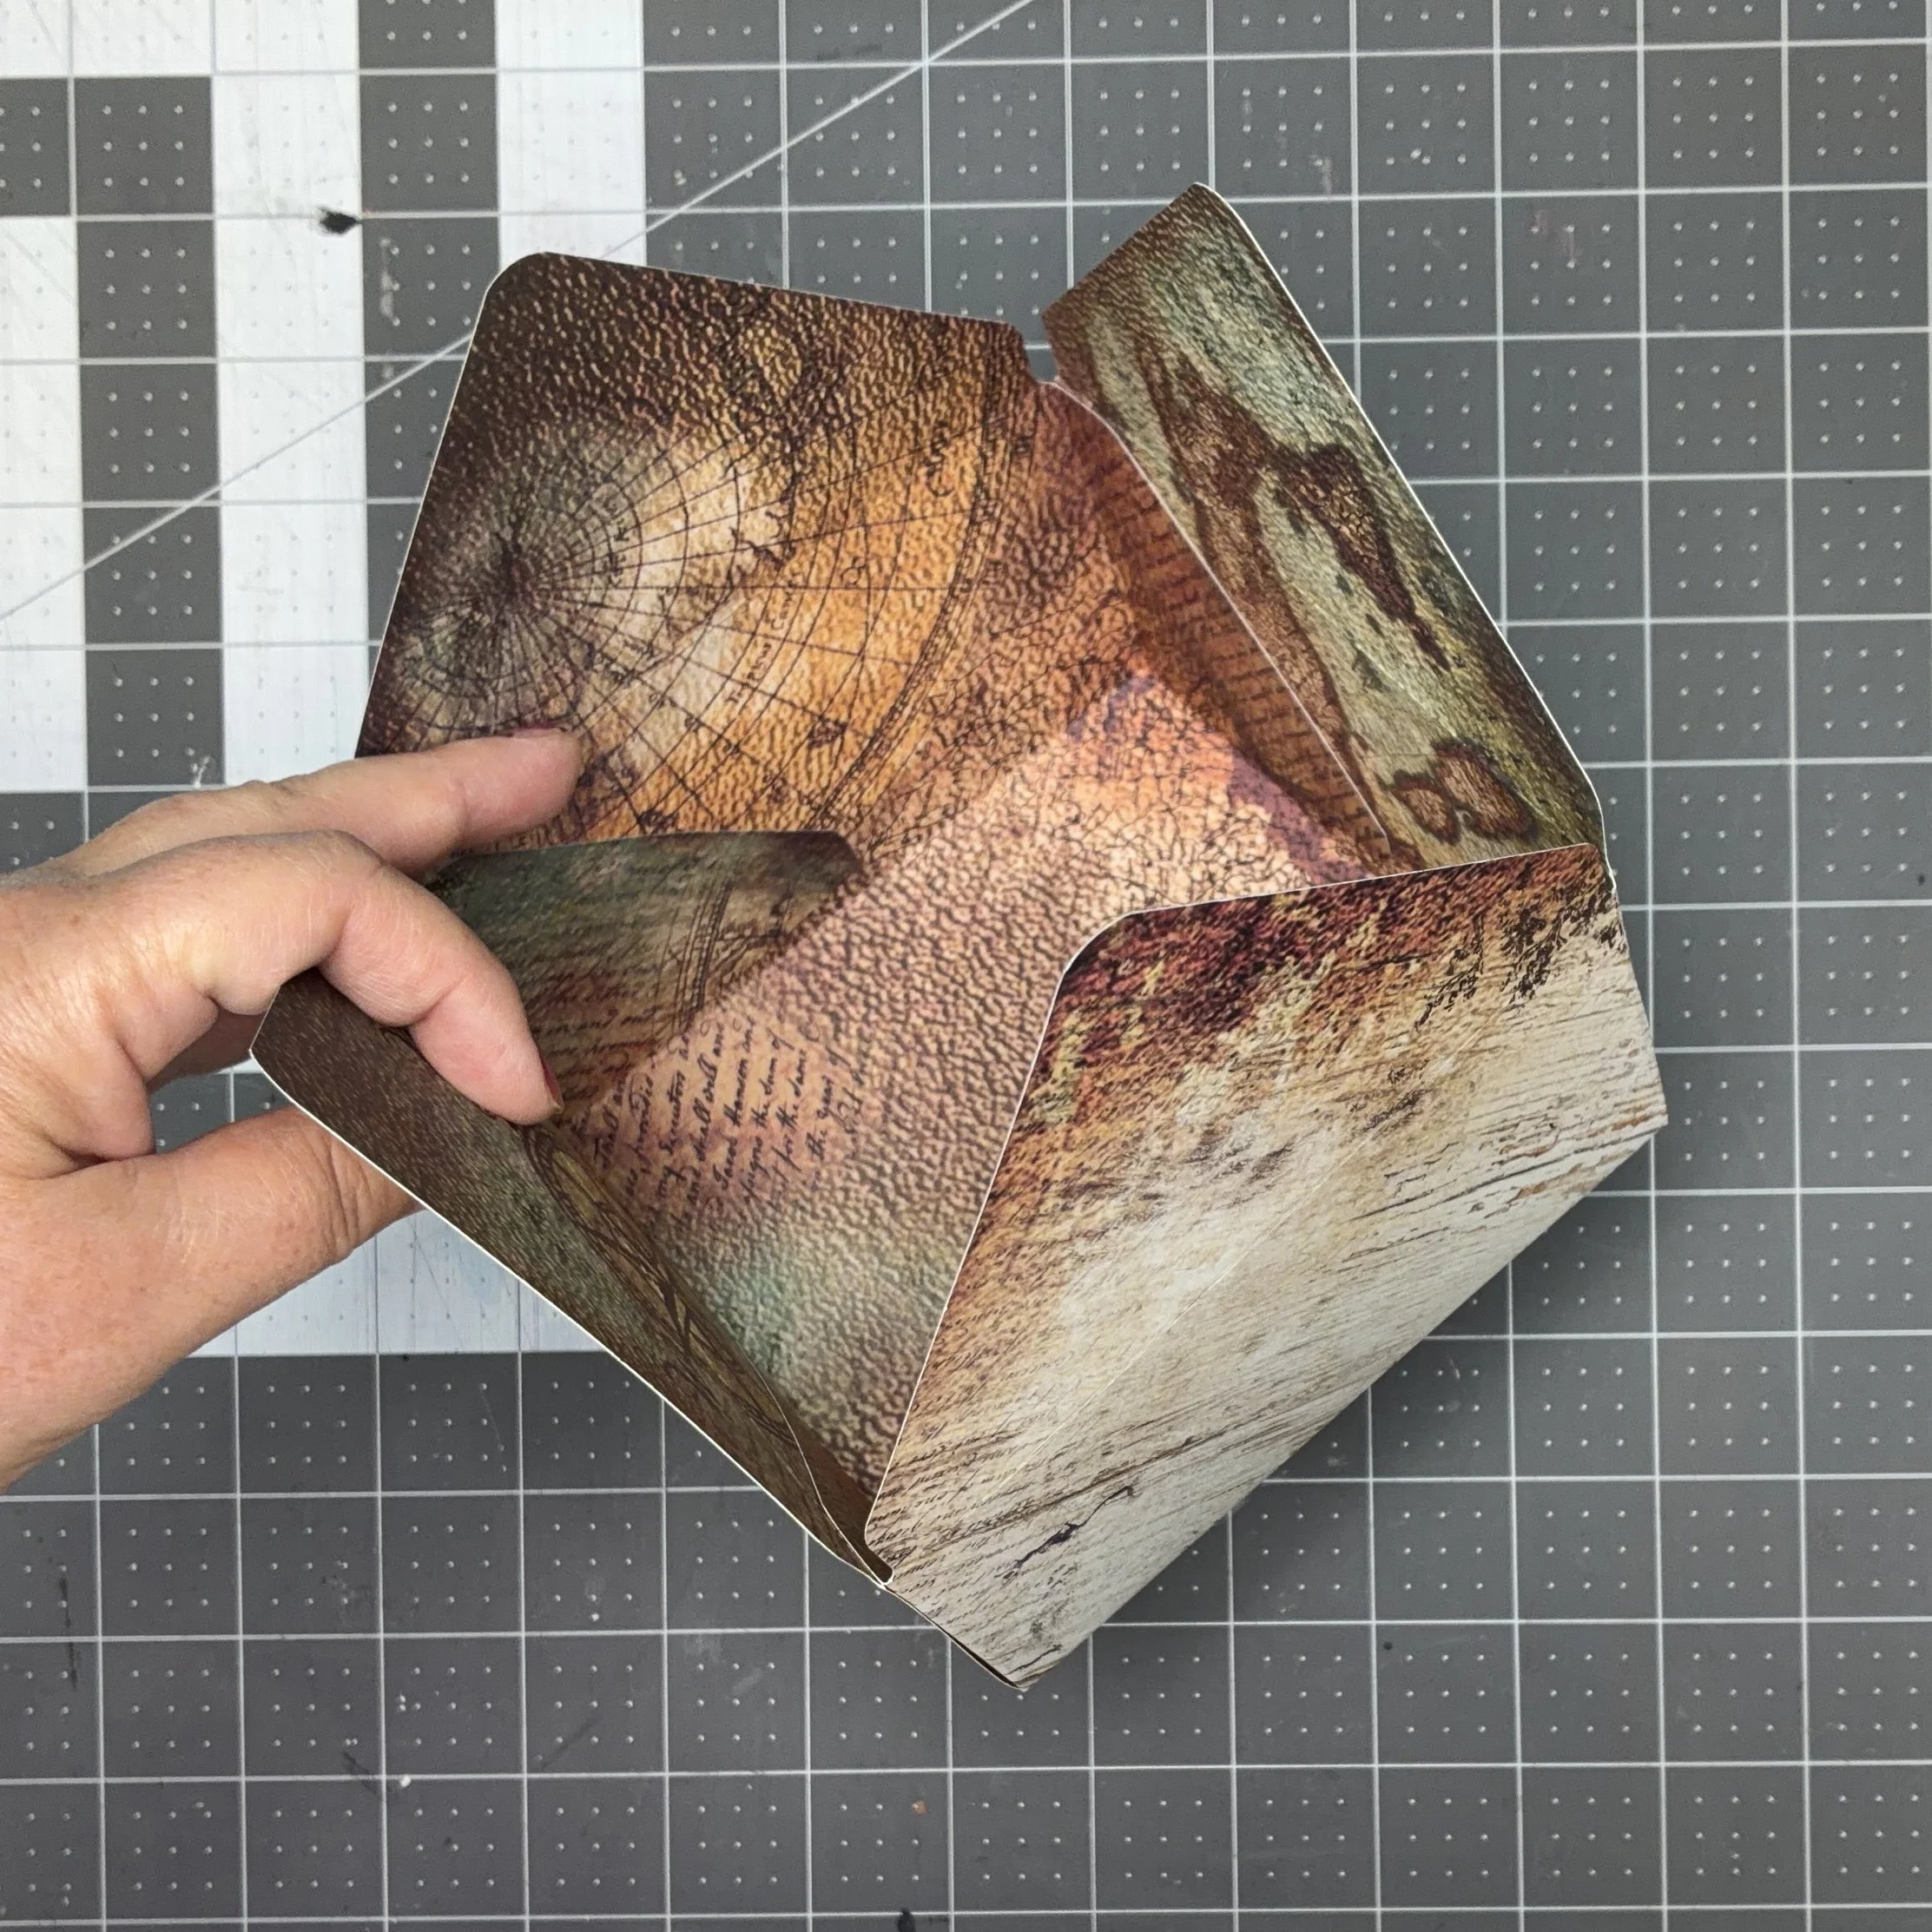
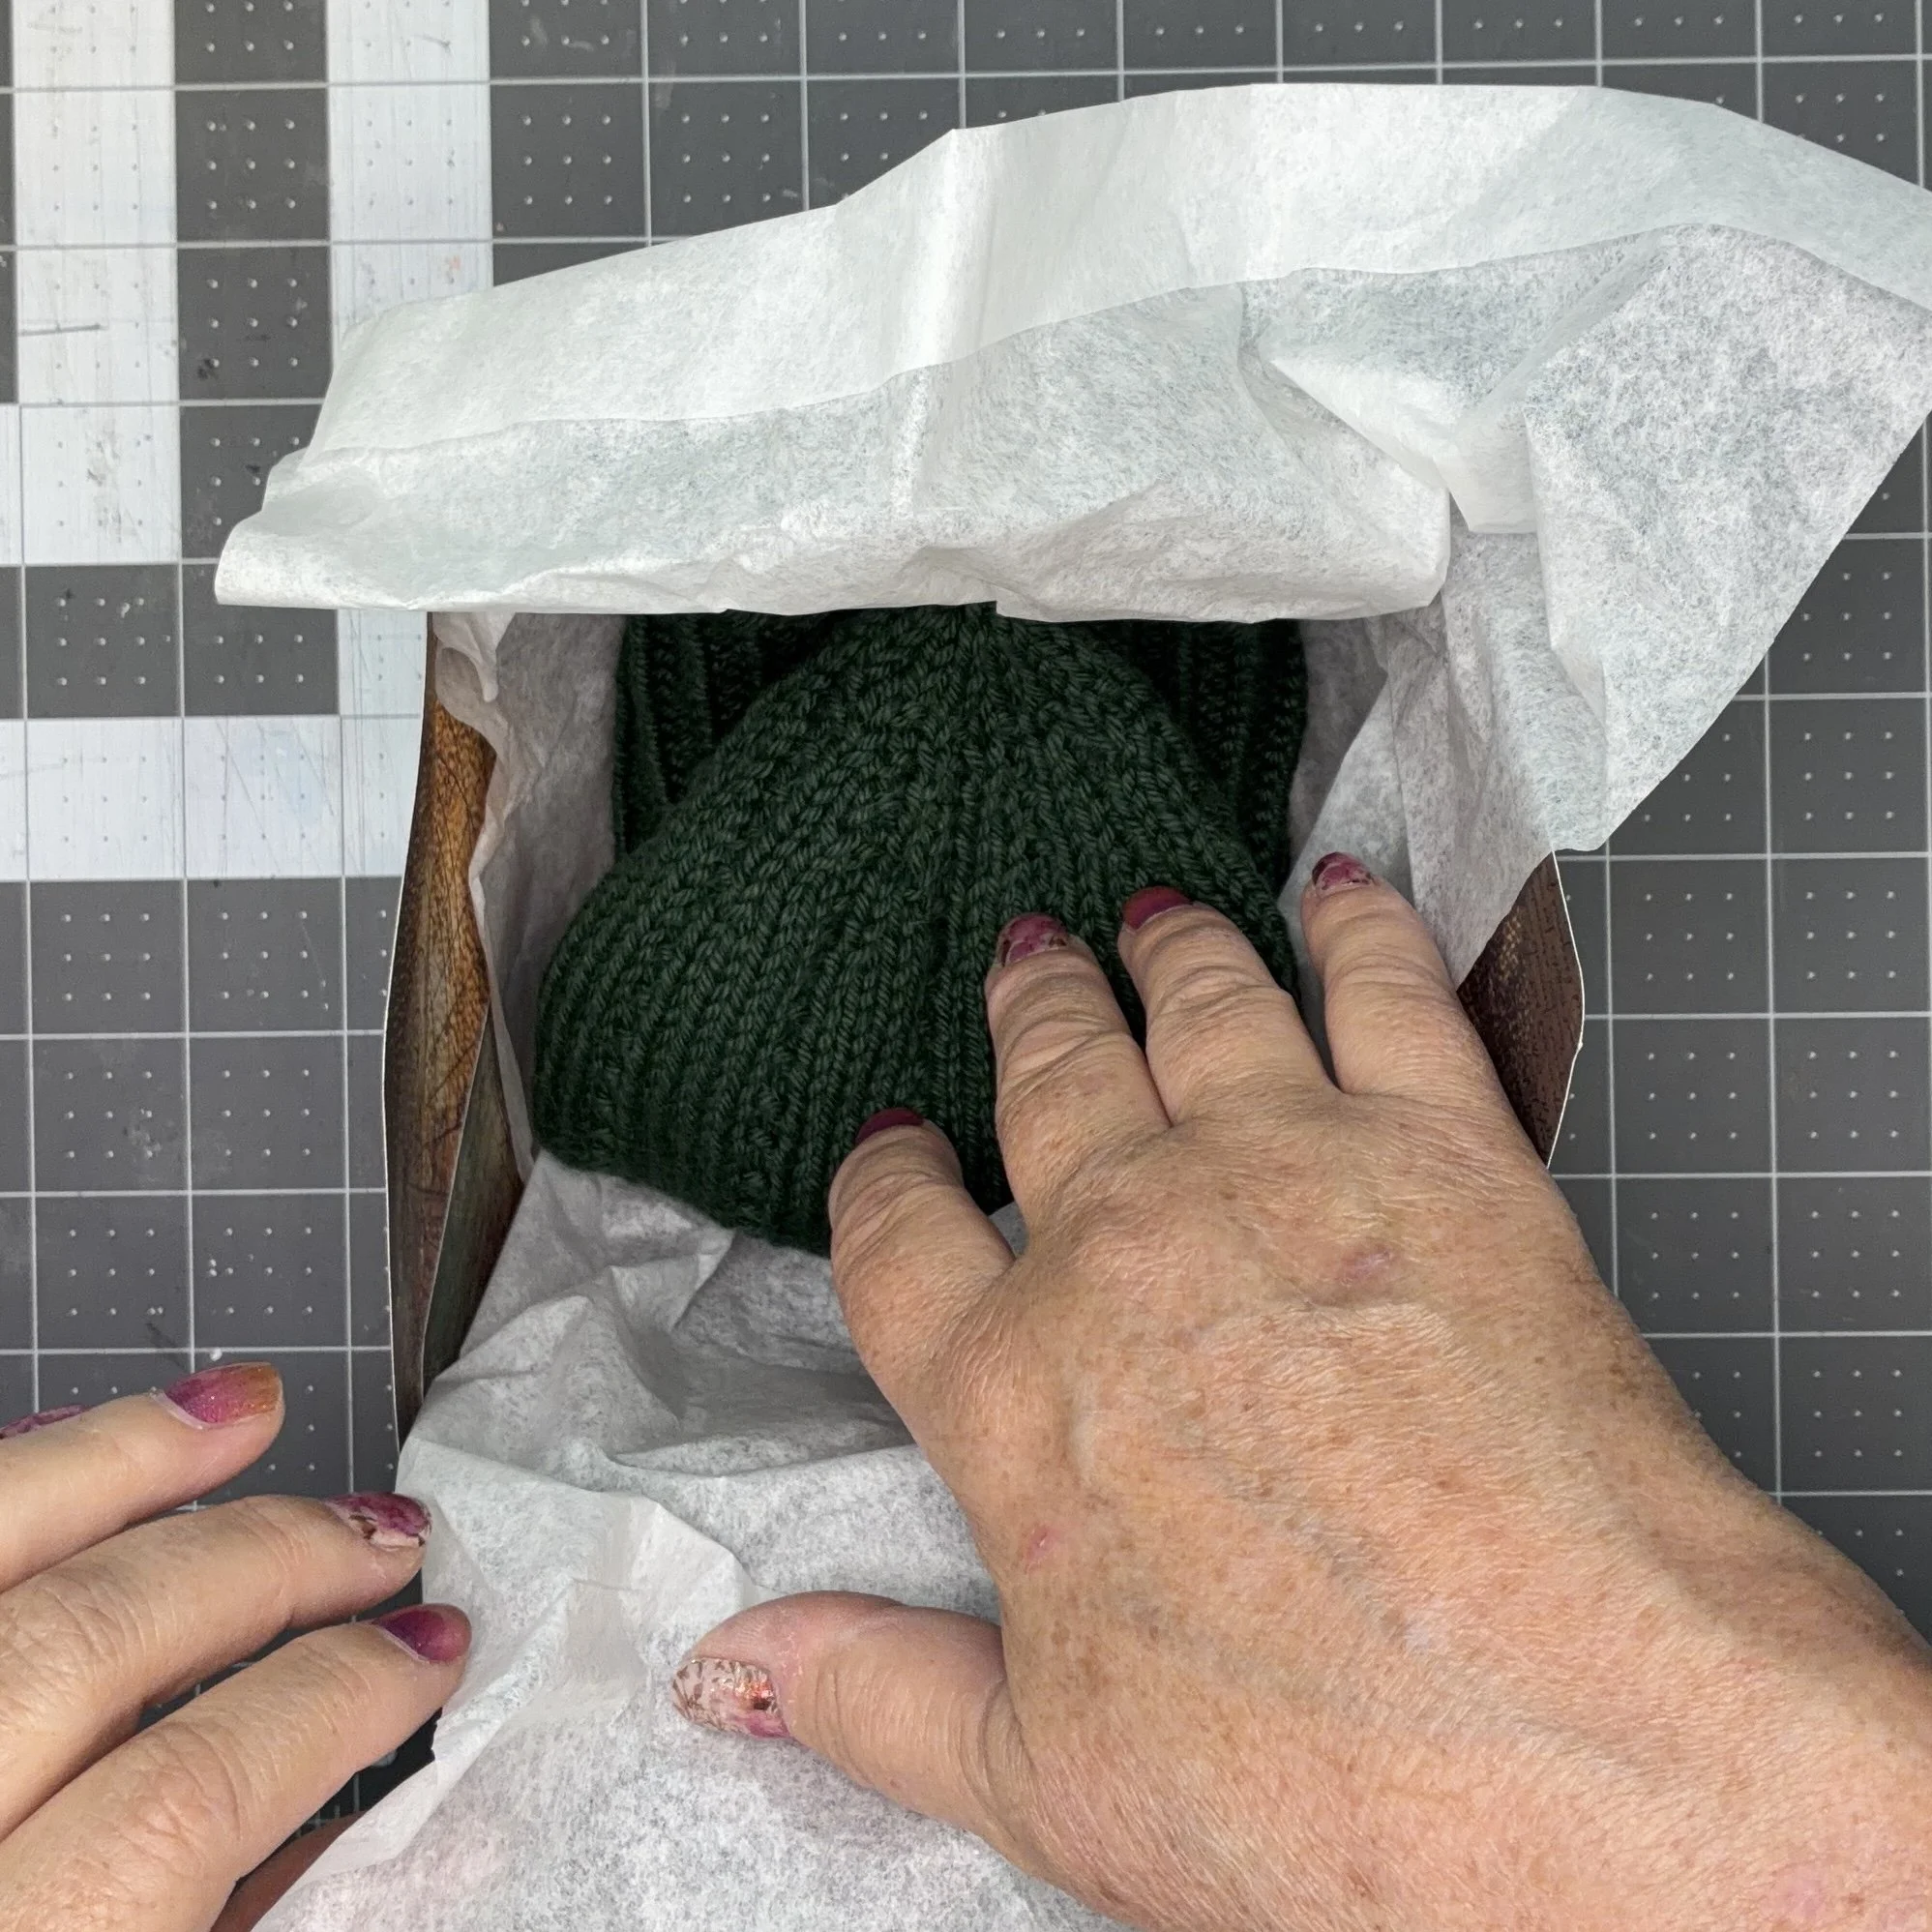
One can also use the envelope punchboard for making boxes. I tend to make the largest size that can be made with a 12” x 12” piece of cardstock, which I use as gift boxes for hand-knit hats and socks. So I make a lot of these boxes! I thought I’d show you the box I made for the hat I’m giving my father for his birthday.
I learned this from a blog called The Crafty Owl, and that blogger considerately set up a page where you can enter the dimensions of the box that you want and the page will tell you what size paper you need and what measurements to use to do your punching and scoring. I’m sure I must have used that formula when I was starting but honestly, my big square boxes are so useful and versatile that I haven’t tried making any other size or shape for a long time.
First, make sure that your 12” square of cardstock is actually 12”. Sometimes, you find paper that is really 11.5” square or (even worse) 12” one direction but 11.5” the other. Then set the edge of the paper to the 4” mark, and punch and score. Because this is a big piece of paper, you will run out of punchboard before you run out of paper. So, stop scoring just before the edge of the board, or you will rip your paper and have to start again. Do this on all four sides of the paper. Then flip the paper over so that the back side is facing up and do the whole routine again. Your score line on the back side will meet up with the score line from the front, so even though you can only score slightly more than halfway across the paper before you hit the edge of the punchboard, it will all work out. When you are done, you should have two notches along each edge of the paper and four score lines.
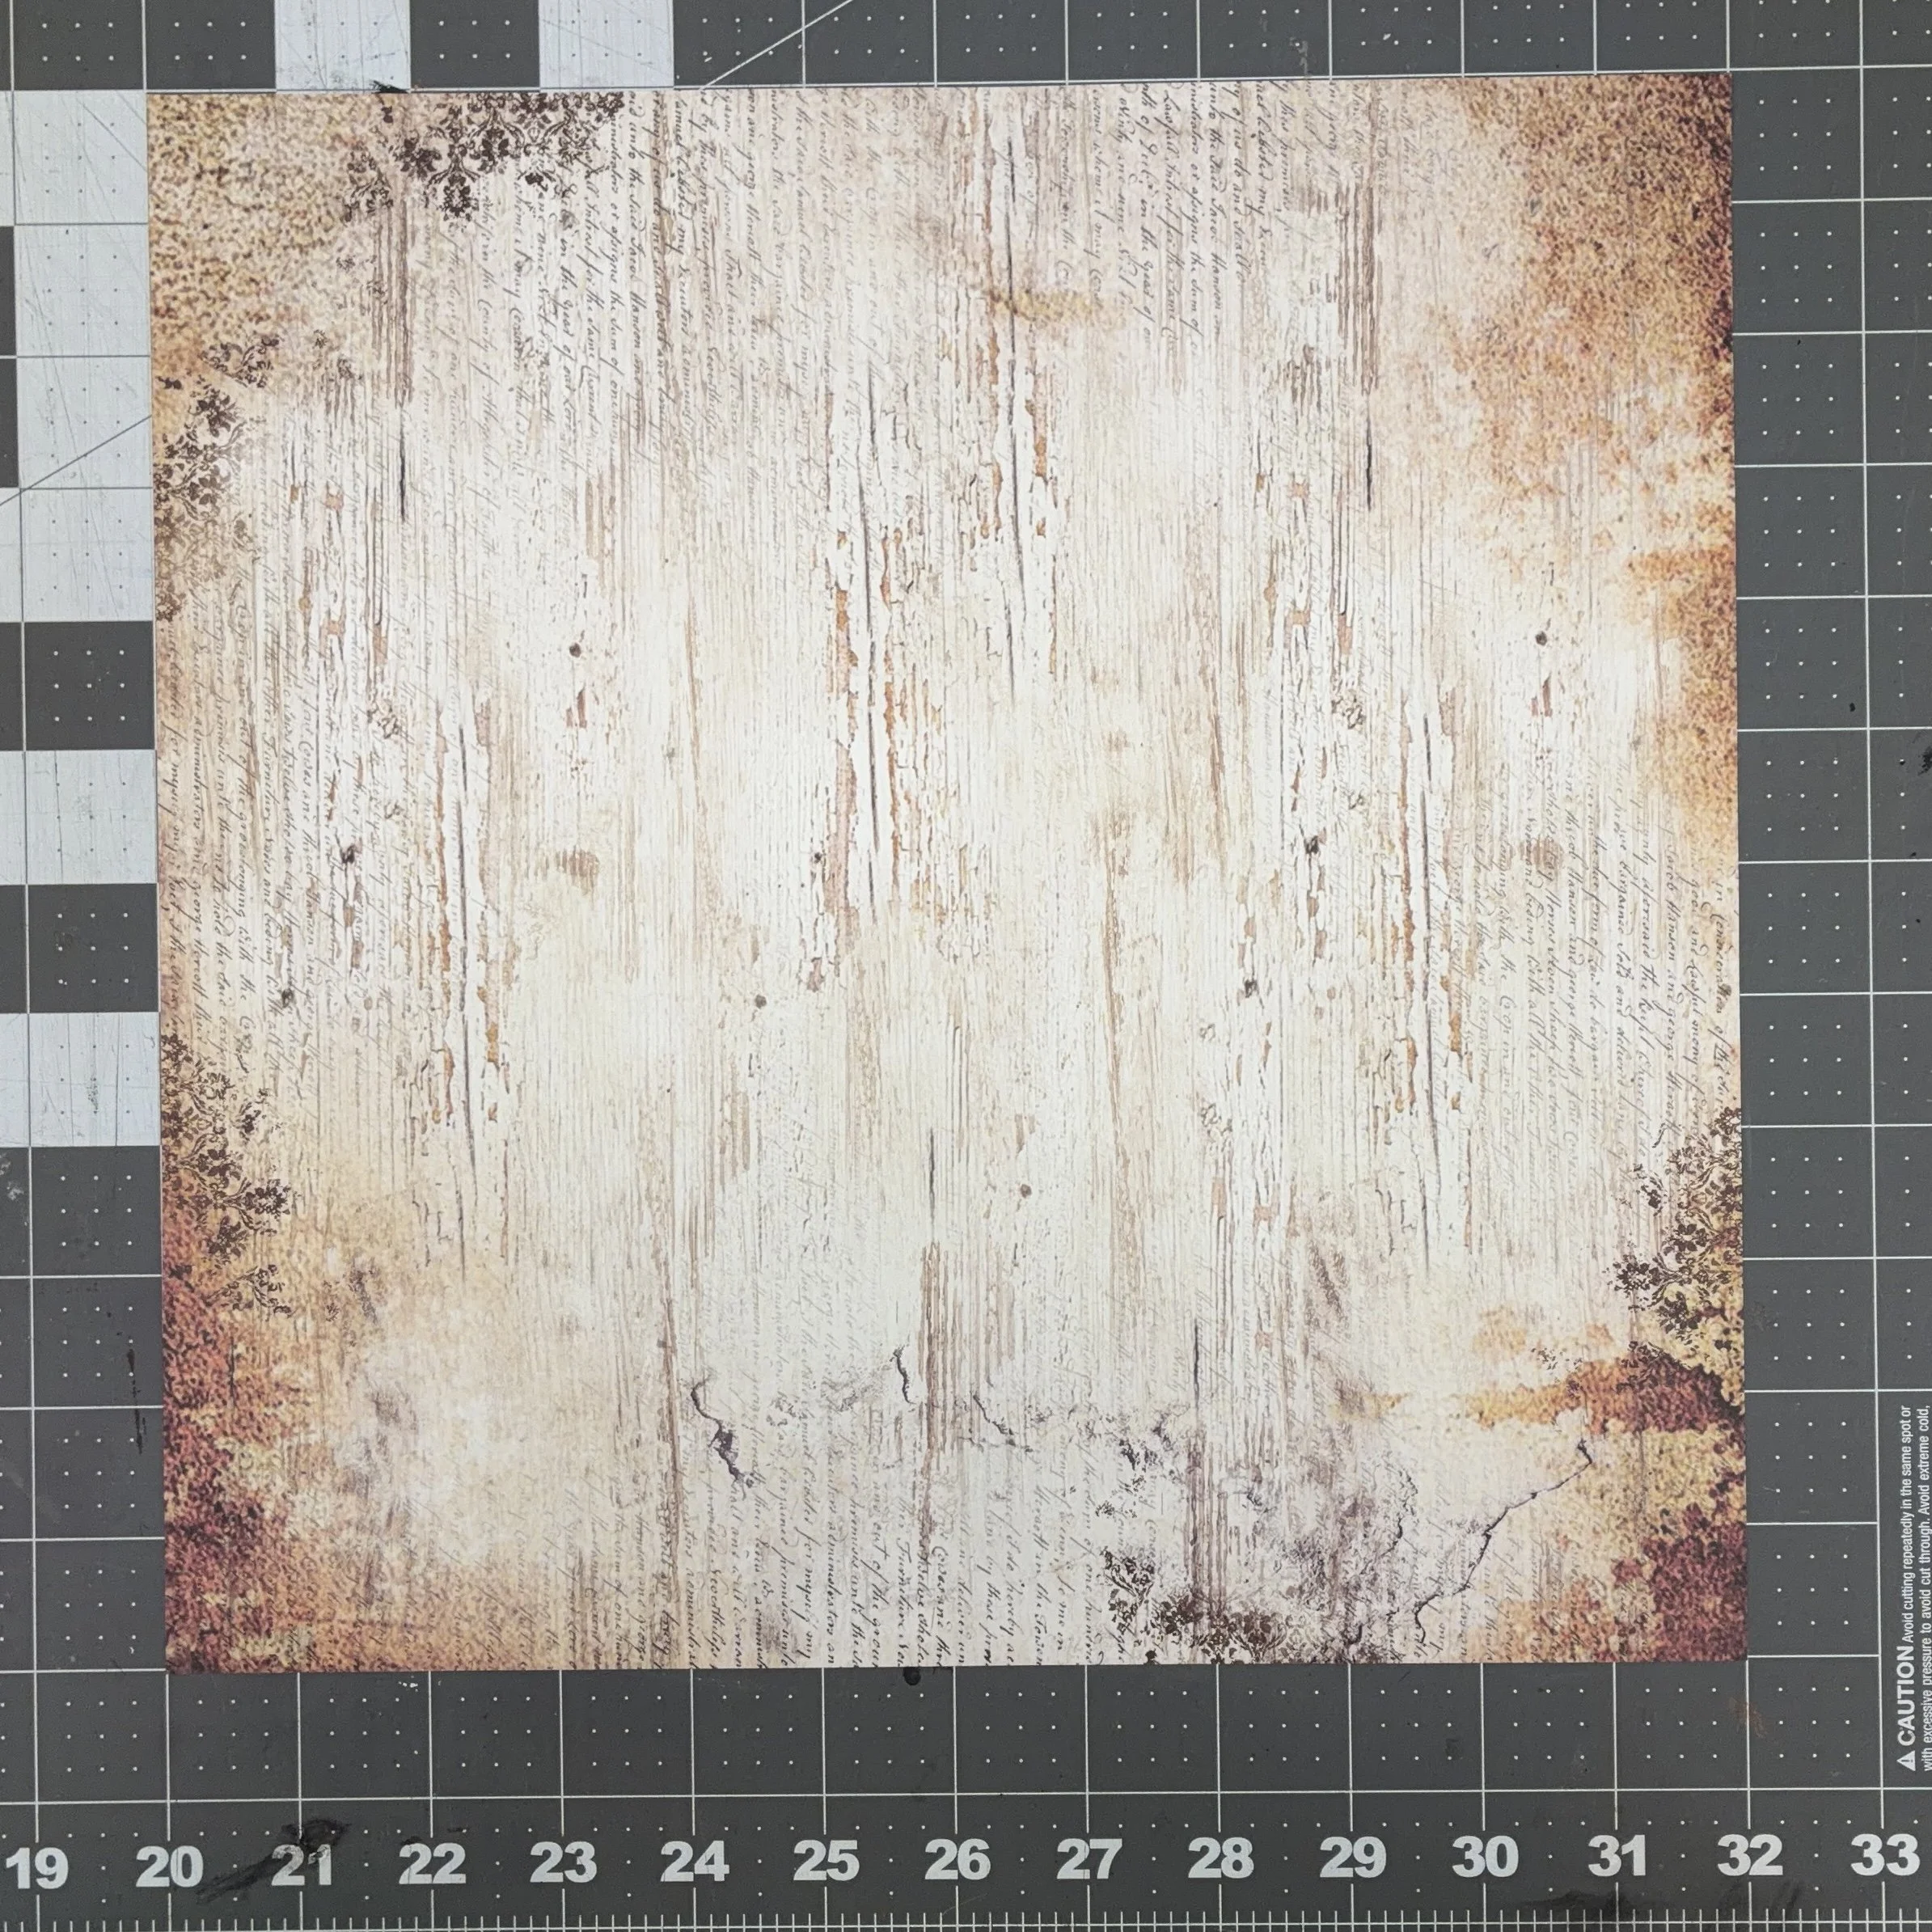
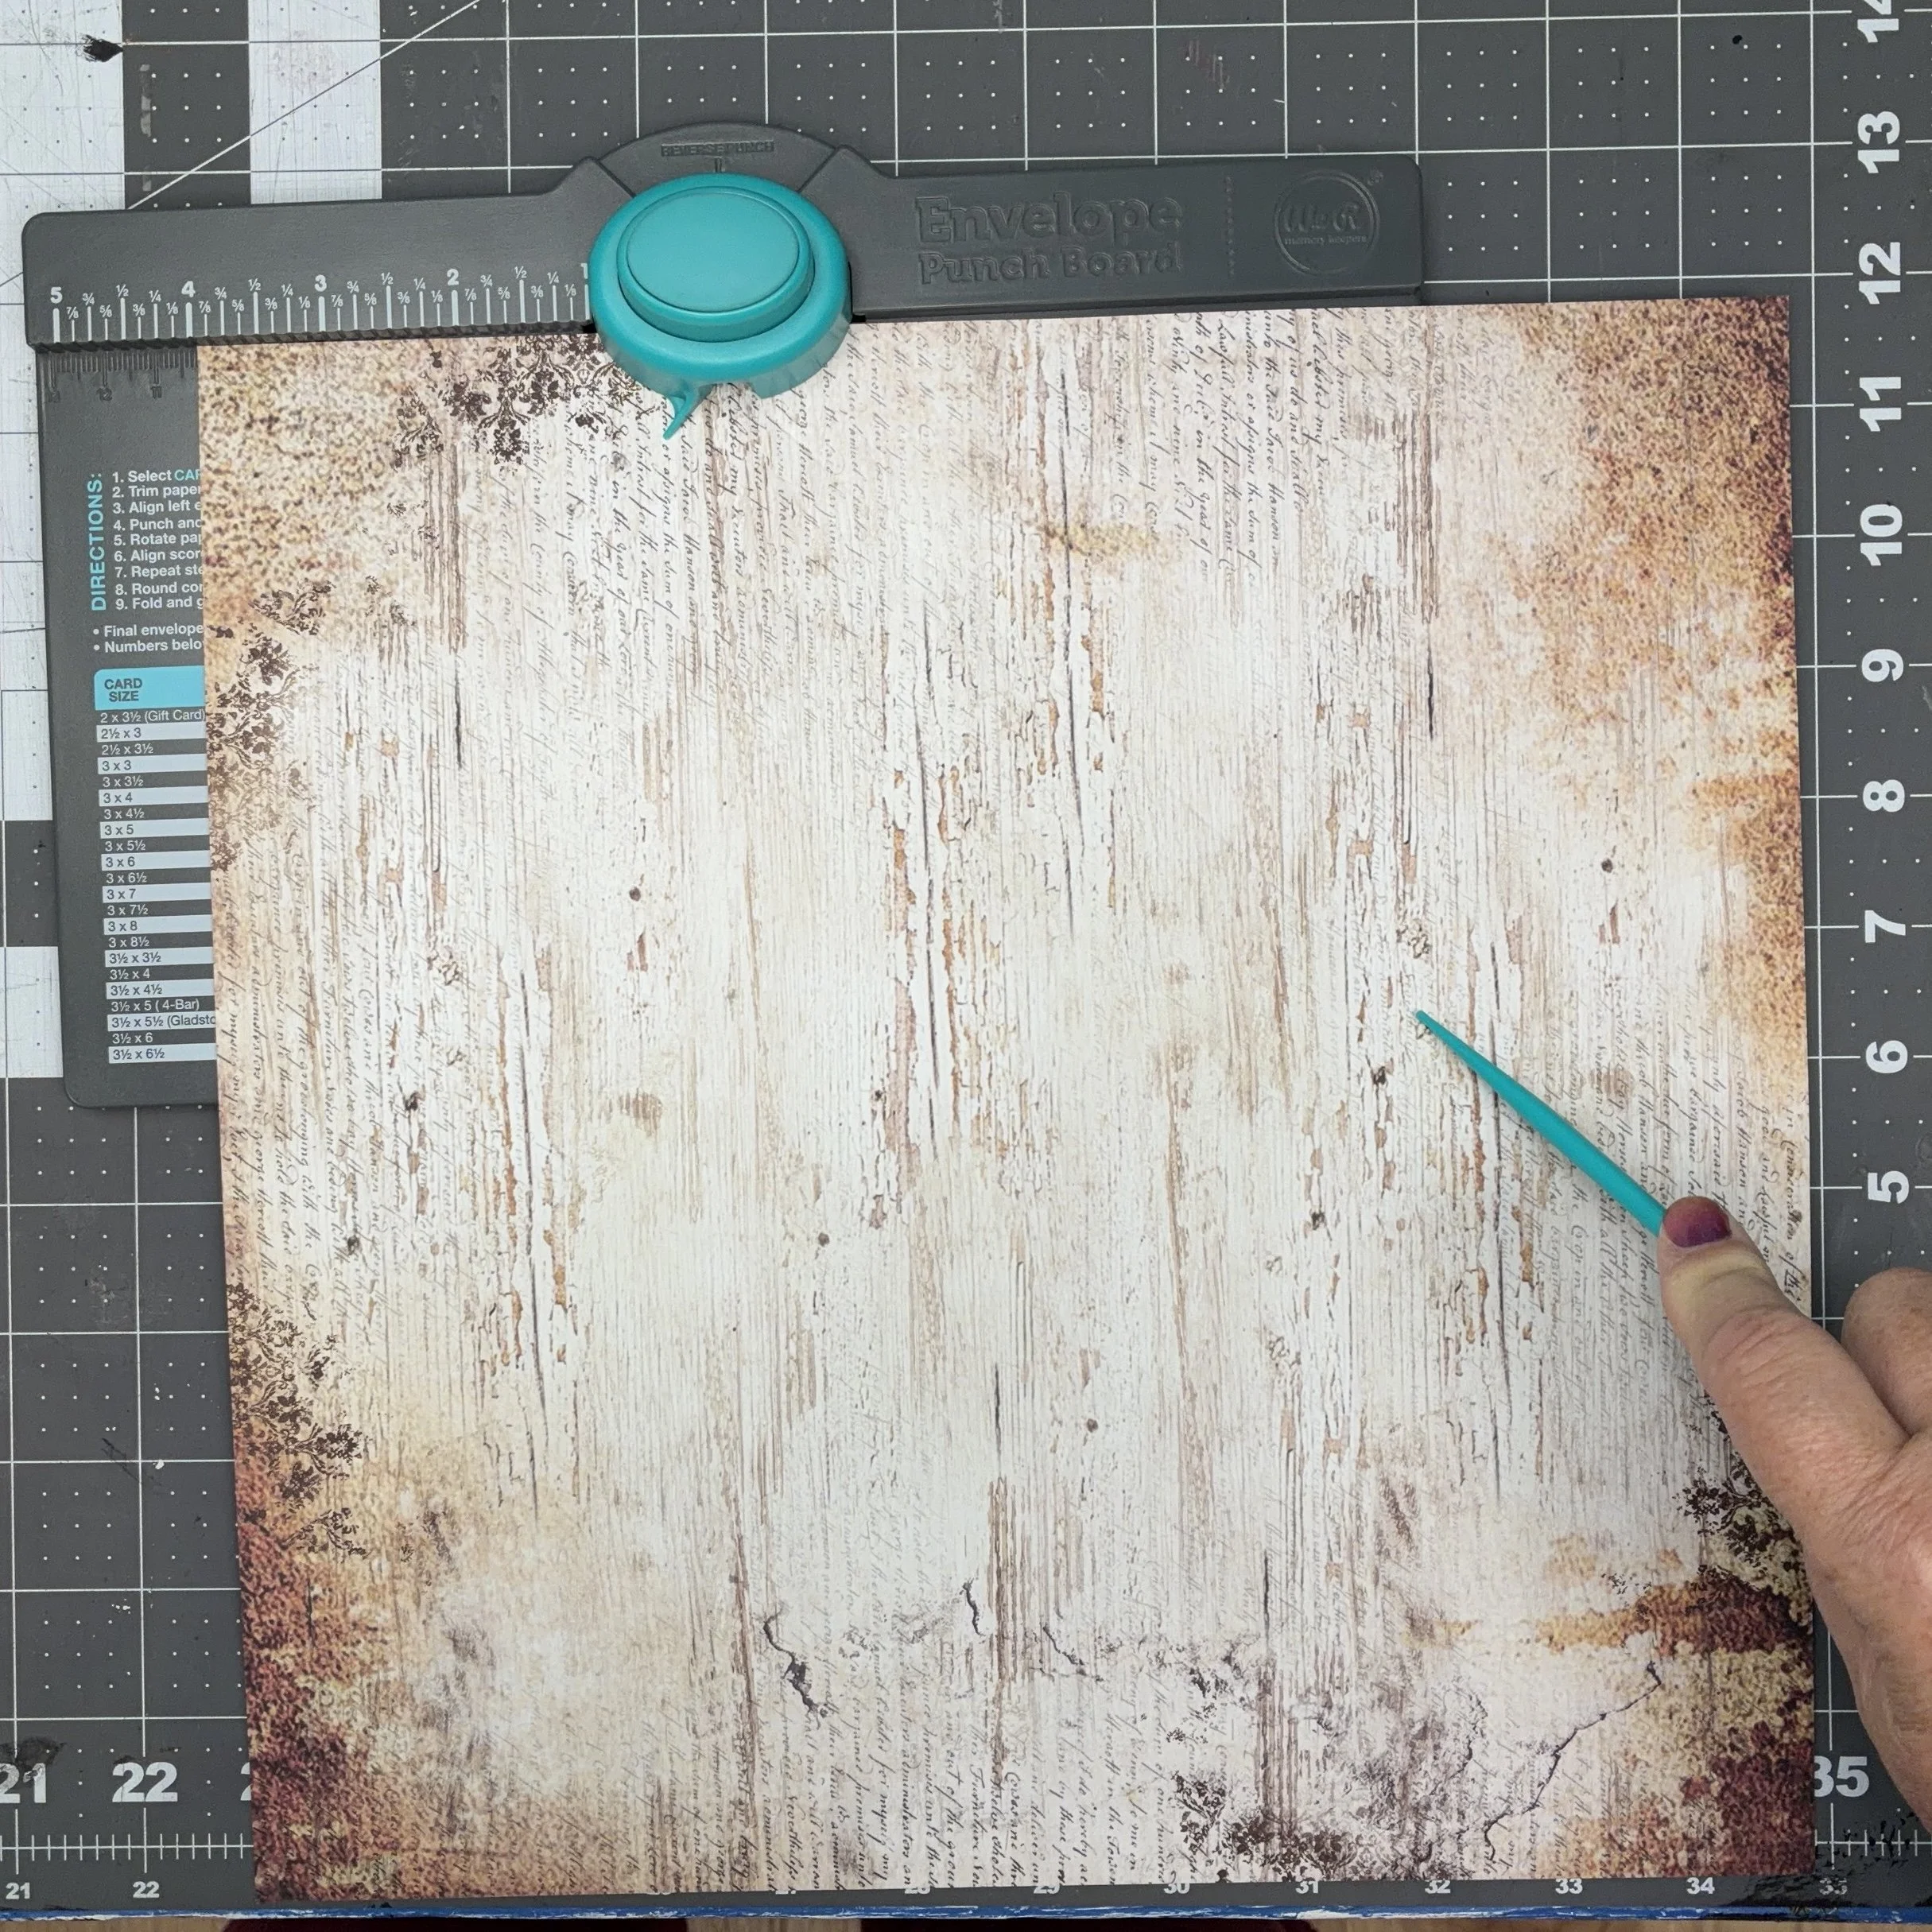
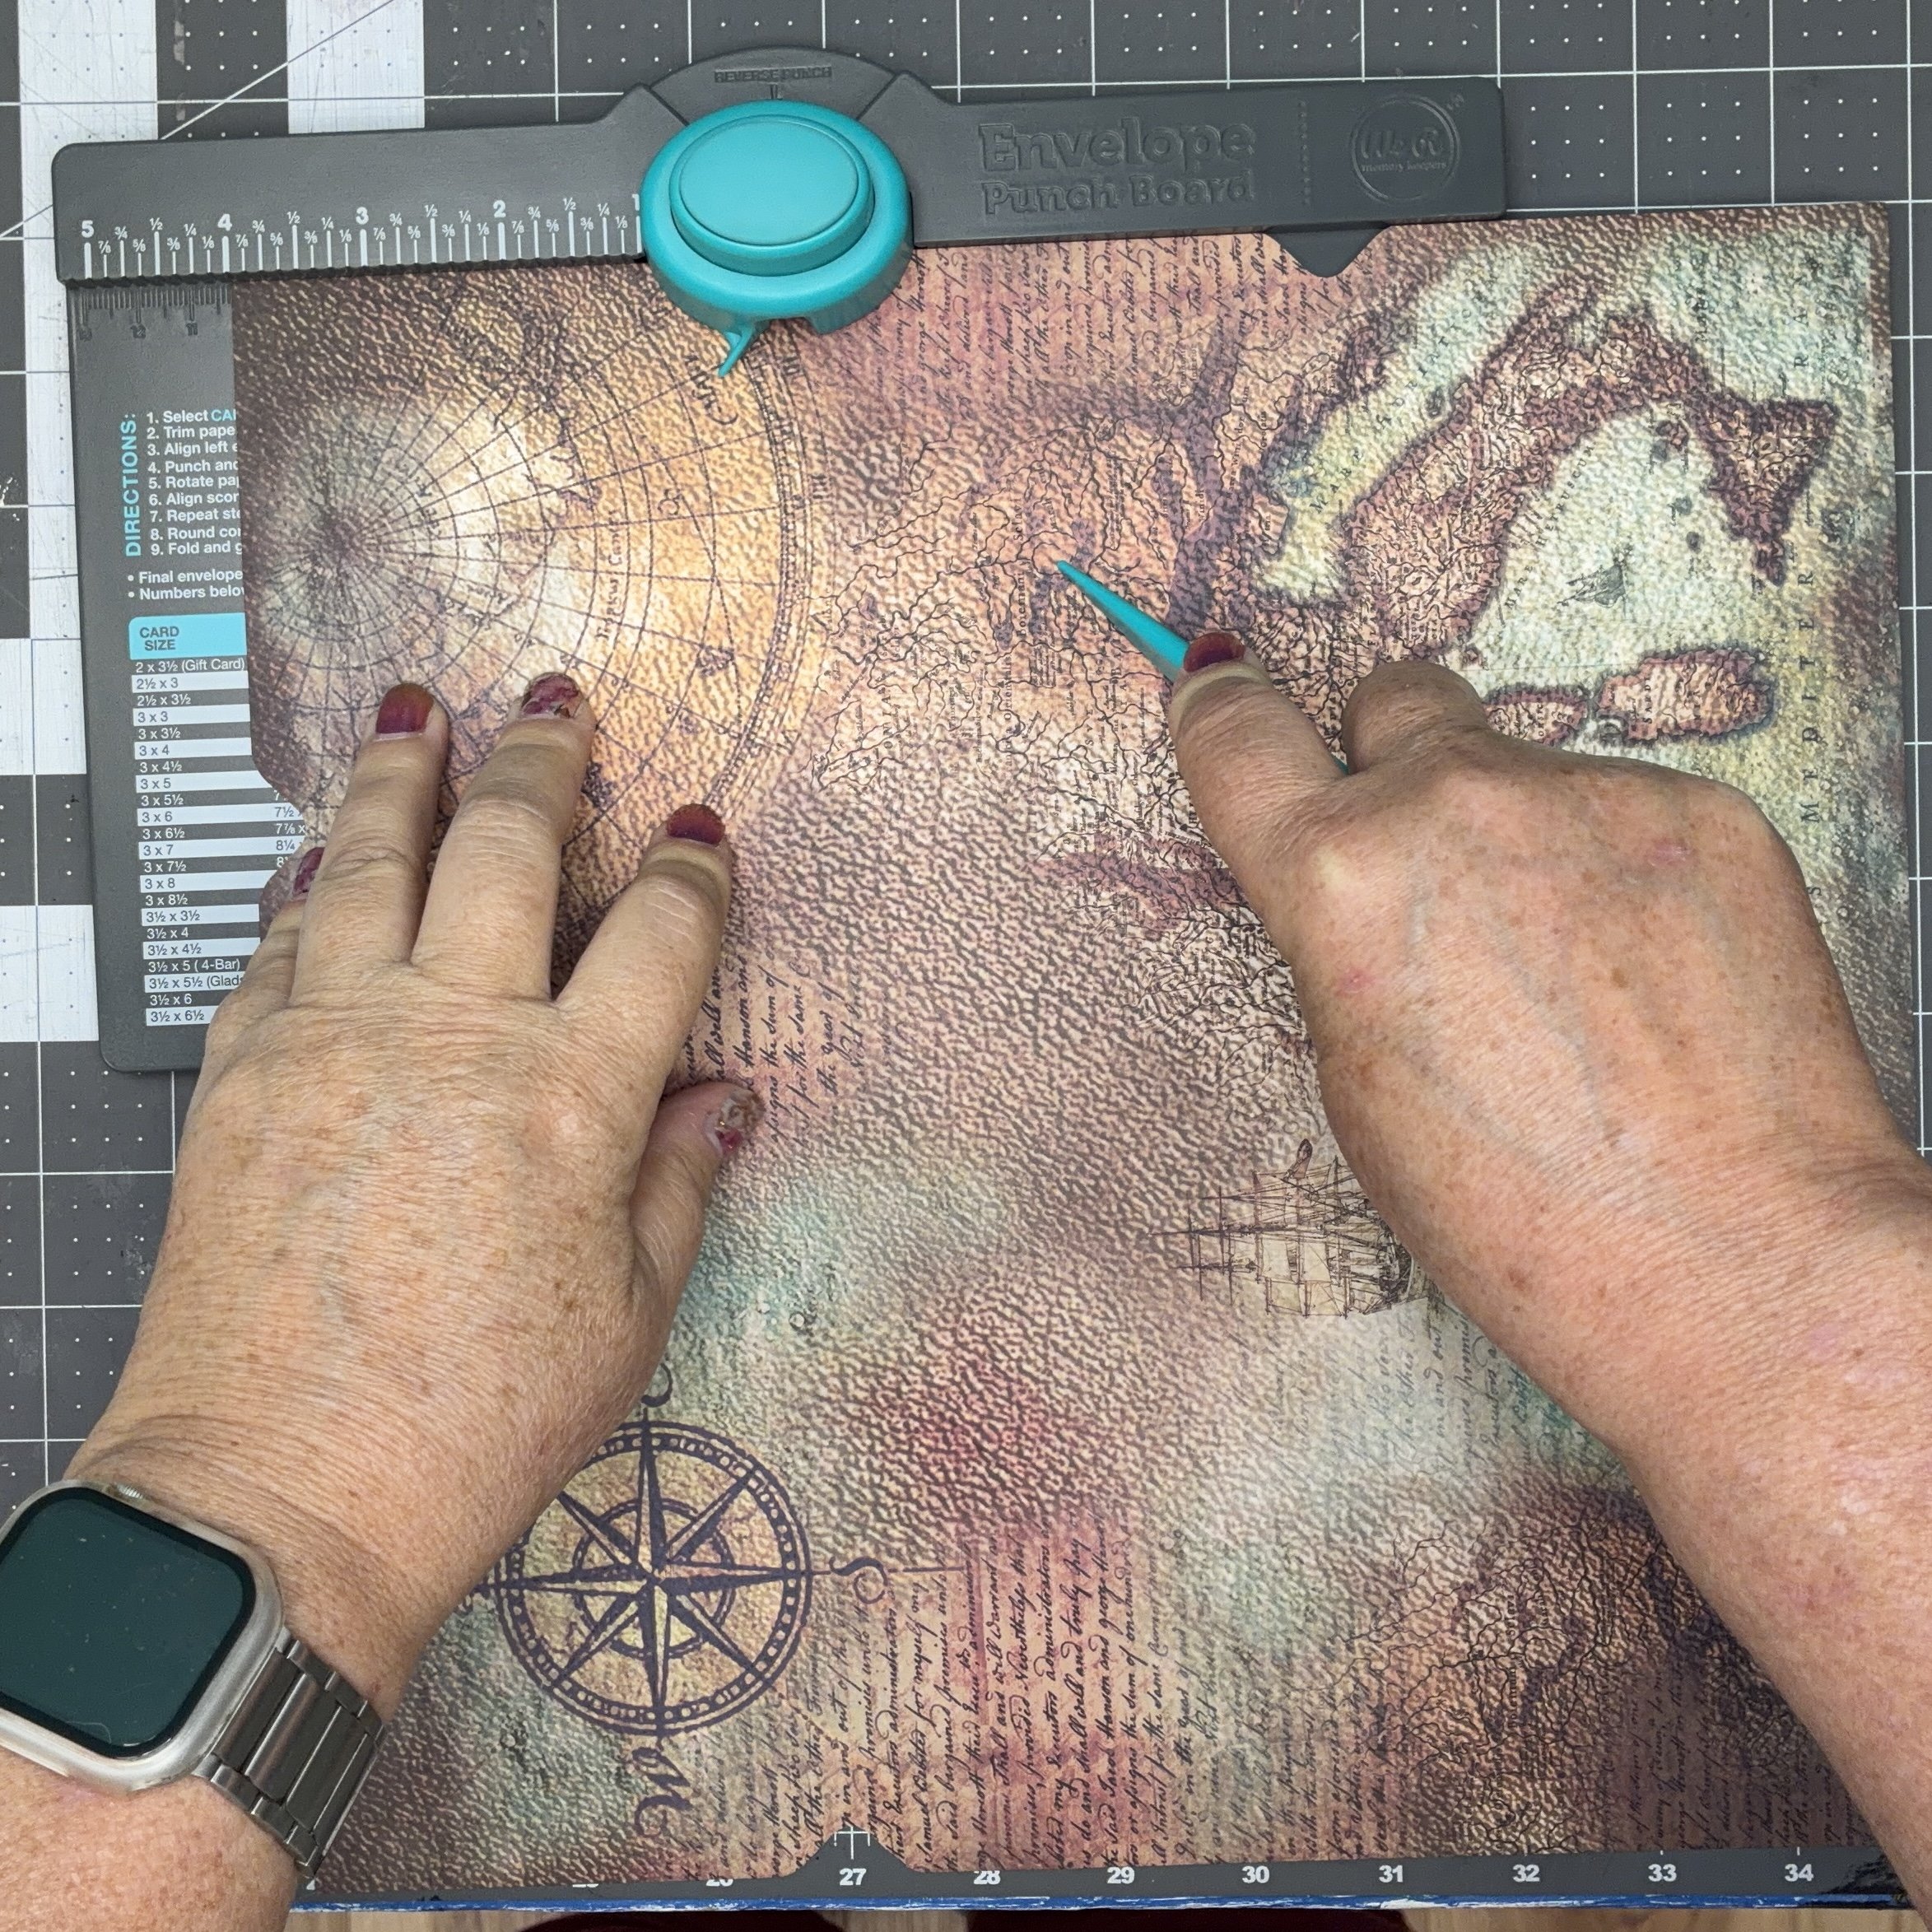
Now, since this box is dimensional and not flat (like the envelopes), you will need to add in four more score lines. With the top of the paper up against the top lip, align the notch on the right edge with the edge of the scoring groove, and score. This will give you a 45° line across your corner. Do this to all four corners, and then use the top of the punch button to round your corners.
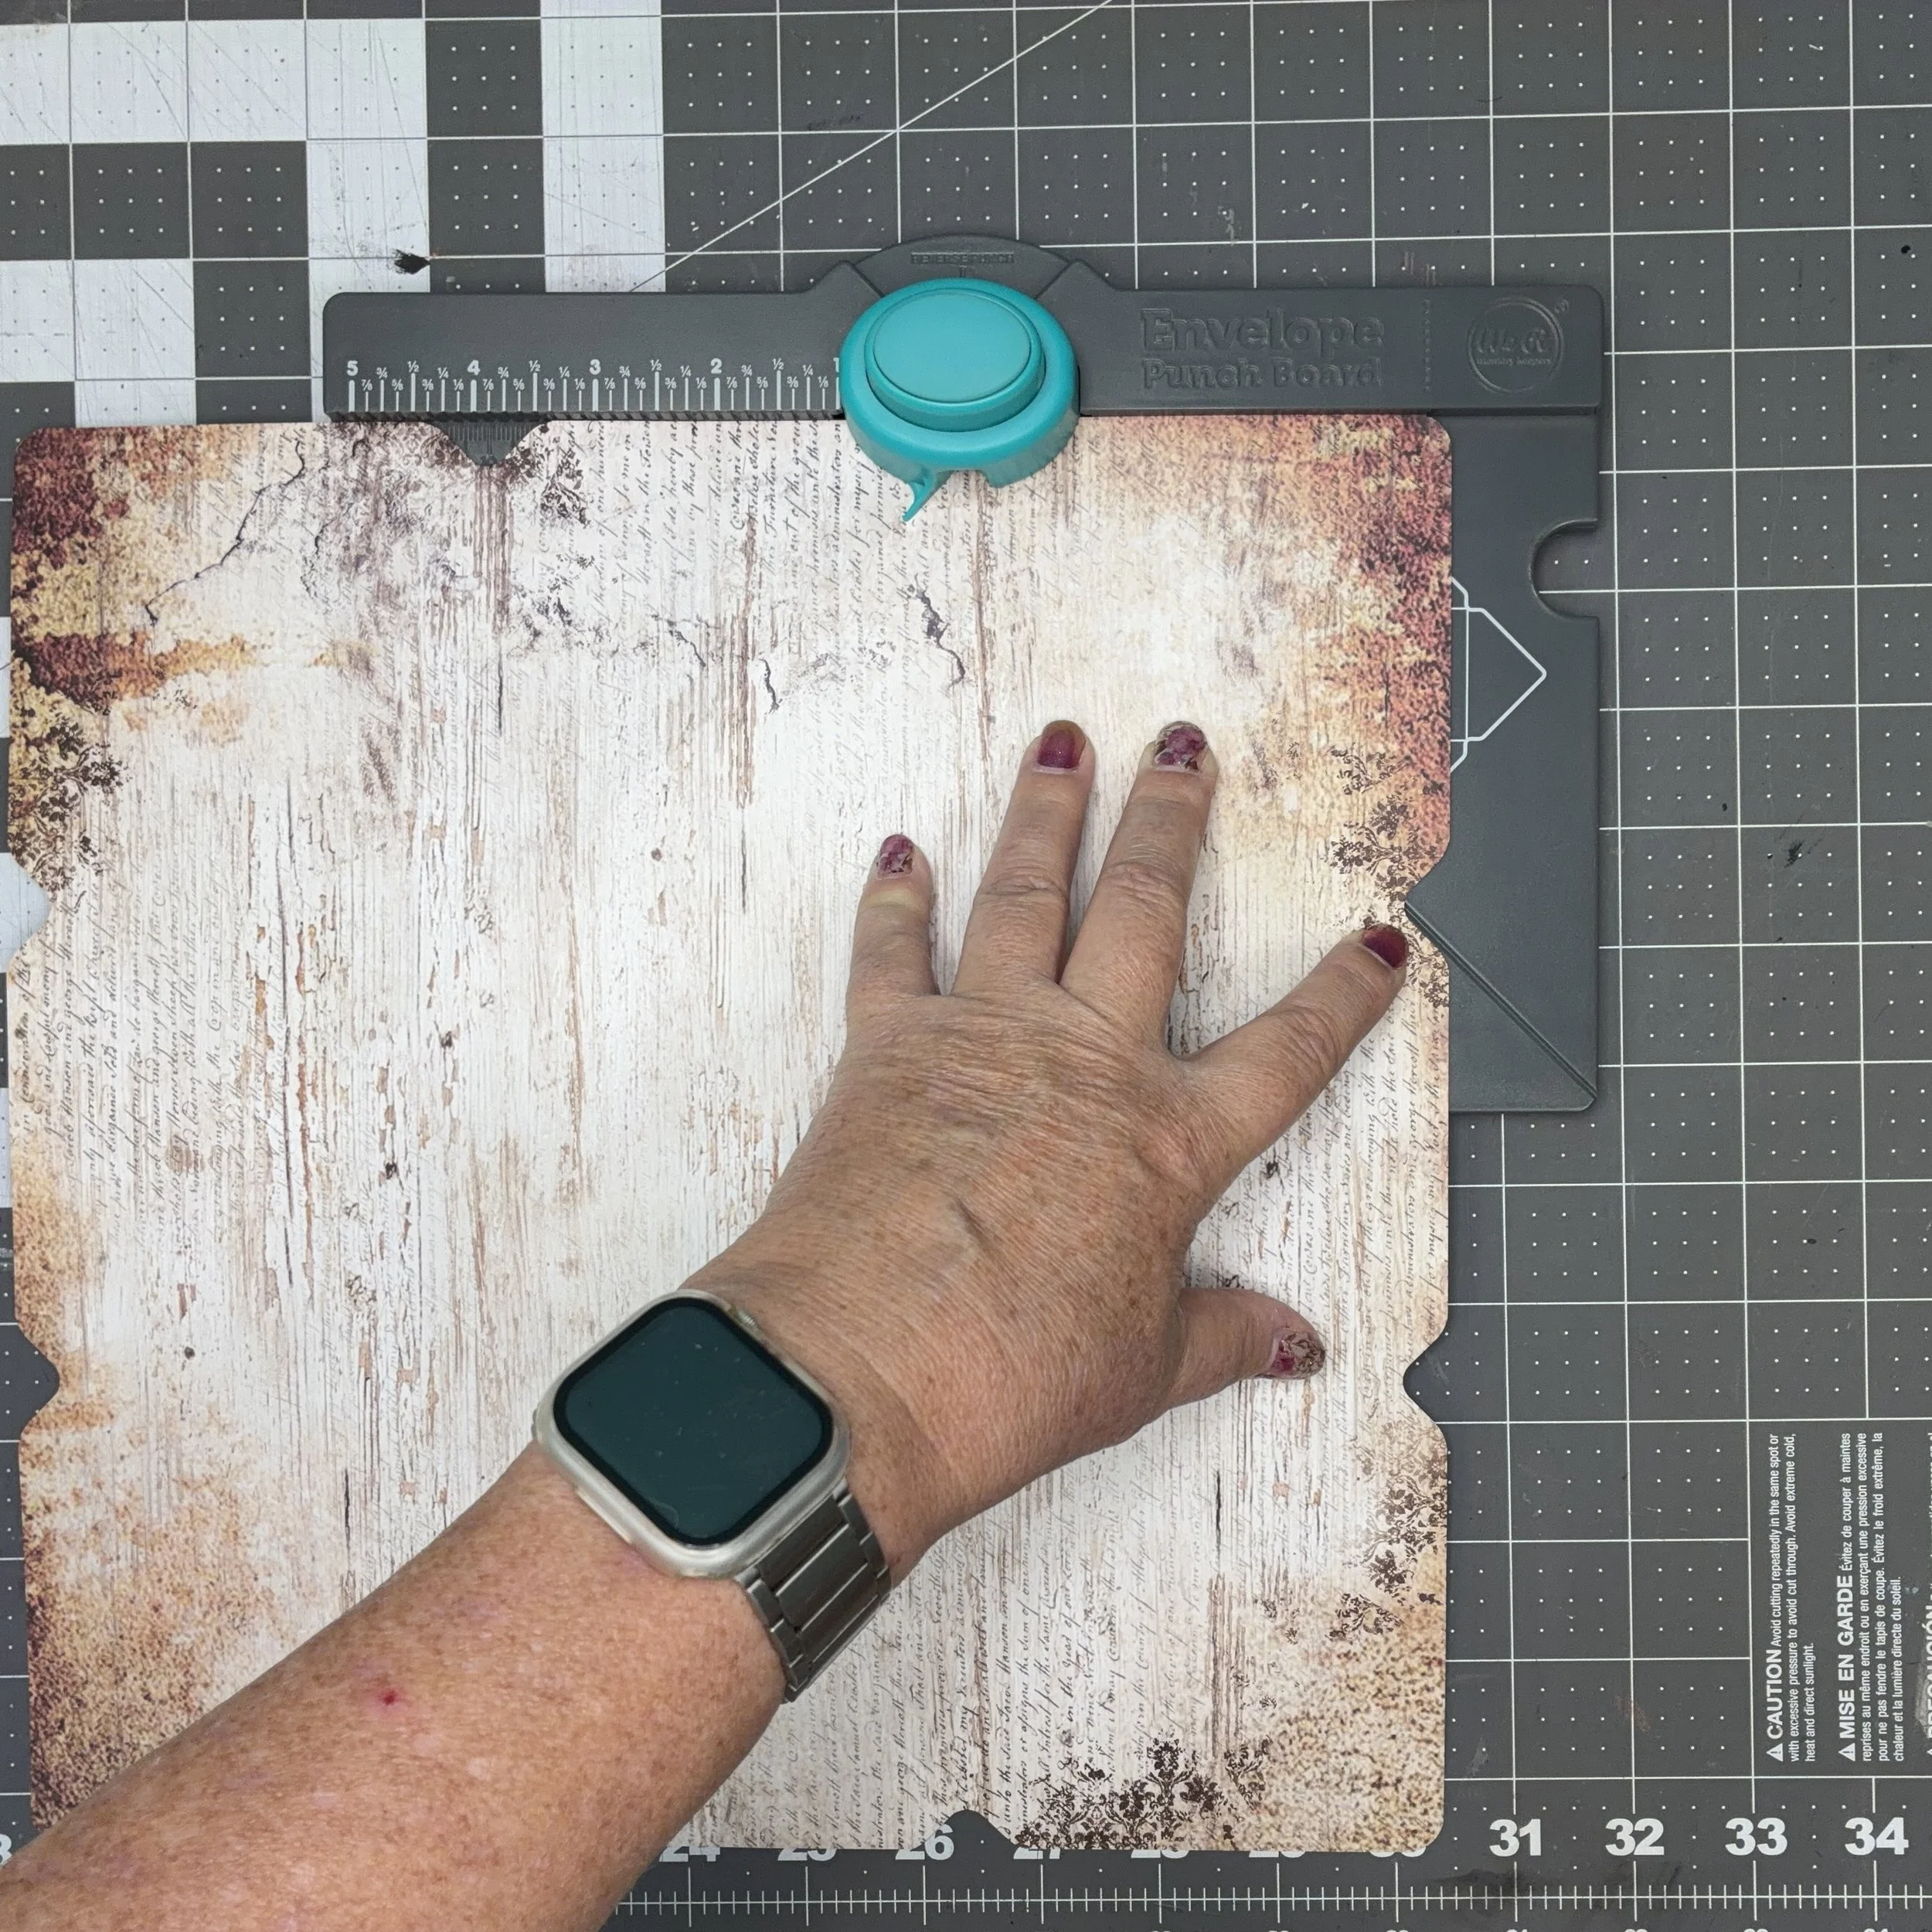
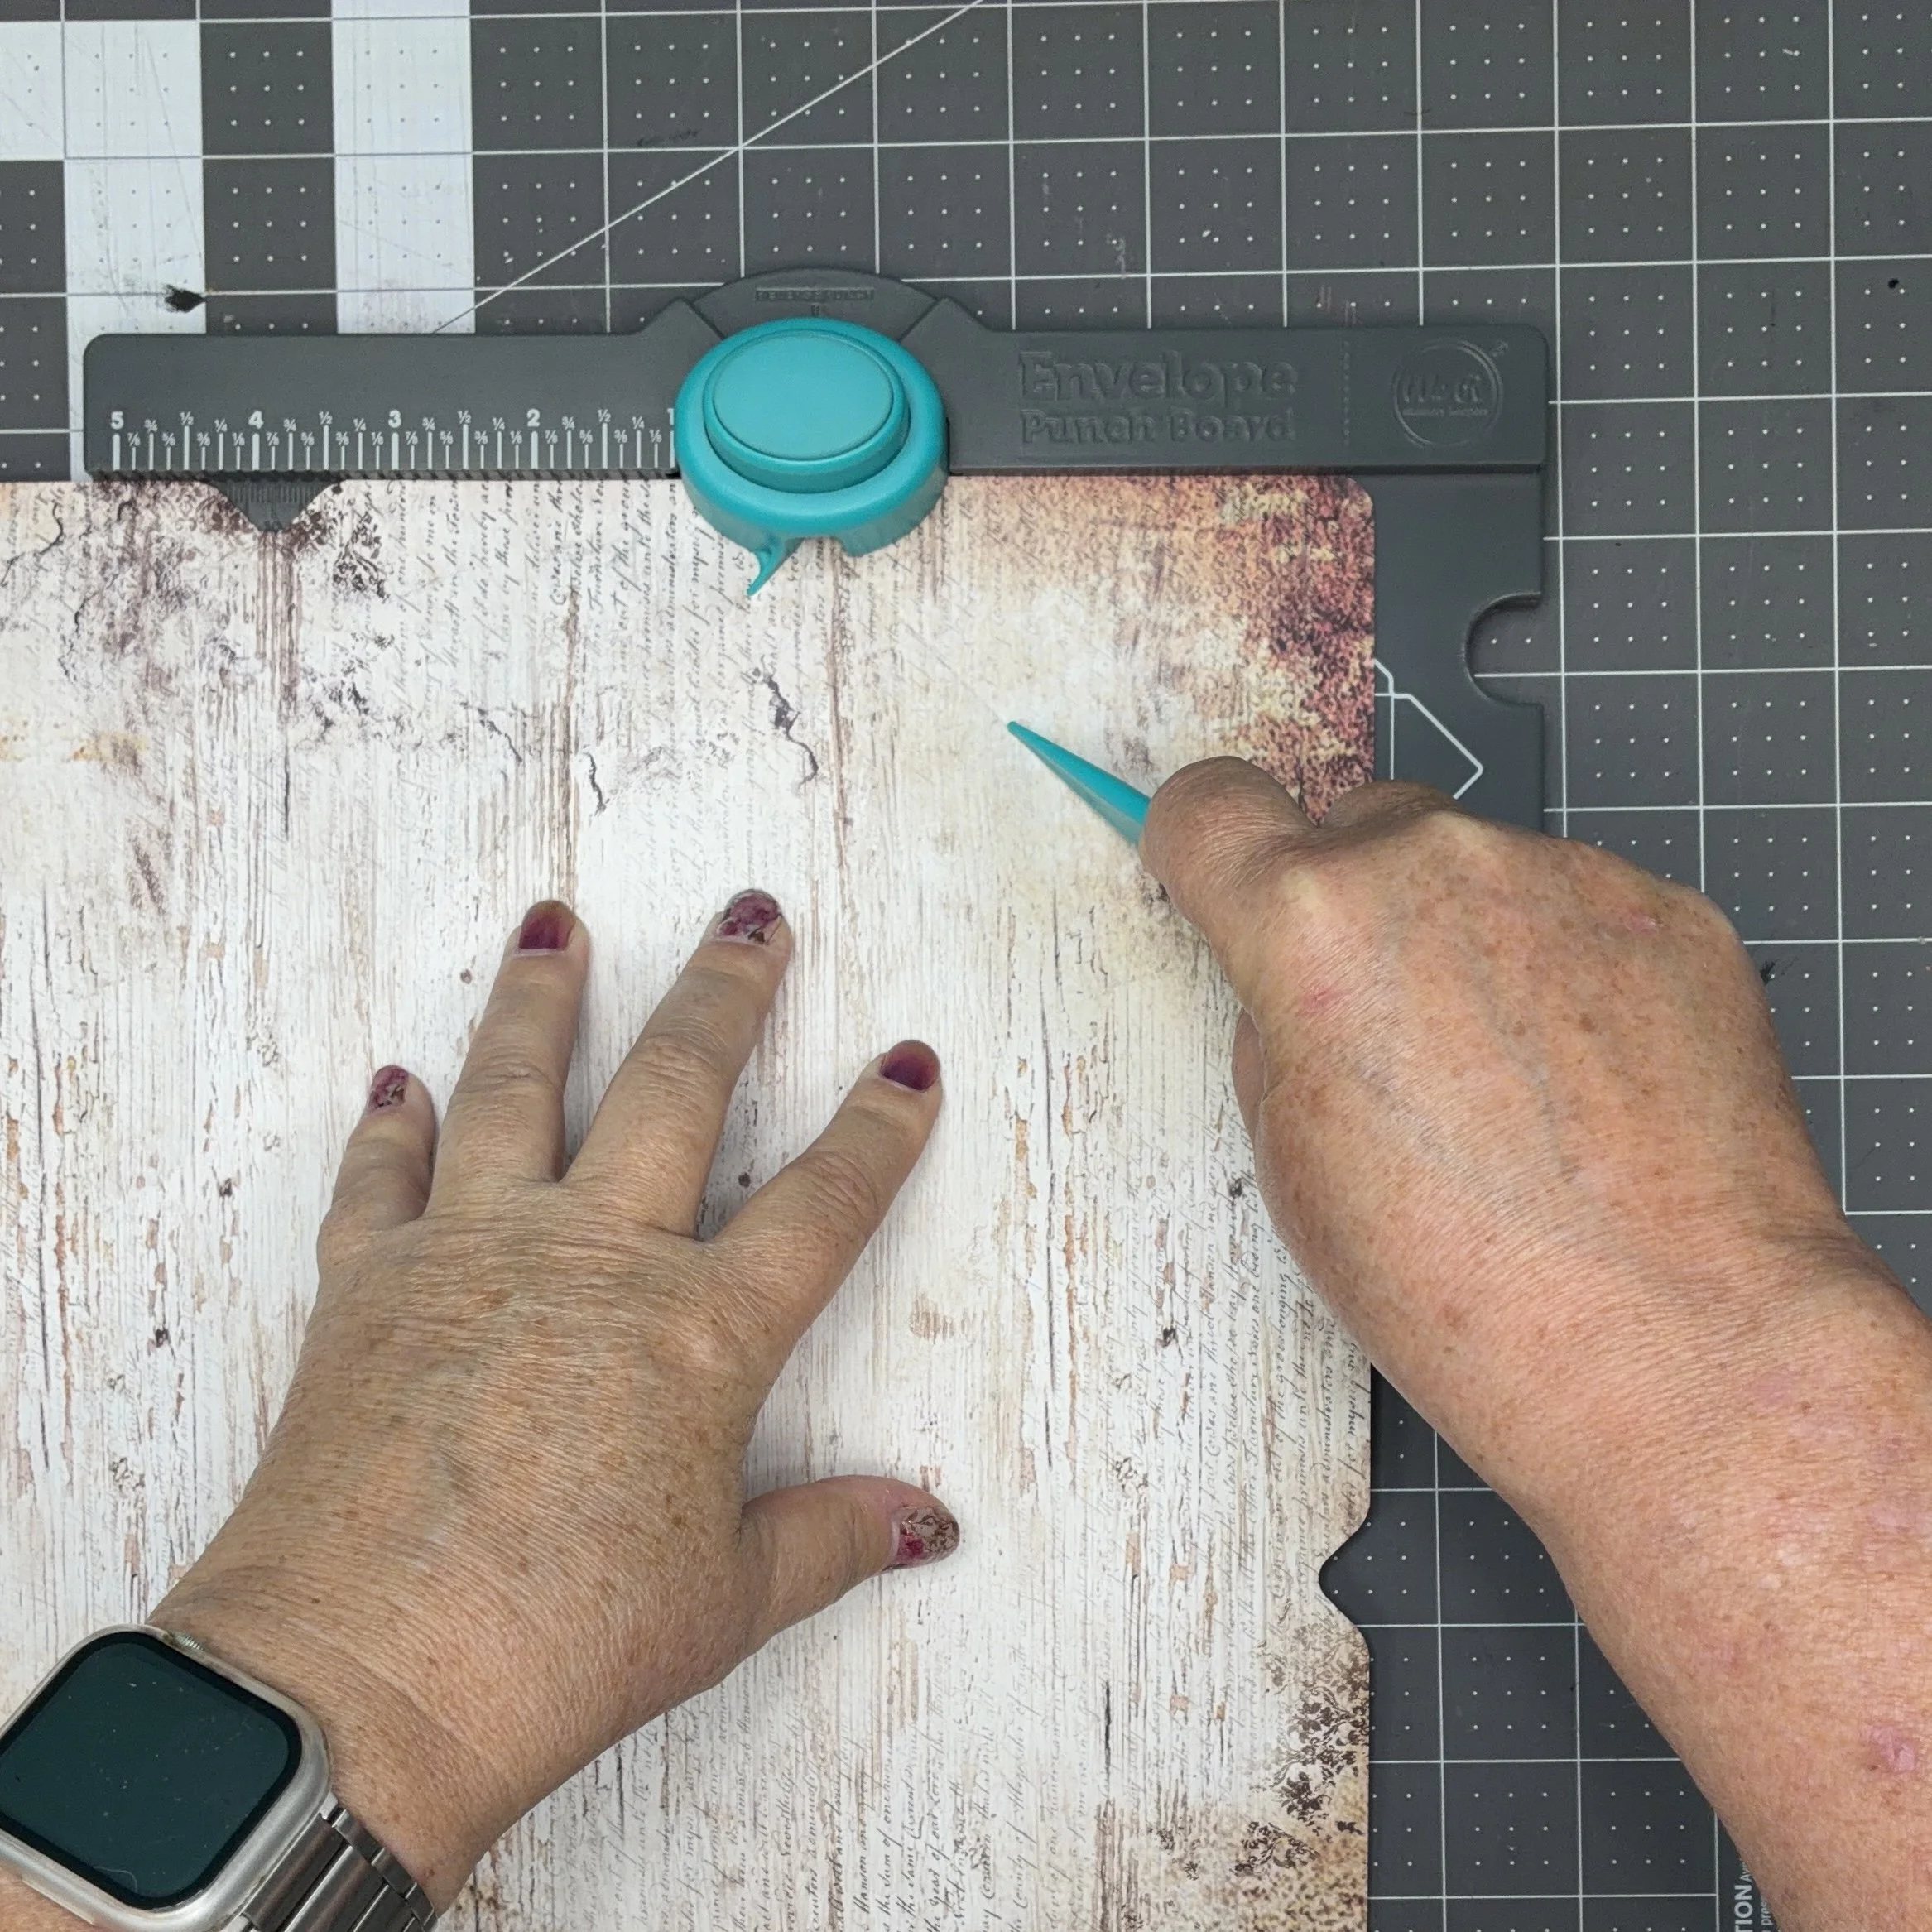
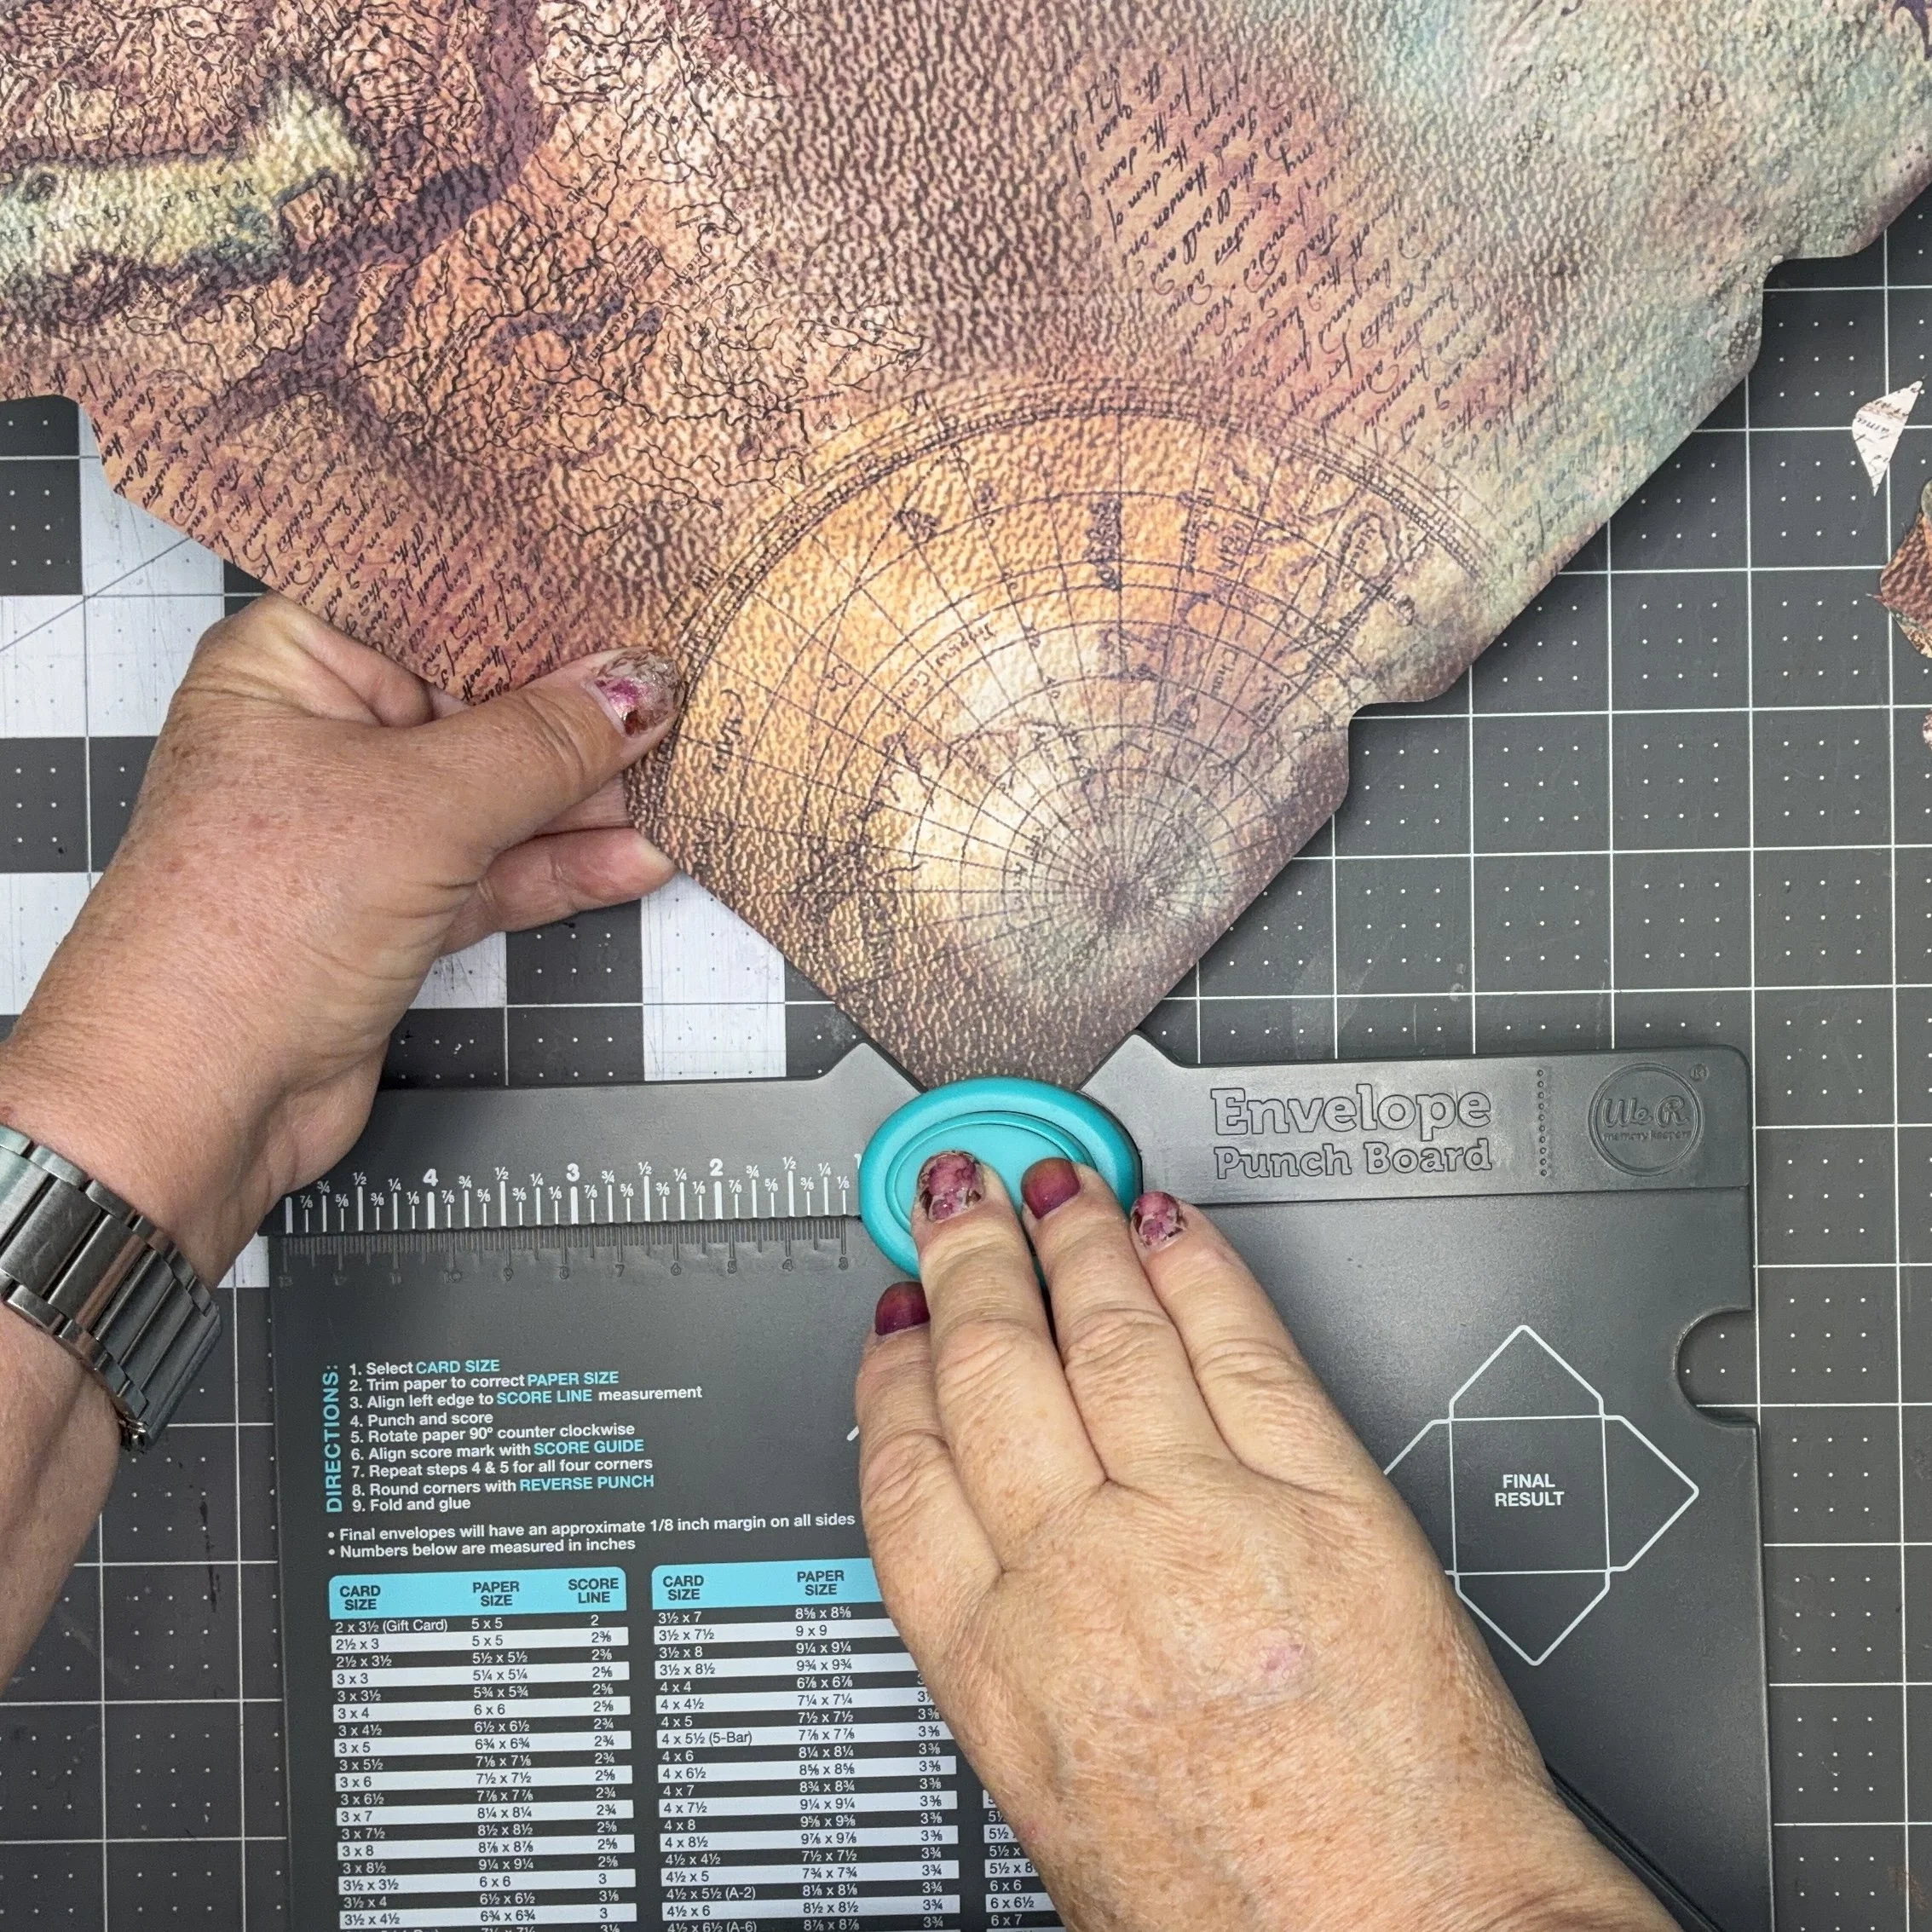
Start folding all your score lines, using a bone folder to get everything crisp.
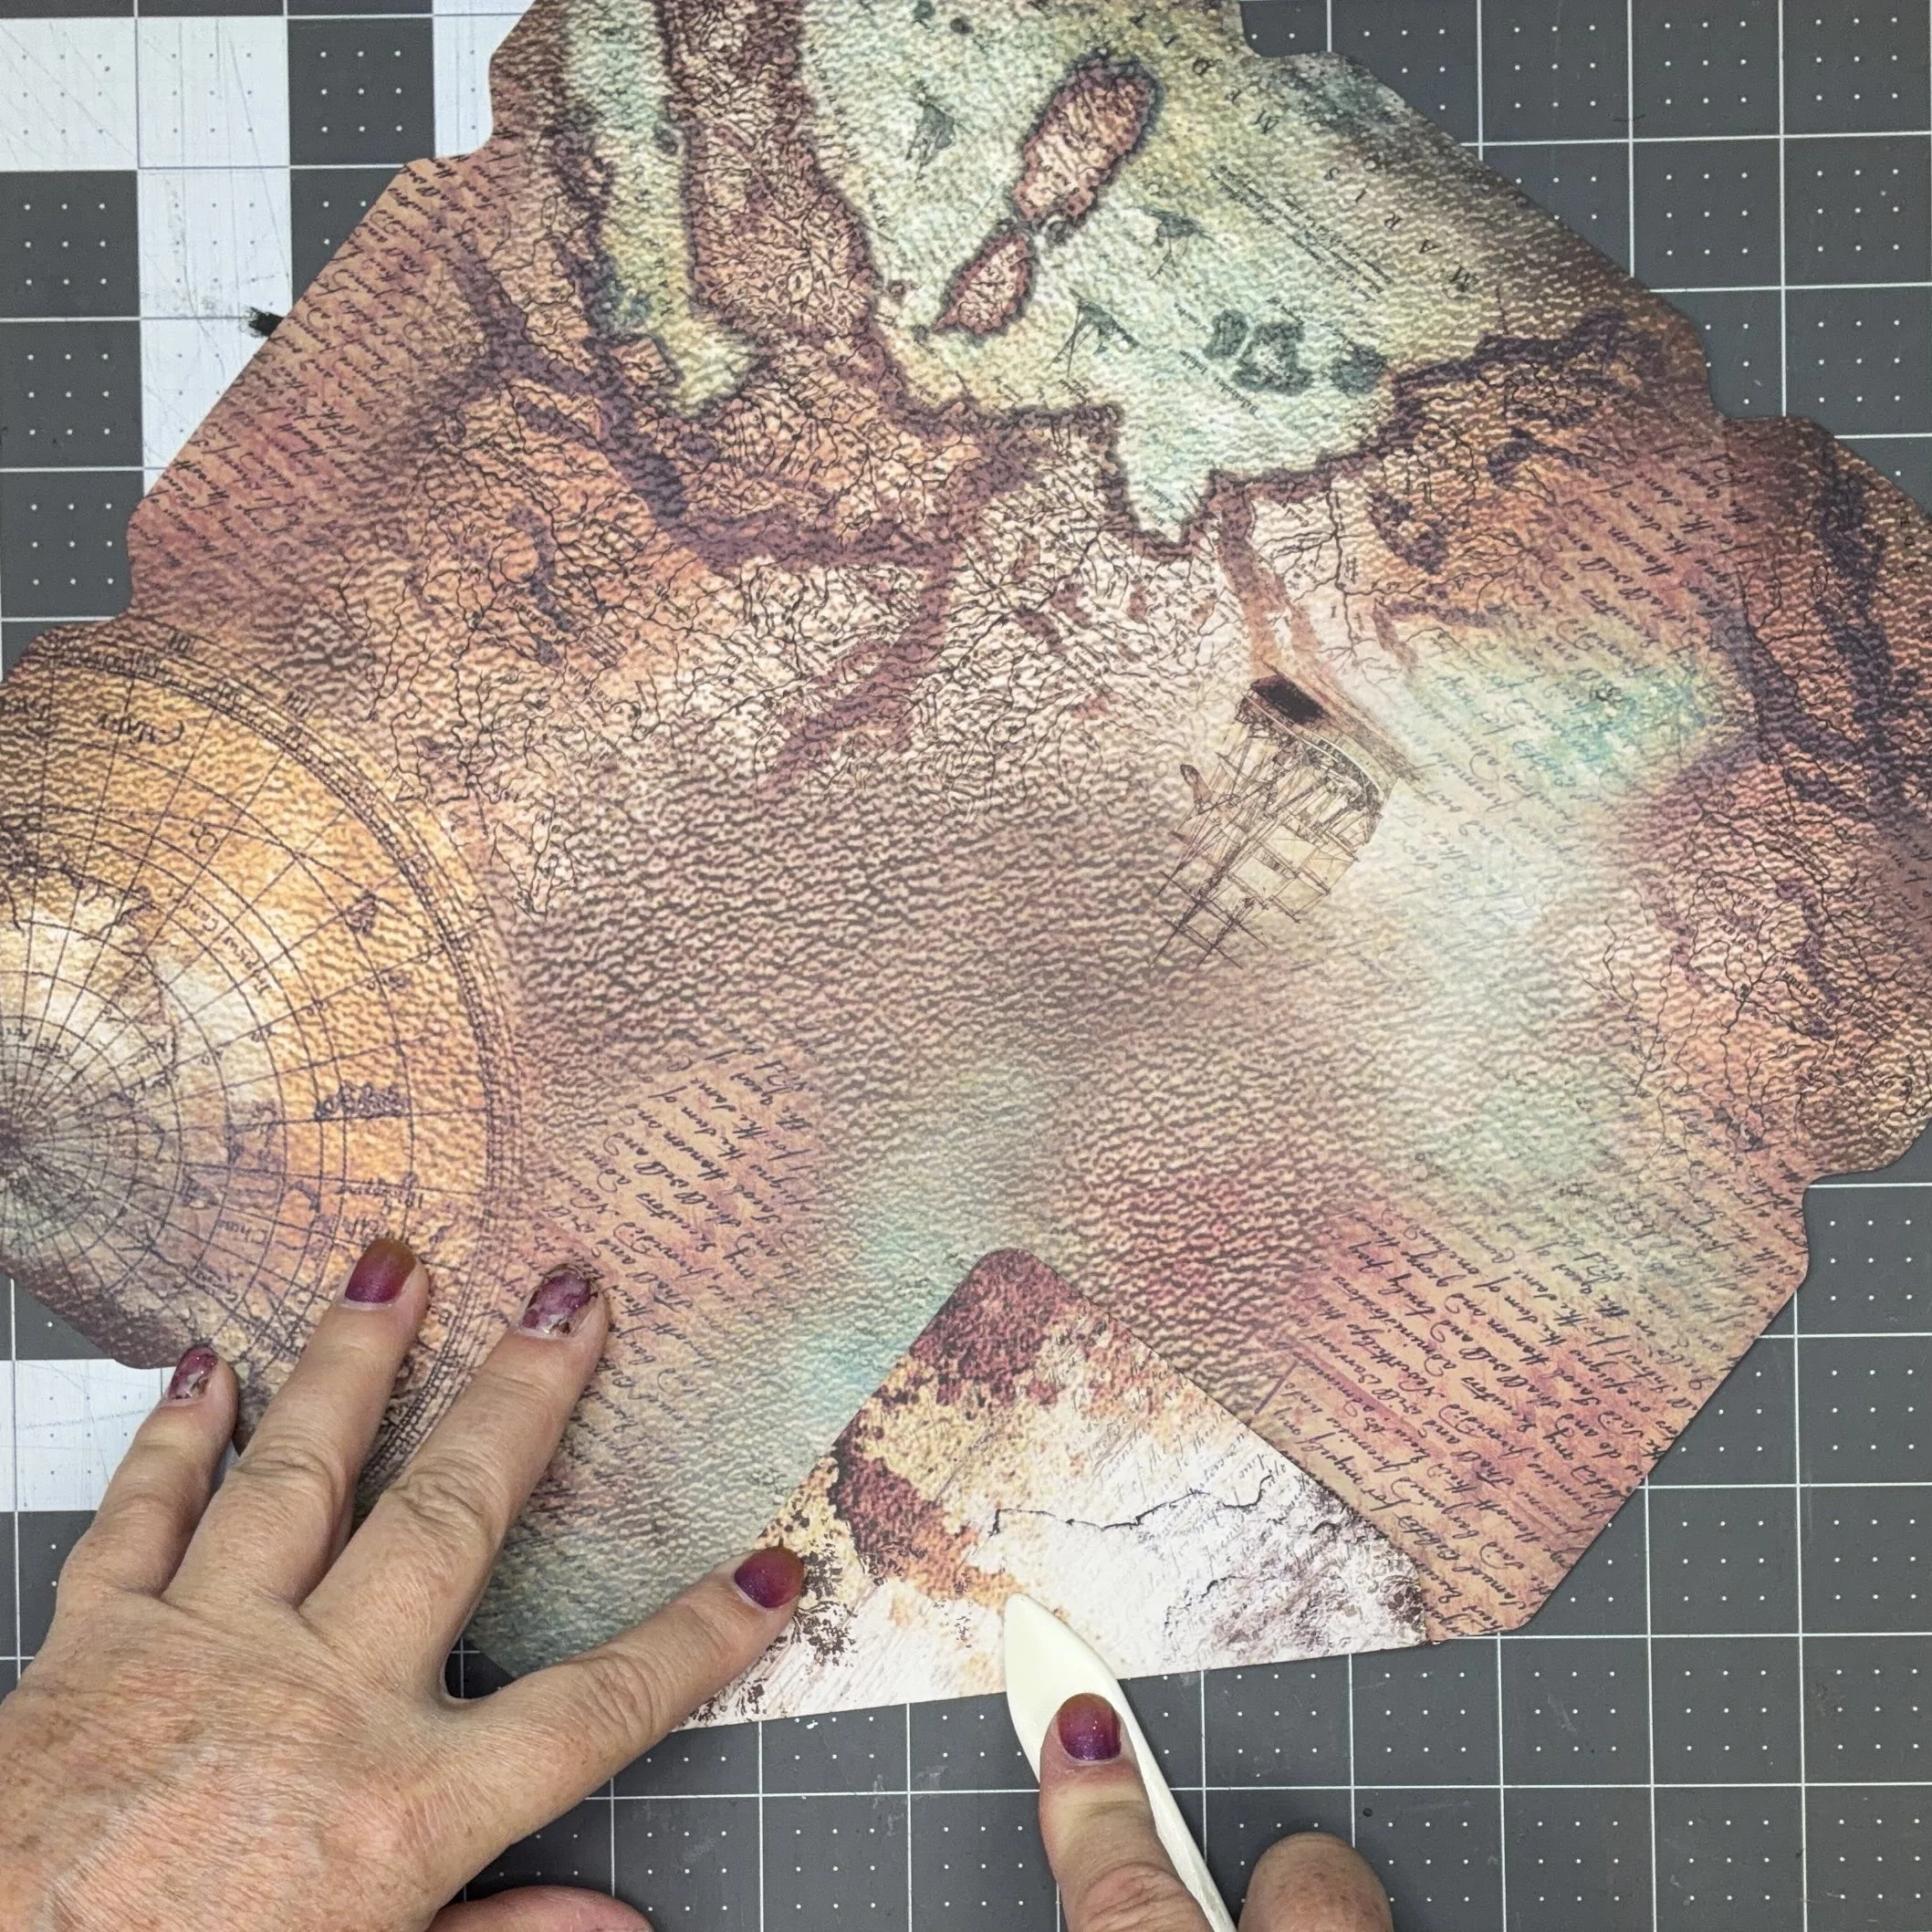
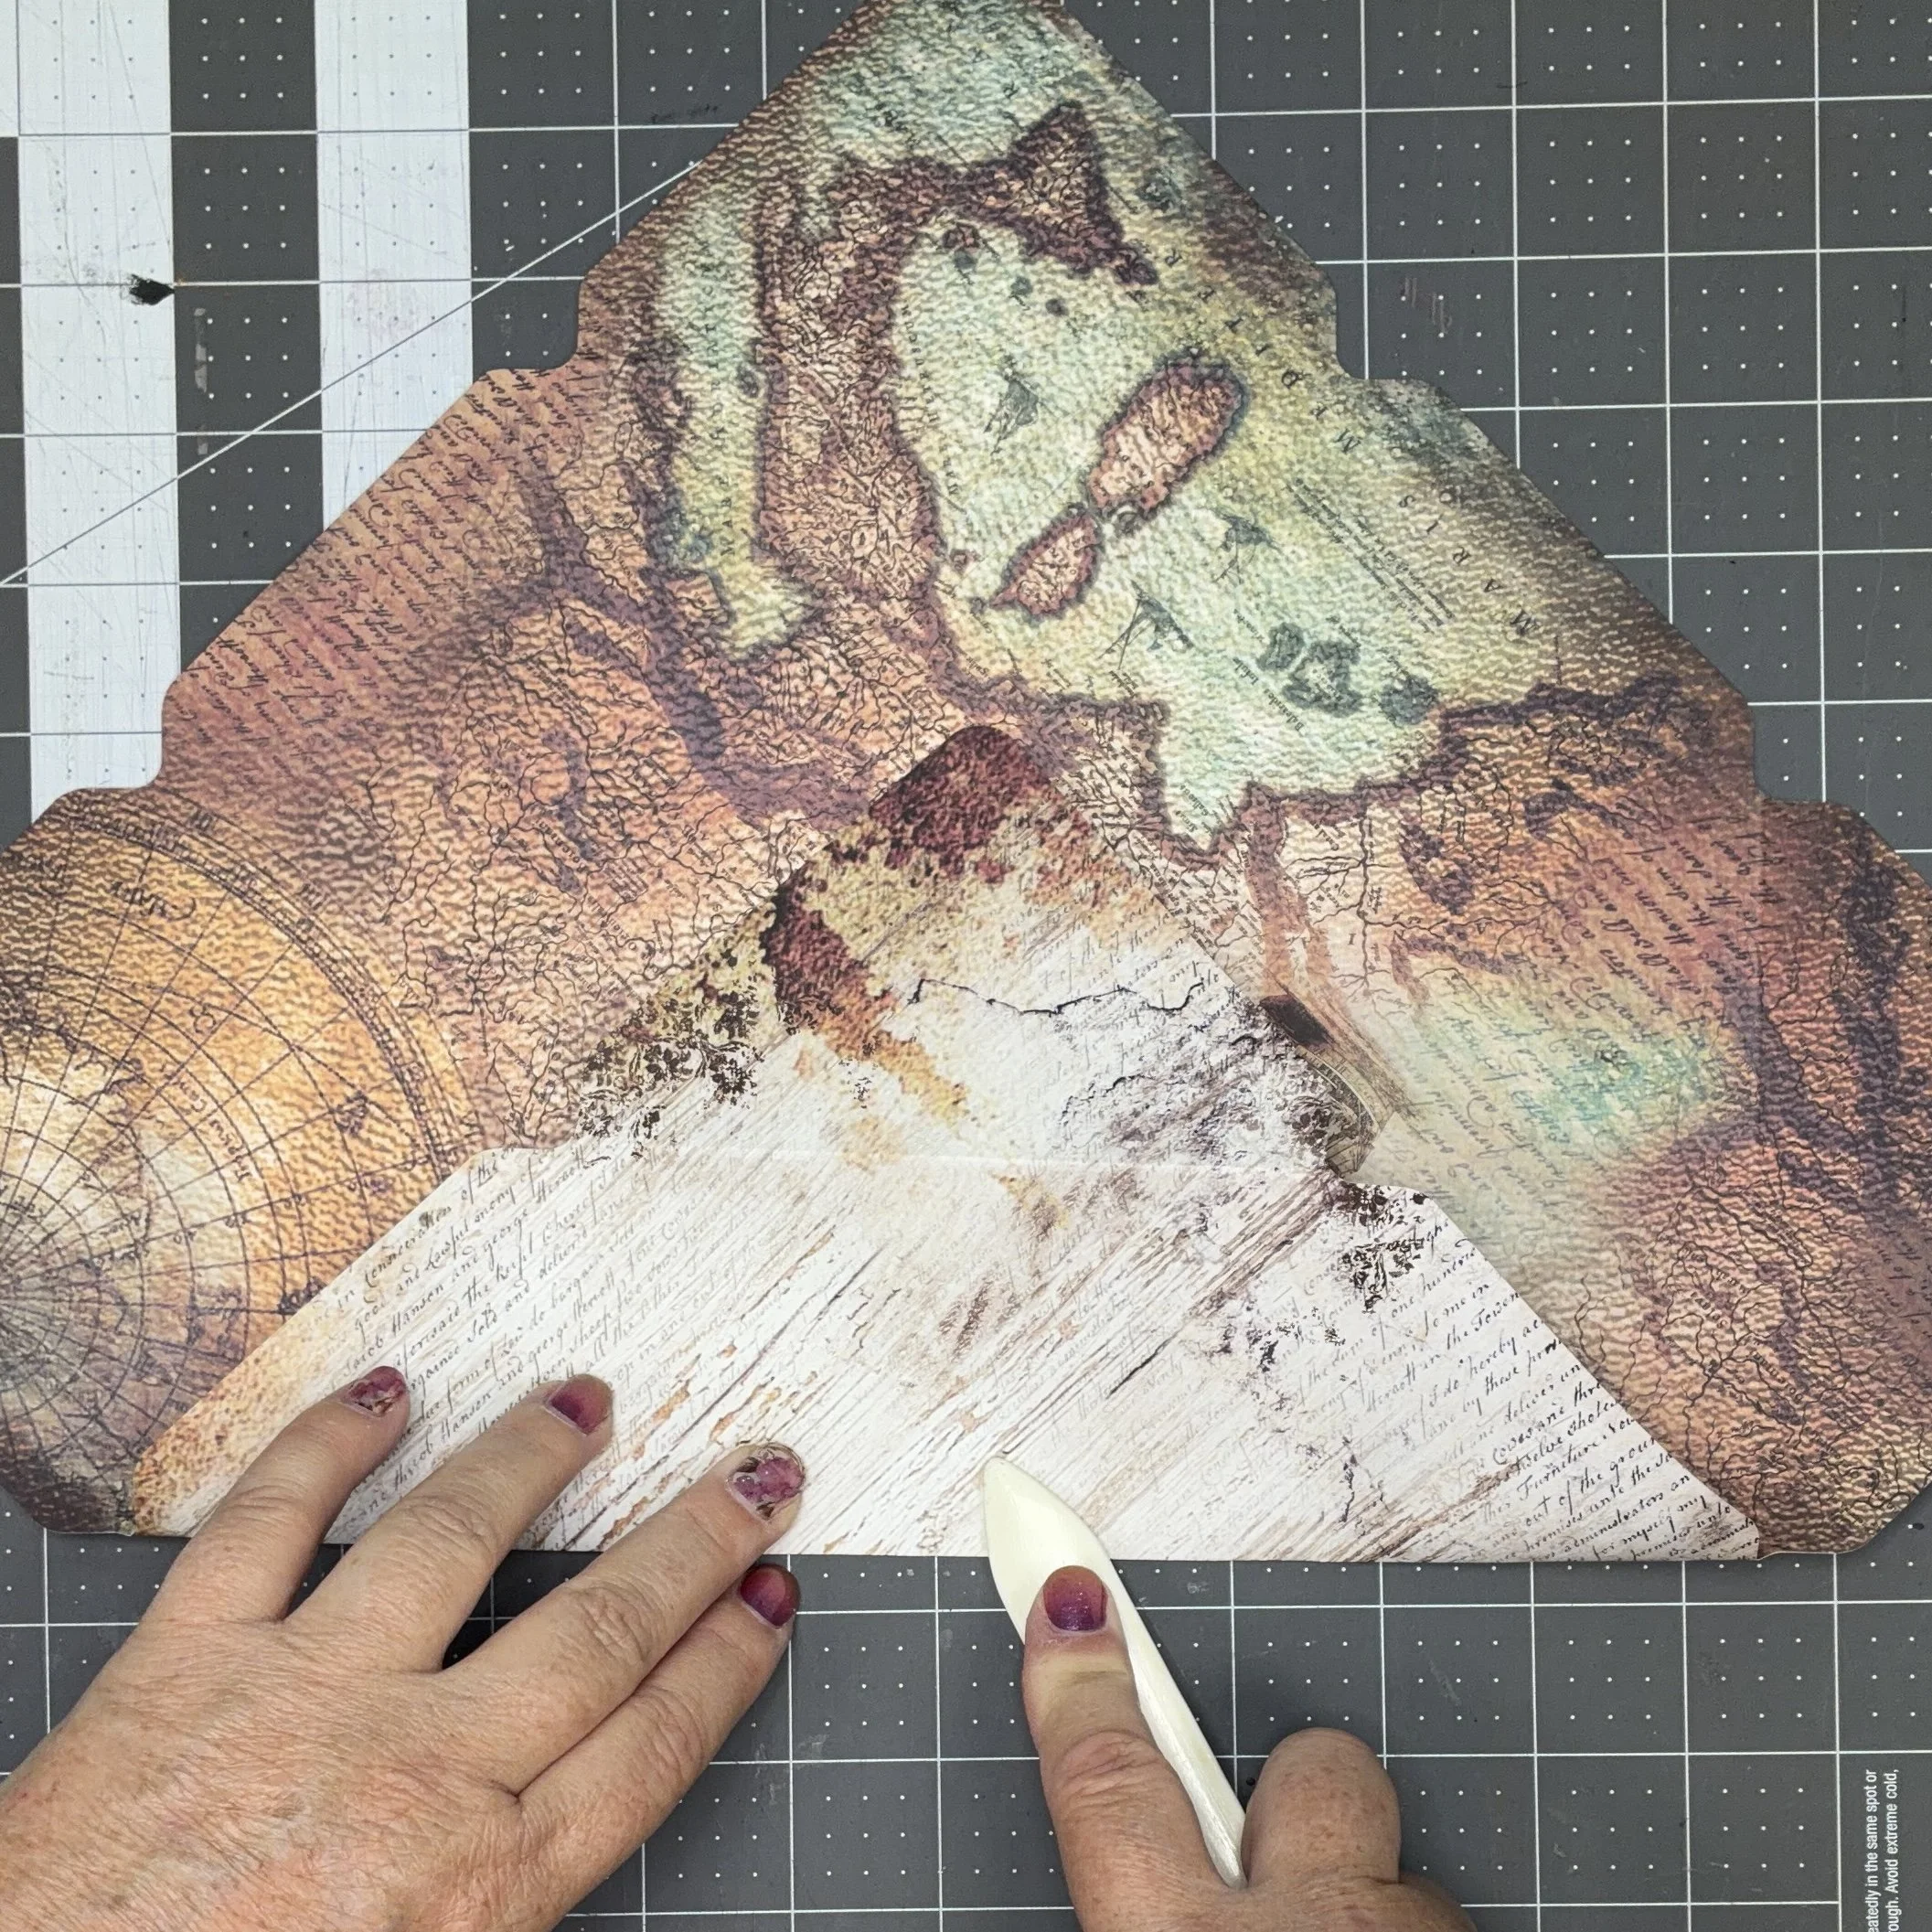
Now we need to make four cuts to separate the flaps from the body of the box. Cut right along the score line, and then go back and take a tiny wedge out of the flap you just made. Cutting out that wedge will make assembly easier later. But make sure you cut out of the flap, not the body of the box. Do this on all four sides, so that when you’re done, you have a sort of pinwheel arrangement.
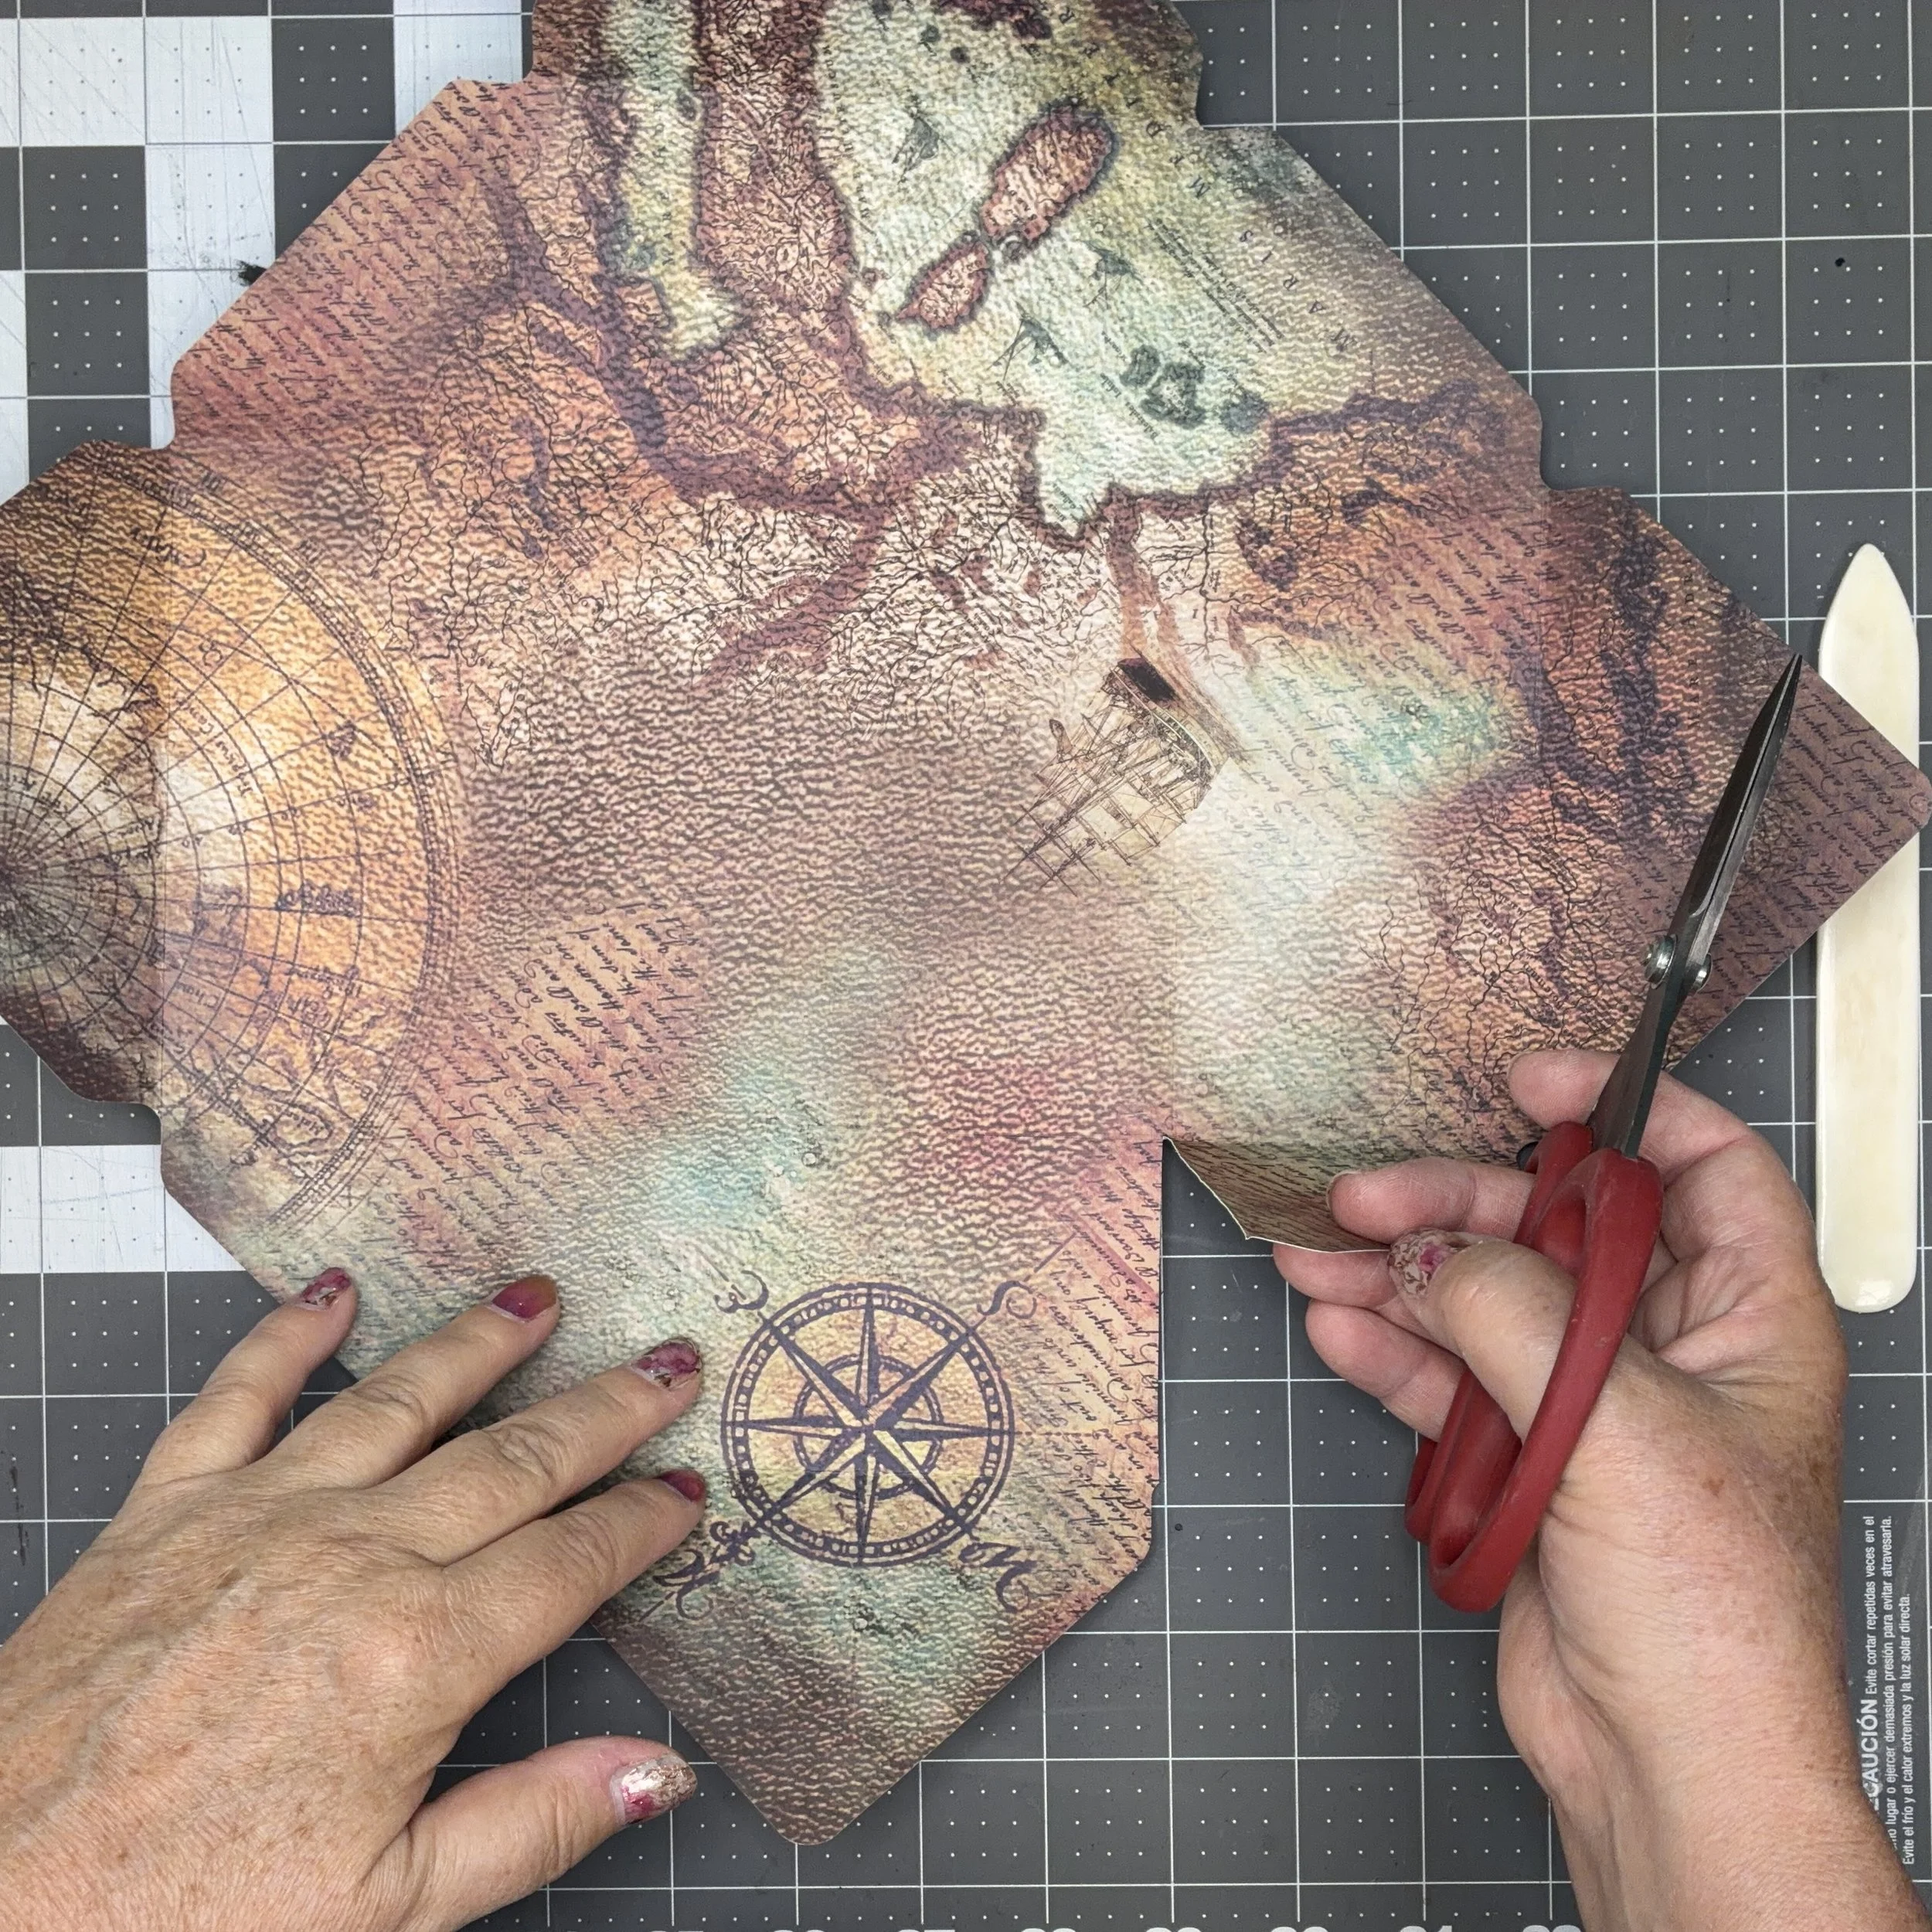
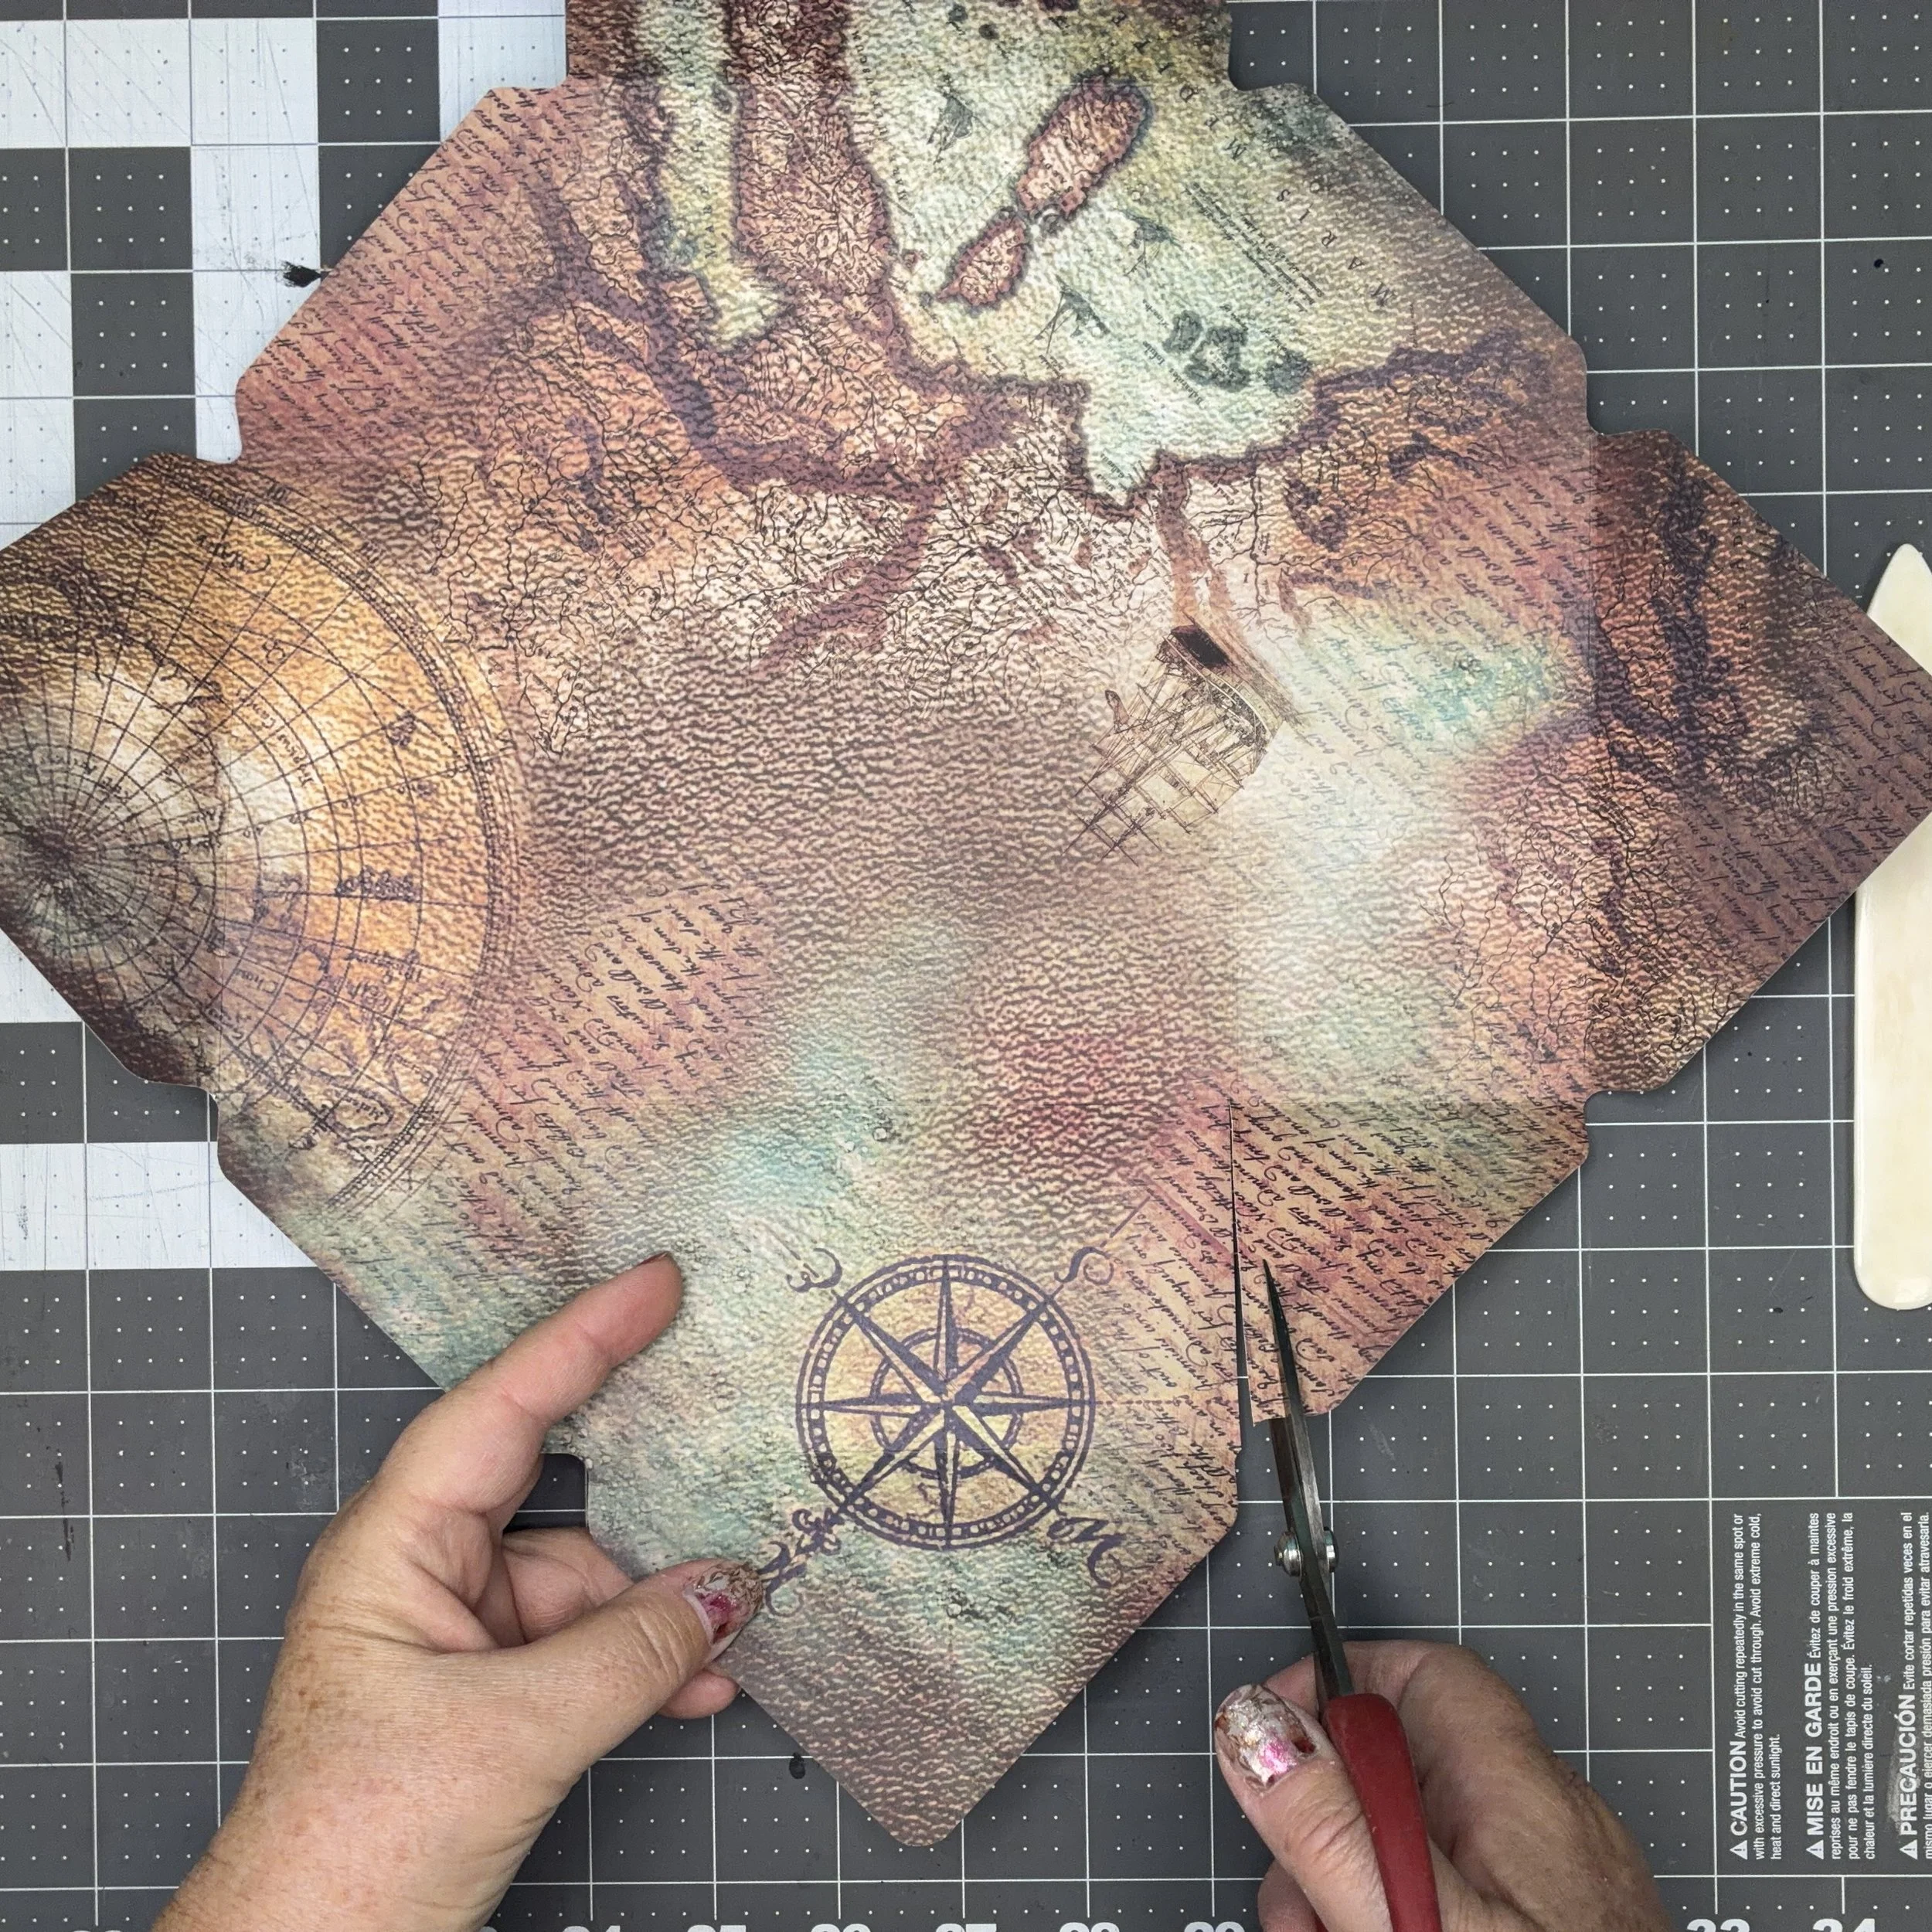
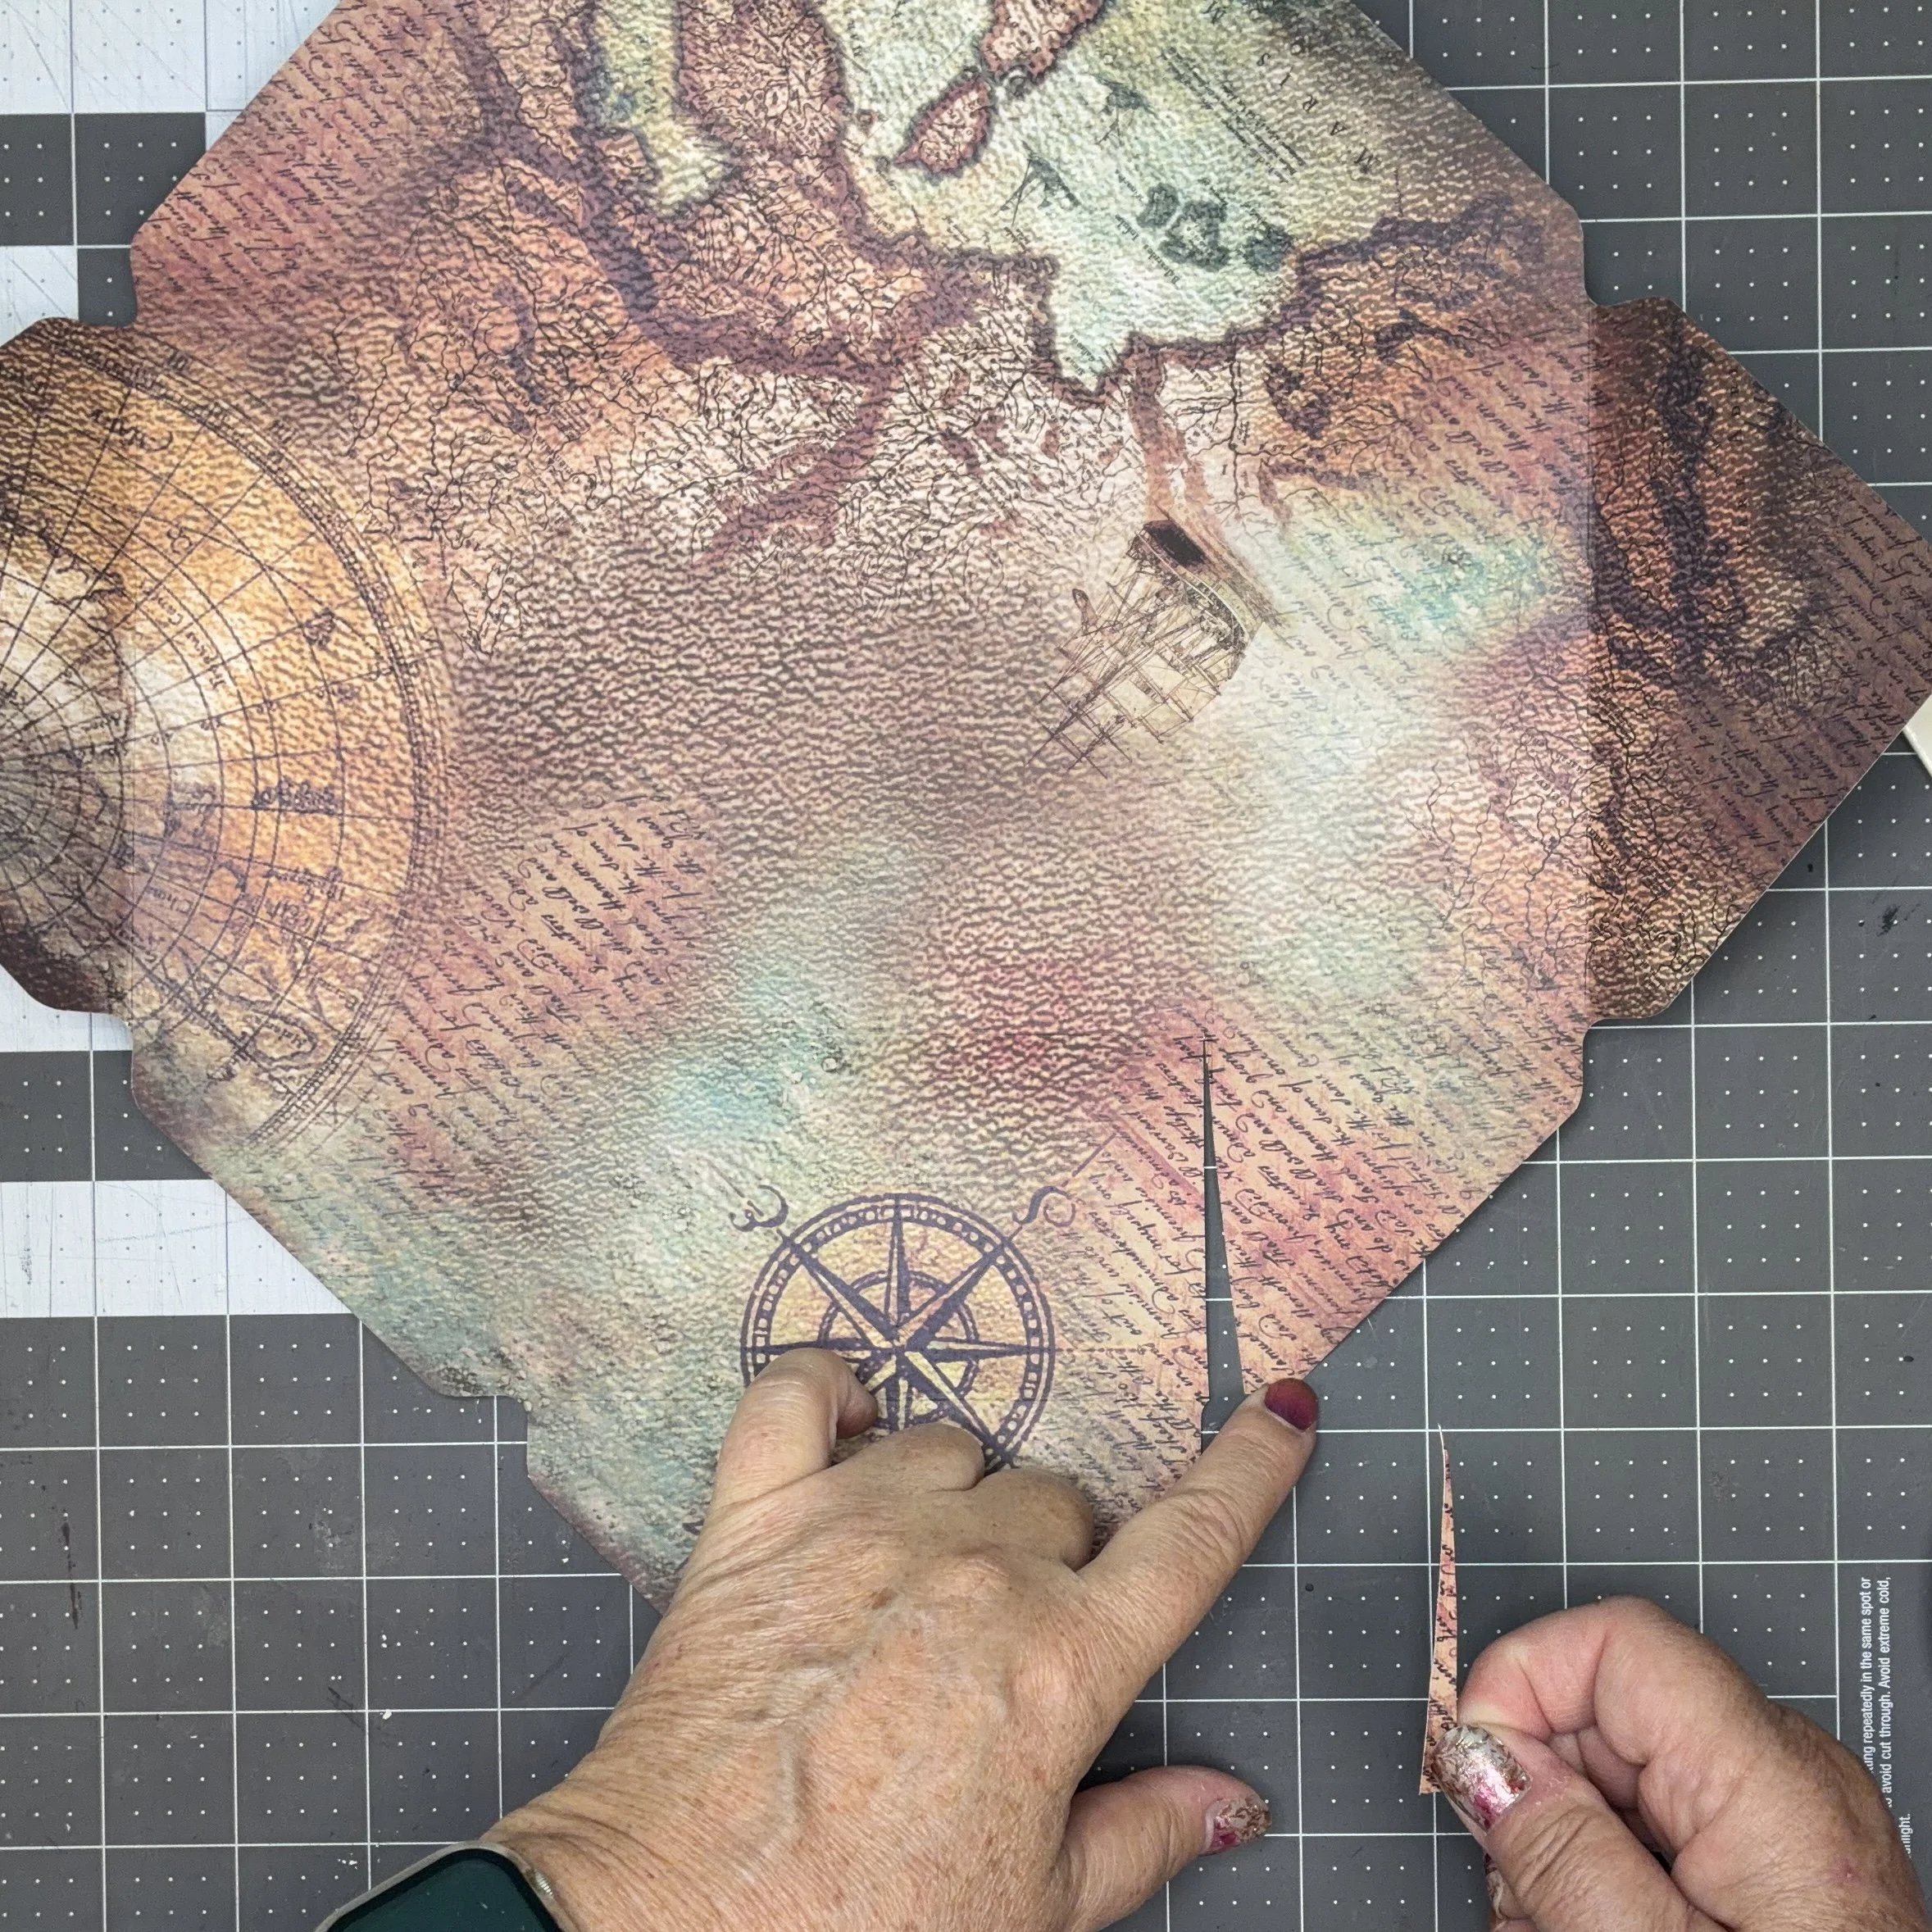
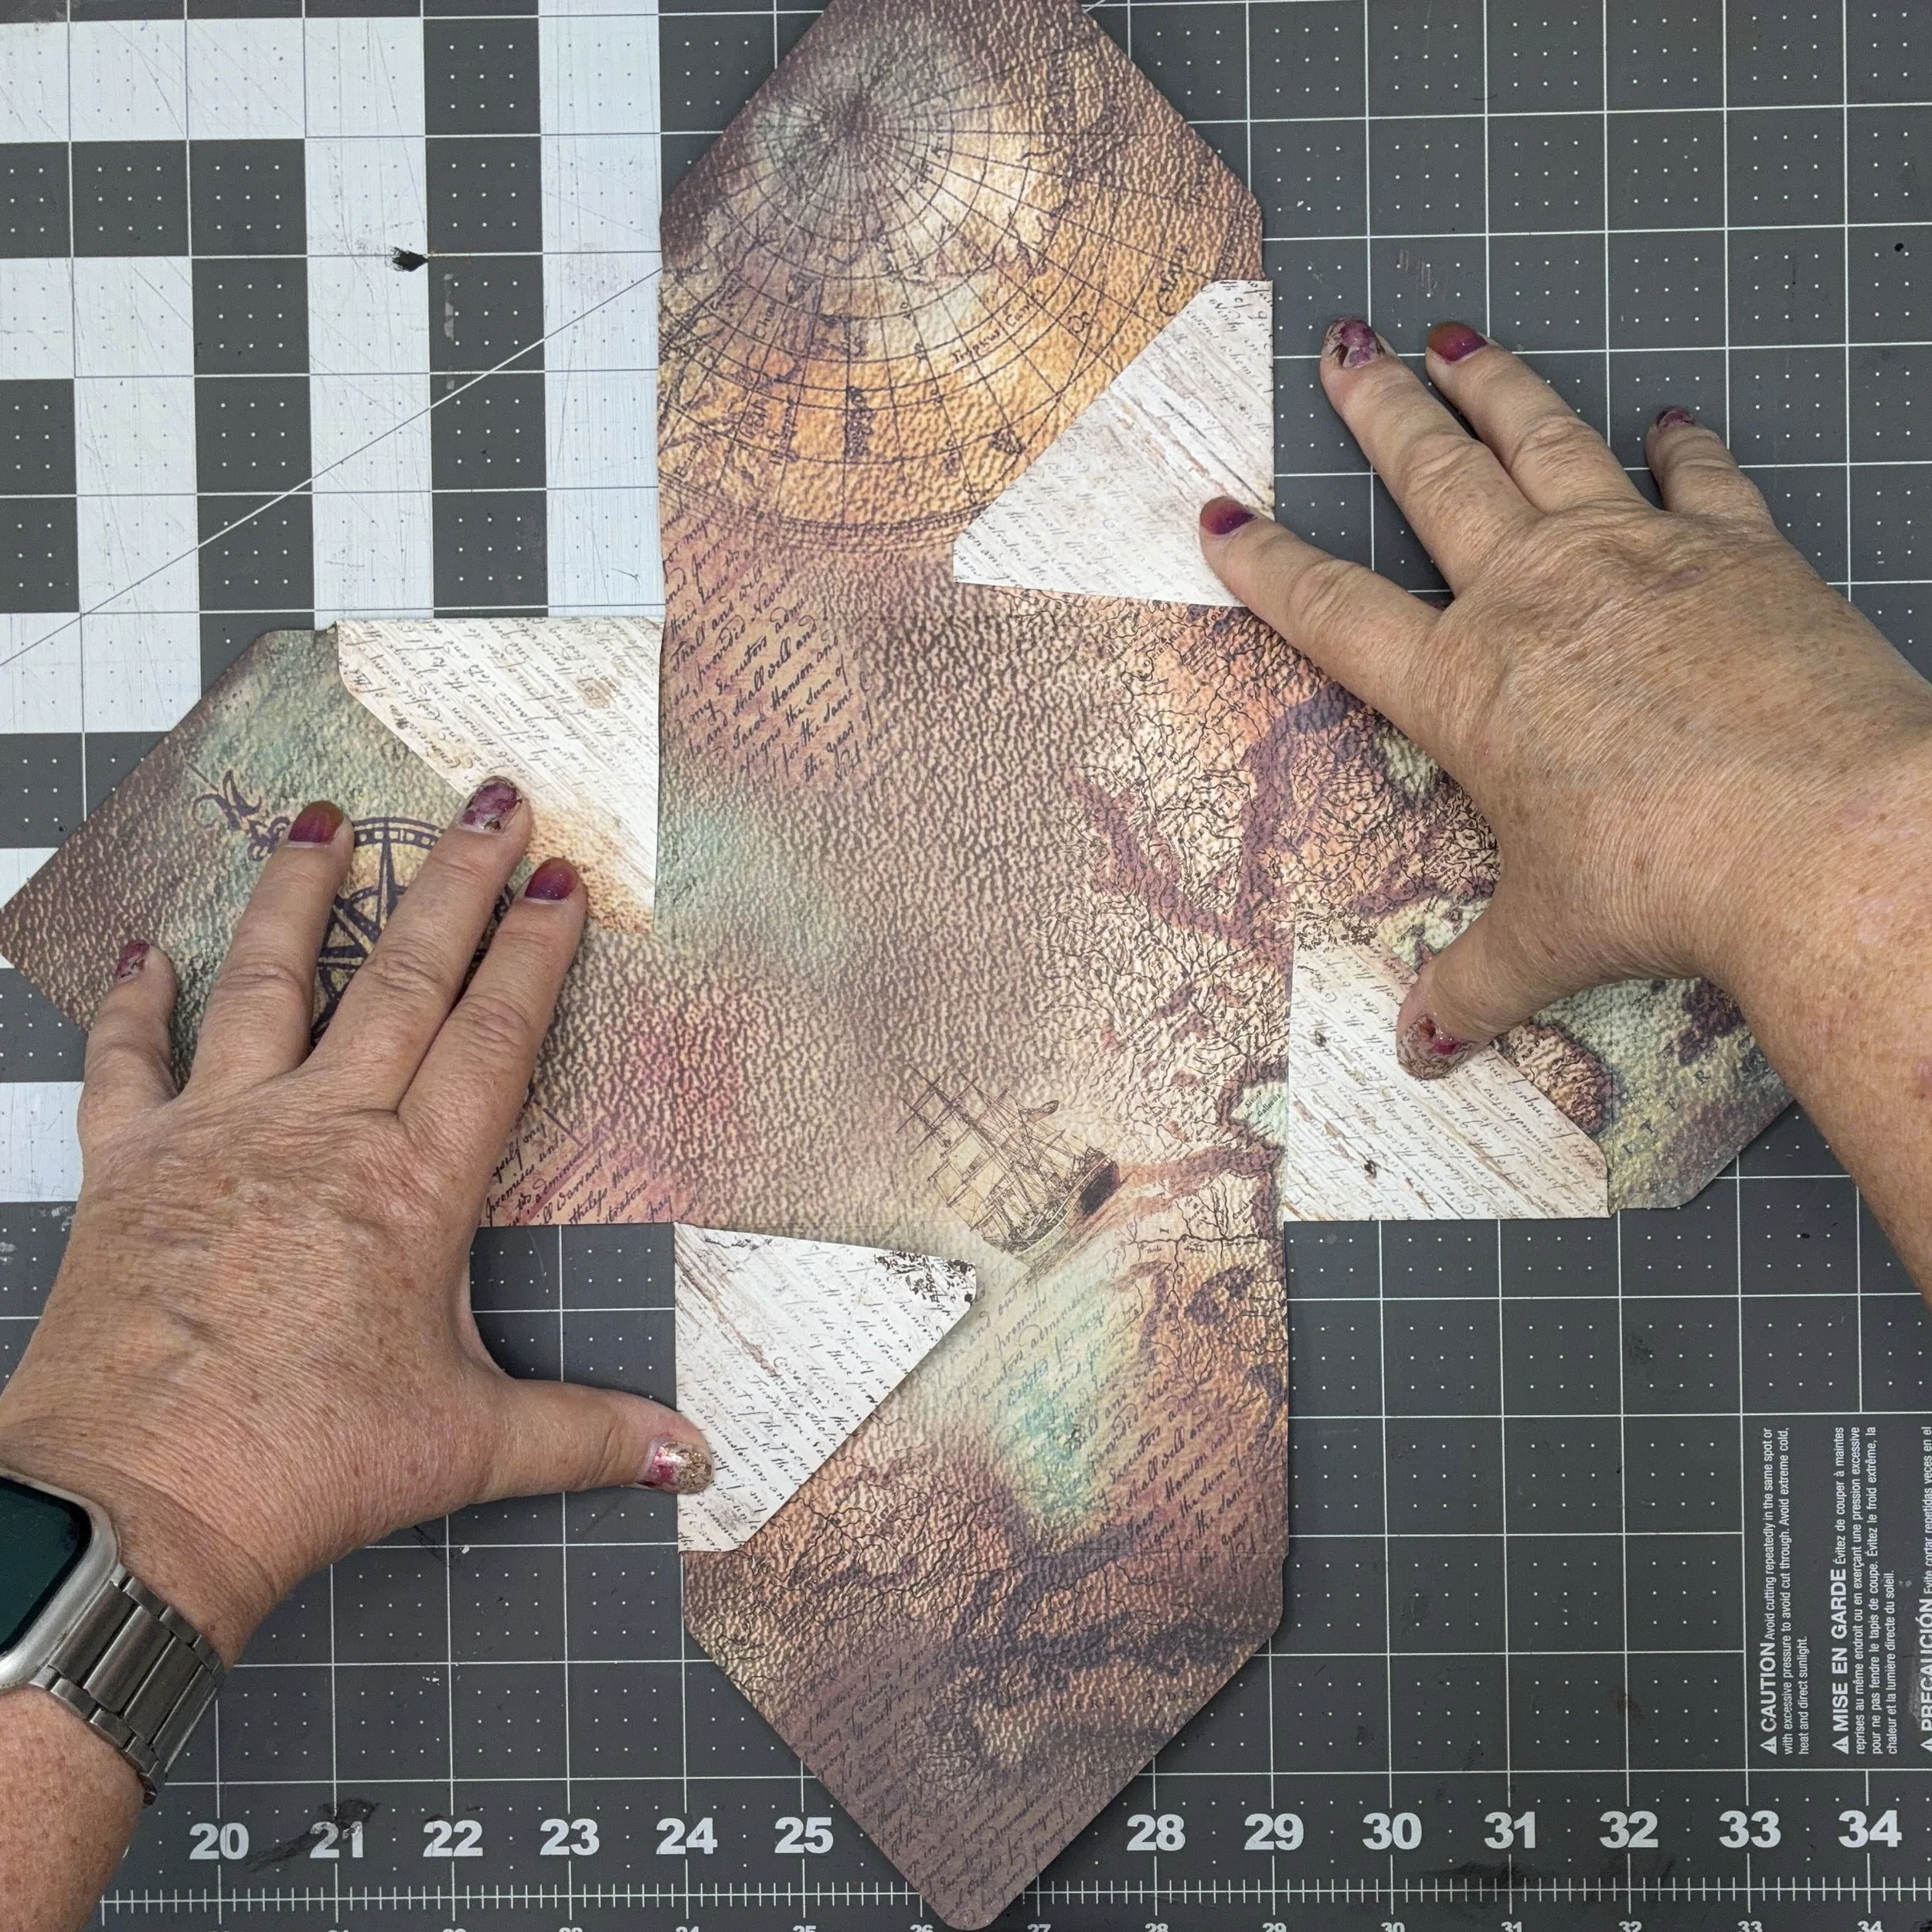
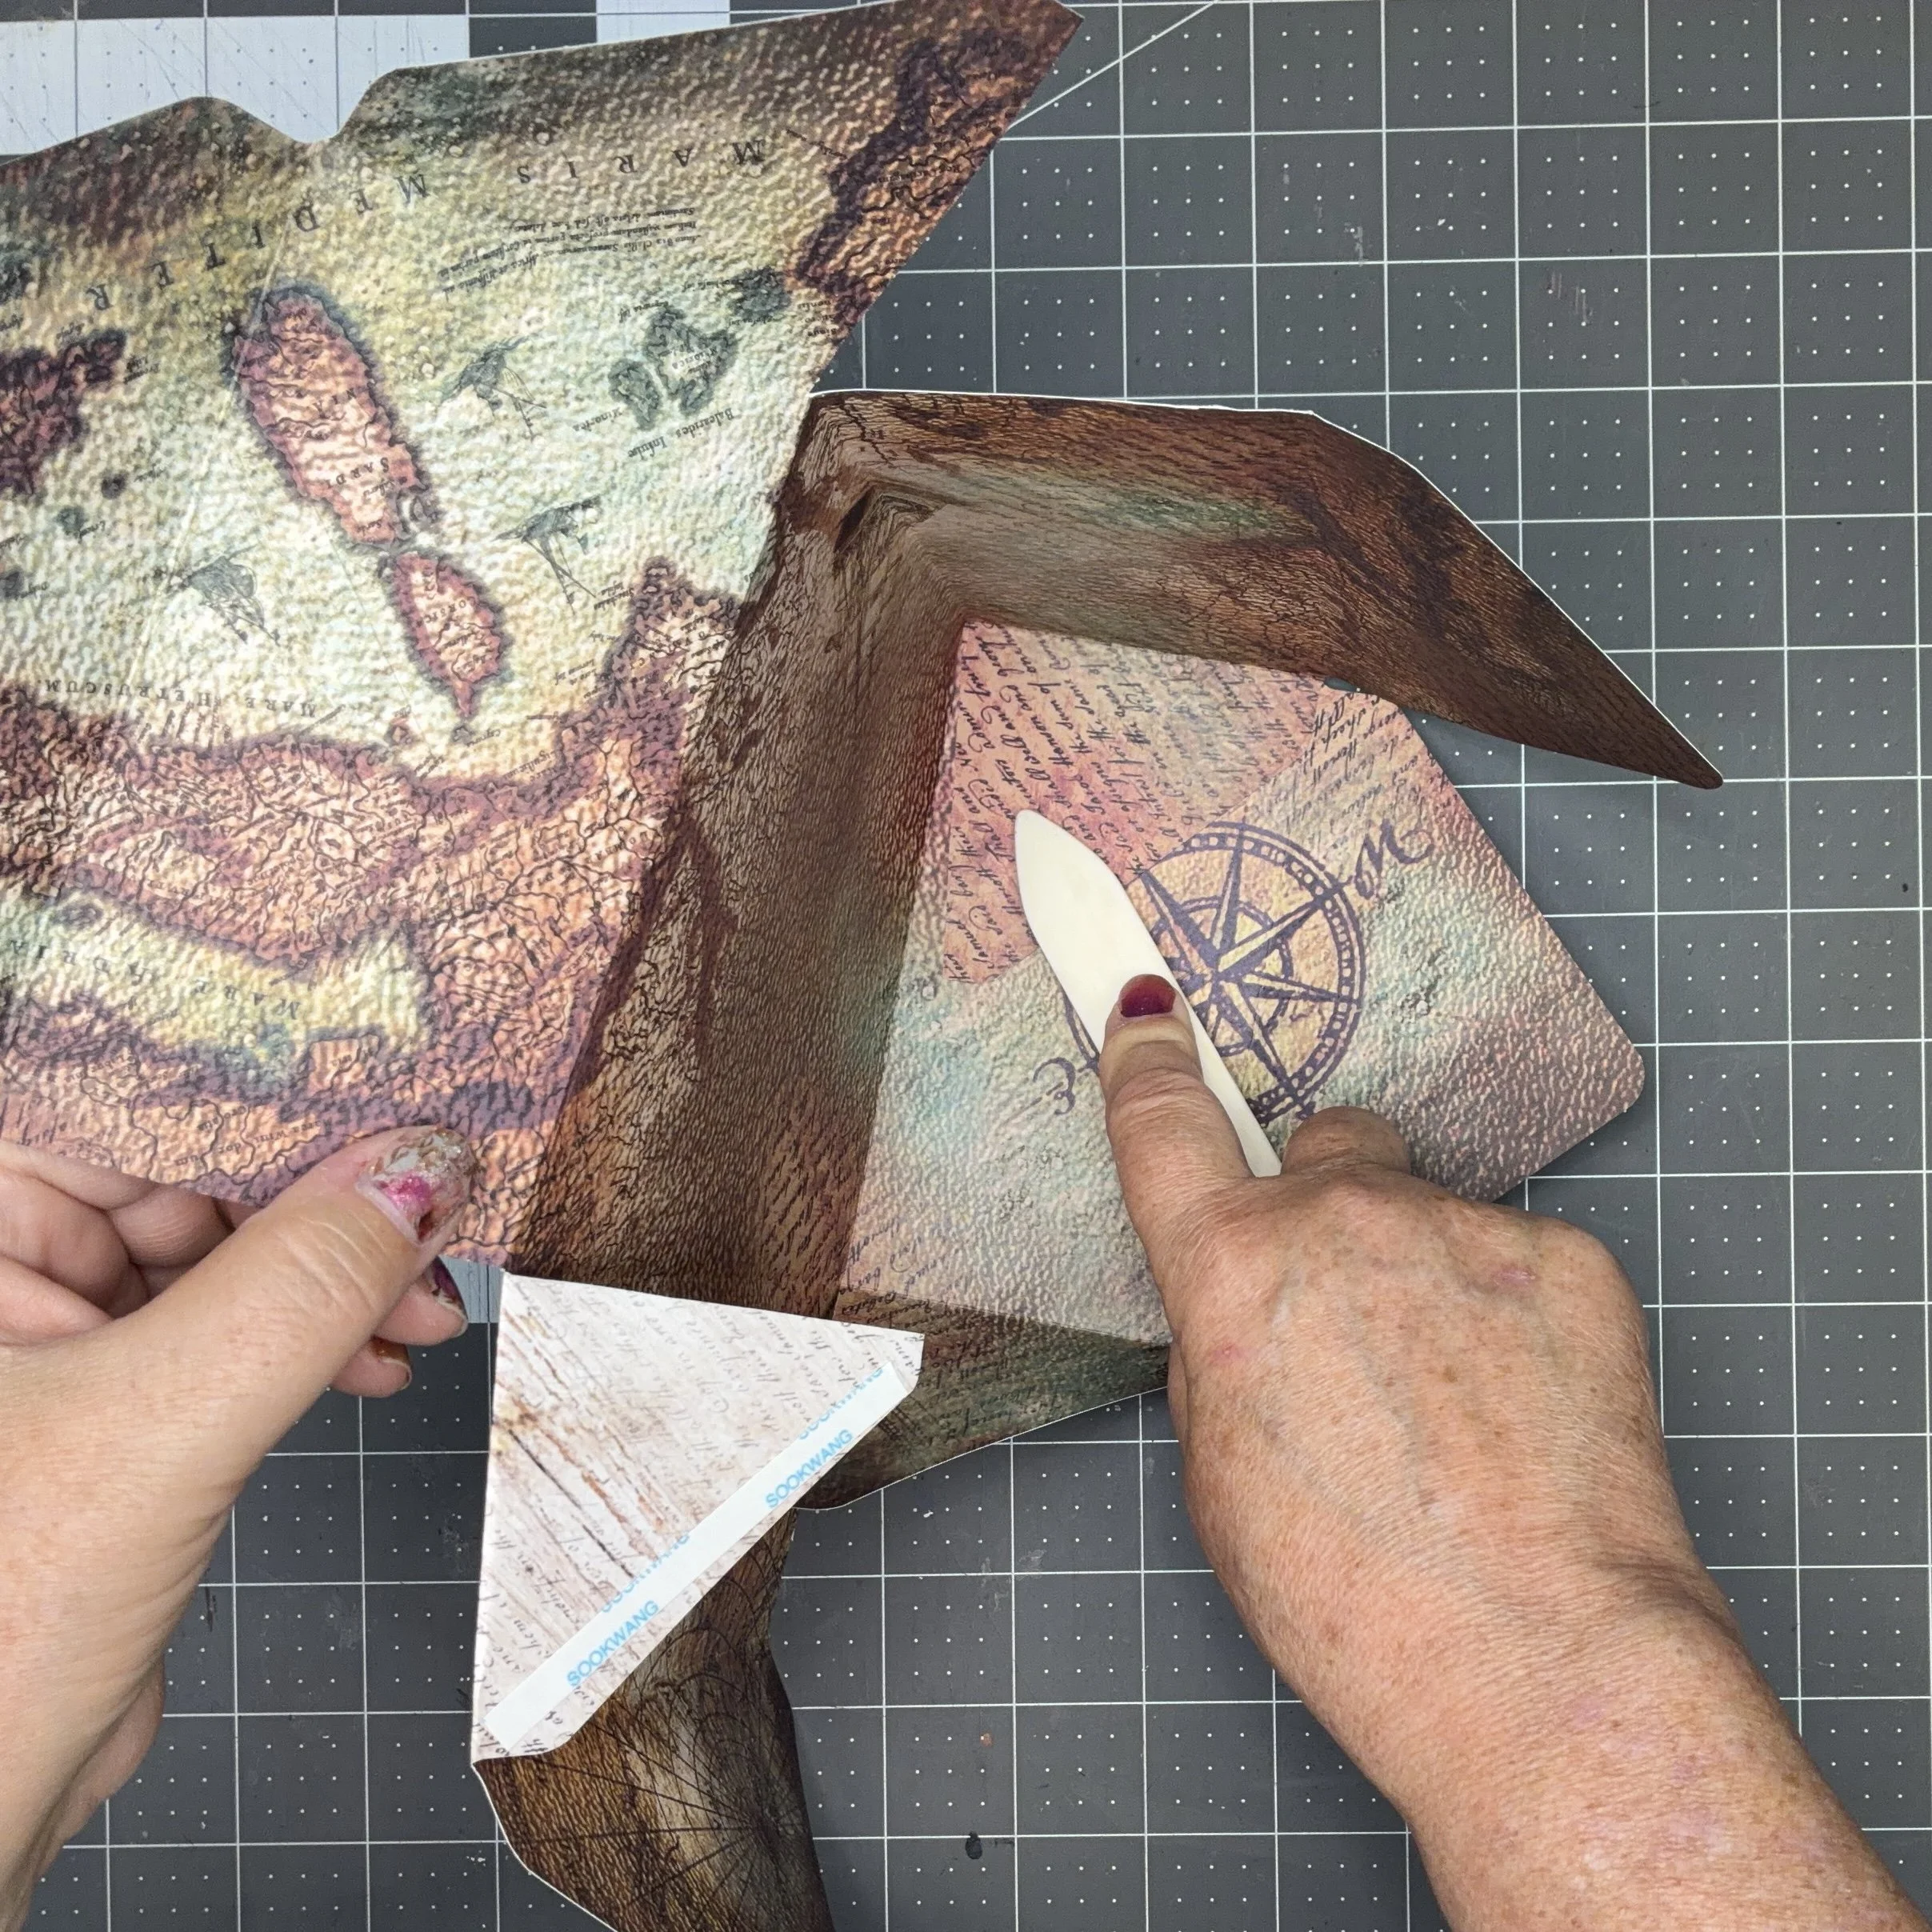
Use some double-sided tape (or you could use some glue, but who wants to wait for that to dry…) on the edges of the flaps and then peel off the backing and match the cut edge of the box body to the score line where the flap folds. Make sure the flap ends up on the inside, of course. Do this for all four sides, using a bone folder or something similar to really push down on the place where the flap is stuck to the box.
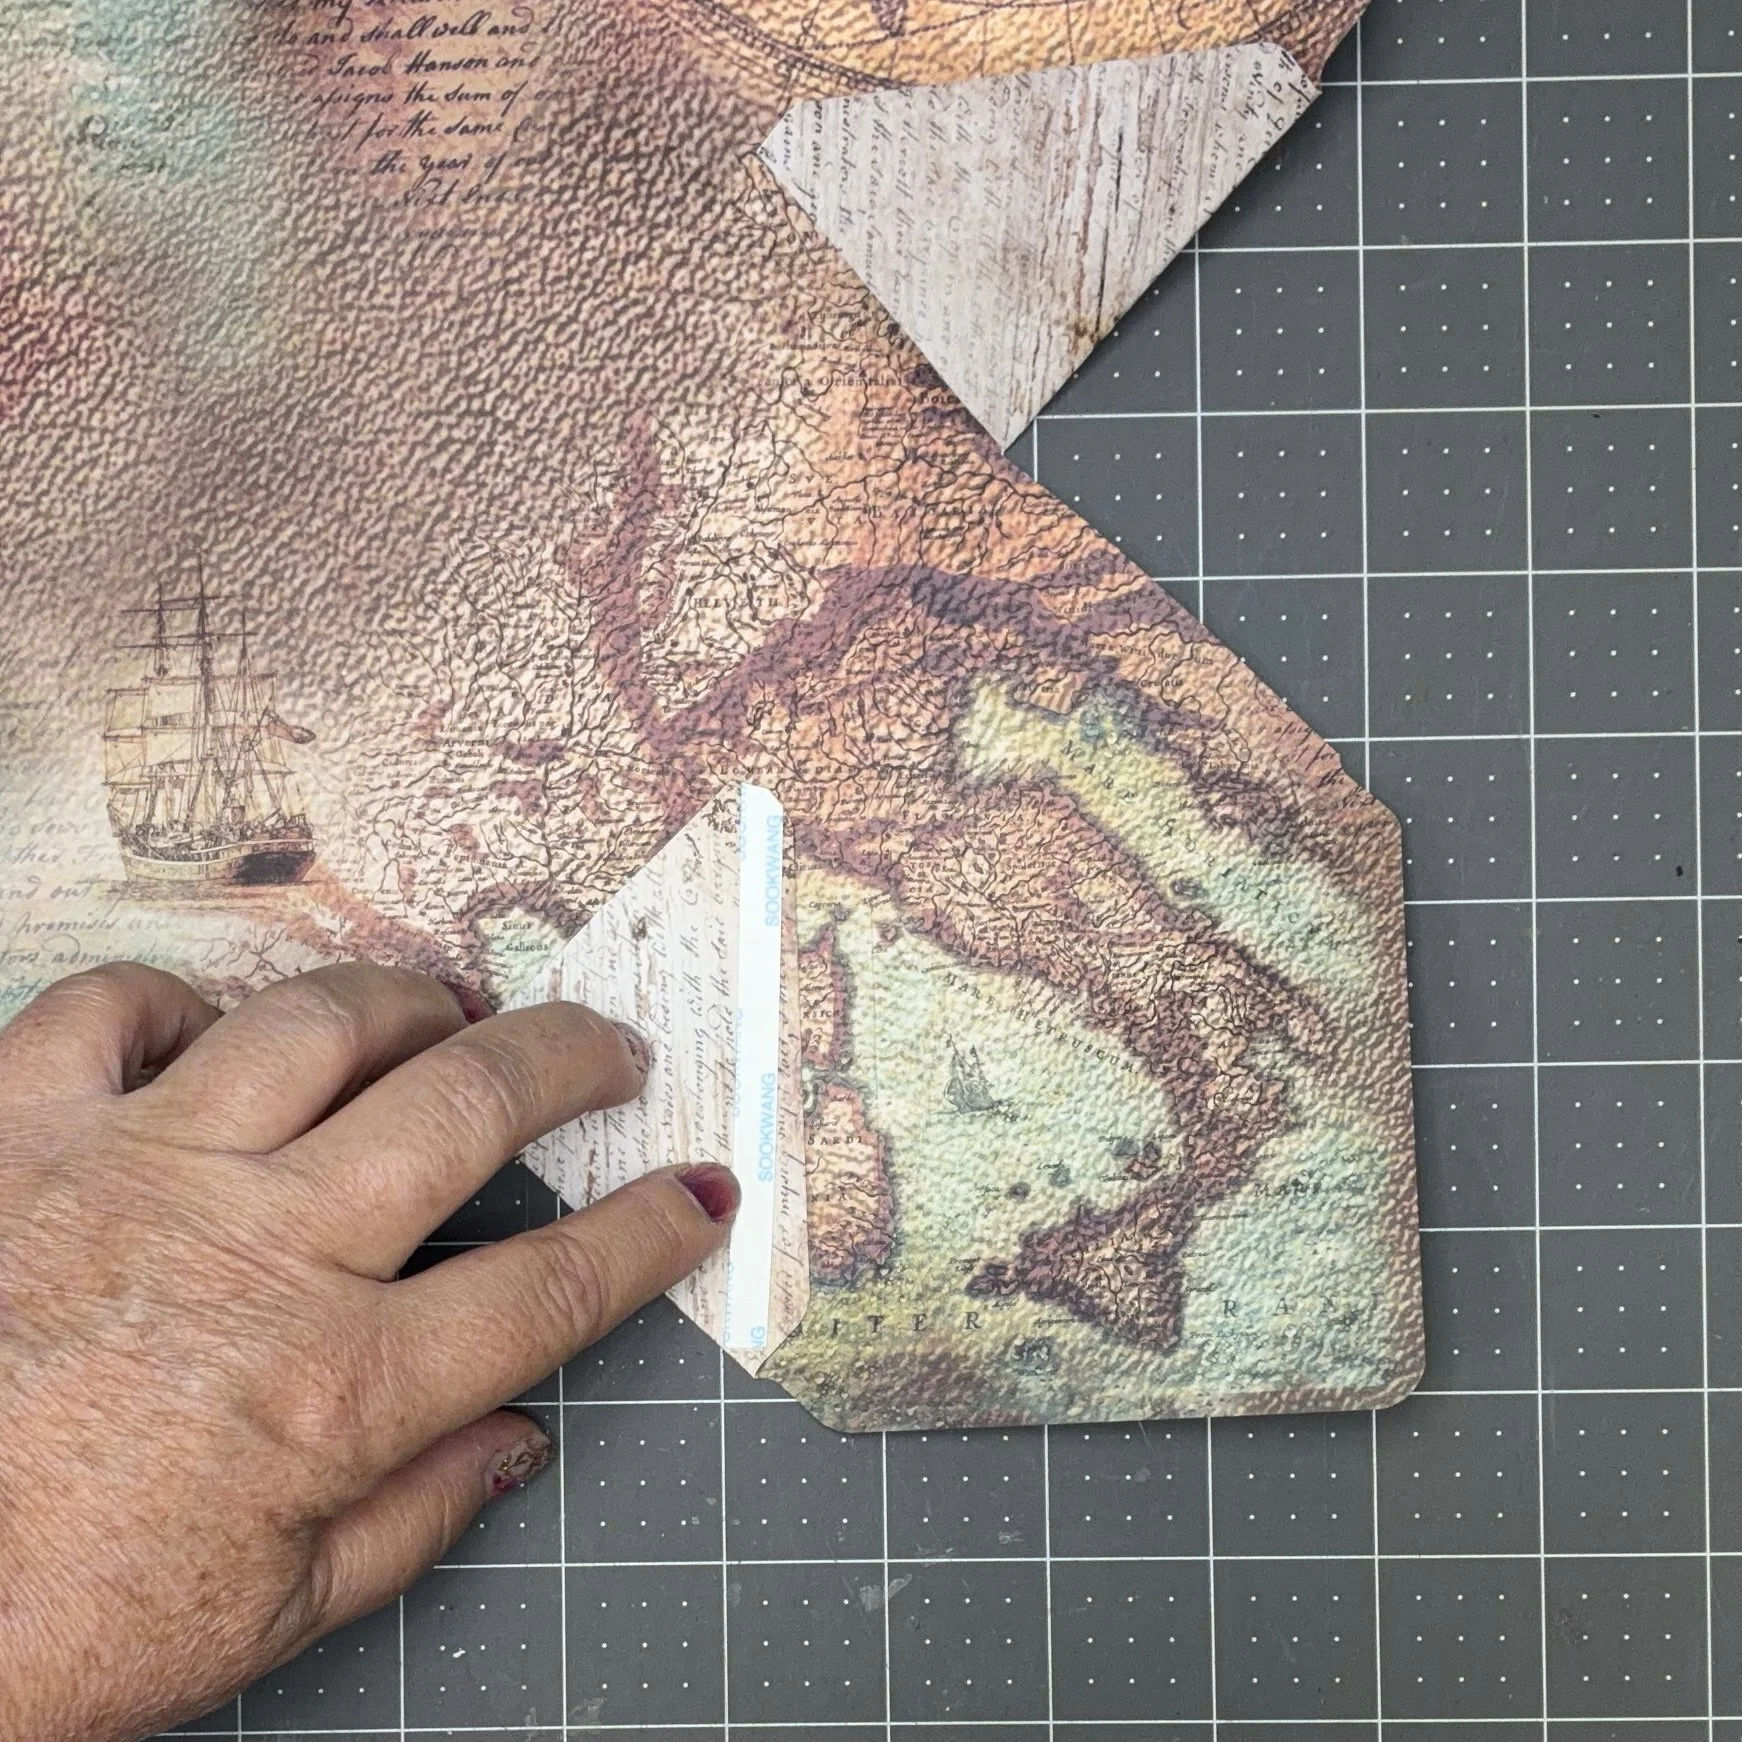
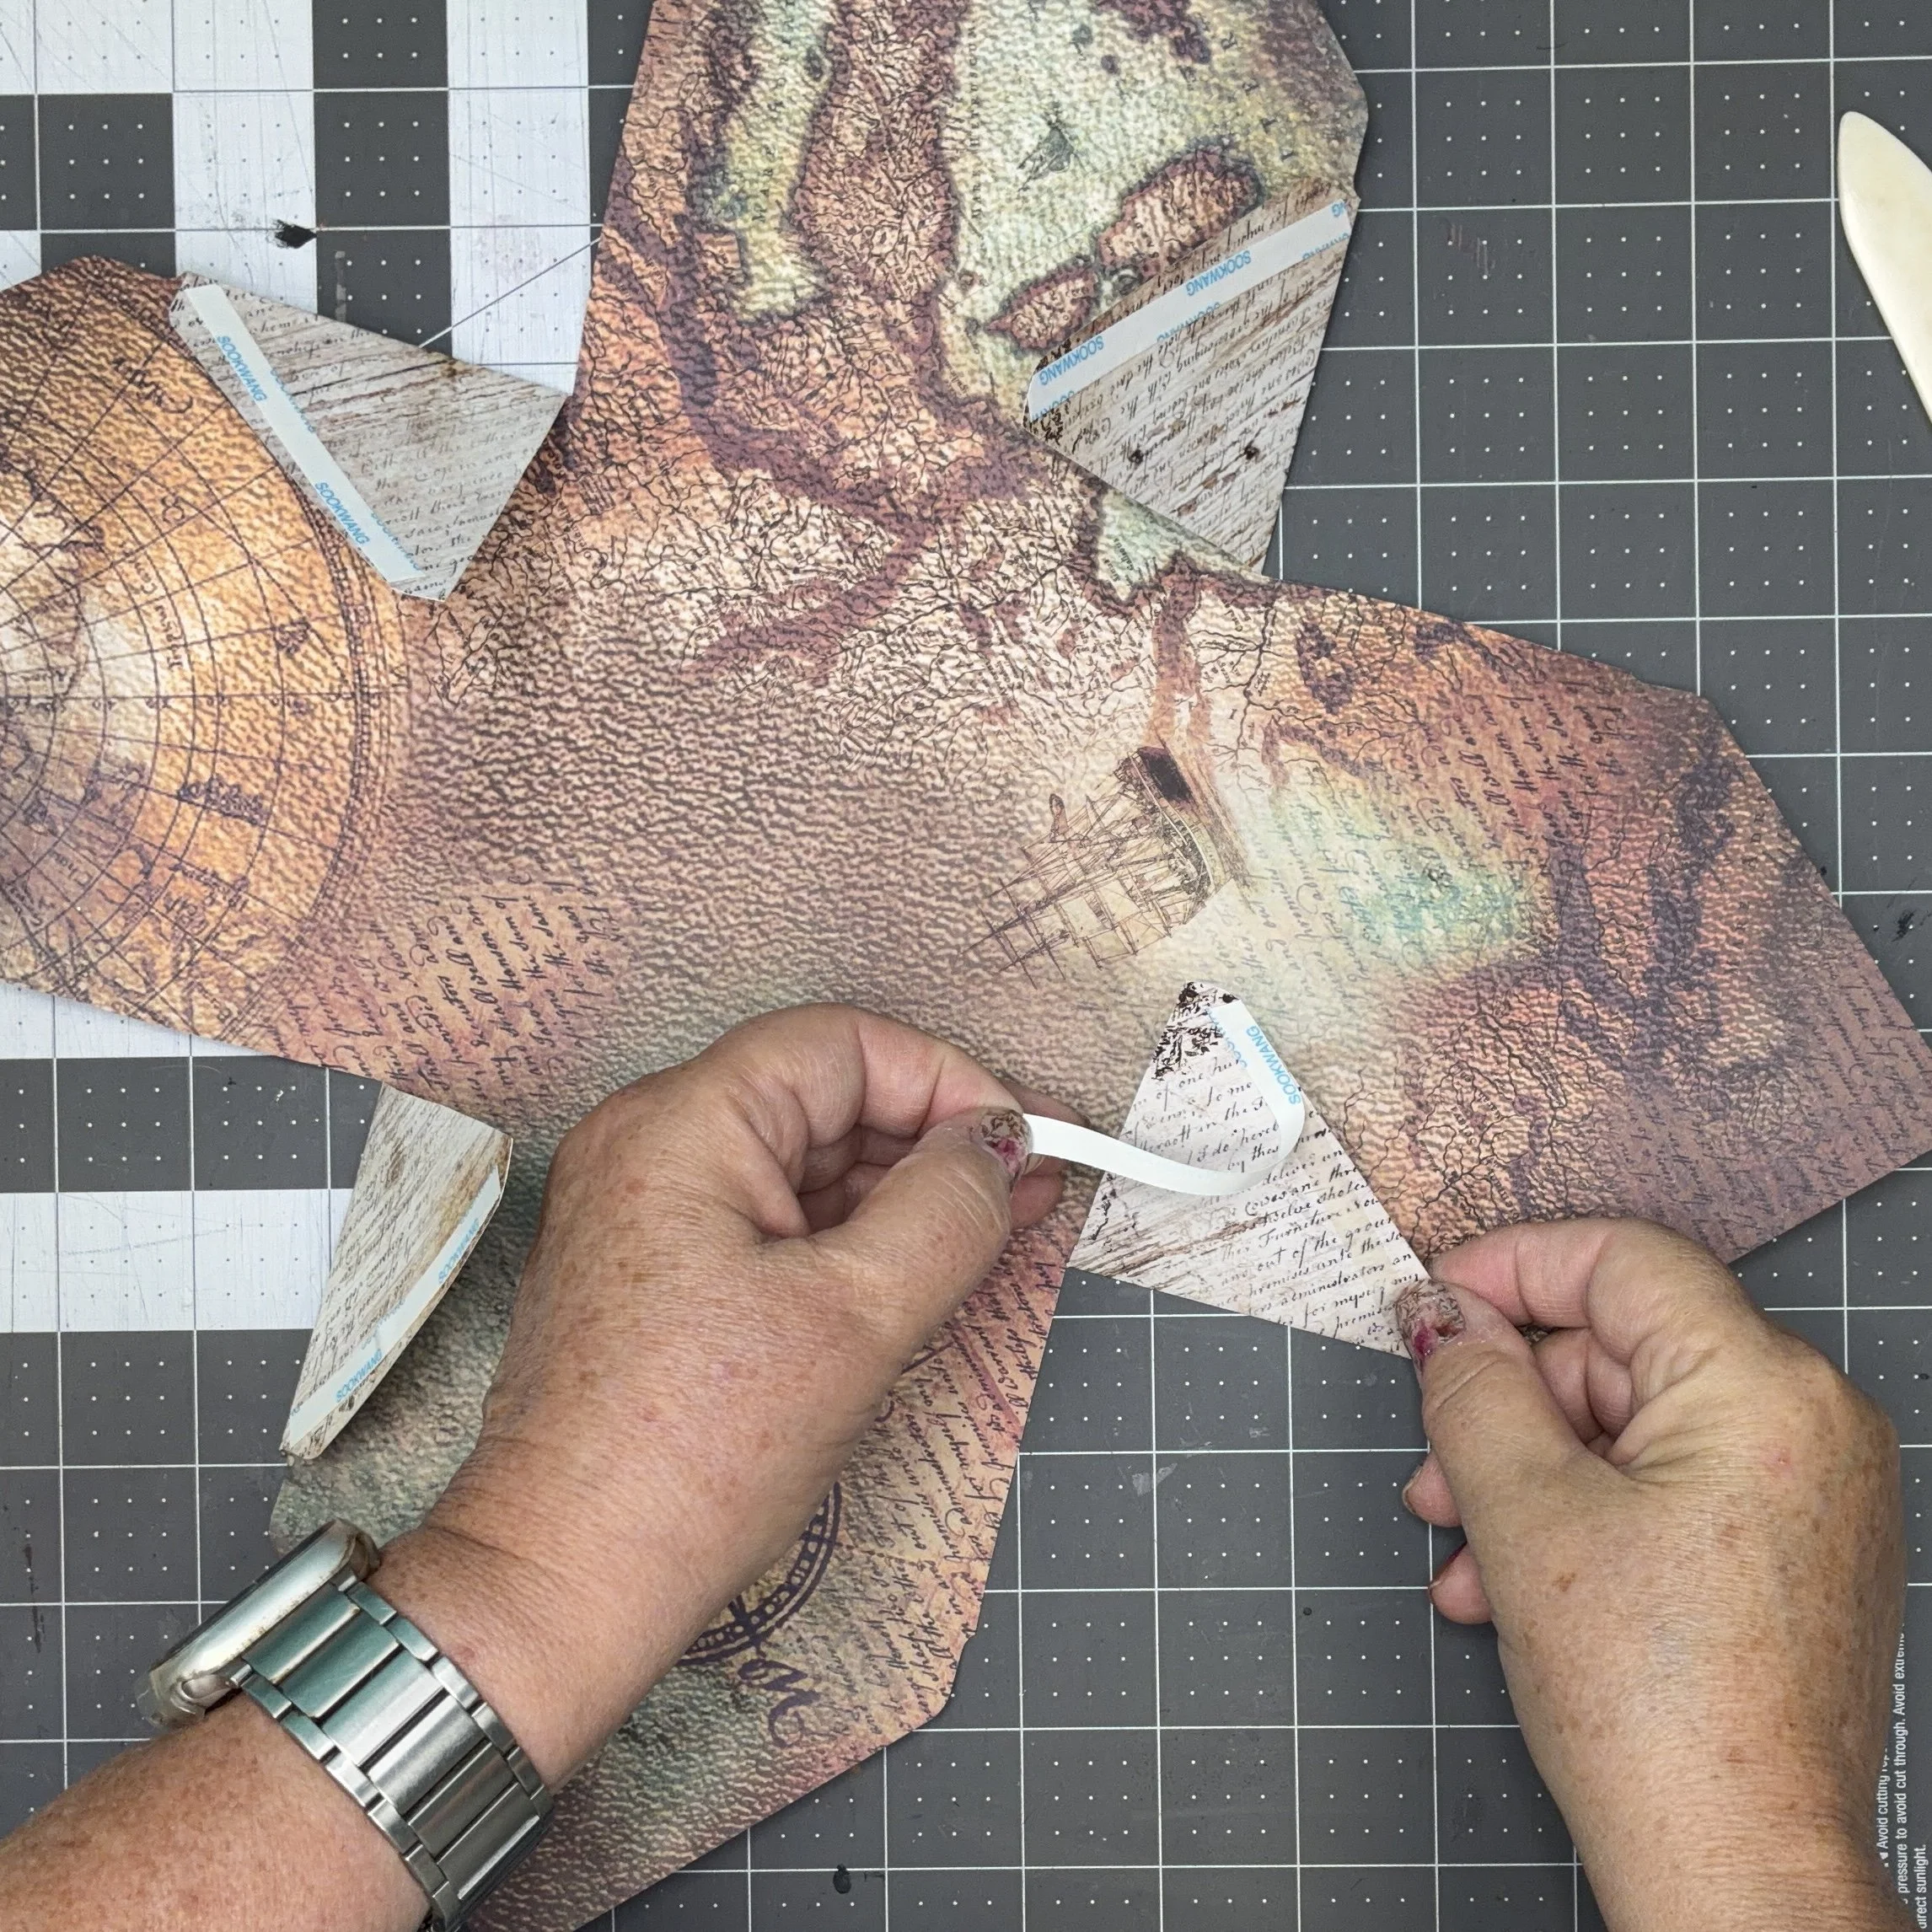
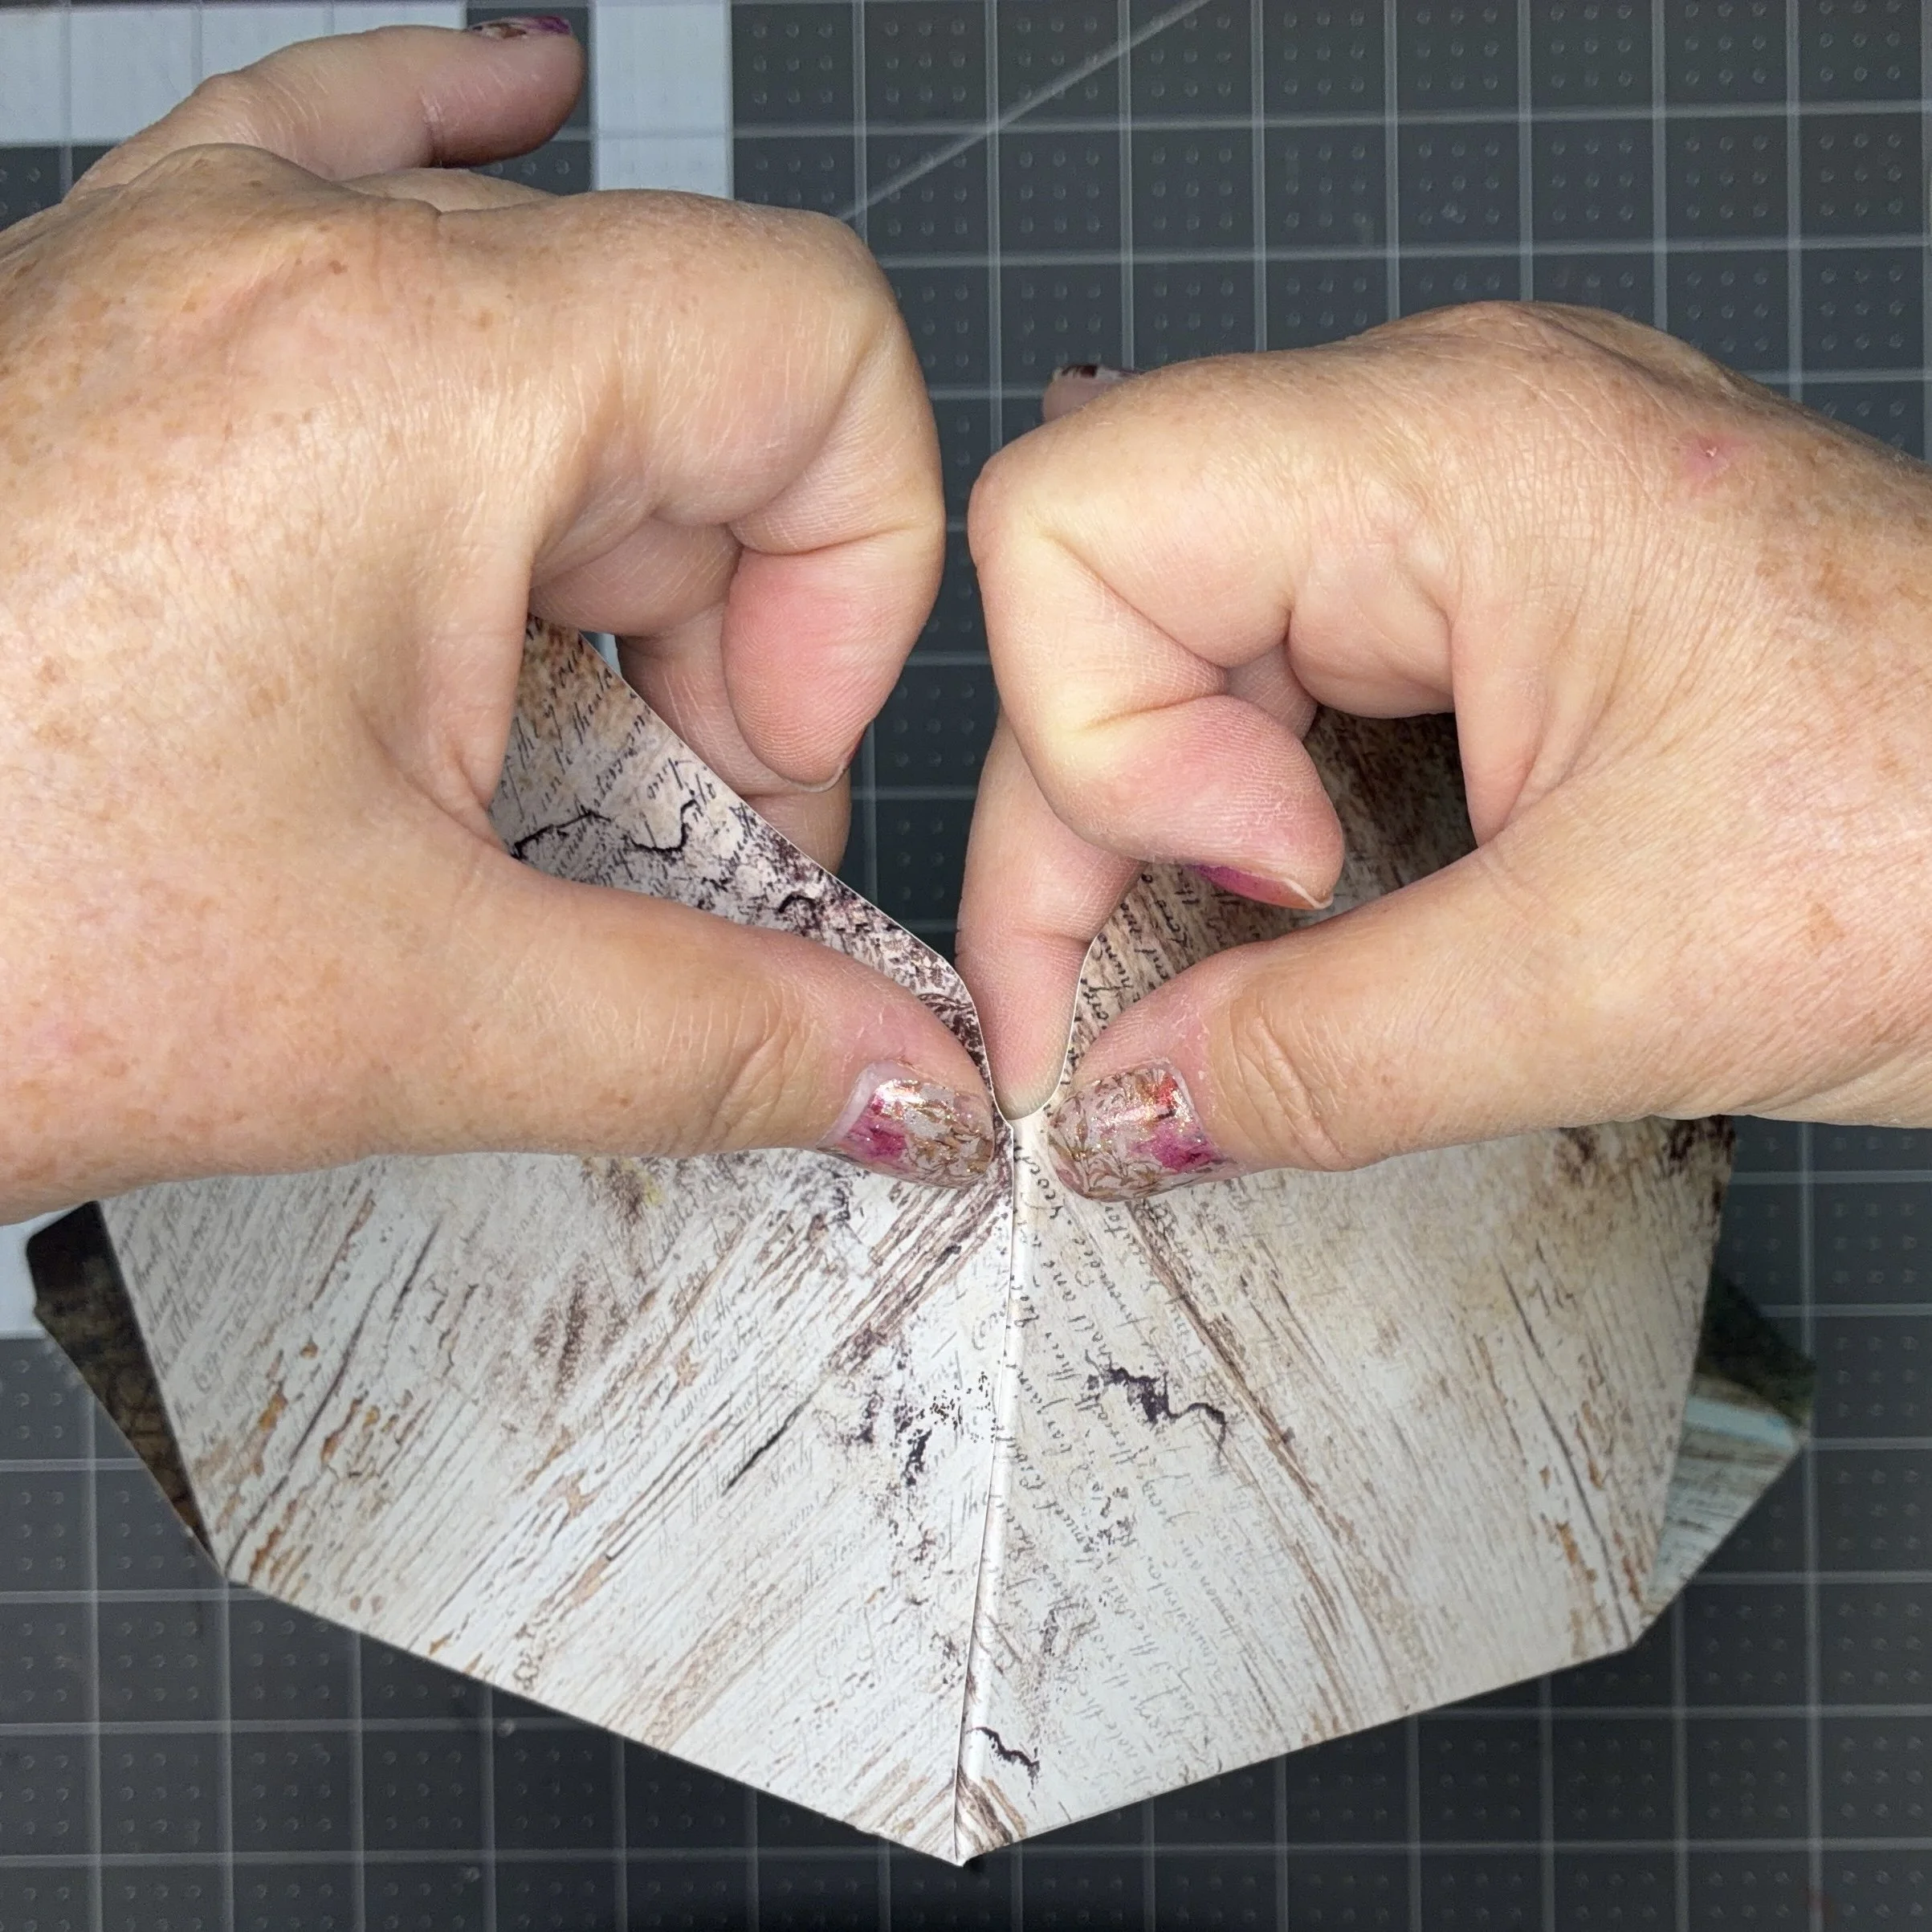
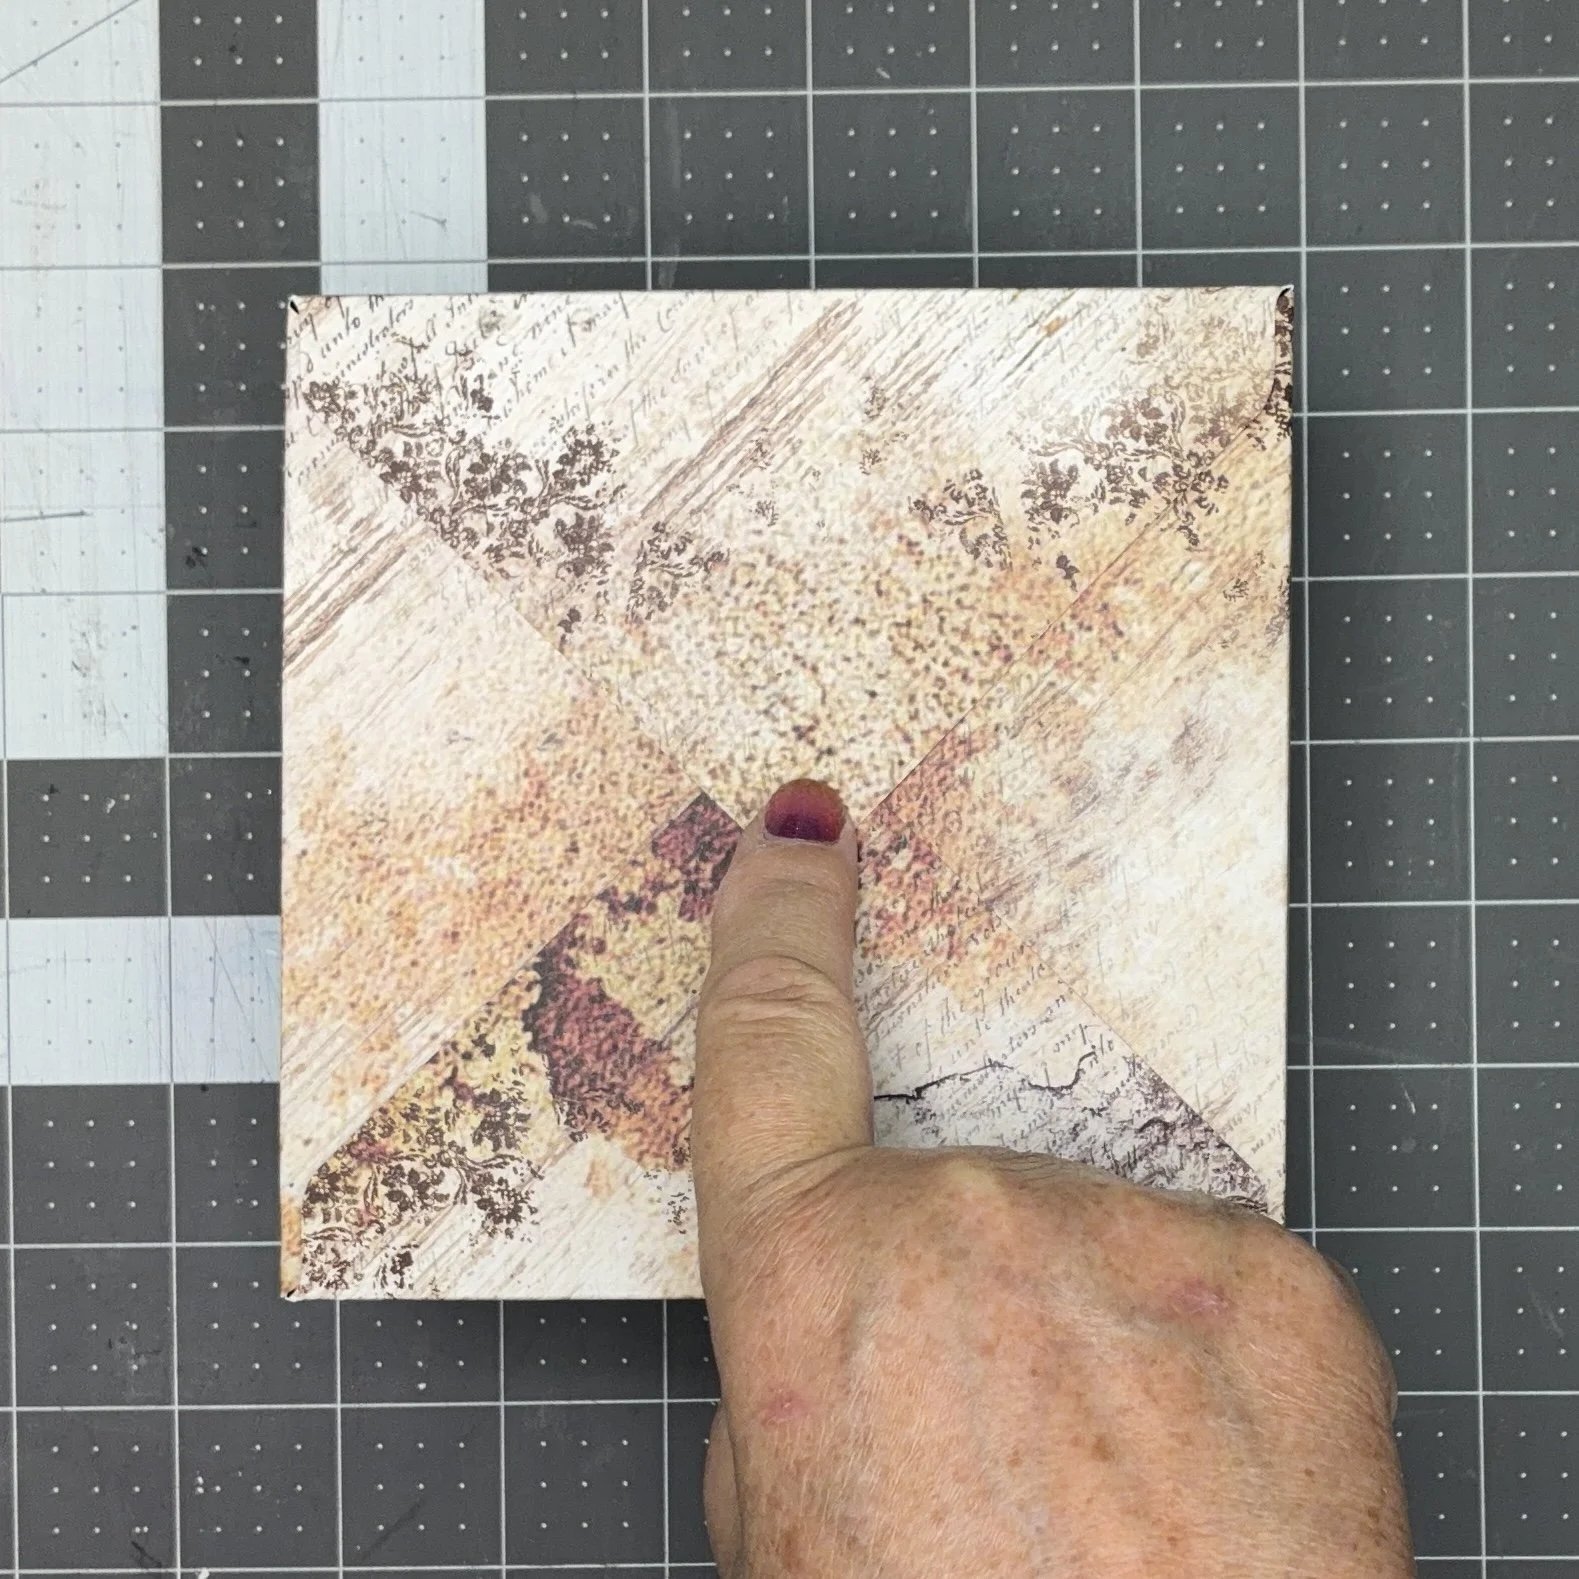
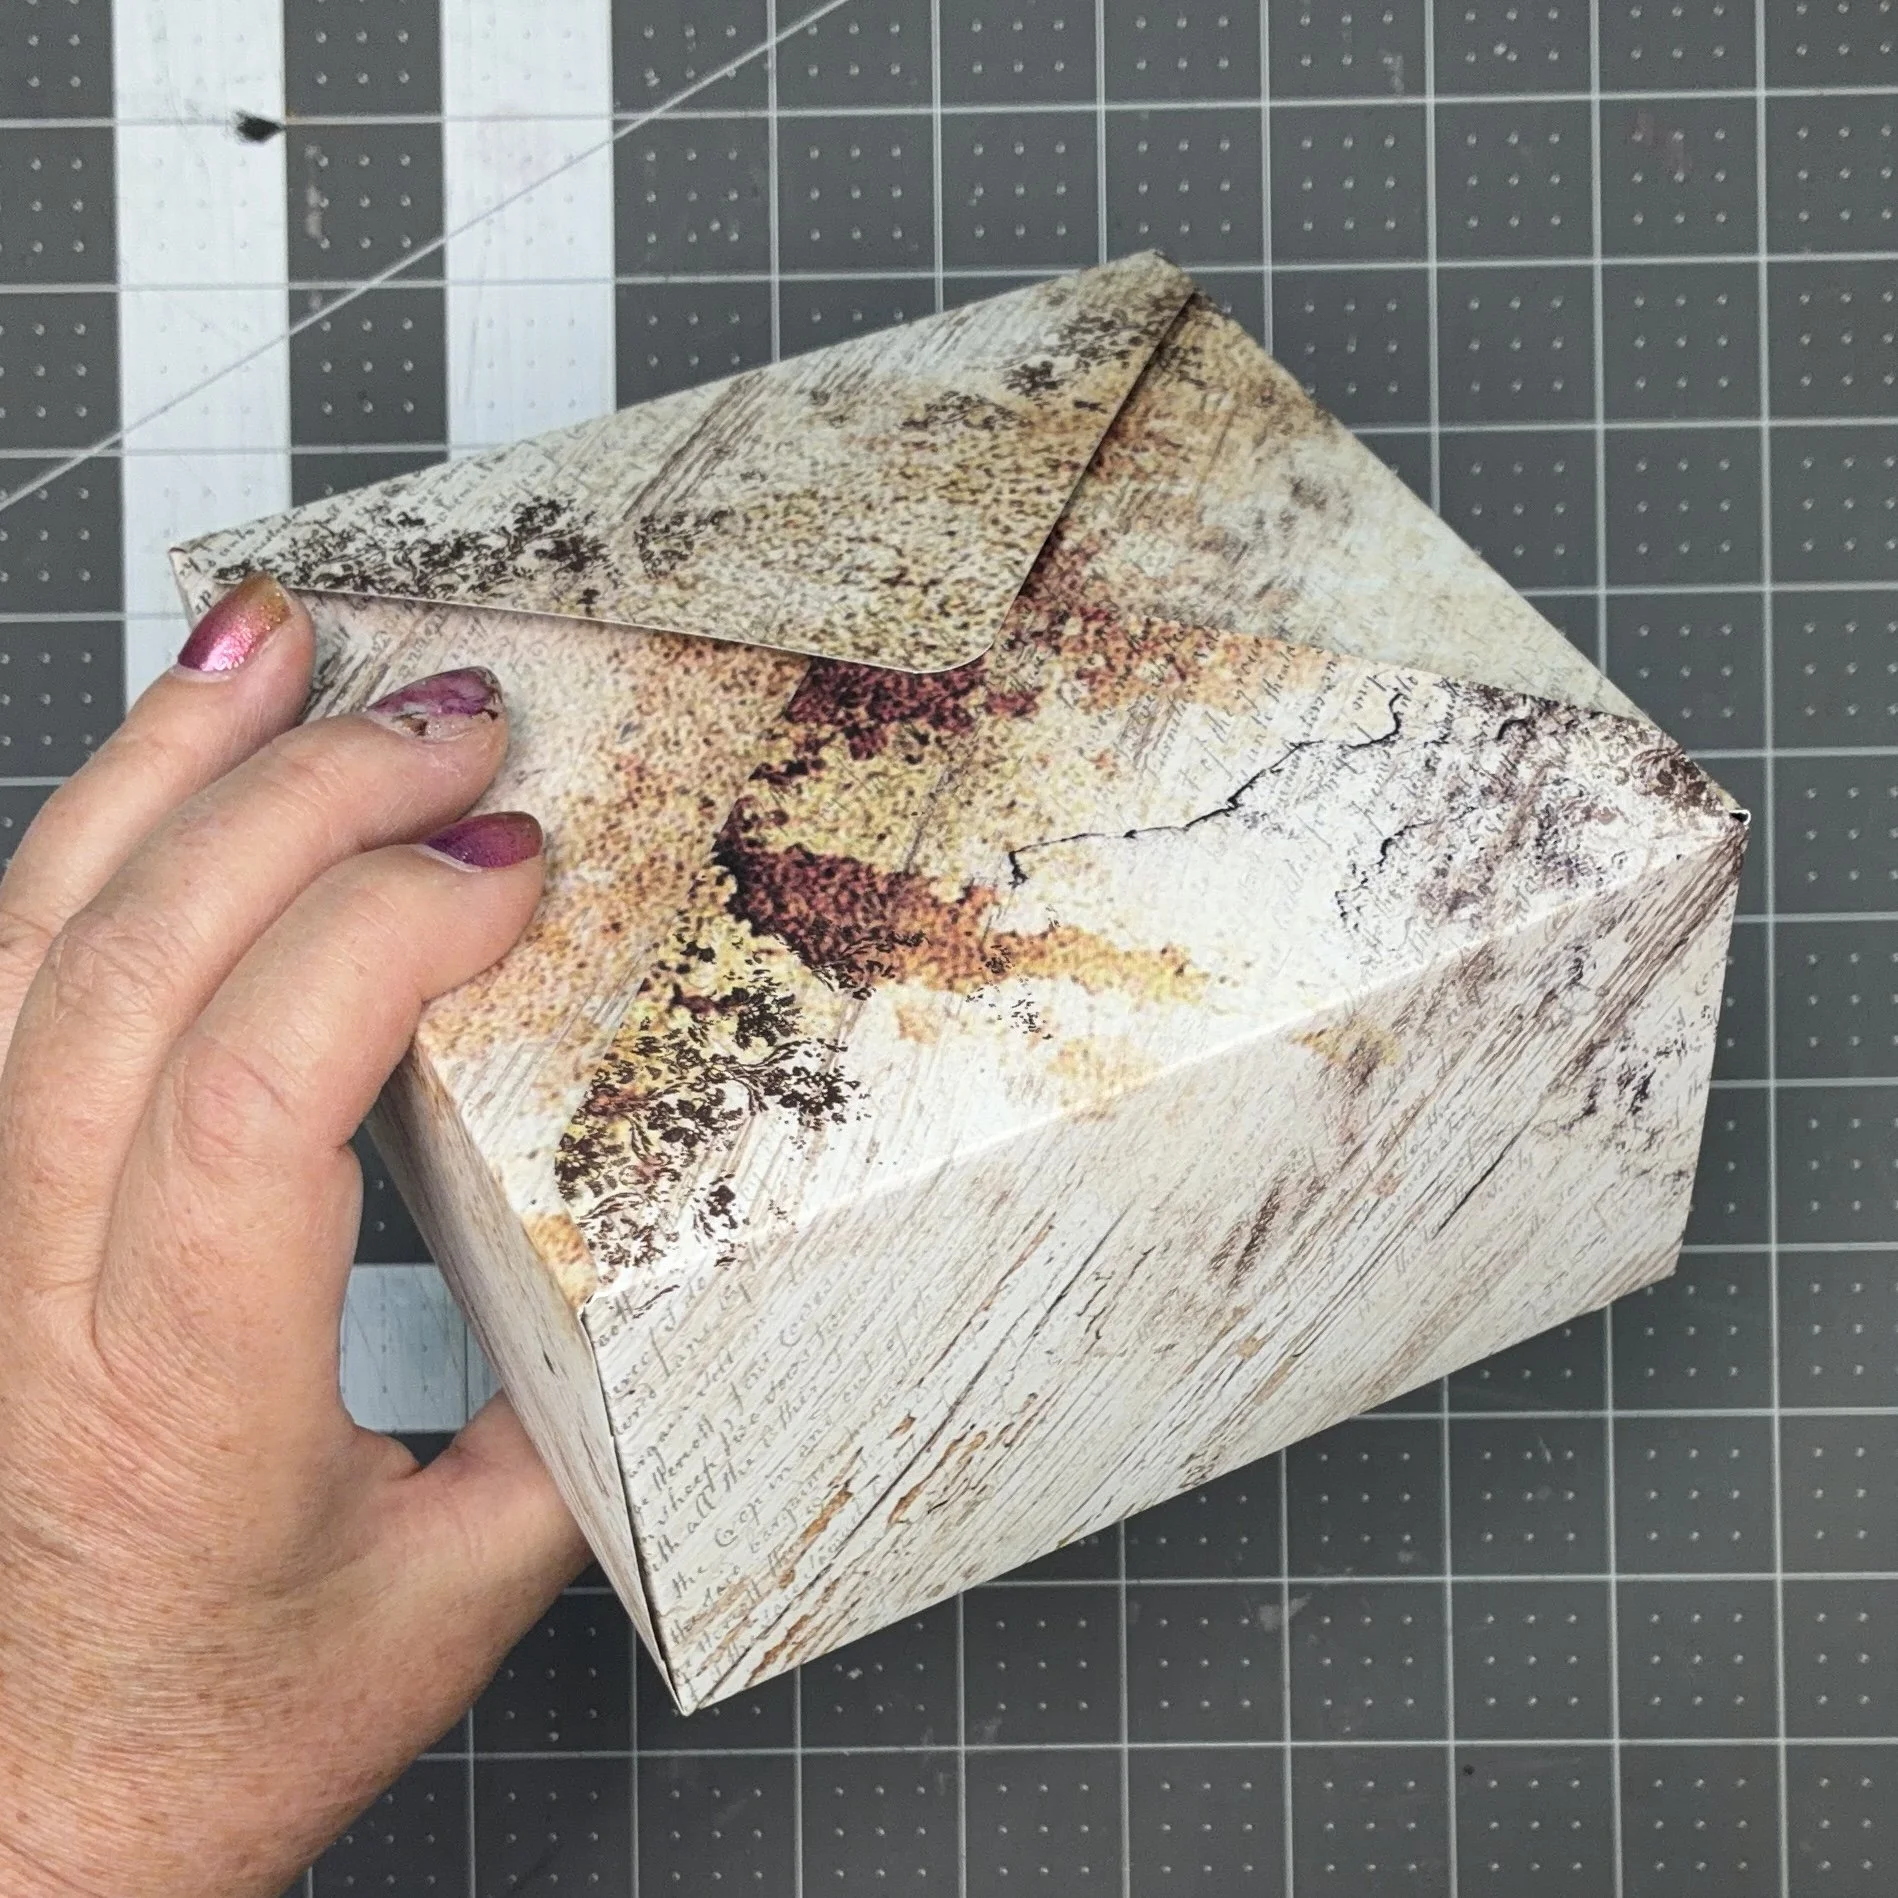
When all four sides are done, you now have a box with an open top. Put in whatever is going inside, then fold the top pieces down and use a small piece of double-sided tape to secure it closed. And there you go! A very cute gift box that needs no additional ornamentation.